
No spark= Unhappy

Thread Starter
|
ROTM, Nov 2014
Joined: Jun 2012
Posts: 315
Likes: 0
How can I fix my fork tube. I was putting in my new seals and at the bottom of my right fork tube it is slightly bent in. I think I just destroyed the outer part of my new seal and dust cover. The inner part of the seals work just fine, you can pump it up and down and see where it is sealing. So should I worry that I lost some rubber on the outer part of the seal and cover or order a new seal and cover and try and fix the damage.
And I don't want to go to 1000RR forks and brakes right now since I just bought all new fork parts and brake parts. I would rather fix the small amount of damage if possible and buy $13 in new seals.
And I don't want to go to 1000RR forks and brakes right now since I just bought all new fork parts and brake parts. I would rather fix the small amount of damage if possible and buy $13 in new seals.

Senior Member
Joined: Apr 2010
Posts: 366
Likes: 0
How can I fix my fork tube. I was putting in my new seals and at the bottom of my right fork tube it is slightly bent in. I think I just destroyed the outer part of my new seal and dust cover. The inner part of the seals work just fine, you can pump it up and down and see where it is sealing. So should I worry that I lost some rubber on the outer part of the seal and cover or order a new seal and cover and try and fix the damage.
And I don't want to go to 1000RR forks and brakes right now since I just bought all new fork parts and brake parts. I would rather fix the small amount of damage if possible and buy $13 in new seals.
And I don't want to go to 1000RR forks and brakes right now since I just bought all new fork parts and brake parts. I would rather fix the small amount of damage if possible and buy $13 in new seals.
The aluminium tubes can be "tweaked" but I would suggest a lot of caution before trying to do so. If you were to try and straighten out any bent lips it will crack unless youdo so very slowly and gradually. I've done it once but it was a nail biter for sure.
Metal working hammer and a piece of wood is what you'd need.
Thread Starter
|
ROTM, Nov 2014
Joined: Jun 2012
Posts: 315
Likes: 0
I know you already figured it out but I wanted to answer your question regardless.
The aluminium tubes can be "tweaked" but I would suggest a lot of caution before trying to do so. If you were to try and straighten out any bent lips it will crack unless youdo so very slowly and gradually. I've done it once but it was a nail biter for sure.
Metal working hammer and a piece of wood is what you'd need.
I think I am going to order new seals and go in there with a small grinding wheel and just grind away some metal. It is barely knocked in but it also affects how the seal sits on the bottom of the tube since it is no longer the same flatness all the way around. But it is not by much so I will probably just sand it down some until it is a even flatness.
Thread Starter
|
ROTM, Nov 2014
Joined: Jun 2012
Posts: 315
Likes: 0
I had some set backs today but still made a ton of progress. I was attempting to get the bolts off of the rear rotor and ended up stripping one of them and then broke my hex off in one of them. So they are going to have to be professionally taken off. So now I get to order new bolts, yippee my favorite thing to do. My front rotor bolts look like poop so I might order them as well or try and clean them up.
But I got a few things painted and I have re organized my parts so they are more readily available. I went through a lot of the new parts and started figuring out where they go. I got the wheels cleaned up really nicely and I am going to tape them off so I can strip the edge paint off to have the polished lip look. I have been cleaning a lot of parts. I got the upper and lower triple tree fully installed as well as the horn (beep beep.) And the swing arm is completely reassembled with new seals and bearing grease.
Next is to continue cleaning parts and painting parts that I feel need painted. I need to drop the head off to be resurfaced and cleaned and then the engine will be ready to go back on the bike. I am going to drop it off next Thursday and drop off the parts to be PC'd Monday or Tuesday and hopefully the head and the parts will be ready for a Friday pick up. I want the engine in the frame and a bike that stands on it's wheels again by the end of next week.
Last edited by msebastianCBR; Jul 17, 2014 at 06:50 PM.
Thread Starter
|
ROTM, Nov 2014
Joined: Jun 2012
Posts: 315
Likes: 0
I am going to start stripping the lips of the rims today so I can polish them up. I am dropping the head off to be resurfaced and cleaned on Thursday then it will be ready to go back on. I am making my last OEM Honda part order on Friday (at least I hope it is the last one.) I am also ordering my radiator and some aftermarket goodies of Friday.
The engine should be ready to go in by the end of the week and then Wednesday I will get my Honda order and put the new bearings in the swing arm and dog bone and then it can all go back together. I should be riding if all goes to plan by the end of next week. Plus I should be getting my PC'd parts by the end of the week.
The engine should be ready to go in by the end of the week and then Wednesday I will get my Honda order and put the new bearings in the swing arm and dog bone and then it can all go back together. I should be riding if all goes to plan by the end of next week. Plus I should be getting my PC'd parts by the end of the week.
Thread Starter
|
ROTM, Nov 2014
Joined: Jun 2012
Posts: 315
Likes: 0
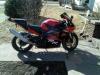
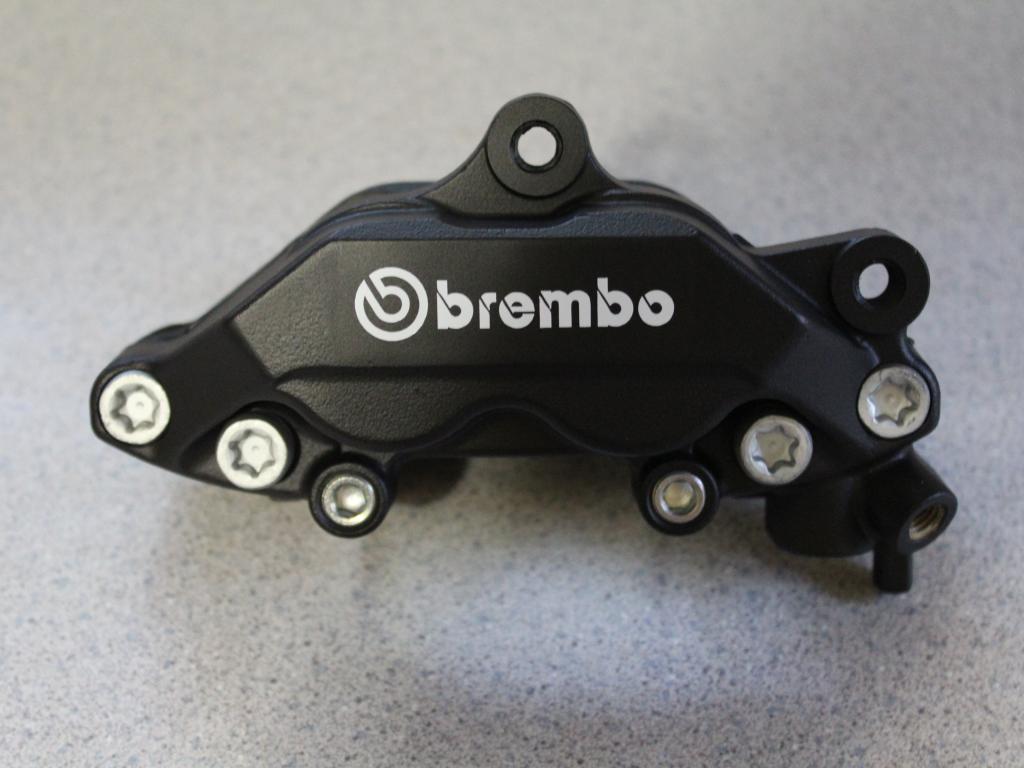
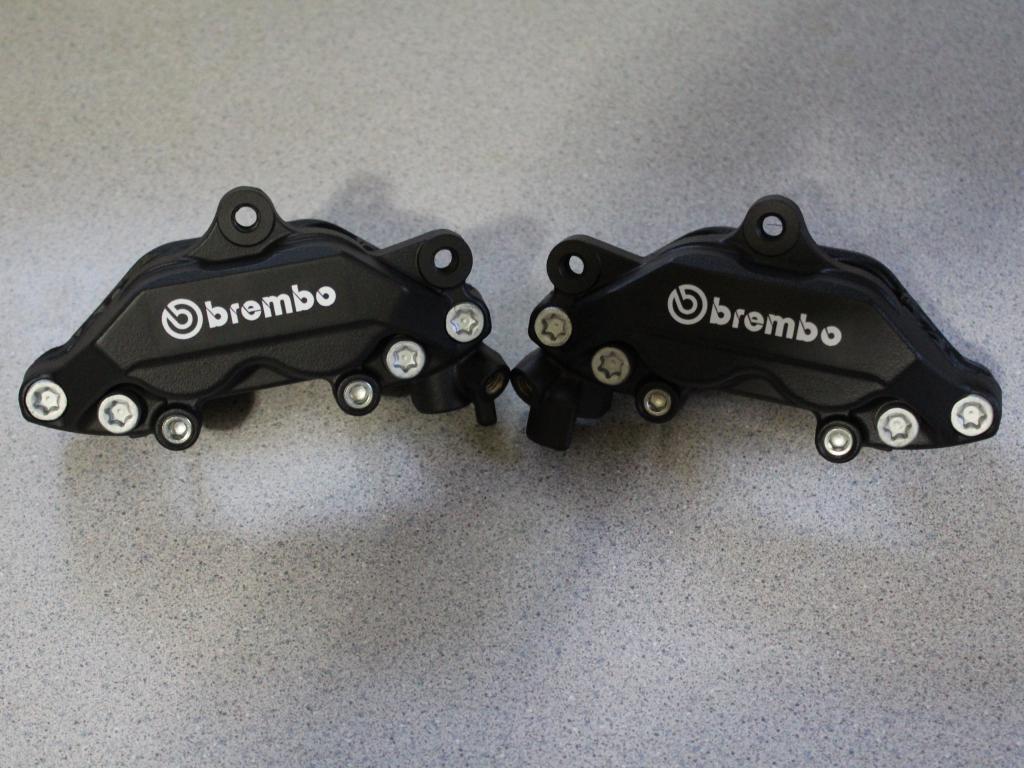
My new Brembo brakes, these costed a pretty penny. LOL They just need a coat or 2 of clear and then they will be ready for service. Notice the brand new bolts, pretty much every bolt on the bike will be brand new. The rear bolts still need to be polished.


Last edited by msebastianCBR; Jul 22, 2014 at 11:29 PM.
Thread Starter
|
ROTM, Nov 2014
Joined: Jun 2012
Posts: 315
Likes: 0
Decided to put the build up on Fireblades since they seem to have more members and I wanted to be able to share what I am doing with more people. I will update this thread with some pictures as I go along but the main build will be over there.
Thread Starter
|
ROTM, Nov 2014
Joined: Jun 2012
Posts: 315
Likes: 0
Stock calipers, painted with high heat low gloss black paint and then a nice Brembo decal placed on the front. Still needs a couple coats of clear. It will be around $6,000 invested not including the bike purchase when it is completely done.