
build time! P=


Thread Starter
|
Senior Member
Joined: Dec 2013
Posts: 247
Likes: 11
From: Scotland
thats what i like to hear dude!  haven't had the chance to test them out yet. dependant on what they're like i might end up getting some for all the bikes.
you'll be happy to hear I've been playing with the idea of documenting what I've been doing with the 11 as well
you'll be happy to hear I've been playing with the idea of documenting what I've been doing with the 11 as well
Thread Starter
|
Senior Member
Joined: Dec 2013
Posts: 247
Likes: 11
From: Scotland
Having a headache with the 11 carbs at the mo. Carb 4's mix screw stripped so it's dremel and hope for the best time tomorrow. Gs is running like a bag of dick at the mo as well. So much to do and not s drop of spare time to life so new threads going on hold.

Retired Super Moderator and Fighterer
Joined: Nov 2006
Posts: 6,146
Likes: 37
They're off a WC 11. I wanted USDs and those are the closest in length.
The triples and forks are the only things I'm using, I don't have it on yet as I'm trying to figure out what to do with the gauges and light.
I'm having some fuel delivery issues as well with my bandit. There's some bogging on partial throttle, and despite going through the carbs and making sure they're set up identical, my #4 plugs looks like I'm having fuel starvation issues on that cylinder. No carbon buildup whatsoever on the plug...
Thread Starter
|
Senior Member
Joined: Dec 2013
Posts: 247
Likes: 11
From: Scotland
They're off a WC 11. I wanted USDs and those are the closest in length.
The triples and forks are the only things I'm using, I don't have it on yet as I'm trying to figure out what to do with the gauges and light.
I'm having some fuel delivery issues as well with my bandit. There's some bogging on partial throttle, and despite going through the carbs and making sure they're set up identical, my #4 plugs looks like I'm having fuel starvation issues on that cylinder. No carbon buildup whatsoever on the plug...
The triples and forks are the only things I'm using, I don't have it on yet as I'm trying to figure out what to do with the gauges and light.
I'm having some fuel delivery issues as well with my bandit. There's some bogging on partial throttle, and despite going through the carbs and making sure they're set up identical, my #4 plugs looks like I'm having fuel starvation issues on that cylinder. No carbon buildup whatsoever on the plug...
and thats pretty odd symptom, solved it yet? no carbon... is it leaving nothing at all or is it leaving the lean white? just an idea, rather than it being on the carb side of things could it be a no spark issue? I'm thinking no spark, no fouling. have you checked theres fuel actually getting into the bowl? or that no.4 cyls exhaust is getting hot like the rest. I'm assuming you've set your mix screws are equal. thats my initial train of thought anyway.
//
well another month has passed and the cbr is no further forward, still plugging on with the 11 and trying to find time the welder guy and i are both free and its decent enough to work outside, somewhat difficult in scotland haha. the 11 should be back on the road in the next couple of weeks with its 60 odd mm shorter wheelbase and a few other bits done, can't wait! =D =D =D but after that all attention is back on the cbr as theres a couple of other bikes needing a bit of restoration for someone to get started, grey import zrx400 twinshock and something else i can't remember but need the cbr 'finished' first.
//
there's a slight possibility I've went and treated the cbr to something else that won't be getting fitted for a wee while... really need to stop doing that but it was a bargain.
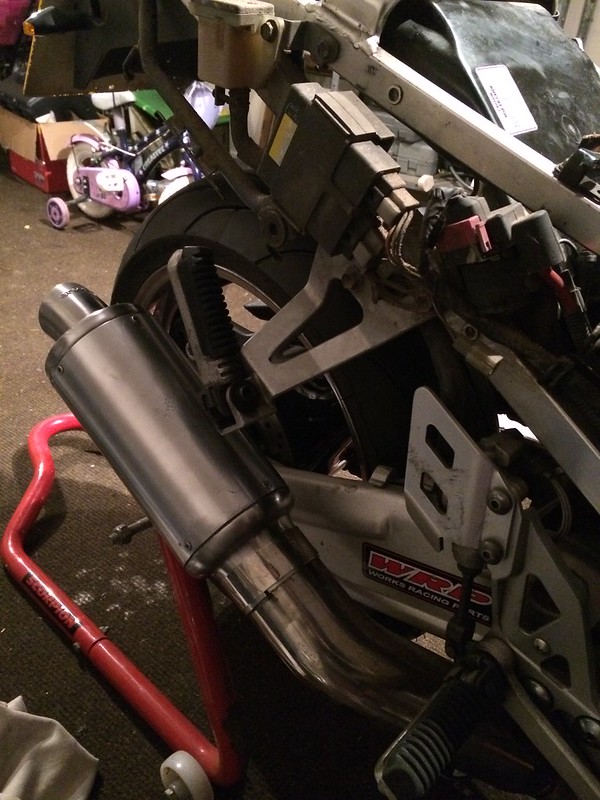
sellers pics, not mine. been on a few track bikes it would seem.

oh you see that bendy bit


yep, an under seat exhaust.
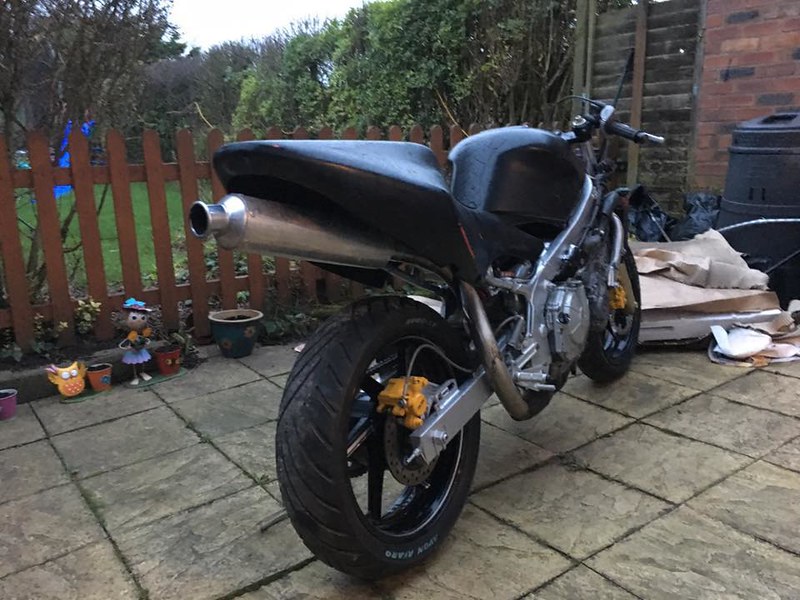
i'm thinking that if i don't get along with the can due to its length and tail, i can extend the link and use a stubby can or utilise parts to make something mv agusta f4 esque with quad pipes coming out or maybe just a twin setup. really i don't know but its something to play with and if its not used on this i'll use it on something else, maybe even a dedicated f2/3 track bike if i ever clear my feet of projects haha
going to be difficult to place a number plate with it on i reckon. we don't really get away with tucked away right under the tail here and ideally you need the tip of the exhaust to sit out further than the brake light etc to let the gasses and heat pass without melting anything, that and heat shielding to protect the tail and i'll to make sure where I'm planning on putting the cdi / fuse box isn't isn't going to cook them. like everything, just have to see how it pans out i guess but its an idea I've played with for a long time and the link pipe opens up possibilities without shelling out major coin to do so. win win if you ask me.
Retired Super Moderator and Fighterer
Joined: Nov 2006
Posts: 6,146
Likes: 37
Yeah, I think I did figure it out - float height. The float in #4 was really set high. When I checked it the first time, it must have not been seated correctly or something. Now I just need to sync the bank of carbs and I'll be good to go.
You could cut that can down, it looks like it'd be easy enough.
Drill out rivets
Measure
Take a circular saw to it
Line up the end of it and drill pilot holes for new rivets.
And you can RVT silicone the end of it to make sure its completely sealed for your MOT.
You could cut that can down, it looks like it'd be easy enough.
Drill out rivets
Measure
Take a circular saw to it
Line up the end of it and drill pilot holes for new rivets.
And you can RVT silicone the end of it to make sure its completely sealed for your MOT.
Thread Starter
|
Senior Member
Joined: Dec 2013
Posts: 247
Likes: 11
From: Scotland
Yeah, I think I did figure it out - float height. The float in #4 was really set high. When I checked it the first time, it must have not been seated correctly or something. Now I just need to sync the bank of carbs and I'll be good to go.
You could cut that can down, it looks like it'd be easy enough.
Drill out rivets
Measure
Take a circular saw to it
Line up the end of it and drill pilot holes for new rivets.
And you can RVT silicone the end of it to make sure its completely sealed for your MOT.
You could cut that can down, it looks like it'd be easy enough.
Drill out rivets
Measure
Take a circular saw to it
Line up the end of it and drill pilot holes for new rivets.
And you can RVT silicone the end of it to make sure its completely sealed for your MOT.
yeah that was my first thought, the link pipe is the main reason i picked it up, could always throw my micron stubby or something on it. I'm no stranger to chopping cans down, done a few and recently reconfigured a reflective baffle remus road can to an absorptive race shorty for the 11.
problem would be that if i cut the can back it would sit way under the tail and the gasses/heat wouldn't clear the bike, projecting heat towards an acrylic number plate haha well unless i went side exit instead. won't know how best to deal with it until the tails on. i might be able to get my hands on one of those xg1s cheap as I've seen one sitting in someones shed. get that to the end of the tail using a chopped up link and id be laughing... not that you'd be able to hear me laughing over it haha who knows, still need to get that tail on don't i.
//
yeh i was quite happy with how this one turned out, internals could've been better but its airtight and it works. never seen internals converted before. usually they just get the chambers cut down and everything thrown back together with reflective cans, which is a bit ****ty really.

gutted the old remus can from the gs to rob the ends as it was the 80mm or so link the remus on the 11 was using.
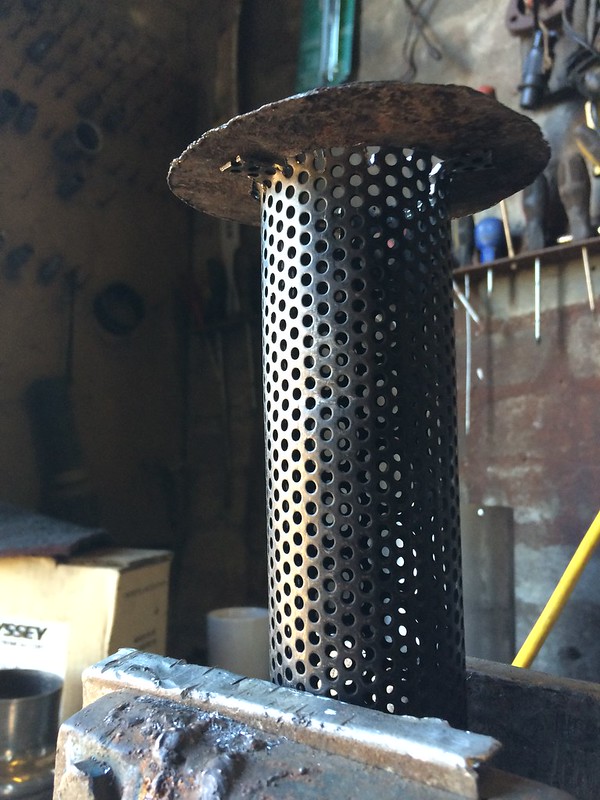
perforated tube from a viper race can, couple of tabs to hold the tin end plate i knocked up for the entry side.
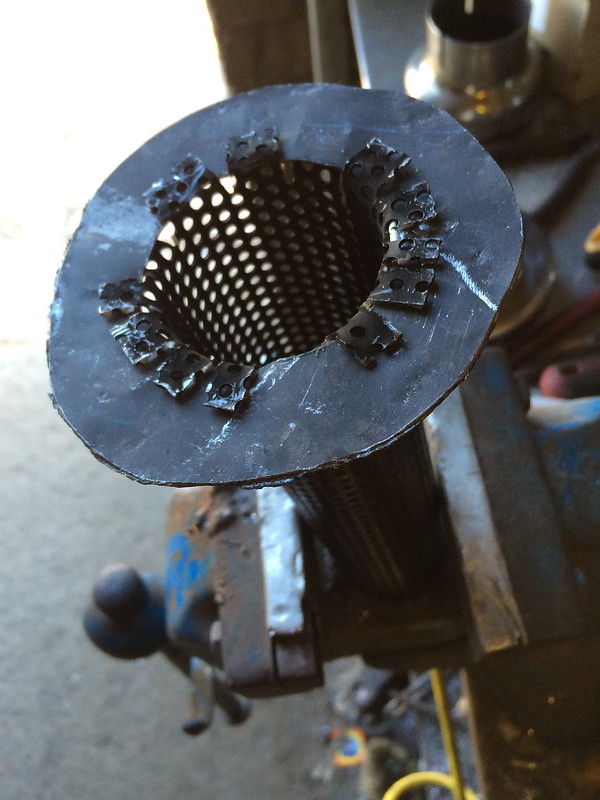
tabs folded back on the other side to hold it. its a bit sketchy but i can rip it apart again if the plate fails and it blows all the packing out haha but its all pressed together tight so it should be fine.
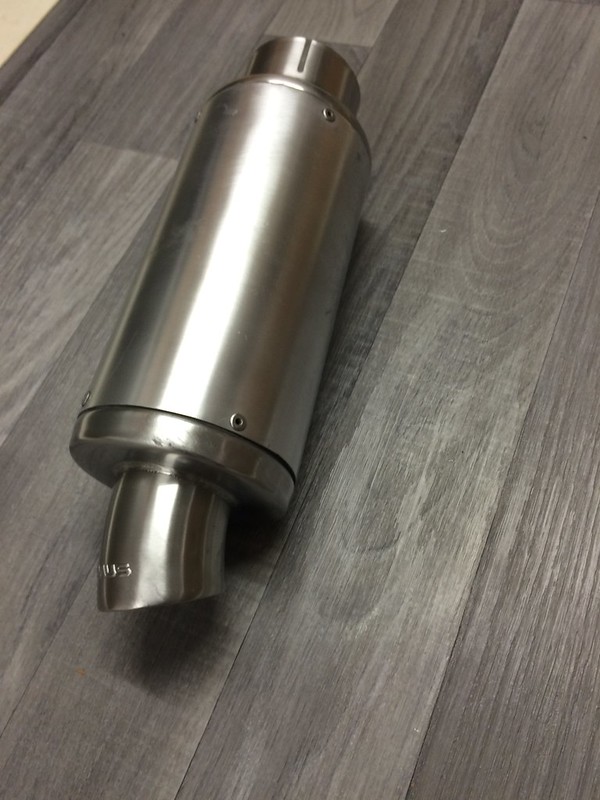
finished item.
just to show the size of the entry into the exhaust, might be slightly bigger than 80mm come to think of it haha
Thread Starter
|
Senior Member
Joined: Dec 2013
Posts: 247
Likes: 11
From: Scotland
you'll be pleased to know that I've started documenting the 11 conrice, best keep the honda hush or i'll get punted  haha
haha
wp 1100, swingarm swap etc - Water Cooled, V-Twins, Singles and 2-strokes - Oldskoolsuzuki.info
wp 1100, swingarm swap etc - Water Cooled, V-Twins, Singles and 2-strokes - Oldskoolsuzuki.info
Thread Starter
|
Senior Member
Joined: Dec 2013
Posts: 247
Likes: 11
From: Scotland
long time over due  think this is into month 15 of last years winter project that kind of escalated haha

before.

subframe separated from bottom support, bent up, rear notched and bent up to take the shape.

close up, obviously brackets still need nipped off. not sure if I'm keeping the pillion peg mounts at this point on the left hand side at least. probs see how much strength the bit that extends beyond the triangular section has first, could brace it and stuff if i wanted to carry people but I'm too indecisive.

top tube spot welded just to hold it for now, tail is only resting on it but its doing so under its own accord and almost sitting in the right place. need to sort support brackets and that will determine the tweaking on height, mounting etc. obviously the bottom support needs to be shortened slightly, notched, bent up and welded yet but fabricating is well on its way. happy days! progress
before.
subframe separated from bottom support, bent up, rear notched and bent up to take the shape.
close up, obviously brackets still need nipped off. not sure if I'm keeping the pillion peg mounts at this point on the left hand side at least. probs see how much strength the bit that extends beyond the triangular section has first, could brace it and stuff if i wanted to carry people but I'm too indecisive.
top tube spot welded just to hold it for now, tail is only resting on it but its doing so under its own accord and almost sitting in the right place. need to sort support brackets and that will determine the tweaking on height, mounting etc. obviously the bottom support needs to be shortened slightly, notched, bent up and welded yet but fabricating is well on its way. happy days!
Retired Super Moderator and Fighterer
Joined: Nov 2006
Posts: 6,146
Likes: 37
you'll be pleased to know that I've started documenting the 11 conrice, best keep the honda hush or i'll get punted haha
wp 1100, swingarm swap etc - Water Cooled, V-Twins, Singles and 2-strokes - Oldskoolsuzuki.info
wp 1100, swingarm swap etc - Water Cooled, V-Twins, Singles and 2-strokes - Oldskoolsuzuki.info
long time over due think this is into month 15 of last years winter project that kind of escalated haha
before.
subframe separated from bottom support, bent up, rear notched and bent up to take the shape.
close up, obviously brackets still need nipped off. not sure if I'm keeping the pillion peg mounts at this point on the left hand side at least. probs see how much strength the bit that extends beyond the triangular section has first, could brace it and stuff if i wanted to carry people but I'm too indecisive.
top tube spot welded just to hold it for now, tail is only resting on it but its doing so under its own accord and almost sitting in the right place. need to sort support brackets and that will determine the tweaking on height, mounting etc. obviously the bottom support needs to be shortened slightly, notched, bent up and welded yet but fabricating is well on its way. happy days! progress
before.
subframe separated from bottom support, bent up, rear notched and bent up to take the shape.
close up, obviously brackets still need nipped off. not sure if I'm keeping the pillion peg mounts at this point on the left hand side at least. probs see how much strength the bit that extends beyond the triangular section has first, could brace it and stuff if i wanted to carry people but I'm too indecisive.
top tube spot welded just to hold it for now, tail is only resting on it but its doing so under its own accord and almost sitting in the right place. need to sort support brackets and that will determine the tweaking on height, mounting etc. obviously the bottom support needs to be shortened slightly, notched, bent up and welded yet but fabricating is well on its way. happy days!