
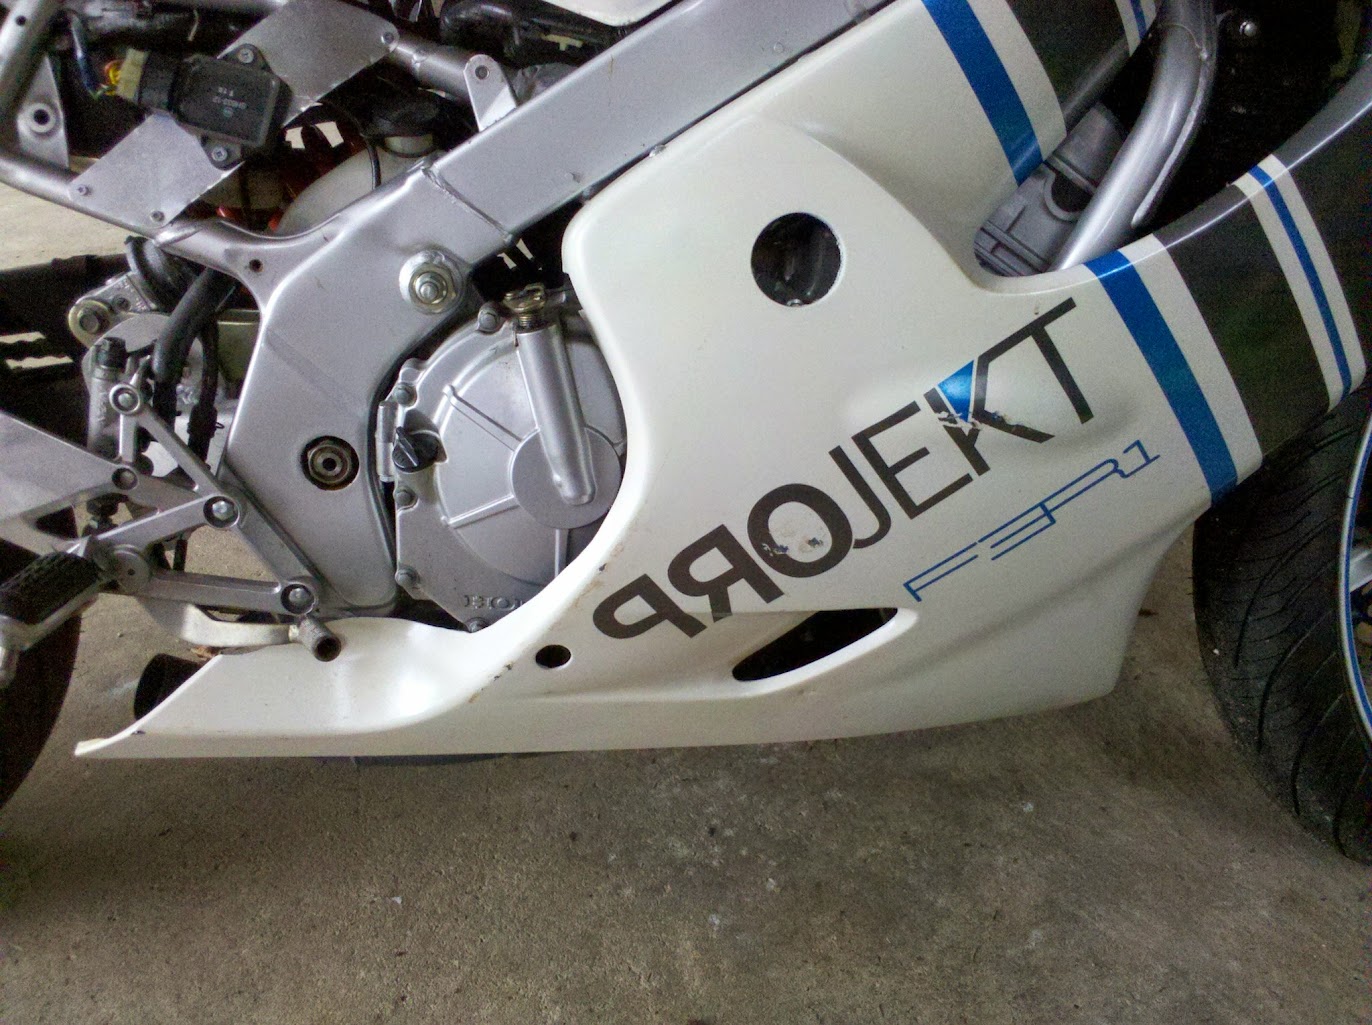
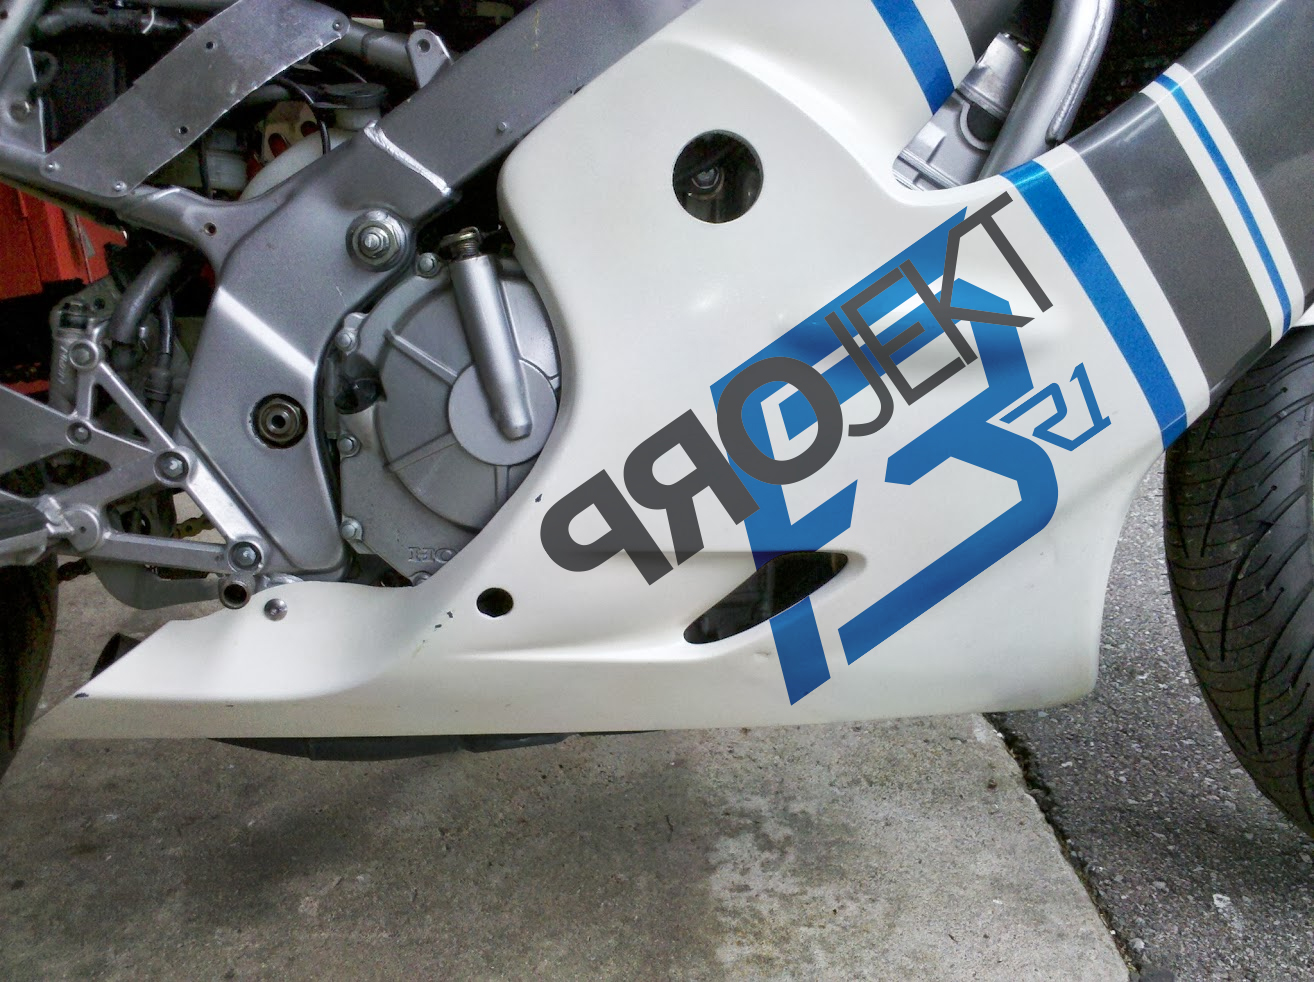
View Poll Results: Which Design Should I lean towards
Image 1


0
0%
Image 2


0
0%
Image 3


2
100.00%
I don't care


0
0%
Voters: 2. You may not vote on this poll
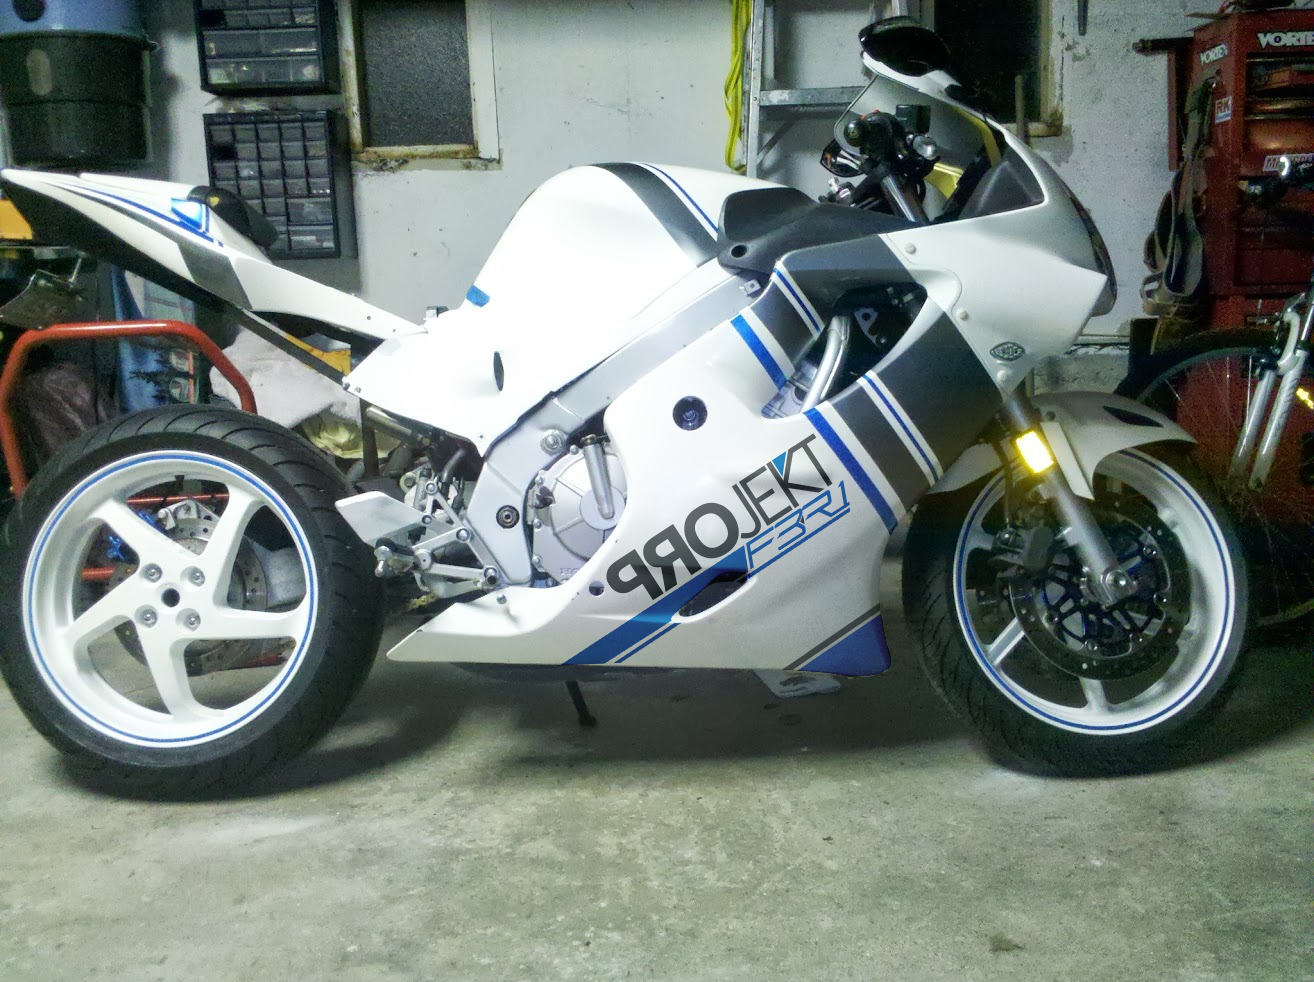
98 CBR F3 Project Bike (SSSA, Car Rim, R1 Tail, F4i front)


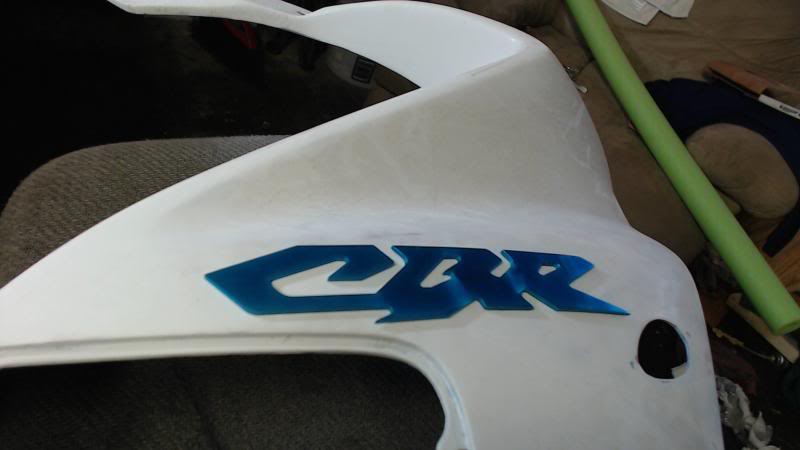
This is the damage to the fairing. Nothing major, but messes up my custom paint job.
Here is a shot without the vinyl, the damage is hardly worthy of a drop, more like a soft landing on something hard.

Here is a shot without the vinyl, the damage is hardly worthy of a drop, more like a soft landing on something hard.


Updates!
Well, a couple weeks have gone by, i've yet to ride the bike after the old R/R died on me, and the tower caused my bike to tip sideways.
I thought I would take the time to do the things I've been needing to do:
1 - remount the exhaust hangers so that the YZF-R1 exhaust line up cleanly with the rear tail fairings.
2 - flip the new R/R so that the heat spreaders are facing up.
3 - rebuild the rear lower support bar
4 - create more difference in brightness between my running brake light and the actual brake light.
Remounting the exhaust hangers.
One of the issues in the past was that the way i constructed the tail subframe. The lower support bar was mounted to the bikes central frame under the battery box. The issue here is that when I hung the exhausts, they would collide with this lower support bar, preventing me from getting a nice clear alignment of the exhaust and the tail fairings.
This is a shot of the newly assembled tail subframe. It's not welded since I cannot weld. but used 1/4" bolts with vibration lock nuts to keep it all together.

This is a blurry photo of the second version of my lower support bar. I used L brackets connected to 1" steel square tubing.

This is a better shot, positionally anyhow.

The right exhaust pipe would hit this chunk of frame, and would stop me from getting everything just right.
I had to figure out where to mount this bar, as it was needed to keep the tail from becoming too flexible.
It came to me after a while, that if i moved the bar up, to sit right under the battery box, It would give me the clearance needed.

I had to sacrifice the battery box a bit to get this to work, but in the end it turned out pretty good.
The benefit to mounting the bar here is that it has good corner support, and i can tighten the tail section quite a bit by just tightening the bolts here.
You can see there is a gap between the frame and the square tubing, this gives me room to crank up how tight the lower subframe becomes, since it pulls down on the end of the frame.
You can see at the very end of the frame, where i have created a metal bar that dips down, this connects to the lower square tubing. So but tightening the tubing against the frame, pulls the tail down a bit, giving it some tension and preventing vibration.
Once I had somewhat decided the subframe (but before frabbing it) I needed to make new exhaust hangers. The old ones were just crap.

I had thought by supporting them this way, I would have more control over the exhaust position. I was wrong and it was just too complicated to adjust, and would come loose.
This is what I came up with.

A little simpler, and a lot more sturdy. I hand bent these 1/8th steel strips (used for home construction). This, by far and wide, was the hardest part of this whole project. The slightest offset would change how the exhaust hung and how it looked against the tail fairing. I literally spent 4 nights working on these, bending the metal just right, then duplicating it.
I will sink another smaller screw in there to lock their position into the frame.
The end result

The lower support bar is inline with the exhaust pipes, making it very hard to see, and when i create my side cover fairings, you wont see the dirty job i did attaching it to my frame.
the benefit to this new support, is it gave me more room to adjust how the fairing and exhaust lined up, and the pipes are adequately away from anything that would be affected by heat. I'm taking it to my bike guy to have some pipes welded together to join it all up. Only taken me two years to get to this point
Flipping the R/R
I noticed on a test ride, that the seat got a little warm. I speculated that the RR was allowing the heat to travel up and not be dispersed by the heat spreader.

So i flipped it around. Not as easy as it sounds.

we'll see if that actually makes a difference. Heat travels up, makes sense to me.
Rebuilding the lower support bar
I must have built 3 of these things before coming to the design I did.
One of the challenges is that the battery now has a harder time getting into the battery box because of the modification. It does go in, it's just really tight. I will fiberglass in the cuts i made, since it would allow more water/tire spray into it now. I will fab something on the bottom or underside of the new lower support, which will extend the length of the tail.
Creating more difference in brightness in the brake/running light
I noticed these cheap aftermarket LED brakes are no where near as bright as the OEM, using different LED's.
So, I was surfing around and knew of a company called Custom Dynamics. They do all sorts of LED products for bikes. One of the products, TruFlex, uses really tightly placed LED's in a waterproof shield.
But because of the shape of the tail, i was concerned about wrapping the strip around it to create a LED brake/running strip.
I spent 4 days with their tech and customer support, and my experience was nothing short of superb!
I sent them some mockups of what I wanted, and their tech made the LED strip to spec.
The problem with the tail of the YZFR1, is that it comes to a point, and their strips are flexible, but just not that flexible. I divised a way to use two strips, and mount them in such a way as to give the appearance of a single strip.
In order to accomplish this, I needed extra material at the end of the led strip, without an end cap as they call it.
My first attempt at mounting the strips was dismal. the shape of the tail fairing was not only round, but also tapered down, giving the tape on the back of the LED strip not a lot to hold onto.
My mom gave me some of that formable putty stuff that would harden, so i used that to build up the tail, giving me enough surface area to tape the LED onto.

I shaped the material for about an hour, smoothing it, making sure it was just enough to cover the strips backing tape. I let the stuff cure for a day, then came back with a sharp x-acto knife, smoothing the surface down, and cutting off extra material.
After, i taped one strip down, so i knew where to make my angled "cut".

This was scary as ****, a bad cut would ruin the join at the point of the fairing.
But after an hour of so of moving and positioning, i got both strips installed, glued the tips together, and voila.
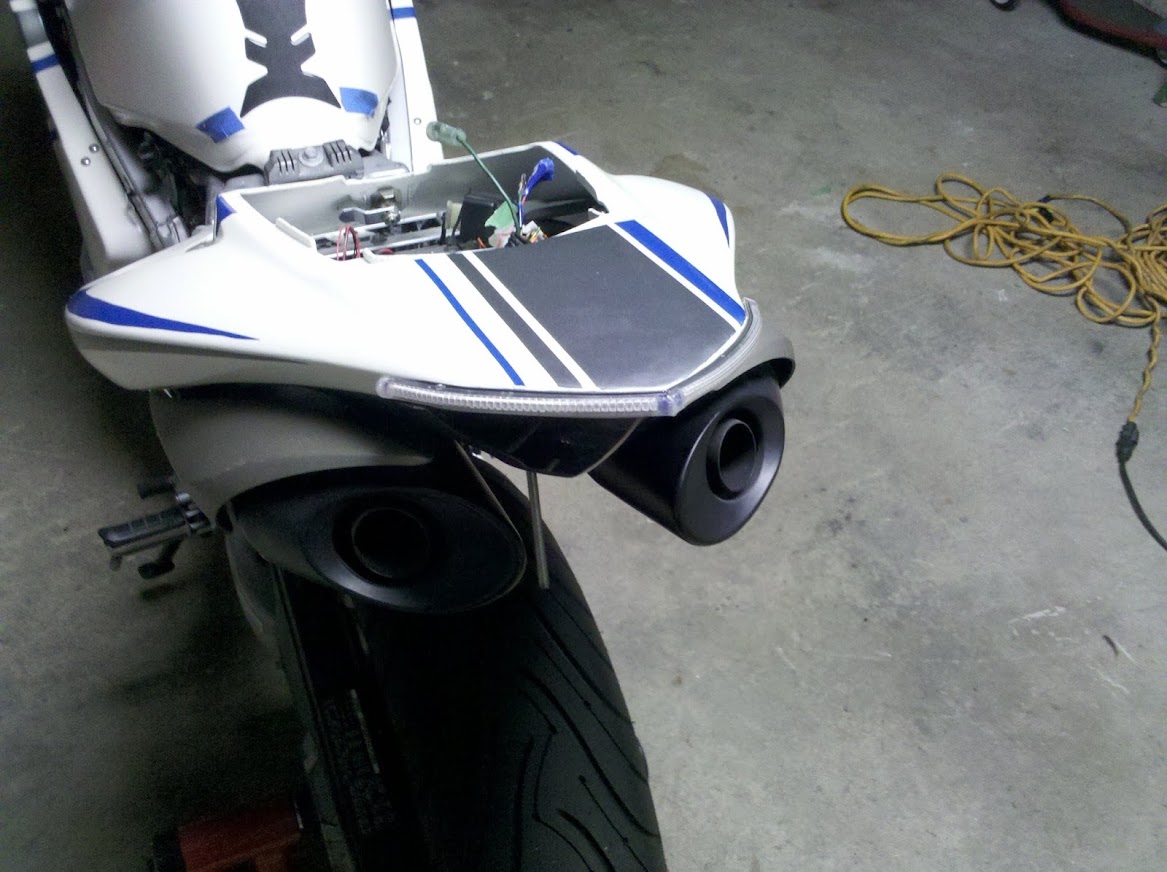
Routing the wiring

End result.

This is at 1am, no lights on. These things are bright and its a cool effect.
I chose to disable the running light on the brake and instead used the LED strips for both running and brake. But I did use the main brake light for the actual brake light portion too. This way, there is little doubt that I am braking.

Mounted my licence plate -> done!
I will add some LED plate lights at a later time. I want to move the plate back down under the tail more.
So, that's my update. Next is getting the passenger seat mounted and to take the bike for a long ride to ensure the new RR works, keeps cool and then get the exhaust pips welded and installed.
Well, a couple weeks have gone by, i've yet to ride the bike after the old R/R died on me, and the tower caused my bike to tip sideways.
I thought I would take the time to do the things I've been needing to do:
1 - remount the exhaust hangers so that the YZF-R1 exhaust line up cleanly with the rear tail fairings.
2 - flip the new R/R so that the heat spreaders are facing up.
3 - rebuild the rear lower support bar
4 - create more difference in brightness between my running brake light and the actual brake light.
Remounting the exhaust hangers.
One of the issues in the past was that the way i constructed the tail subframe. The lower support bar was mounted to the bikes central frame under the battery box. The issue here is that when I hung the exhausts, they would collide with this lower support bar, preventing me from getting a nice clear alignment of the exhaust and the tail fairings.
This is a shot of the newly assembled tail subframe. It's not welded since I cannot weld. but used 1/4" bolts with vibration lock nuts to keep it all together.
This is a blurry photo of the second version of my lower support bar. I used L brackets connected to 1" steel square tubing.
This is a better shot, positionally anyhow.
The right exhaust pipe would hit this chunk of frame, and would stop me from getting everything just right.
I had to figure out where to mount this bar, as it was needed to keep the tail from becoming too flexible.
It came to me after a while, that if i moved the bar up, to sit right under the battery box, It would give me the clearance needed.
I had to sacrifice the battery box a bit to get this to work, but in the end it turned out pretty good.
The benefit to mounting the bar here is that it has good corner support, and i can tighten the tail section quite a bit by just tightening the bolts here.
You can see there is a gap between the frame and the square tubing, this gives me room to crank up how tight the lower subframe becomes, since it pulls down on the end of the frame.
You can see at the very end of the frame, where i have created a metal bar that dips down, this connects to the lower square tubing. So but tightening the tubing against the frame, pulls the tail down a bit, giving it some tension and preventing vibration.
Once I had somewhat decided the subframe (but before frabbing it) I needed to make new exhaust hangers. The old ones were just crap.
I had thought by supporting them this way, I would have more control over the exhaust position. I was wrong and it was just too complicated to adjust, and would come loose.
This is what I came up with.
A little simpler, and a lot more sturdy. I hand bent these 1/8th steel strips (used for home construction). This, by far and wide, was the hardest part of this whole project. The slightest offset would change how the exhaust hung and how it looked against the tail fairing. I literally spent 4 nights working on these, bending the metal just right, then duplicating it.
I will sink another smaller screw in there to lock their position into the frame.
The end result
The lower support bar is inline with the exhaust pipes, making it very hard to see, and when i create my side cover fairings, you wont see the dirty job i did attaching it to my frame.
the benefit to this new support, is it gave me more room to adjust how the fairing and exhaust lined up, and the pipes are adequately away from anything that would be affected by heat. I'm taking it to my bike guy to have some pipes welded together to join it all up. Only taken me two years to get to this point
Flipping the R/R
I noticed on a test ride, that the seat got a little warm. I speculated that the RR was allowing the heat to travel up and not be dispersed by the heat spreader.
So i flipped it around. Not as easy as it sounds.
we'll see if that actually makes a difference. Heat travels up, makes sense to me.
Rebuilding the lower support bar
I must have built 3 of these things before coming to the design I did.
One of the challenges is that the battery now has a harder time getting into the battery box because of the modification. It does go in, it's just really tight. I will fiberglass in the cuts i made, since it would allow more water/tire spray into it now. I will fab something on the bottom or underside of the new lower support, which will extend the length of the tail.
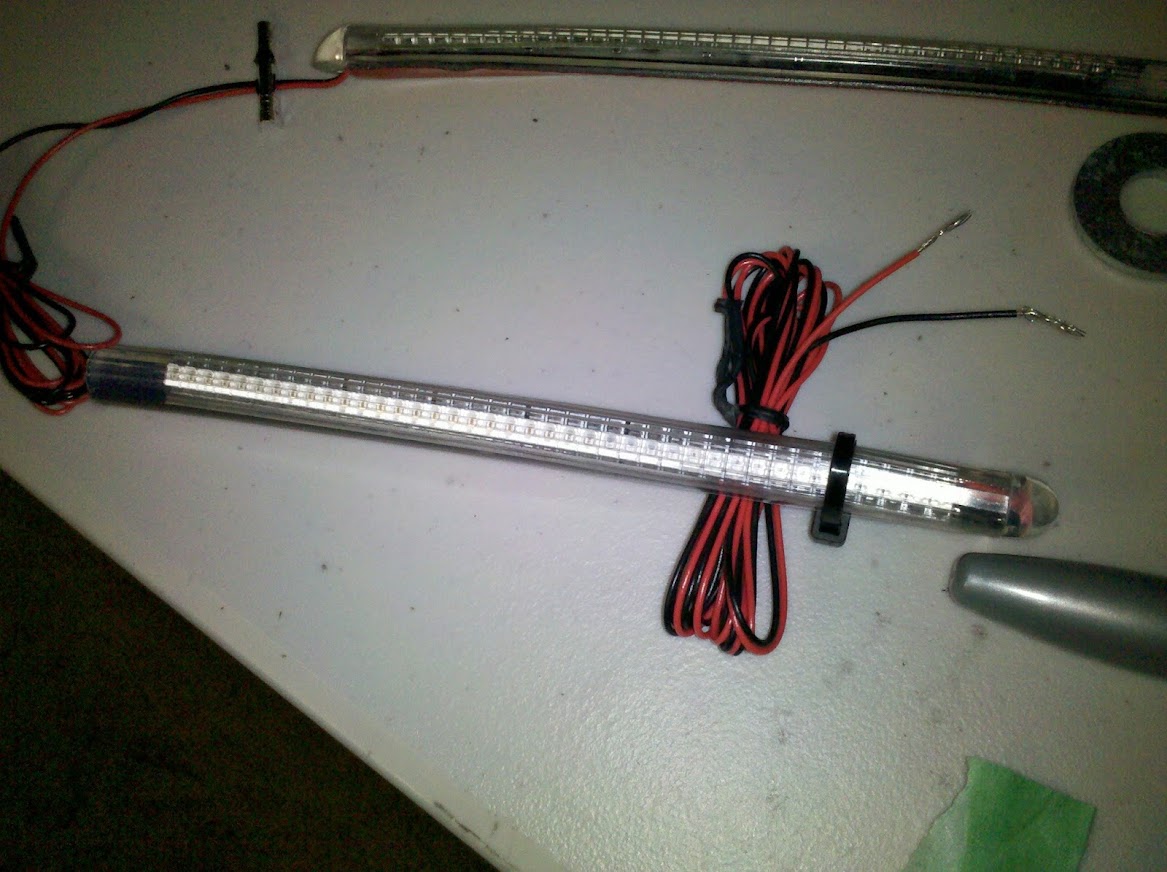
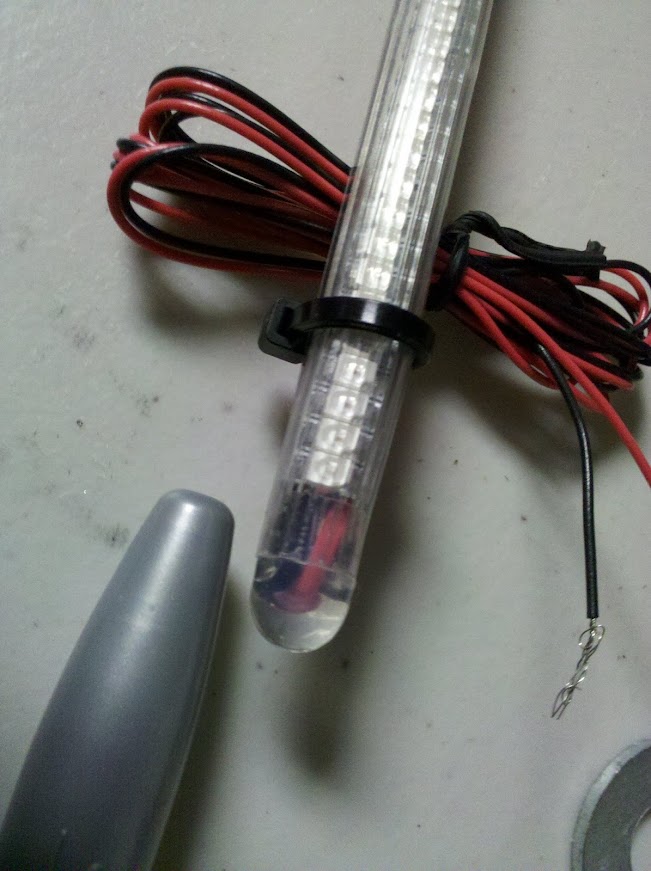
Creating more difference in brightness in the brake/running light
I noticed these cheap aftermarket LED brakes are no where near as bright as the OEM, using different LED's.
So, I was surfing around and knew of a company called Custom Dynamics. They do all sorts of LED products for bikes. One of the products, TruFlex, uses really tightly placed LED's in a waterproof shield.
But because of the shape of the tail, i was concerned about wrapping the strip around it to create a LED brake/running strip.
I spent 4 days with their tech and customer support, and my experience was nothing short of superb!
I sent them some mockups of what I wanted, and their tech made the LED strip to spec.
The problem with the tail of the YZFR1, is that it comes to a point, and their strips are flexible, but just not that flexible. I divised a way to use two strips, and mount them in such a way as to give the appearance of a single strip.
In order to accomplish this, I needed extra material at the end of the led strip, without an end cap as they call it.
My first attempt at mounting the strips was dismal. the shape of the tail fairing was not only round, but also tapered down, giving the tape on the back of the LED strip not a lot to hold onto.
My mom gave me some of that formable putty stuff that would harden, so i used that to build up the tail, giving me enough surface area to tape the LED onto.
I shaped the material for about an hour, smoothing it, making sure it was just enough to cover the strips backing tape. I let the stuff cure for a day, then came back with a sharp x-acto knife, smoothing the surface down, and cutting off extra material.
After, i taped one strip down, so i knew where to make my angled "cut".
This was scary as ****, a bad cut would ruin the join at the point of the fairing.
But after an hour of so of moving and positioning, i got both strips installed, glued the tips together, and voila.
Routing the wiring
End result.
This is at 1am, no lights on. These things are bright and its a cool effect.
I chose to disable the running light on the brake and instead used the LED strips for both running and brake. But I did use the main brake light for the actual brake light portion too. This way, there is little doubt that I am braking.
Mounted my licence plate -> done!
I will add some LED plate lights at a later time. I want to move the plate back down under the tail more.
So, that's my update. Next is getting the passenger seat mounted and to take the bike for a long ride to ensure the new RR works, keeps cool and then get the exhaust pips welded and installed.
Last edited by nvanvlymen; Jul 12, 2013 at 09:41 AM.
Update! its been a while, the bike has just been sitting around mostly.
I got my exhaust all welded up. Looks pretty good, sounds even better.


stainless steel. Done in one day. that was the kicker. I wish i knew the guy before the fiasco a month ago.
If anyone is in the Toronto Canada Area, look this guy up, OneSpeed, Trevor Daily. Fabulous work. Price was what I expected. the one day job was not!
Now i have to get used to the bike sounding "normal" again.
Of course, now that everything has been mechanically completed on the bike, I can get to work making the new side covers, moving the R/R because it's cooking my ****! just too close to the seat and a new coat of paint in the winter.
Then, the bike will be done. woot.
I got my exhaust all welded up. Looks pretty good, sounds even better.
stainless steel. Done in one day. that was the kicker. I wish i knew the guy before the fiasco a month ago.
If anyone is in the Toronto Canada Area, look this guy up, OneSpeed, Trevor Daily. Fabulous work. Price was what I expected. the one day job was not!
Now i have to get used to the bike sounding "normal" again.
Of course, now that everything has been mechanically completed on the bike, I can get to work making the new side covers, moving the R/R because it's cooking my ****! just too close to the seat and a new coat of paint in the winter.
Then, the bike will be done. woot.
Last edited by nvanvlymen; Aug 31, 2013 at 10:38 PM.


Welcome Crew and ROTY 2014
Joined: Dec 2010
Posts: 2,059
Likes: 6
From: Kansas
Yeah, when following the pics URLs, we get a 403 error, which means we're forbidded to see them - that's 'cuz they're in dropbox, and it's your account, but we don't have persmission to access, blah, blah, blah! 
I thinkg dropbox stopped supporting public folders, or something of the like - don't know for sure, I've never used dropbox... anyway, you'll have to get them on a publicly viewable image hosting site.
I'm anxious to see what you got going on!
I thinkg dropbox stopped supporting public folders, or something of the like - don't know for sure, I've never used dropbox... anyway, you'll have to get them on a publicly viewable image hosting site.
I'm anxious to see what you got going on!
Thanks for letting me know about the links. I thought i would try dropbox, but obviously it's not going to work.
Anyhow, the funny story here is that when the mechanic started the bike the first time after the exhaust was installed, the muffler blew out a chunk of feathers. apparently, after all the time not being used, something was living in one of them. A bird, brown feathers. small enough to get in there.
The lot where the bike was was littered with the feathers. pretty funny. just not for the bird i suppose.
Next I will be re-fabing my side covers. Came up with a good concept to keep the lines of the bike flowing.
I also have to move the R/R still, cooking the seat. More pics to come.