
Conrice's 954 FIGHTER build thread


Sept 2014 ROTM
Joined: Jan 2013
Posts: 308
Likes: 0
I wouldn't allso worry about the bottom end. Just the valve springs. Well the red fighter 954 has Koso RX1. It doesn't have the MIL light but you can connect a led or a bulb to those wires. One time the guy whit the red fighter temporarily wired the MIL light wires to Kosos oil pressure light to blink the codes out.
I found many monoblock allso for about 40$ when i browsed ebay little while ago.
I'm kind of tempted to buy a intake cam from the 11-----> 1000RR and try if it has the same spacing. I read somewhere that the new 1000RR should have same bore spacing as the old 1000RR.
I know what you mean by wanting to riding. I'm missing few parts and waiting for the fairings to dry because they are just painted. Few weeks and it's finished for this summer.
Last edited by mika_u; Apr 25, 2014 at 01:01 PM.

Thread Starter
|
Retired Super Moderator and Fighterer
Joined: Nov 2006
Posts: 6,146
Likes: 37
I wouldn't allso worry about the bottom end. Just the valve springs. Well the red fighter 954 has Koso RX1. It doesn't have the MIL light but you can connect a led or a bulb to those wires. One time the guy whit the red fighter temporarily wired the MIL light wires to Kosos oil pressure light to blink the codes out.
I found many monoblock allso for about 40$ when i browsed ebay little while ago.
I'm kind of tempted to buy a intake cam from the 11-----> 1000RR and try if has the same spacing. I read somewhere that the new 1000RR should have same bore spacing as the old 1000RR.
I know what you mean by wanting to riding. I'm missing few parts and waiting for the fairings to dry because they are just painted. Few weeks and it's finished for this summer.
I believe, IIRC, that all of the 1000rrs (along with the 954) have 80-80-80mm spacing, so yeah, a new intake cam *should* slide right in there.
Last edited by Conrice; Apr 25, 2014 at 01:05 PM.
Thread Starter
|
Retired Super Moderator and Fighterer
Joined: Nov 2006
Posts: 6,146
Likes: 37
So remember all of that s1000rr tail stuff?
Yeah - as per usual - forget all that.
All though, I will say this, it's funny how it comes full circle. I originally wanted to use the 08+ 1000rr tail... So there's that. And instead of doing a lot of talking... I'll just post pictures.


Basically, I need to cut 1-2 inches off of the front of the seat, and it'll fit.
Then I need to make an adapter plate/mount for the front tab on the subframe.
And then it's done. It shouldn't take too long now. Again, blurry pics, sorry, but that's all I could manage.
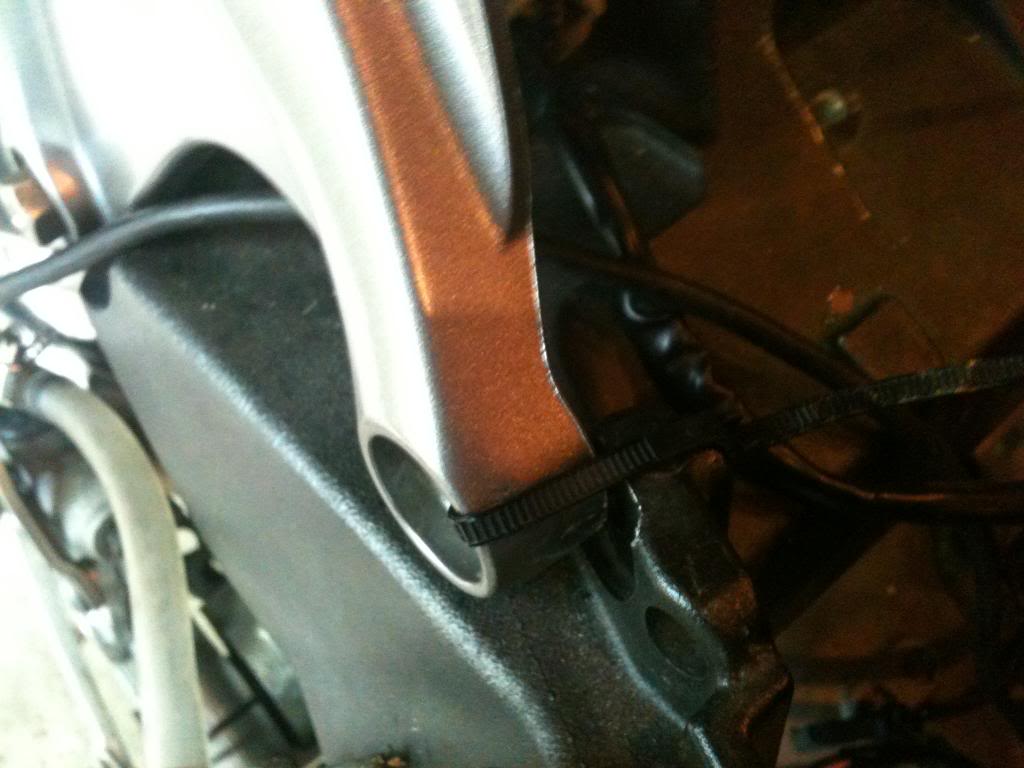
Also, I've got the new Hall sensor mounted for my cam sensor - and it's mounted right at spec (air gap), so it should work flawlessly. And I've also been working on some other parts of the wiring - converting plugs, lengthening/shortening parts of it, etc. Most stuff so far has gone according to plan as far as the wiring, no real surprises.
Yeah - as per usual - forget all that.
All though, I will say this, it's funny how it comes full circle. I originally wanted to use the 08+ 1000rr tail... So there's that. And instead of doing a lot of talking... I'll just post pictures.


Basically, I need to cut 1-2 inches off of the front of the seat, and it'll fit.
Then I need to make an adapter plate/mount for the front tab on the subframe.
And then it's done. It shouldn't take too long now. Again, blurry pics, sorry, but that's all I could manage.
Also, I've got the new Hall sensor mounted for my cam sensor - and it's mounted right at spec (air gap), so it should work flawlessly. And I've also been working on some other parts of the wiring - converting plugs, lengthening/shortening parts of it, etc. Most stuff so far has gone according to plan as far as the wiring, no real surprises.

Member
Joined: May 2012
Posts: 93
Likes: 0
And you can make that adapter a bit on the long side to drop the angle of the tail a bit AND get the line of the subbie to match the bottom of that gsx tank too.
Getting an almost factory fit/look from a pile of parts, which is always really fkn impressive
You happen to have measurements of the width of the mounting points for that tail?
Getting an almost factory fit/look from a pile of parts, which is always really fkn impressive
You happen to have measurements of the width of the mounting points for that tail?
Thread Starter
|
Retired Super Moderator and Fighterer
Joined: Nov 2006
Posts: 6,146
Likes: 37
And you can make that adapter a bit on the long side to drop the angle of the tail a bit AND get the line of the subbie to match the bottom of that gsx tank too.
Getting an almost factory fit/look from a pile of parts, which is always really fkn impressive
You happen to have measurements of the width of the mounting points for that tail?
Getting an almost factory fit/look from a pile of parts, which is always really fkn impressive
You happen to have measurements of the width of the mounting points for that tail?
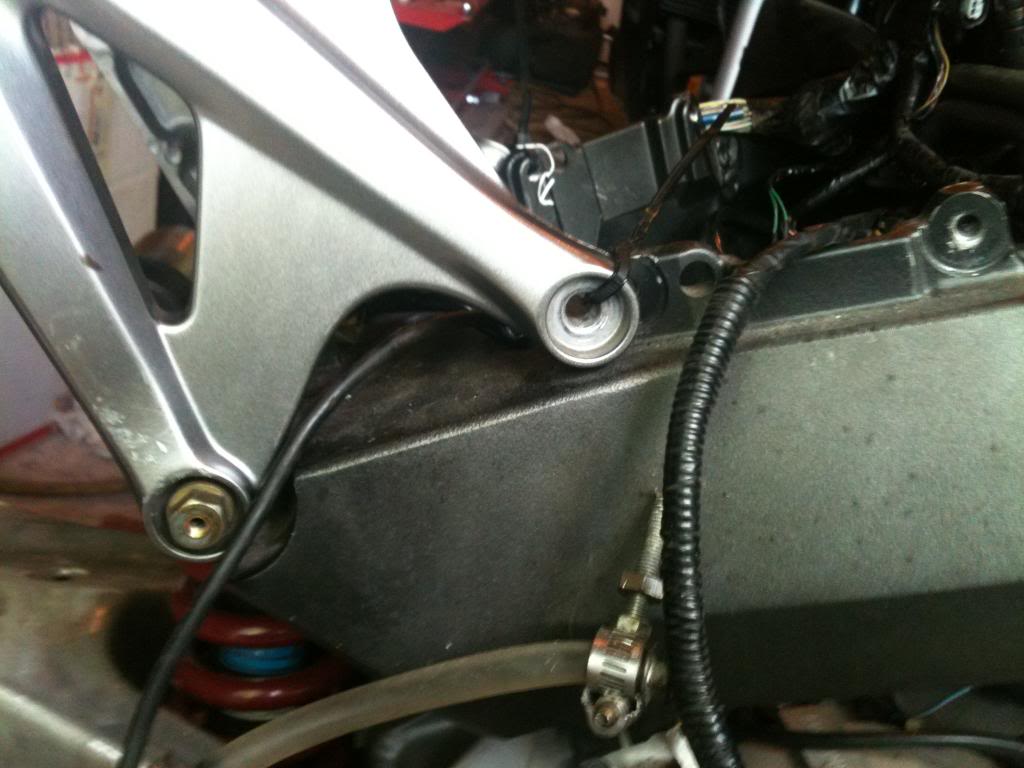
As soon as I get the bracket that comes across and get the thing squared on there - I'll give you those measurements.
Yeah, I'm going to make the bottom of the tank line up with the subframe. I just zip-tied it to get a feel for it.
I live out in the middle of nowhere, so I'm trying to find a place somewhat close that I can get about a 2inx1inx6 inch block of aluminum that I can make the mount bracket out of.
edit: Oh, and I have to bob some stuff off of the subframe, and then the tank about sits 1/2 inch further back and lines up better, where I originally had it (but for the first pics - it didn't work) - I also have to make an adapter to hold the back of the gas tank.
Last edited by Conrice; May 15, 2014 at 10:25 AM.
Thread Starter
|
Retired Super Moderator and Fighterer
Joined: Nov 2006
Posts: 6,146
Likes: 37
Okay. So I got the frame bobbed enough to mount the subframe to sit flush, and then I decided to shorten the seat and mount it.
Here's the seat (it's about how much I needed to take off)
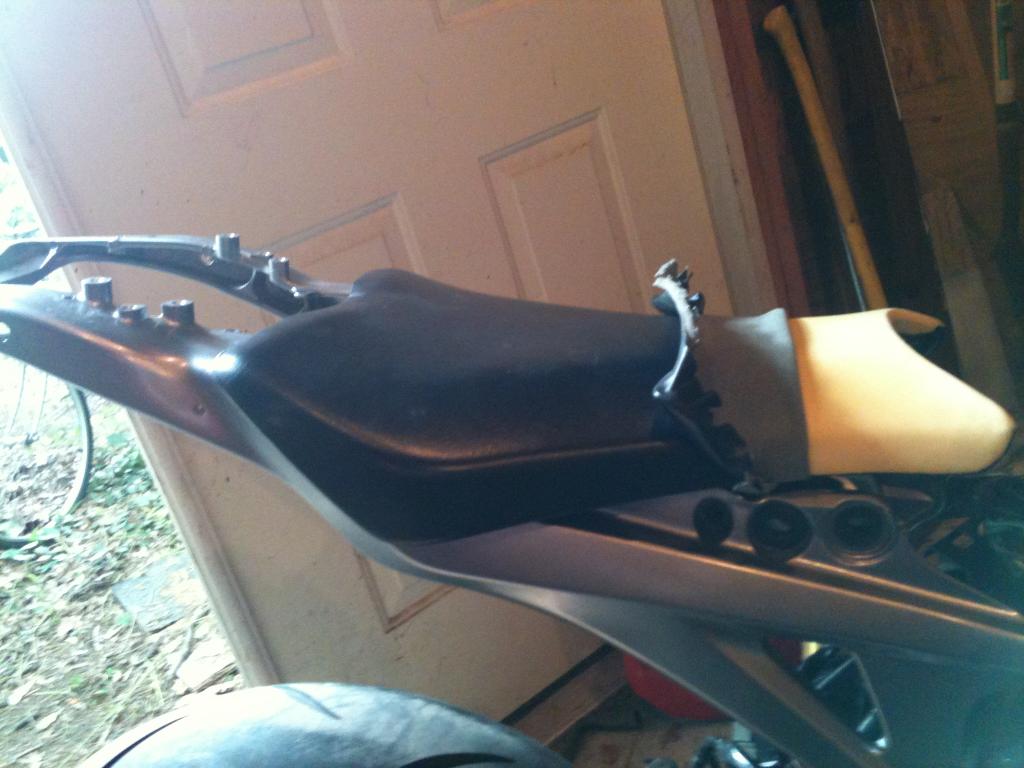
And after a little while of cutting, re-cutting, adding foam, trimming foam, shaping the plastic seat pan, etc - here's what I have. My wife took the HD stapler to work with her, so the seat cover is just tucked up to show what I have. Once she brings that home in a day or two, I'll staple it up and the seat will actually look even.

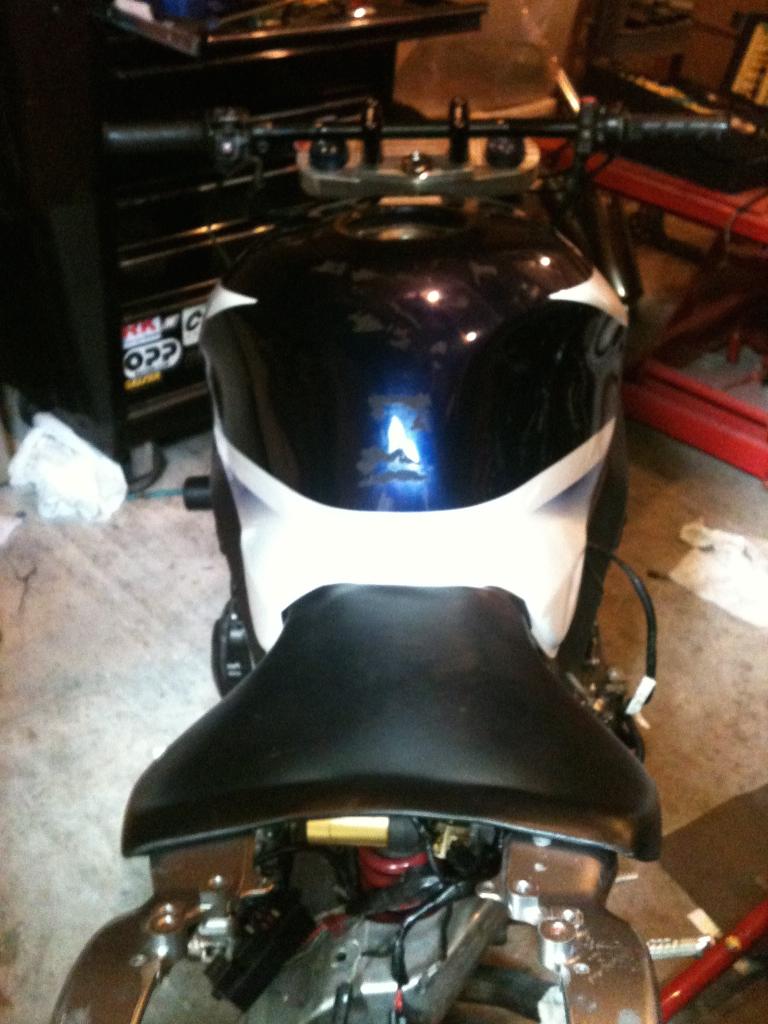
I'm pretty happy with it.
Thread Starter
|
Retired Super Moderator and Fighterer
Joined: Nov 2006
Posts: 6,146
Likes: 37
Oh, and I found a set of calipers for $10! They're not mono-block, but they'll work for now. That's something I can easily change down the line when money becomes more readily available.
Thread Starter
|
Retired Super Moderator and Fighterer
Joined: Nov 2006
Posts: 6,146
Likes: 37
I'd love to give them to you. If you look closely, there's actually 8 holes (looks like 6) up front that the front of the fairing could mount to.
I don't want to give you guys the wrong holes, thus the wrong measurements.
I sort of assumed I'd be able to find the plates,latches, and battery tray by now (then I'd know). But the cheapest 'used' stuff on ebay is more expensive than new OEM parts from ronayers...
It's really frustrating.
I don't want to give you guys the wrong holes, thus the wrong measurements.
I sort of assumed I'd be able to find the plates,latches, and battery tray by now (then I'd know). But the cheapest 'used' stuff on ebay is more expensive than new OEM parts from ronayers...
It's really frustrating.

Retired Super Moderator, Tin Star Man & Hurricane Saloon Prospect, ROTM Feb 2015
Joined: Sep 2011
Posts: 2,382
Likes: 5
From: V��ksy, Finland
Been meaning to subscribe to this like a 100 times but never have gotten around to actually do it. Well, am now and I must say you`re doing a very impressive job!