
'93 600 Fighter project


April 2011 Ride of the Month
Joined: Jul 2009
Posts: 5,686
Likes: 0
man you need to hurry your ace up haha im impatient...
on a side note if you get tired of the koso meter...
check out Vapor's digital meter, fraction of the cost and all digital... was gonna get one for my f4i but parted the bike
on a side note if you get tired of the koso meter...
check out Vapor's digital meter, fraction of the cost and all digital... was gonna get one for my f4i but parted the bike
Thread Starter
|
July 2011 ROTM
Joined: May 2010
Posts: 223
Likes: 8
From: Hampton Roads, VA
the koso was about $200. the only thing i dont like is the digital tach, which the vapor wouldnt be able to top. i may get a stand-alone tach.
made the mount today.. pictures soon.
Thread Starter
|
July 2011 ROTM
Joined: May 2010
Posts: 223
Likes: 8
From: Hampton Roads, VA
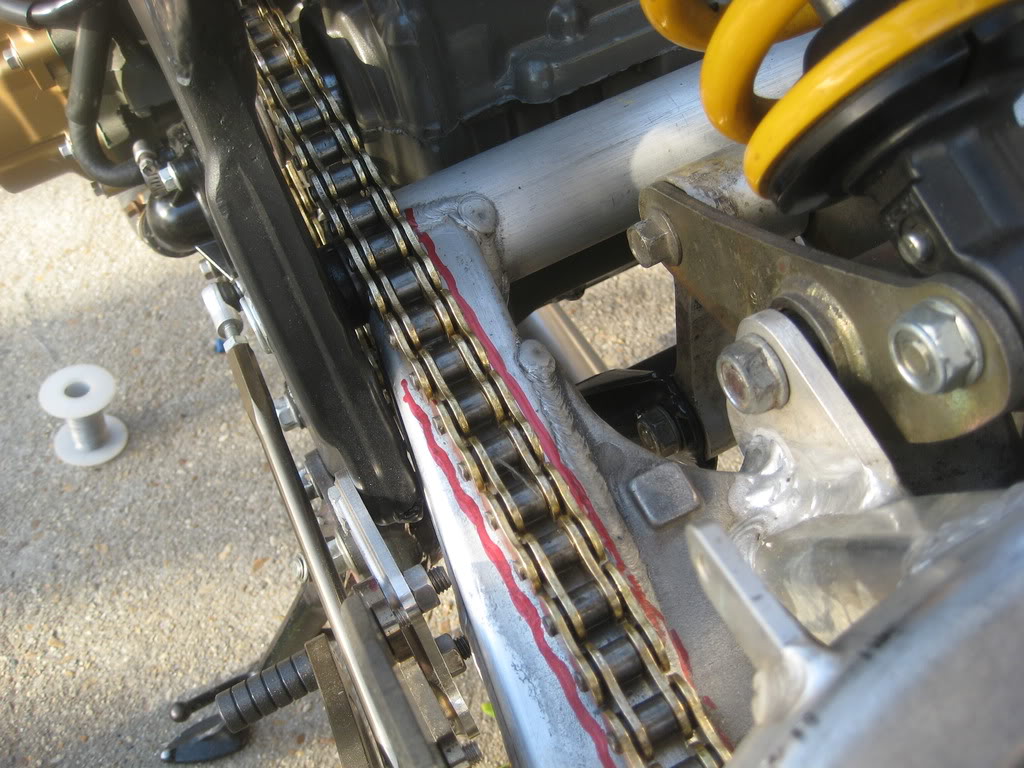
I have been planning my chain slider..
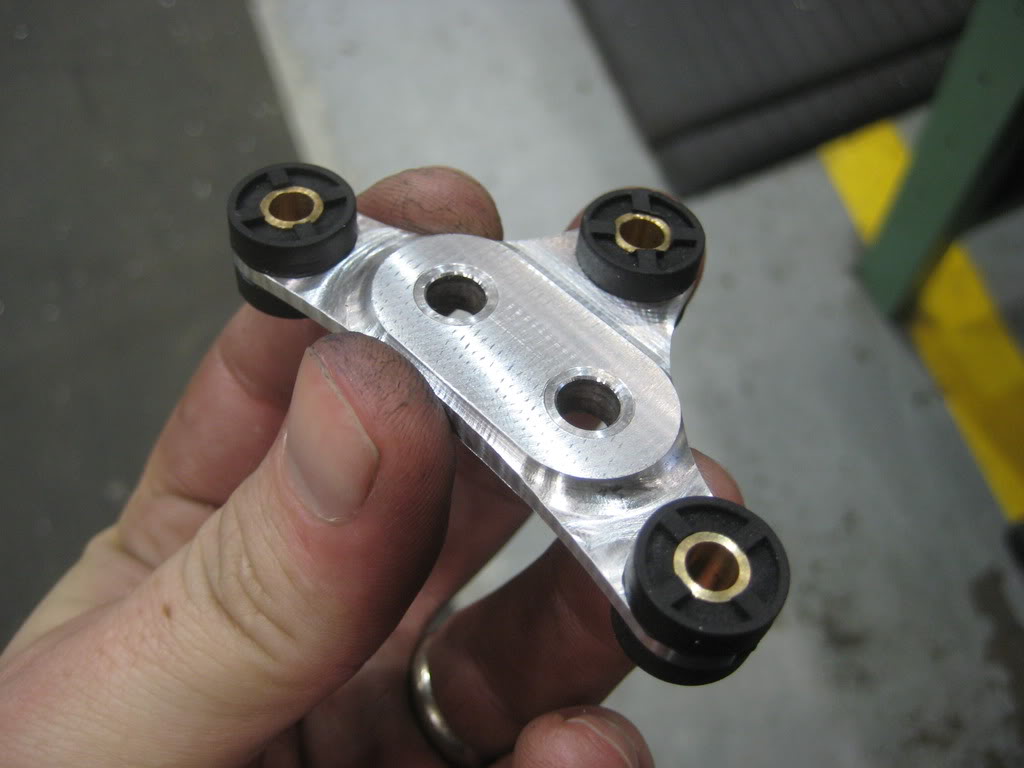
and got a prototype of the speedo mount
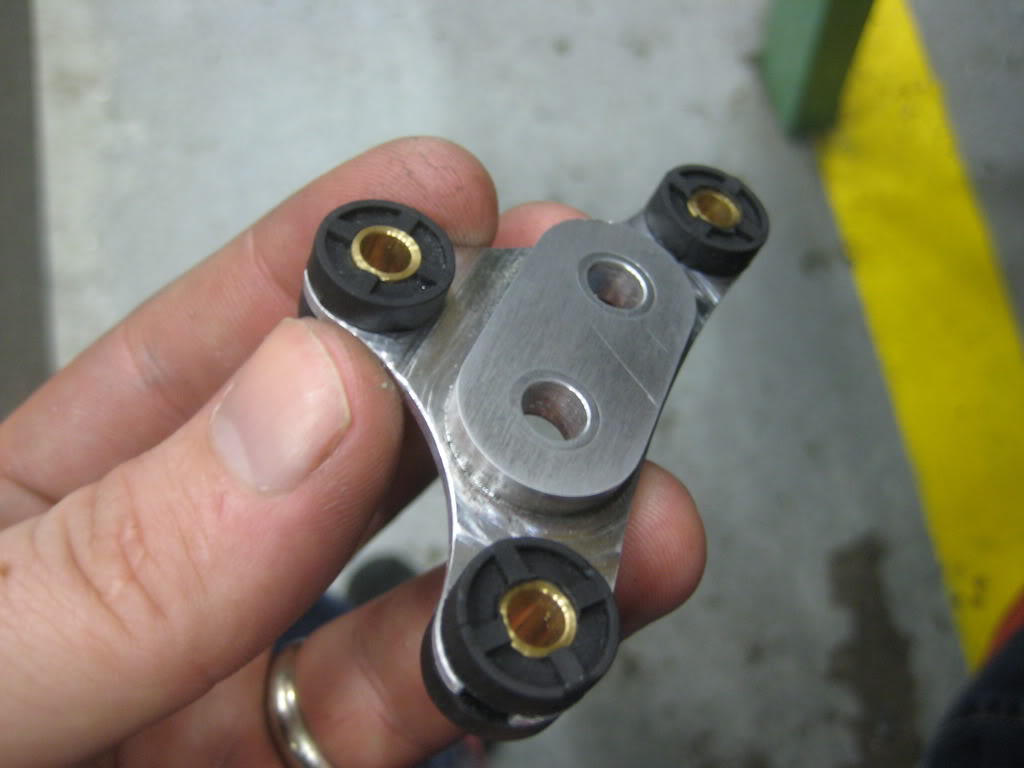
then finalized the design.
and mounted it to the triple
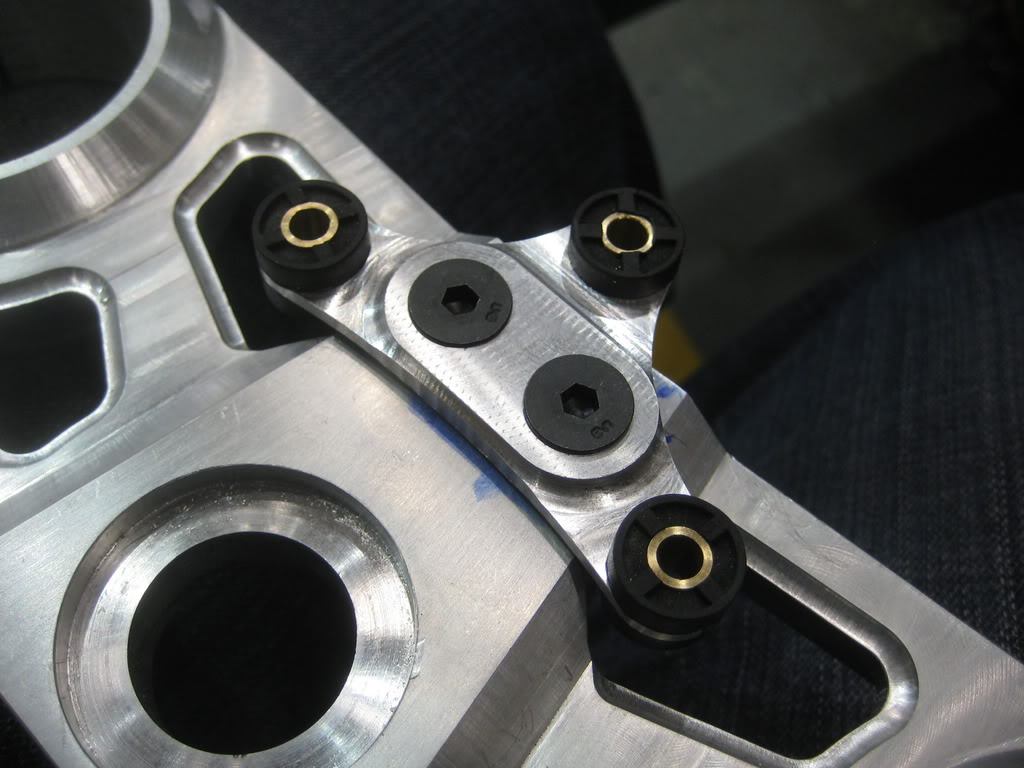
it is a pain to get the speedometer on there, but it is rock solid once you do.
and got a prototype of the speedo mount
then finalized the design.
and mounted it to the triple
it is a pain to get the speedometer on there, but it is rock solid once you do.

Thread Starter
|
July 2011 ROTM
Joined: May 2010
Posts: 223
Likes: 8
From: Hampton Roads, VA
thanks dude! i really enjoy it.
and...little bit of a teaser...
got all my parts back from anodizing...
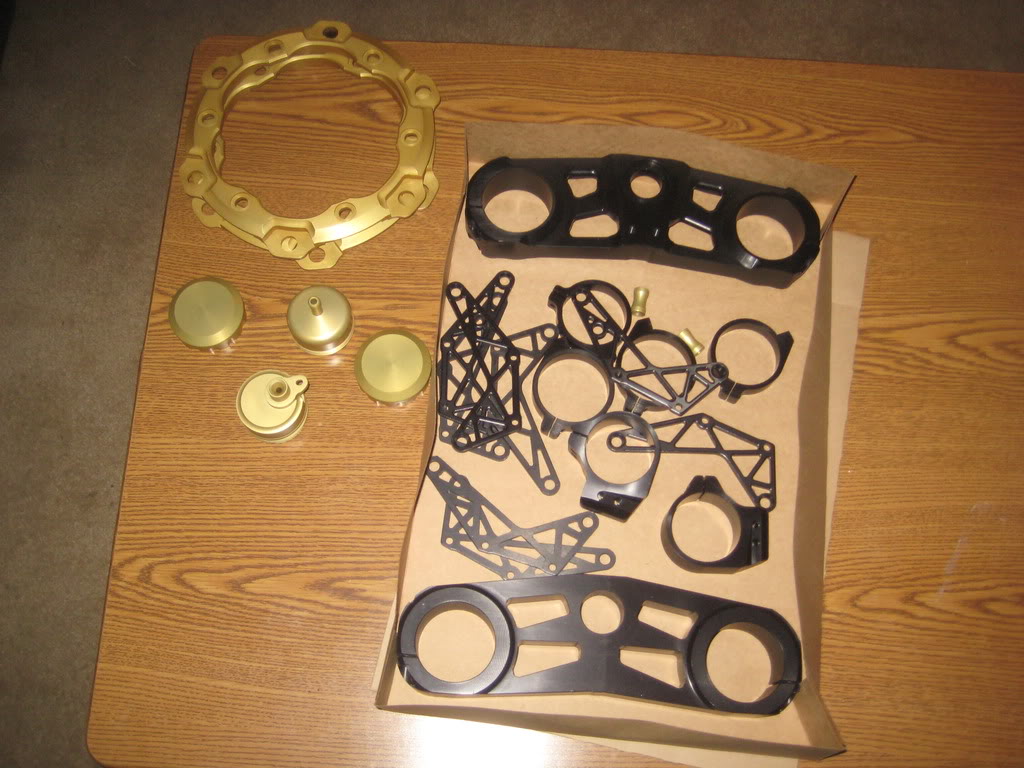
also.. painting the wheels at lunch time.
and...little bit of a teaser...
got all my parts back from anodizing...
also.. painting the wheels at lunch time.

Thread Starter
|
July 2011 ROTM
Joined: May 2010
Posts: 223
Likes: 8
From: Hampton Roads, VA
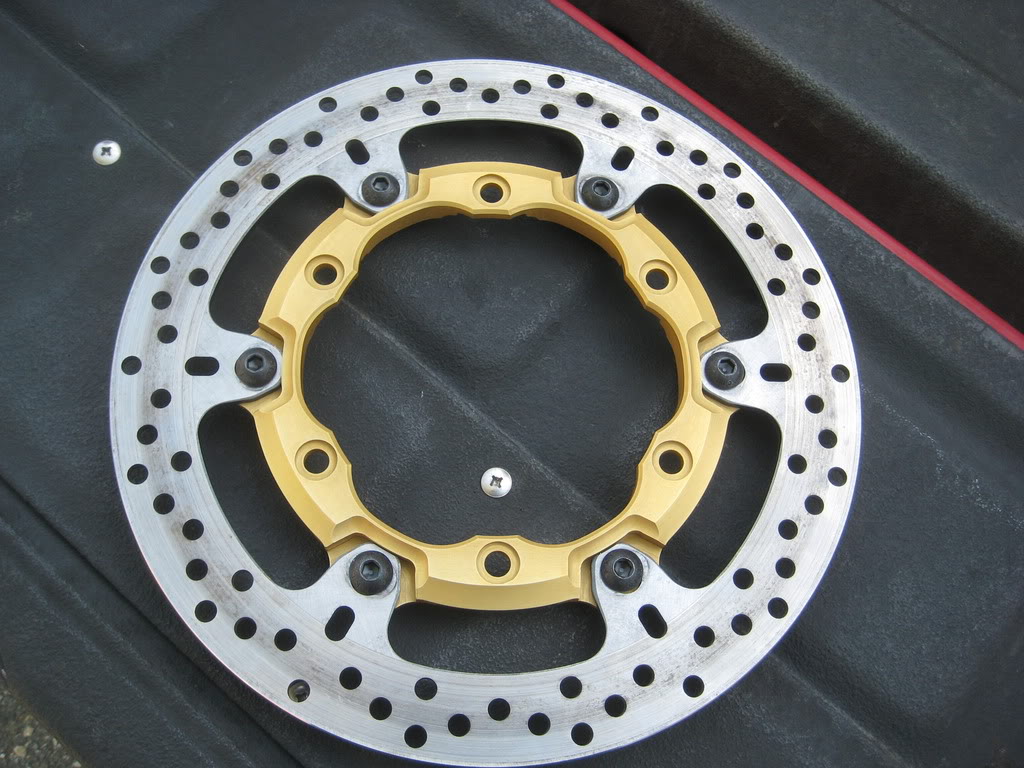
what happens when you are a cheap-skate and wont buy 12 $4 a-piece sholder bolts?
you make them yourself!
the hardware is 18-8 stainless with a pressed on alloy shoulder, and the nut tightens up 0.03" from the shoulder.
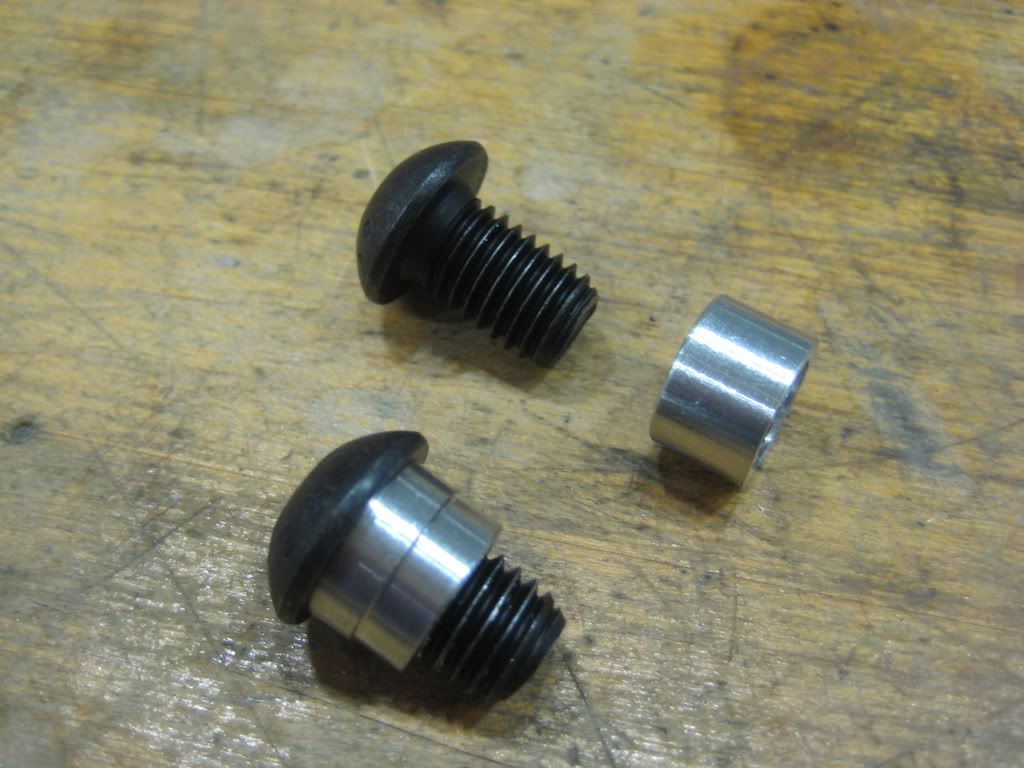
the shoulder is a 0.005" slip fit for the holes in the adapter and the rotors for zero shift or rattle. even without the nuts it wont rattle or shift. very happy with it.
more soon!
~Chris
you make them yourself!
the hardware is 18-8 stainless with a pressed on alloy shoulder, and the nut tightens up 0.03" from the shoulder.
the shoulder is a 0.005" slip fit for the holes in the adapter and the rotors for zero shift or rattle. even without the nuts it wont rattle or shift. very happy with it.
more soon!
~Chris
Thread Starter
|
July 2011 ROTM
Joined: May 2010
Posts: 223
Likes: 8
From: Hampton Roads, VA
haha... glad you like it...
I decided to paint the wheels because it am too cheap to pay to get them powder coated and the ovens i thought i had access to cant be used for powder coating because of the fumes. soo...
wheel painting in progress. used a two part epoxy primer as the base (for resilience) and will be spraying 2-part epoxy clear in a hour.
before:

after:

I decided to paint the wheels because it am too cheap to pay to get them powder coated and the ovens i thought i had access to cant be used for powder coating because of the fumes. soo...
wheel painting in progress. used a two part epoxy primer as the base (for resilience) and will be spraying 2-part epoxy clear in a hour.
before:
after:

Member
Joined: Sep 2010
Posts: 84
Likes: 0
From: Los Angeles
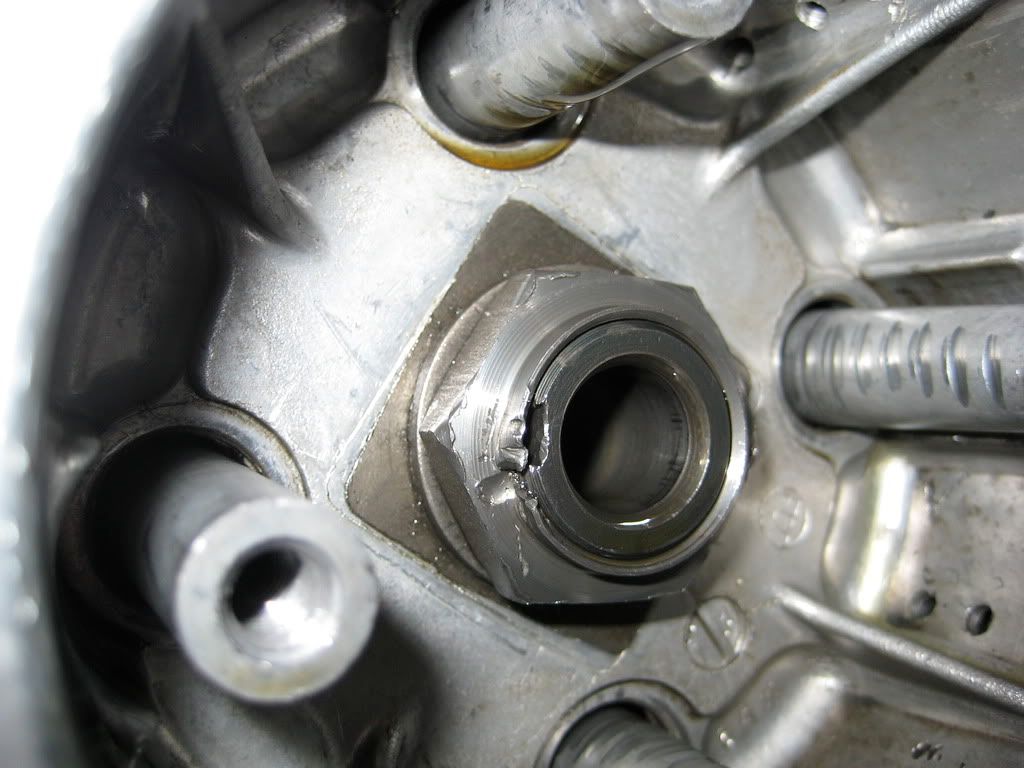
I have to ask though, since I'm going through this portion of it myself, how in the world did you loosen this bolt? (The lock nut holding down the clutch center).
I used a 100 ft-lb impact driver and it wouldn't budge.

