


My 93 F2 project begins!

Senior Member
Joined: May 2010
Posts: 1,753
Likes: 3
From: West Monroe,Louisiana

I see oil seals in both of the legs you posted pictures of.
Yes the F3 forks are damper style - so they come apart as a unit like they did for you.
bear in mind - I think there are incompatibility issues with the F3 lower legs, and the F2 brake mounting. From what i've read, you'll need to move to a F3 brake/wheel setup (and lose your speedo) or use F2 lower legs and the F3 internals.
There's a writeup around here somewhere.
Yes the F3 forks are damper style - so they come apart as a unit like they did for you.
bear in mind - I think there are incompatibility issues with the F3 lower legs, and the F2 brake mounting. From what i've read, you'll need to move to a F3 brake/wheel setup (and lose your speedo) or use F2 lower legs and the F3 internals.
There's a writeup around here somewhere.
Welcome Crew
Joined: Feb 2013
Posts: 688
Likes: 1
From: Waycross, Ga
I just did this on my 94 f2 forks. I believe 94 f2 and f3 forks are the same design. They sure look the same. That being said, yes the spring assembly can come out as a unit. However I seperated mine, removed the spring and then used the sanchion as a slide hammer of sorts to remove my seals. Mine had a washer looking piece on it that kept the stanchion from being removed without the seal being removed first.


Welcome Crew and ROTY 2014
Joined: Dec 2010
Posts: 2,059
Likes: 6
From: Kansas
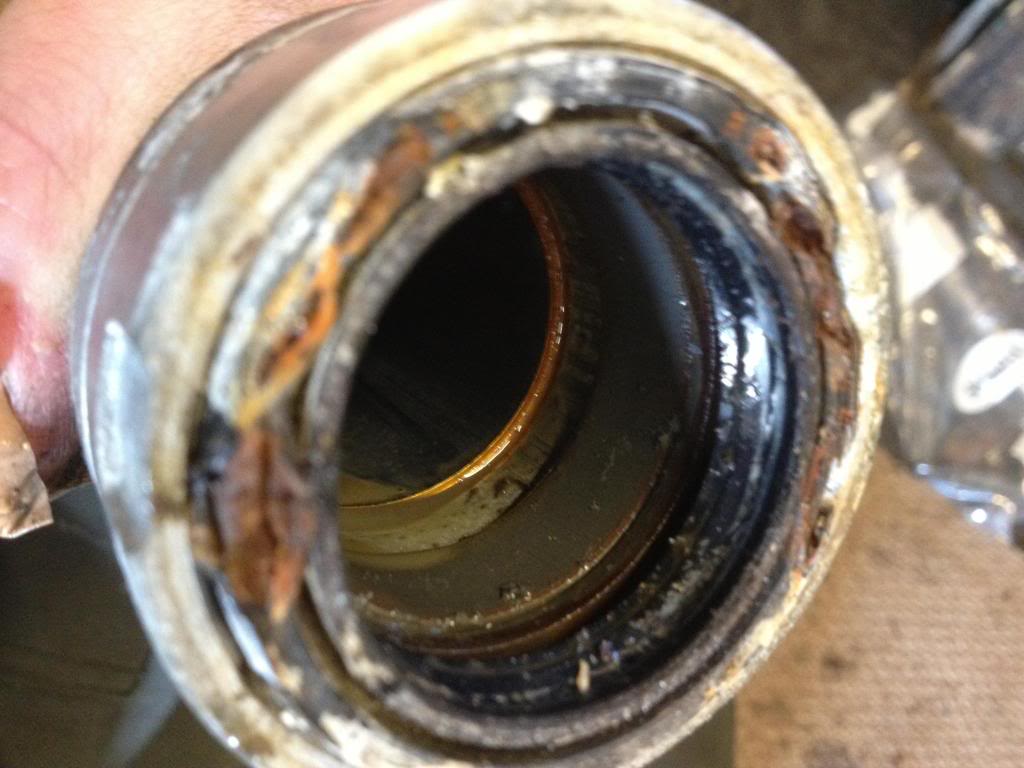
Oh no, that's bad news bears
 .
. It appears that your lower bushing passed through both the back-up ring and the upper bushing, probably due to the extreme corrosion preventing the seal from coming out - unfortunately, you're going to have to replace both of those bushings and the washer, unless you just drop the internals into your F2 lowers.
For what it's worth, those items are not that expensive, totalling about 14 £ before the Queen's share.

Senior Member
Joined: Mar 2011
Posts: 249
Likes: 1
From: Vancouver, Canada
Good job cleaning up the forks. I was enjoying all the pictures, seeing what you are working with, but then I had to laugh at the one picture where you are holding the lower fork and you can see a plaster on your thumb. Did you get that from working on the bike?
Yeah I did. My wire brush lost a bristle and about 1/3rd of it went straight in between my nail and my skin on my thumb. It wasn't that which hurt tbh, but the toxic rust remover that got on the cut.
That stung a little, I'm not going to lie.
That stung a little, I'm not going to lie.

New Member
Joined: Jun 2013
Posts: 1
Likes: 0
Please Update
Hello everyone,
I have caught up on reading the story and think it is great and it came with pictures. I am going to buy an 92 F2 and may have to do some of the same things.
Your story was inspirational to me and allows me to believe I can do it too.
Thank you for your leadership in keeping alive great old bikes.
Jim

I have caught up on reading the story and think it is great and it came with pictures. I am going to buy an 92 F2 and may have to do some of the same things.
Your story was inspirational to me and allows me to believe I can do it too.
Thank you for your leadership in keeping alive great old bikes.
Jim
update time!
Finally got everything blasted!
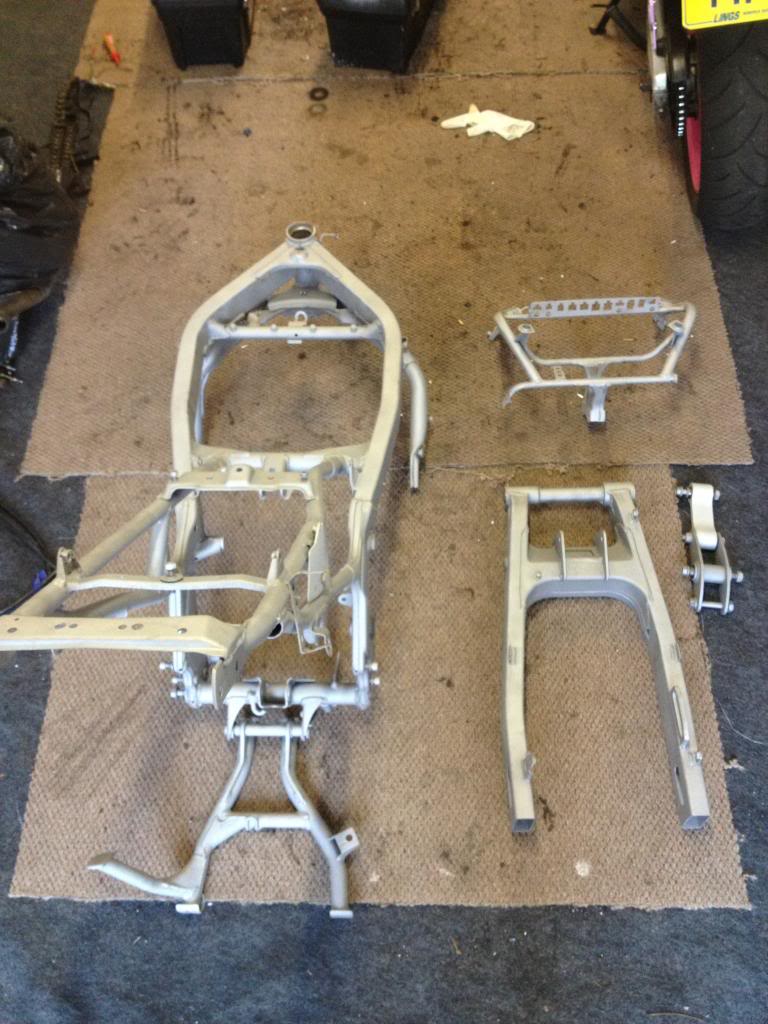
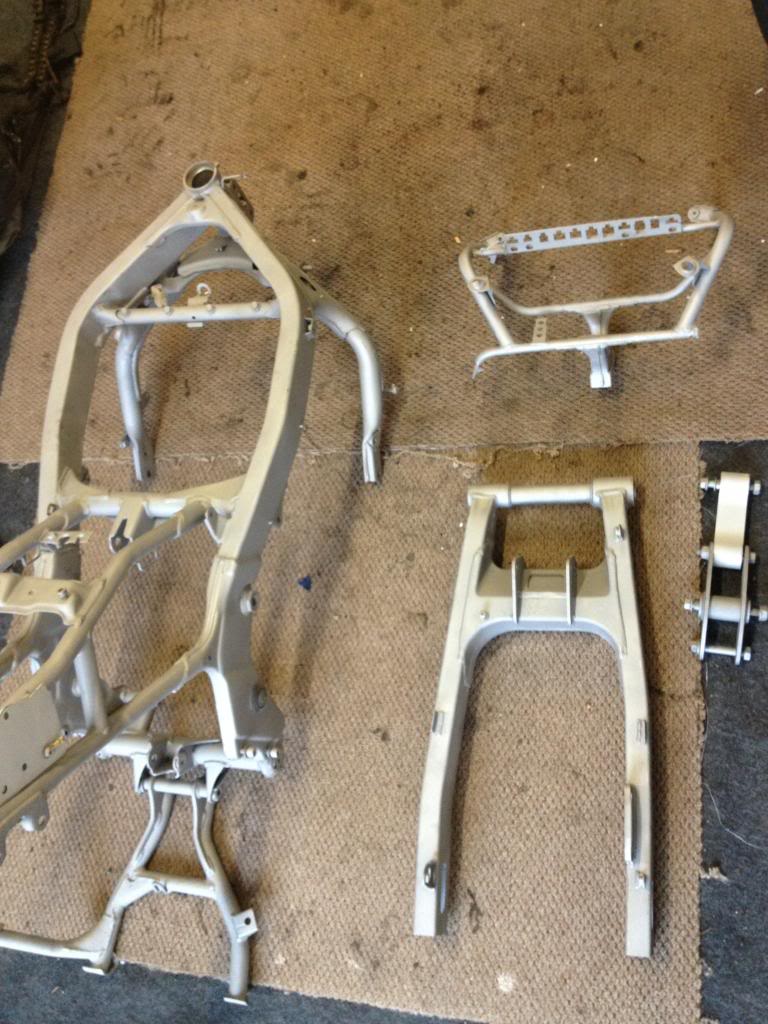
The wheels have been done aswell i just forgot to get photos of them.
Great news you might think...
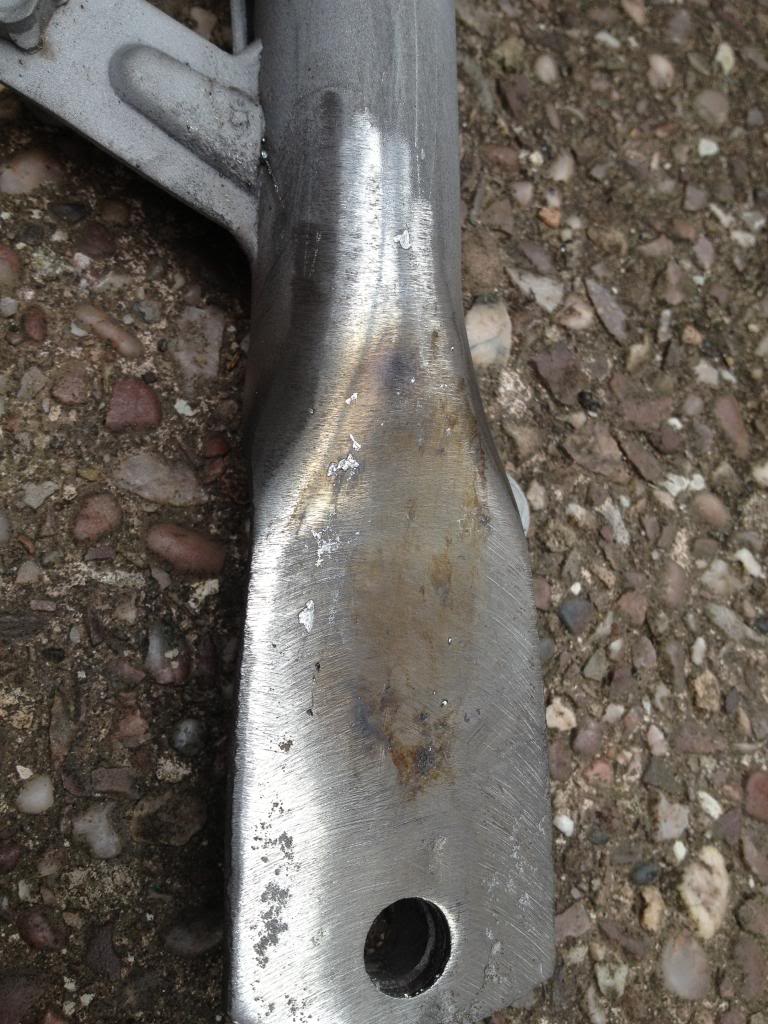
So did i till i saw this
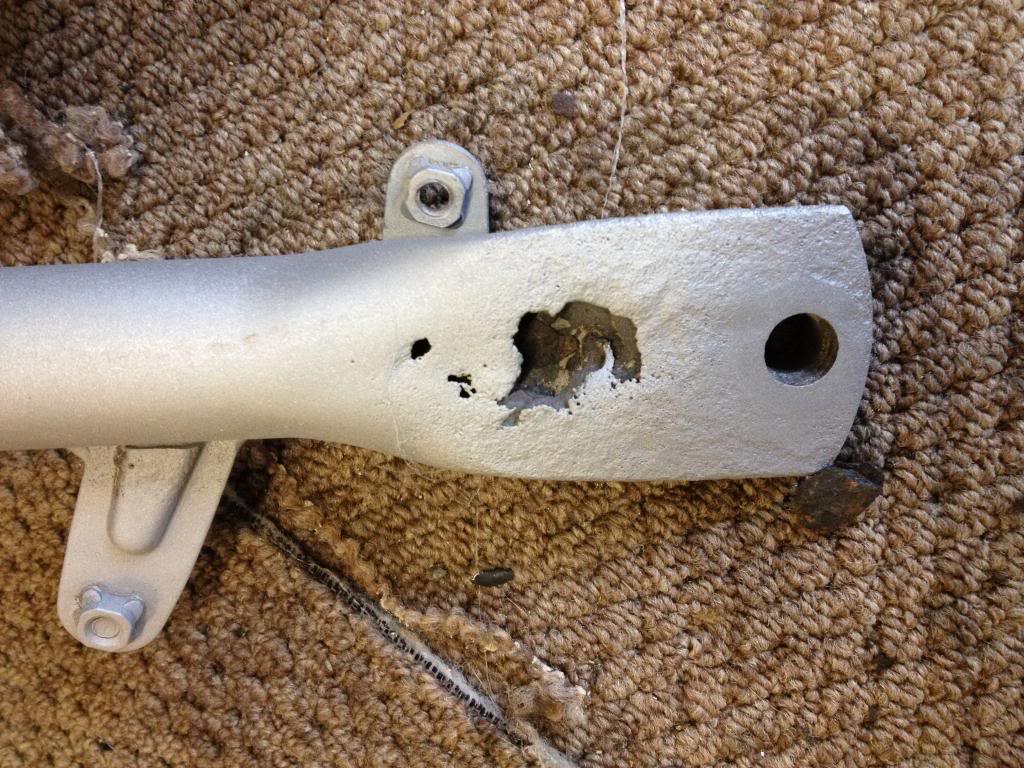
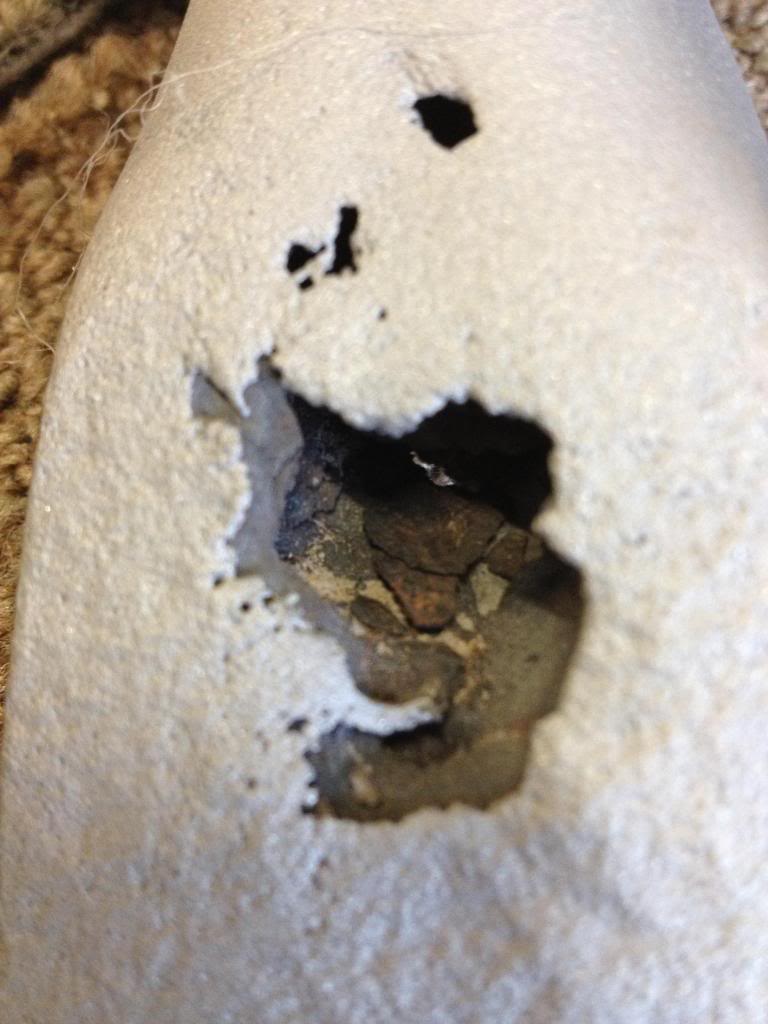
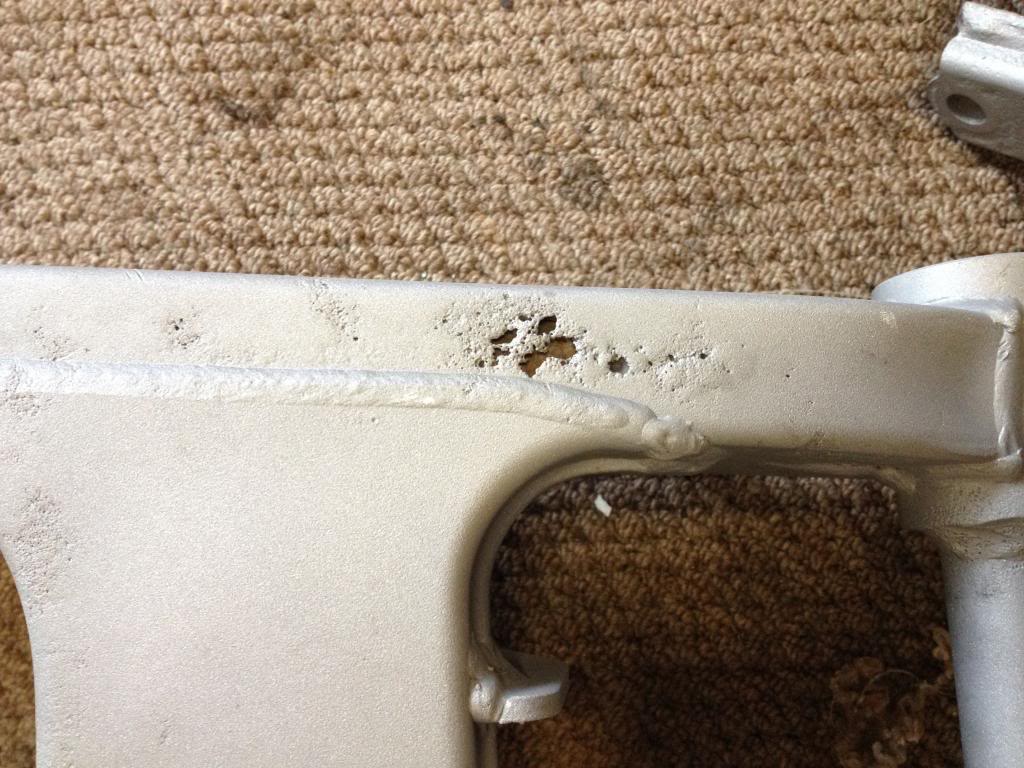
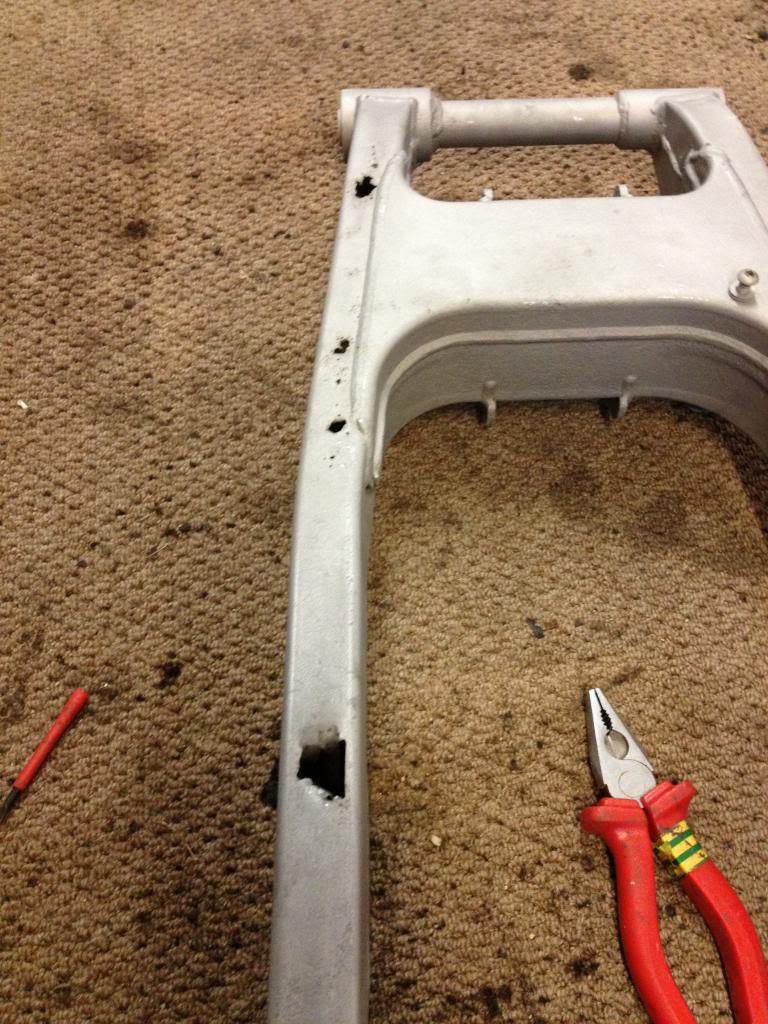
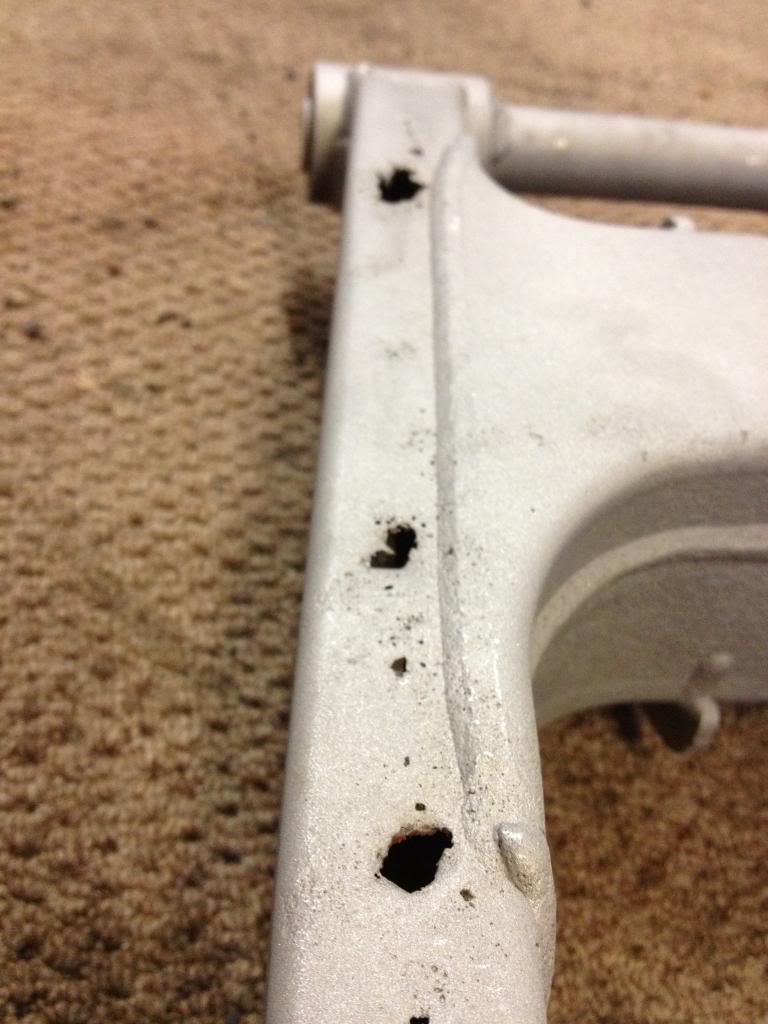
The Rust was obviously alot worse than it looked. I panicked and honestly, for the first time in the project, I had my first 'im not going to be able to do this' moment.
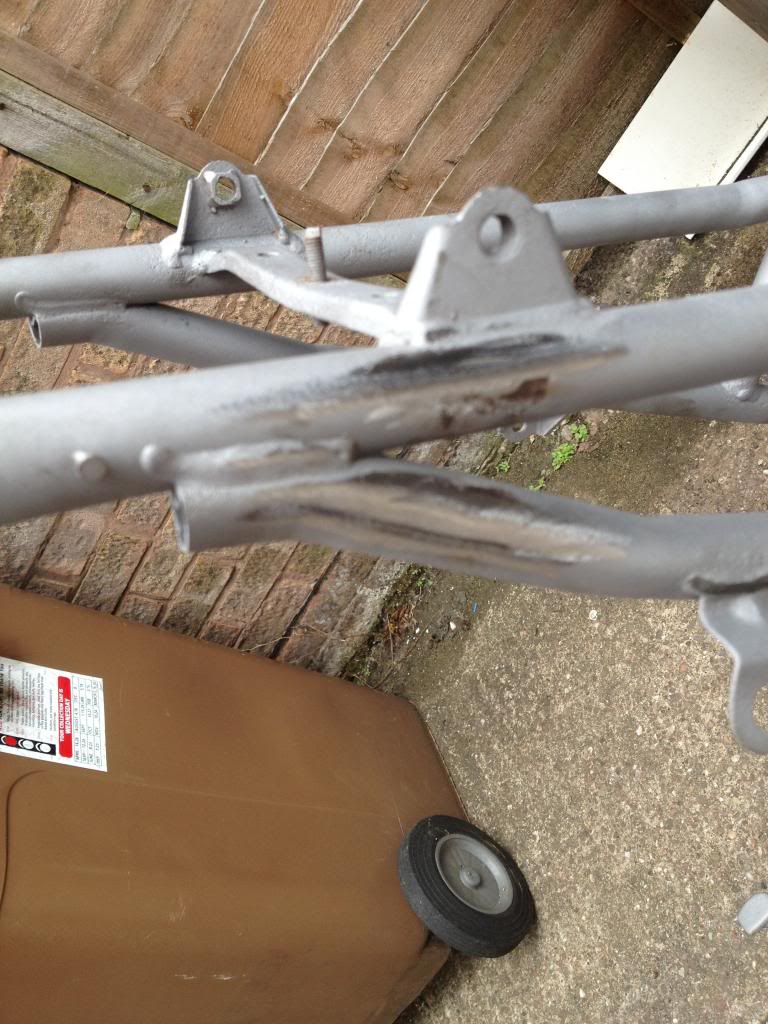
luckily, after posting a welding related question on facebook, a old buddy of mine who now owns his own welding business popped round within 30 minutes and sorted it all out for me, top lad!
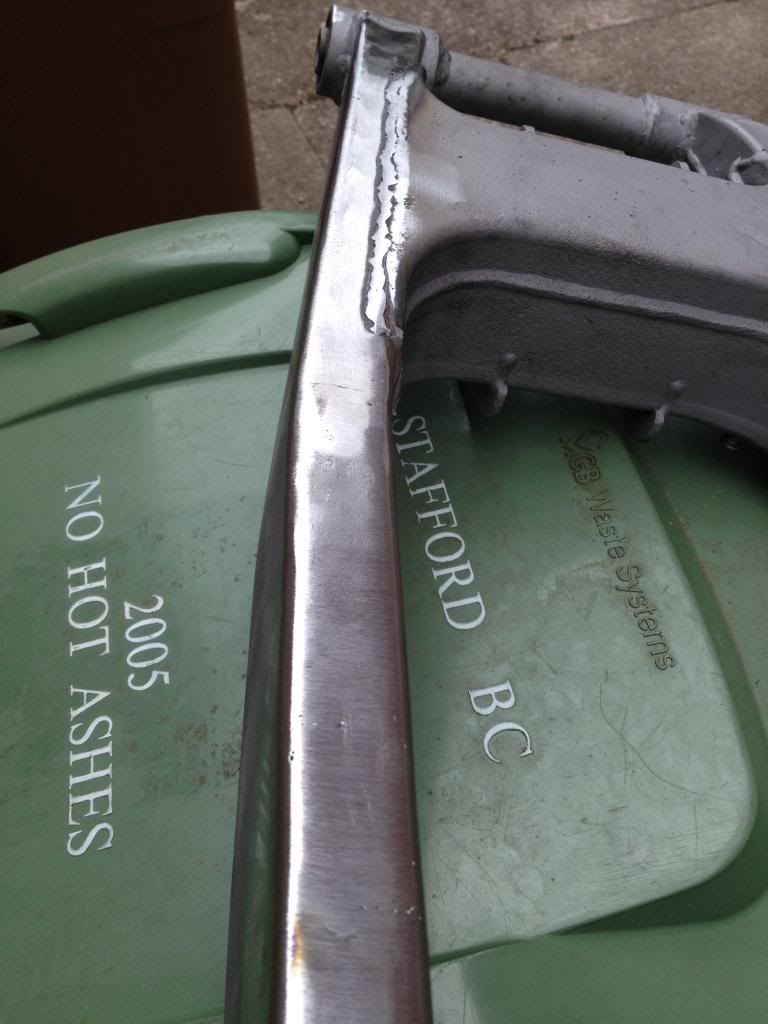
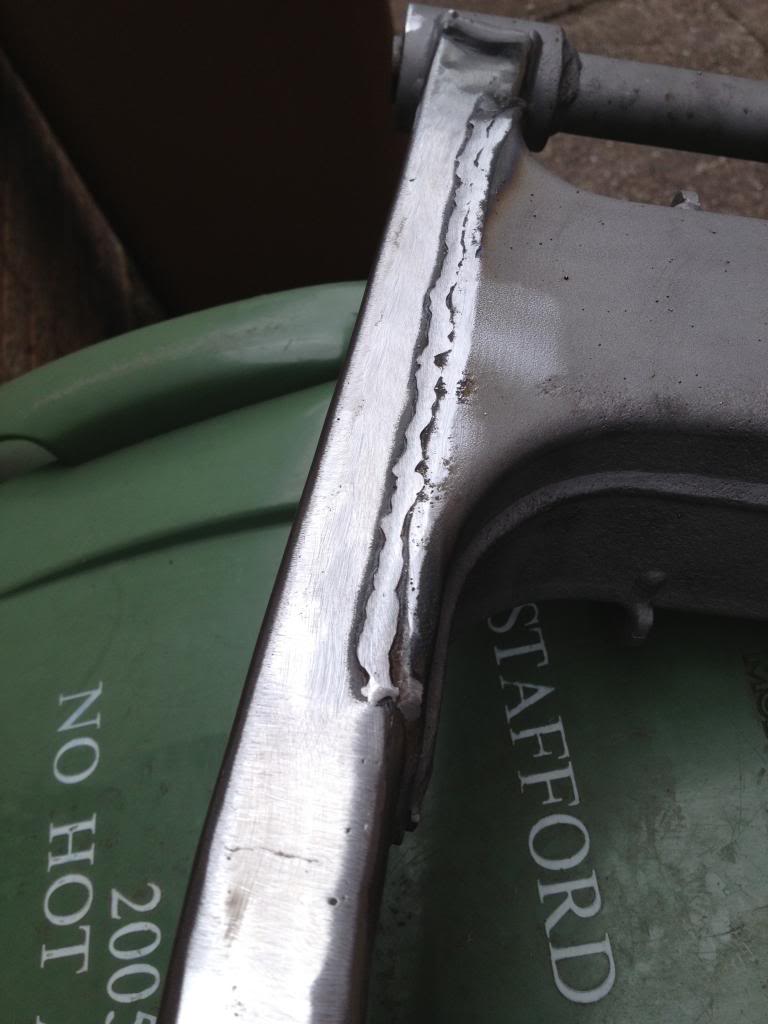
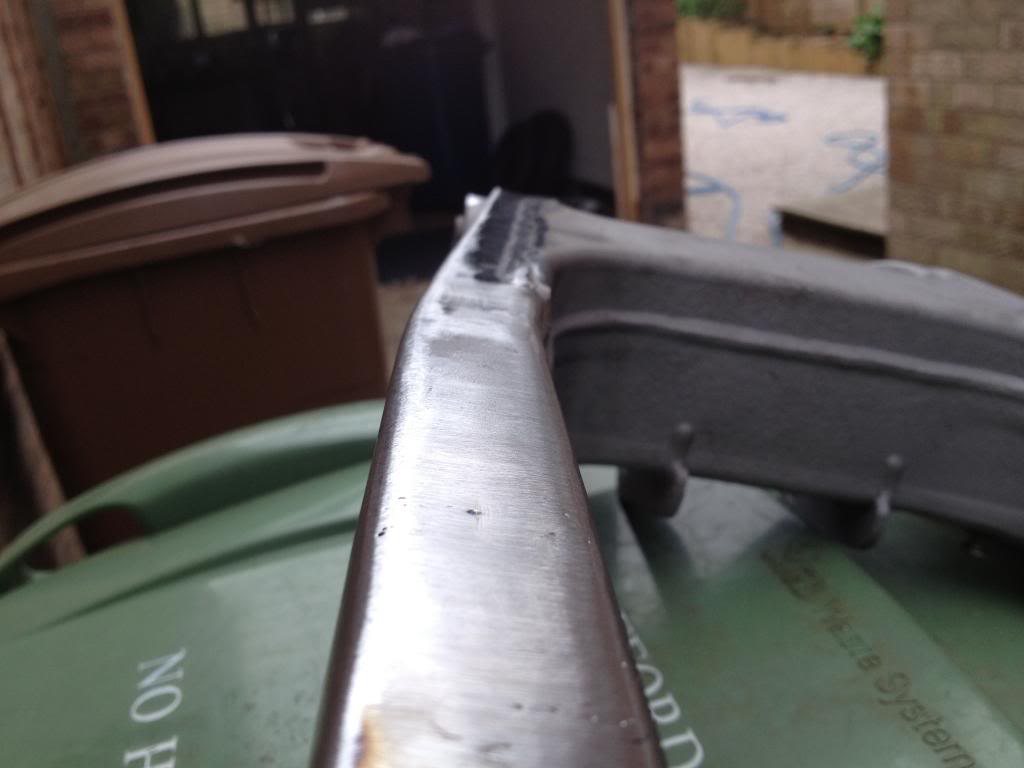
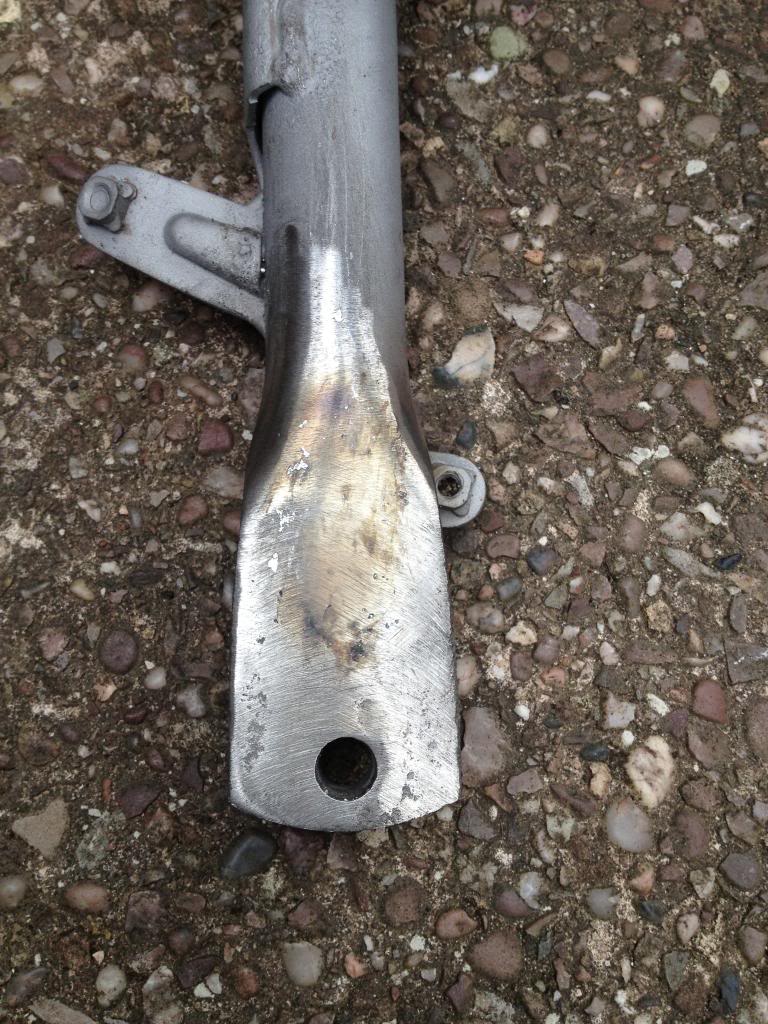
Even got him to remove a few brackets for me that were in the way of my new tail piece.
So I set to work on painting the bits, quicker sand down with 600, 1200 , 2000 and i was ready to go, no under coat, just my new found anti rust with zinc paint.
Generallty very impressed with how its come out, especially with a rattle can.
Coat one
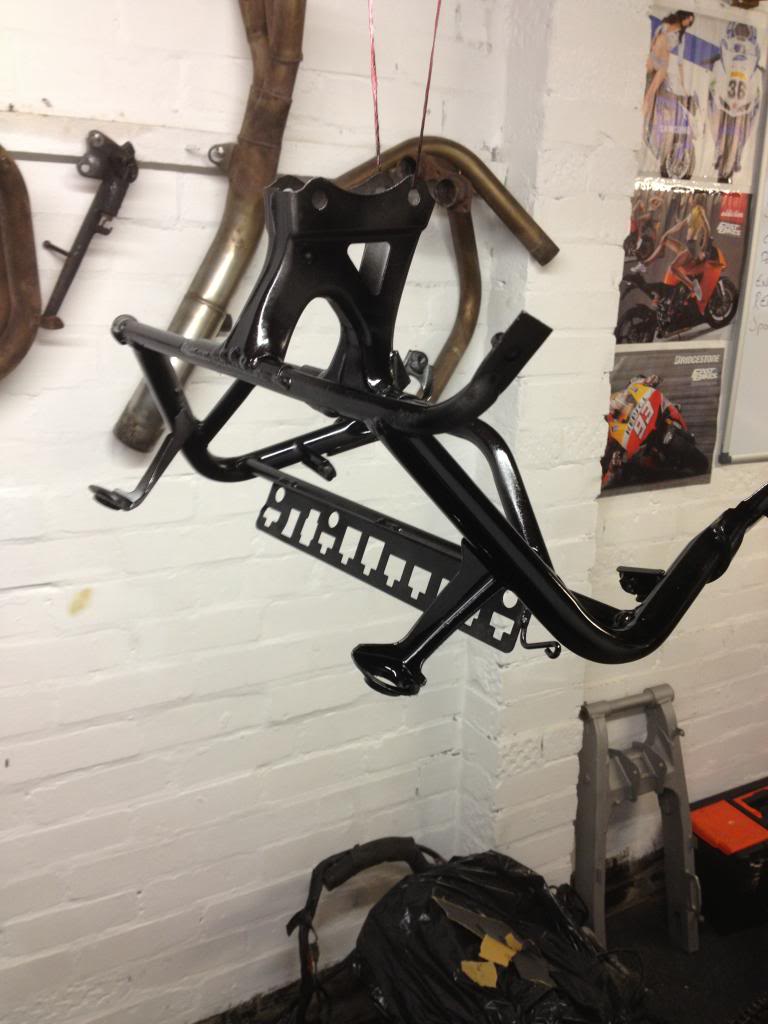
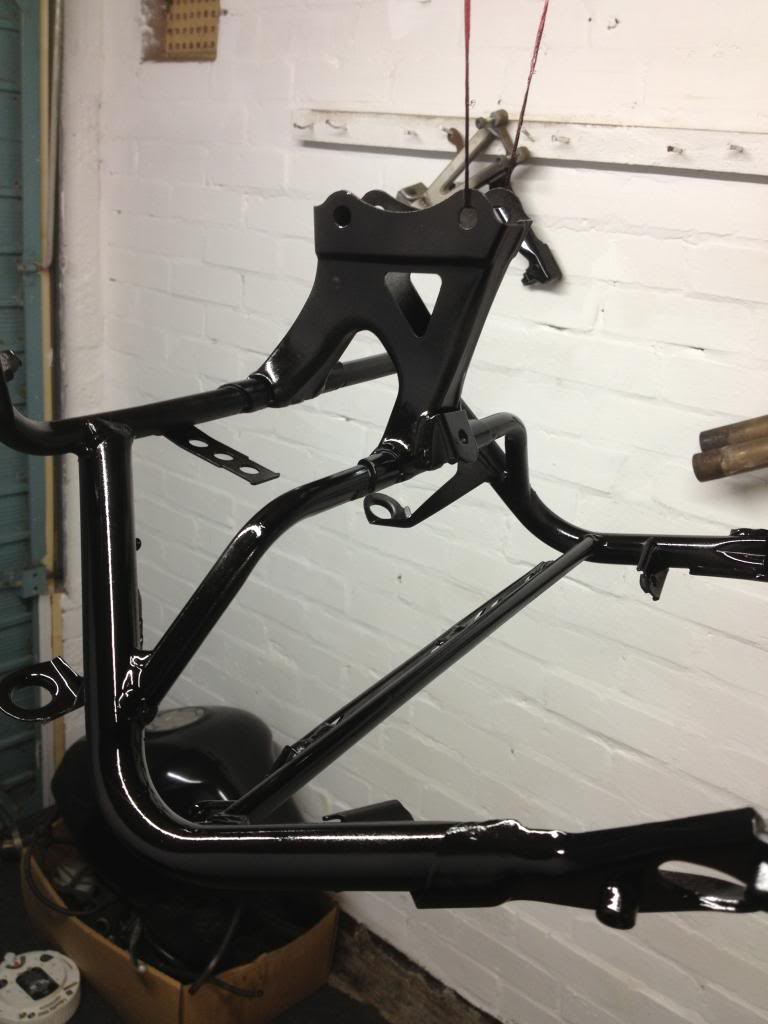
Coat two

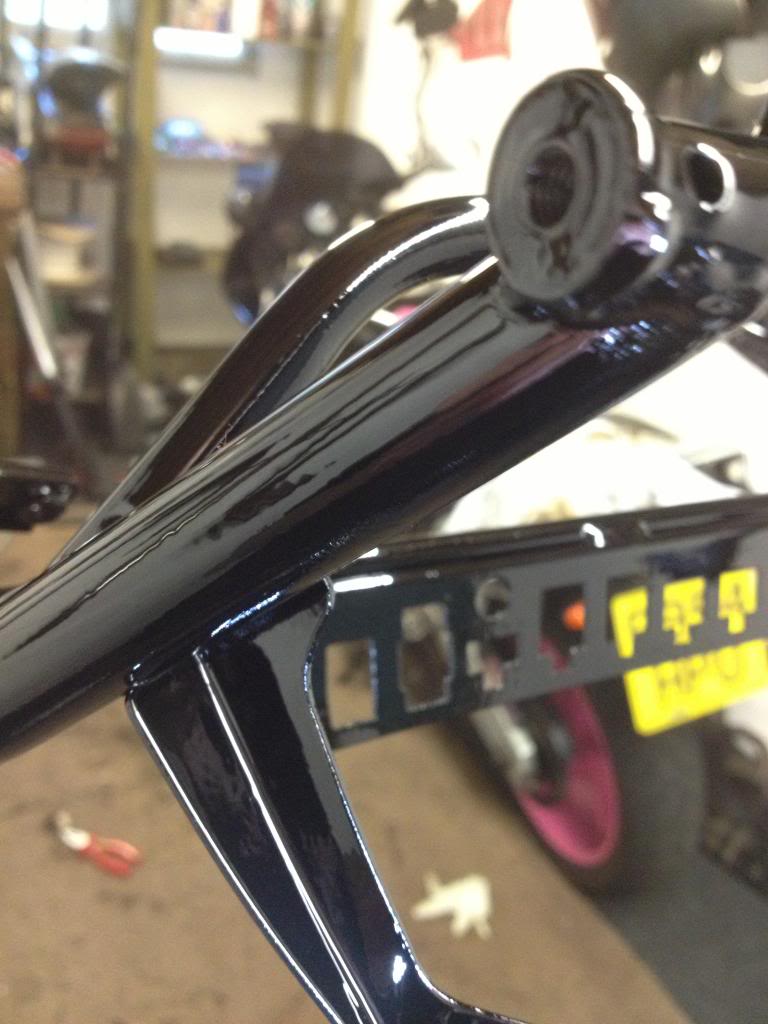
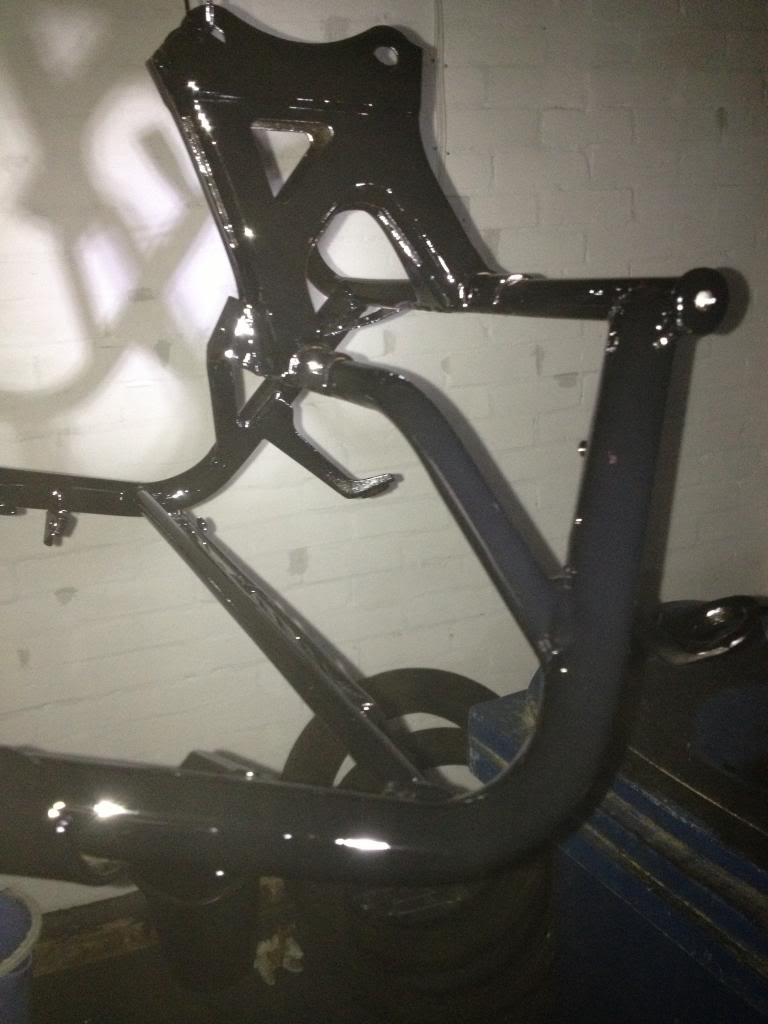
Three paint and a layer of clear later i think shes finally starting to come back to life.
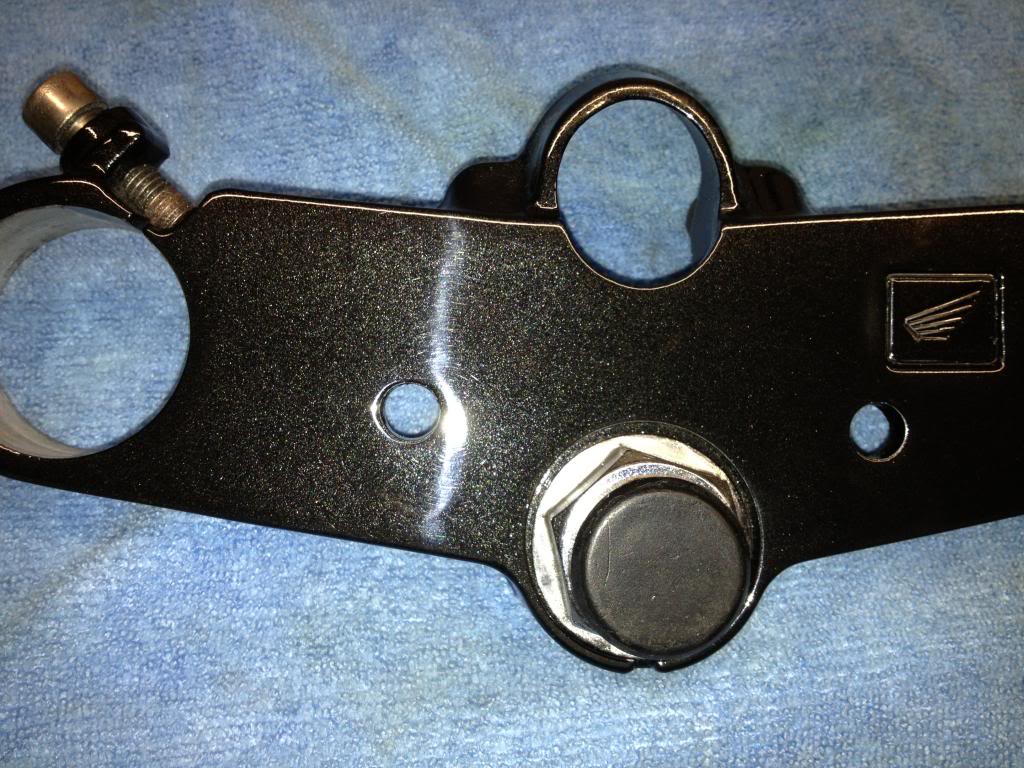
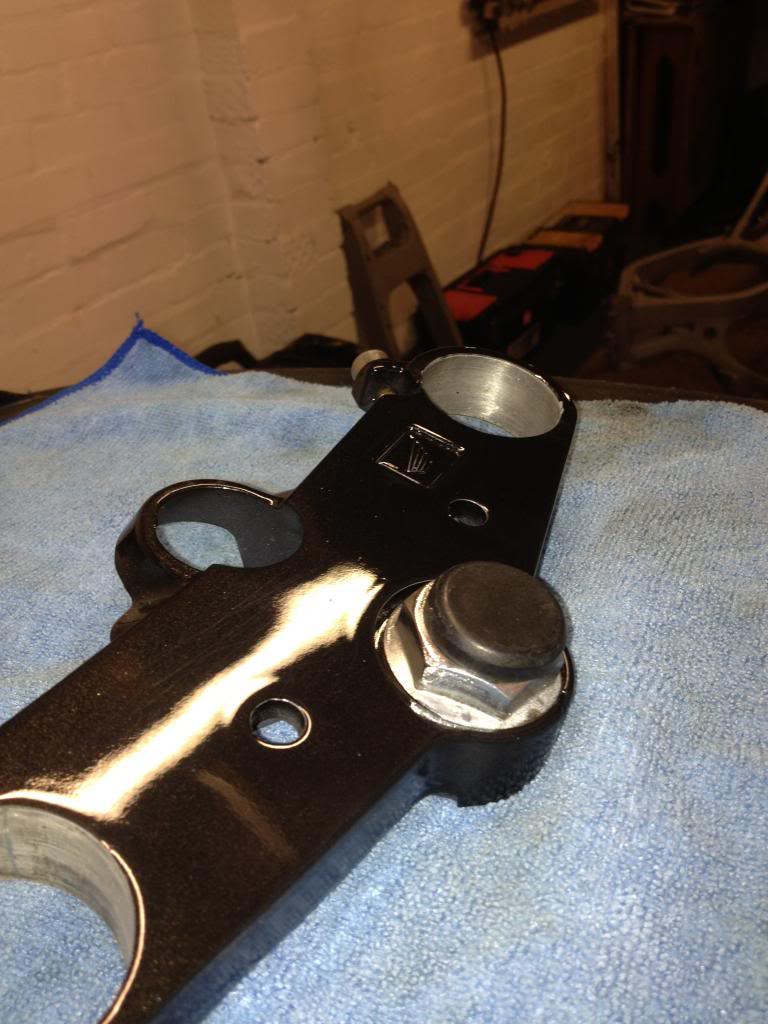
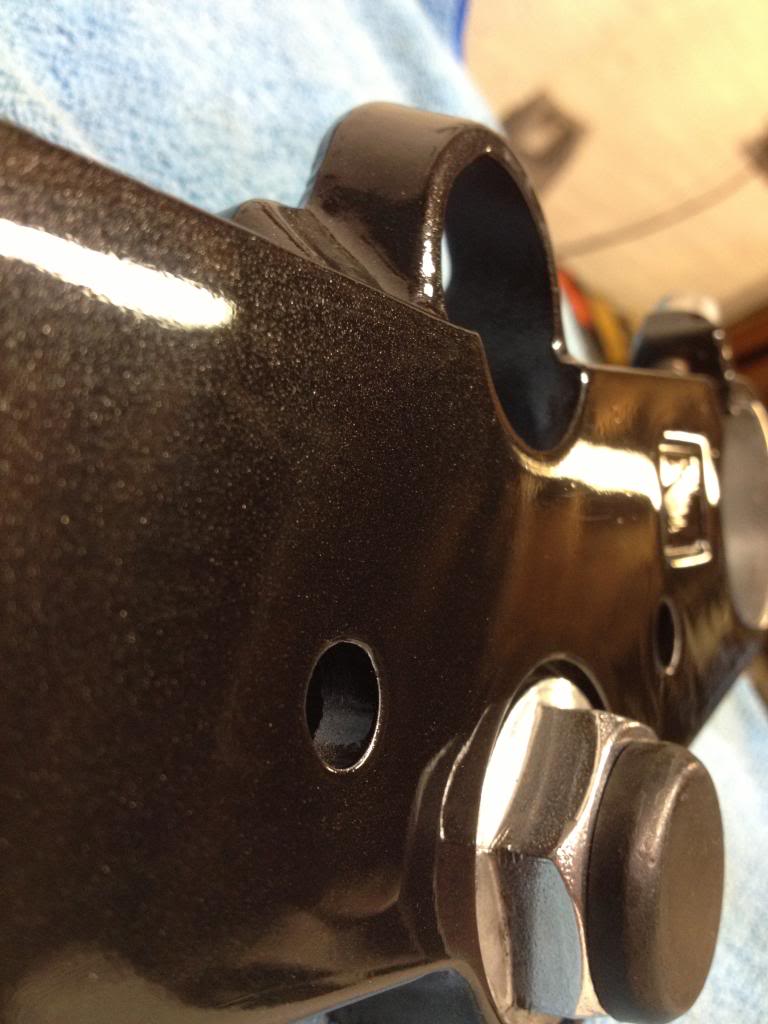
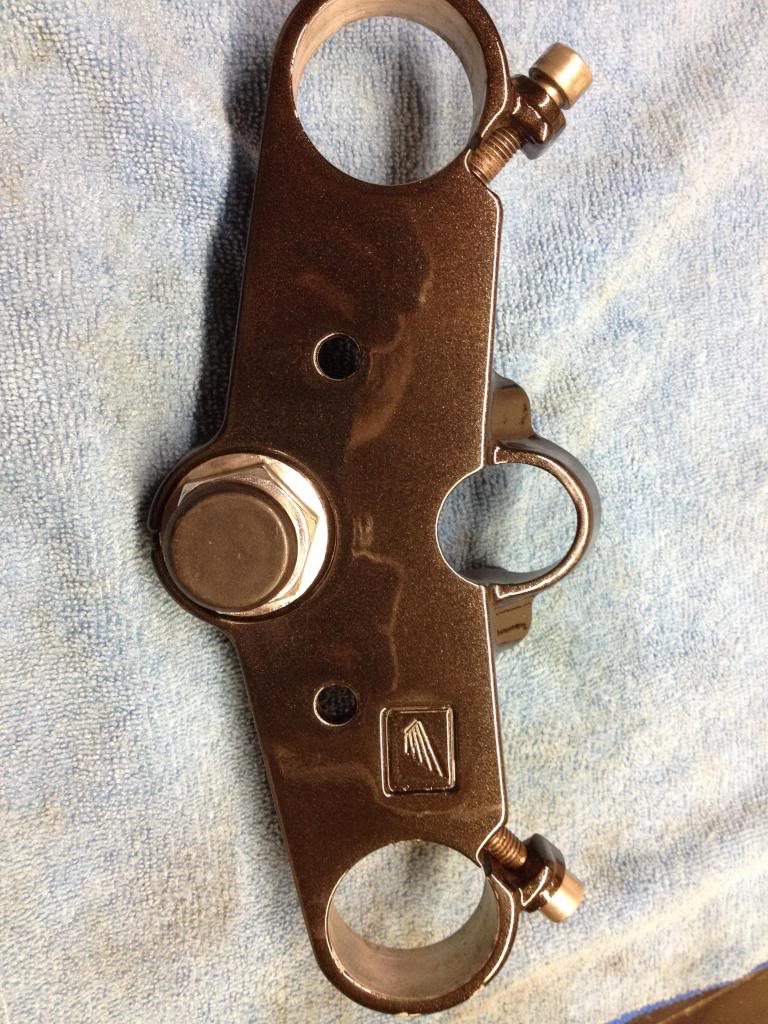
Also, I managed to get this bit all painted recently but forgot to update
Painted in a metallic paint... some clue as to how im going with the overall paint finish on the bike...

Finally got everything blasted!


The wheels have been done aswell i just forgot to get photos of them.
Great news you might think...
So did i till i saw this


The Rust was obviously alot worse than it looked. I panicked and honestly, for the first time in the project, I had my first 'im not going to be able to do this' moment.
luckily, after posting a welding related question on facebook, a old buddy of mine who now owns his own welding business popped round within 30 minutes and sorted it all out for me, top lad!


Even got him to remove a few brackets for me that were in the way of my new tail piece.

So I set to work on painting the bits, quicker sand down with 600, 1200 , 2000 and i was ready to go, no under coat, just my new found anti rust with zinc paint.
Generallty very impressed with how its come out, especially with a rattle can.
Coat one


Coat two


Three paint and a layer of clear later i think shes finally starting to come back to life.
Also, I managed to get this bit all painted recently but forgot to update
Painted in a metallic paint... some clue as to how im going with the overall paint finish on the bike...


