


My 93 F2 project begins!

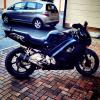

Yeah that's pretty much the plan, I have a car, which I'm fortunate enough to have been able to get a brand spanking new one, so that's seriously good on fuel, saving me money, which has increased the amount of spare cash I have lying round.
I was in my garage yesterday morning doing some work on Swamp Thing, and I realised, this is a much bigger job than originally planned, and its going to take longer than I thought, so I needed something to keep me going!
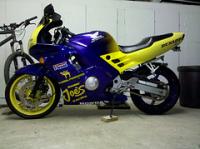
The new F3 will be to ride until Swamp Thing is fully restored, then ill decide whether its worth keeping both, or selling the f3.
Also JNS, I forgot, she's a 1998.

Senior Member
Joined: Apr 2012
Posts: 249
Likes: 1
From: Laredo, Tx
Any updates man? Or are you too busy riding that f3. I gotta say, that you wont find an f3 for $1,500 here in the states. Atleast not 350 miles around where I live. Easily worth more for the condition its in.
Nice progress on "swamp thing" (as per the f2 wiseman jnsracing) it looks like everything will need to be sandblasted man, but its good that you have that bike another chance to live. (Like if she has feelings. lol) keep us updated on that build man.
Nice progress on "swamp thing" (as per the f2 wiseman jnsracing) it looks like everything will need to be sandblasted man, but its good that you have that bike another chance to live. (Like if she has feelings. lol) keep us updated on that build man.
Well, Hello again!
The good news is no, I have not disappeared off the face of the planet, no, I have not given up on swamp thing and finally, finally, I have managed to spend a decent amount of time on her.
So erm, where do I start, Im going to upload a boat load of images from the last 48 hours worth of work and then write up with whats been going on what ive achieved, some of the photos wont quite be in order.
And please, as ever, id like to remind you this is my first project bike and if some of the more seasoned of you notice anything i dont mention please let me know!
oh, and is there a way to change the title of this thread, i feel 'swamp thing' needs to be included.
The good news is no, I have not disappeared off the face of the planet, no, I have not given up on swamp thing and finally, finally, I have managed to spend a decent amount of time on her.
So erm, where do I start, Im going to upload a boat load of images from the last 48 hours worth of work and then write up with whats been going on what ive achieved, some of the photos wont quite be in order.
And please, as ever, id like to remind you this is my first project bike and if some of the more seasoned of you notice anything i dont mention please let me know!
oh, and is there a way to change the title of this thread, i feel 'swamp thing' needs to be included.
Welcome Crew and ROTY 2014
Joined: Dec 2010
Posts: 2,059
Likes: 6
From: Kansas
 Hurry meesta, hurry!!! We jonesin' for a fix!! You just dangled a bag full of 8-***** in front of some crackheads and then split the scene!!
 Agreed... whoever came up with that name was touched with brilliance!!

Senior Member
Joined: May 2010
Posts: 1,753
Likes: 3
From: West Monroe,Louisiana
I would say while you have the motor out, you might want to replace the oil cooler o-rings. They are a known spot where those o-rings can degrade and allow oil into the water, and vice-versa. The o-rings cost very little, and considering how the rest of the bike looks - might be worth doing.
#'s 8 and 6 on here:

#'s 8 and 6 on here:

Junior Member
Joined: Jun 2013
Posts: 1
Likes: 0
Hi I am new to this forum and would really appreciate it if someone could please point out to me how to posta new thread. I need help with my 92 cbr 600 f2. I imagine yours and mine arent that different since they r a year difference. Unlike you though I am fairly new to motorcycles period so I am learning but I want to rebuild it myself.
ok. here we go.
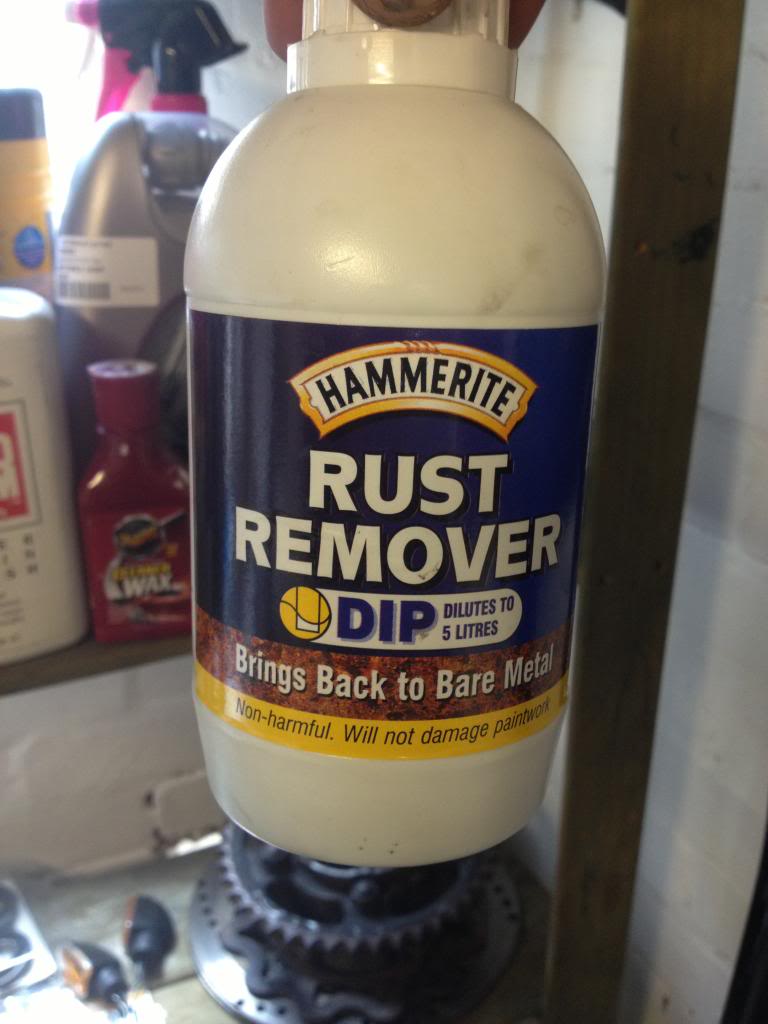
Rust treatment/removal -
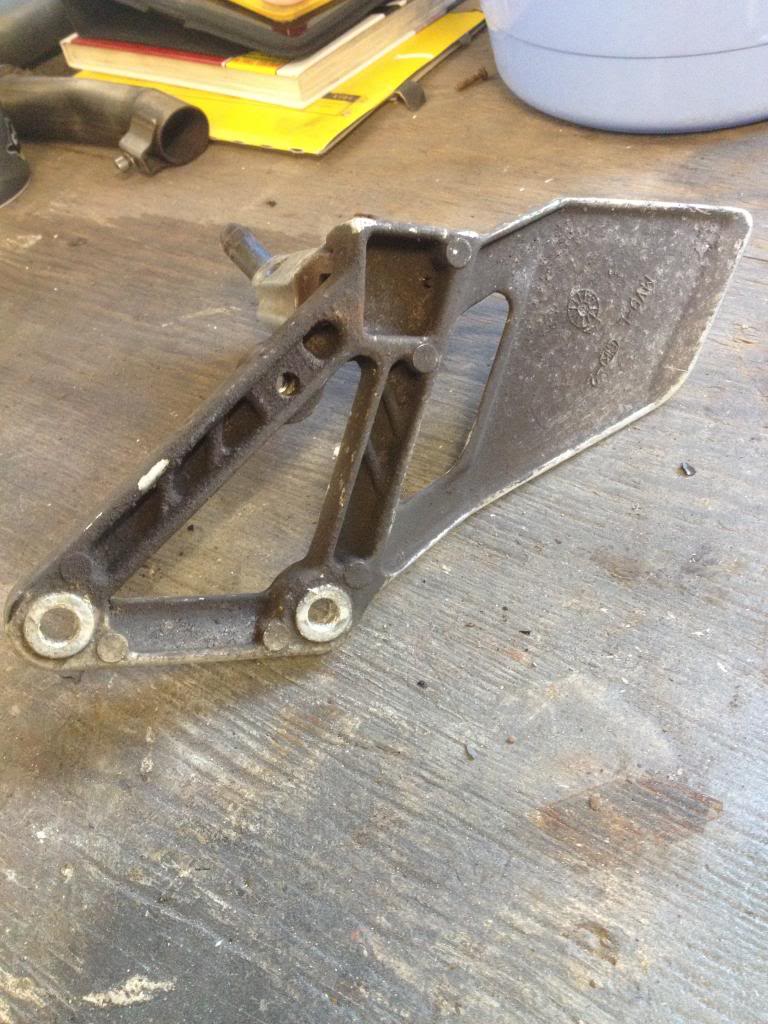
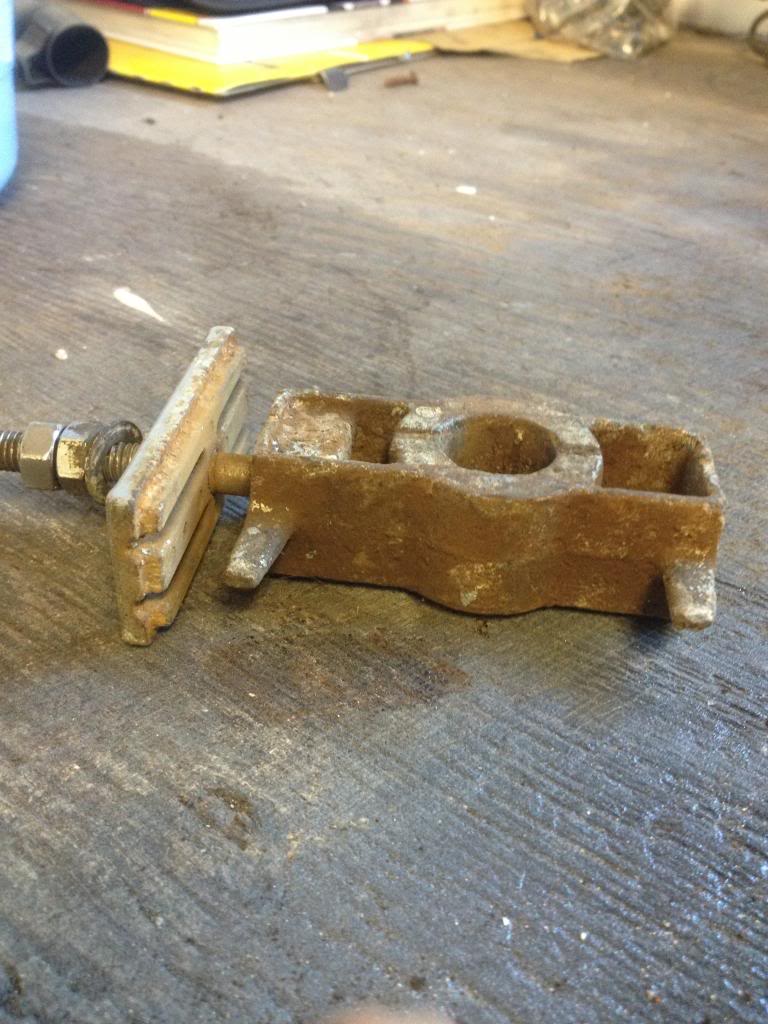
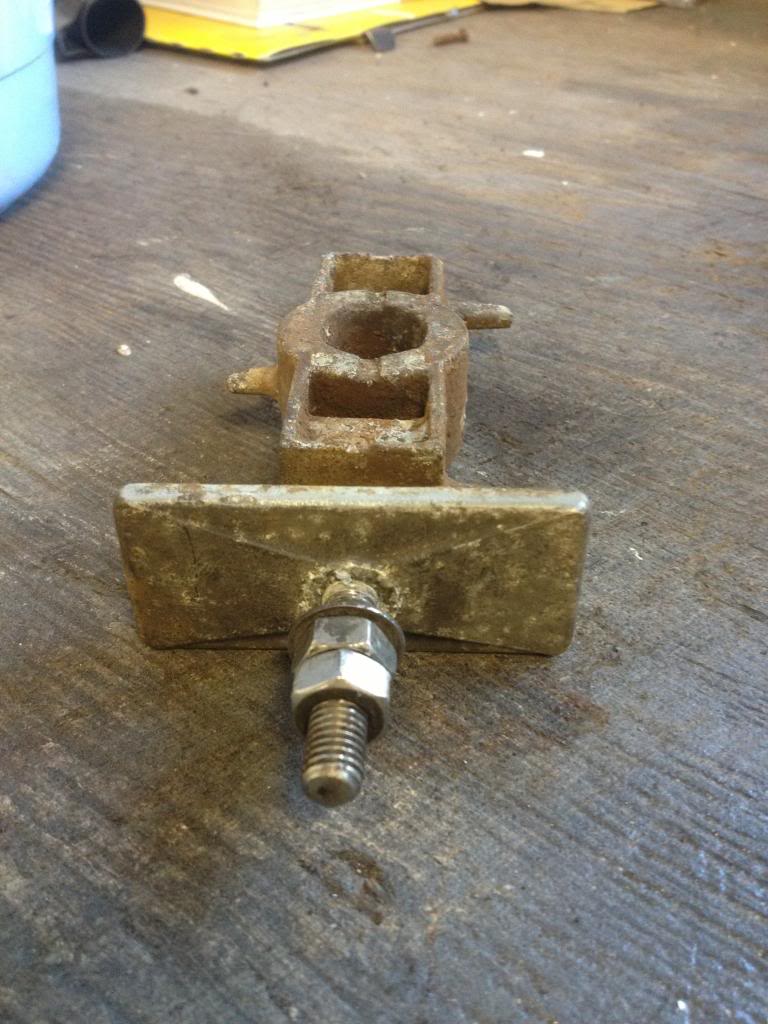
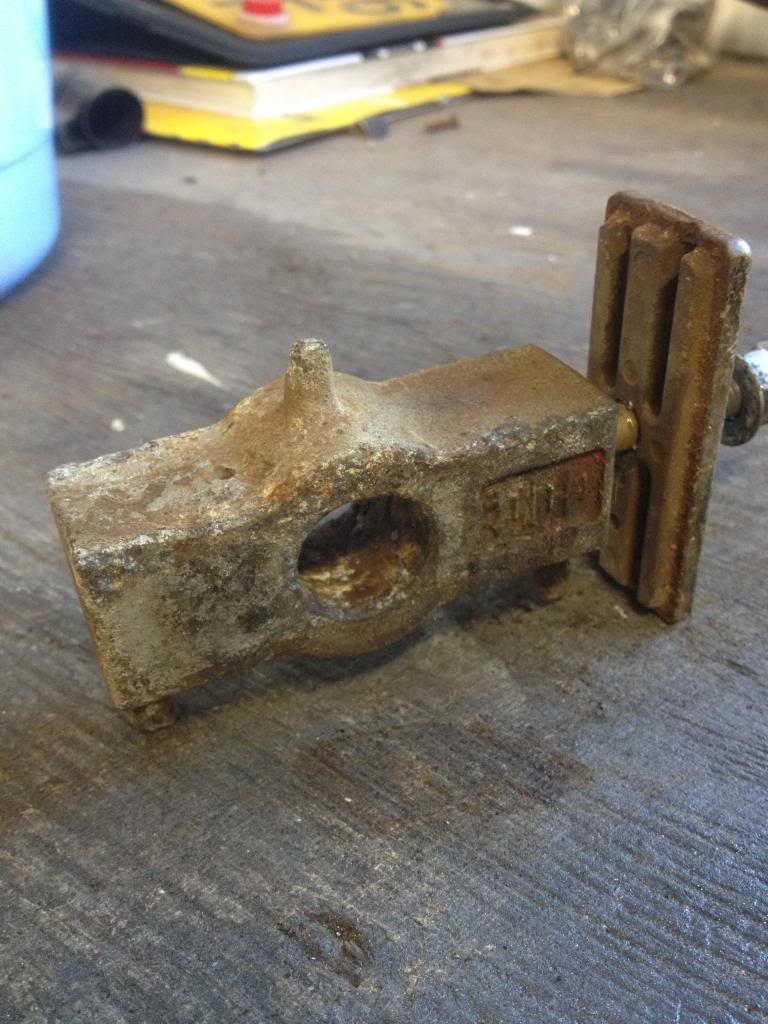
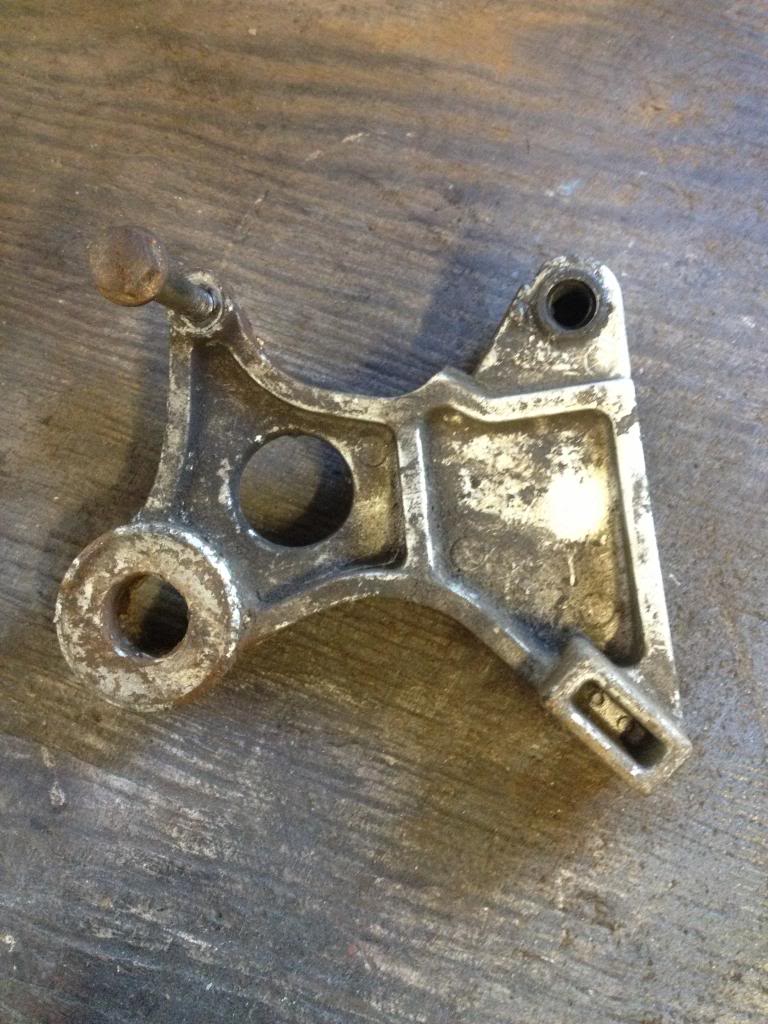
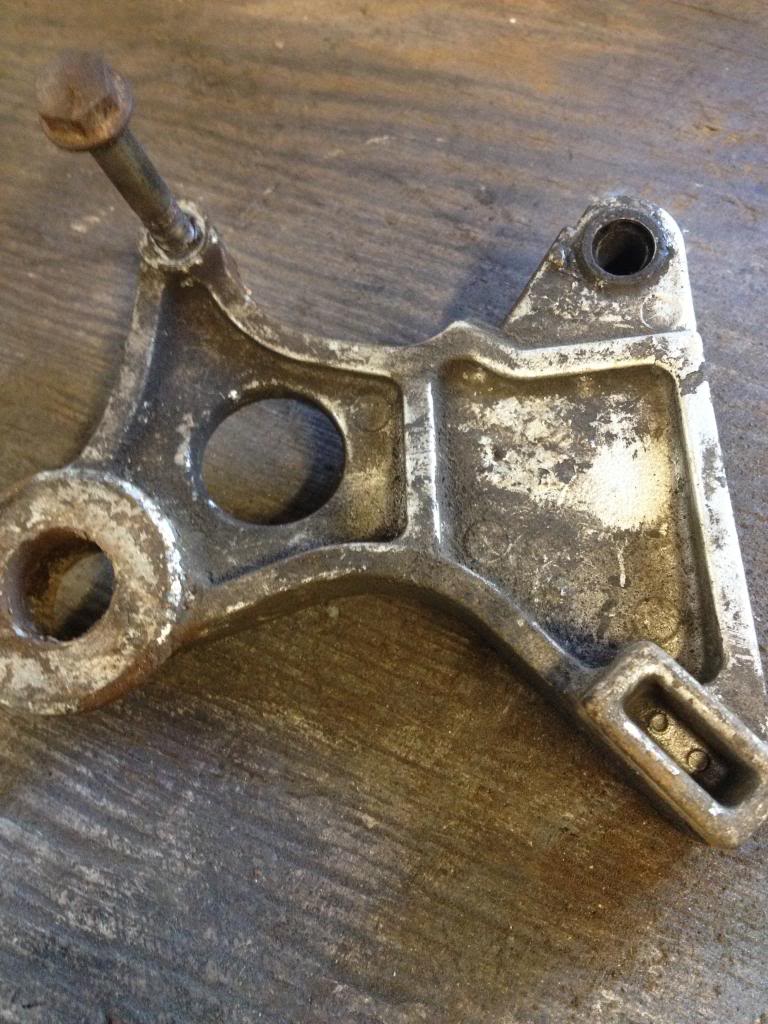
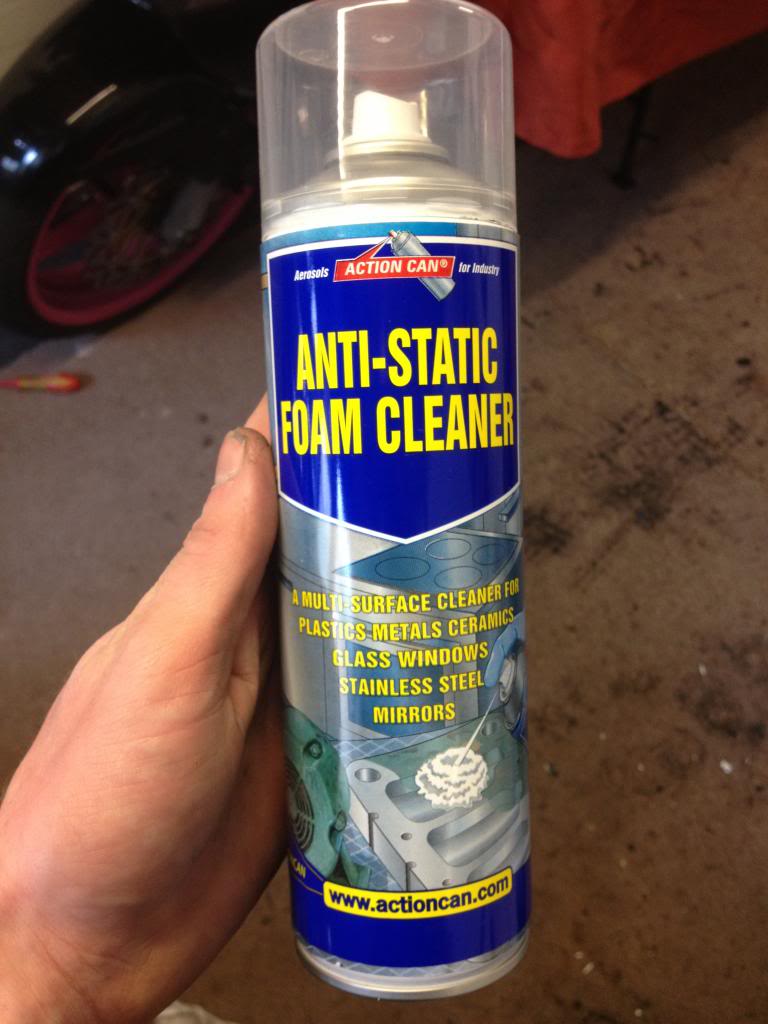
To sort this, i bought this!, A-M-A-Z-I-N-G stuff, fiarly confident its made from magic and other wonderful things
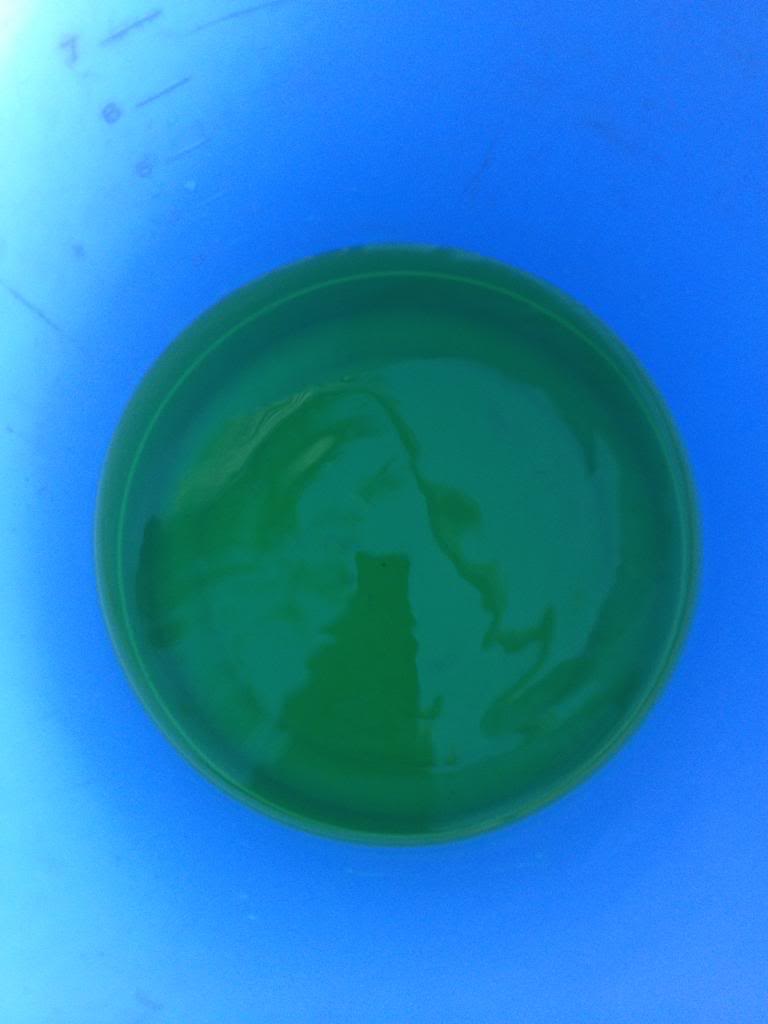
Dilute 10x to the part of water...
and leave to soak for 24 hours...
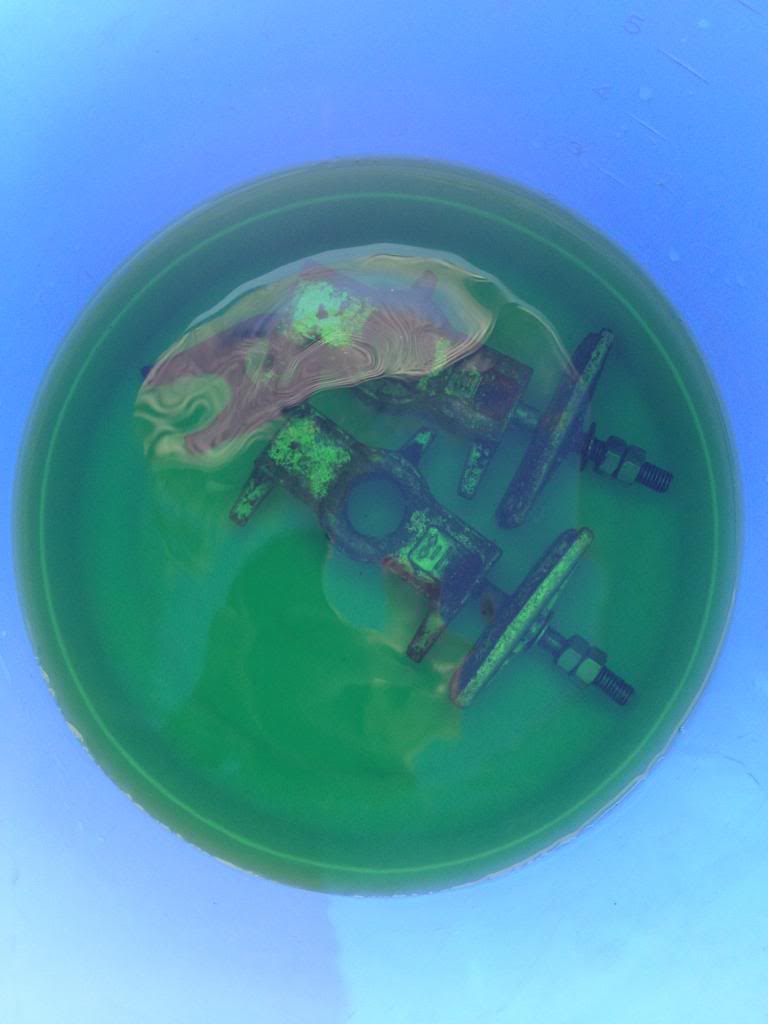
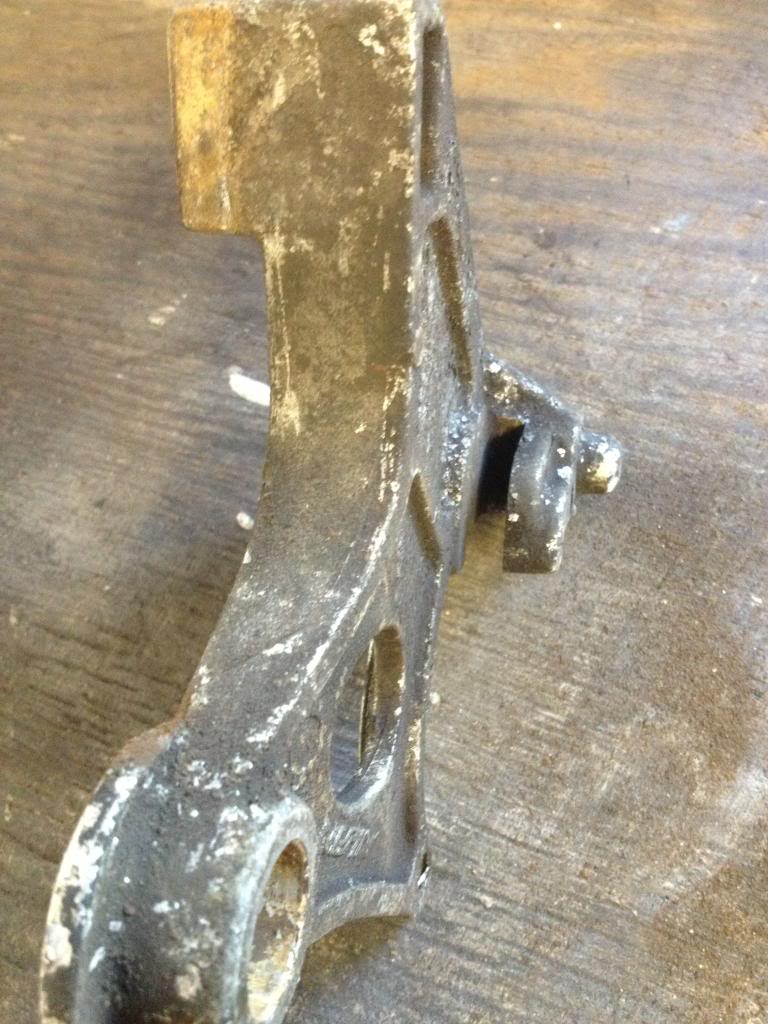
These are the results!

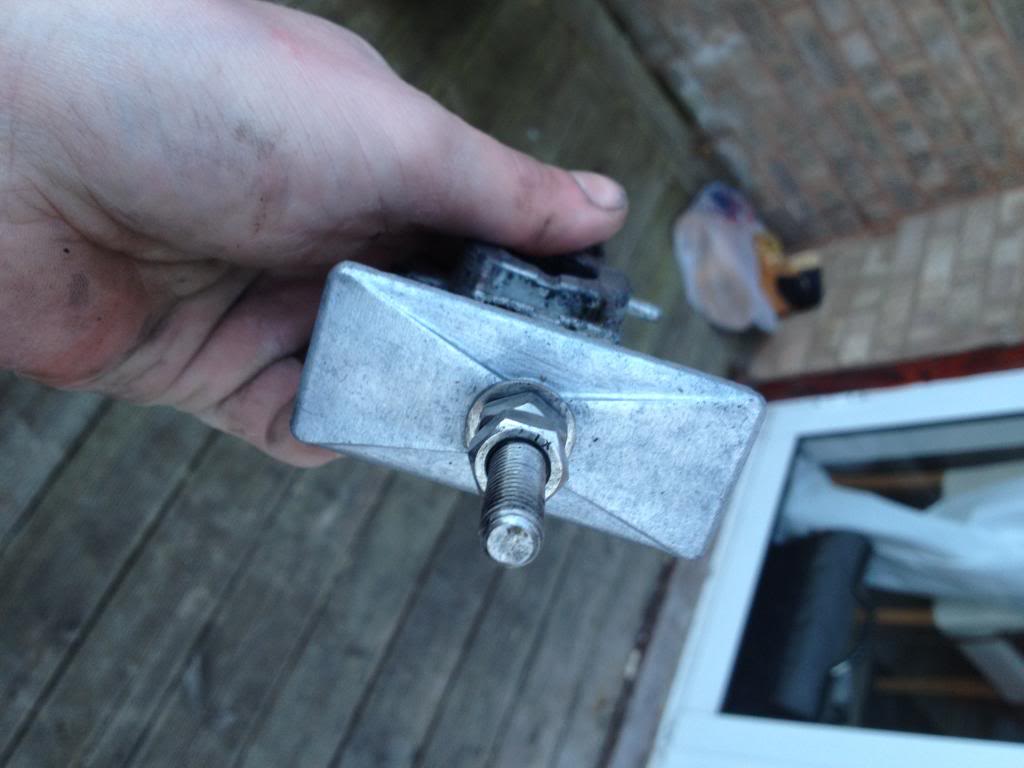

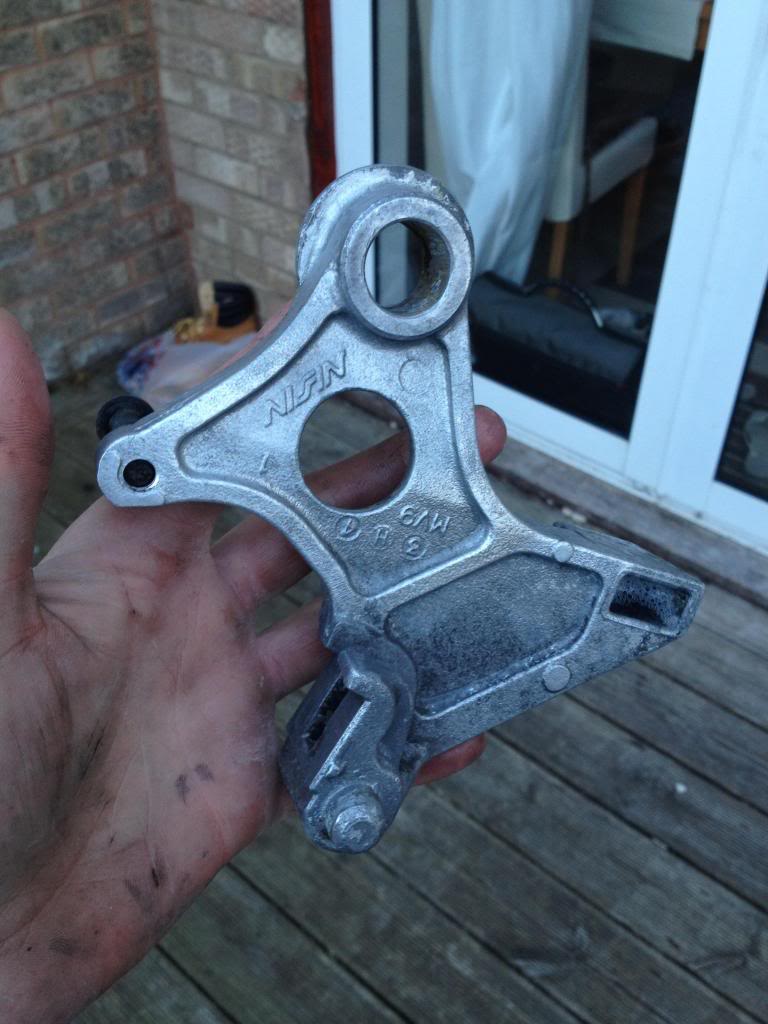

The last one is holding the part up against my F3.
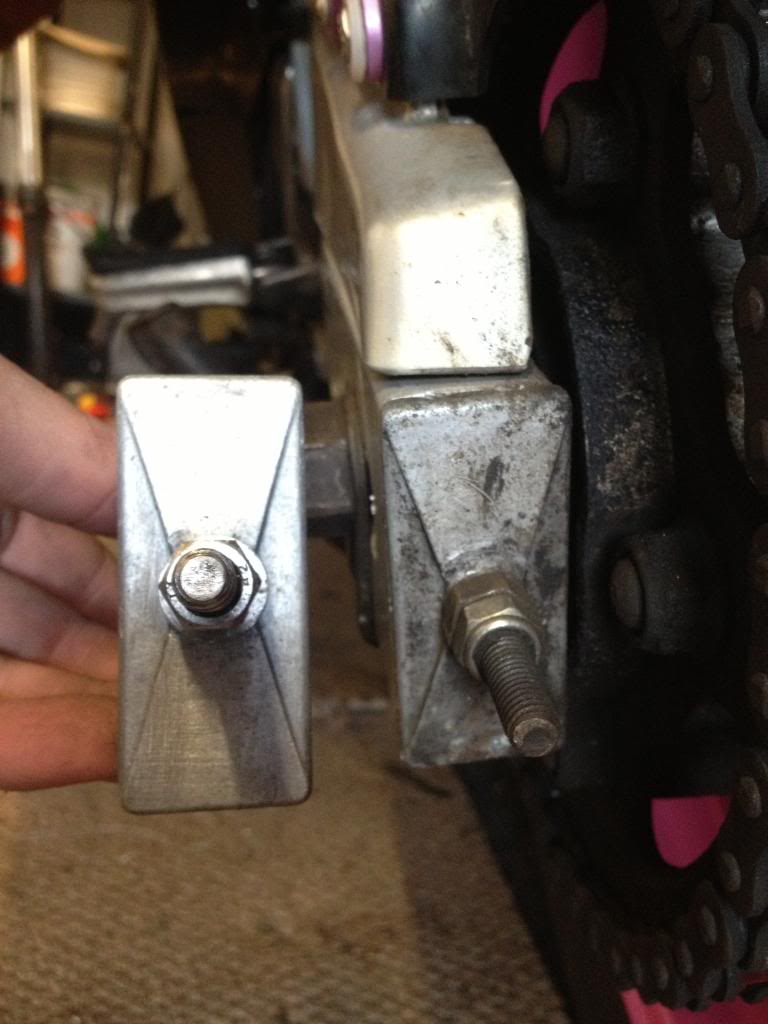
( I did type all this out last night, then my laptop died and i lost it all -_- so im going to do this in stages.
Rust treatment/removal -


To sort this, i bought this!, A-M-A-Z-I-N-G stuff, fiarly confident its made from magic and other wonderful things

Dilute 10x to the part of water...

and leave to soak for 24 hours...

These are the results!


The last one is holding the part up against my F3.

( I did type all this out last night, then my laptop died and i lost it all -_- so im going to do this in stages.
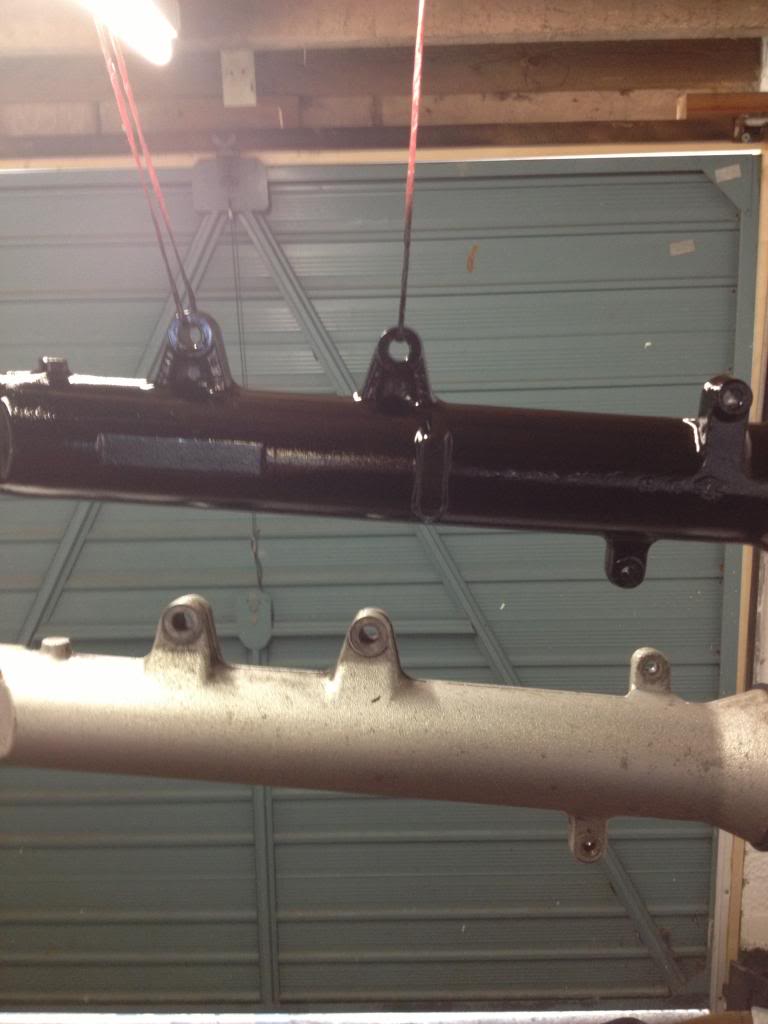
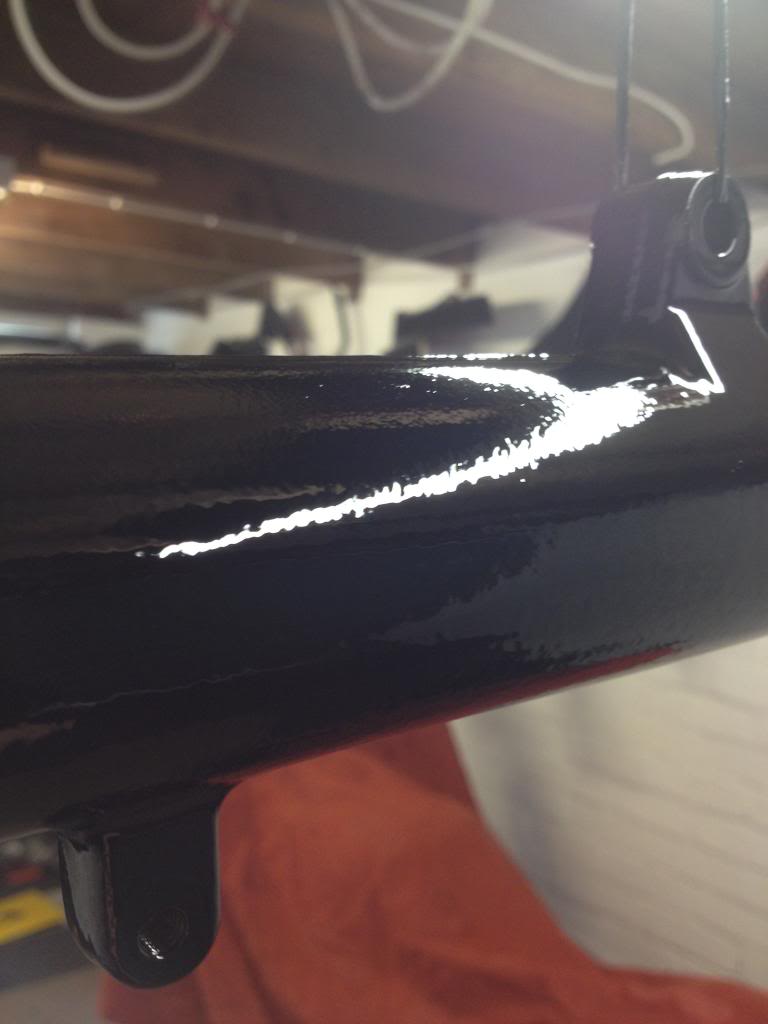
Next, I tackled the the forks. I bought some F3 ones off ebay for a bargain (see earlier in the thread)
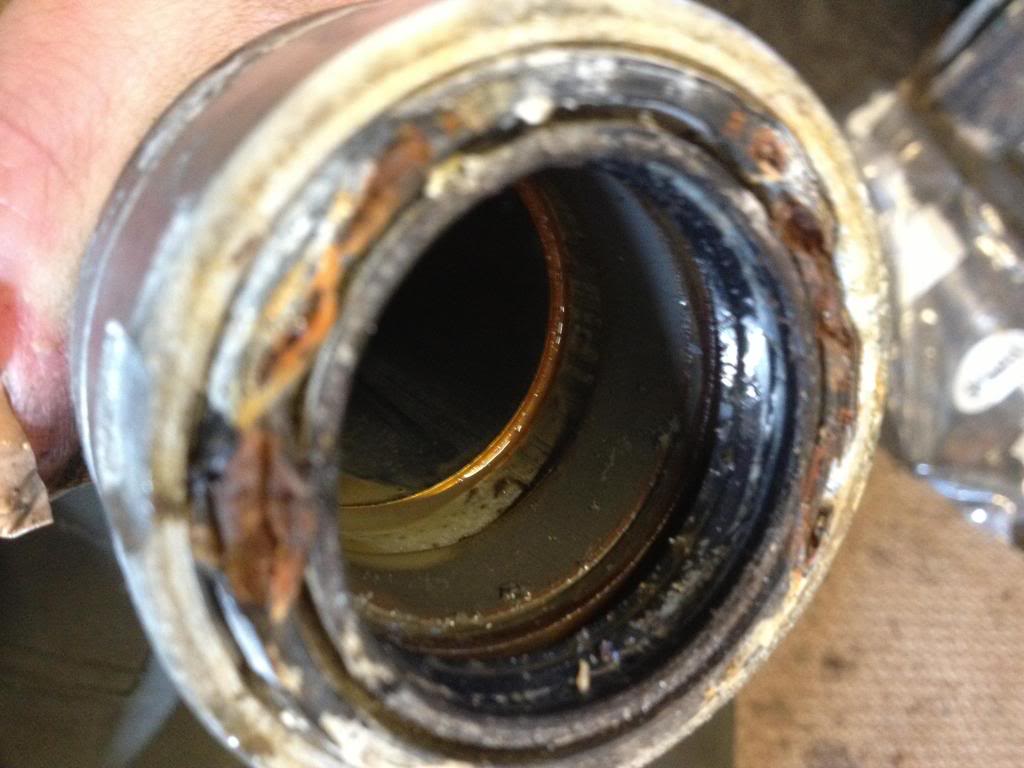
I striped them down, and ive painted them in black. Now, quick question, bearing in mind ive never done this before. When i took the forks apart, i expected the inards to come out in separate parts.... but i just lifted them all out in one go???
ALSO
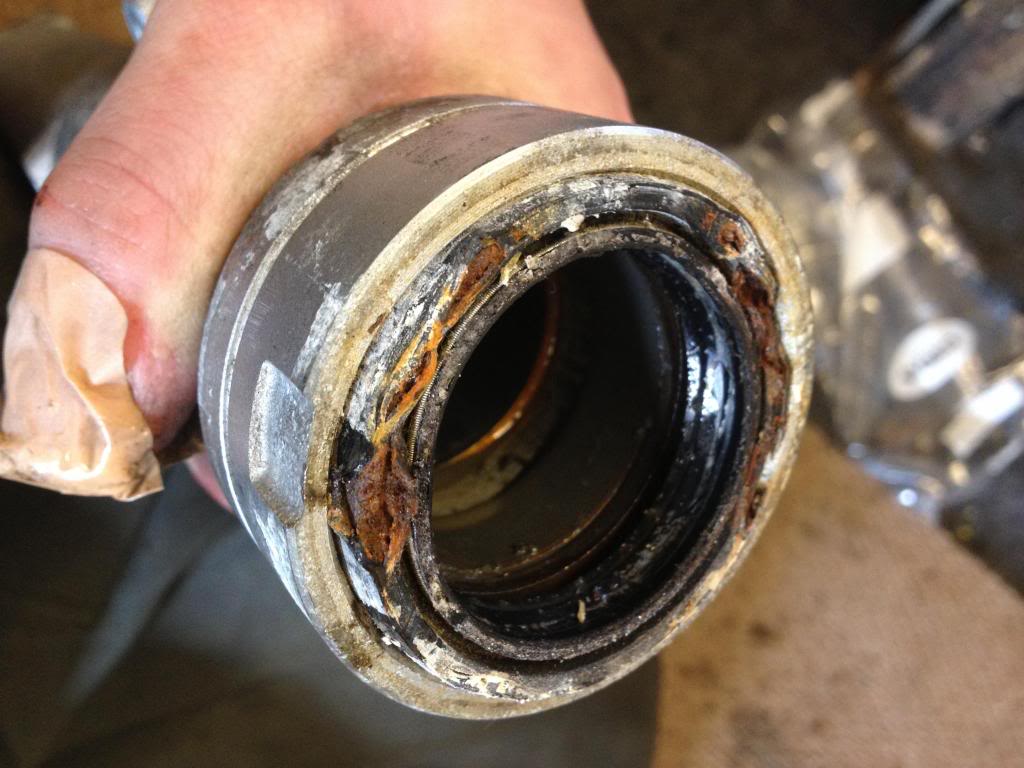
when i took the second apart, as i pulled the stanchion out, it left the oil seal in there fork?!? surely thats not right??? I mean, it was a right mess so it might have just disintegrated??
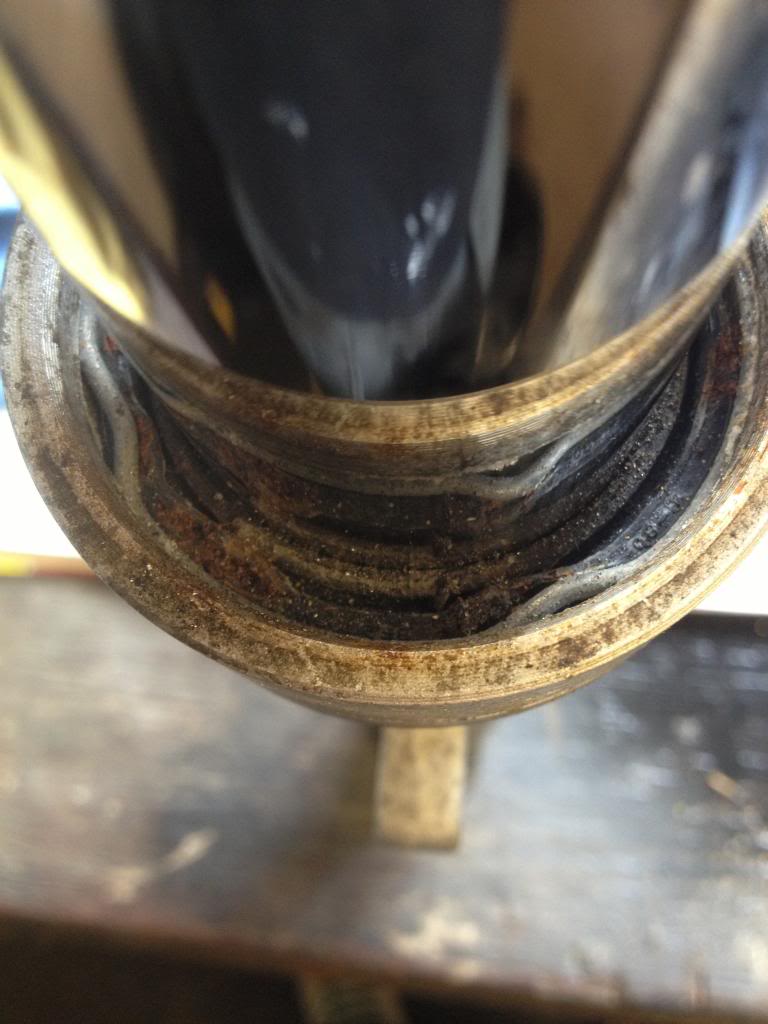
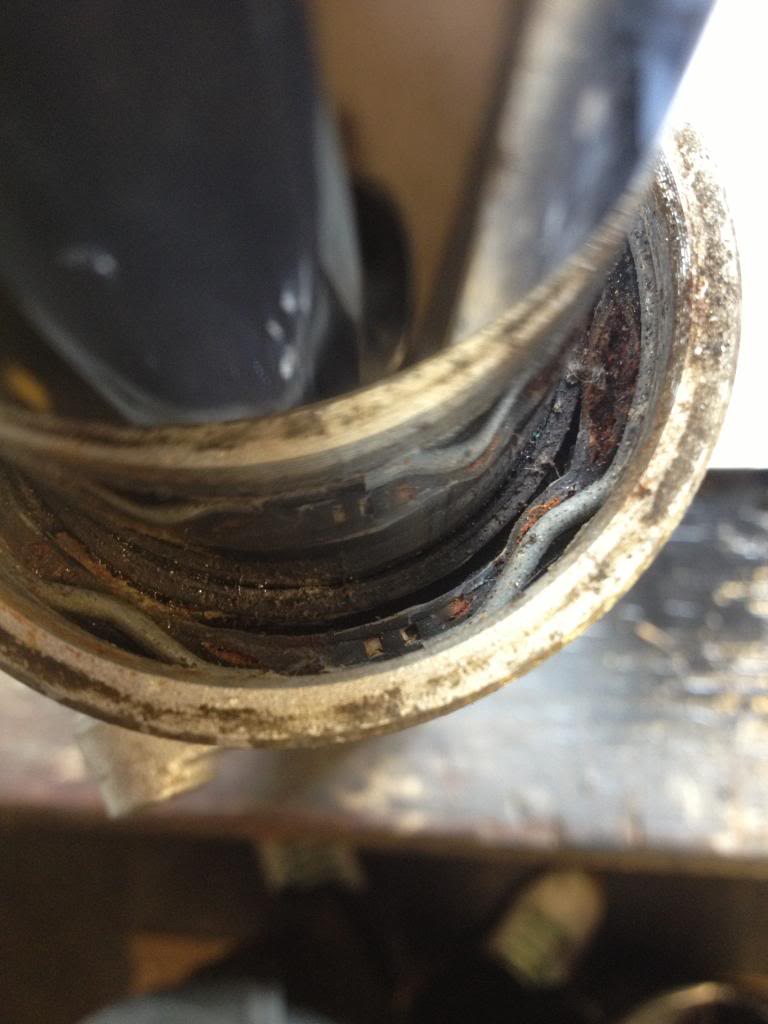
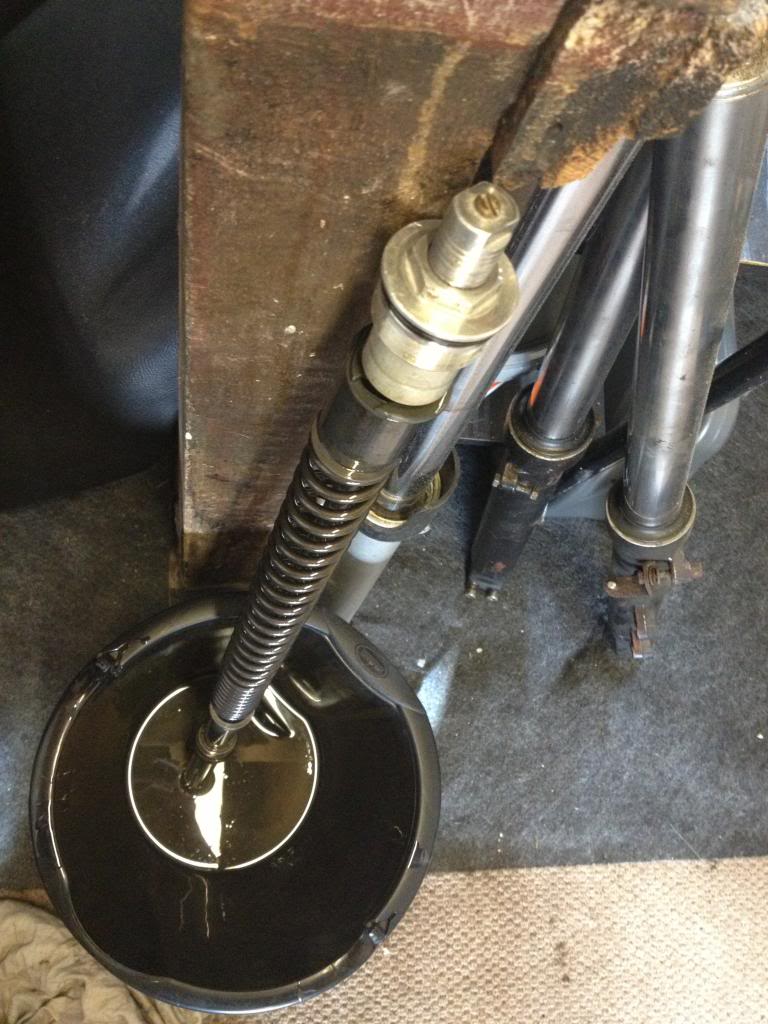
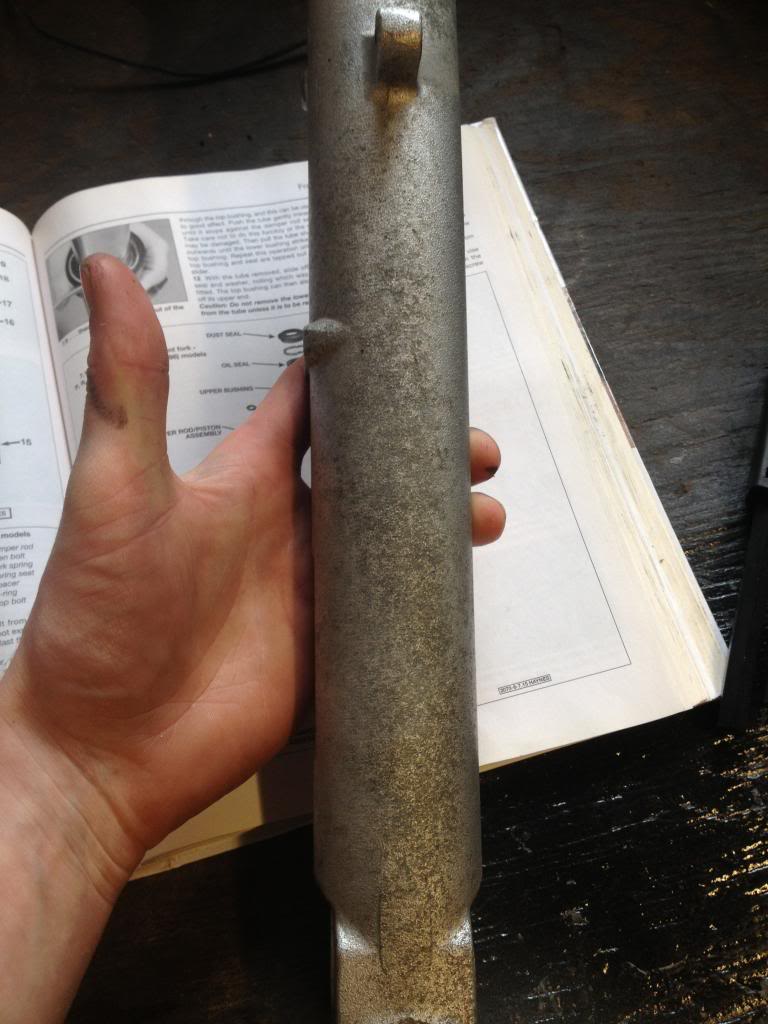
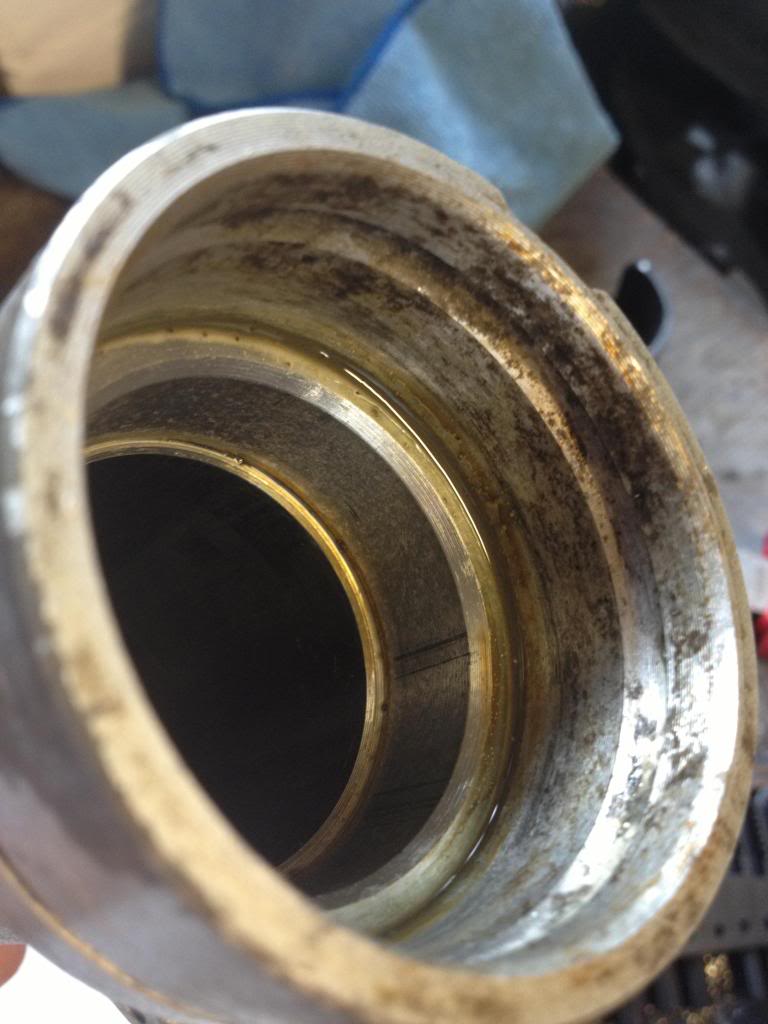
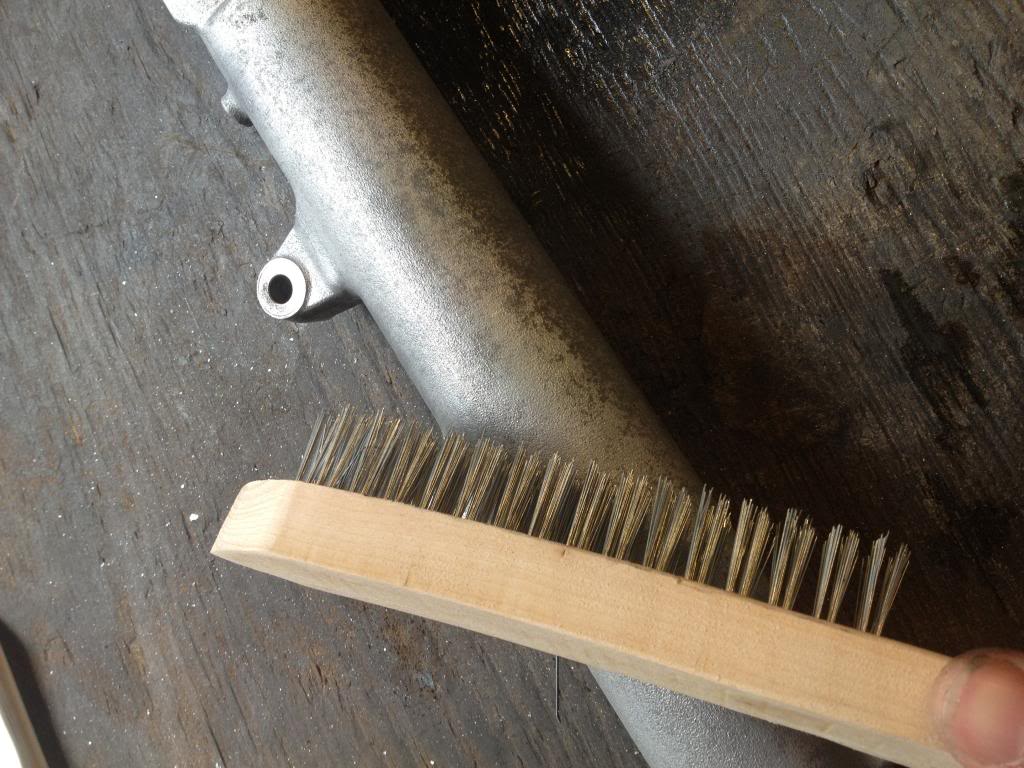
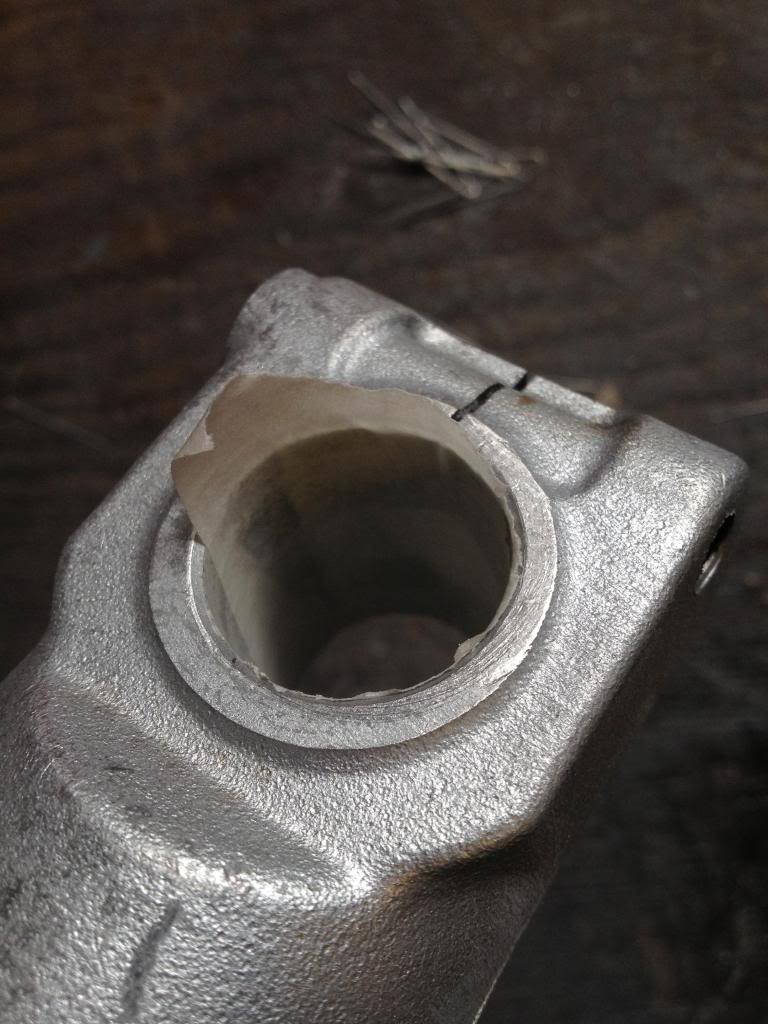
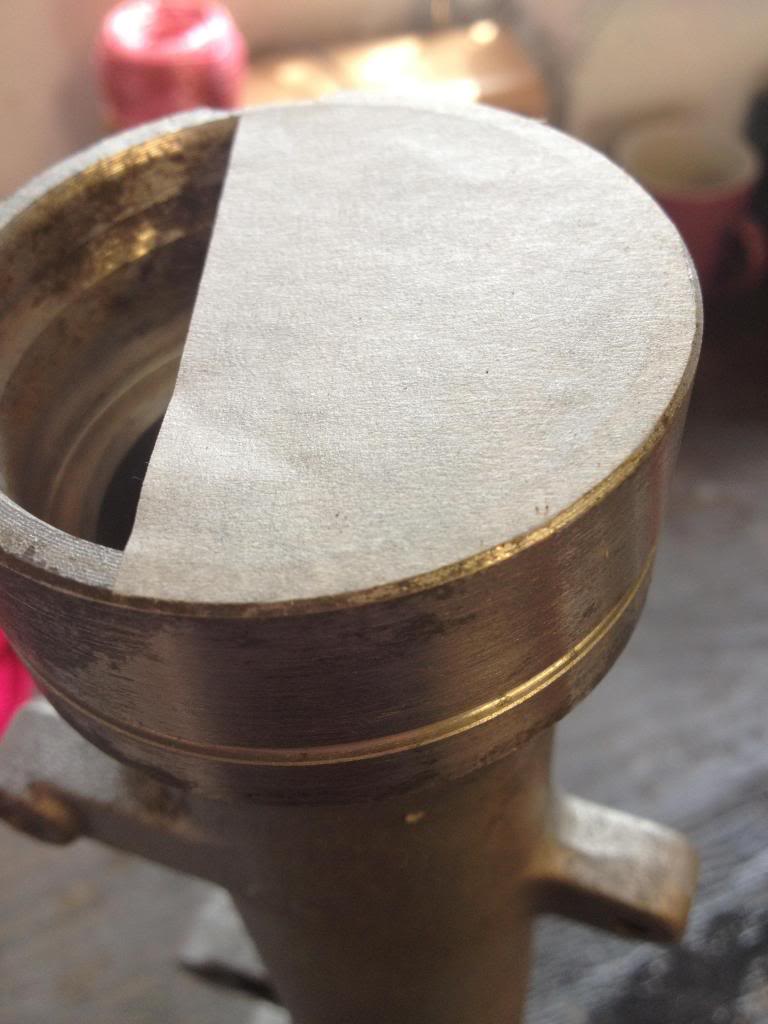
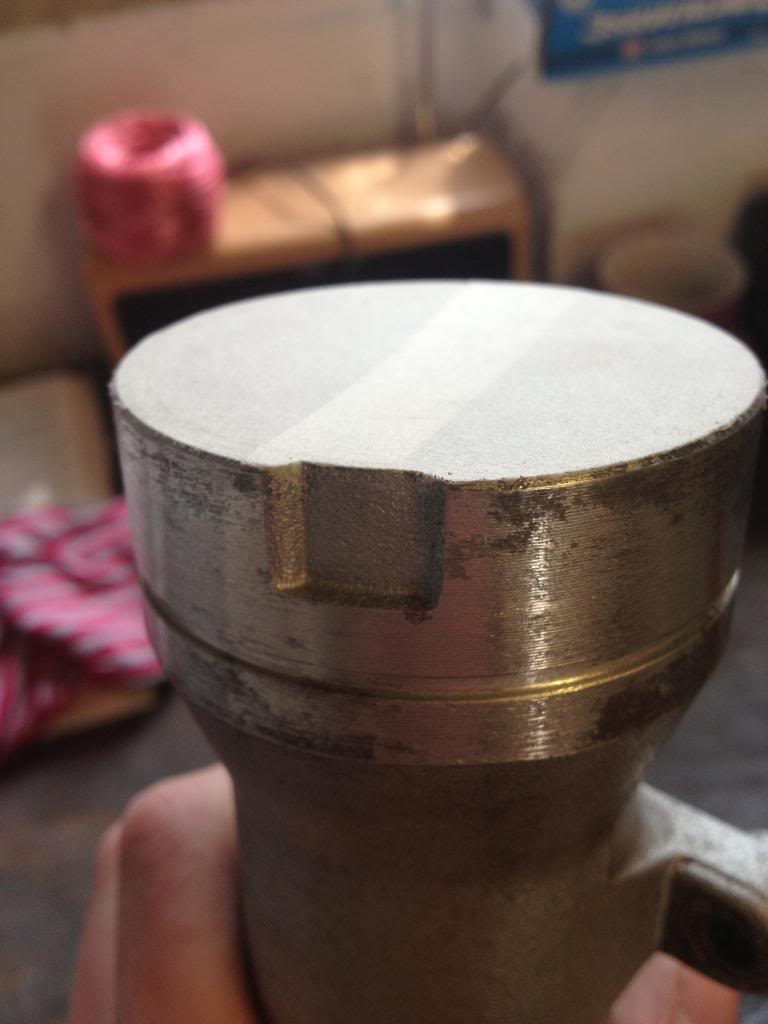
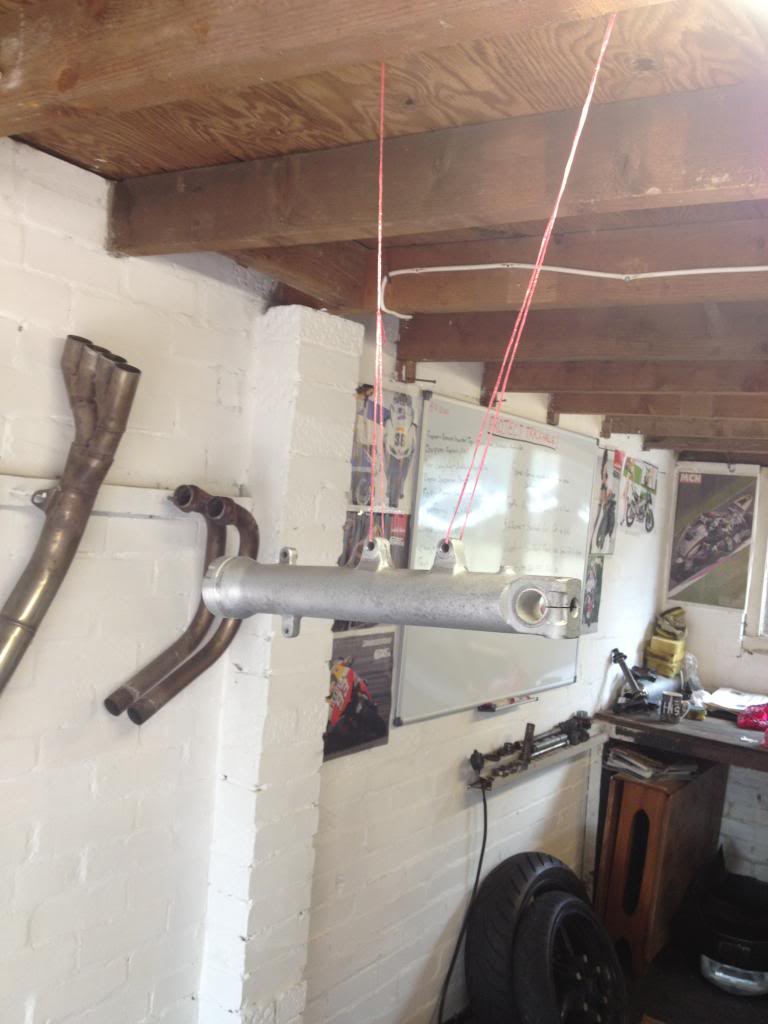
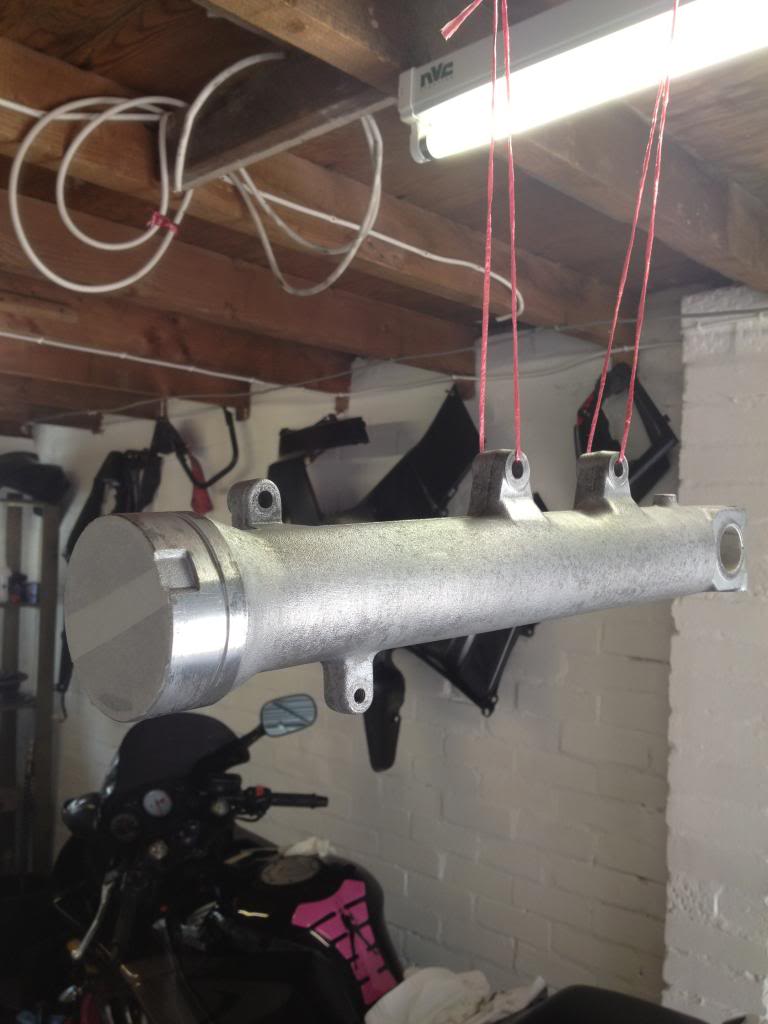
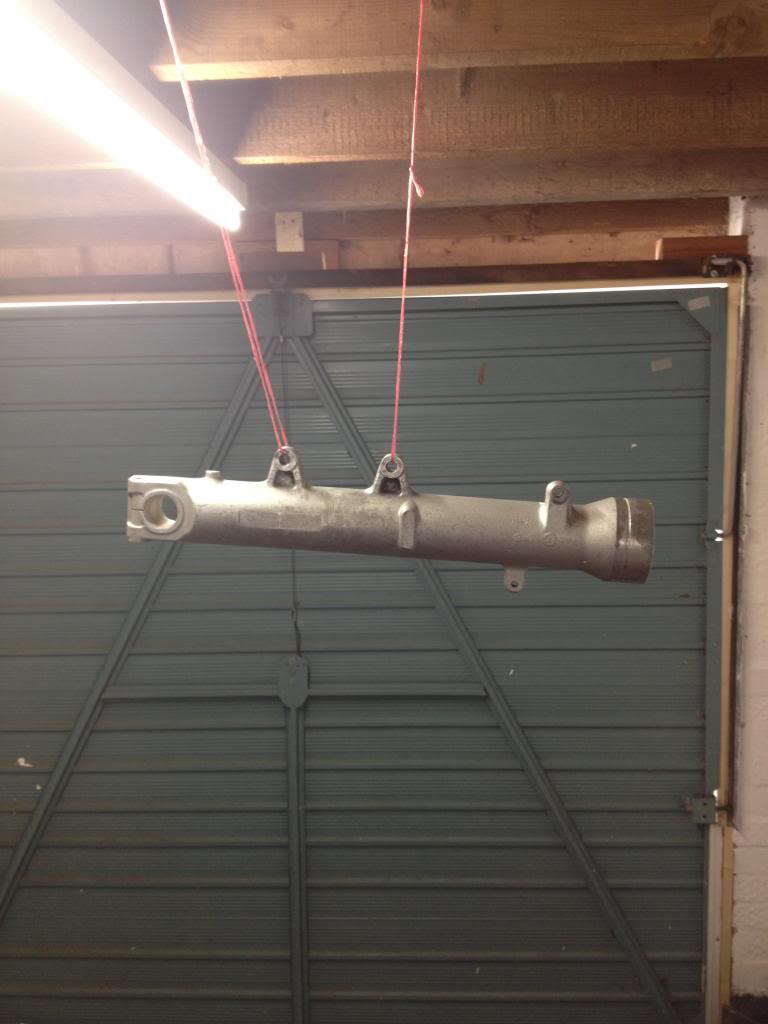
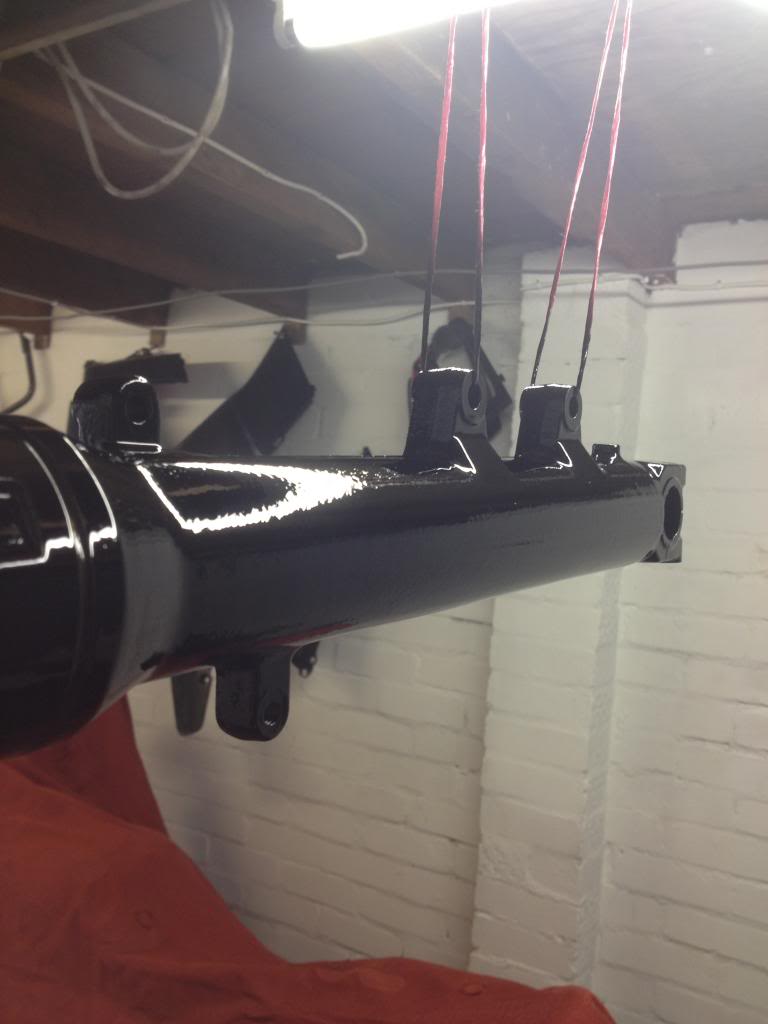

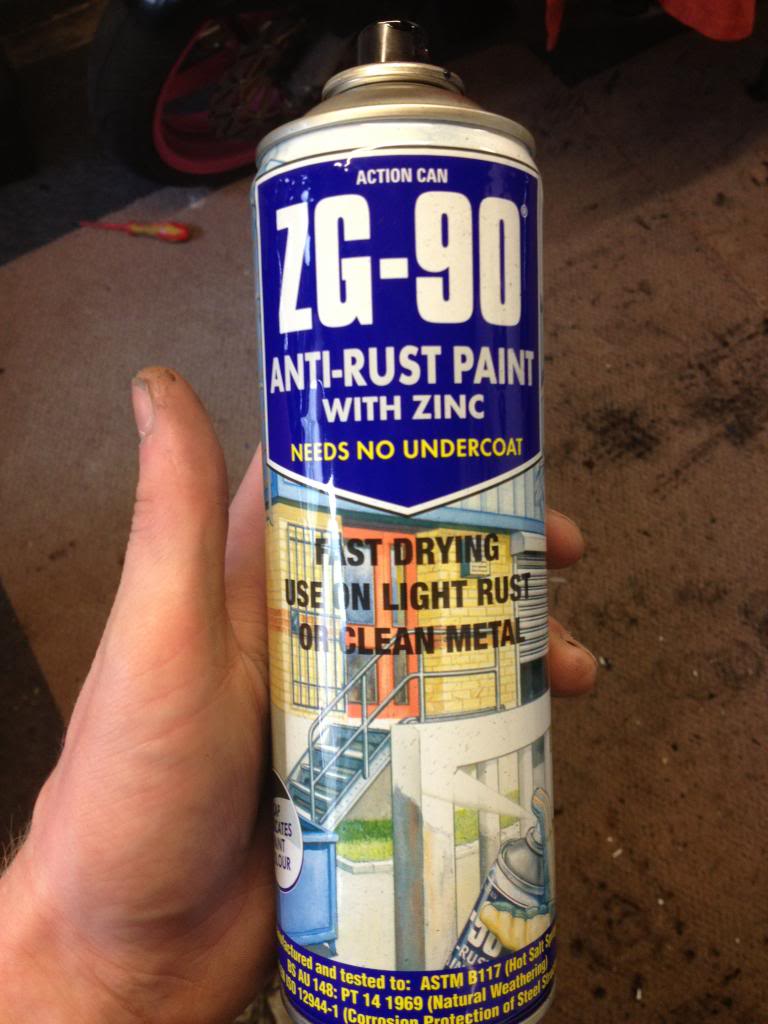
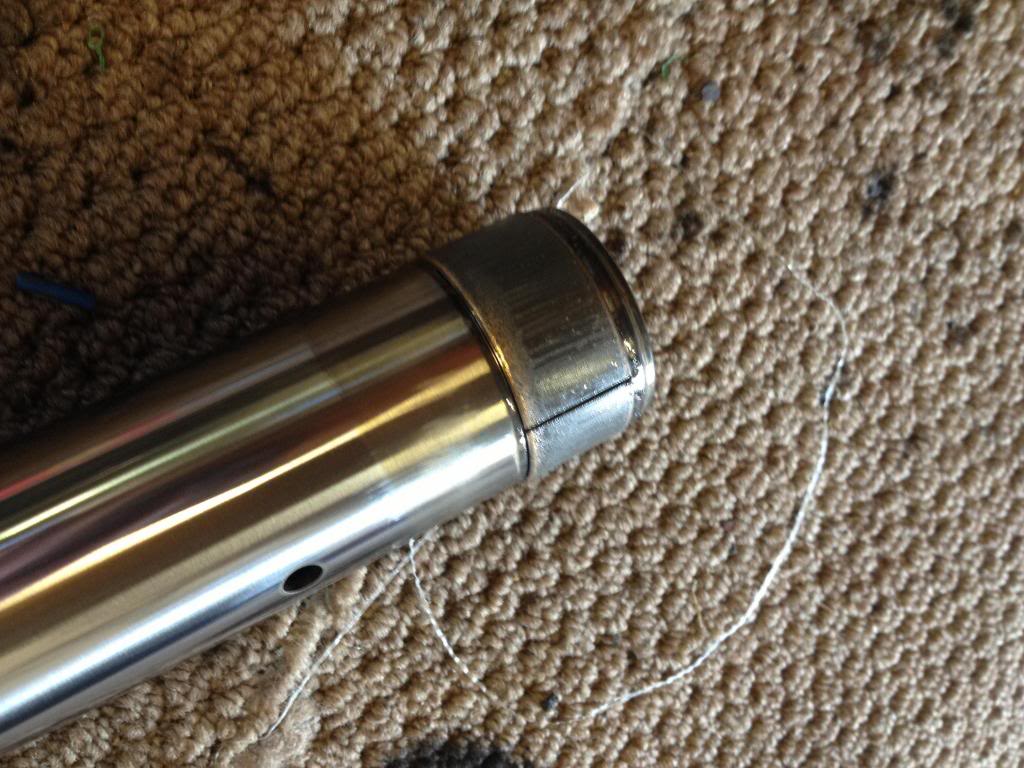
I striped them down, and ive painted them in black. Now, quick question, bearing in mind ive never done this before. When i took the forks apart, i expected the inards to come out in separate parts.... but i just lifted them all out in one go???
ALSO
when i took the second apart, as i pulled the stanchion out, it left the oil seal in there fork?!? surely thats not right??? I mean, it was a right mess so it might have just disintegrated??


