
How-To : Passing Button on a F4i...


Thread Starter
|
Senior Member
Joined: Dec 2009
Posts: 331
Likes: 0
From: Mexico City
Hi guys!!!
Well here I go with my first "How-To" so please be nice (lol).
A year ago when I bought my F4i, my friend gave me some F2 things. Those things kept out of my mind until last week when I remember about this "Passing Button" that my f4i doesn't have. He gave to me a left control panel (the one with the turn signals switch and the horn) and there is the button. So let's get to work..
The only tool that I think is a little hard to have is a Soldering Iron with all the things that you need to work with.
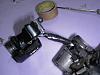
Step 1.
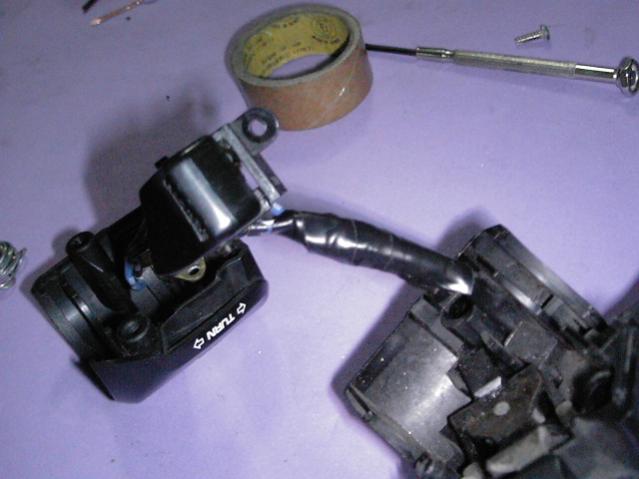
First you have to take out those 2 screws under the controls.
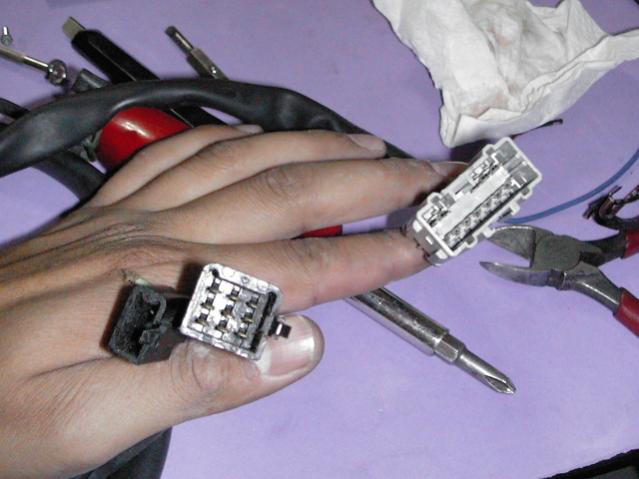
Take your gray harness unhooked and pull it out. It's the one on the right

Step 2.
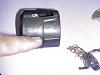
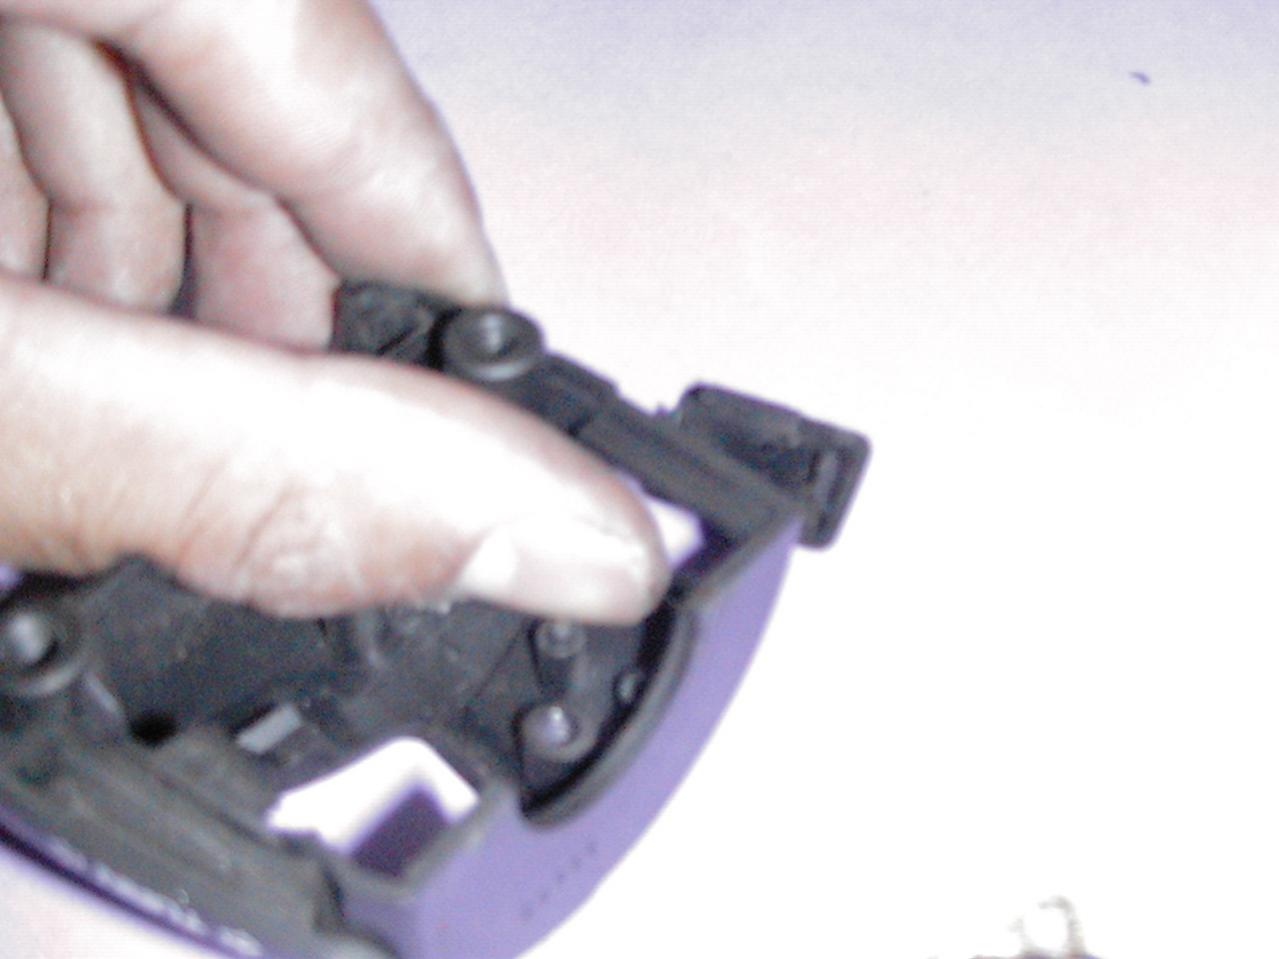
Once you have your F4i control in your hand look it and you'll see that little cover where the button it's gonna go. You only have to push it from inside to take it out.
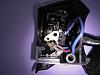
Step 3.
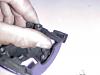
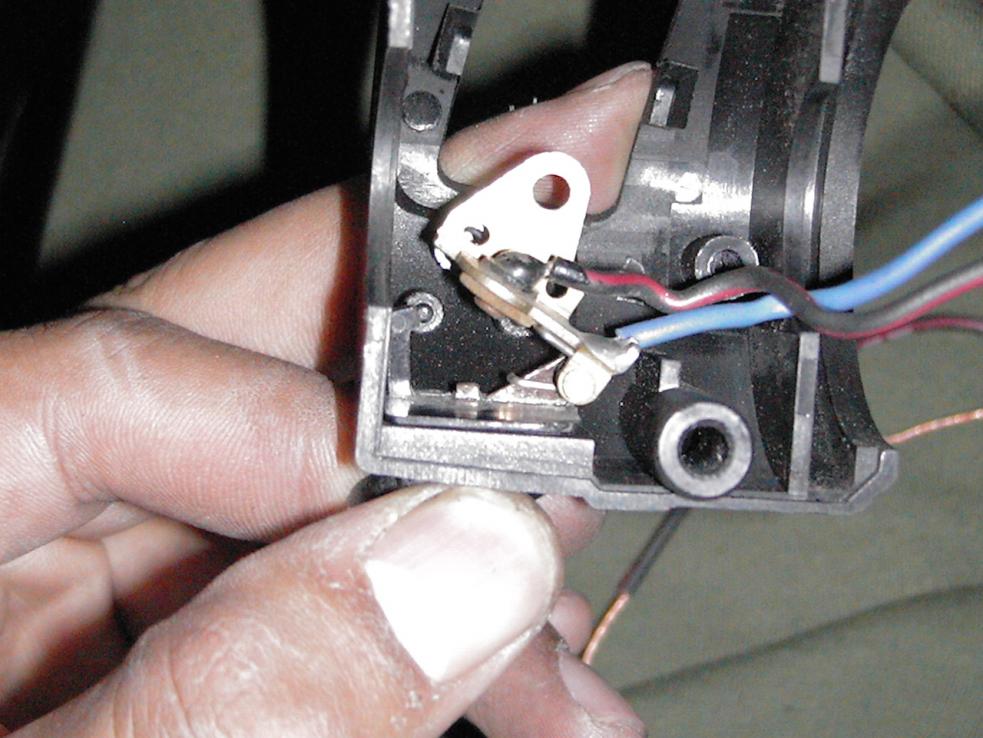
Now, you have to take out the button, unscrew the tiny little screws in the button inside the F2 control, you gonna have to pull out about 2-3 inches of the wires which you have to connect later on the f4i.
The wire colors is "Black with a white stripe" and "Blue with white squares"
Now you can take 2 minutes to go
......
Well here I go with my first "How-To" so please be nice (lol).
A year ago when I bought my F4i, my friend gave me some F2 things. Those things kept out of my mind until last week when I remember about this "Passing Button" that my f4i doesn't have. He gave to me a left control panel (the one with the turn signals switch and the horn) and there is the button. So let's get to work..
The only tool that I think is a little hard to have is a Soldering Iron with all the things that you need to work with.
Step 1.
First you have to take out those 2 screws under the controls.
Take your gray harness unhooked and pull it out. It's the one on the right
Step 2.
Once you have your F4i control in your hand look it and you'll see that little cover where the button it's gonna go. You only have to push it from inside to take it out.

Step 3.
Now, you have to take out the button, unscrew the tiny little screws in the button inside the F2 control, you gonna have to pull out about 2-3 inches of the wires which you have to connect later on the f4i.
The wire colors is "Black with a white stripe" and "Blue with white squares"

Now you can take 2 minutes to go
......
Last edited by John Cu; Dec 16, 2009 at 11:43 PM. Reason: BECAUSE I DON'T PUT ANY PICS....
Thread Starter
|
Senior Member
Joined: Dec 2009
Posts: 331
Likes: 0
From: Mexico City
Step 4:
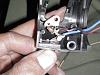
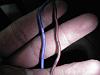
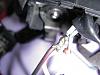
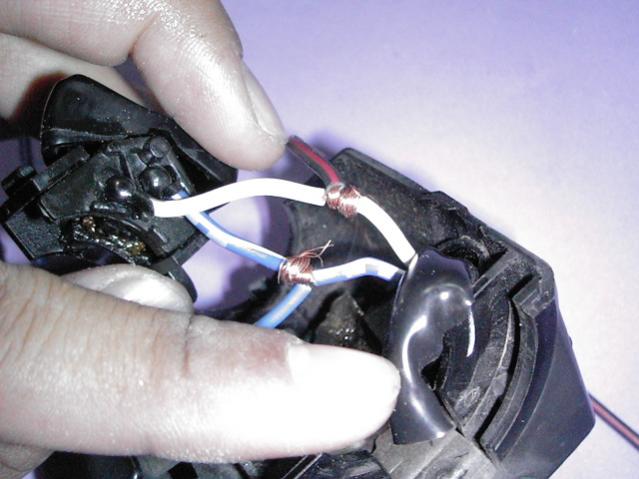
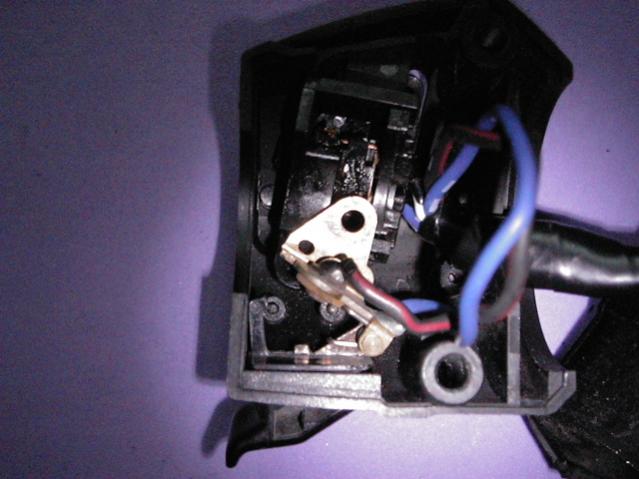
At this point you have your switch ready to put it down to the f4i control, so, you gonna have to remove a little part of the wire cover, about 5 mm(I don't know if I translate this right), remember the correct wires are the blue one with white stripes and the black/red with a white stripe. Once you have it done you have to solder the switch wires to the f4i control (the Hi/Lo Beams Switch)
The blue solder it to the same color wire (blue with stripes)and the black/red wire solder it to the white wire.


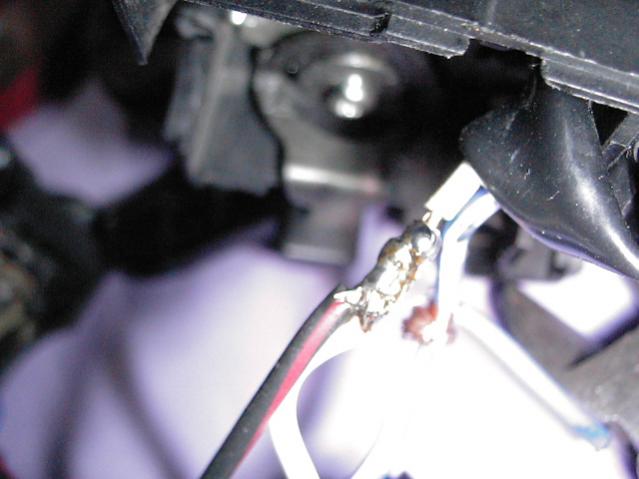
Step 5:
Ok, so now you have both wires soldered, now cover it with duct tape.
Step 6:
Now put the button in the right place, if you noticed both controls (F2 & F4i) are the same in the inside so you know how to put it together.
......
At this point you have your switch ready to put it down to the f4i control, so, you gonna have to remove a little part of the wire cover, about 5 mm(I don't know if I translate this right), remember the correct wires are the blue one with white stripes and the black/red with a white stripe. Once you have it done you have to solder the switch wires to the f4i control (the Hi/Lo Beams Switch)
The blue solder it to the same color wire (blue with stripes)and the black/red wire solder it to the white wire.

Step 5:
Ok, so now you have both wires soldered, now cover it with duct tape.
Step 6:
Now put the button in the right place, if you noticed both controls (F2 & F4i) are the same in the inside so you know how to put it together.
......
Last edited by John Cu; Dec 17, 2009 at 12:11 AM.
Thread Starter
|
Senior Member
Joined: Dec 2009
Posts: 331
Likes: 0
From: Mexico City
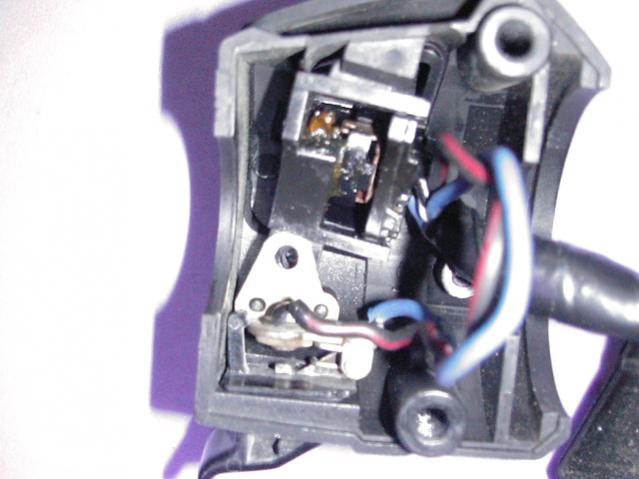

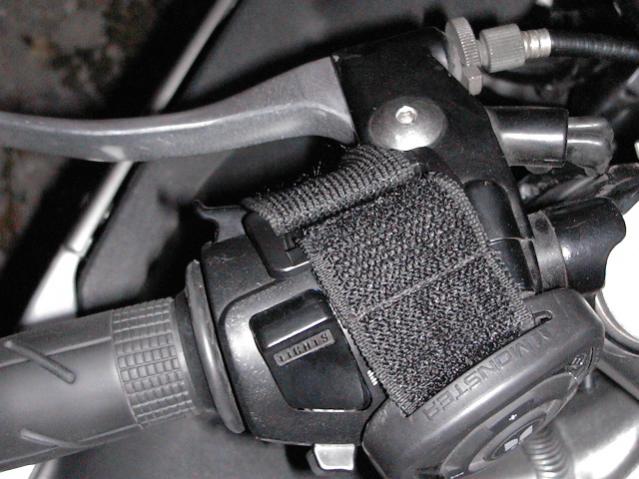
Ok so now it look like this
-Top-
Step 7:
Now that all is ok, you have to hide the wires inside so there's plenty room to put it back on the bike. Once you are in the bike put the control with the harness back in and...
YOU'RE DONE!!!!
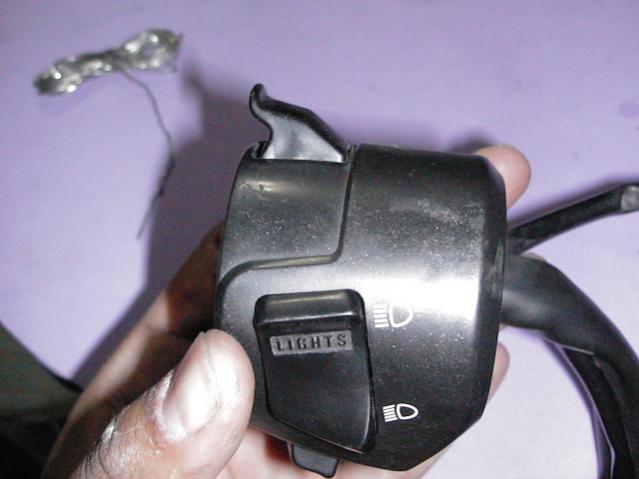
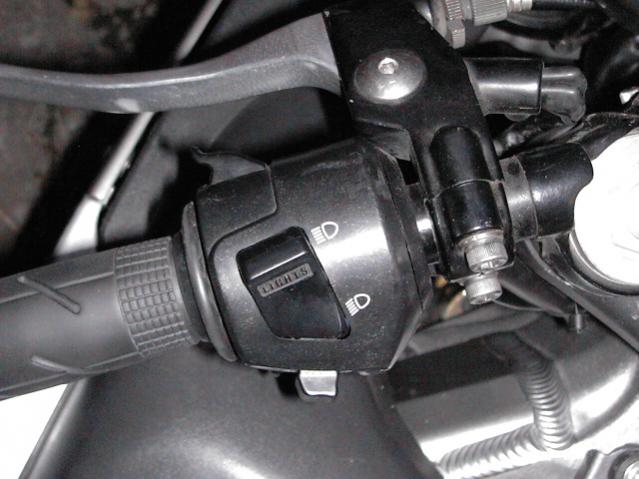
Finally it looks like this..
Left side F2 - Right side F4i

And in the bike..
...
Thread Starter
|
Senior Member
Joined: Dec 2009
Posts: 331
Likes: 0
From: Mexico City
and the last one ...

and that's it....
Maybe some of you thinks "Why do I need this mod??" well for me it's so much helpfull pushing this passing button to make my HI beams work instead of changing the switch from Lo Beams to Hi Beams, I don't know it a matter of taste.
Please tell me your comments or doubts (if u have any). Or simply tell me that I am a dumb ***, what do you think??.

Member
Joined: Nov 2009
Posts: 41
Likes: 0
From: Vancouver British Columbia
Do you mean Black wire with Red stripe?
"Blue with white squares"
Is this a Blue wire with a White stripe that just happens to have White bands as well? Or is it a solid Blue wire with White bands?
If it is a Blue wire with a white tracer (stripe) or solid Blue wire and the correct wire to solder it to is a Blue wire with White tracer, then personally, I would just leave out the mention of the "white squares" part.
Also: "...and the black/red with a white stripe."
Black and Red with White stripe?
Is this the same Black wire with Red stripe that was mentioned earlier, or another wire? I don't get it.
To me, it looks like a solid Blue wire solders to a Blue with White tracer wire, and a Black wire with Red tracer solders to a solid White wire.
PS, good show BTW, don't take my questions as any kind of insult please, I mean no offense! Just trying for clarification, as I suck at electrical stuff, heehee.
Last edited by LBS; Dec 17, 2009 at 11:23 AM.
Thread Starter
|
Senior Member
Joined: Dec 2009
Posts: 331
Likes: 0
From: Mexico City
Yes, I'm sorry, I realized that I don't put the right color, and yes it's Black with red stripe...
Well, sorry about my english but I'm doing my best....
The blue one is solid blue with white bands and I'm agree with your comment, the black wire is the same that i mention earlier in the post.
"To me, it looks like a solid Blue wire solders to a Blue with White tracer wire, and a Black wire with Red tracer solders to a solid White wire."
Exactly...
No, I'm glad that you ask me, because I don't know if i explain it right. That's okay, don't worry, if any of you have more questions let me know....
Member
Joined: Nov 2009
Posts: 41
Likes: 0
From: Vancouver British Columbia
Yes, I'm sorry, I realized that I don't put the right color, and yes it's Black with red stripe...
Well, sorry about my english but I'm doing my best....
The blue one is solid blue with white bands and I'm agree with your comment, the black wire is the same that i mention earlier in the post.
"To me, it looks like a solid Blue wire solders to a Blue with White tracer wire, and a Black wire with Red tracer solders to a solid White wire."
Exactly...
No, I'm glad that you ask me, because I don't know if i explain it right. That's okay, don't worry, if any of you have more questions let me know....
Well, sorry about my english but I'm doing my best....
The blue one is solid blue with white bands and I'm agree with your comment, the black wire is the same that i mention earlier in the post.
"To me, it looks like a solid Blue wire solders to a Blue with White tracer wire, and a Black wire with Red tracer solders to a solid White wire."
Exactly...
No, I'm glad that you ask me, because I don't know if i explain it right. That's okay, don't worry, if any of you have more questions let me know....
Well if *I* understood it, then anybody should be able to
...and your english seems just fine. Better than a lot of natives, to me


Thread
Thread Starter
Forum
Replies
Last Post