
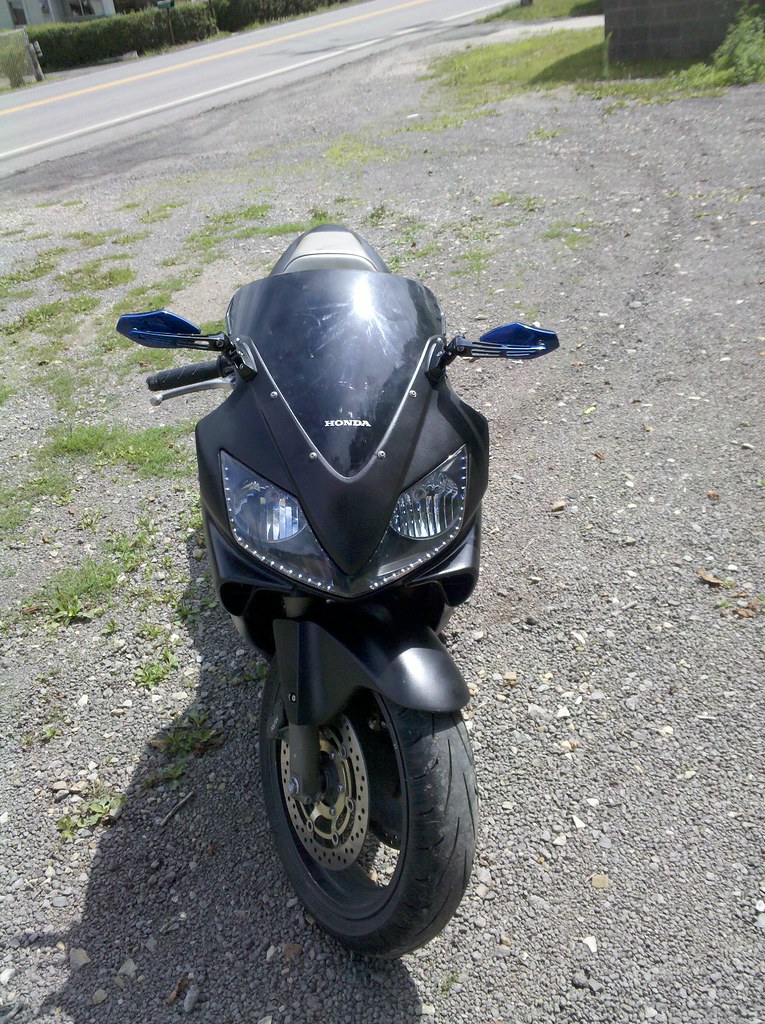
DIY: F4I Headlight L.E.D DRL Mod


Thread Starter
|
Junior Member
Joined: May 2010
Posts: 21
Likes: 0
From: colliers wv
First off,
Hello everyone here is a quick Diy on how to install L.E.Ds in your headlights
This Diy will be quick and to the point any questions/comments feel free to
post them up. Also Feel Free to repost anywhere you want with credit to myself and CBRforum of course.

Materials needed
1. remove headlight
2. remove headlight bulbs! Bulbs + Oven =
3. preheat oven to 325 degrees
4. place headlight on baking sheet in the middle of the oven for about 2 to 2 1/2 minutes
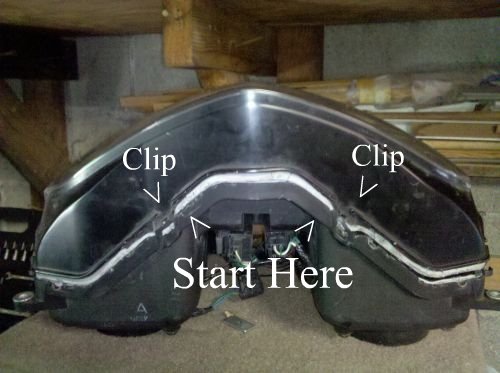
5. remove headlight from oven and use a flathead screwdriver to open the clips while you pry the lense from the headlight housing. i found it easier if you start on the bottom of the headlight and work your way around.
take your utility knife and cut the glue as you pry.

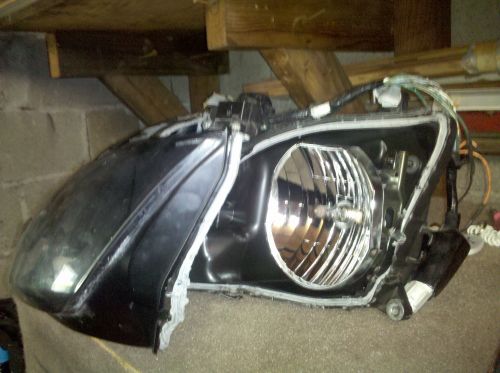
once you have enough room you can put your fingers inside and gently pry the headlight apart.
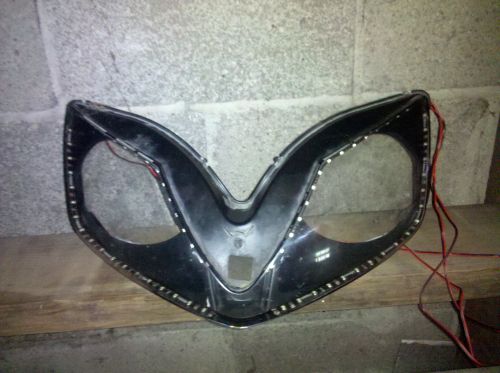
6. set the housing aside and look at the back of the lense. there is three screws we need to remove. two on top and one in the center.

7. remove the fascia from the lense. it pulls out pretty easily
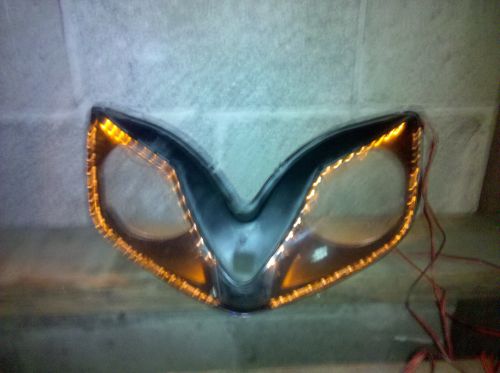
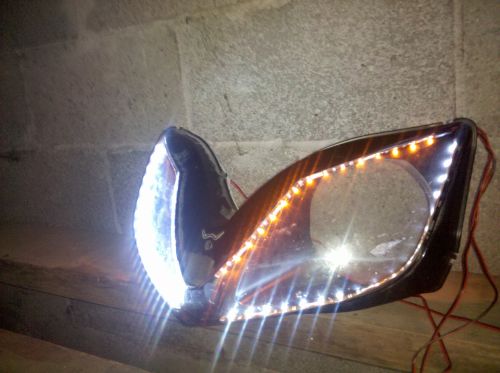
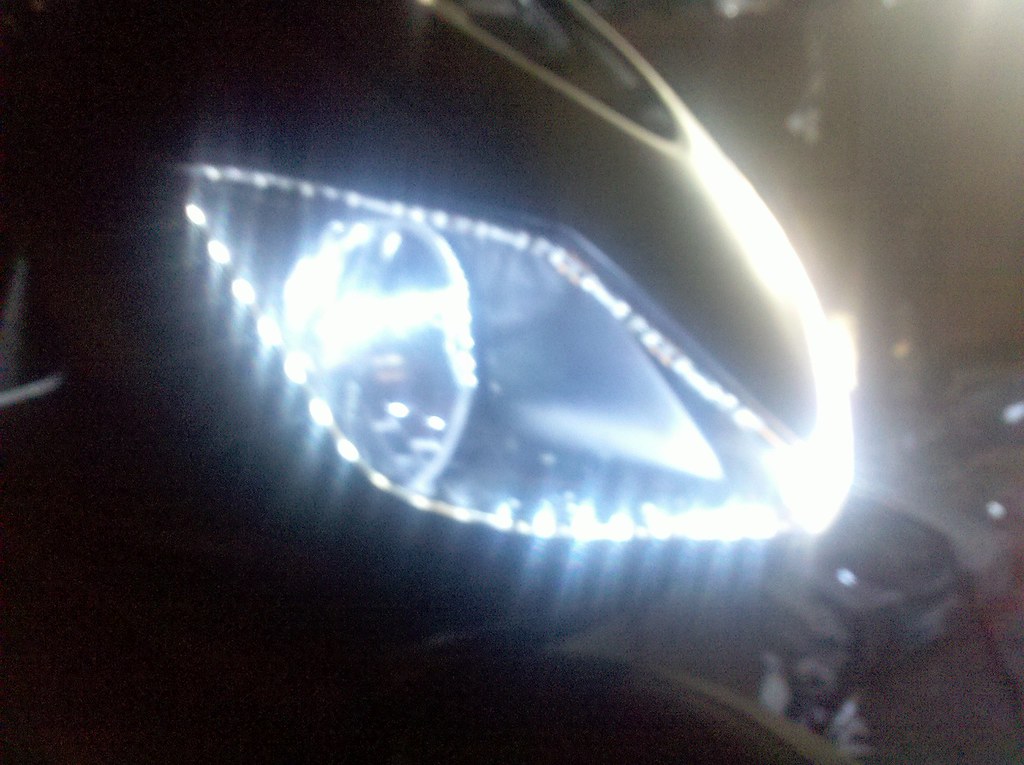
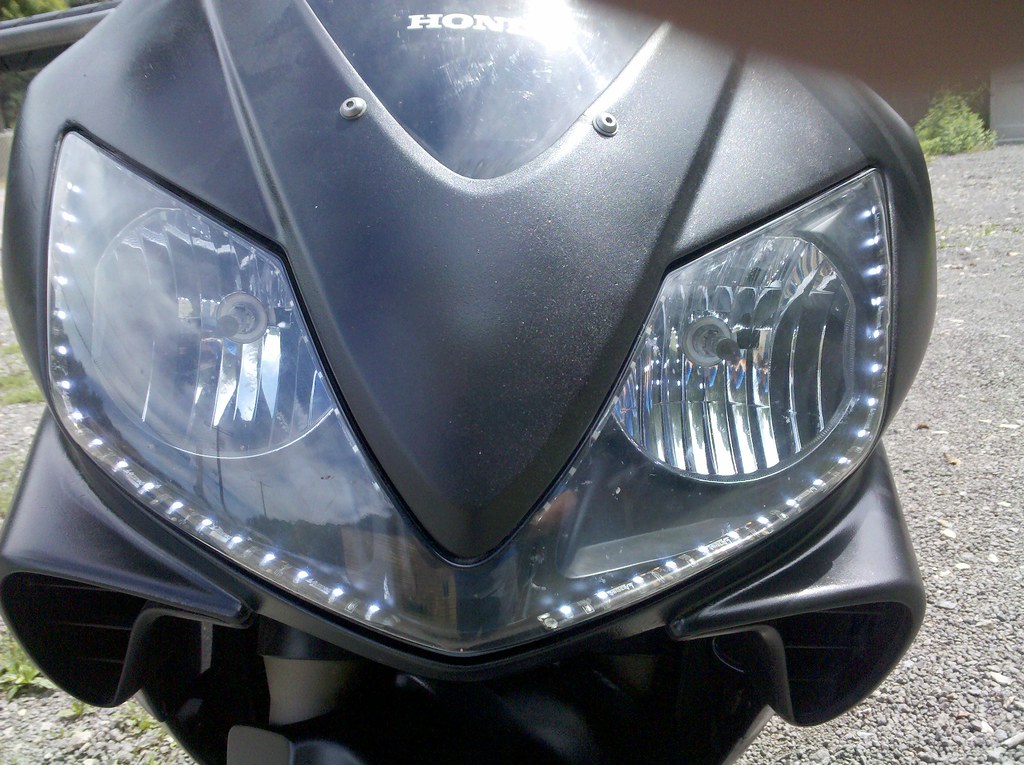
8. install your L.E.Ds. install them as close to the front of the lense as possible. for my install i chose to use L.E.Ds from autozone. one pack of white and one pack of amber.
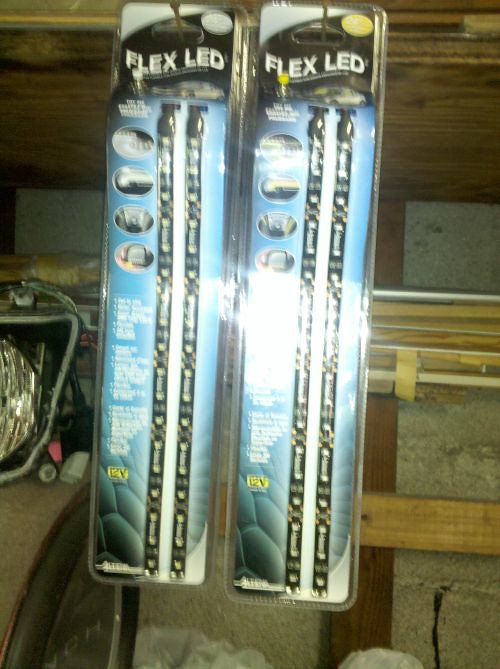
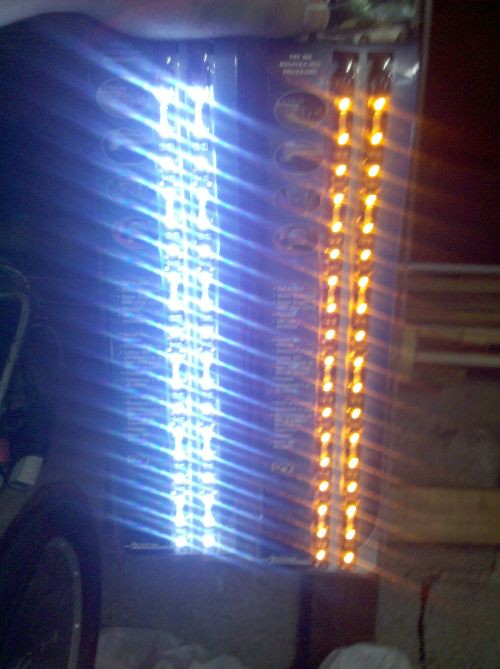
the white L.E.Ds will be daytime running lights and the amber ones will be wired into my turn signals.

9. reinstall the fascia with the wires coming out
10. place the lense and housing back in the oven for 2 minutes on 325
11. pull the headlight out
11.A. (optional) insert your rubber butyl/glue/sealant into the groove on the headlight housing
12. quickly line up the lense with the groove on the headlight housing and push the two pieces together with as much force as you can without breaking anything. remember to pull the wires out. you can pull them out between the lense and housing without a problem to keep the wires out of the way you can tape the to the front of the lense ON THE OUTSIDE
13. now you have three options... use wood clamps to hold the headlight together, place the headlight in a vice, or
wrap the headlight in a towel and while keeping pressure on the headlight wrap run 3 strips of duct tape as tight as possible over the headlight. one strip over each headlight and one directly in the center will work. Get it as tight as possible!
14. allow time for your headlight sealant to harden. if you used extra sealant remember to read the package and find out how long it takes your sealant to harden.
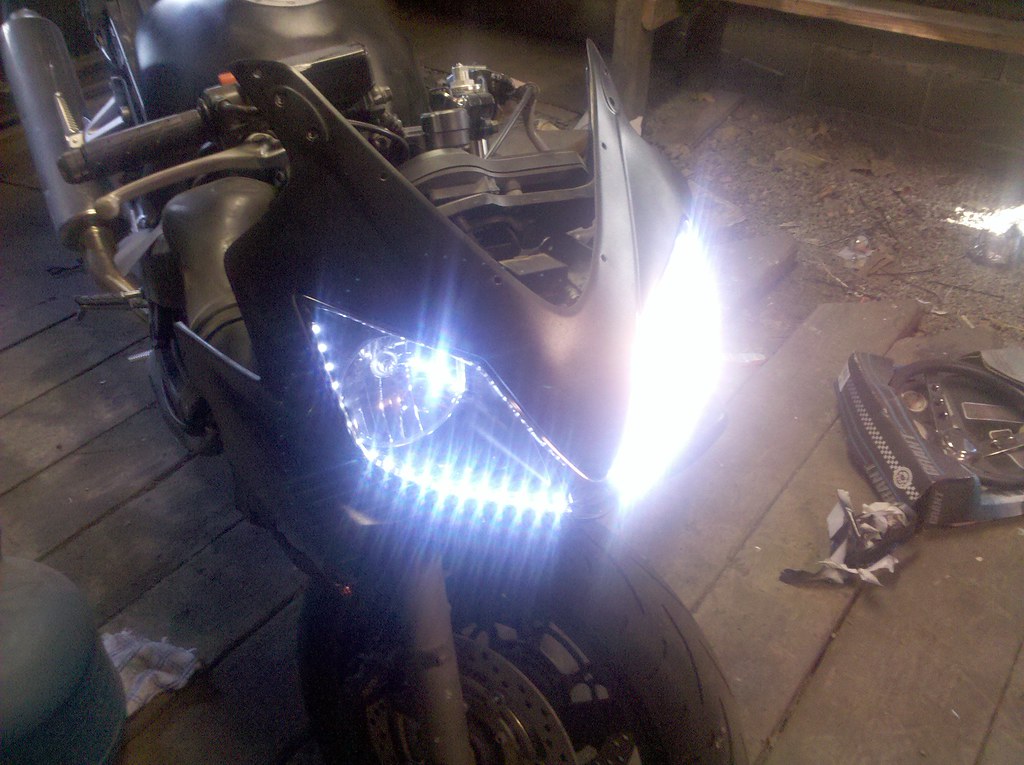
15. install your headlights and wire up your L.E.Ds!
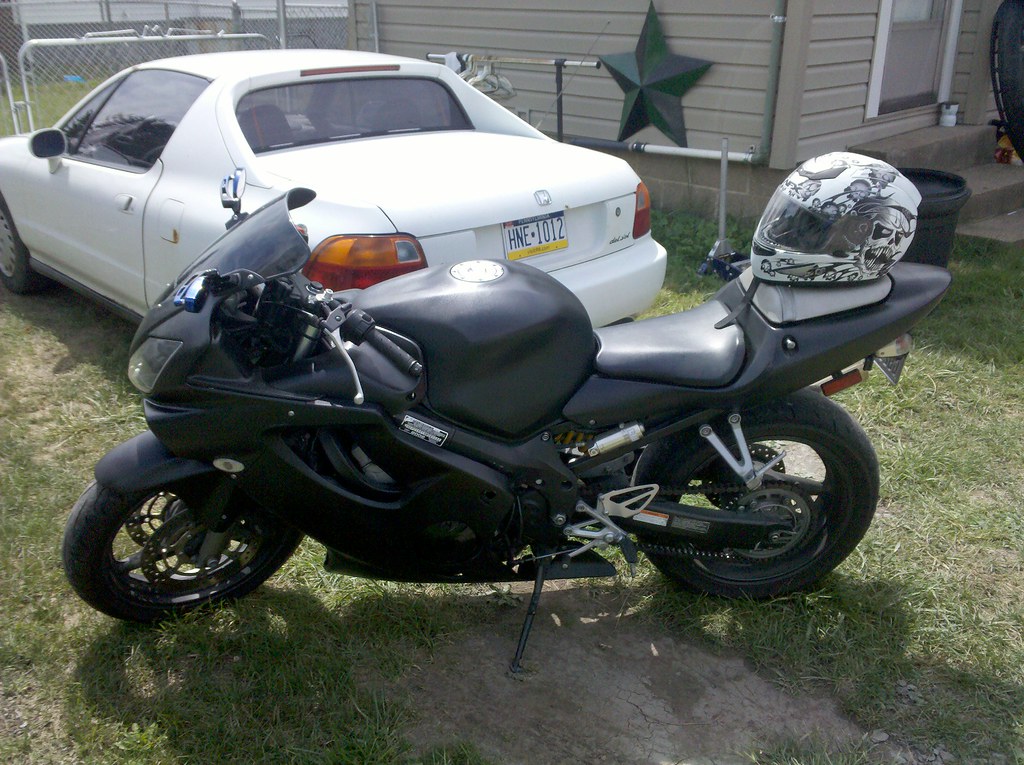
Enjoy your new toy!
EDIT!
hey guys just an update here..
my original l.e.d's are still looking and working great but i would like to add if you want more light to show for morning/noon riding i would definately go with a brighter LED than the ones advance/autozone are selling. but for evening and night riding they are beautiful and very easily visable.
thanks again and i hope you guys like this easy mod
Hello everyone here is a quick Diy on how to install L.E.Ds in your headlights
This Diy will be quick and to the point any questions/comments feel free to
post them up. Also Feel Free to repost anywhere you want with credit to myself and CBRforum of course.
Materials needed
- screwdrivers flat and phillips
- prying tools (optional)
- wood clamps/ vice / duct tape

- L.E.Ds flexable autozone $20 24" pair
- large towel
- soft surface (so you dont scratch the headlight)
- Goop/glue/sealant (optional) I Recomend "Goop" it is an amazing product! (its sold pretty much everywhere. even walmart)
- razor blade/utility knife (optional)
- oven (optional)
- baking sheet (optional)
1. remove headlight
2. remove headlight bulbs! Bulbs + Oven =
3. preheat oven to 325 degrees
4. place headlight on baking sheet in the middle of the oven for about 2 to 2 1/2 minutes
5. remove headlight from oven and use a flathead screwdriver to open the clips while you pry the lense from the headlight housing. i found it easier if you start on the bottom of the headlight and work your way around.
take your utility knife and cut the glue as you pry.
once you have enough room you can put your fingers inside and gently pry the headlight apart.
6. set the housing aside and look at the back of the lense. there is three screws we need to remove. two on top and one in the center.
7. remove the fascia from the lense. it pulls out pretty easily
8. install your L.E.Ds. install them as close to the front of the lense as possible. for my install i chose to use L.E.Ds from autozone. one pack of white and one pack of amber.
the white L.E.Ds will be daytime running lights and the amber ones will be wired into my turn signals.
9. reinstall the fascia with the wires coming out
10. place the lense and housing back in the oven for 2 minutes on 325
11. pull the headlight out
11.A. (optional) insert your rubber butyl/glue/sealant into the groove on the headlight housing
12. quickly line up the lense with the groove on the headlight housing and push the two pieces together with as much force as you can without breaking anything. remember to pull the wires out. you can pull them out between the lense and housing without a problem to keep the wires out of the way you can tape the to the front of the lense ON THE OUTSIDE
13. now you have three options... use wood clamps to hold the headlight together, place the headlight in a vice, or
wrap the headlight in a towel and while keeping pressure on the headlight wrap run 3 strips of duct tape as tight as possible over the headlight. one strip over each headlight and one directly in the center will work. Get it as tight as possible!
14. allow time for your headlight sealant to harden. if you used extra sealant remember to read the package and find out how long it takes your sealant to harden.
15. install your headlights and wire up your L.E.Ds!
Enjoy your new toy!
EDIT!
hey guys just an update here..
my original l.e.d's are still looking and working great but i would like to add if you want more light to show for morning/noon riding i would definately go with a brighter LED than the ones advance/autozone are selling. but for evening and night riding they are beautiful and very easily visable.
thanks again and i hope you guys like this easy mod
Last edited by audia4x4; Sep 3, 2011 at 06:20 PM. Reason: Updated Methods

Senior Member
Joined: Dec 2009
Posts: 331
Likes: 0
From: Mexico City
Damn, i thought doing this thing myself, but you did it first lol. It looks pretty well, did you have any problems folding the upper corner of the leds strip in the headlight?? Anyway, it looks excellent.
How many leds has each strip??
How many leds has each strip??


The three wire that were original are for hot, constant hot and ground. With most non oem turn signals they do not include a wire for the constant hot....ie...no running lights. So if your lights are constantly on and not blinking use the OTHER hot wire.

