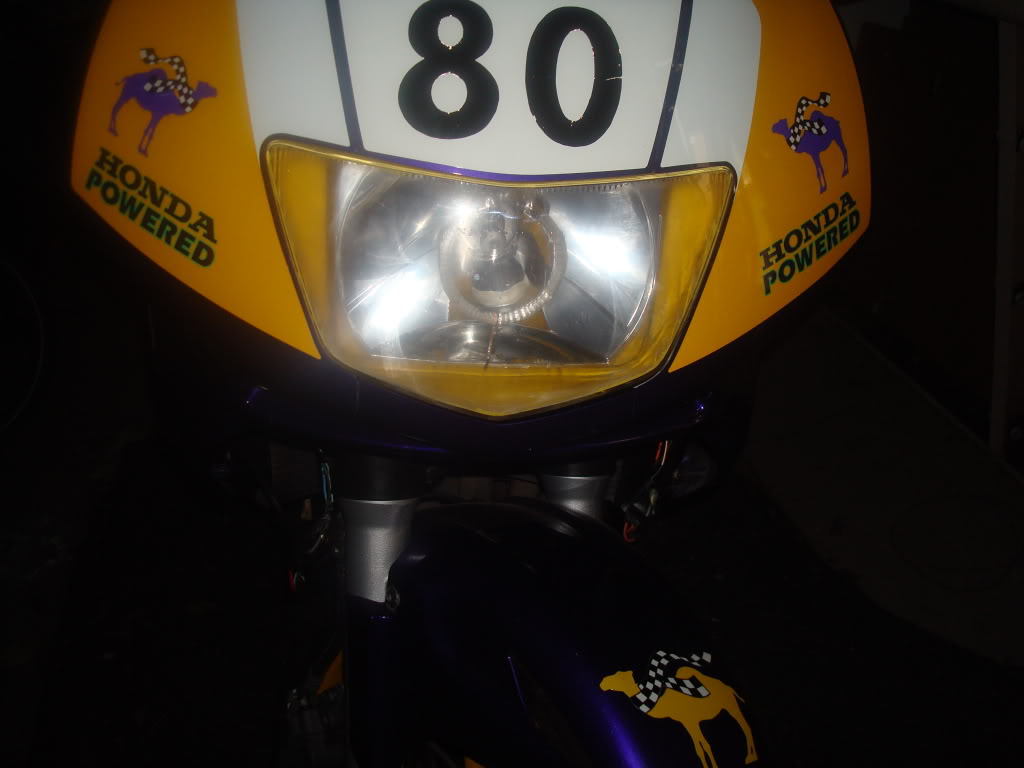
Angel Eyes/Demon Eyes- how to (1000RR) -lots of pics


i got my light taken apart and will start sending down the inside sometimes this coming up week. its hard to tell what will happen.
i have made 2 clear eyes but one of them i left in the oven for too long and it made bunch of little bubbles inside of the plastic, looks cool and i will make the full working halo out of it for testing purposes because i think light will travel through those without cutting grooves on the outside. in this case it will be the whole thing illuminated.
will post some pix shortly.
already done:
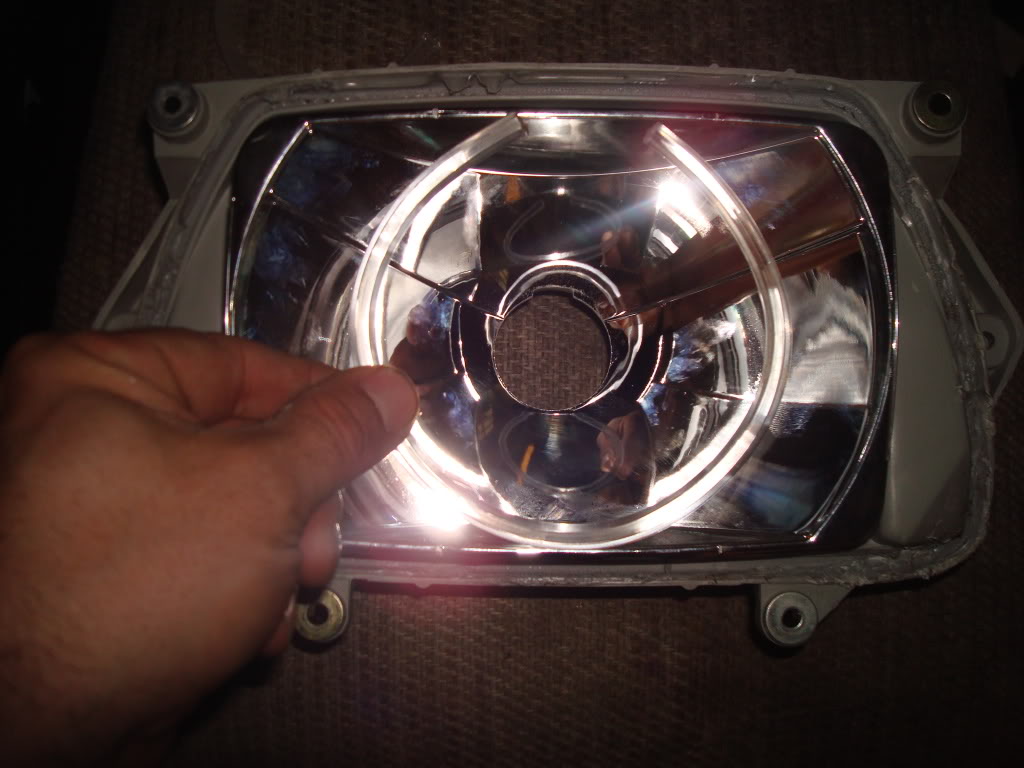
light taken apart
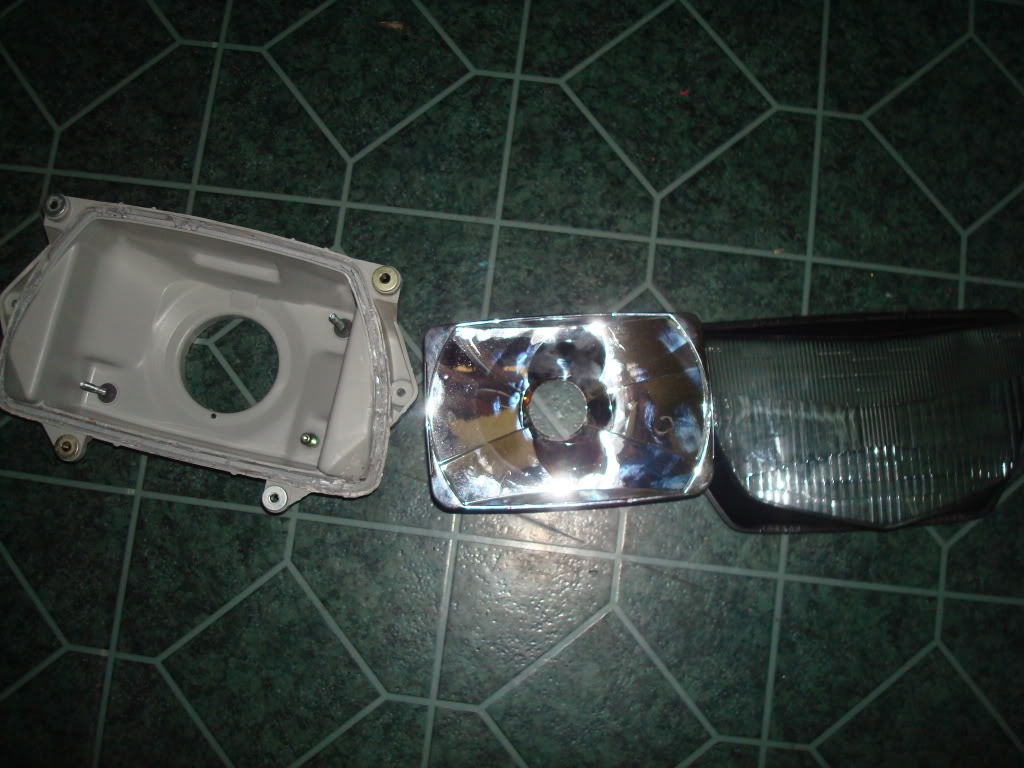
this is whats ahead of me..
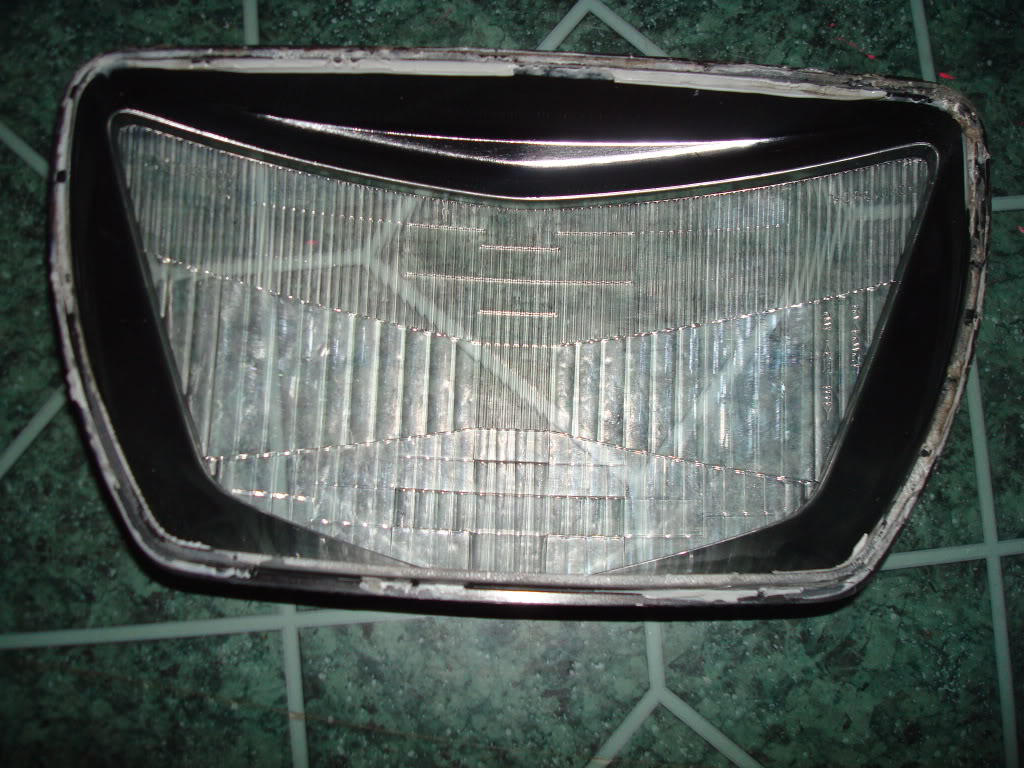
sending down the grooves to make it clear lens
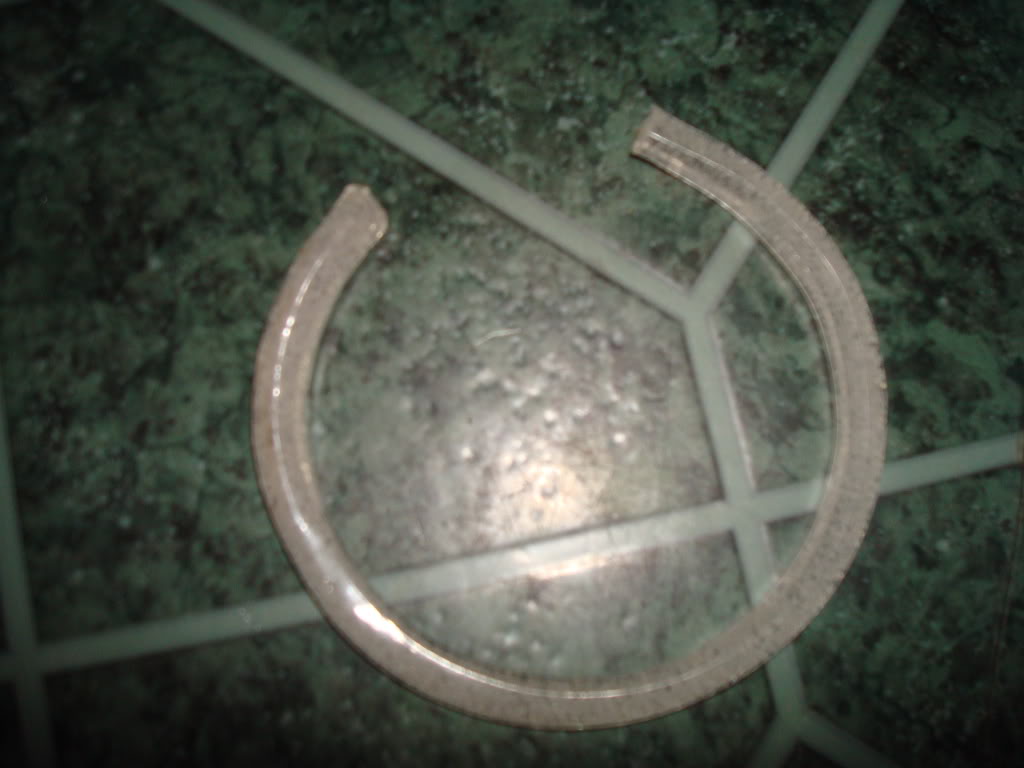
making the halo
this one i would have to cut the grooves on the outside and its bigger
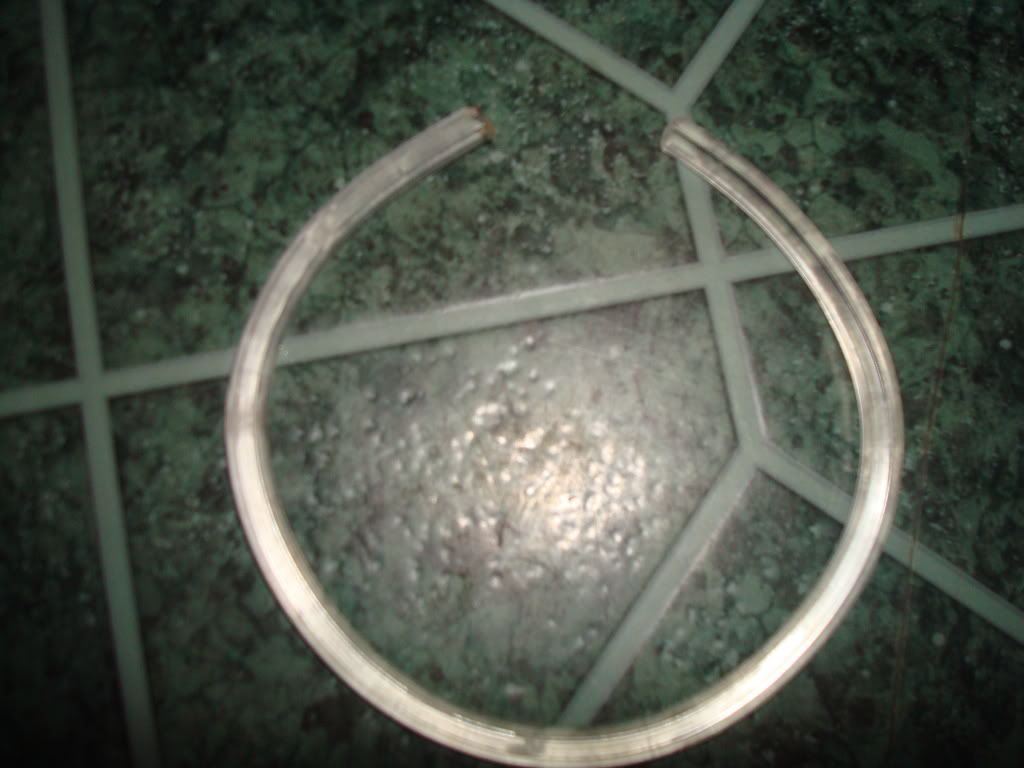
i dont know if i like it being that big
and this one has bubbles inside (hard to see on the picture, but they are there. lots of tiny bubbles) and its smaller, i think it looks better in the light housing...just hope the bubbles work, lol.
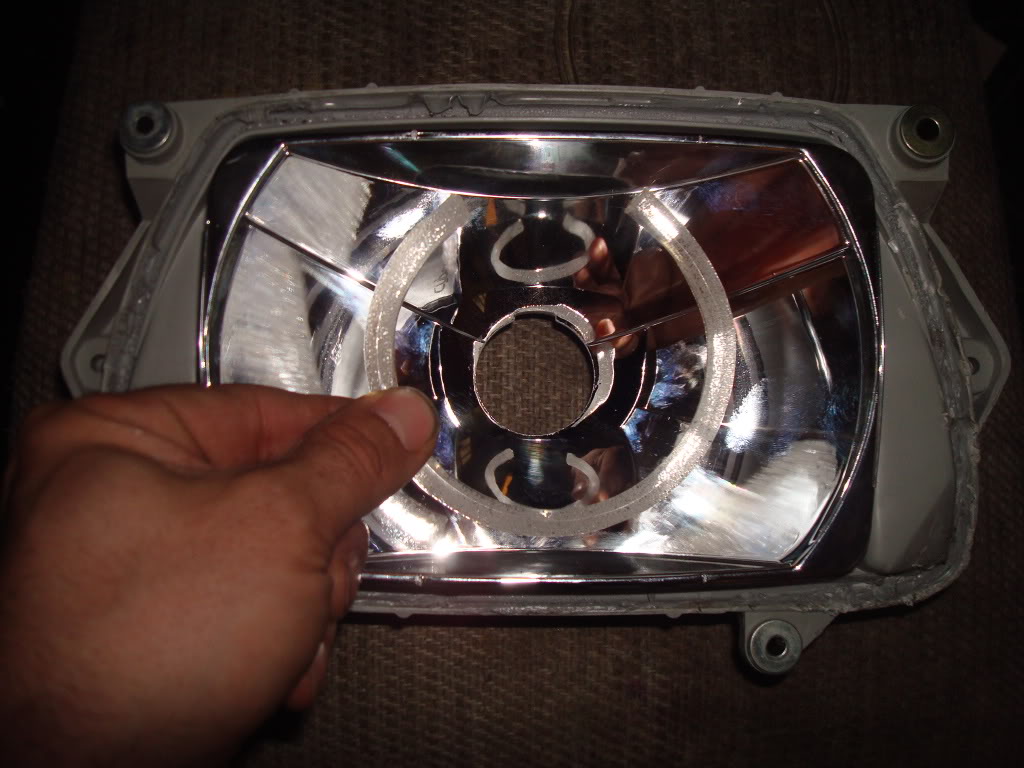
which one do you guys like better.
i think this might be first ever f3 with this mod.
light taken apart
this is whats ahead of me..
sending down the grooves to make it clear lens
making the halo
this one i would have to cut the grooves on the outside and its bigger
i dont know if i like it being that big
and this one has bubbles inside (hard to see on the picture, but they are there. lots of tiny bubbles) and its smaller, i think it looks better in the light housing...just hope the bubbles work, lol.
which one do you guys like better.
i think this might be first ever f3 with this mod.

I like it. How are you gonna make the peice stay set in the housing? Maybe heat up a peice of the rod and melt it to the back of the housing or something? I attempted to do this on a ford probe project a while ago and i couldnt get the light to shine thru the rod. I had the led inside the rod and everything. Just without the tape on the end.
I like it. How are you gonna make the peice stay set in the housing? Maybe heat up a peice of the rod and melt it to the back of the housing or something? I attempted to do this on a ford probe project a while ago and i couldnt get the light to shine thru the rod. I had the led inside the rod and everything. Just without the tape on the end.

it is done..........it works and the clear light mission complete.
i dont have the pics, my camera is broken, i used 80grid to sand it down than 120, 320, 400, 800, and 2000grid, to finish it off i used some plastic scratch remover to make it clear.
in process of putting it all back together.
i dont have the pics, my camera is broken, i used 80grid to sand it down than 120, 320, 400, 800, and 2000grid, to finish it off i used some plastic scratch remover to make it clear.
in process of putting it all back together.