
Blade FZR Union
#41
 05-20-2010, 10:54 AM


Senior Member
Join Date: Dec 2008
Location: Tallahassee, FL
Posts: 879
Likes: 0
Received 0 Likes
on
0 Posts
#42
05-21-2010, 12:56 AM

Join Date: Feb 2010
Location: LANCS UK
Posts: 76
Likes: 0
Received 0 Likes
on
0 Posts
#43
05-26-2010, 02:35 PM
Join Date: Feb 2010
Location: LANCS UK
Posts: 76
Likes: 0
Received 0 Likes
on
0 Posts
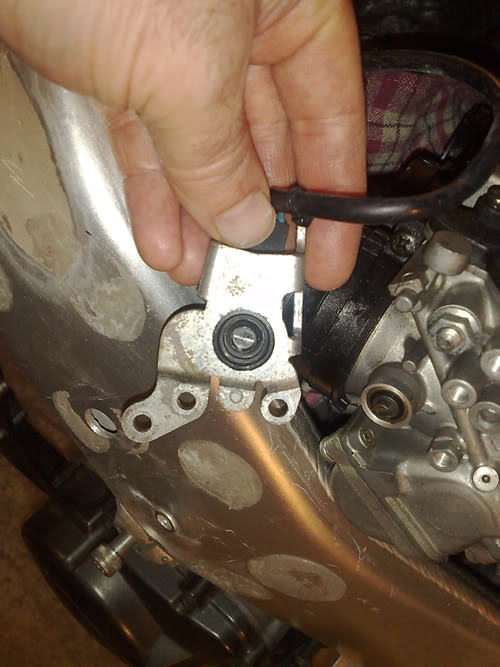
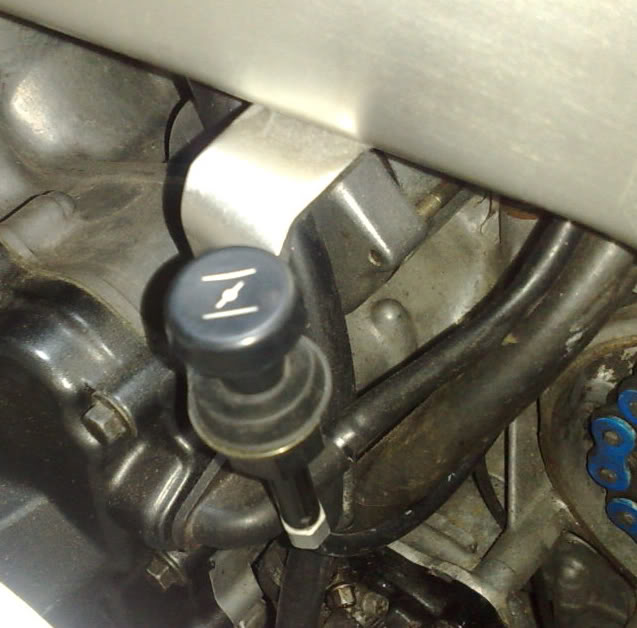
Howdie All � Tidying up some loose ends with the wiring at the very front of the bike this last week and I�ve had to YET again remake the front bracket / clock mount. I needed to include the on/off switch as I�d decided not to have a keyed ignition. I picked up a nice little one from an auto parts outlet with a illuminating light. The mount plate is not perfect but until its broken down for the last time it�ll do. I�m anxious to get it up and running and on the track to check it all does what it�s supposed to. Another irritating thing was an issue with the TPS as when I�d wired up the logger I couldn�t get it to read. After a load of head scratching I was missing the connecter between the carb body and sensor. When I took it apart some time ago it must have dropped out.

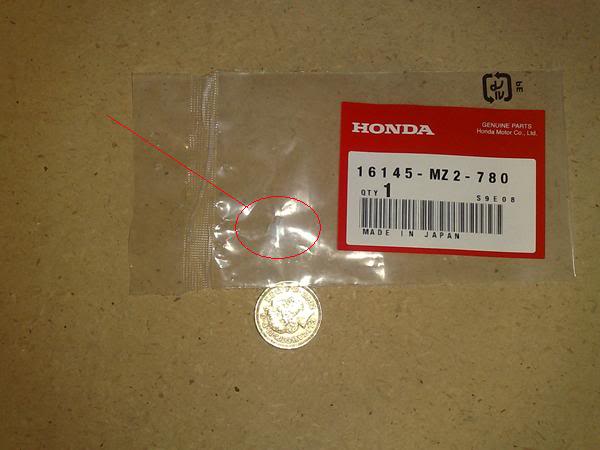
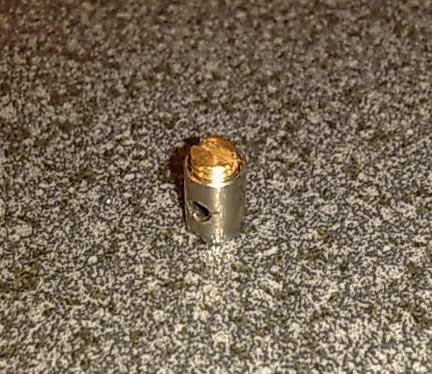
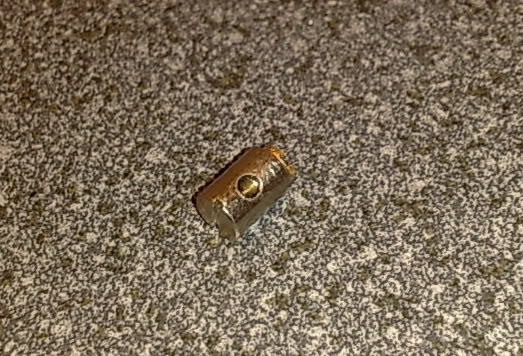
This thing is TINY �. That�s a pound coin next to the bag, real easy to drop and lose� Thanks to David Silver spares for posting this out to me the day following the phone call to them which was only made at lunchtime. Once in all is working as it should.
Here�s Bracket the 3rd !!
This thing is TINY �. That�s a pound coin next to the bag, real easy to drop and lose� Thanks to David Silver spares for posting this out to me the day following the phone call to them which was only made at lunchtime. Once in all is working as it should.
Here�s Bracket the 3rd !!
#45
05-29-2010, 04:42 AM
Join Date: Feb 2010
Location: LANCS UK
Posts: 76
Likes: 0
Received 0 Likes
on
0 Posts
What makes a good special? I�ve been thinking about this over the last few builds I�ve done and what seems to go wrong IMO is the practicalities. Maybe it�s the finishing touches, maybe it�s the fit of the bodywork, the bits that don�t stay together when used. Some specials get sold pretty soon after they�re finished, most are sold before they�re even completed. I guess the effort needed to just finish one uses up the enthusiasm of the initial idea and there are few that go on to be developed? Is the post build development the key to a great special? Probably need to start a separate thread but I would like to delve a little deeper with you lot out there�..These are my opinions and I�m no expert just a self taught enthusiast.
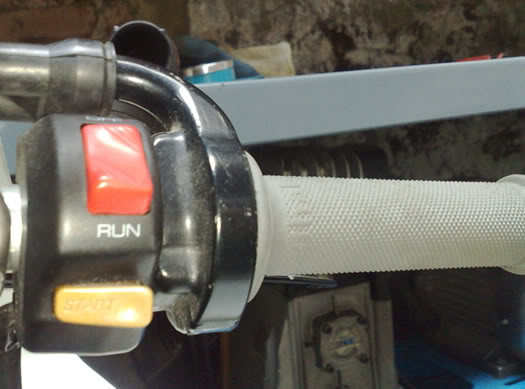
Back to the build��.. Time to connect the throttle and I have a QA one I�d like to use�
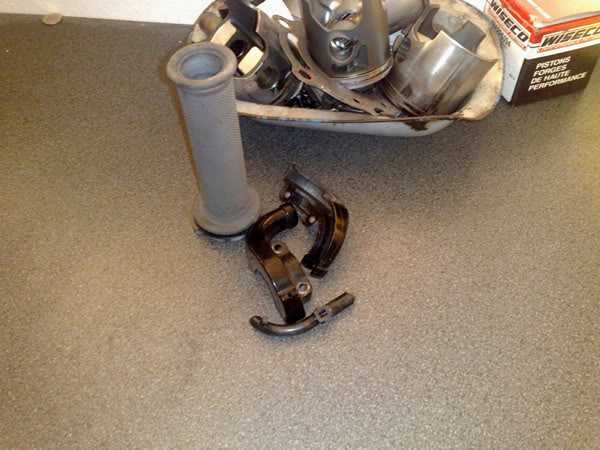
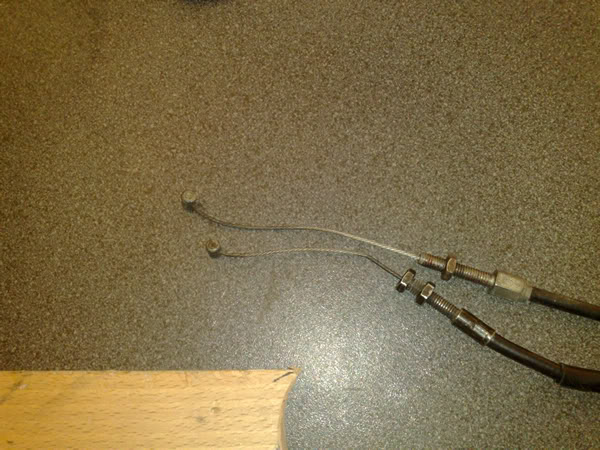
Only issue was when I connected the FZR cable it was too short, or rather the inner cable was too short..I had about an 8th of a turn to full throttle! The blade one didn�t fit at the handle bar end with all the adjusters and stuff. I also wanted to do away with the return cable.
Here�s the difference between the two
I first thought of removing the nipple from the cbr item and re-soldering one on in the new position. On a previous build I�d made up a set of power valve cables using bare cable and brass nipples with a small grub screw in them and then solder them up. After a bit of thinking though I decided on reducing the outer cable length thus lengthening the inner. Pulling the cable away from an adjuster exposes the �make up� of the outer cable�.
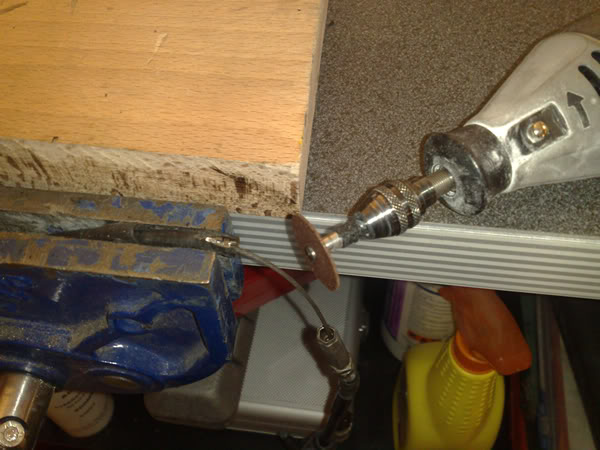
Trimming back the plastic sheath, and with the dremmel I carefully cut through the outer taking care not to go too deep and damage the inner. As it is twisted around on itself as I cut through it bit by bit it comes away in rings, I then twist the open ends apart with pliers and remove.
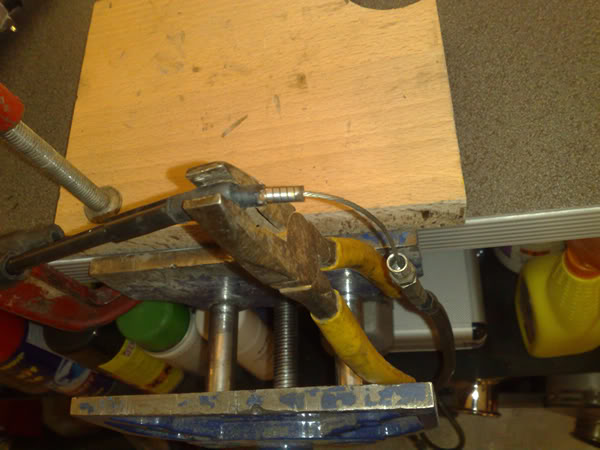
Once it's shortened enough i slide the adjuster over the outer and its done...
Turned out to be very simple�
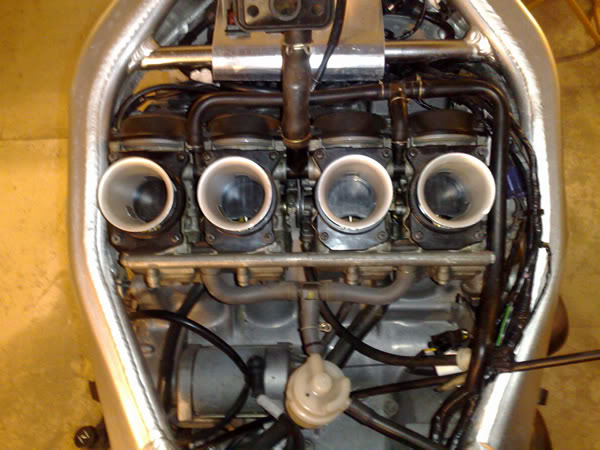
Getting close now.....
#46
05-29-2010, 05:14 AM
Join Date: Feb 2010
Location: LANCS UK
Posts: 76
Likes: 0
Received 0 Likes
on
0 Posts
#47
06-01-2010, 09:40 AM

Senior Member
Join Date: Nov 2008
Location: J-ville, FLORIDA
Posts: 739
Likes: 0
Received 0 Likes
on
0 Posts
#48
06-06-2010, 01:35 PM
Join Date: Feb 2010
Location: LANCS UK
Posts: 76
Likes: 0
Received 0 Likes
on
0 Posts
#49
06-06-2010, 01:41 PM
Join Date: Feb 2010
Location: LANCS UK
Posts: 76
Likes: 0
Received 0 Likes
on
0 Posts
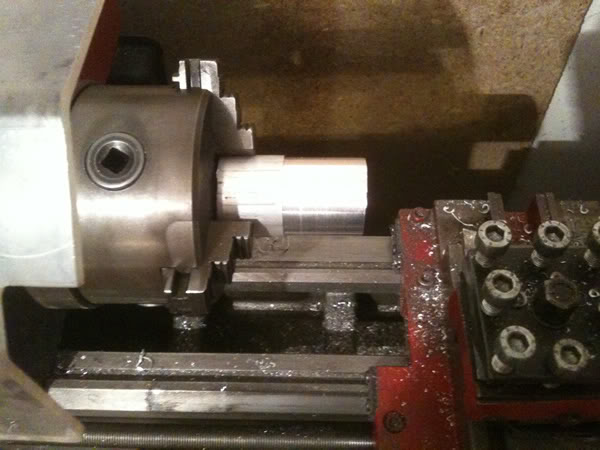
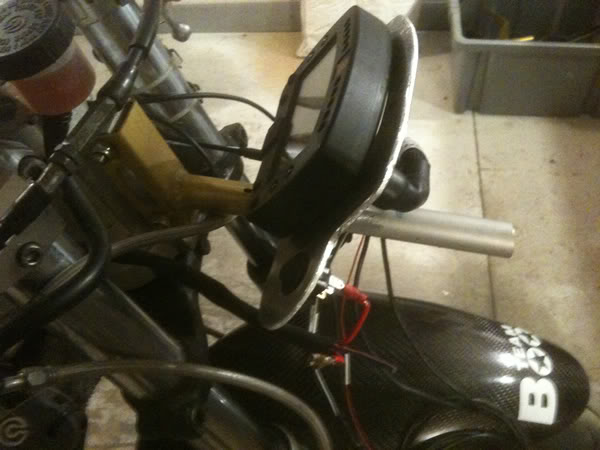
I�ve been busy this week mopping up all the little odds and ends, the fiddly bits that need sorting but
Seem to take forever. I�ve got my hands on a small lathe too and this has made a few things possible �in house� . I needed a spacer first for my new dash/fairing mount to connect to an aftermarket bracket.

Offered up ready to weld
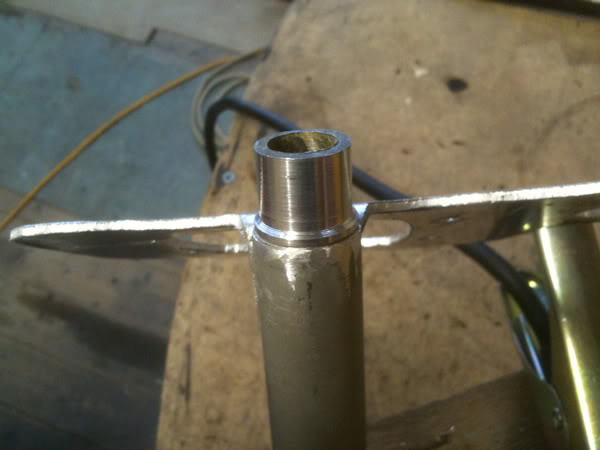
In position �.
Seem to take forever. I�ve got my hands on a small lathe too and this has made a few things possible �in house� . I needed a spacer first for my new dash/fairing mount to connect to an aftermarket bracket.
Offered up ready to weld
In position �.
#50
06-06-2010, 02:29 PM
Join Date: Feb 2010
Location: LANCS UK
Posts: 76
Likes: 0
Received 0 Likes
on
0 Posts
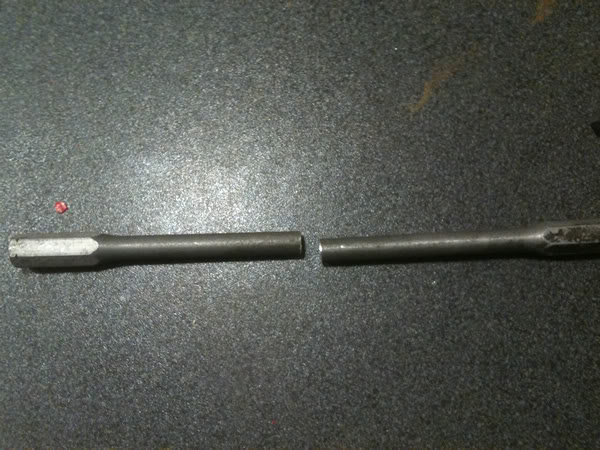
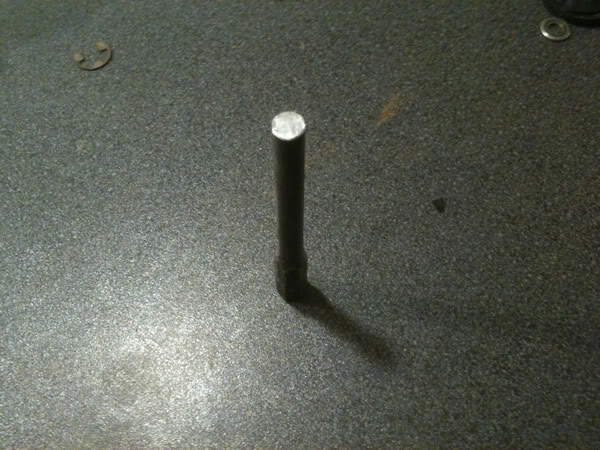
Another bush needed was an off set one for the right hand side engine mount. This was just before it was parted off�.

I really need a good pillar drill as this was a real pain to keep the drill completely vertical whilst drilling the off-set hole. Worked ok and fitted great though . The other issue was the gear linkage rod which needed shortening for the quick shifter. Making sure I kept the Left hand threaded part, the other end was quite simple to drill + tap.
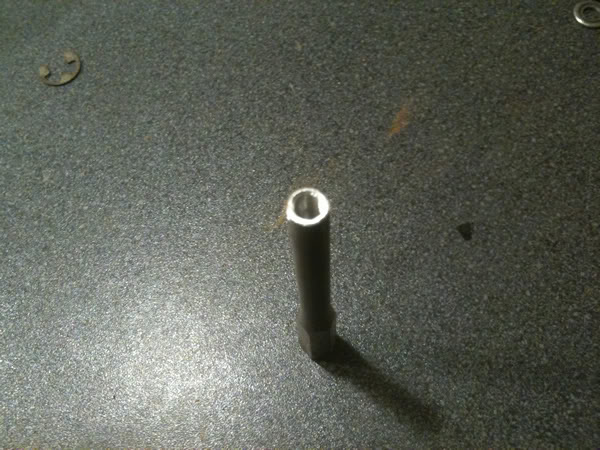
Just a lock nut needed.. but it all works ok and I have enough adjustment if reqd�..
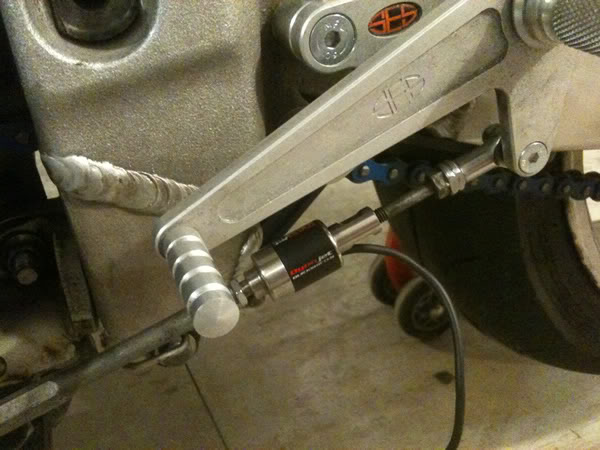
I really need a good pillar drill as this was a real pain to keep the drill completely vertical whilst drilling the off-set hole. Worked ok and fitted great though . The other issue was the gear linkage rod which needed shortening for the quick shifter. Making sure I kept the Left hand threaded part, the other end was quite simple to drill + tap.
Just a lock nut needed.. but it all works ok and I have enough adjustment if reqd�..