Tachometer for tuning carbs
#11
 01-12-2012, 06:43 PM


Well I gave the vacuum gauge a try and it does work, I only tried it on carb two. You have to have a valve or major reducer on it or it goes nuts, so I bit the bullet and went out and bought a manometer, it was $104.99 Canadian. Time to strip the plastics and do some over haul, only have two months before its spring again lol. Thanks for all the help, I can't wait to tear down the carbs and see if theres a jet kit, I will be going back to stock for now if there is.
#12
01-12-2012, 07:40 PM

The harmonizer looks like a good unit unfortunately I didn't spot it until I had already bought my meter. As far as manometers there are many on the market to choose from however if you're a hard core doityourselfer like I am, you can make your own that's ridiculously simple in design and just as simple to make while at the same time dead accurate and there must be nearly a 100 ways to make one. The 1 I have pictured consists of a 4' long piece of luan, 20' or maybe 15' of clear vinyl tubing, some auto trans fluid, handfull of "T" and elbow vacuum fittings and some cable ties. I already had the luan, trans fluid and cable ties so the tubing and fittings came to a total of about $10 and yes it is a bit of a conversation piece when it's hanging on the wall not in use. The good part is that it is dead accurate and will show every and I do mean EVERY variance in flow between the carbs. The bad part is that because it's so sensitive it can be a real PITA when you get the carbs close to each because just the infinitesimal fraction of a turn on the sync adj screws can be too far. At the same token if you have the patience to get the trans fluid in all the tubes level with each other then your carbs will be as balanced as they will ever get. I know it's hard to imagine something so basic can be so accurate but it is. You will need an adapter for the #1 carb and as far as tubing size you can always pull the rubber vacuum cap off 1 of the other 3 carbs to get an idea of what size tubing you'll need. Oh and just so ya know, in the pic the manometer is hooked up to the carbs but the engine isn't running.
#13
01-12-2012, 08:42 PM
I just bought the Motion Pro - Sync Pro set tonight, It comes with the right adapters and extensions for the harder to reach carbs. one think I did notice is that my pilot screws are not the D shaped ones, they are a fancy x shape, did you have this or could it be after market ( I hope not ) They have not been ground or cut, it is a proper machined screw. Update on the bike, the plastics are all pff and starting this weekend I will probably start with the valves. its pretty insulated in my garage, can I sync my carbs now or do I have to wait and tune them for summer time with the humidity and such. on a side not, I think its time to break out the ear muffs, I turned the old vance and hines into a stubby with zero packing nor baffles lol.
#14
01-13-2012, 03:49 AM
#15
01-13-2012, 07:29 AM
#17
01-14-2012, 12:06 PM
#18
01-15-2012, 03:59 PM
Well I messed with it today with mixed results. I used the 2-3 coil to hook up the tach to and the blue/yellow wire is the neg terminal that you want to hook the red lead of the tach to however regardless of what you have the tach switched to (8,6 or 4 cyl) the rpm reading is not accurate because say when #2 is approaching TDC on compression stroke and the coil fires, it's sending a spark to the #3 plug as well even though #3 cyl is approach TDC of its exh stroke. Basically every spark plug is firing when ever its respective cyl is at TDC regardless if that cyl is at the top of its exhaust stroke or compression stroke, actually a few degrees sooner depending on ignition advance and this throws the tach reading off. That's really not an issue because the point of the tach is to spot the rpm drop when adj the pilot screws. It could be reading 8,000 rpm even if the engine is actually idling at only 1,200 for all I care as long as it spots the rpm drop. And that's where I ran into another snag because the motor didn't respond to pilot screw adj as the manual led me to believe it would. I started with all screws 2 turns out and the procedure on the manual said to start by turning #3 pilot screw in or out to obtain highest idle speed however idle speed never seemed to flinch unless I backed it WAY out and idle would drop due to that cyl running too rich. I still had the air box/filter off when doing this so that may be a factor but I don't know yet. I ended up setting the screws 1 3/4 turns out until I figure this out and so far the engine seems to like it. The other odd thing was that my home made pilot screw adjuster worked far better than the adapter I got for Motion Pro. Go figure.
#19
01-15-2012, 07:29 PM

Retired Super Moderator - At large E=MC2
To adjust the carbs you have to use the vacume guage. The tach is for setting the idle
adjust AFTER the carburators are in sync. Then, you do the rpm thing.
I won't swear to it, but set your tach to 4 cylinder and 1/2 the reading. You are correct
about the ignition firing twice, at both TDC and BDC. Since the tach is taking the
timing off of the spark, just divide the indicated speed in half, for the correct rpm.
I believe that is correct, but I use a tach that works off of vacume pulse. It's been years, since I've used an induction tach.
Hope this helps, Ern
#20
01-15-2012, 08:18 PM

Super Moderator
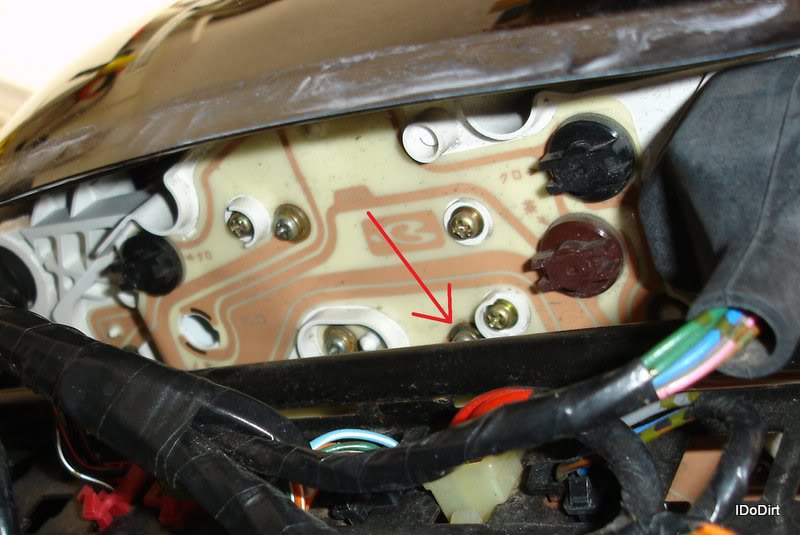
On page 18-9 of the shop manual it mentions a test point for diagnoxing the Tachometer. You can use your Actron meter on that test point for reading the engine RPM. One of these days I'll attach a wire and leave it hanging down so I have access to this point without having to remove the upper cowl. It's funny how hind-site is 20/20.