Project GOOF! - Honda CBR 600 F2/FM
#41
 02-18-2013, 04:24 PM


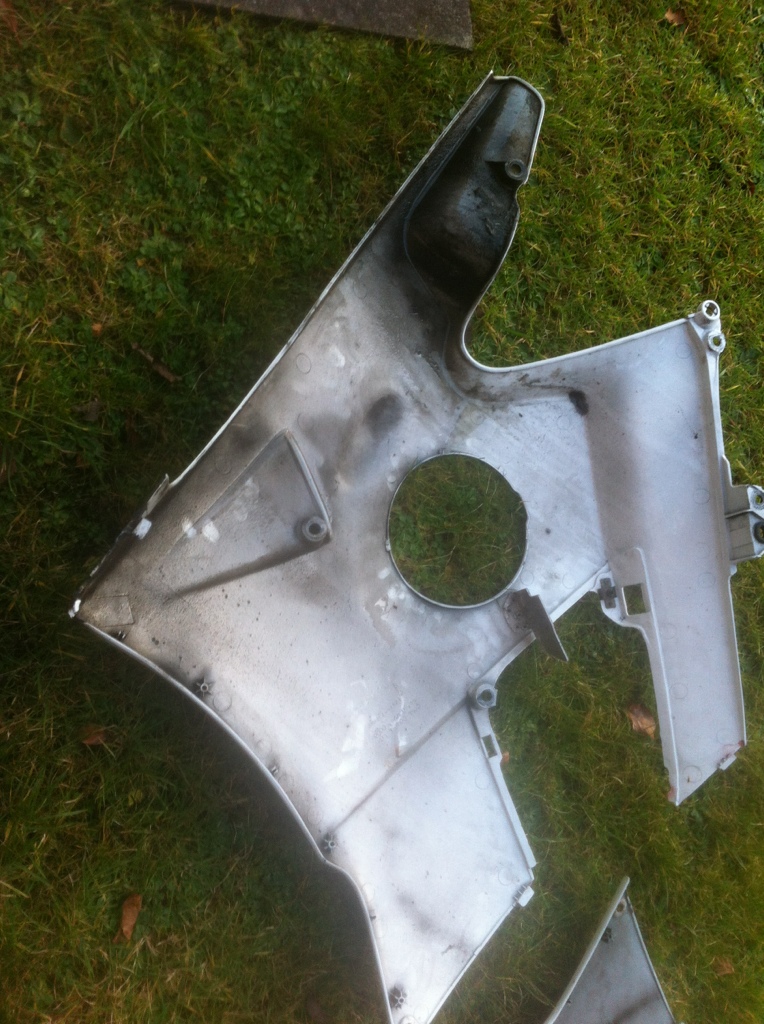
In the mean time I did a little less exciting jobs like degreasing of the fearings and removed the stickers

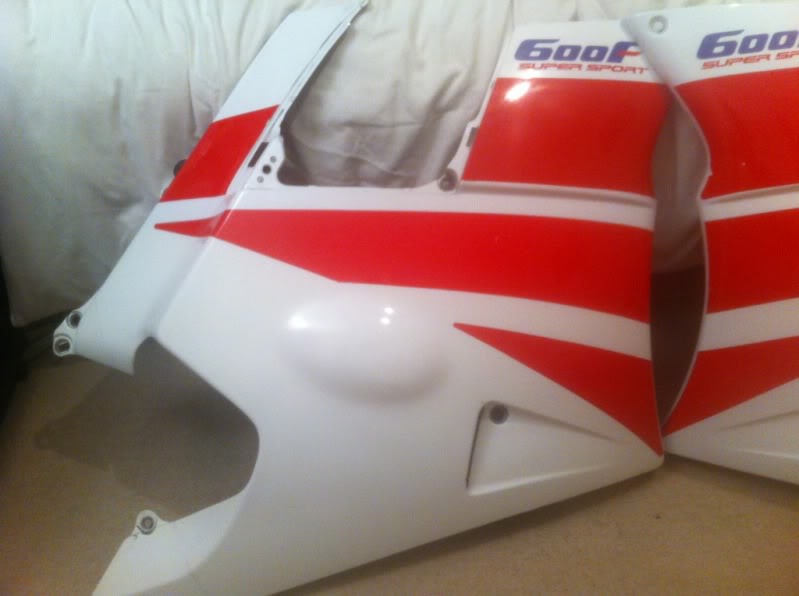
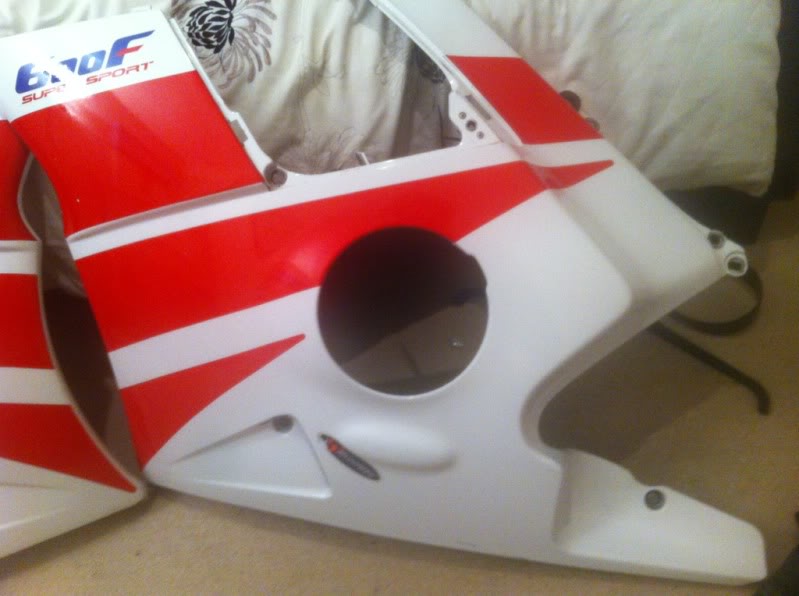
And a picture before with the stickers
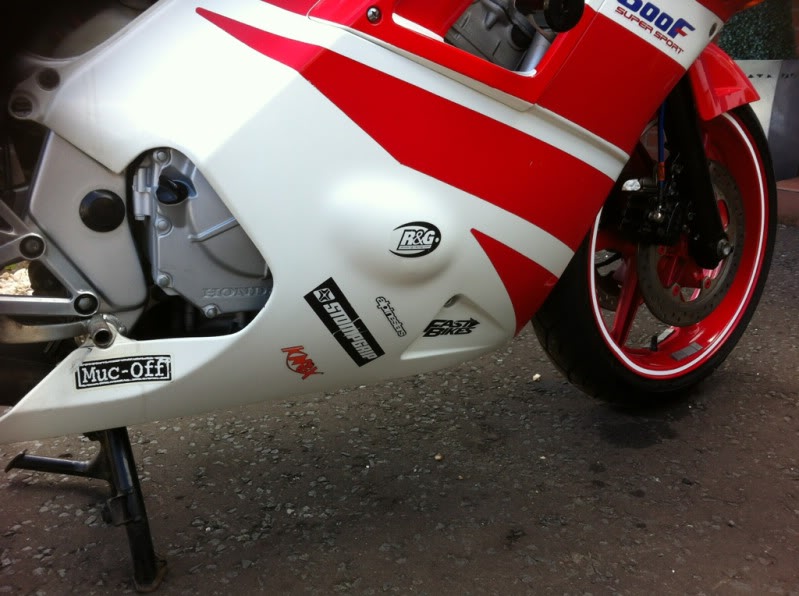
The sticker that is left is hiding a big paint chip about an inch in length! So it's staying unfortunately.
The left hand fairing seems strange... As if it is missing something. I think it had been respray end before as there's a slight lip around the red paint and some filler in the back.
And a picture before with the stickers
The sticker that is left is hiding a big paint chip about an inch in length! So it's staying unfortunately.
The left hand fairing seems strange... As if it is missing something. I think it had been respray end before as there's a slight lip around the red paint and some filler in the back.
#42
02-18-2013, 05:38 PM
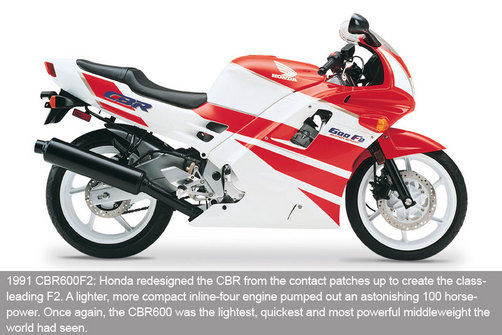
Browising online and found a picture of what an original F2 in my colour scheme should look like:
and mine
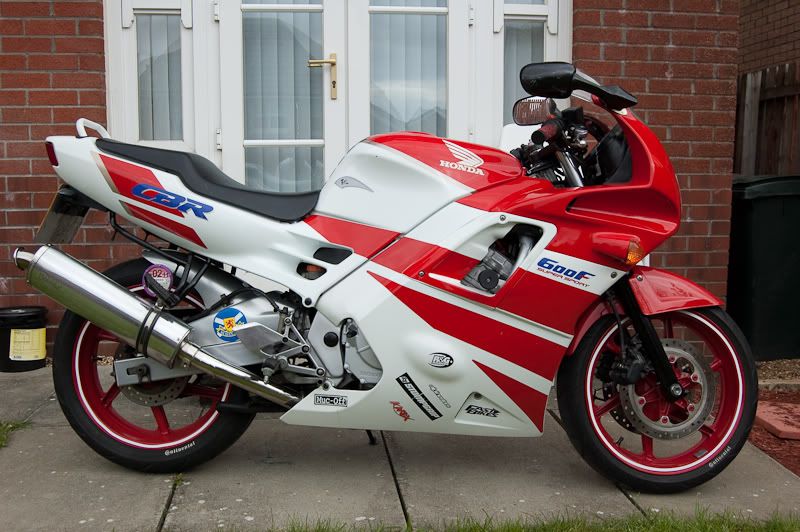
Now that the stickers are off, the main differences are the rear hugger and the wheels. Personally I prefer the silver hugger, but I'm not sure which colour of wheels look better. This bike is a mixture of them both:

and mine
Now that the stickers are off, the main differences are the rear hugger and the wheels. Personally I prefer the silver hugger, but I'm not sure which colour of wheels look better. This bike is a mixture of them both:
#43
02-18-2013, 10:36 PM

Your welcome!
Just get a cheap can of compressed air, that's sold for blowing the dust out of PC towers and stuff - one can would do the trick - about $5 or so.
Truth is, if you use the carb spray cleaner with the straw, you could probably get by with just using some more squirts of carb cleaner to blow things out.
I'm not sure which parts you mean, as I'm not certain what needle you're referring to.
Absolutely... you've got to! There's no point in overlooking anything, after you've gotten this far! If you left any "stone unturned" at this point, you'd be potentially lessening the quality of your cleaning job.
There's the screw, a very small o-ring and washer, and a spring - make a note on how it comes apart, it's nothing difficult.
And I wouldn't worry too much about the settings, you can use a notepad and write down how many "turns-in" it takes to get them seated, and then restore it later - if the screw's settings are all over the place, then you've found a problem to fix, and can just set them at the factory settings.
Sure, it'll work just fine.
Truth is, if you use the carb spray cleaner with the straw, you could probably get by with just using some more squirts of carb cleaner to blow things out.
There's the screw, a very small o-ring and washer, and a spring - make a note on how it comes apart, it's nothing difficult.
And I wouldn't worry too much about the settings, you can use a notepad and write down how many "turns-in" it takes to get them seated, and then restore it later - if the screw's settings are all over the place, then you've found a problem to fix, and can just set them at the factory settings.
Sure, it'll work just fine.
#44
02-19-2013, 01:17 AM
Your welcome!
I'm not sure which parts you mean, as I'm not certain what needle you're referring to.
Absolutely... you've got to! There's no point in overlooking anything, after you've gotten this far! If you left any "stone unturned" at this point, you'd be potentially lessening the quality of your cleaning job.
There's the screw, a very small o-ring and washer, and a spring - make a note on how it comes apart, it's nothing difficult.
And I wouldn't worry too much about the settings, you can use a notepad and write down how many "turns-in" it takes to get them seated, and then restore it later - if the screw's settings are all over the place, then you've found a problem to fix, and can just set them at the factory settings.
.
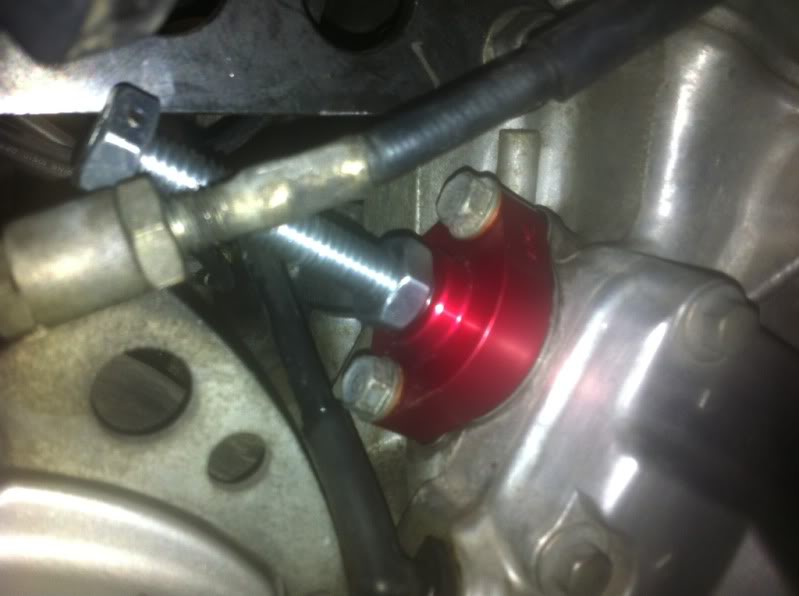
The needle I was referring to is the one which sits under the main jet in the center (the one which is attached to the slider).
In that case the pilot screws are coming out today and everything's getting cleaned up. I would be excited if I get as far as draining my fuel tank and filling it with fresh fuel! What's the process for priming the carbs once the rebuild is complete?
#45
02-19-2013, 08:13 AM
Just connecting the fuel line, turning the petcock to on (making sure that the vacuum line is connected), and cranking the motor, so that the vacuum off of cylinder 1 will open the diaphragm in the petcock, then, the bowls will fill back up again - that's it!
#46
02-19-2013, 02:21 PM
Thanks again ^
I spend about 6 hours working on the bike today (most people would'p have done it in 2!). Managed to get the carburator's all spotless and cleaned up the jets using carb cleaner and a 'rocket blower' for a camera lense which worked surprisingly well!
Everything back together
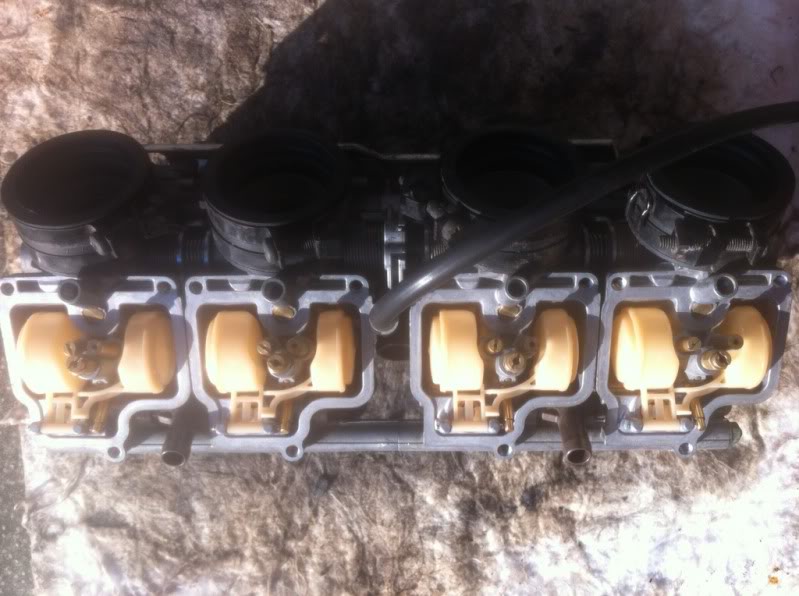
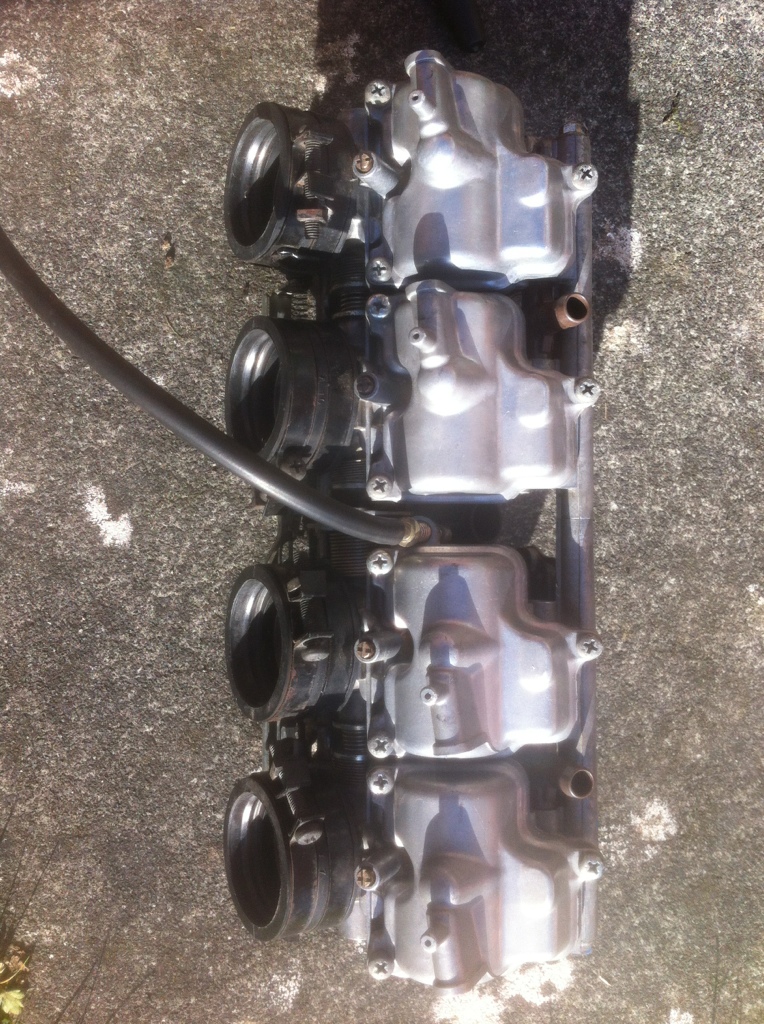
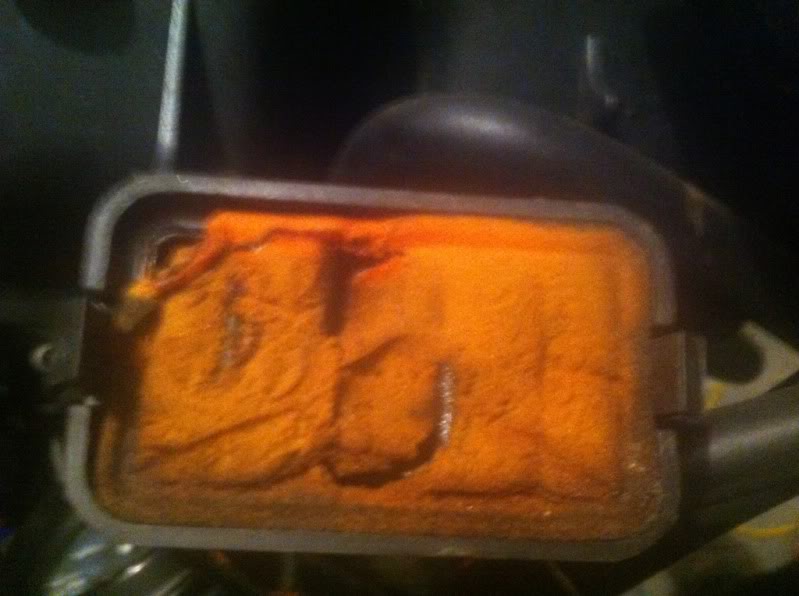
Everything seemed fairly clean except for some residue set in the deepest part of the float bowls.
I then degreased everything and fitted the rear wheel, so no more lifting the bike and dragging it out the garage
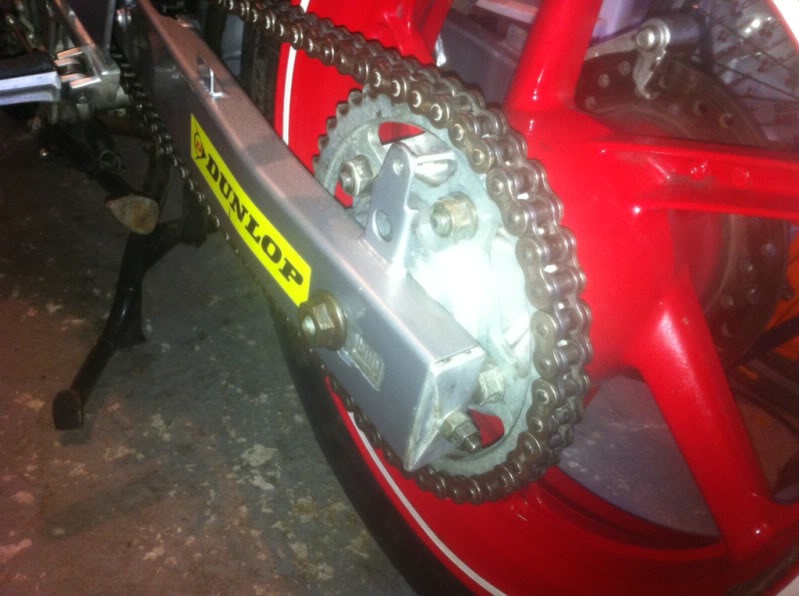
Believe it or not, after all the maintanance I've done to the bike, I had to check the manual to tighten the chain and how much slack there should be Think I got there though.
Now I just need to connect everything up and hope I've got the pilot screw settings right, as I don't really want the hassle of constantly taking the fuel tank and air box off.
I spend about 6 hours working on the bike today (most people would'p have done it in 2!). Managed to get the carburator's all spotless and cleaned up the jets using carb cleaner and a 'rocket blower' for a camera lense which worked surprisingly well!
Everything back together
Everything seemed fairly clean except for some residue set in the deepest part of the float bowls.
I then degreased everything and fitted the rear wheel, so no more lifting the bike and dragging it out the garage
Believe it or not, after all the maintanance I've done to the bike, I had to check the manual to tighten the chain and how much slack there should be
Think I got there though.Now I just need to connect everything up and hope I've got the pilot screw settings right, as I don't really want the hassle of constantly taking the fuel tank and air box off.
Last edited by StevenF; 02-19-2013 at 02:26 PM.
#47
02-19-2013, 02:55 PM
What were the pilot screw settings when you took them out? Were they consistent, or all over the place?
#48
02-19-2013, 03:35 PM
#49
02-19-2013, 03:38 PM
They were quite similar, maybe half a turn or so of a difference. Not knowing what I was doing, I counted the number of turns until they were complete loose. When I put them back in, I went for 2 1/4 turns out. I had read someone recommending those settings who had a similar setup to mine - hopefully it's right!
#50
02-19-2013, 05:13 PM