
Project GOOF! - Honda CBR 600 F2/FM


Thread Starter
|
Member
Joined: Mar 2010
Posts: 73
Likes: 3
It's not going to a full blown project, rebuild etc... Just doing a few bits and pieces that needs doing to the bike, and I thought I may as well share some of the pictures and what not with everyone else!
I should add that I am a complete novice when it comes to mechanics and the sort of thing. I have replace my down pipes (although I did snap a few bolts in there 8O), I've replaced my spark plugs (which turned out to be a royal pain the **** on this bike), changed oil etc... But I'm all for learning!
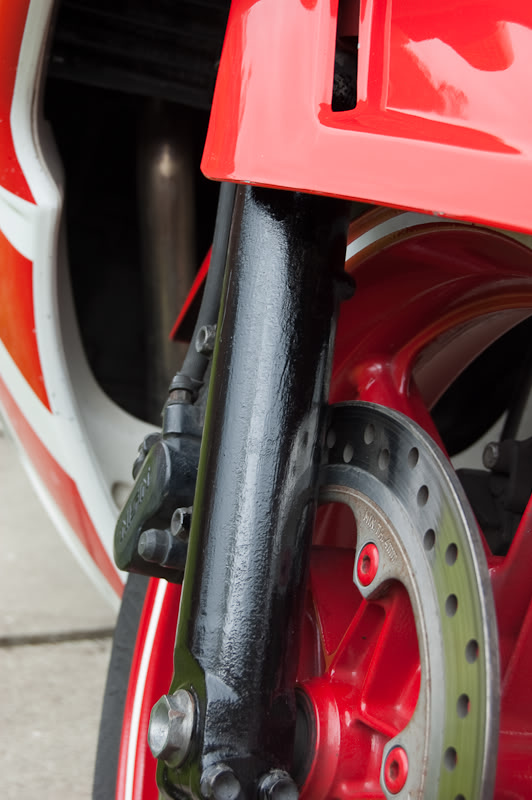
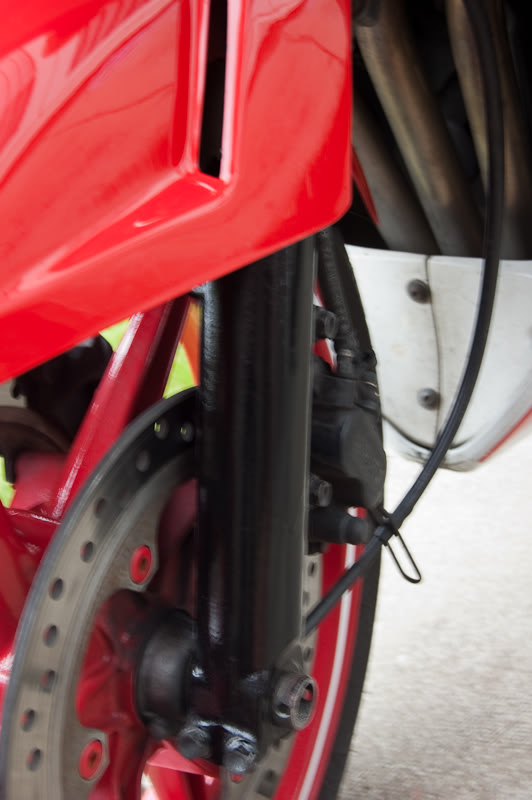
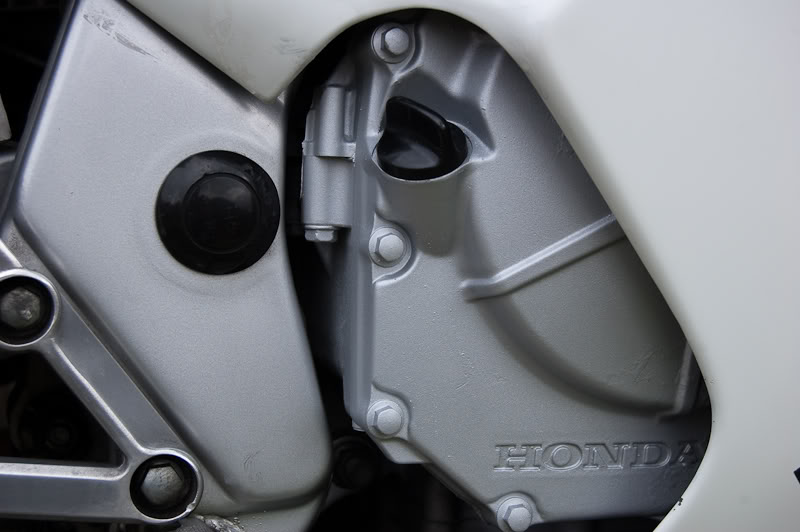
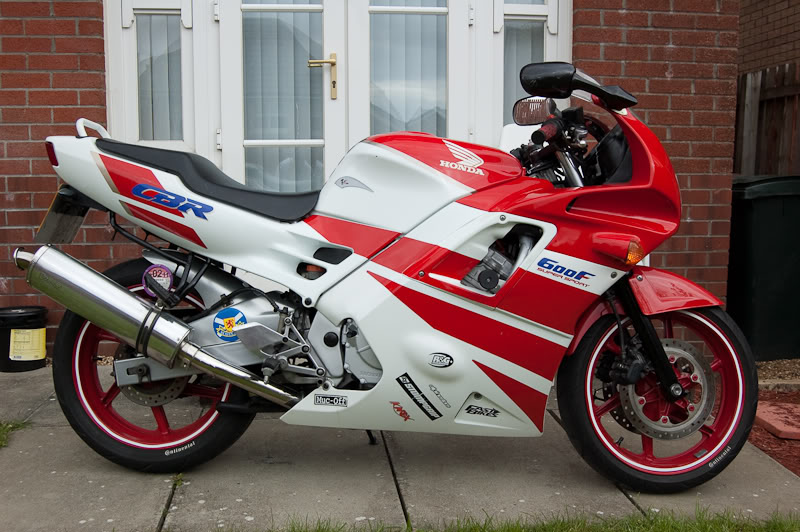
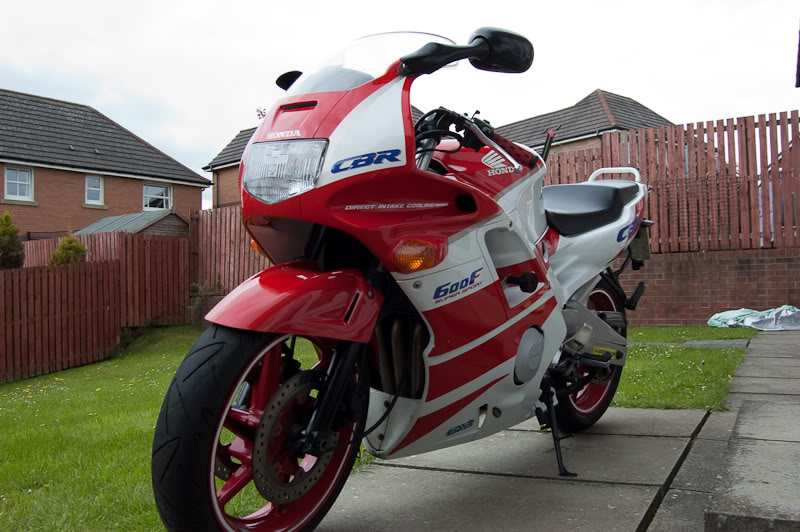
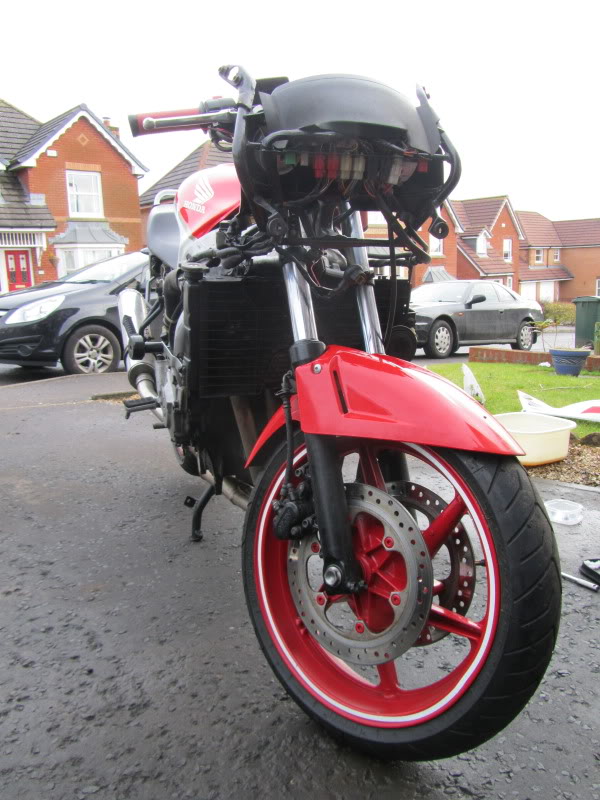
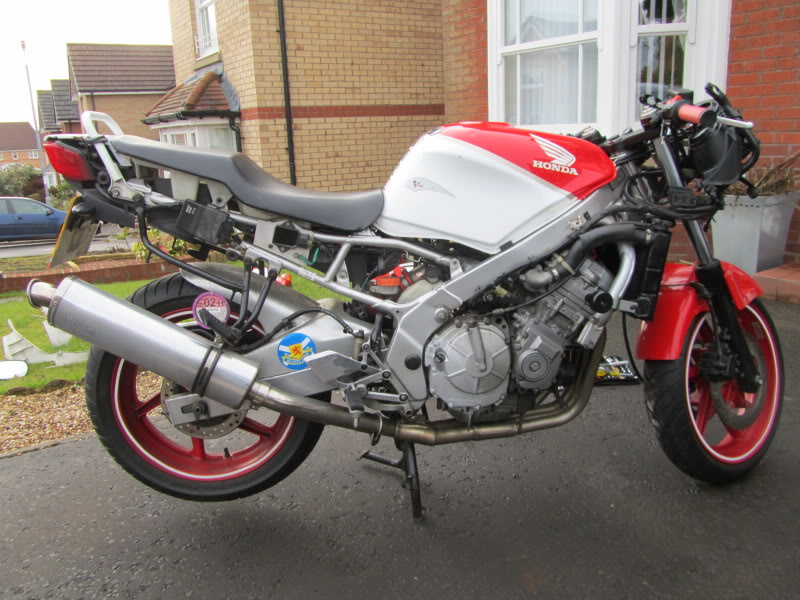
So back to last year - I decided to paint some bits on my CBR that were in need of attention - the engine cover and forks. I think it turned out pretty well!
And the whole bike:
I should add that I am a complete novice when it comes to mechanics and the sort of thing. I have replace my down pipes (although I did snap a few bolts in there 8O), I've replaced my spark plugs (which turned out to be a royal pain the **** on this bike), changed oil etc... But I'm all for learning!
So back to last year - I decided to paint some bits on my CBR that were in need of attention - the engine cover and forks. I think it turned out pretty well!
And the whole bike:
Thread Starter
|
Member
Joined: Mar 2010
Posts: 73
Likes: 3
Fast forward to now and it's winter! The bike has been in the garage for the last couple of months, but I'm going out for a wee ride today! :mrgreen: :mrgreen:
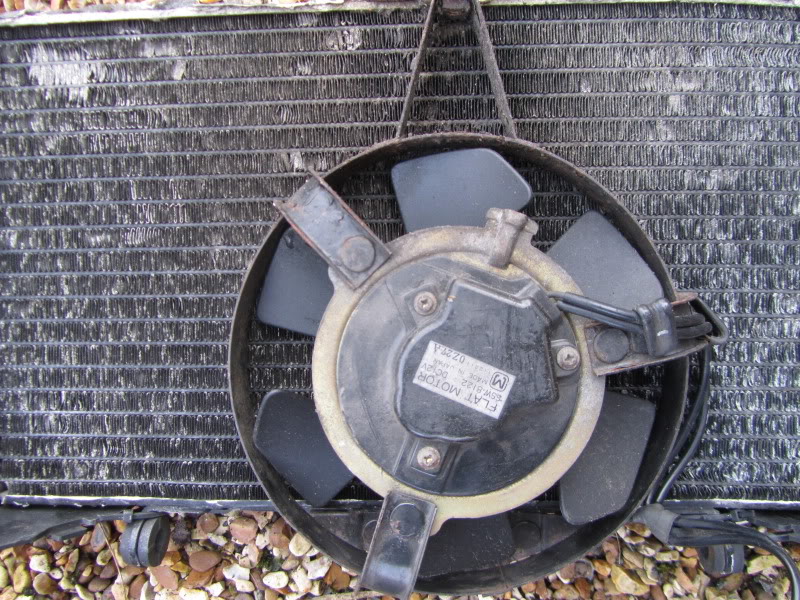
My radiator burst a few months ago and is currently sealed with RadWeld. Since I quite fancied doing some longer rides this year, I thought I better get it sorted! I didn't want to be out a 200 mile run and my radiator to start pishing out fluid again! So, I received this today:
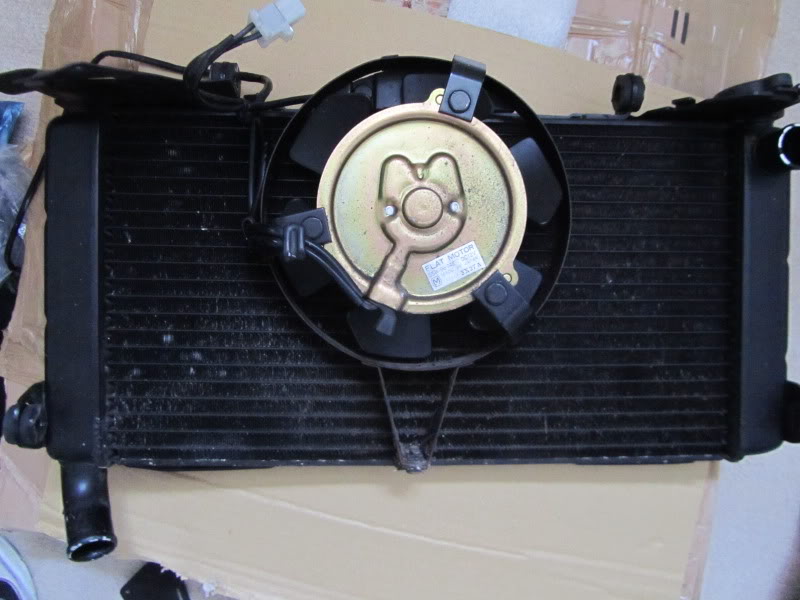
Not bad considering the age of it, eh! I was looking at a few others but they don't even come close to the condition of this one!
I was planning to fit it later today, but I've still got another 2 weeks off work, so plenty of time to get it done!
My radiator burst a few months ago and is currently sealed with RadWeld. Since I quite fancied doing some longer rides this year, I thought I better get it sorted! I didn't want to be out a 200 mile run and my radiator to start pishing out fluid again! So, I received this today:
Not bad considering the age of it, eh!
I was looking at a few others but they don't even come close to the condition of this one!I was planning to fit it later today, but I've still got another 2 weeks off work, so plenty of time to get it done!
Thread Starter
|
Member
Joined: Mar 2010
Posts: 73
Likes: 3
Ok so today I decided to tackle my radiator and get it changed over! I was excited at the thought of dismantling my bike! I started off by draining the current fluid:
Now, I'm pretty sure it's not supposed to be that colour :sick:
I then for the first time, stripped down ALL of the fairings!
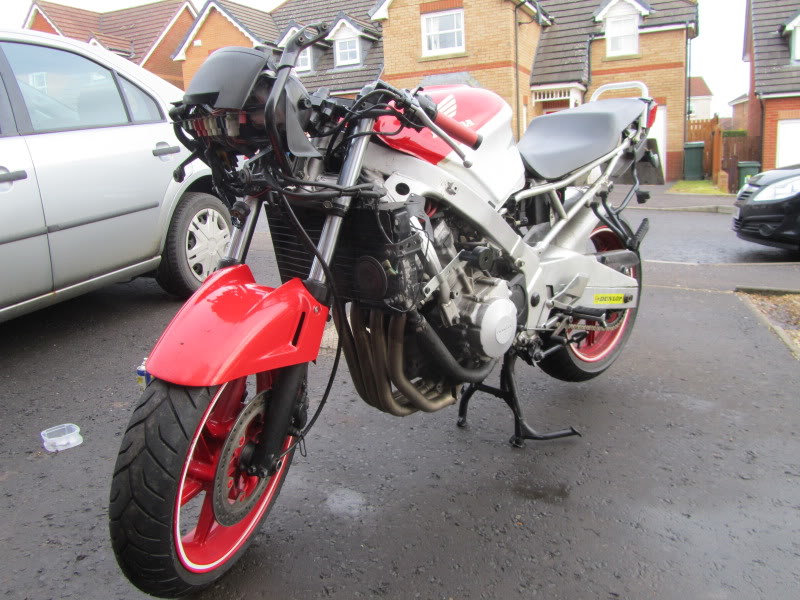
I thought it looked quite mean! :twisted:
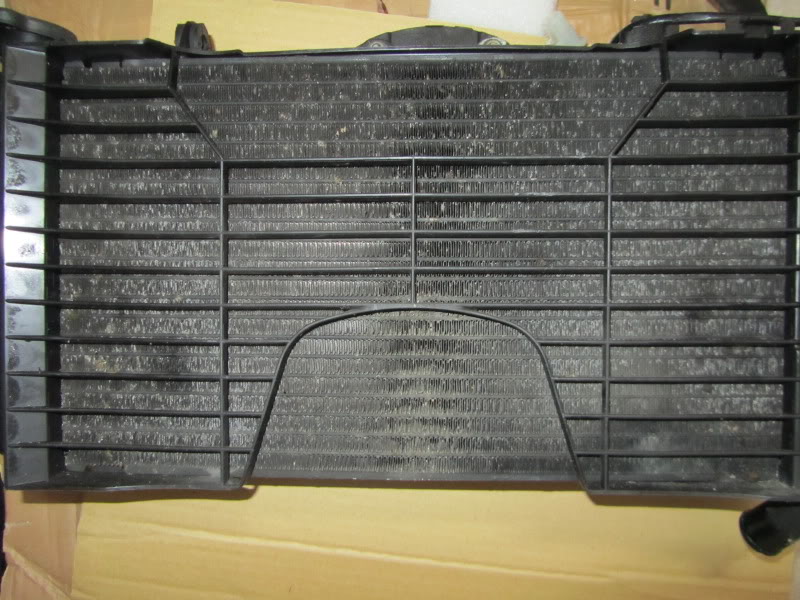
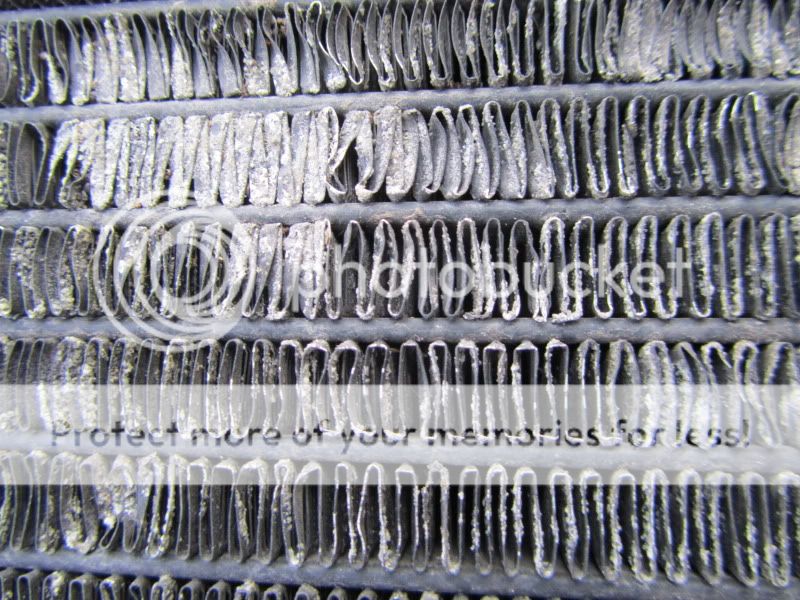
Then I removed the old radiator, which was looking a bit worse for wear

I then fitted the much better looking radiator

I didn't take any pictures of it fitted to the bike, but you get the idea!
I then set about putting everything back together, but I've left all the side and rear fairing off to make it easier to add my antifreeze later.
Now, I'm pretty sure it's not supposed to be that colour :sick:
I then for the first time, stripped down ALL of the fairings!
I thought it looked quite mean! :twisted:
Then I removed the old radiator, which was looking a bit worse for wear
I then fitted the much better looking radiator
I didn't take any pictures of it fitted to the bike, but you get the idea!
I then set about putting everything back together, but I've left all the side and rear fairing off to make it easier to add my antifreeze later.
Thread Starter
|
Member
Joined: Mar 2010
Posts: 73
Likes: 3
So I thought I would update this with some more progress on the bike! It's currently off the road with no tax, MOT or insurance. Although, that's going to change soon!
When the bike was last on the road, I was having problems with the back brake; it was almost non existent and I had no feel through the pedal. So I decided to strip and clean the brakes.
First challenge was to get the pistons out. I had a dry system so couldn't use fluid to push then out. I resorted to using a car/tyre pump, was a pain in the **** and it took forever. Trying to get a good sealed air connection was a nightmare. Anyway eventually took the first piston out and gave it a little clean:
Taada!
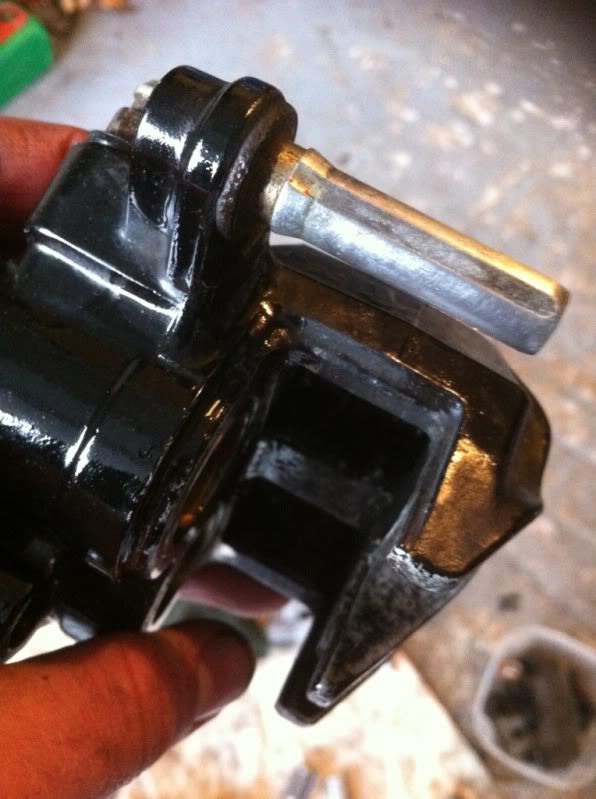
Took the slider pin out of the rear calliper, needed a bit of a clean!
Took all the seals off and cleaned behind them
This was was a bit of a mess!

After a clean
There was also a chip out of this one, but it didn't seem to be leaking before so should be ok.
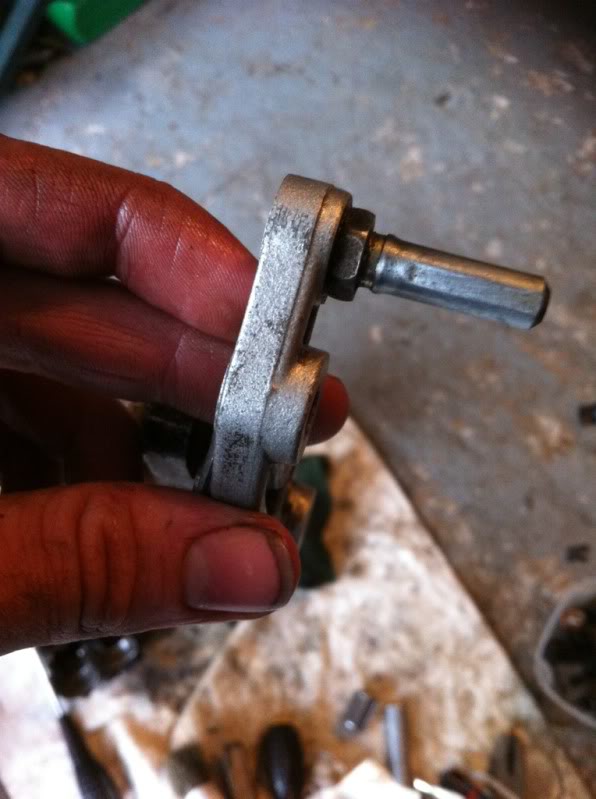
Also cleaned the sliders
Everything went well for a change! Nothing broken (unheard of) I need to get done red rubber grease before re-assembling everything.
I'm collecting my calliper bolt (snapped it a few months ago) from Honda tomorrow and I'll try pick up a new pad pin as one of them has started to round which makes it a pain in the **** to get out!
When the bike was last on the road, I was having problems with the back brake; it was almost non existent and I had no feel through the pedal. So I decided to strip and clean the brakes.
First challenge was to get the pistons out. I had a dry system so couldn't use fluid to push then out. I resorted to using a car/tyre pump, was a pain in the **** and it took forever. Trying to get a good sealed air connection was a nightmare. Anyway eventually took the first piston out and gave it a little clean:
Taada!
Took the slider pin out of the rear calliper, needed a bit of a clean!
Took all the seals off and cleaned behind them
This was was a bit of a mess!
After a clean
There was also a chip out of this one, but it didn't seem to be leaking before so should be ok.
Also cleaned the sliders
Everything went well for a change! Nothing broken (unheard of)
I need to get done red rubber grease before re-assembling everything.I'm collecting my calliper bolt (snapped it a few months ago) from Honda tomorrow and I'll try pick up a new pad pin as one of them has started to round which makes it a pain in the **** to get out!
Thread Starter
|
Member
Joined: Mar 2010
Posts: 73
Likes: 3
The bike has done just over 30k miles and I'm not sure if the valve clearances have ever been checked! I decided to tackle this milestone today!
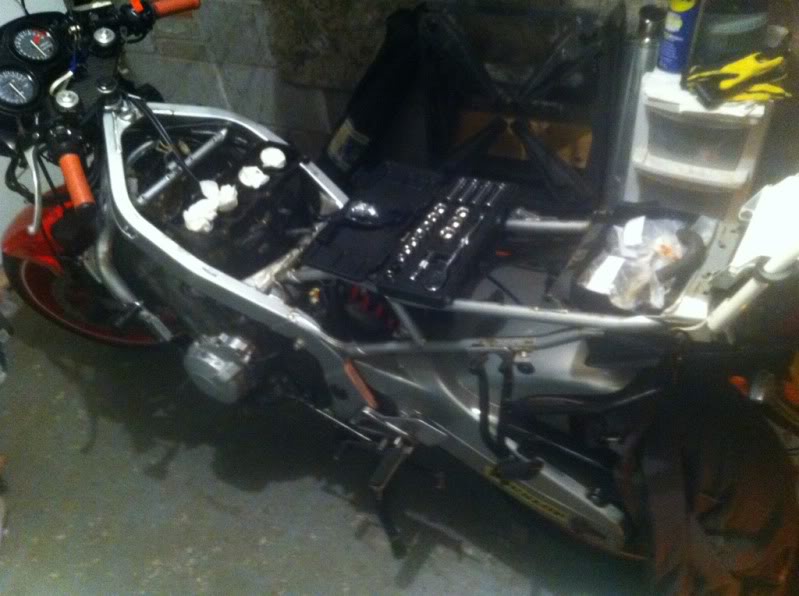
I removed the side and rear fairings, fuel tank, air box and housing and the HT leads and control box (not sure what its called).
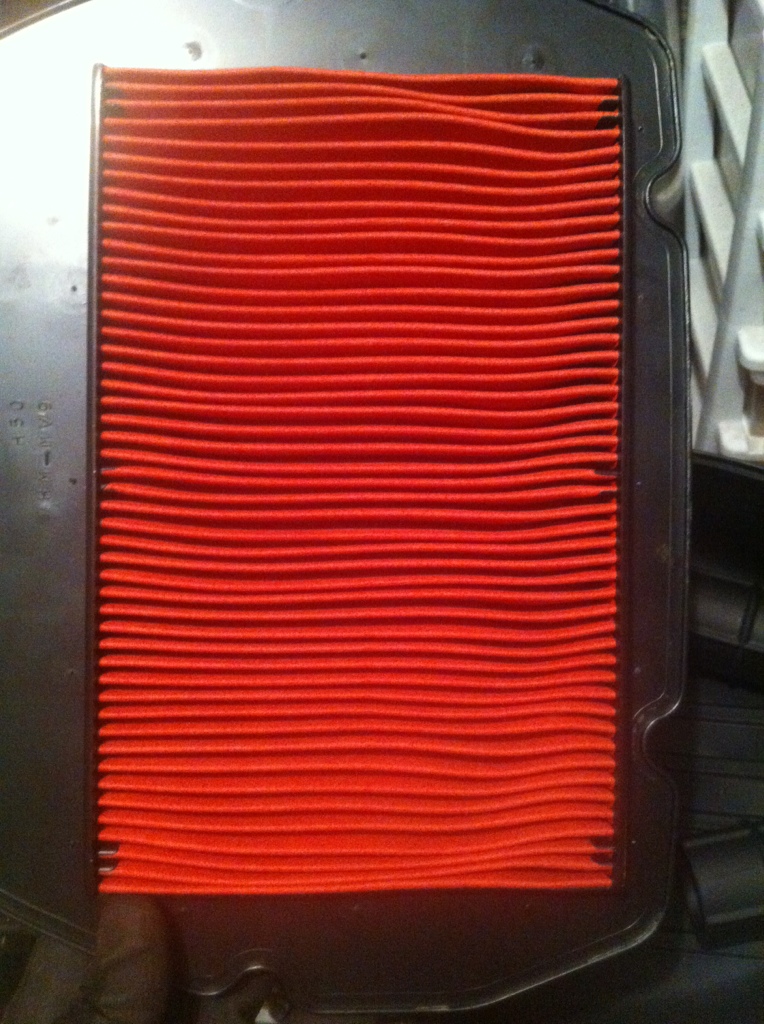
Air filter looks brand new even though i've owned the bike for 2 years and never changed it.
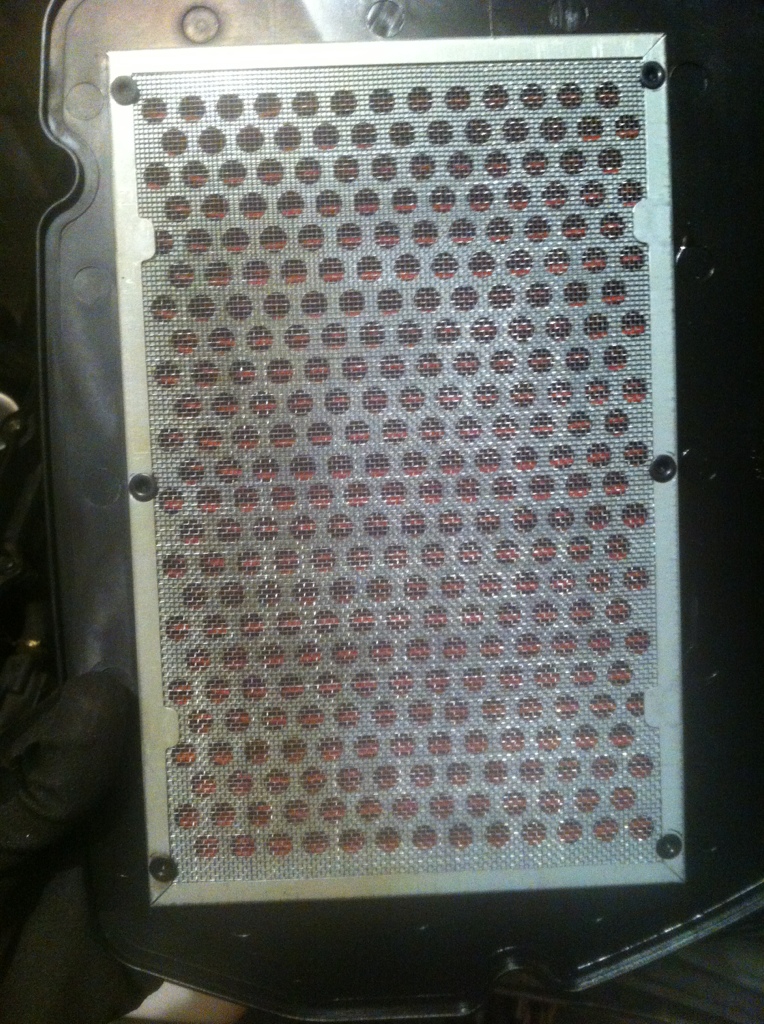
And how it stands

I'm a little unsure of what to so next, so hopefully with a little help from forum members ill get there!
I removed the side and rear fairings, fuel tank, air box and housing and the HT leads and control box (not sure what its called).
Air filter looks brand new even though i've owned the bike for 2 years and never changed it.
And how it stands
I'm a little unsure of what to so next, so hopefully with a little help from forum members ill get there!
Thread Starter
|
Member
Joined: Mar 2010
Posts: 73
Likes: 3
Set about stripping the bike further today:

and eventually got the cam cover off:
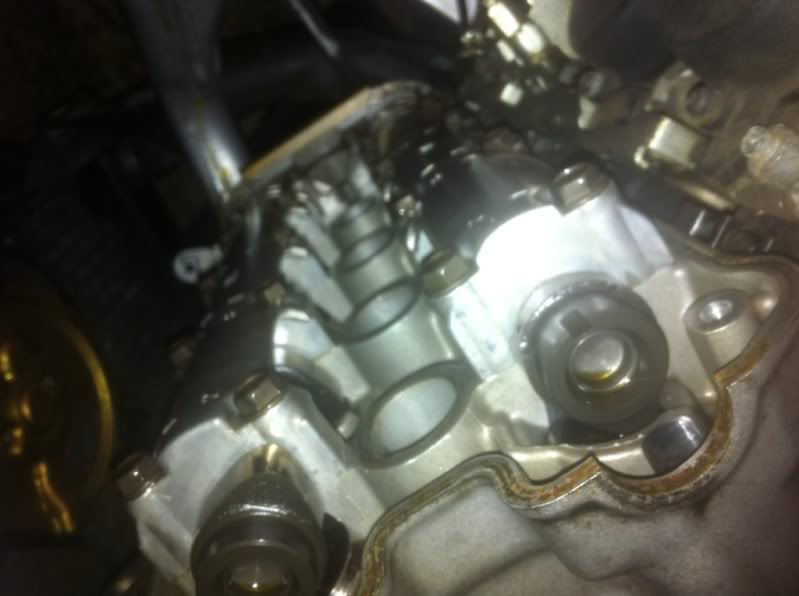
Measured all my valve clearances
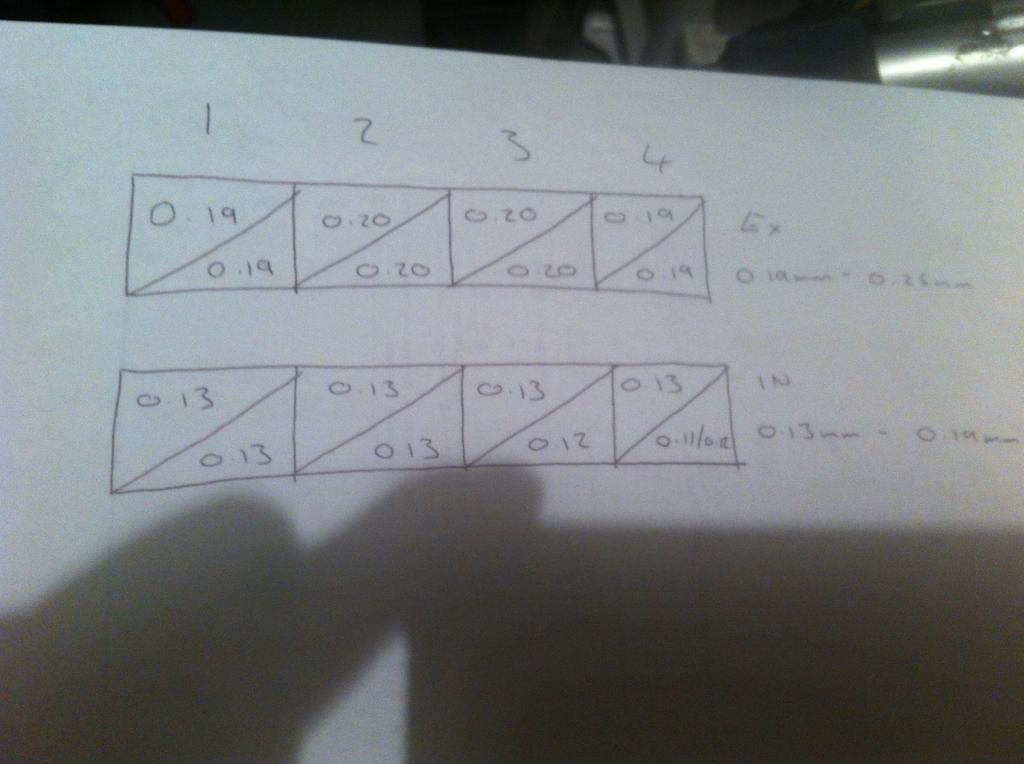
As you can see surprisingly most of them are on the limit and only two are out by 0.01mm bellow the tolerance. I'm not sure whether I should go ahead and change the shims or leave it another 8k miles.
Kind of left it like that for tonight. Purchased some Anti-Freeze today so that's maybe the next job.
and eventually got the cam cover off:
Measured all my valve clearances
As you can see surprisingly most of them are on the limit and only two are out by 0.01mm bellow the tolerance. I'm not sure whether I should go ahead and change the shims or leave it another 8k miles.
Kind of left it like that for tonight. Purchased some Anti-Freeze today so that's maybe the next job.
Thread Starter
|
Member
Joined: Mar 2010
Posts: 73
Likes: 3
In the meantime..
Progress is slow, I seem to work on the bike for hours and get hee haw done! Haha
I found out that my rear brake piston is buggered, it's now stuck half way in the caliper after I cleaned everything up (not fitted it yet, just pulling it in and out with piston pliers). I think I'm going to buy a new piston and seals and hopefully that resolves the problem!
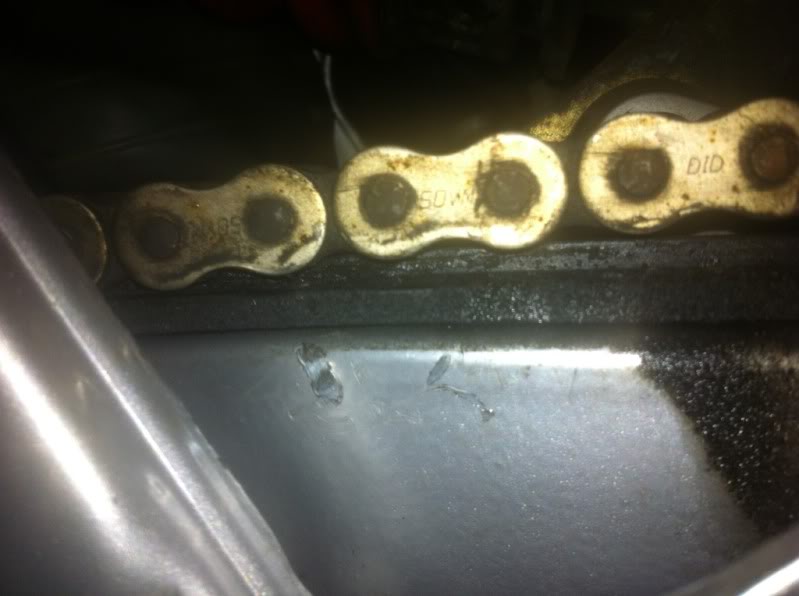
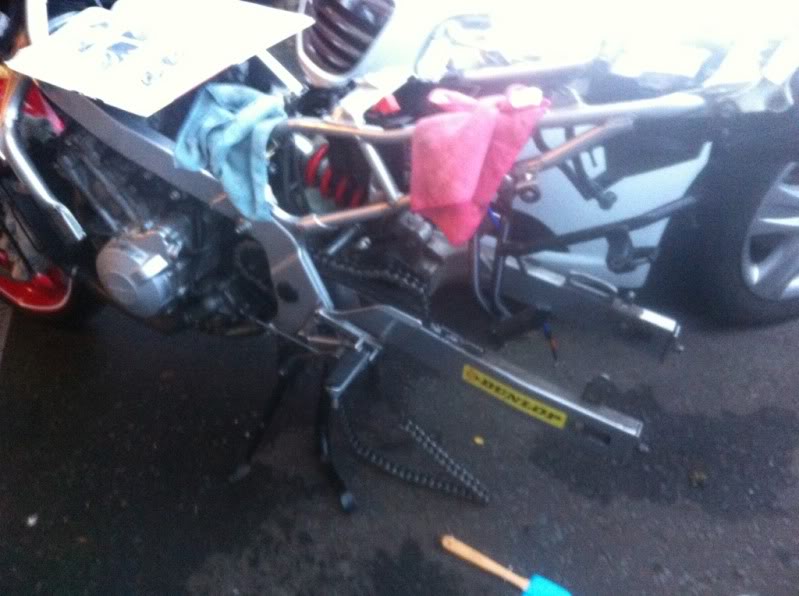
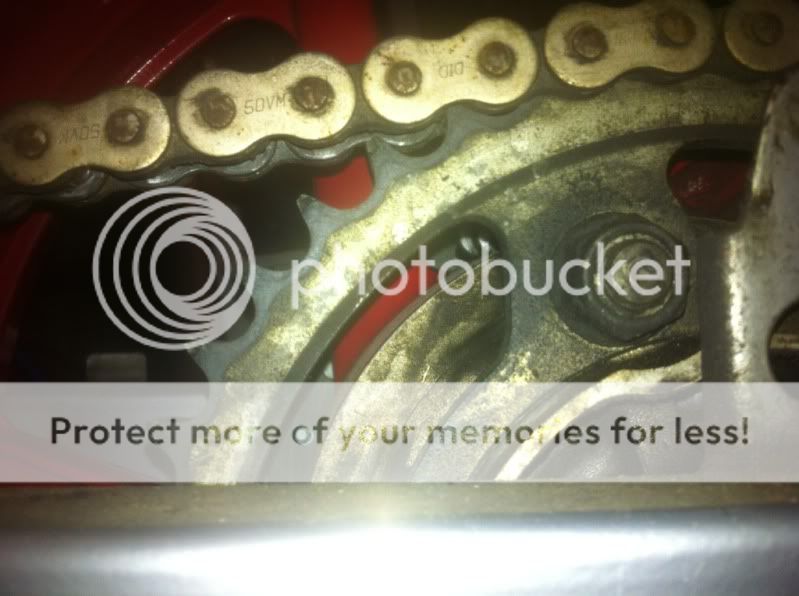
I took the rear hunger off as well, now there's no plastic left on it! Inspect the chain and sprocket, how do they look
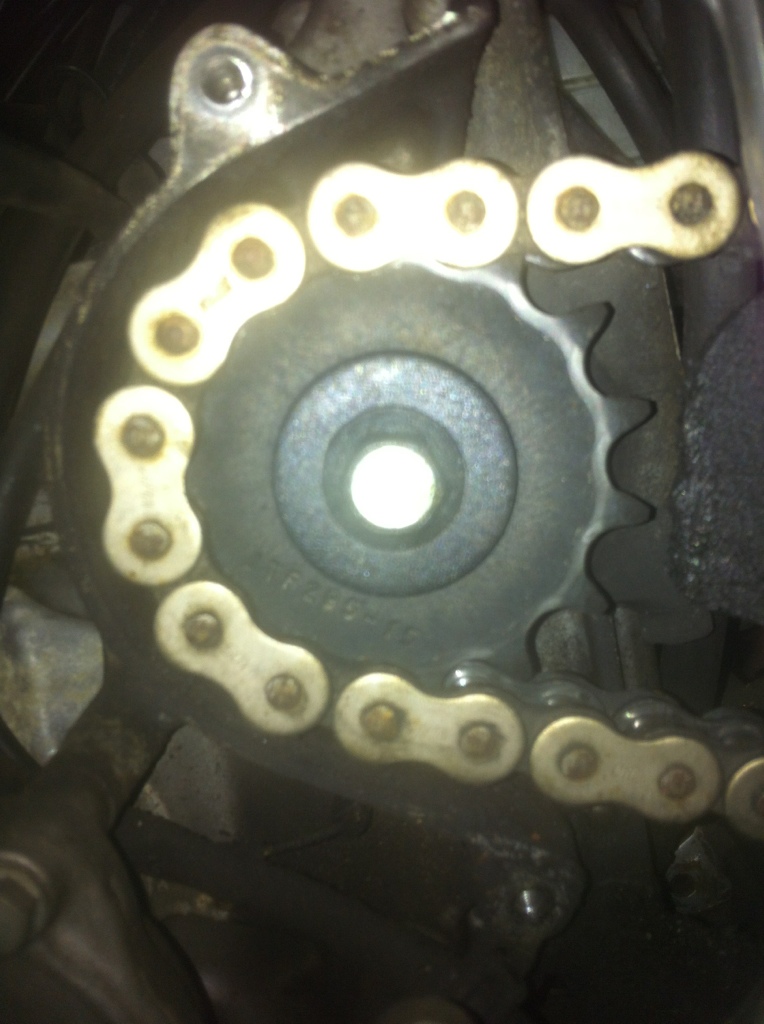
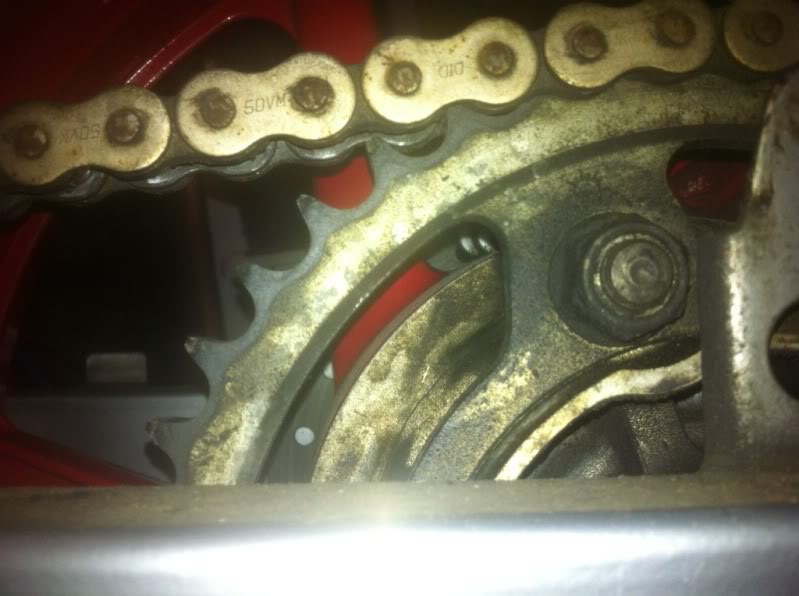
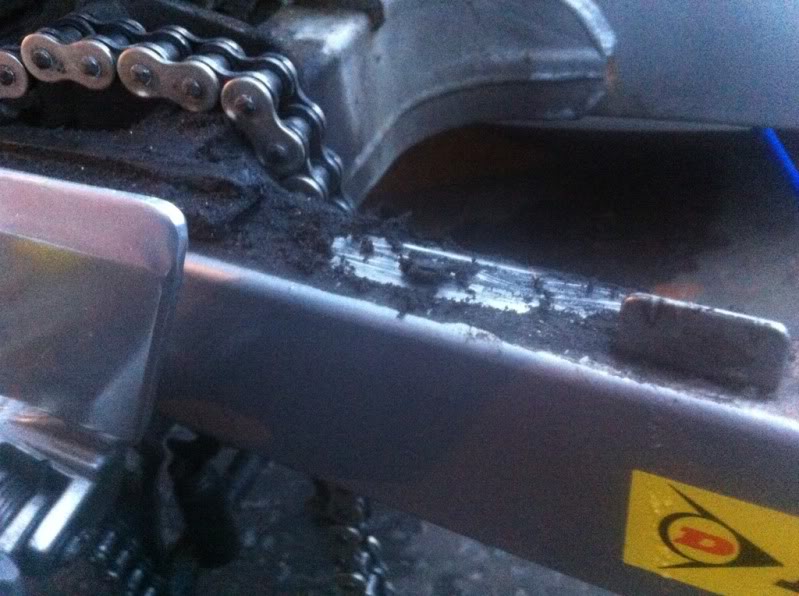
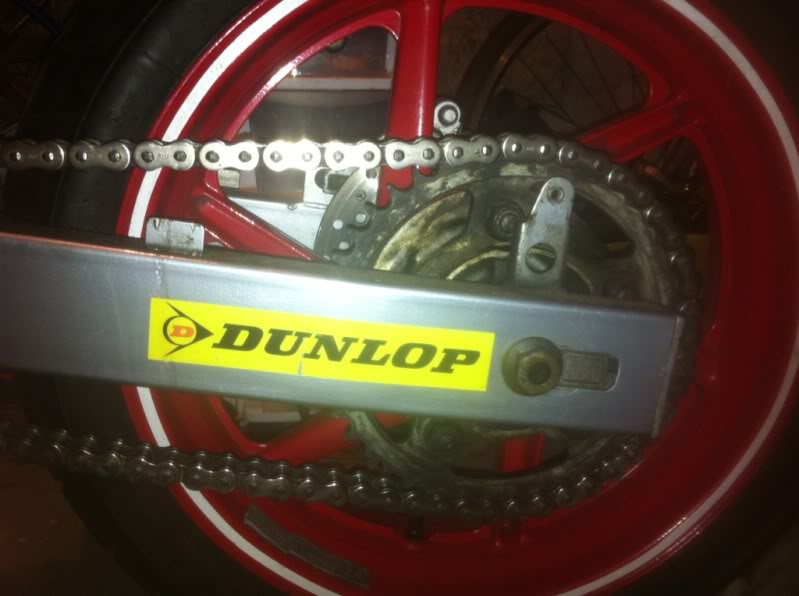
Is the chain supposed to rest here whilst in neutral? (Just next to front sprocket)
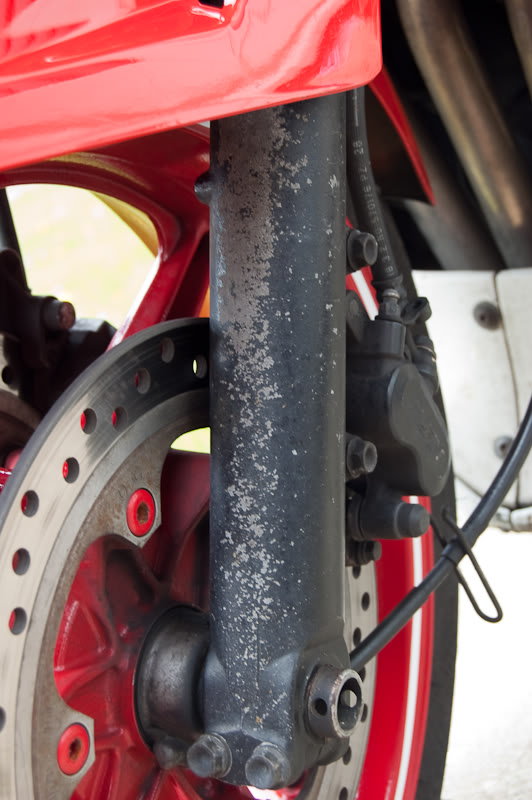
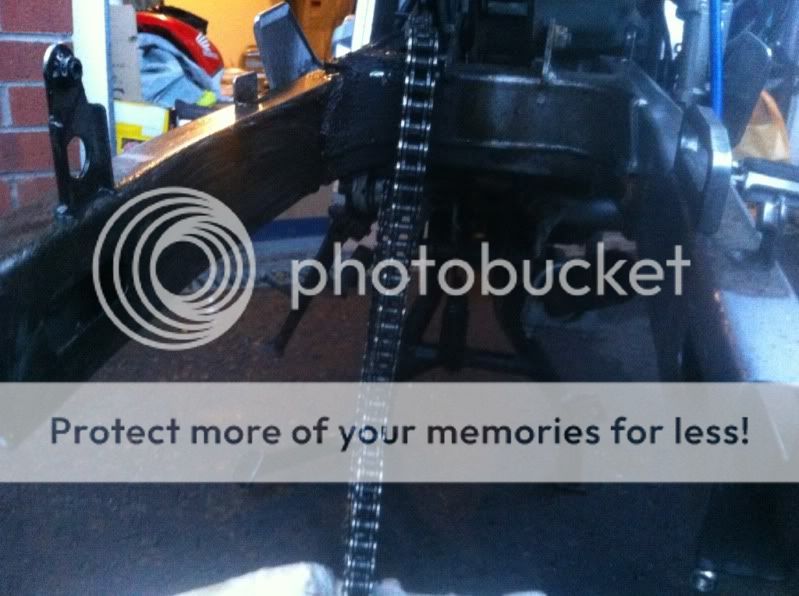
I was thinking of taking the rear wheel off to allow me to clean behind the swingarm but I'm not sure if it's worth the effort.
Progress is slow, I seem to work on the bike for hours and get hee haw done! Haha
I found out that my rear brake piston is buggered, it's now stuck half way in the caliper after I cleaned everything up (not fitted it yet, just pulling it in and out with piston pliers). I think I'm going to buy a new piston and seals and hopefully that resolves the problem!
I took the rear hunger off as well, now there's no plastic left on it! Inspect the chain and sprocket, how do they look
Is the chain supposed to rest here whilst in neutral? (Just next to front sprocket)
I was thinking of taking the rear wheel off to allow me to clean behind the swingarm but I'm not sure if it's worth the effort.
Thread Starter
|
Member
Joined: Mar 2010
Posts: 73
Likes: 3
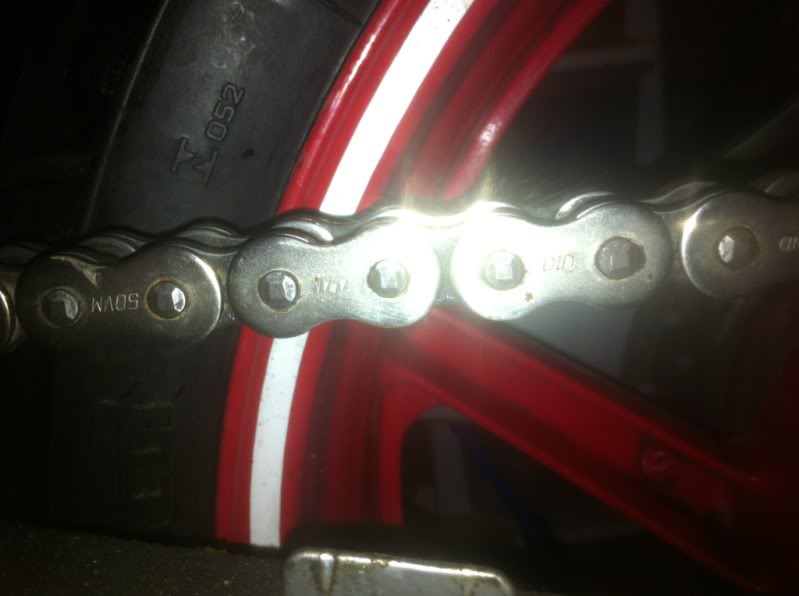
I wanted to do something on the bike tonight as I haven't had much time the last few nights. I gave the chain a quick clean + it's first lube in over a year! 8O I found some chain cleaner I had lying around in the garage which worked excellent!
The rear wheel is next to come off to clean the sprocket and swimarm. Once I'm finished with the service I'll get some Paraffin and give it a proper clean.
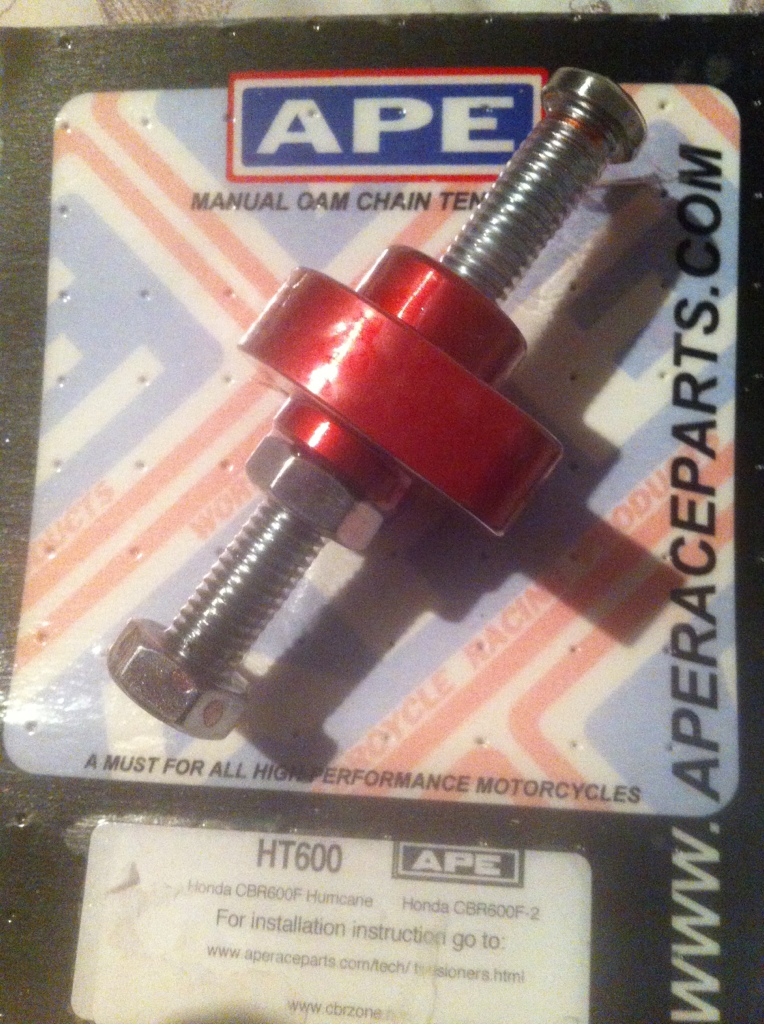
And got some new goodies
After tomorrow I'm off work for 9 days and I'm going to try and get the valve clearances sorted :up:
The rear wheel is next to come off to clean the sprocket and swimarm. Once I'm finished with the service I'll get some Paraffin and give it a proper clean.
And got some new goodies
After tomorrow I'm off work for 9 days and I'm going to try and get the valve clearances sorted :up:
Thread Starter
|
Member
Joined: Mar 2010
Posts: 73
Likes: 3
Bought a rear caliper on eBay which should hopefully sort my brake issue! I have new seals all round to fit as well.
I've decided to leave the clearances as 0.01mm isn't going to do it any harm.0, I'll recheck them in 8k miles or so. Today's work:
I'm venturing into unknown territory :revit:
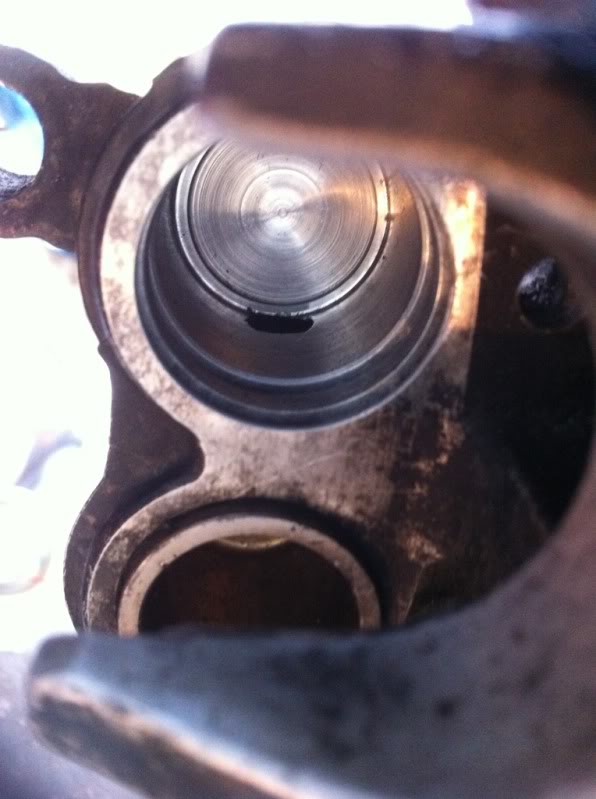
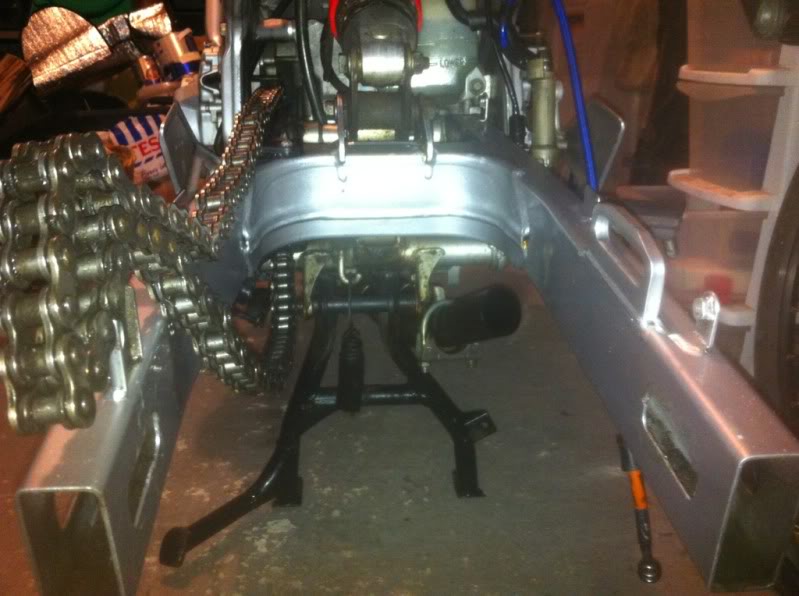
Removed the rear wheel
Which revealed the swingarm covered in a thick mucky and oily mess
After a wee bit of brushing
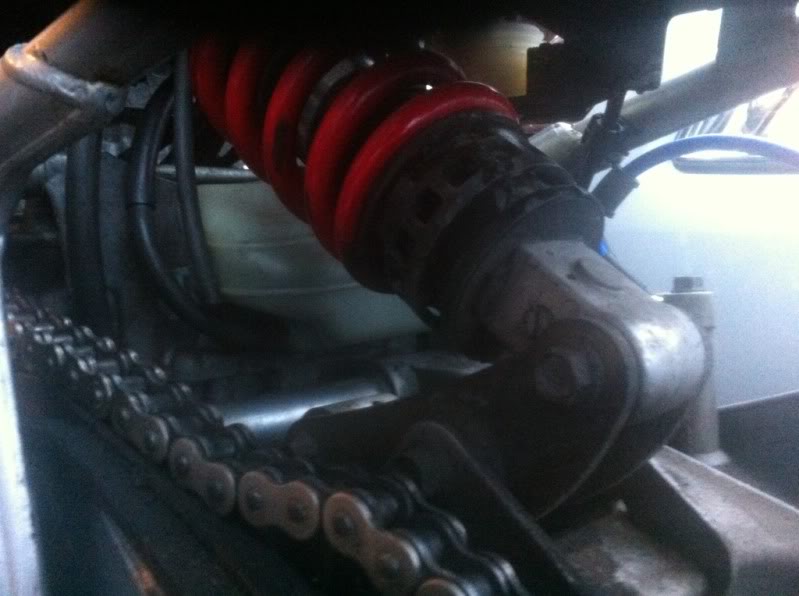
Is it worth taking the rear shock off and giving it a good clean + check?
I used paraffin (didn't see your replies until after I had finished) wi a toothbrush, then washed it with soapy water afterwords

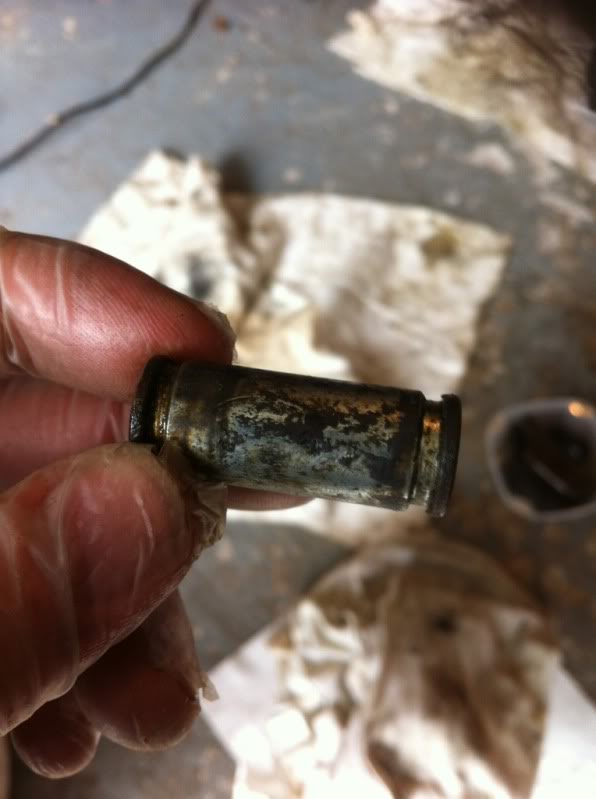
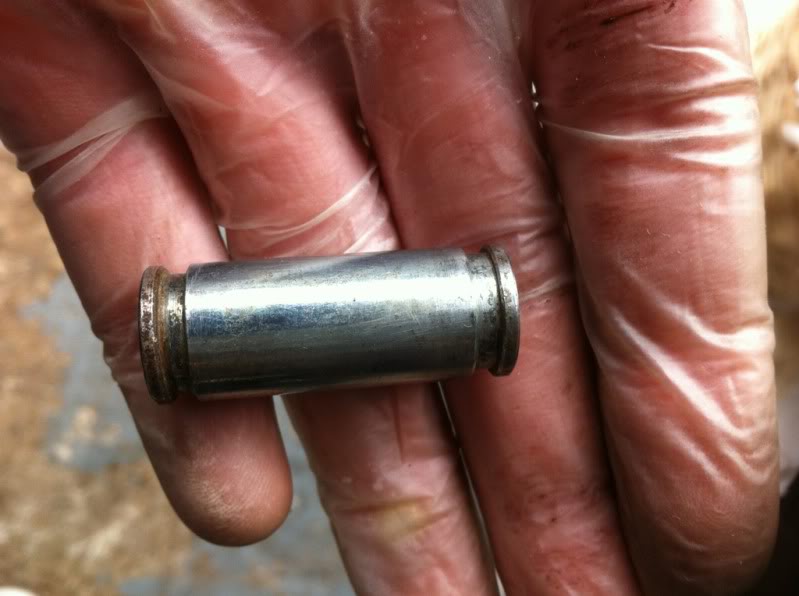
When I took the rear wheel off I noted the spacers were in two different ways, I think the person who fitted my tired might have put one of them in the wrong way.
Also, when re-fitting the wheel, the manual recommends using a dab of grease - what sort of grease, just general purpose stuff?
I've decided to leave the clearances as 0.01mm isn't going to do it any harm.0, I'll recheck them in 8k miles or so. Today's work:
I'm venturing into unknown territory :revit:
Removed the rear wheel
Which revealed the swingarm covered in a thick mucky and oily mess
After a wee bit of brushing
Is it worth taking the rear shock off and giving it a good clean + check?
I used paraffin (didn't see your replies until after I had finished) wi a toothbrush, then washed it with soapy water afterwords
When I took the rear wheel off I noted the spacers were in two different ways, I think the person who fitted my tired might have put one of them in the wrong way.
Also, when re-fitting the wheel, the manual recommends using a dab of grease - what sort of grease, just general purpose stuff?
Thread Starter
|
Member
Joined: Mar 2010
Posts: 73
Likes: 3
If you seen my other post you will have seen i managed to snap a bolt in the valve cover, thankfully i managed to drill it out and have a new one ordered.
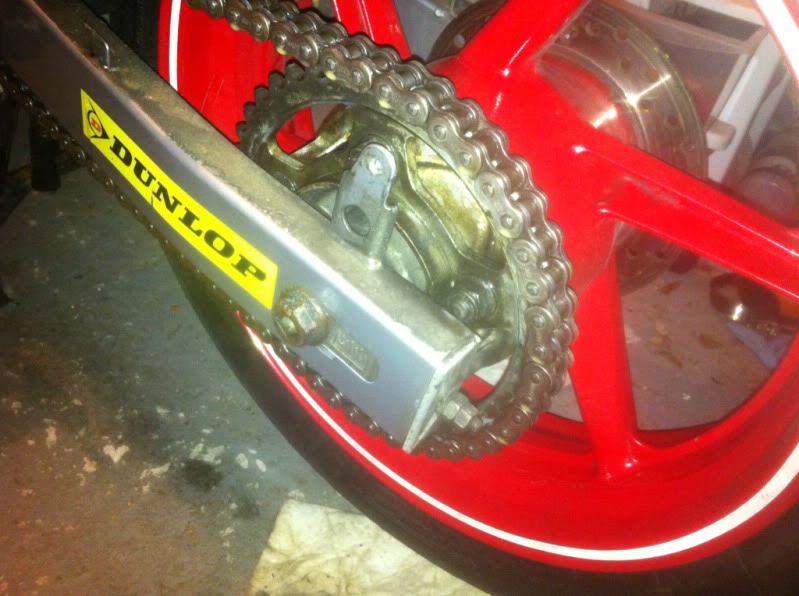
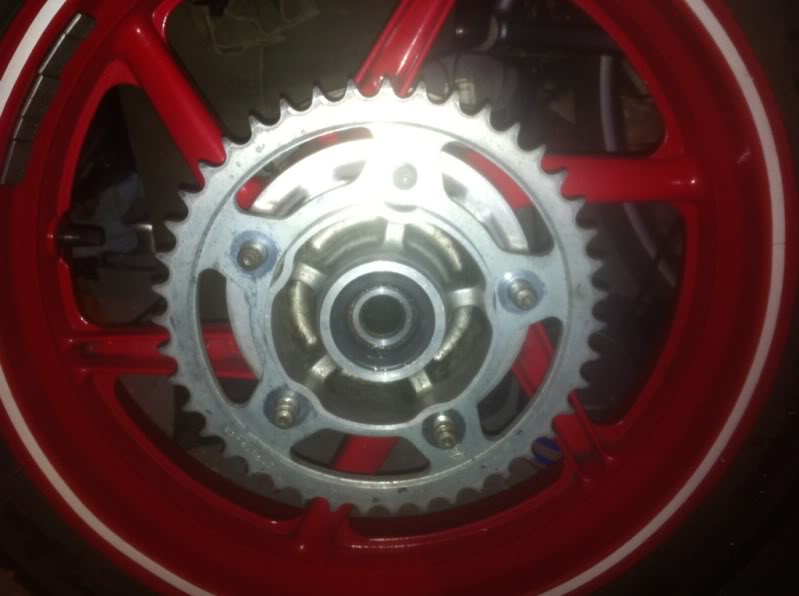
I only managd to spend an hour working on the bike today; took the rear sprocket off and cleaned everything up:
Before:
After:
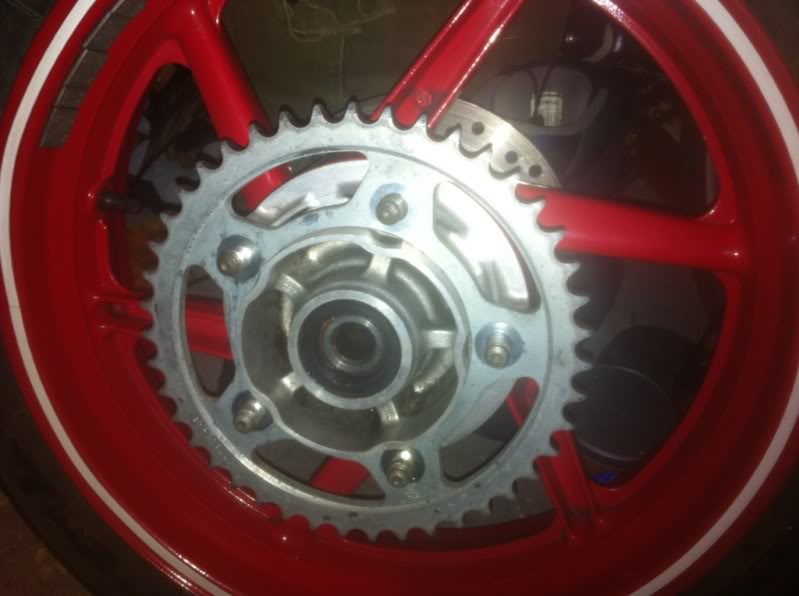
Next job is to clean the rear shock and engine.
I only managd to spend an hour working on the bike today; took the rear sprocket off and cleaned everything up:
Before:
After:
Next job is to clean the rear shock and engine.