
Stick coil mod for the F1


Junior Member
Joined: Apr 2015
Posts: 20
Likes: 0
From: SW Michigan
CorruptFile
I did this mod about this time last year on my 89 by following this writeup and it runs so much better now. Thank you for posting this excellent how to.
One question though: What did you end up using for dust covers to keep garbage from falling down into the head? I tried using the old ones as well and I do not care for how it turned out.
mav
Last edited by -Maverick-; Mar 11, 2016 at 11:38 AM.

Thread Starter
|
June 2013 ROTM
Joined: Jul 2012
Posts: 1,172
Likes: 1
From: Victoria, BC
CorruptFile
I did this mod about this time last year on my 89 by following this writeup and it runs so much better now. Thank you for posting this excellent how to.
One question though: What did you end up using for dust covers to keep garbage from falling down into the head? I tried using the old ones as well and I do not care for how it turned out.
mav
I did this mod about this time last year on my 89 by following this writeup and it runs so much better now. Thank you for posting this excellent how to.
One question though: What did you end up using for dust covers to keep garbage from falling down into the head? I tried using the old ones as well and I do not care for how it turned out.
mav
For the dust covers, I ended up cutting the boots of the oem wires and silicone-ing them onto the coils. I also tried rubber trailer hub seals, but wasn't happy with the seal.
Good luck!
Junior Member
Joined: Apr 2015
Posts: 20
Likes: 0
From: SW Michigan
Glad it worked out for you. Regrettably, I sold that bike last year... Still kicking myself over that.
For the dust covers, I ended up cutting the boots of the oem wires and silicone-ing them onto the coils. I also tried rubber trailer hub seals, but wasn't happy with the seal.
Good luck!
For the dust covers, I ended up cutting the boots of the oem wires and silicone-ing them onto the coils. I also tried rubber trailer hub seals, but wasn't happy with the seal.
Good luck!
I cut the boots off of mine as well. Perhaps I just need to play around with them a bit more. Thanks for the help, I will let you know how it goes!

Junior Member
Joined: Jun 2016
Posts: 3
Likes: 0
I'll start by saying this was almost entirely copied from SB's how to for the 1000f. https://cbrforum.com/forum/how-tos-8...ensive-139800/
There was a few minor differences and I will post some pictures of my steps. Pretty easy to figure out.
First, what you need:
- Soldering iron/solder/flux/heat shrink (prefered)/electrical tape/snips/strippers
- Wiring harness (I used a harness from an 04-05 1000rr). You are safe using any of the denso harnesses though, it appears they are all the same
- 4 stick coils. MAKE SURE YOU GET THE SHORT ONES. I'll post a comparison below. The ones I got were from an 02 GSXR600, but again, all of the Denso shortys should work
- Multimeter
- 4 male spade connectors
- 10' or so of 18-22 ga wire. I used 18 ga because I had alot of it. If you can get different colors it makes it much easier. I used one color and was careful
- M+F 4 wire trailer harness (or other 4 wire plug, but I got the M and F kit for $2)
Here are the 2 types of coils. You want the ones on the right

Here is the overall schematic. I used Blue for the white wire on the wiring harness.

You want each stick coil to have roughtly 1.0-1.5 ohm of resistance. When you connect them in series, the resistance is additive and adds up to 2.0 - 3.0 ohms. The coil packs have a resistance of 2.5 - 3.1 ohms, so this method won't burn out your CDI!
Coil:

Coil pack:

After you remove the coils and the HT leads, you can get started on the new wiring.
Clip the plugs off the new harness. Leave enough room (~2") to allow you to solder easily.
I used SB's trick of cardboard to space the coils. Starting from 4 on your left, mark coil #3 at about 3" to the right, and #2 about 8" from #4, and #1 about 11" from #4. Leave a bit of slack in your wiring.
Stick the coils through with the connectors facing away from you and connect the connectors. Strip the wires and tin them.

Work your way from right to left, leaving enough room past #4 for the connector to easily connect near the back of the carbs somewhere. I heart shrunk everything to keep it tidy, but you need to think logically and make sure you don't leave a wire out. Start with the 2 'bridges' between 1-4 and 2-3, then run your other wires out.

Wire in your plug. You don't have to do exactly as I did, but feel free to.

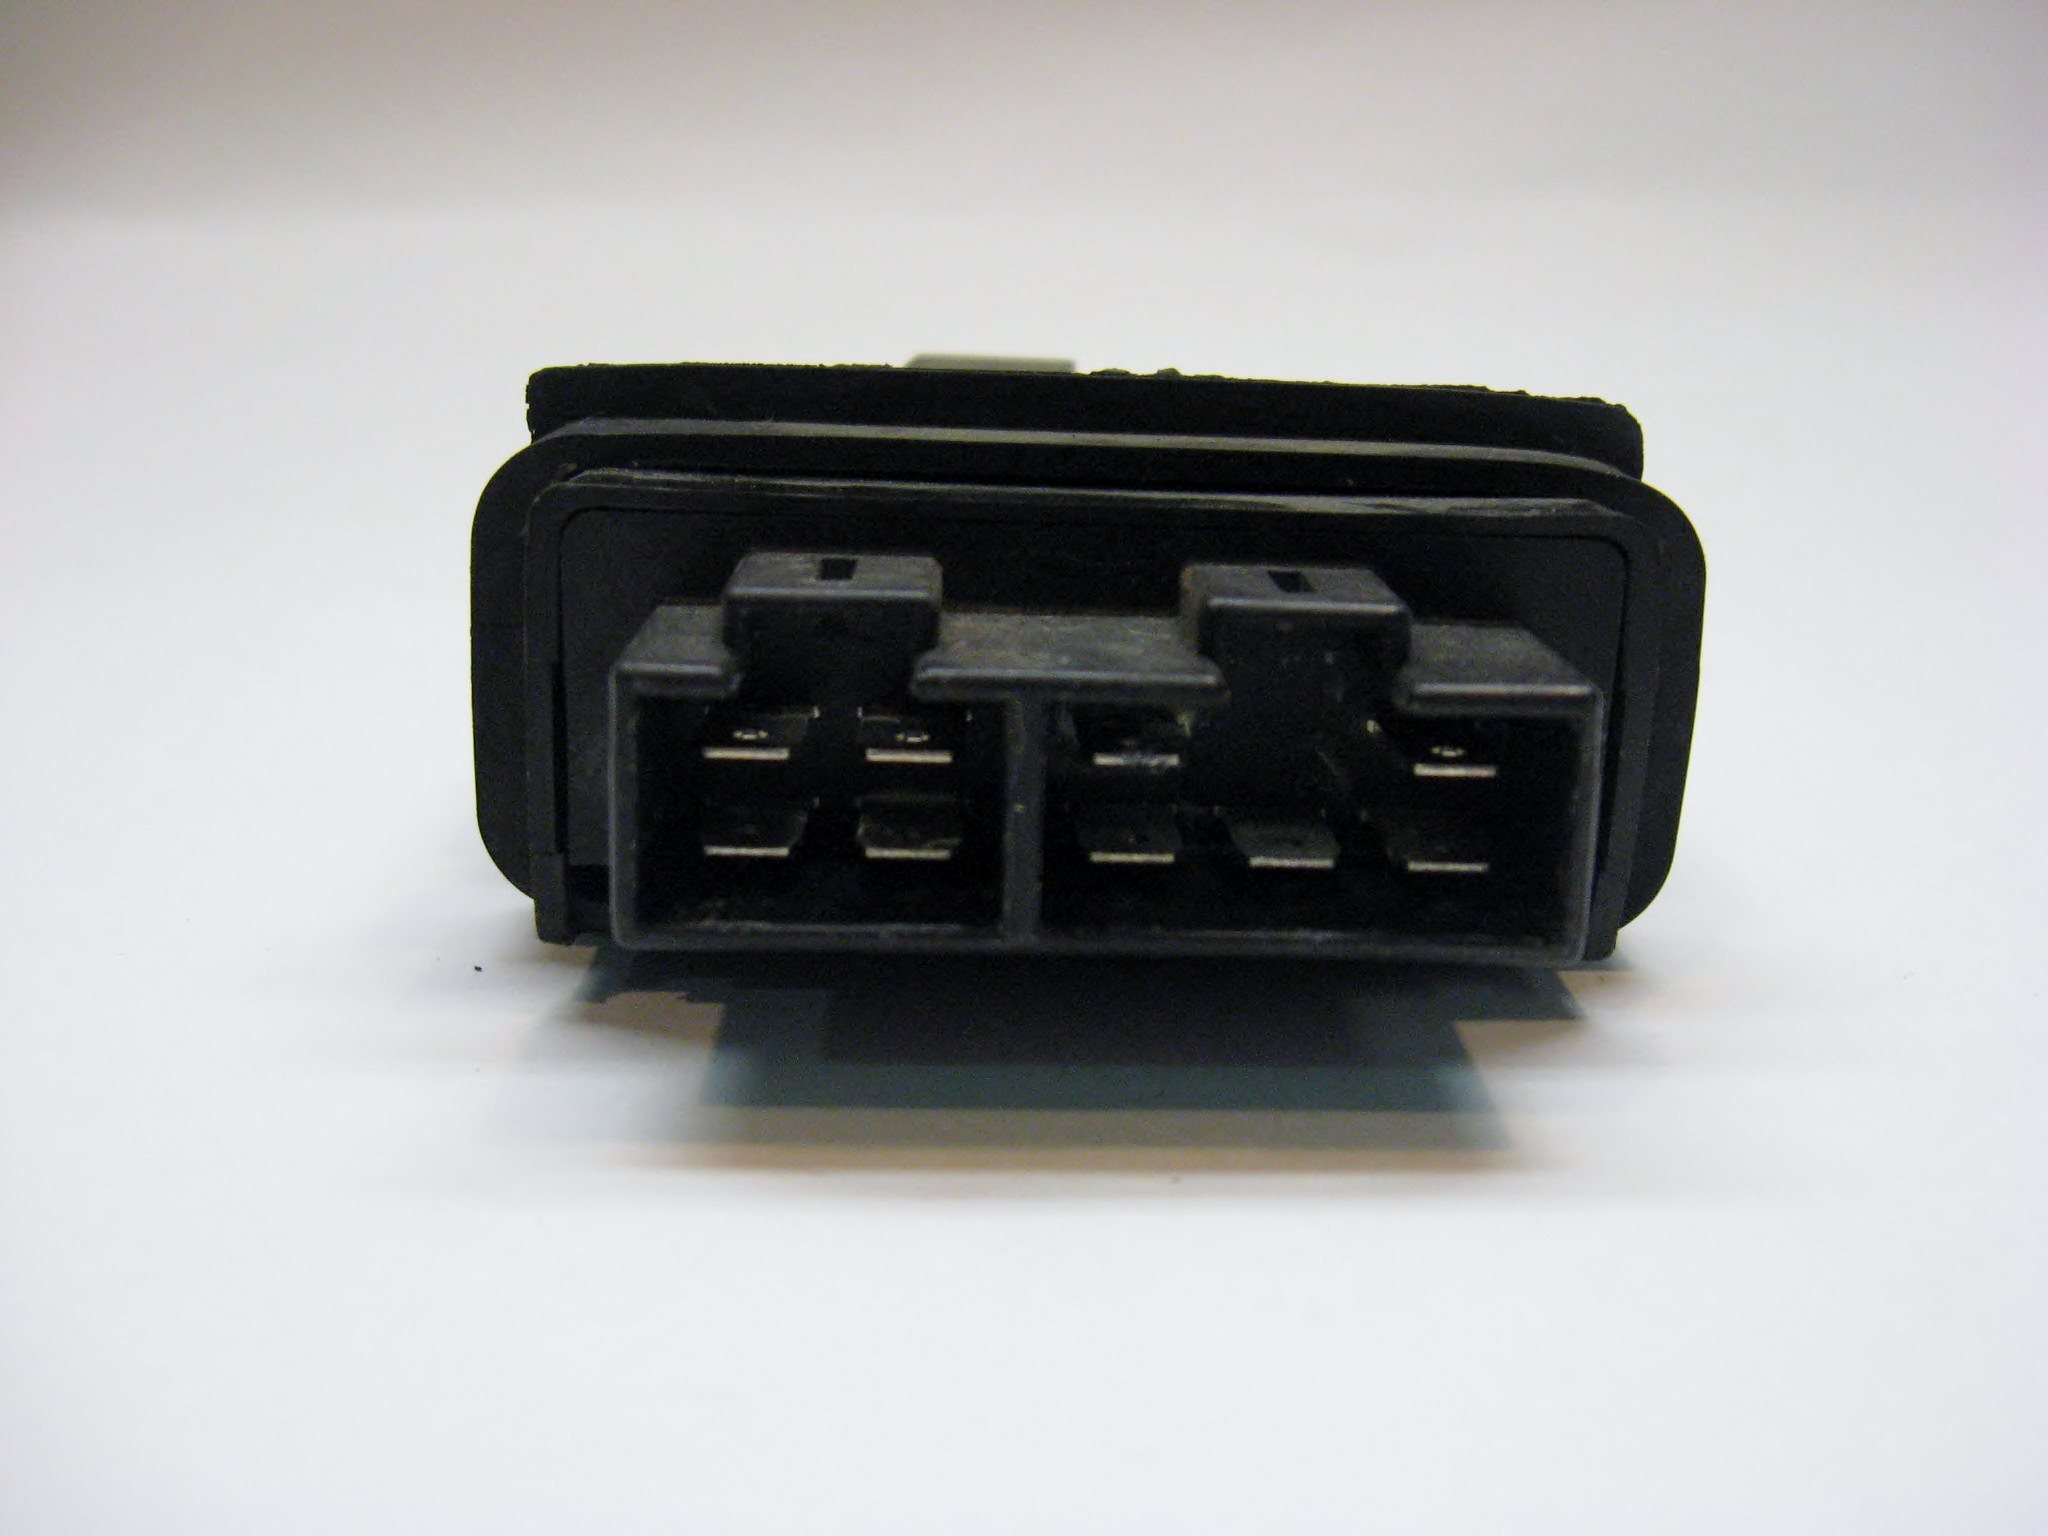
Prepare the bike side plug. I seperated the wires into the 2 bundles and crimped the spade connectors on.


I cut the rubber caps from the old HT leads, but I don't really like it, so I might try another method of keeping crap out of the plug wells.
Good idea to test to make sure you didn't mess up. If you followed my wiring diagram, you should get around 3 ohms connected the middle 2 connectors on the plug, and the outer 2 as well. You should have infinite resistance between 1-3 and 2-4.


Hook up everything and that's it. It's a really easy mod. I haven't had a chance to ride with it yet, but I did a cold start (sitting ~2.5 months) and with fresh gas it fired right up.
There was a few minor differences and I will post some pictures of my steps. Pretty easy to figure out.
First, what you need:
- Soldering iron/solder/flux/heat shrink (prefered)/electrical tape/snips/strippers
- Wiring harness (I used a harness from an 04-05 1000rr). You are safe using any of the denso harnesses though, it appears they are all the same
- 4 stick coils. MAKE SURE YOU GET THE SHORT ONES. I'll post a comparison below. The ones I got were from an 02 GSXR600, but again, all of the Denso shortys should work
- Multimeter
- 4 male spade connectors
- 10' or so of 18-22 ga wire. I used 18 ga because I had alot of it. If you can get different colors it makes it much easier. I used one color and was careful
- M+F 4 wire trailer harness (or other 4 wire plug, but I got the M and F kit for $2)
Here are the 2 types of coils. You want the ones on the right
Here is the overall schematic. I used Blue for the white wire on the wiring harness.
You want each stick coil to have roughtly 1.0-1.5 ohm of resistance. When you connect them in series, the resistance is additive and adds up to 2.0 - 3.0 ohms. The coil packs have a resistance of 2.5 - 3.1 ohms, so this method won't burn out your CDI!
Coil:
Coil pack:
After you remove the coils and the HT leads, you can get started on the new wiring.
Clip the plugs off the new harness. Leave enough room (~2") to allow you to solder easily.
I used SB's trick of cardboard to space the coils. Starting from 4 on your left, mark coil #3 at about 3" to the right, and #2 about 8" from #4, and #1 about 11" from #4. Leave a bit of slack in your wiring.
Stick the coils through with the connectors facing away from you and connect the connectors. Strip the wires and tin them.
Work your way from right to left, leaving enough room past #4 for the connector to easily connect near the back of the carbs somewhere. I heart shrunk everything to keep it tidy, but you need to think logically and make sure you don't leave a wire out. Start with the 2 'bridges' between 1-4 and 2-3, then run your other wires out.
Wire in your plug. You don't have to do exactly as I did, but feel free to.
Prepare the bike side plug. I seperated the wires into the 2 bundles and crimped the spade connectors on.
I cut the rubber caps from the old HT leads, but I don't really like it, so I might try another method of keeping crap out of the plug wells.
Good idea to test to make sure you didn't mess up. If you followed my wiring diagram, you should get around 3 ohms connected the middle 2 connectors on the plug, and the outer 2 as well. You should have infinite resistance between 1-3 and 2-4.
Hook up everything and that's it. It's a really easy mod. I haven't had a chance to ride with it yet, but I did a cold start (sitting ~2.5 months) and with fresh gas it fired right up.


Senior Member
Joined: May 2019
Posts: 123
Likes: 0
From: Boston, MA
I wrapped everything in heat shrink, then I added a wire loom to protect it from the heat. I made some grommets to hold the coil sticks in place using these from amazon, cutting out the centers and then adding a few o-rings. cemented it all together with a gasket maker material.
https://smile.amazon.com/gp/product/...?ie=UTF8&psc=1
https://smile.amazon.com/gp/product/...?ie=UTF8&psc=1

Thread
Thread Starter
Forum
Replies
Last Post
Sebastionbear1
How To's
78
Nov 12, 2022 06:53 AM