When you click on links to various merchants on this site and make a purchase, this can result in this site earning a commission. Affiliate programs and affiliations include, but are not limited to, the eBay Partner Network.
What a great effort, starting to come together really well now. I do like the gold!! I did have a Black / Gold CB400N (wet dream) in the distant past that I will own up to, That had gold wheels as well until the rear was destroyed when the chain snapped!
That's really looking spectacular! I've seen a number of companies on the web that produce a variety of decals. I haven't seen the Dual Linked Break System one though. She really is coming along nicely. Thanks for sharing this with us.
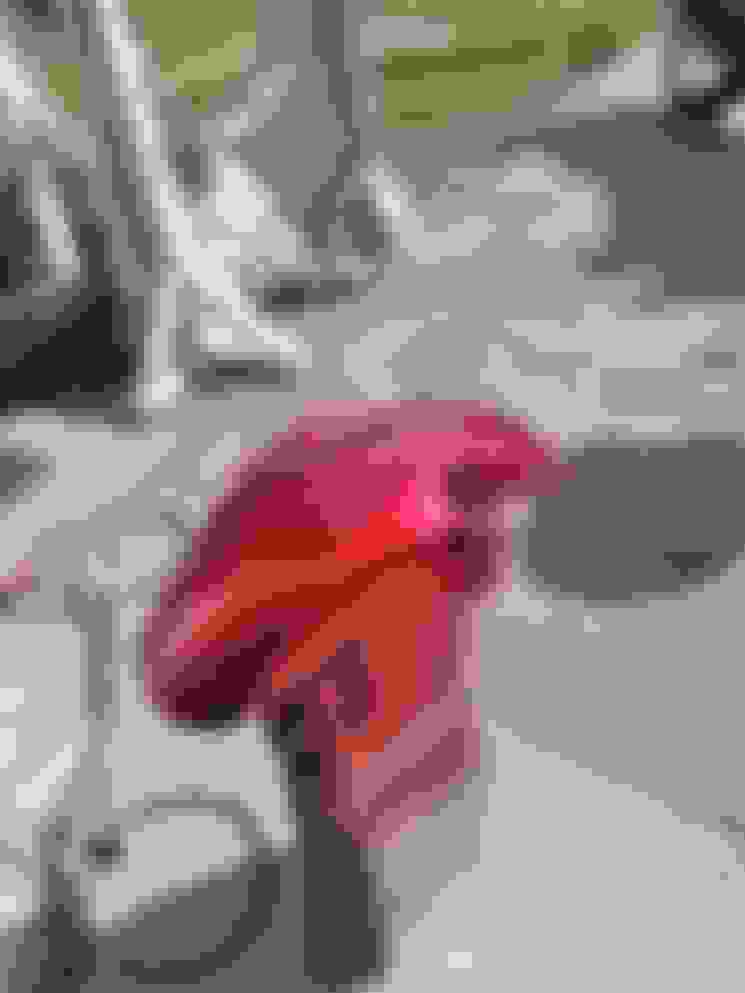
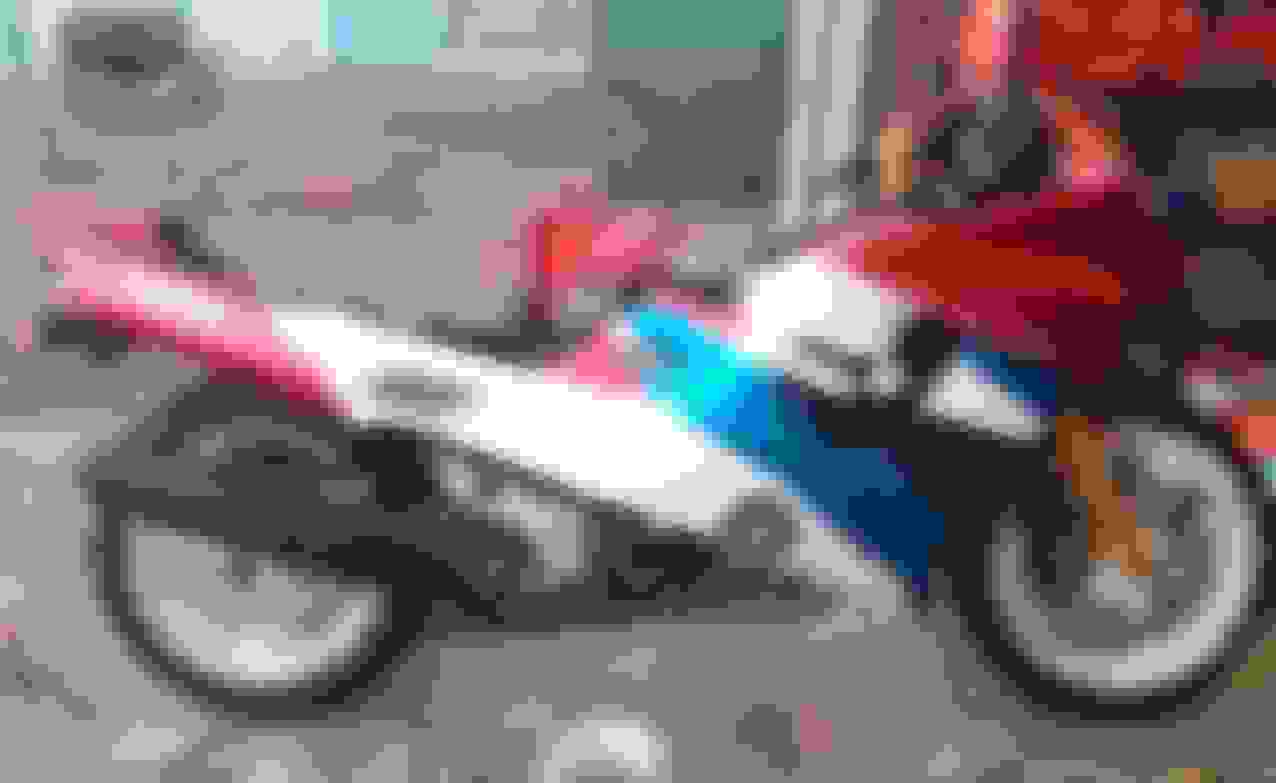
The time has come now to start getting my patterns all sorted for the paint. I thought it would be better to pencil in the lines I wanted to mask off, that way I could decide which side of the line I was painting and then get ready to do it all again for the second colour. I decided to lay down the red first, well silver base first but you will know what I mean. Front guard was a breeze as it had no other colour to go with it. The candy red looked really nice to me, so ar so good with the candy colour idea. With a splash of white, and a gold pinstripe at the edge of all the red, time to fit the first decal. here you can see the hammertone on the grabrail, ready for the clear in that area now, just got to hope I can get the other decals to go on just as nice.
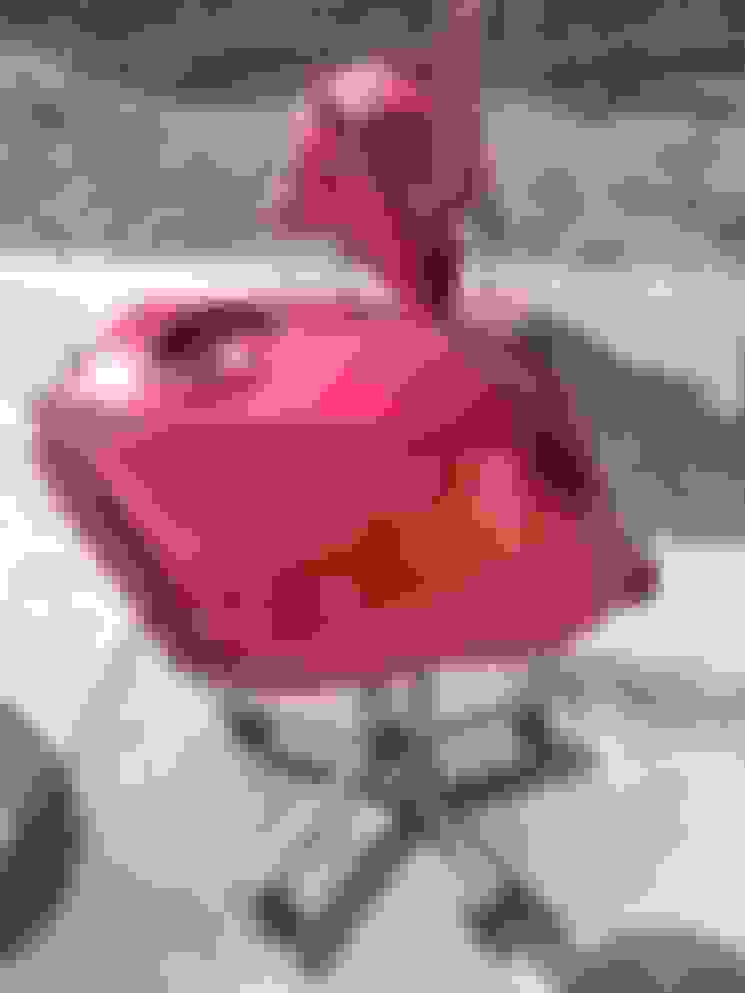
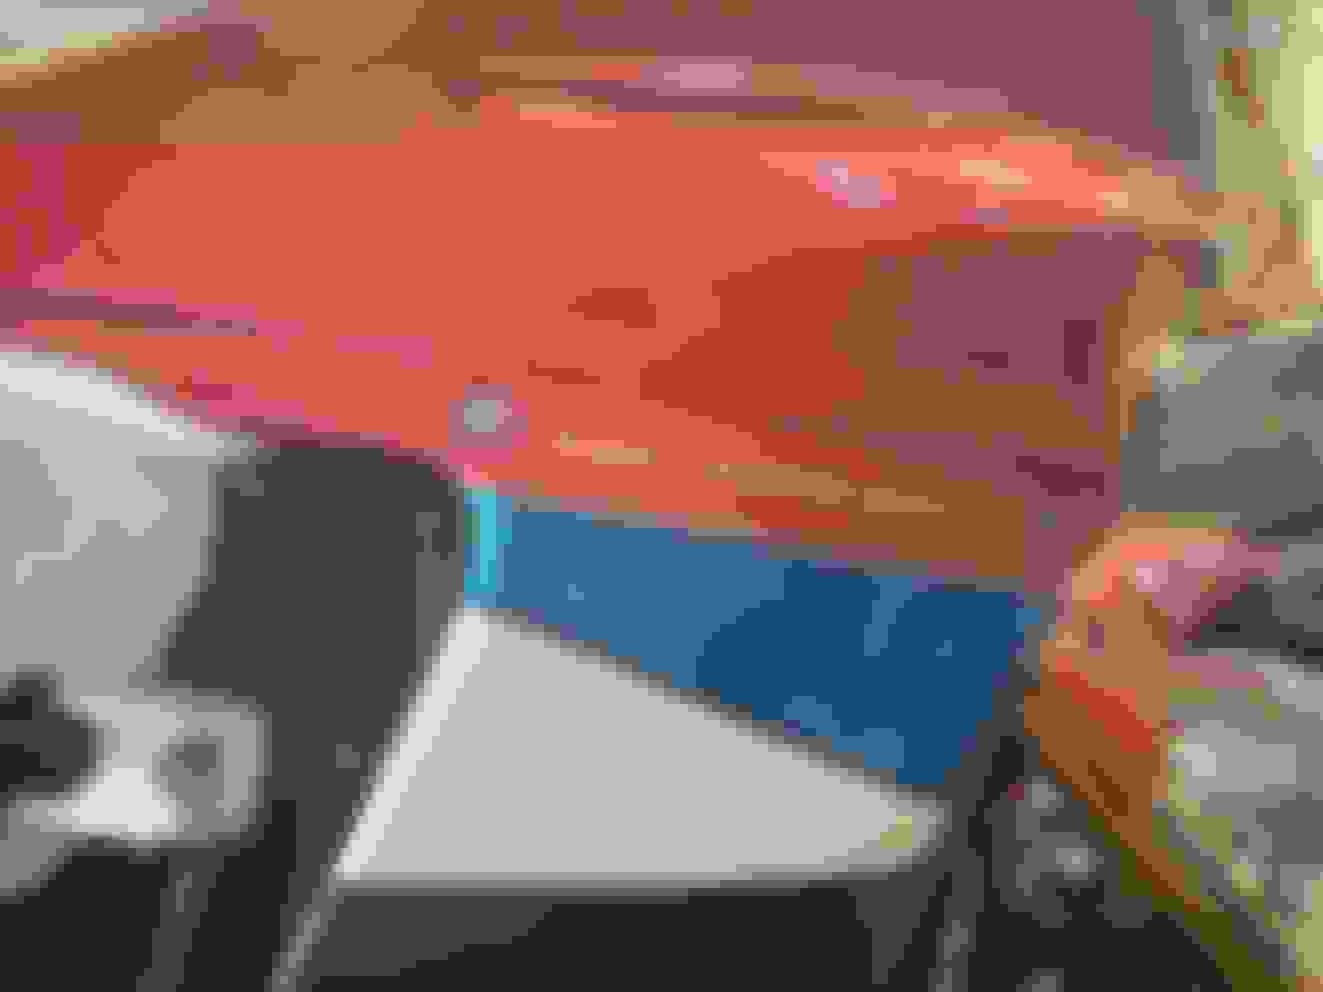
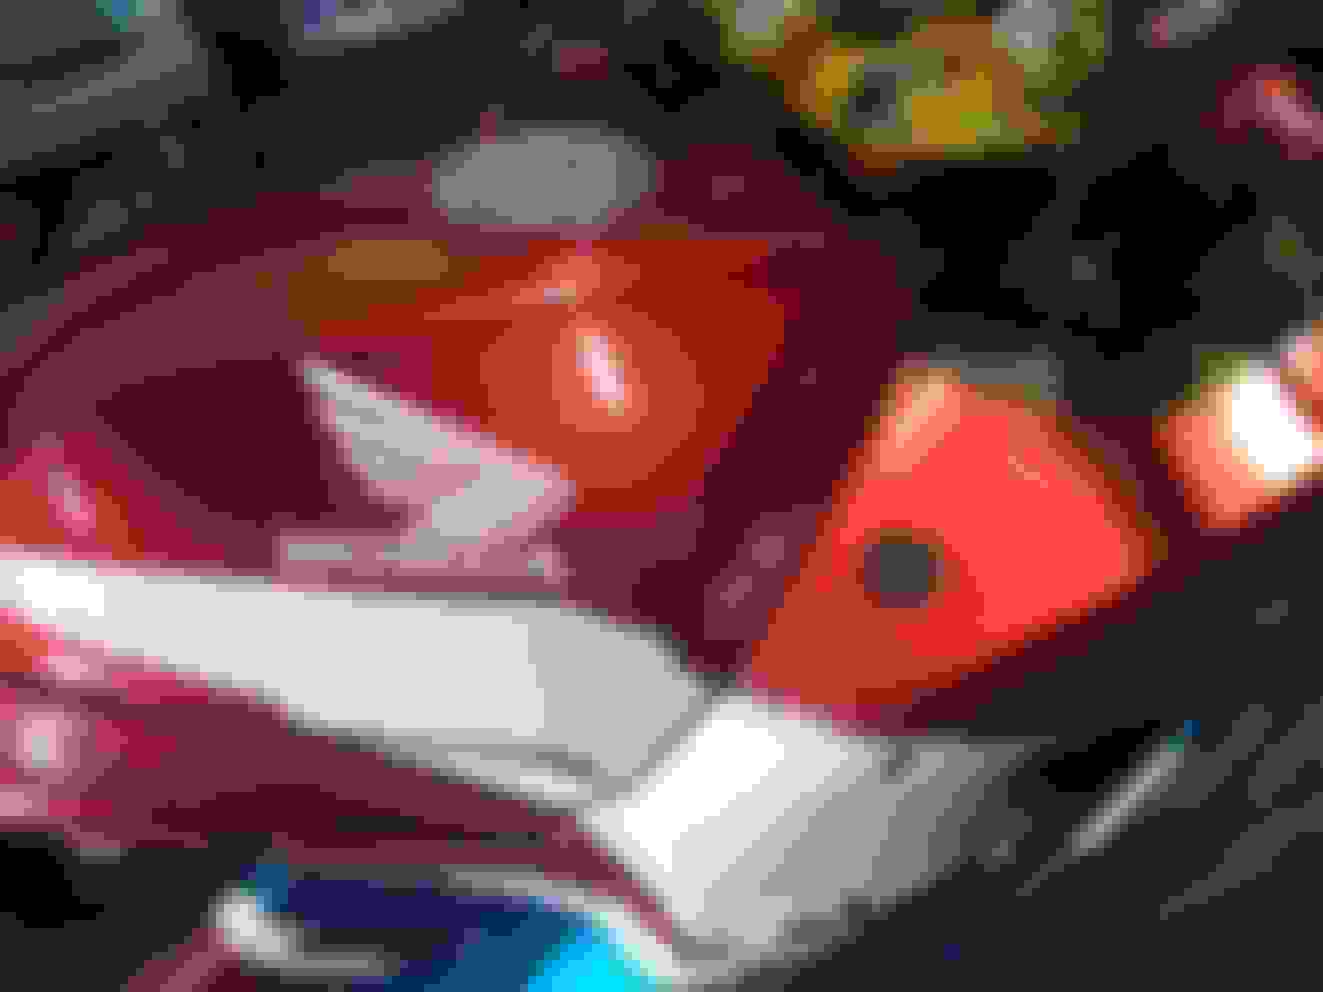
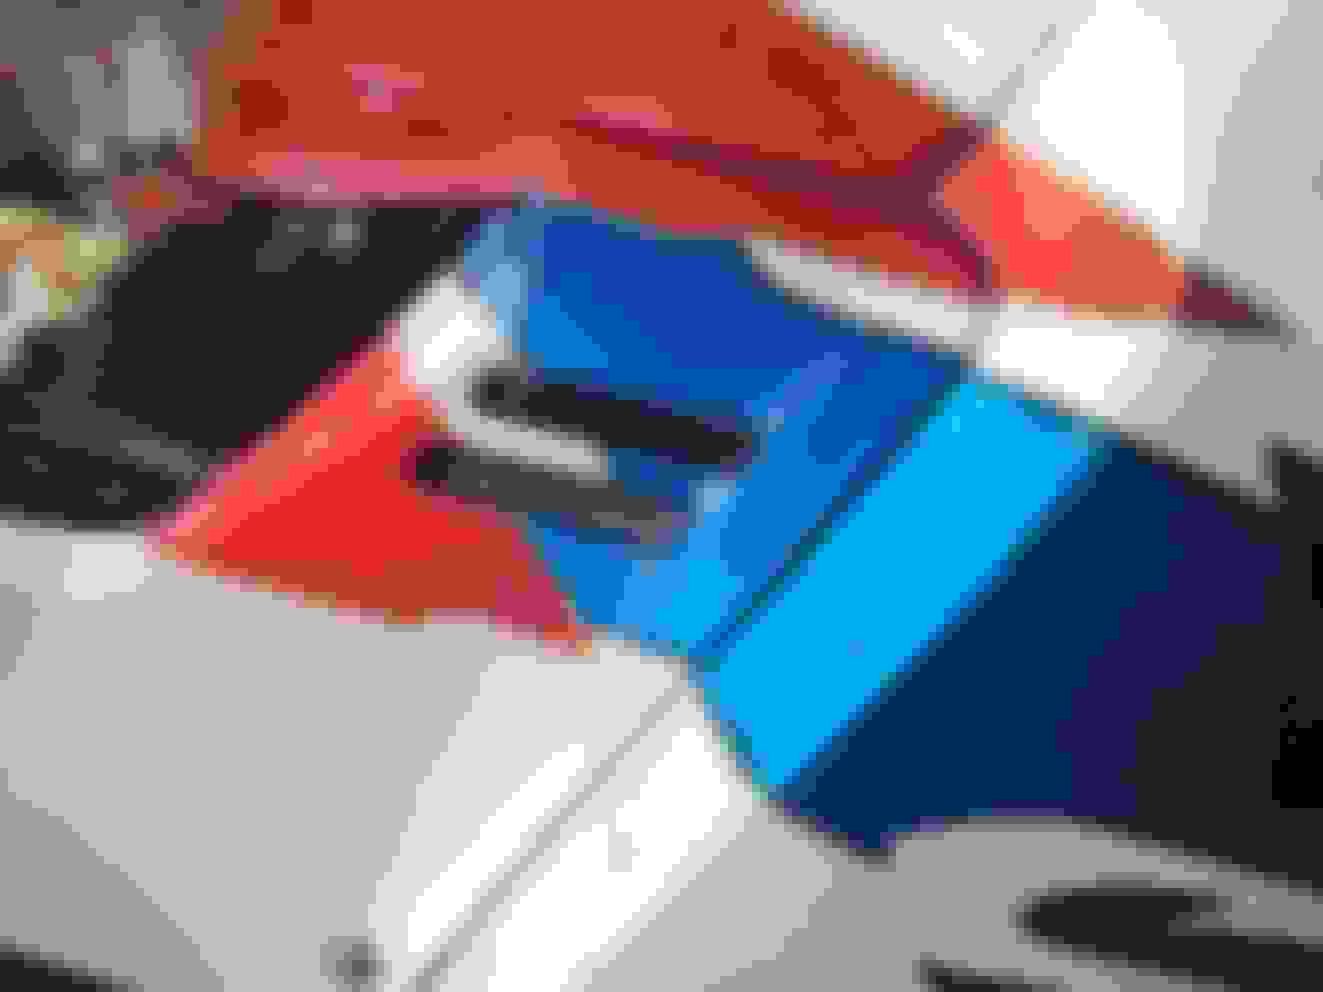
Time to mix up some colours. This will almost bring us all up to date with what I have been getting into, for me the candy colours are really working. The red here for some reason reacted rather badly on one part and needed to be sanded back and done again, the white and the silver were doing well, and so the purple went on, not exactly the same as original pattern but fairly close I thought. The white and blue turned out pretty good I think, but I sanded through the gold, so it will have to be done again, all the fairings were now getting a lot of colour and after sitting the parts together it looked quite impressive to me at least. I didn't get a lot done this time around, as you can see it had been raining. however it was good enough to get an idea of how it would look when the parts were al sitting in place.
Well sad to say it but I have hit a snag, I took it for a bit of a squirt, (I couldn't help myself)and found it wasn't charging, so I put in a new rectifier and no change so I decided to remove the alternator and send it away, and if it needs anything to be done like rewind or whatever else may need fixing, then I can put it all back together again.
The stator on these bikes seems to be an issue. I recall someone else in AU within the last 60 days that was having to deal with that as well. I believe he was going to try to do the rewind himself. If you get it done, post in here who you had do it and if you don't mind, what the cost was.
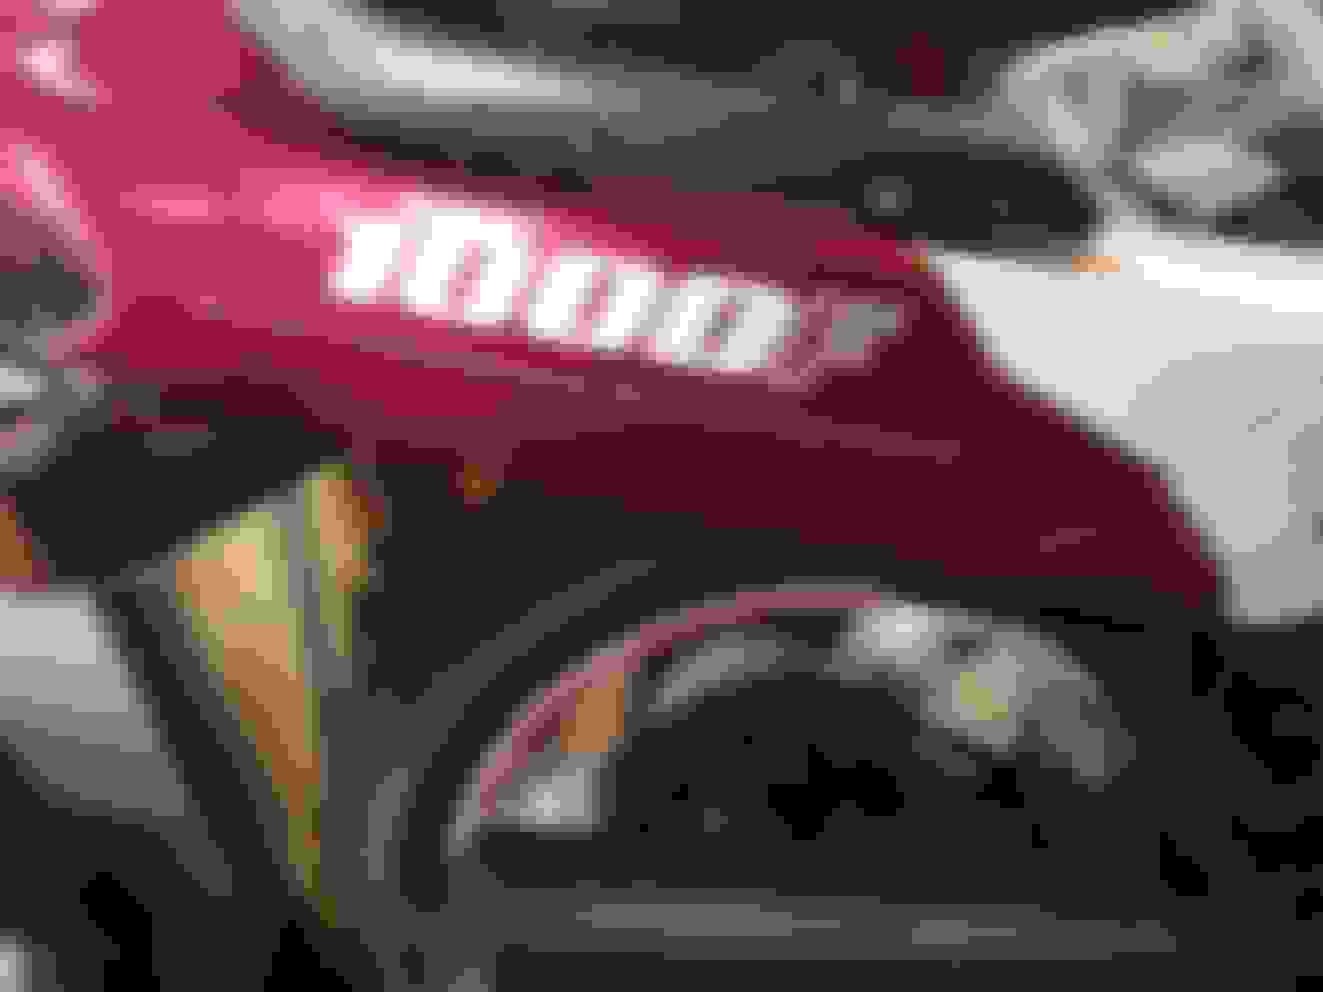
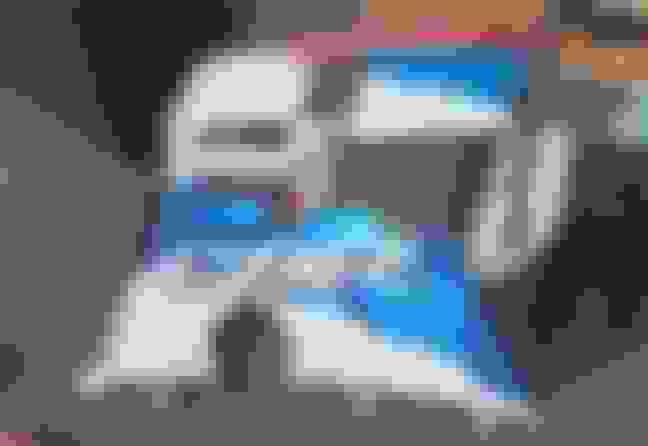
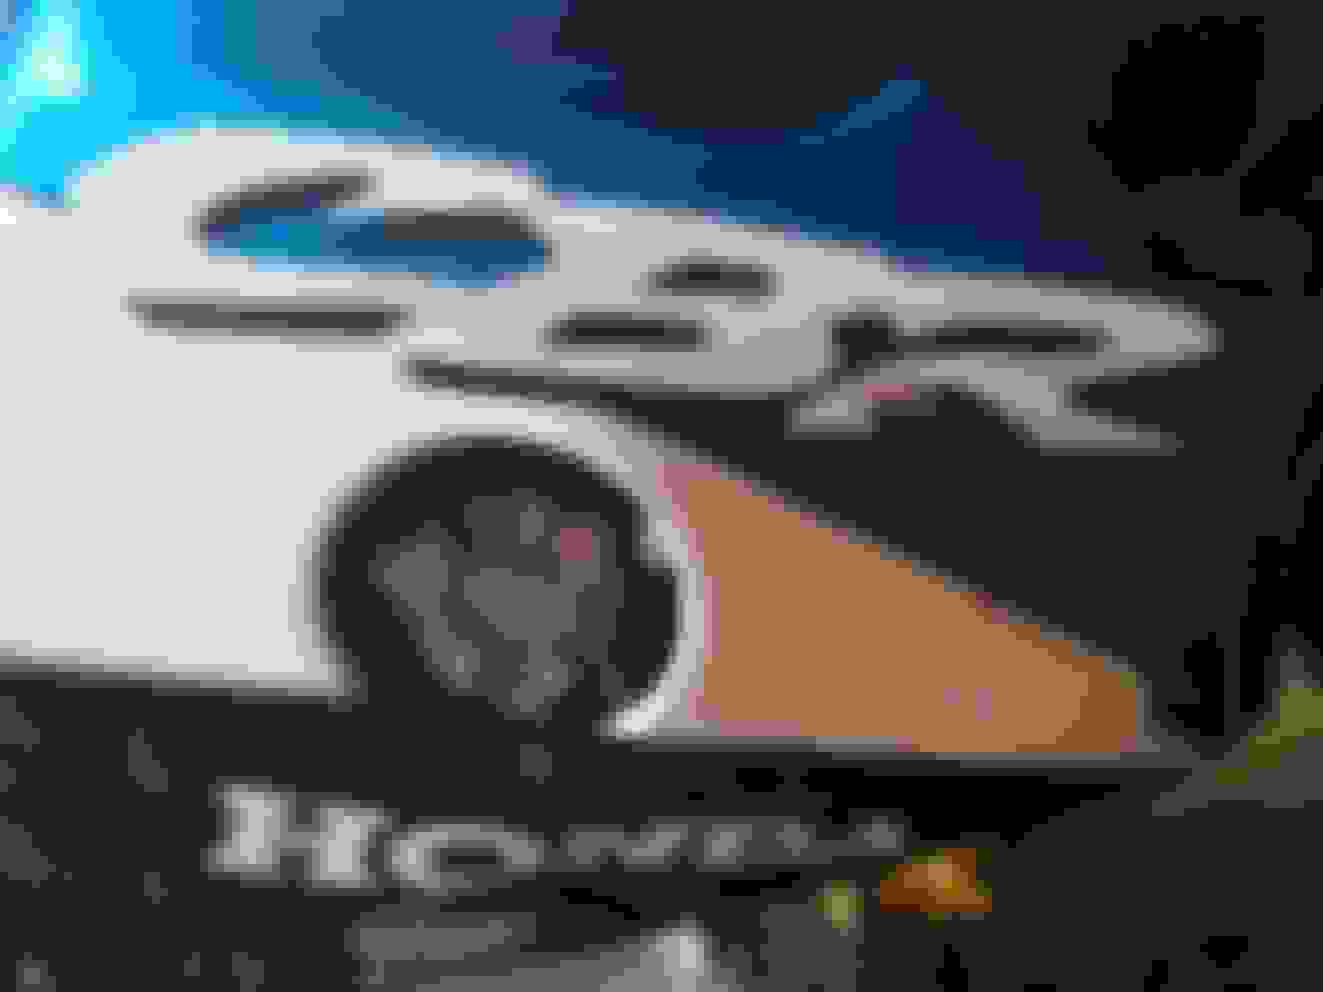
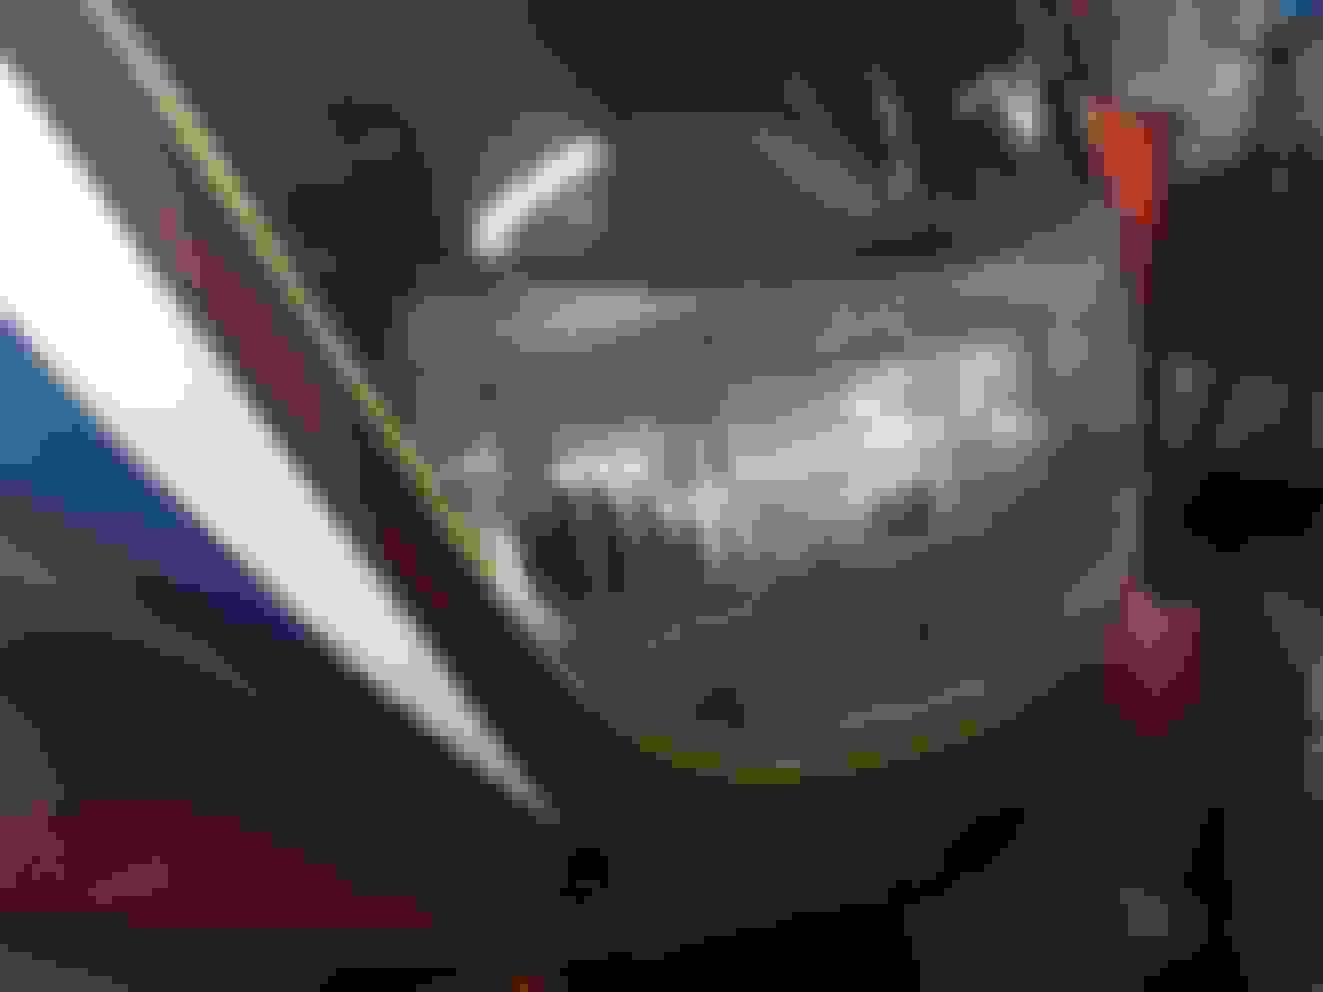
No news on the alternetor just yet, I will post who done it and the cost, I am in Queensland. Australia so I had to send it to Brisbane to be rewound. I did start to put some of the other decals in place and then the idea is to put gold and black pinstriping around the colours, so the idea is where ever there is red or black, it will have a gold border pinstripe, all other colours wil get a black border. I haven't redone the red just yet, however I managed to put the blue and purple and white on there. I also could not get the right CBR logo, so I used a later model instead, no pinstripe just yet. I know the CBR never had the HONDA on the lower fairing, but I tried it, it looked good to me, so I did the same for the other side. Here you can see see the border I am putting around the colours. The red has been re done, and the gold decals have been put back on, the gold and black is looking a little better than I had pictured. Here I decided the gold alone didn't quite do it for me, so I added a black as well around the headlight, and just a black around the blue and white rather than gold as per my original plans. Due to the alternator not working I decided to put a volt meter and an ameter into the fairing, here you can see the gold and black border again. Here things are strting to get a little confusing, gold around red and black around blue, starting to come together now.
It is really coming along now, nice work. Will you ultimately clearcoat over everything when all the colors are completed? Put the decals under the clearcoat?
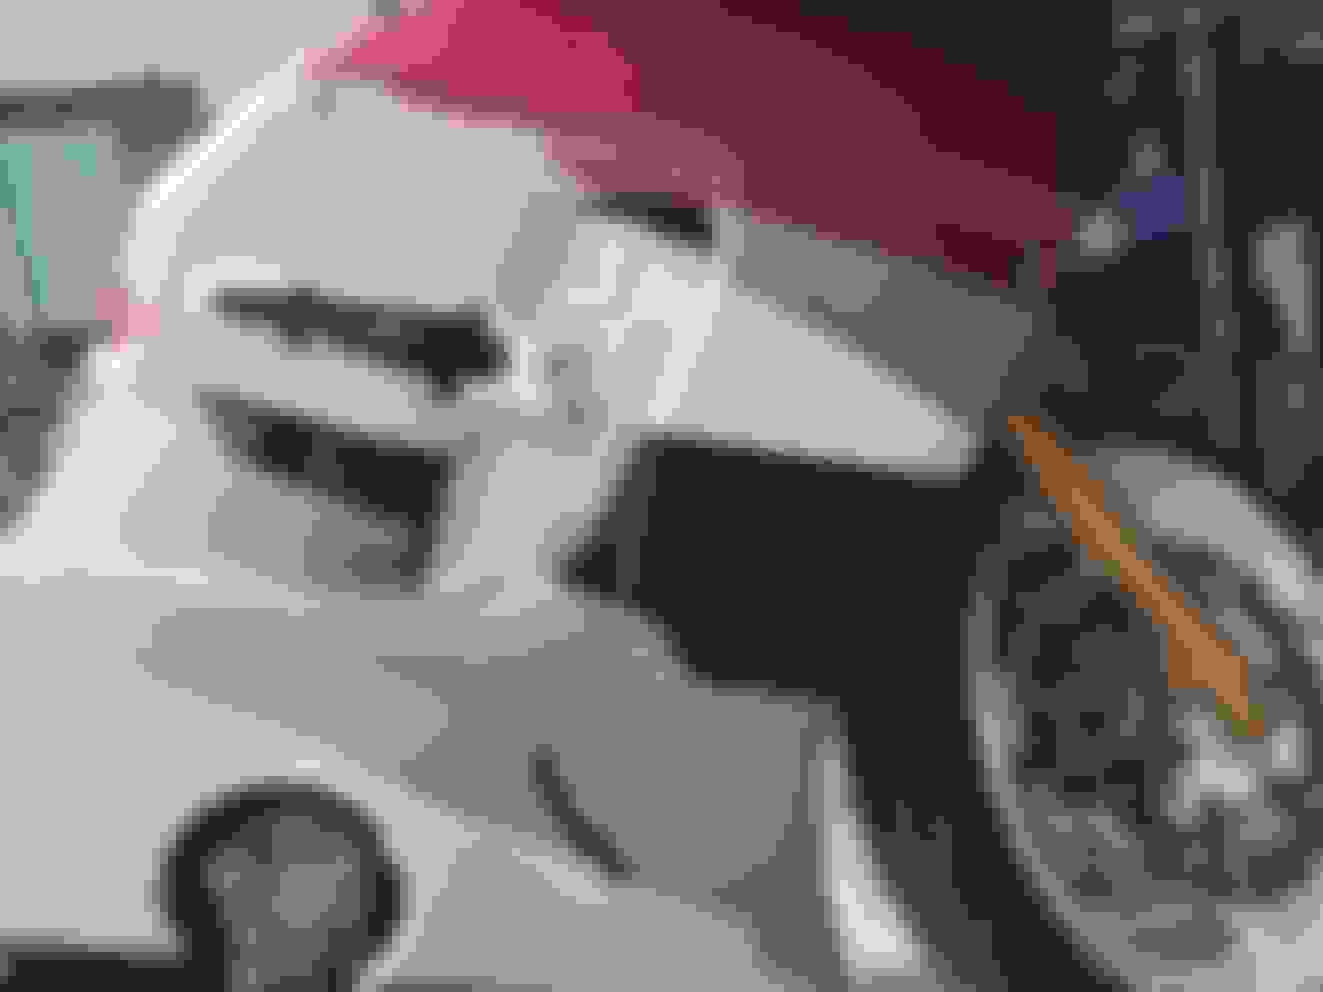
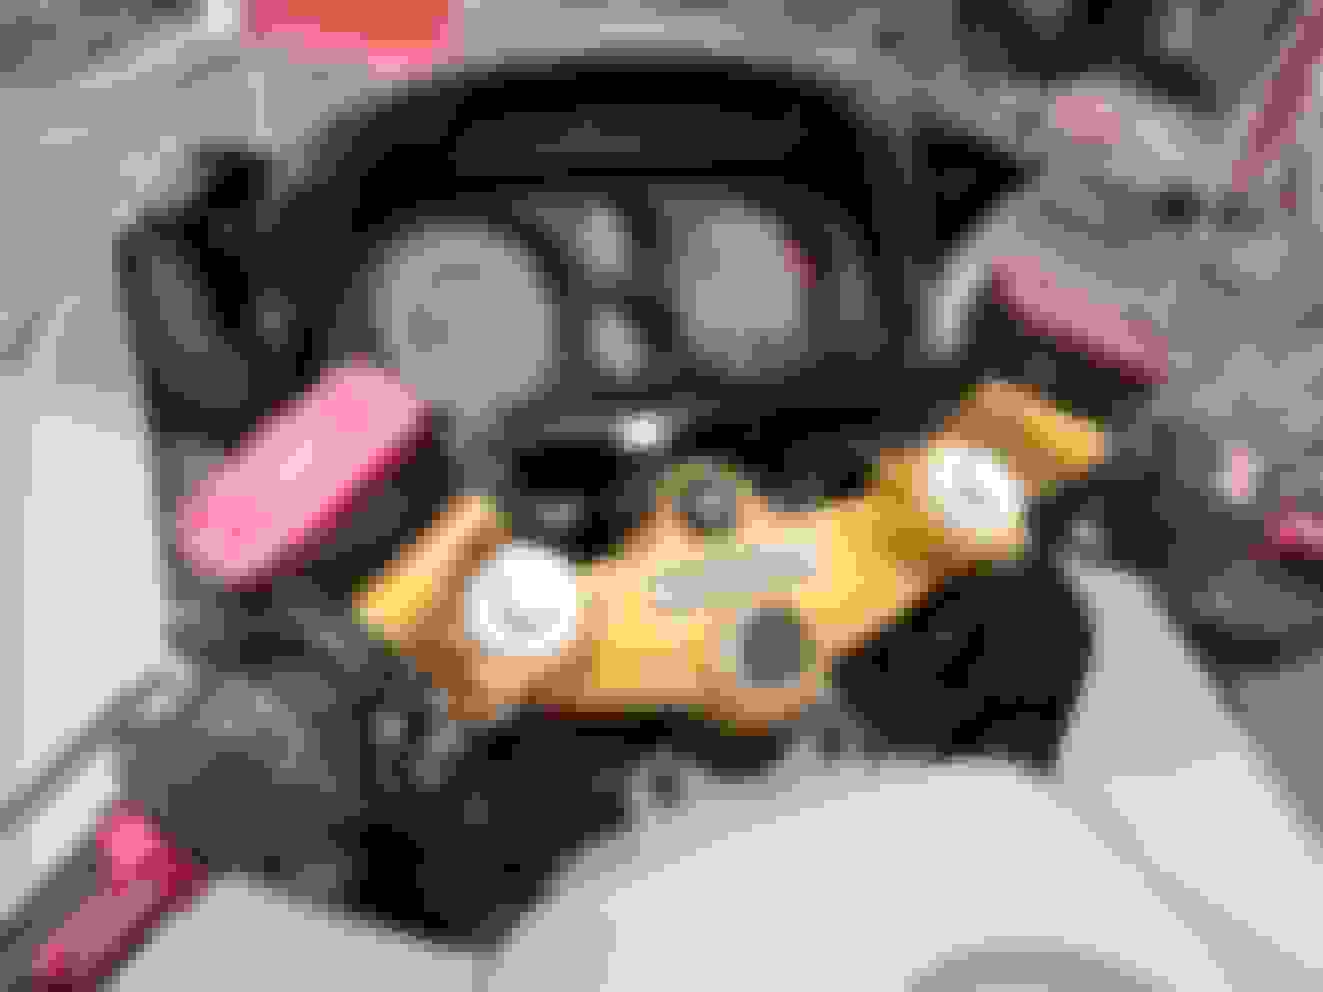
You may have noticed a few white specs in the paint, they are actually hologaphic metal flakes, the pictures make them look like white splotches, but in sunlight they are quite colourful. the other thing I had forgotten about. I couldn't find a CBR plate for the bridge cover, so I had an engraver do a nameplate up, HONDA on a silver laminate that was black based. The anodised covers for the clutch and brake masters gave it a bit more bling, it won't be long and she will start looking beautiful again.
It is really coming along now, nice work. Will you ultimately clearcoat over everything when all the colors are completed? Put the decals under the clearcoat?
I will be clear coating the entire bike once it is all painted in hope it will keep everything all nice and new looking for quite some time to come. The exhaust is going to be another concern very soon, The mufflers have rust holes in them and I am contemplating stripping the outer cover off and welding a new piece around them. That riveted panel is not doing much for me.
 03-19-2021, 05:46 AM