When you click on links to various merchants on this site and make a purchase, this can result in this site earning a commission. Affiliate programs and affiliations include, but are not limited to, the eBay Partner Network.
Way to go, that is really giving the old girl a new lease on life! What no chrome
Looks like you have a very nicely kitted out garage set up there as well!
I must admit that I am a chrome addict, and I have quite a bit of it on my other bike, but this little lady doesn't seem to wear it, so no chrome going into this one. got a fair bit of powder coating going on though. Going to get the grabrail done as well, but it will be done in hammertone silver, not sure how this will turn out just yet, only time will tell.
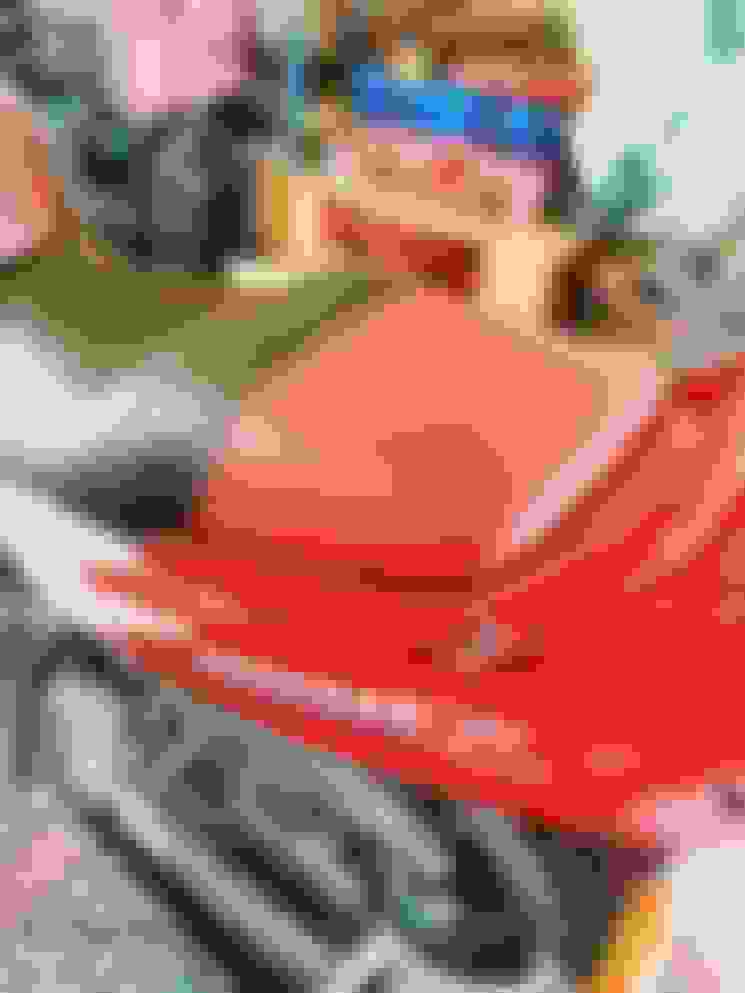
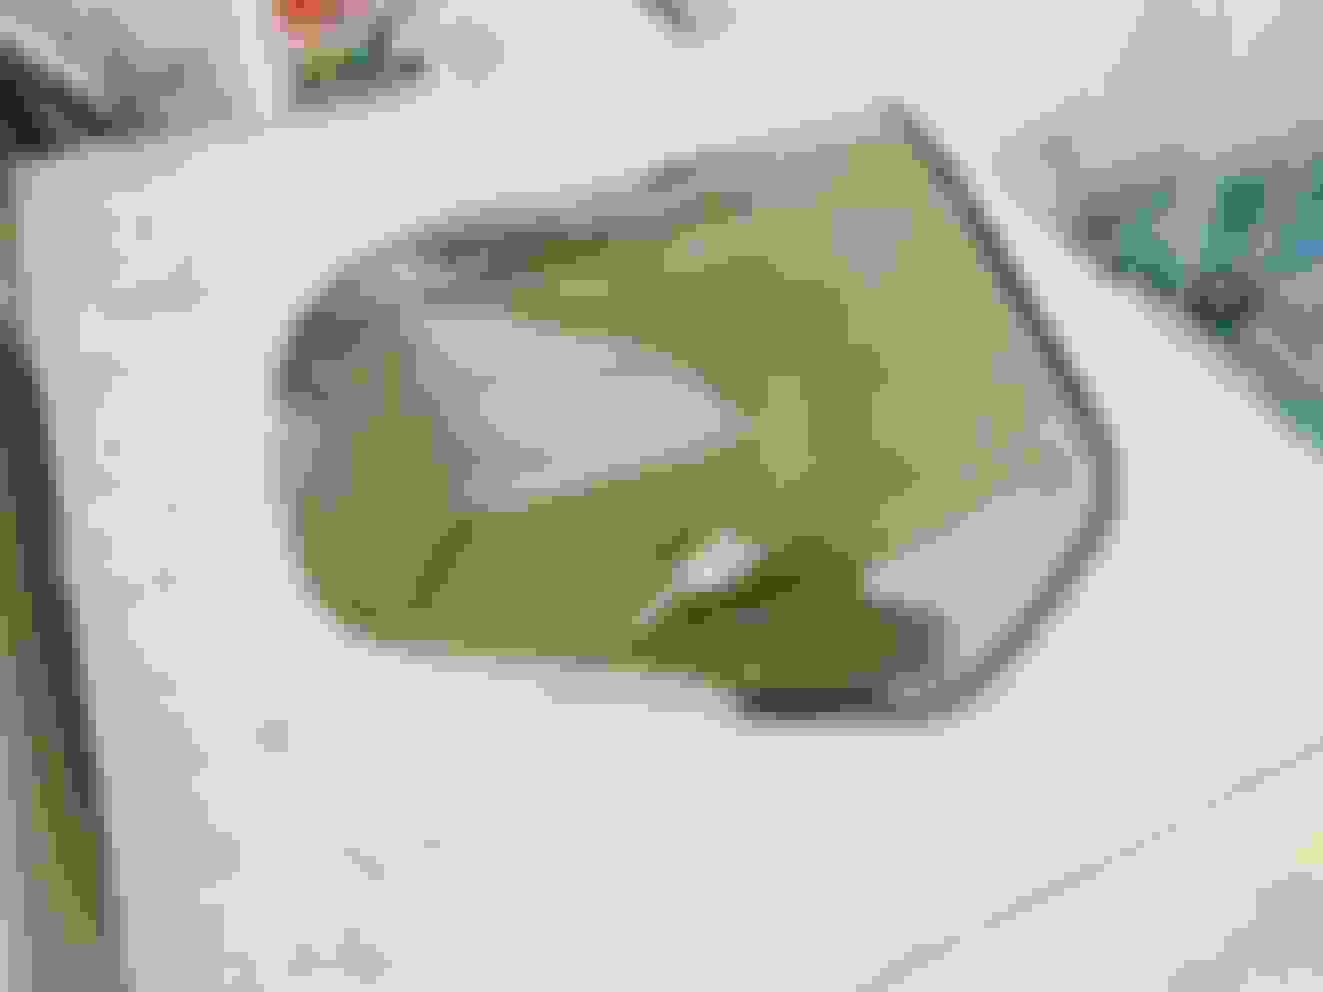
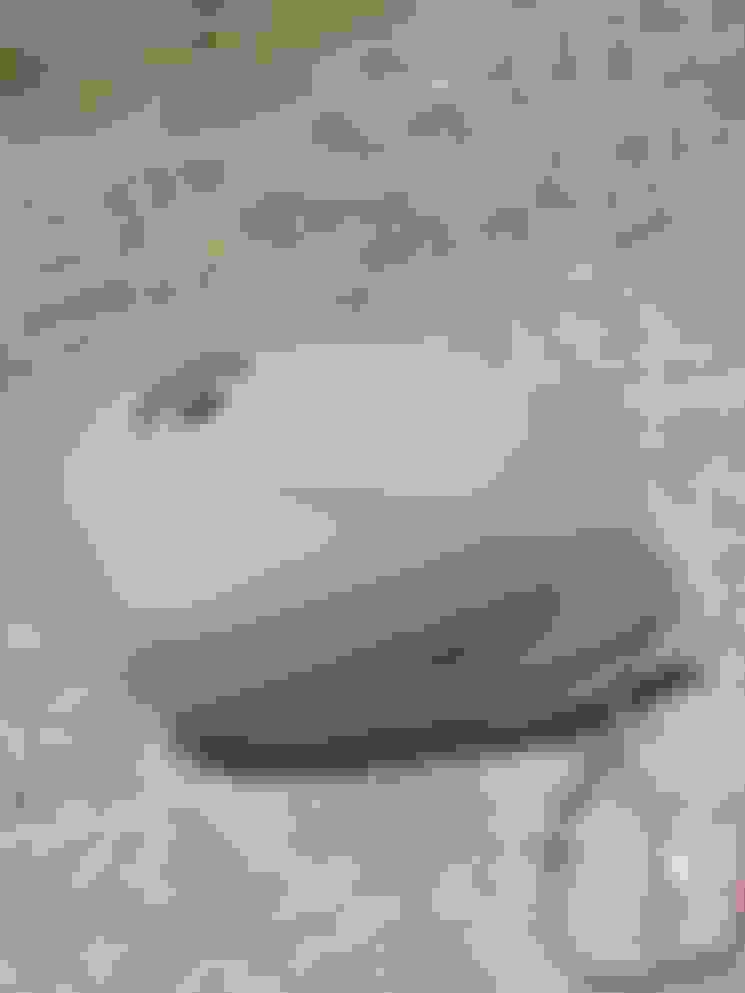
I did manage to get the seat done and put it on there to see how it looks, I think it came up rather well. The seat had been given a bit of a hard time so to speak, in Australia we can get cheaper rego if we register the bike as a solo bike, the previous owner took this path and had the passenger half filled with resin to make it too hard to be used, I had the foam redone and so she can be a dual again.
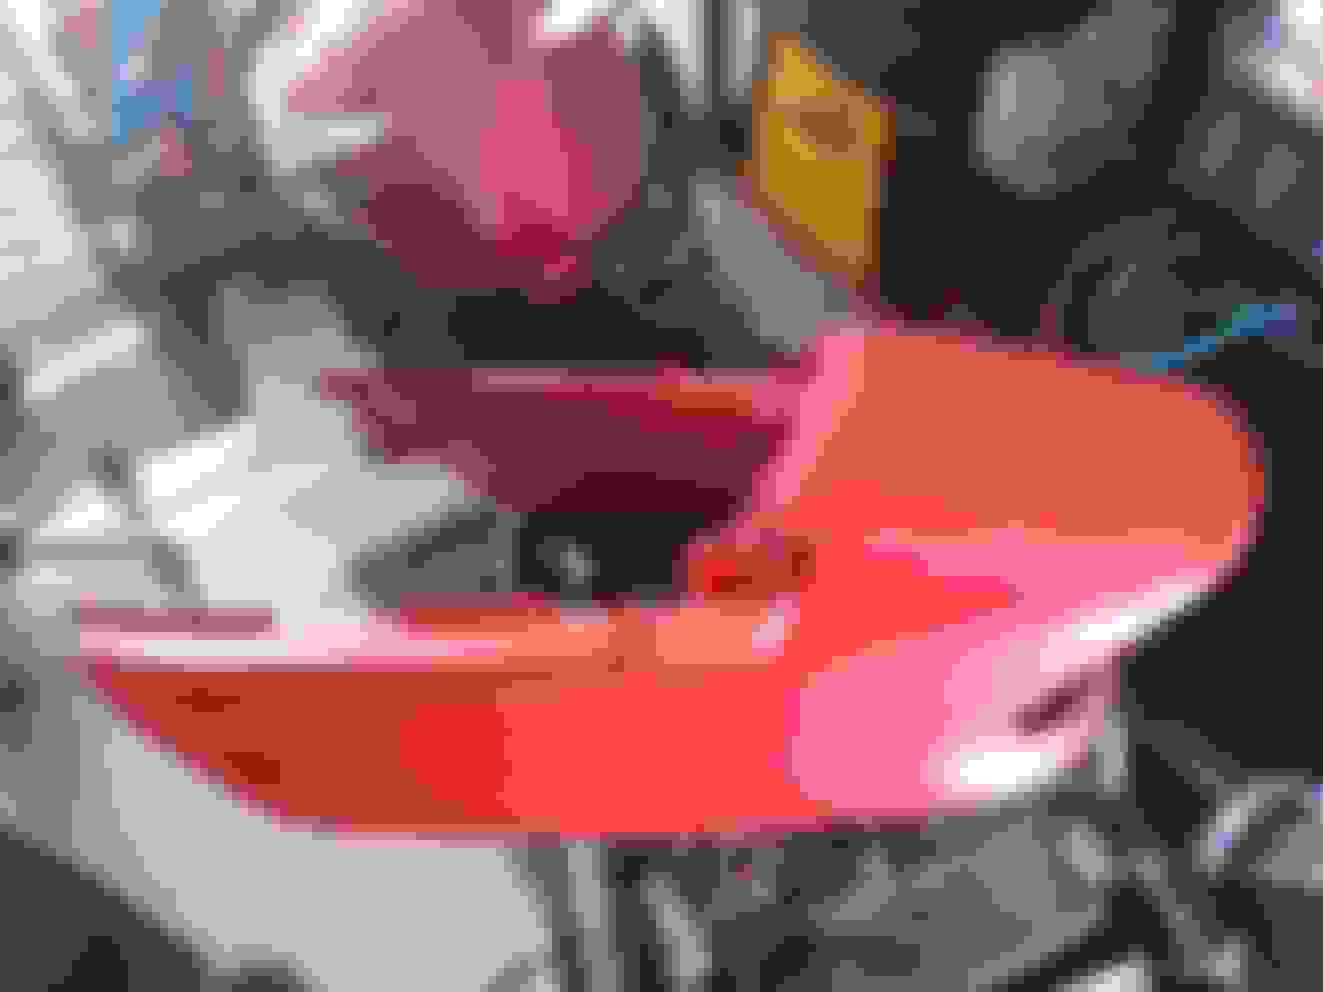
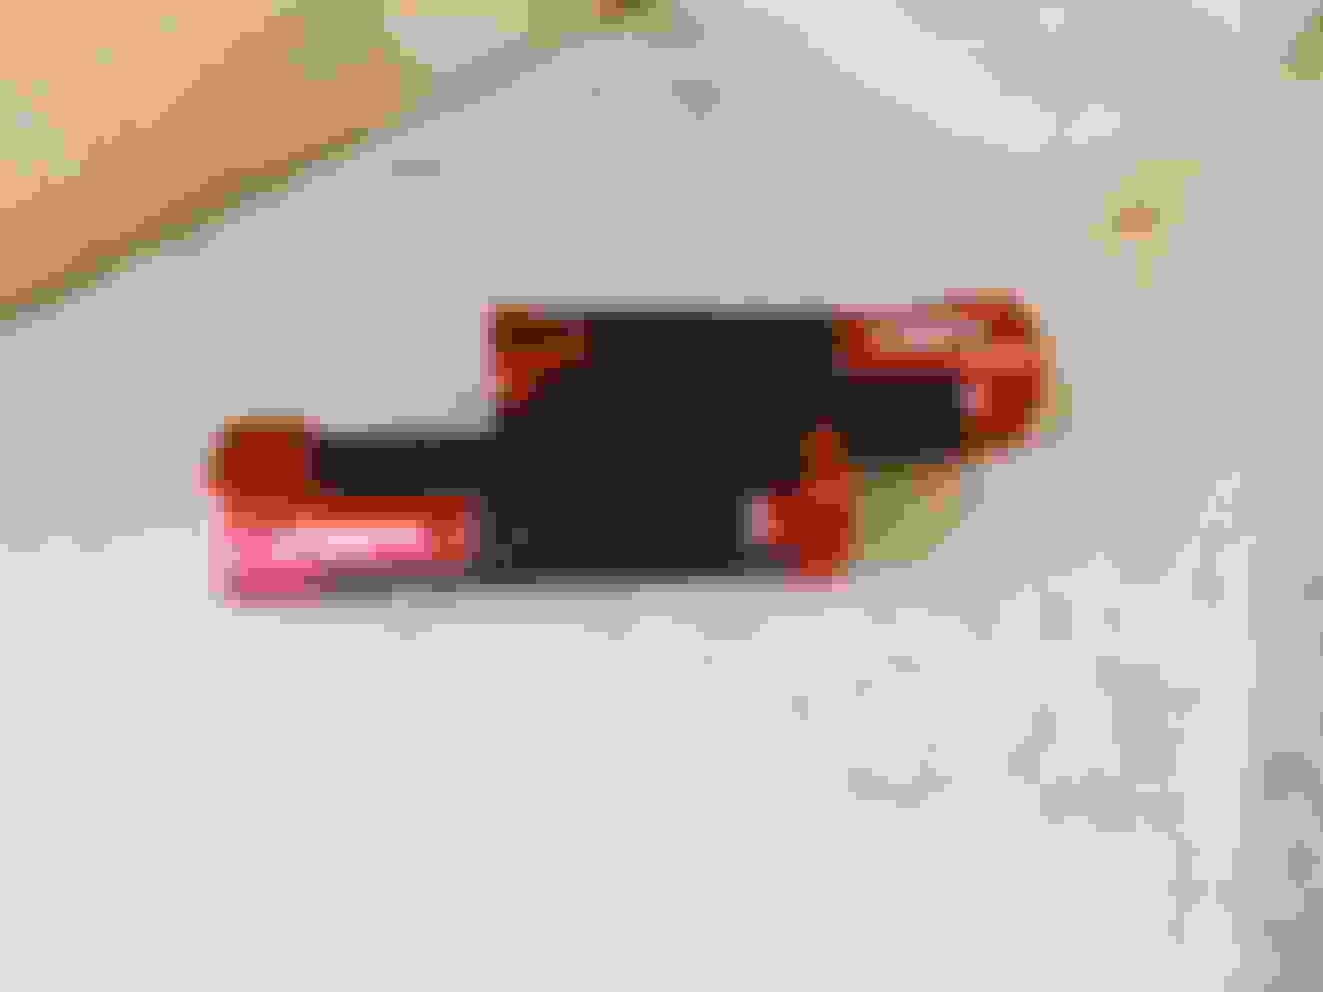
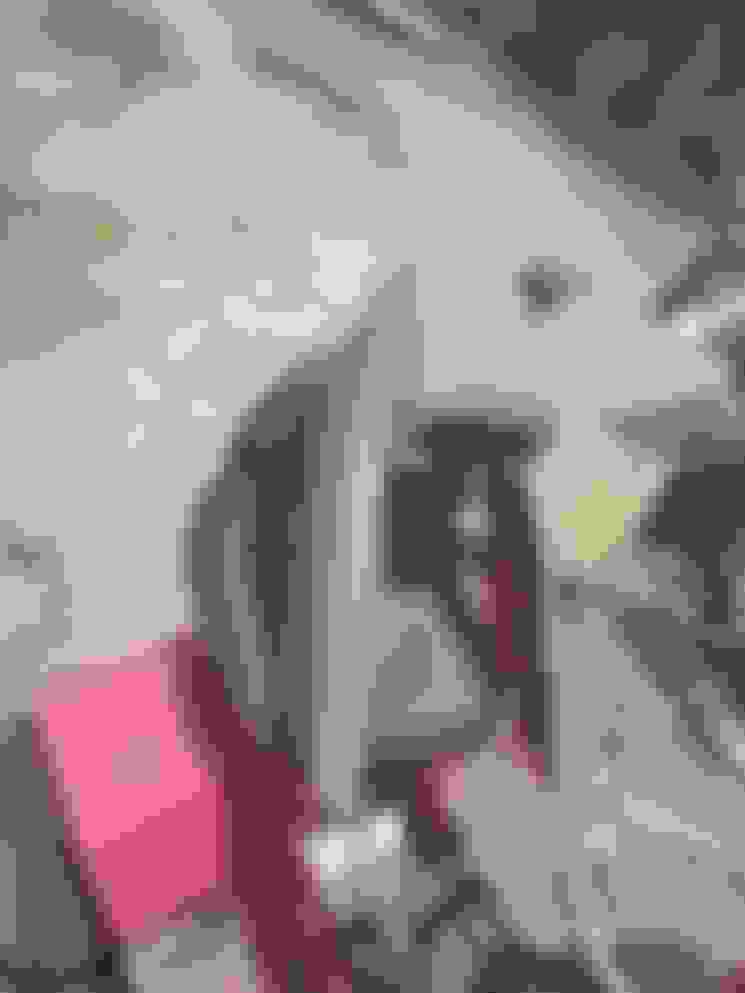
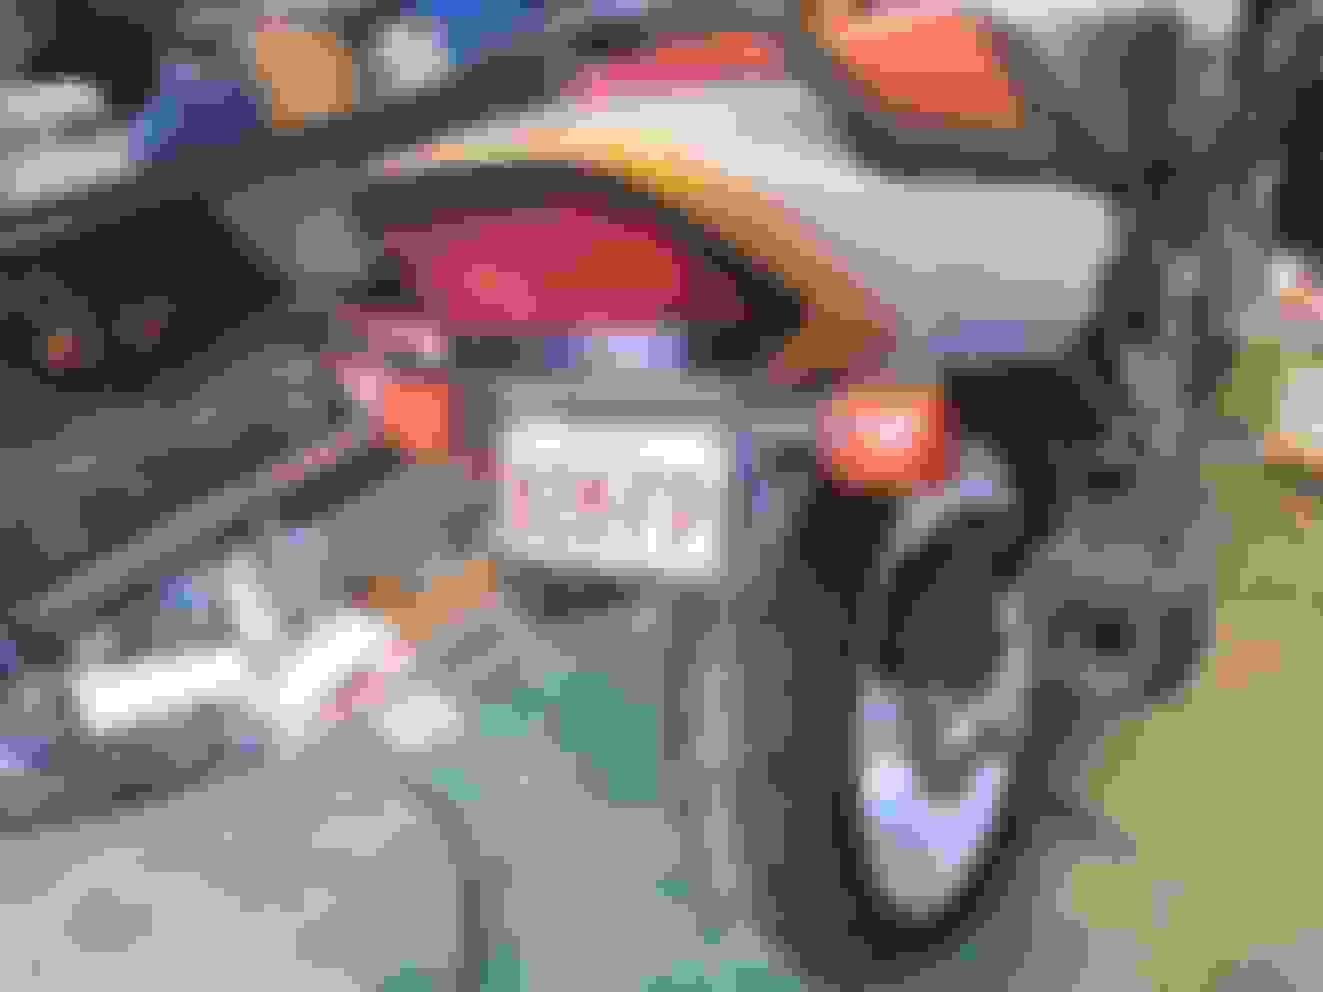
Some of the plastics are cracked and in need of repair, I have recently purchase one of thos hot staple kits to see if they are able to save me a bit of money. To be honest it surprised the heck out of me, it works really well. This poor old part here literally was held together by the tail light assembly. The hot staple gun fixed it up real good, nice and firm as well now. Not one of the strongest parts by a long shot, but she got a few staples in there to help strengthen it up too.
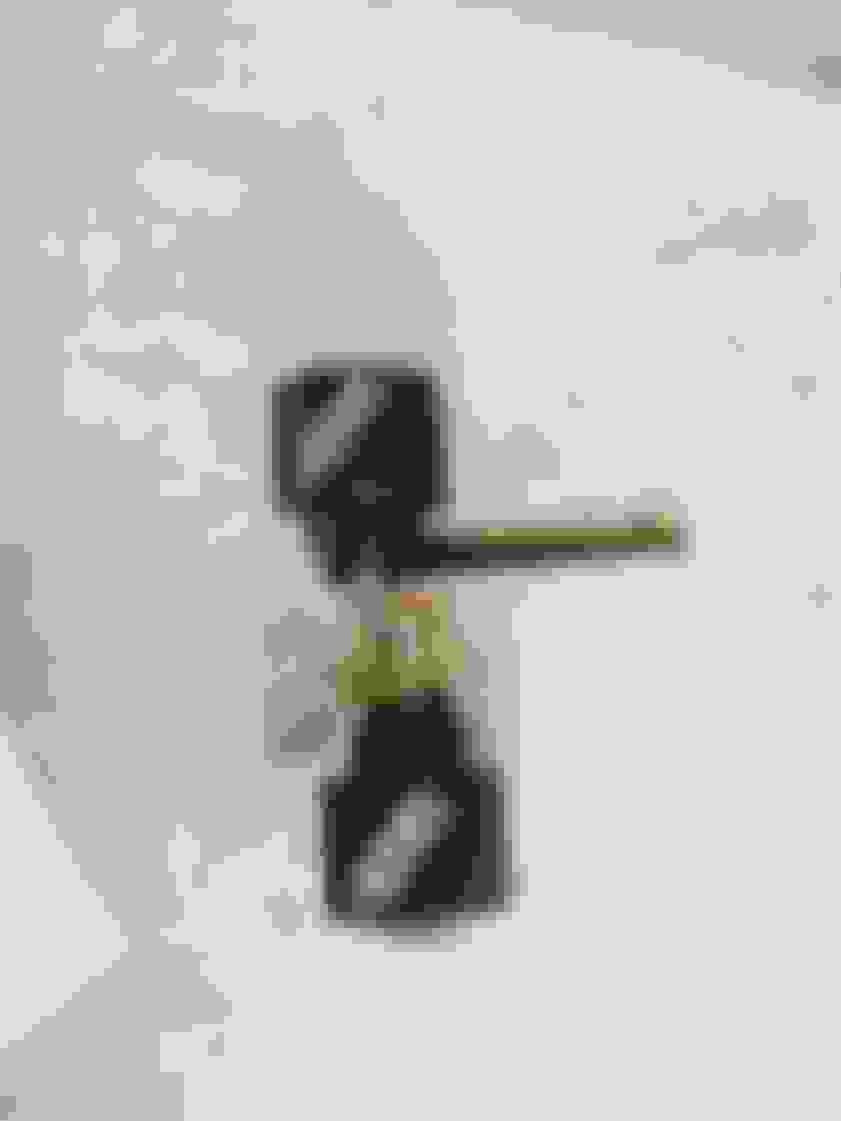
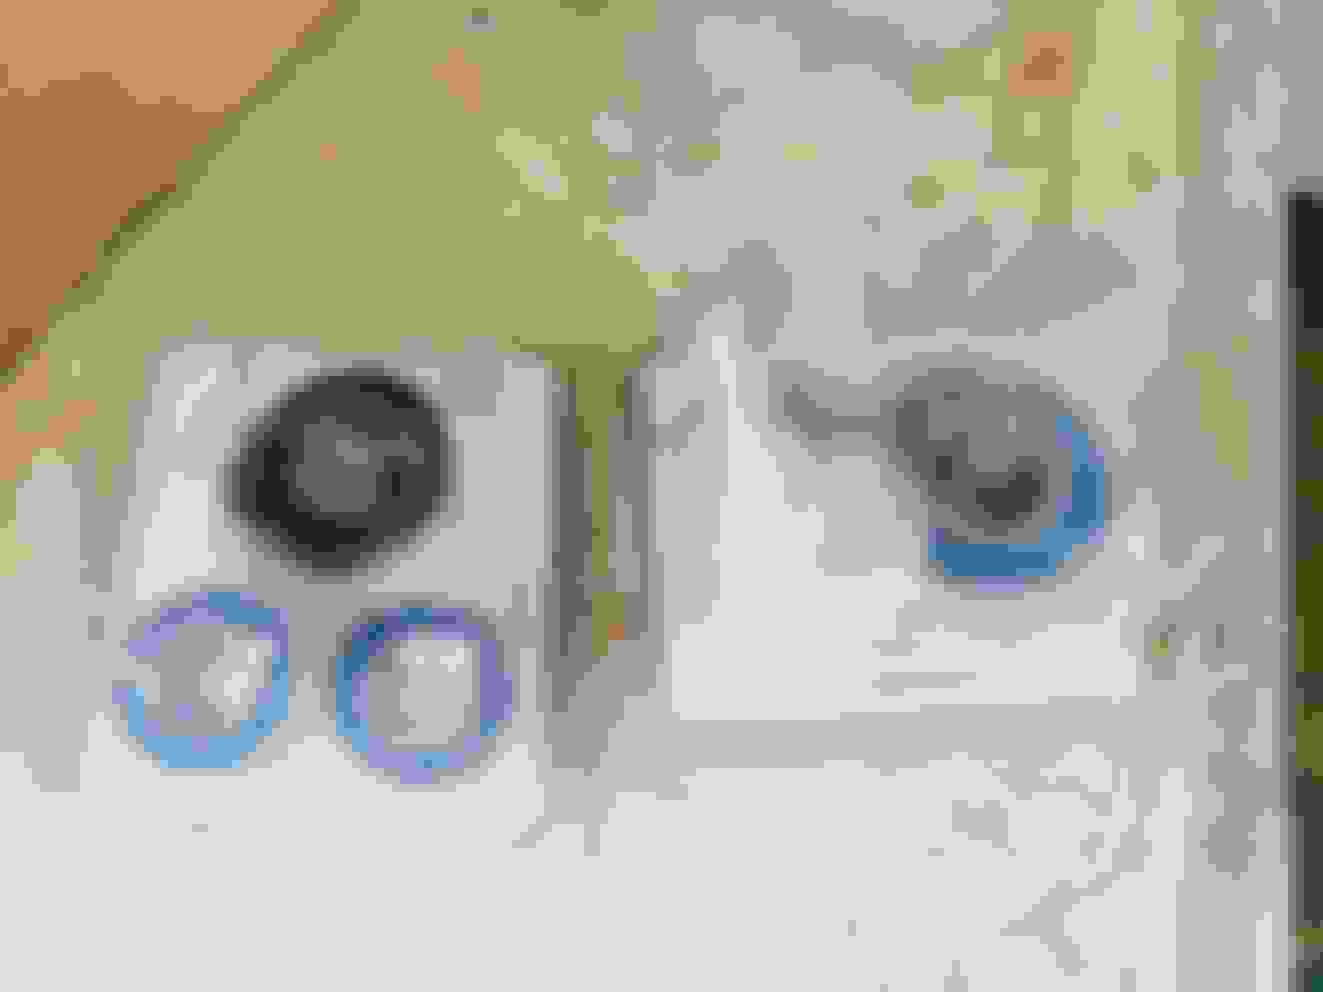
I have ordered a few things while I am tearing the bike down, and some of them are starting to arrive. I even got the bushing and seal kit for the front forks, so I am going to have some things ready to keep me busy. A friend of mine got married recently and our bike club is throwing him a party because we couldn't all make it because of the covid restrictions in Queensland, so I am under the pump a bit, he would like to see it on the day if it can be done, I said I will try, (What on earth was I thinking of?) Going to get a bit of bling this way rather than my normal fix af chrome. By the time I am done I reckon you should get the idea it might be a CBR. Yup! even the screen bolt has got it. What is the good of pretty screen bolts with no new screen to put them into. Not going to show them all, but new bearings for the wheels, headstem, swingarm, and caliper pivot on the fork lower (Left side).
What are you thinking about as far as labeling/decals?
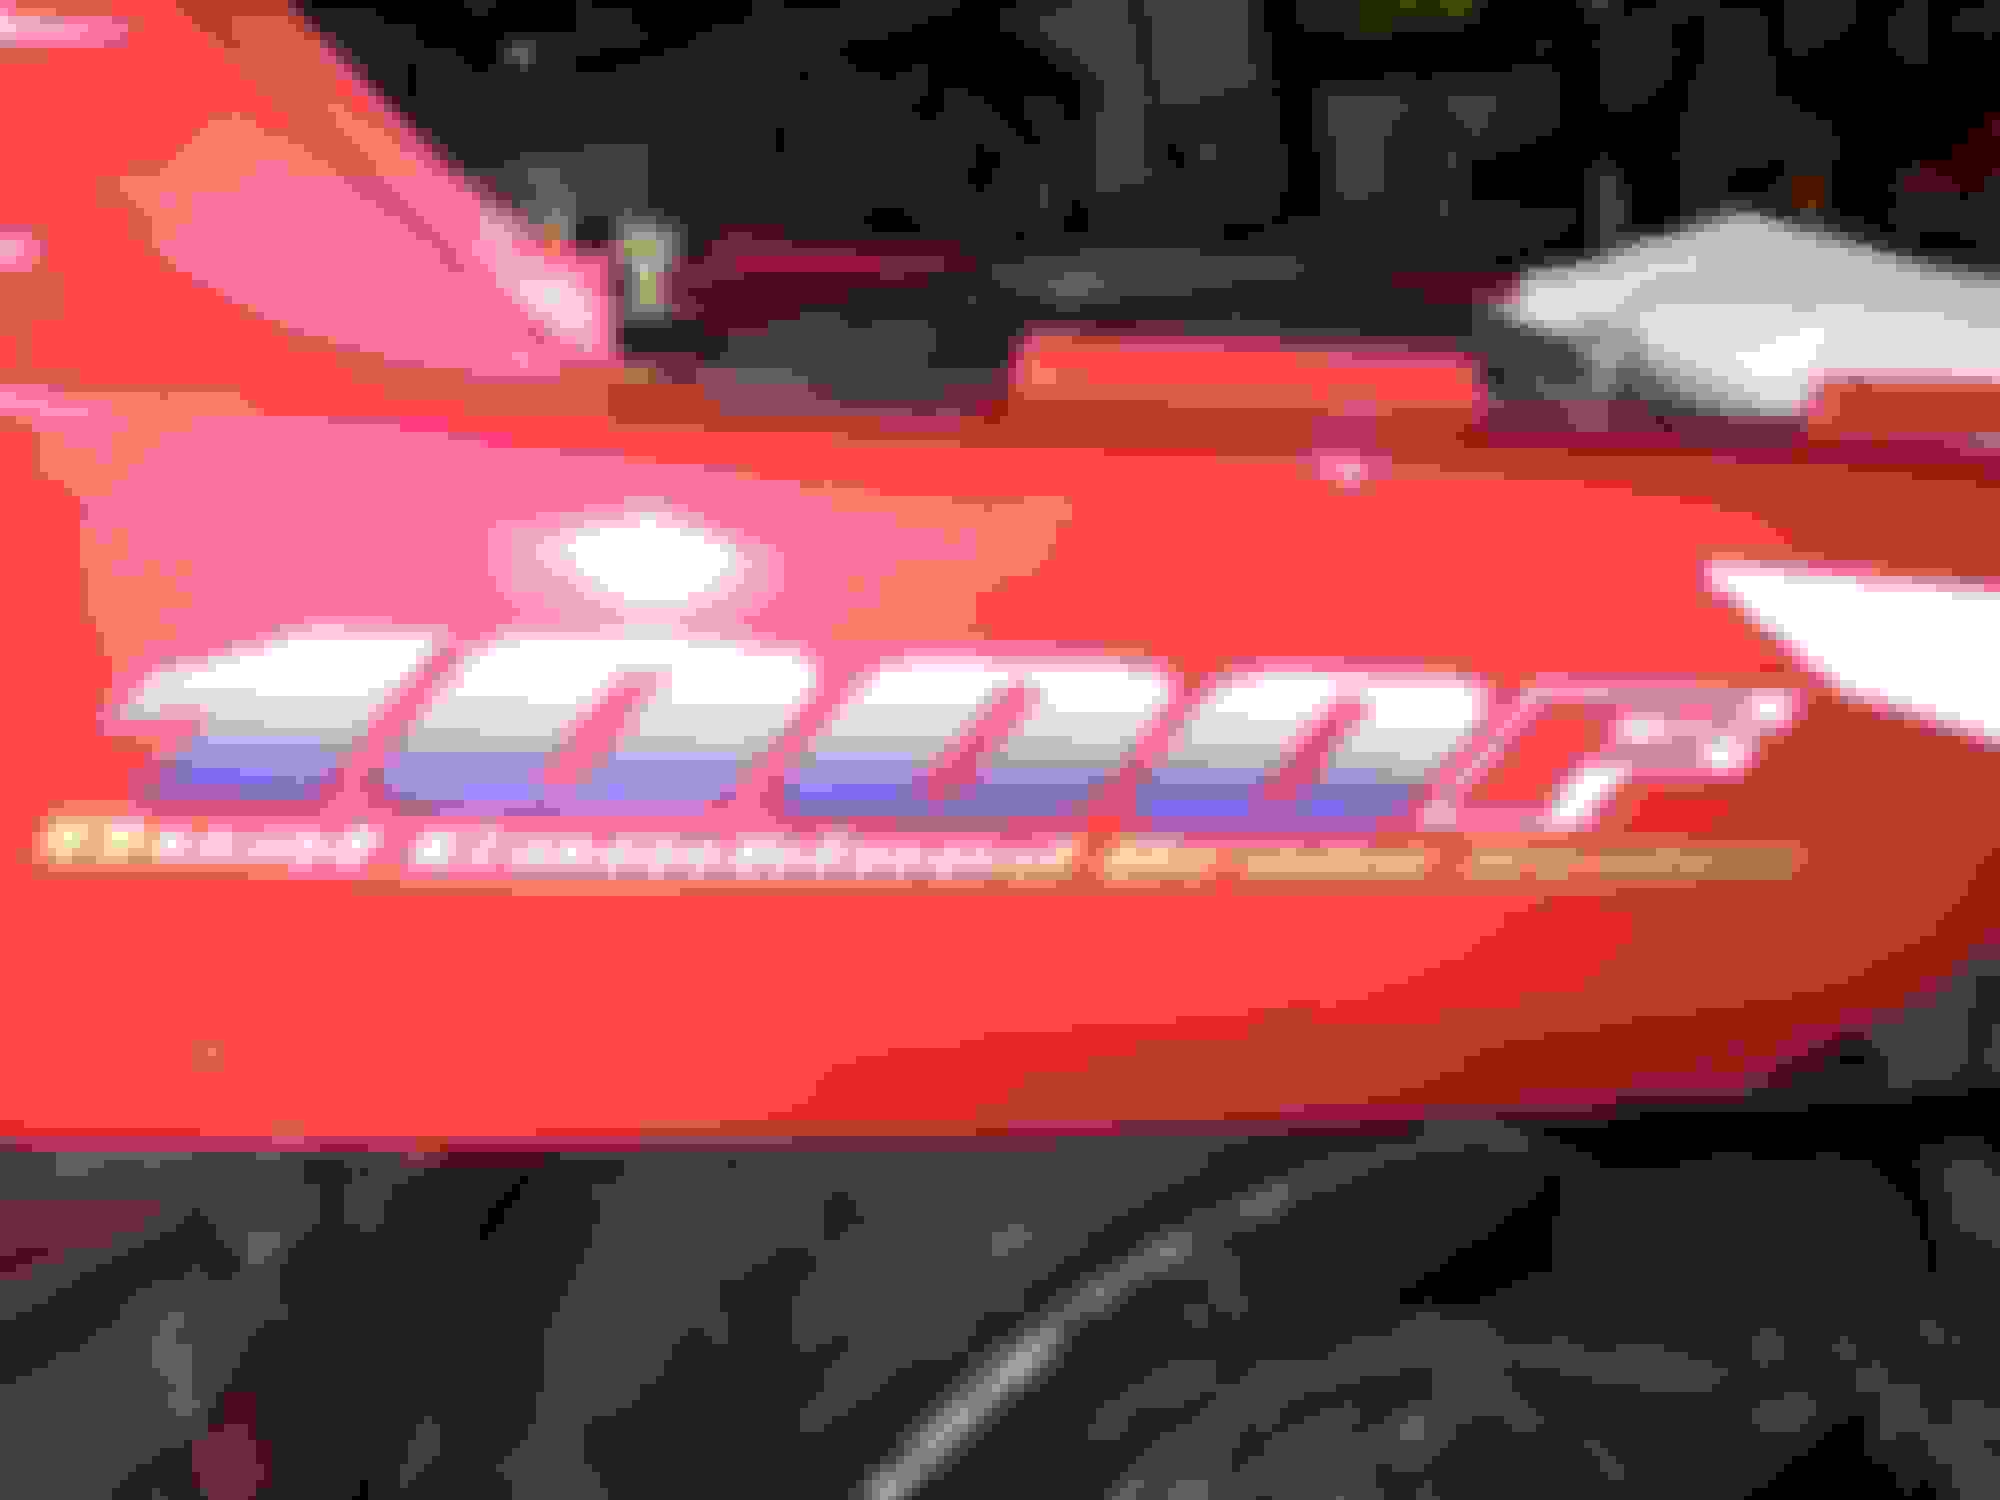
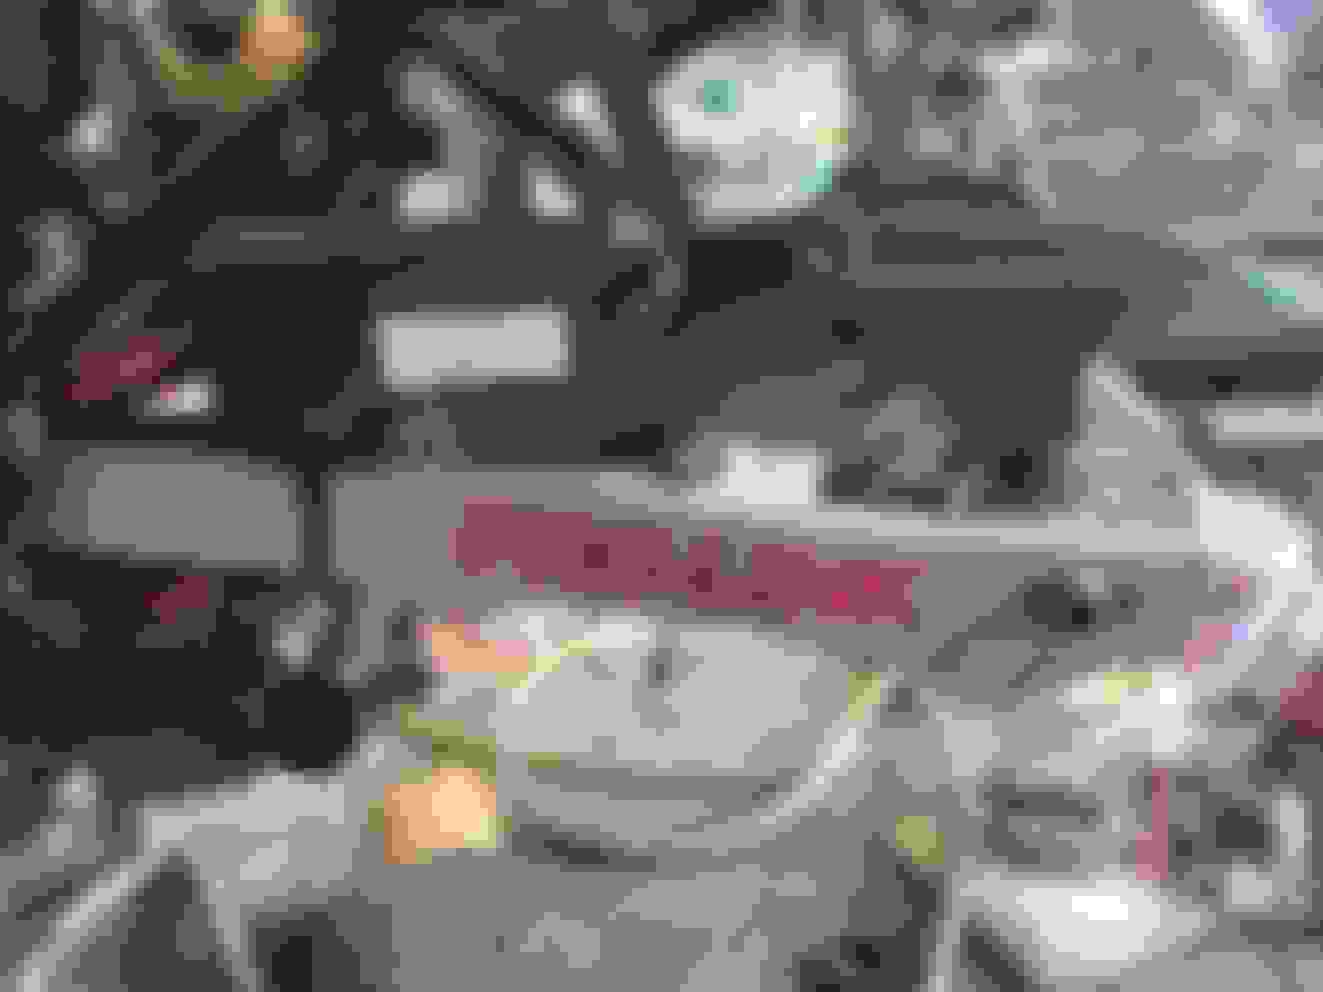
I am thinking of using the same pattern as originally used, so the decals will be as close as I can get made up and put in the same places. I do have a few other Honda decals, even though they weren't on the CBR I may put them on anyway, just depends on my mood at the time. I have this one made up, although I couldn't get the blue done so it will all be white, but will have the gold lettering on the bottom. I also have tese made up, so many of the things that were originally there will be replaced. I was never a fan of the decals for the colours because I don't like the white borders around bolt holes. I also managed to get some of these made up as well, our sign printing place does a lot of stuff, you just have to ask I found out.
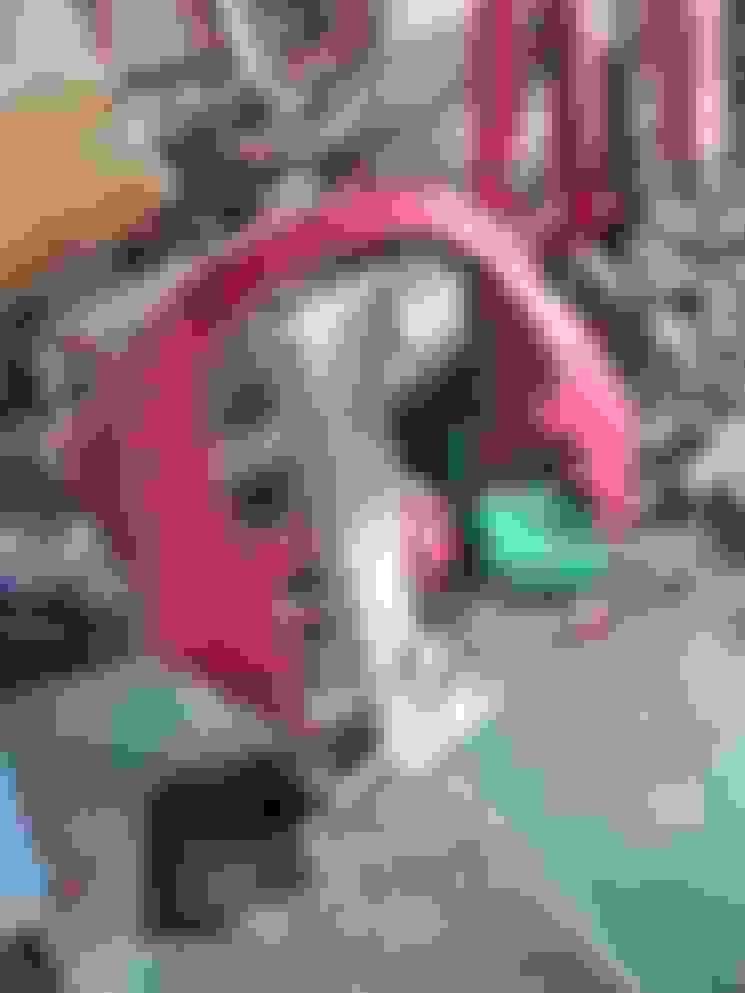
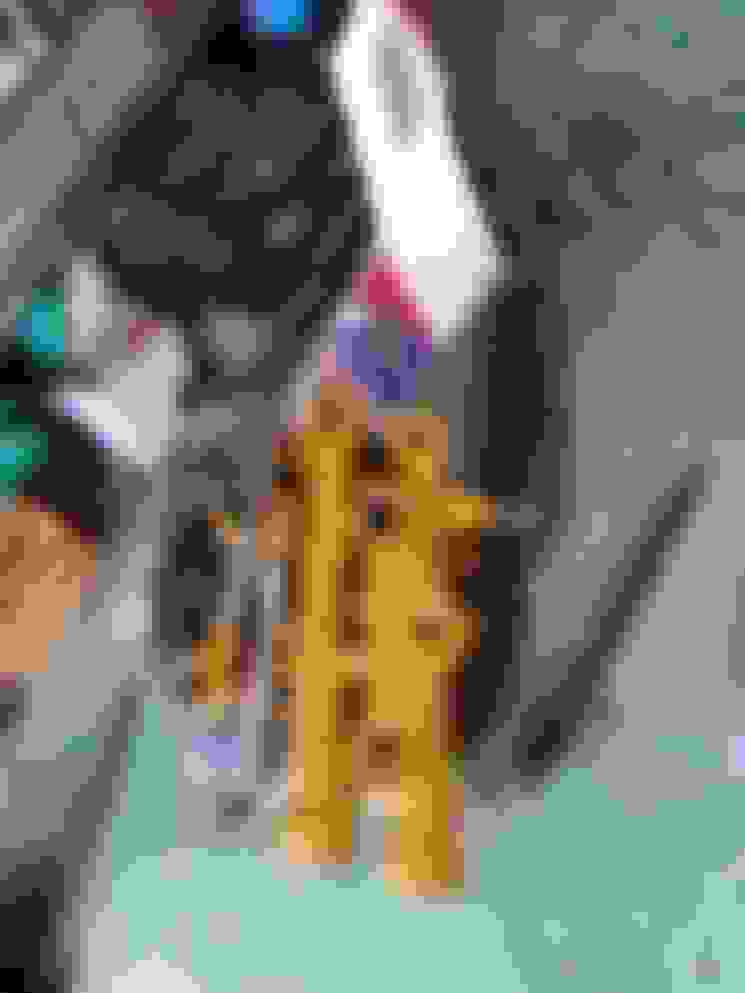
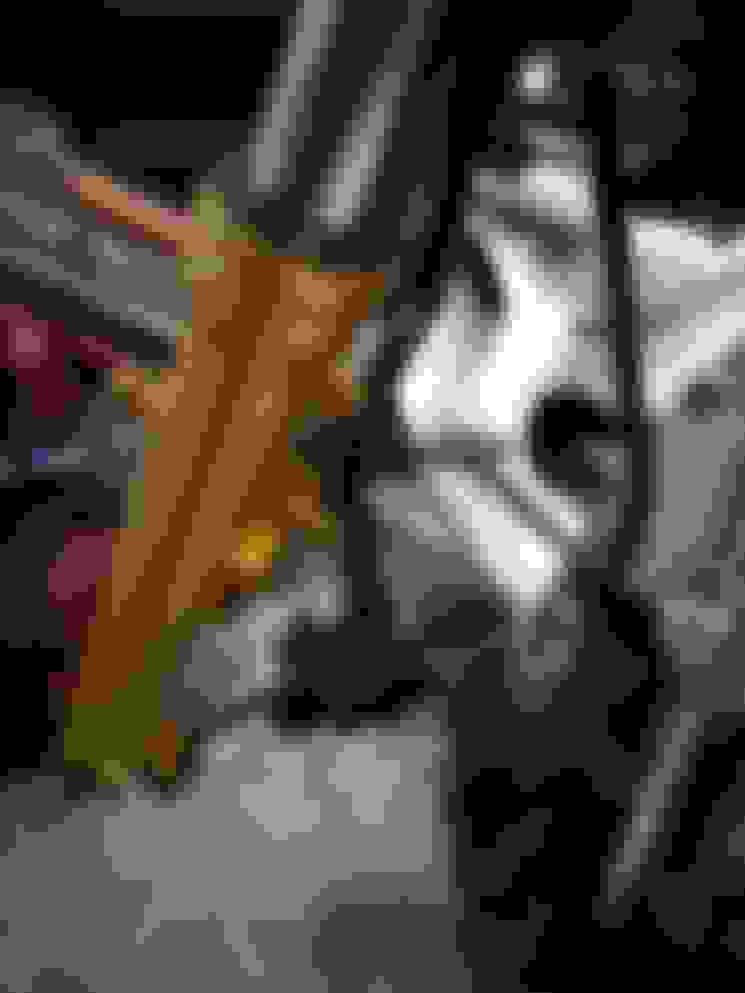
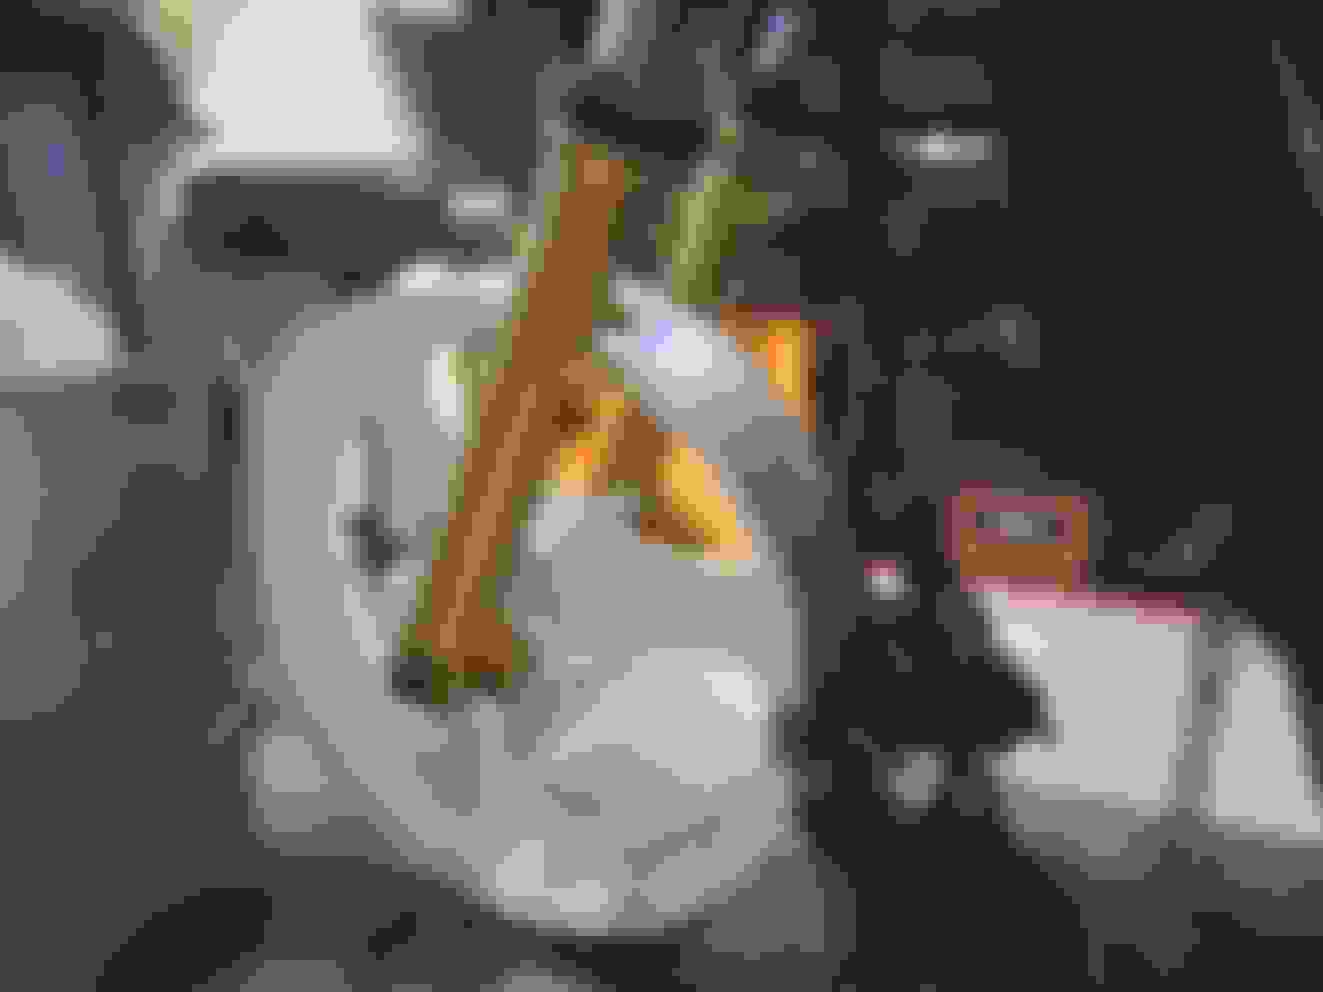
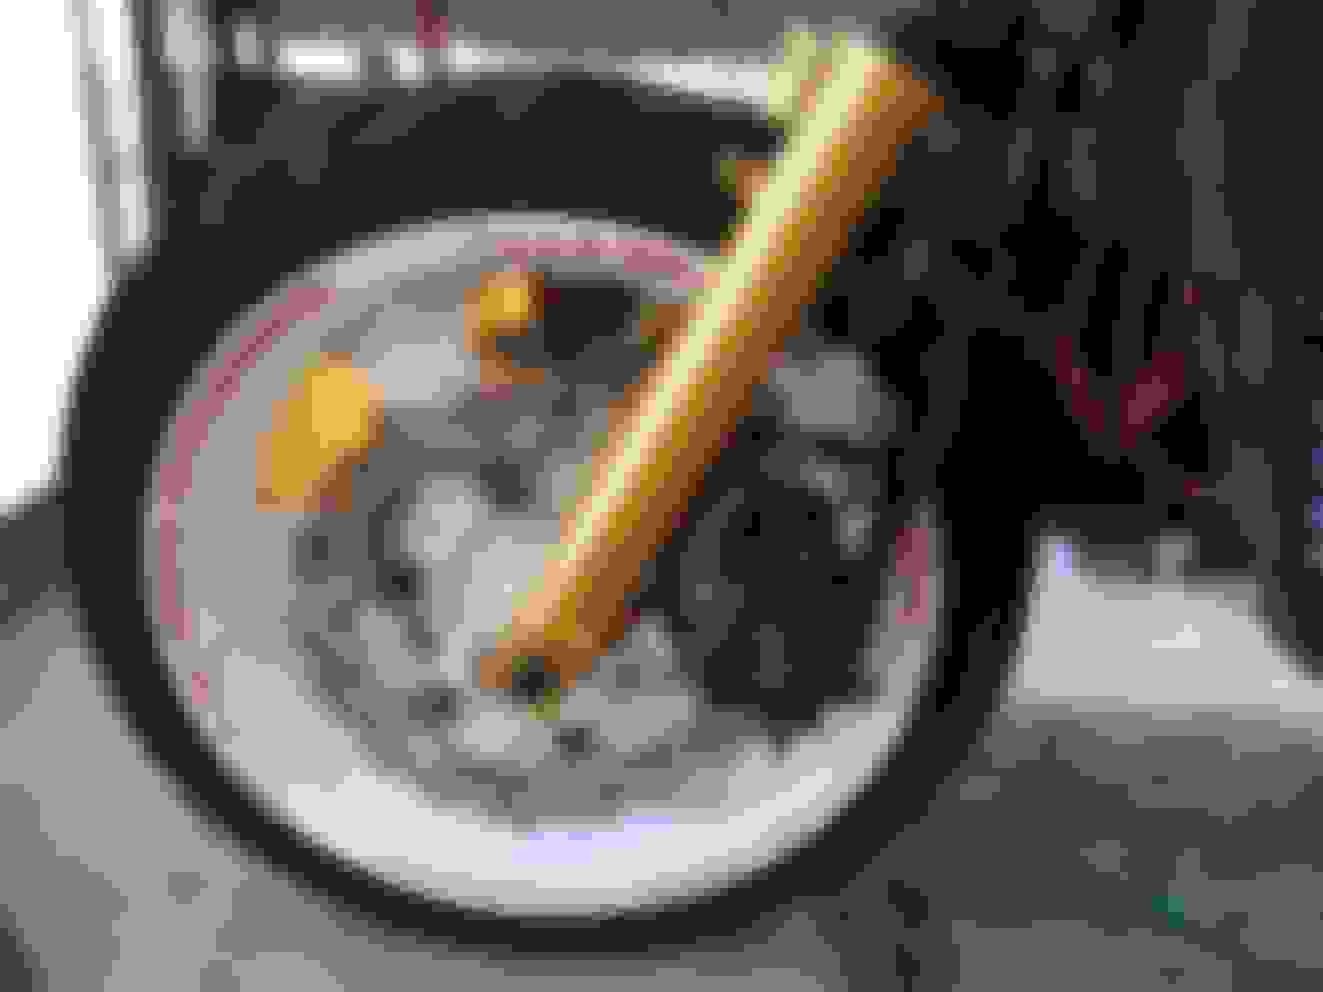
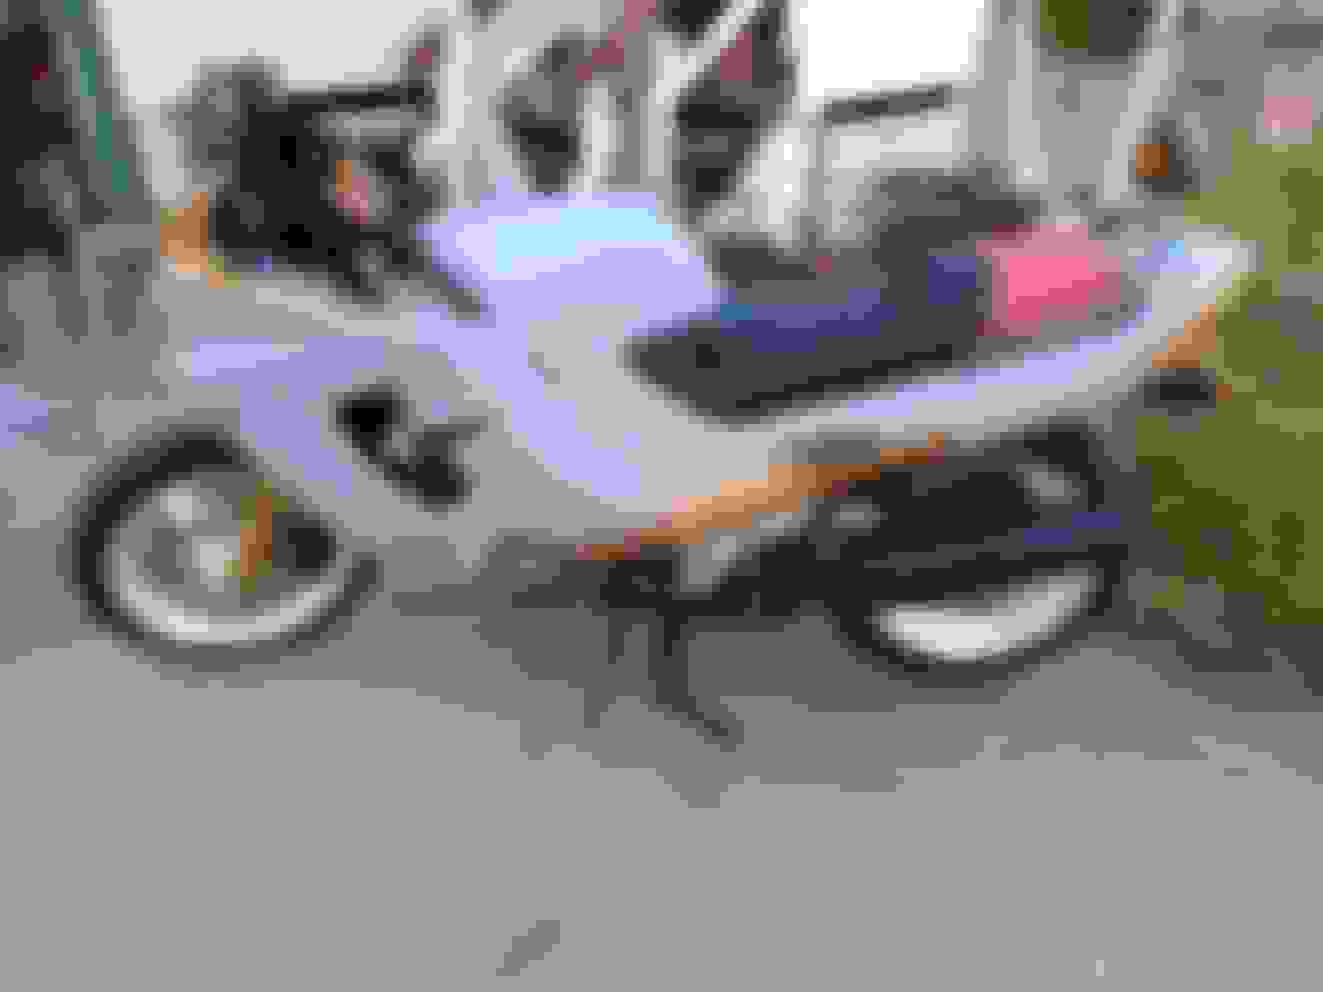
I have to admit that this project started a few weeks ago so the progress may seem a bit fast, but I can tell you it was like being hung by the ***** waiting for things to happen. Now I am finally getting around to posting it as I was going to do from the beginning. All the gold stuff has arrived and I am really chaffing at the bit to get going again. New bushings and seals are fitted and fork lowers are in place. Apply some adheasion promoter so the undercoat will stick to the plastics. The tank had a couple of small dents, but I managed to get rid of them. All the cracks and broken peices put back together, filled, shaped and primed. the painting was done inside tha garage, then put into the back yard to dry, I am using 2k paints for this project.
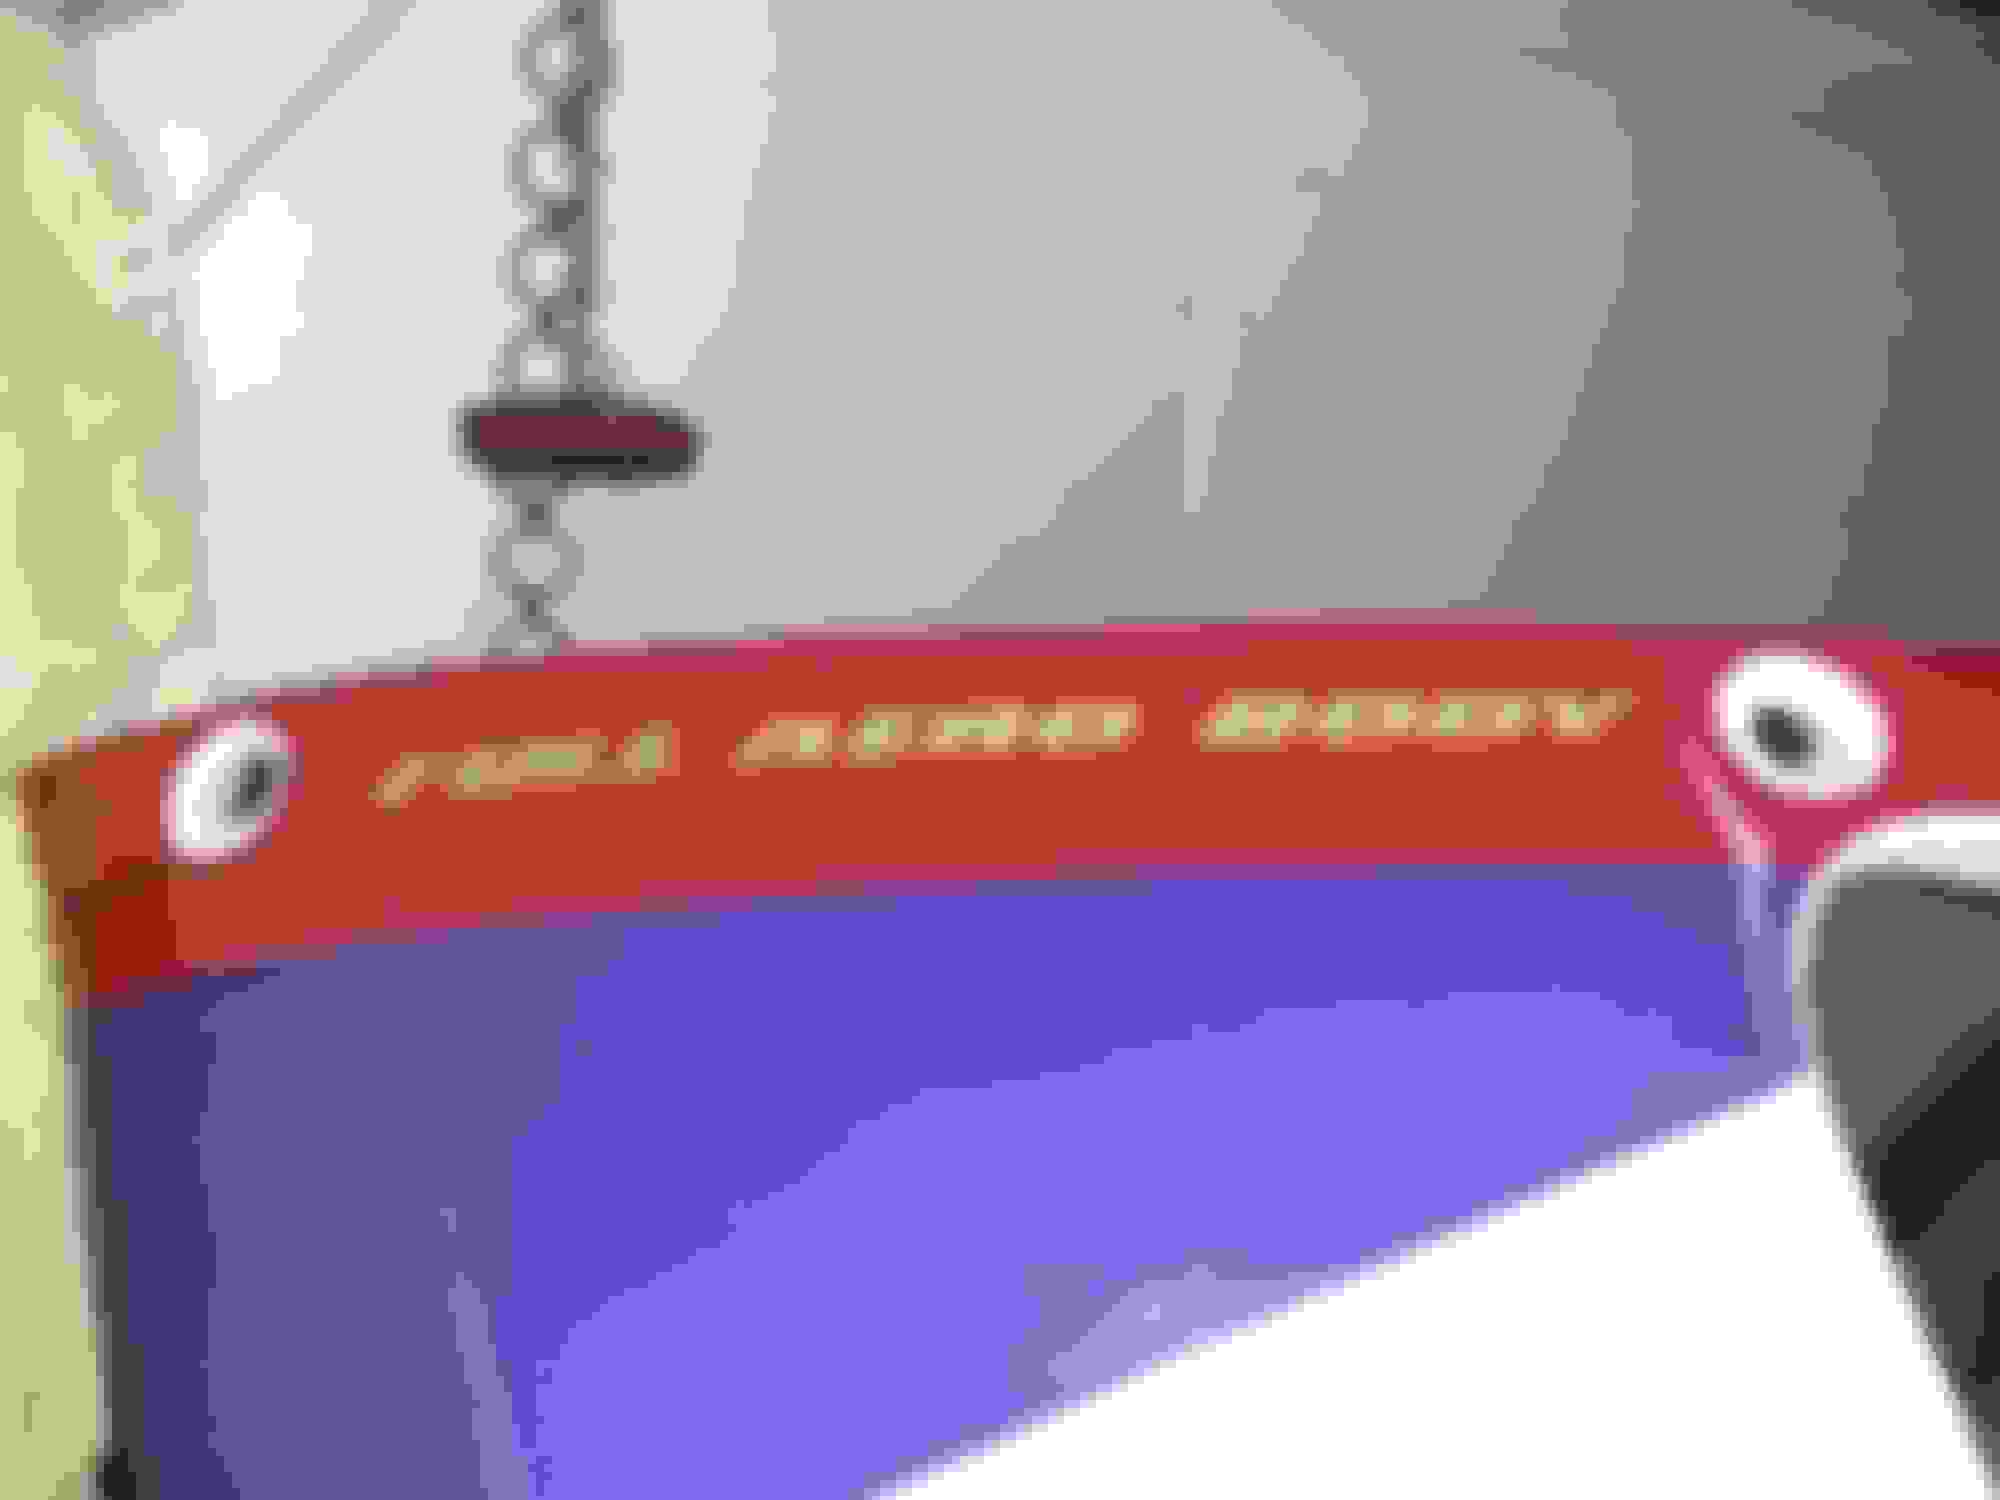
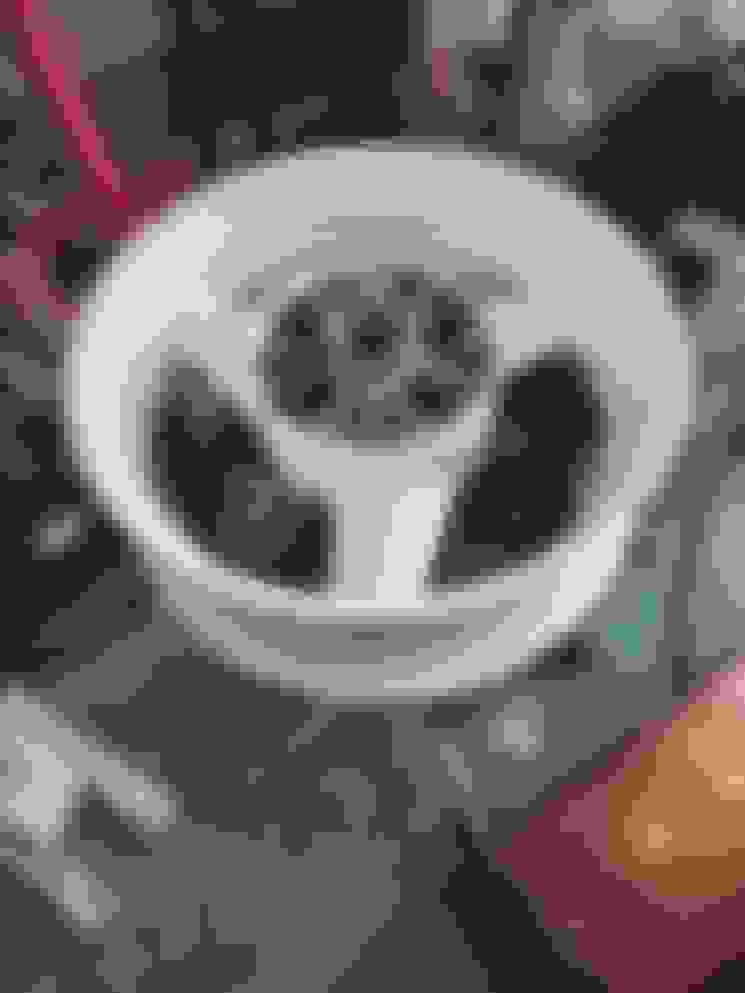
I also made sure everything fitted before the final paint went on. The wheels arrived, and I decided to put some red around the outside of the rims, then fitted aftermarket brake rotors. once it was back on the ground, the chains were removed and the bike stood on the centre stand for a while as I sorted the rear end out. Rear wheel, no bearings in there yet, I like the look of them anyway. No rotors yet, but the new bearings are in and so far so good, be glad to have it back on the floor instead of hanging from the roof with chains. Chuck on the rim tape and tyres, clean up all the brakes and change the fluids, back on its wheels and no more chains. Swingarm is back, I know it never had the Pro link decal there, but I thought it looked okay so I left it there.
Afte First time it has looked remotely like a motorcycle for quite a while, although it is just sitting there for now (No bolts yet)Well not all of them anyway. looks like a lot of gold, but it will be masked up and only a pinstripe will be left od the gold when it is done. Fork decals now in place, pretty pleased with myself here right now. Painted the black in, and tried out the grabrail, now powdercoated in hammertone silver.
r the undercoat was applied I decided to chuck the gold down the areas I wanted to have a gold pinstripe, added a bit of a blackout panel around the tail light and time to let it all cure for a while.
 03-18-2021, 04:53 PM