
CBR 600 F3 Quad project.


#62
 08-01-2012, 01:33 PM

Senior Member
#63
08-01-2012, 05:31 PM
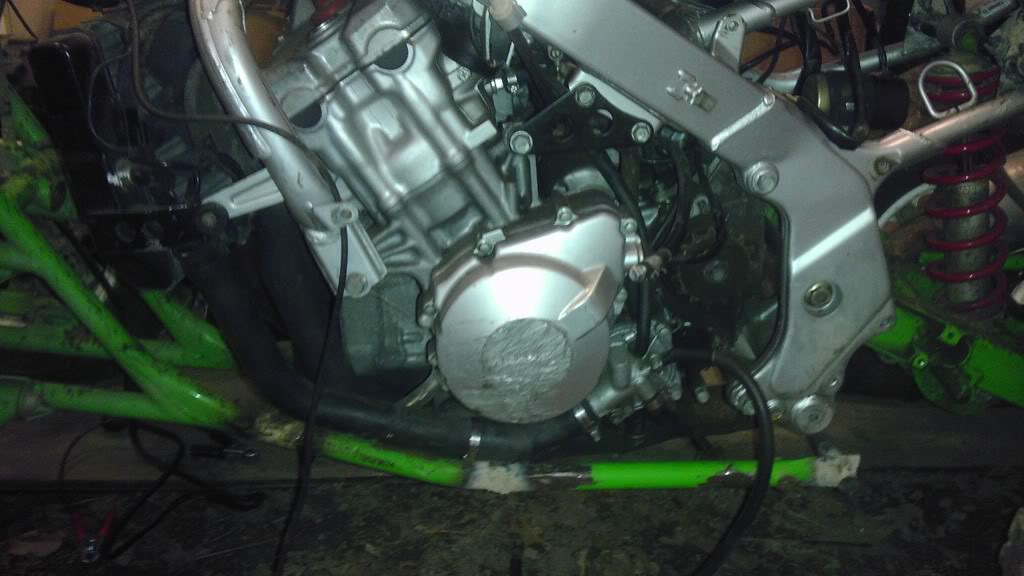
It might be, when i got the motor and frame it was in a wreck and it apparently slid a bit. The exhaust too a good beating and scraped the name plate off it haha.
As for the cutting off, the bike would just die, found out if was the idle being set too low. I wasnt using the gauges so i didnt realize it at first, but i plugged them in and it was pretty obvious.
Im going to do the air solenoid bypass, tom. sometime, and then i still need to come up with some money for the 520 Kit.
a buddy of mine just wrecked his 2012 R6 so i might be getting his fairings XD Gonna see if i can do something with them.

#65
08-08-2012, 01:37 PM
#67
08-10-2012, 10:47 PM
#69
08-14-2012, 06:24 AM
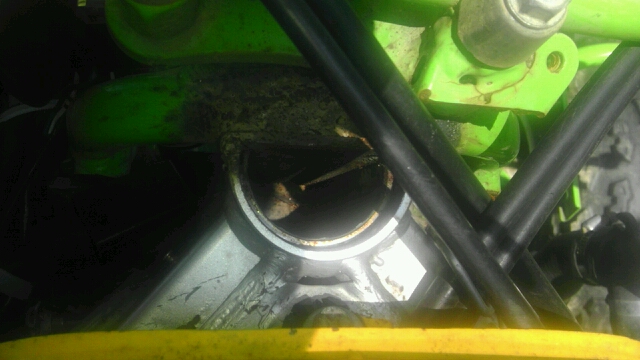
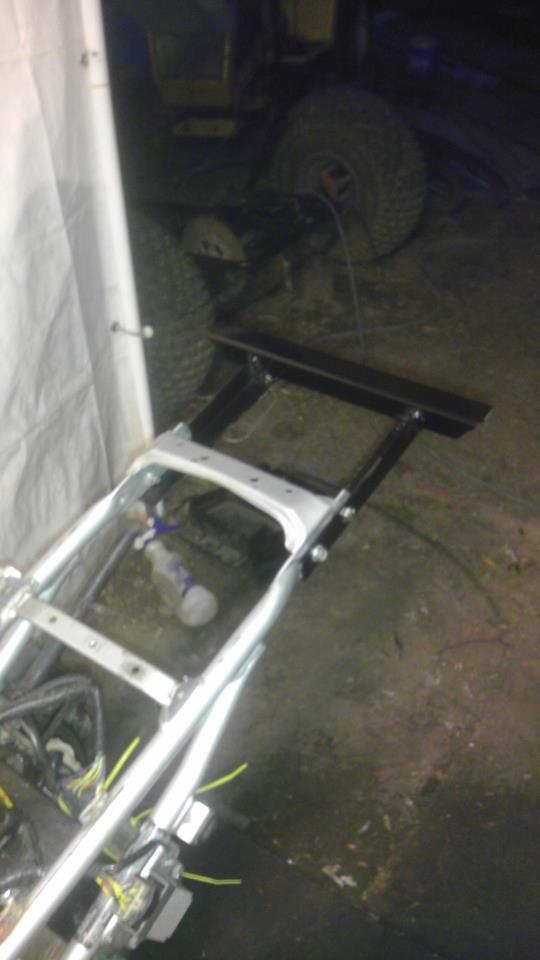
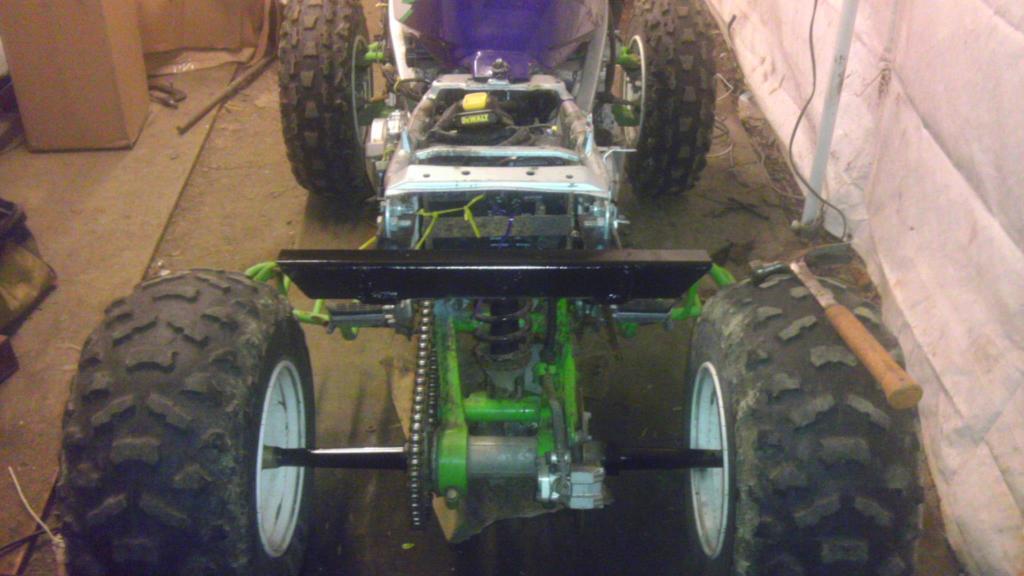
I basically cut the neck down the middle on both sides, and welded a flat plate to the front of it, and then welded the quad frame to the flat plate down the center after lining it up.
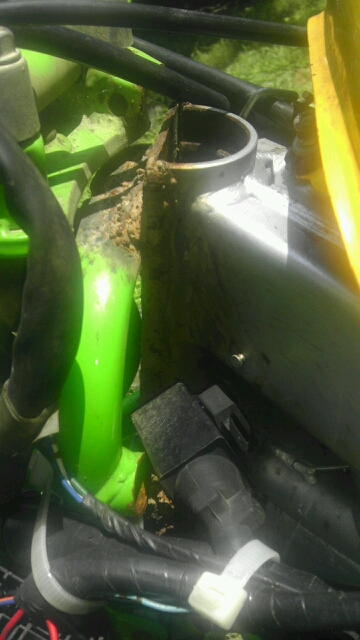
Dont mind the bubble gum weld XD kind of a tight squeeze. After i welded the top, the bottom of the kneck comes down to the next bar in the quad front end, so i welded some gussets onto the front and back of it.
I have to cut the top of this down too allow a better turning radius, but it works perfectly. And its plenty strong, ive had it smash down in a wheelie a few times, no cracks or sagging in the frame.
Then to strengthen it i made 2 bars run down under the frame, and attached it to a bar i welded across the underside of the frame.
#70
09-09-2012, 11:29 PM
Small update. i get a few messages here and there about it so i figured id keep it alive.
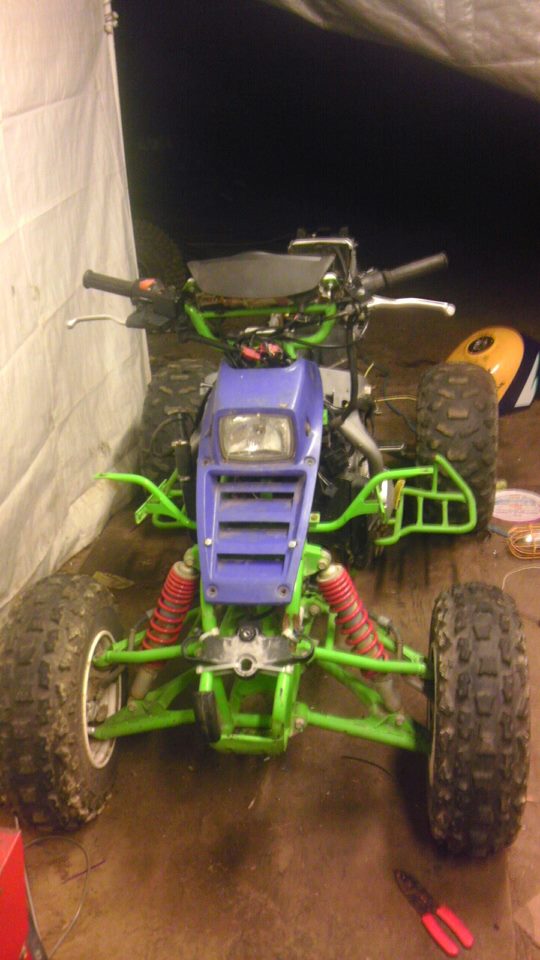
Got the head light mounted and bolted on. made some tabs for it on the CBR frame and ran a toggle switch to the ide of the plastic. Tried using the atual CBR wiring harness and switch but it didnt seem to want to work.
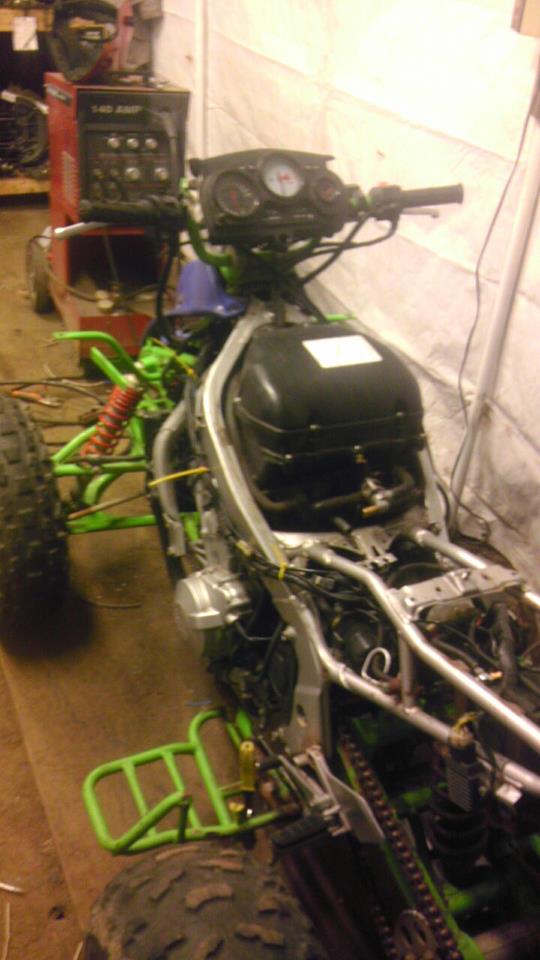
Got the cluster mounted, wires re ran a bit diffefrently and hidden/protected a bit more. The speedo surprisingly doesnt seem to be that far off if at all. Ran it down the road with my buddies bike next to me. He got up to 40 and held it there, and i pulled up next to him, slowed and i was at 38ish.
And then today i made a 5 o'clock bar, came out nice. and is very sturdy.
. Tom i plan on finishing the passenger pegs i started today, and to fix the chain roller i made (siezed the bearings and the chain just ate the roller haha.) so i have another idea for that. Hopefully a productive day.
Started working again and ordered my sprockets. be in Wednesday. so hopefully Thursday ill have a vieo of blasting it down a back road ^.^
Got the head light mounted and bolted on. made some tabs for it on the CBR frame and ran a toggle switch to the ide of the plastic. Tried using the atual CBR wiring harness and switch but it didnt seem to want to work.
Got the cluster mounted, wires re ran a bit diffefrently and hidden/protected a bit more. The speedo surprisingly doesnt seem to be that far off if at all. Ran it down the road with my buddies bike next to me. He got up to 40 and held it there, and i pulled up next to him, slowed and i was at 38ish.
And then today i made a 5 o'clock bar, came out nice. and is very sturdy.
. Tom i plan on finishing the passenger pegs i started today, and to fix the chain roller i made (siezed the bearings and the chain just ate the roller haha.) so i have another idea for that. Hopefully a productive day.
Started working again and ordered my sprockets. be in Wednesday. so hopefully Thursday ill have a vieo of blasting it down a back road ^.^