
Skee's F4i "Kool Reaper"

Thread Starter
|
Senior Member
Joined: Aug 2013
Posts: 278
Likes: 2
 20160331_160011 by Skee907, on Flickr
First few coats of the black, now to follow with a few more coats and then some satin clear coat.
Thread Starter
|
Senior Member
Joined: Aug 2013
Posts: 278
Likes: 2
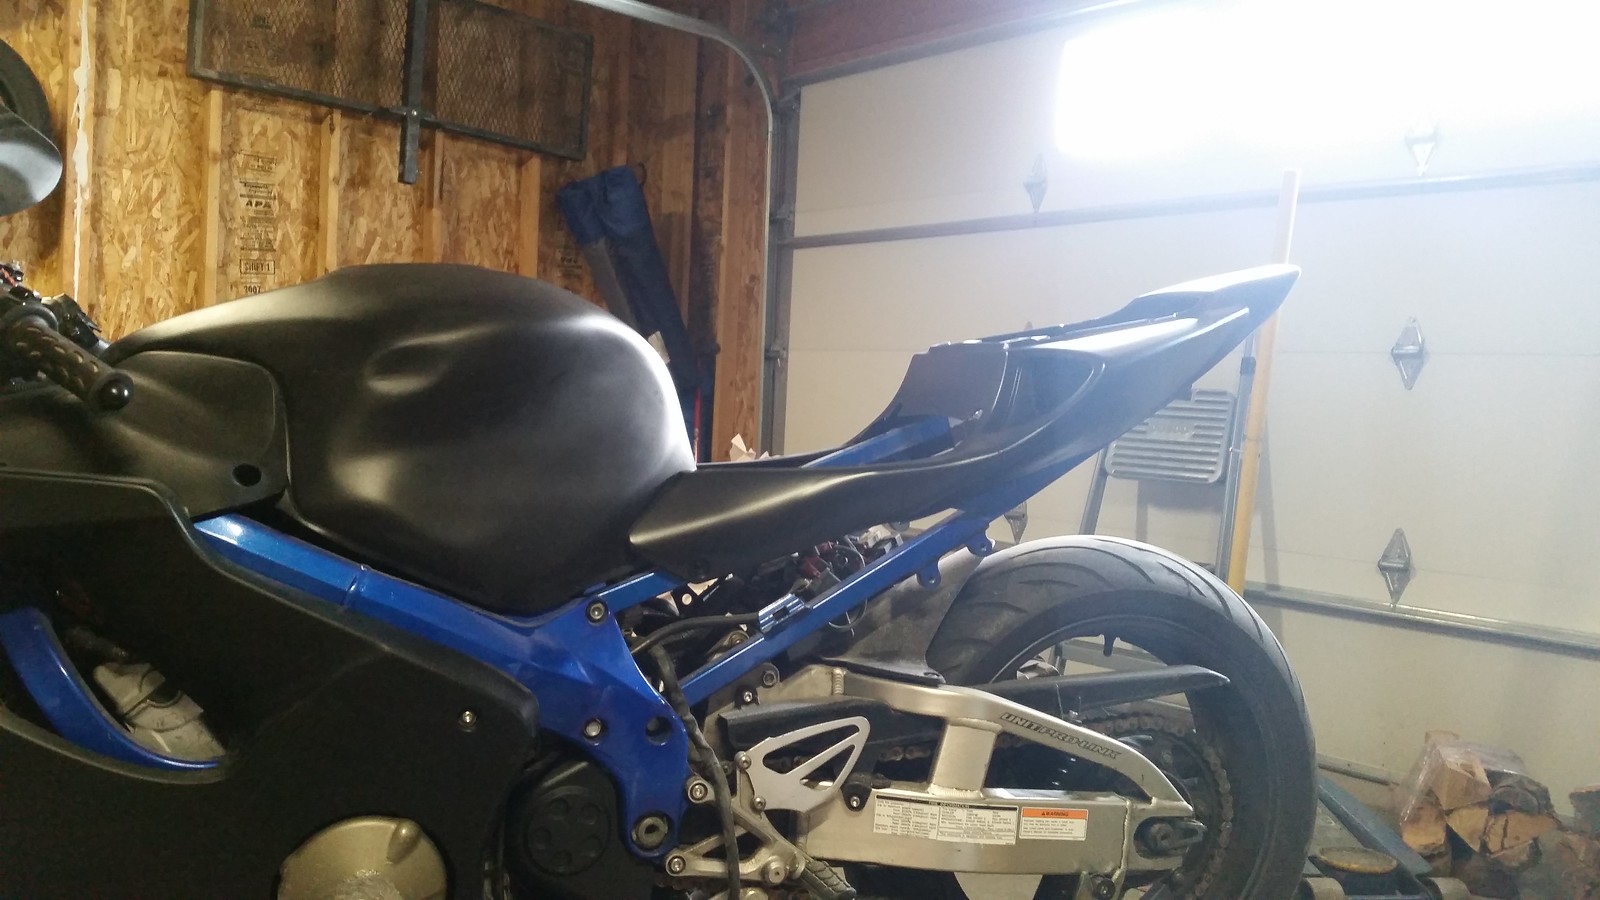
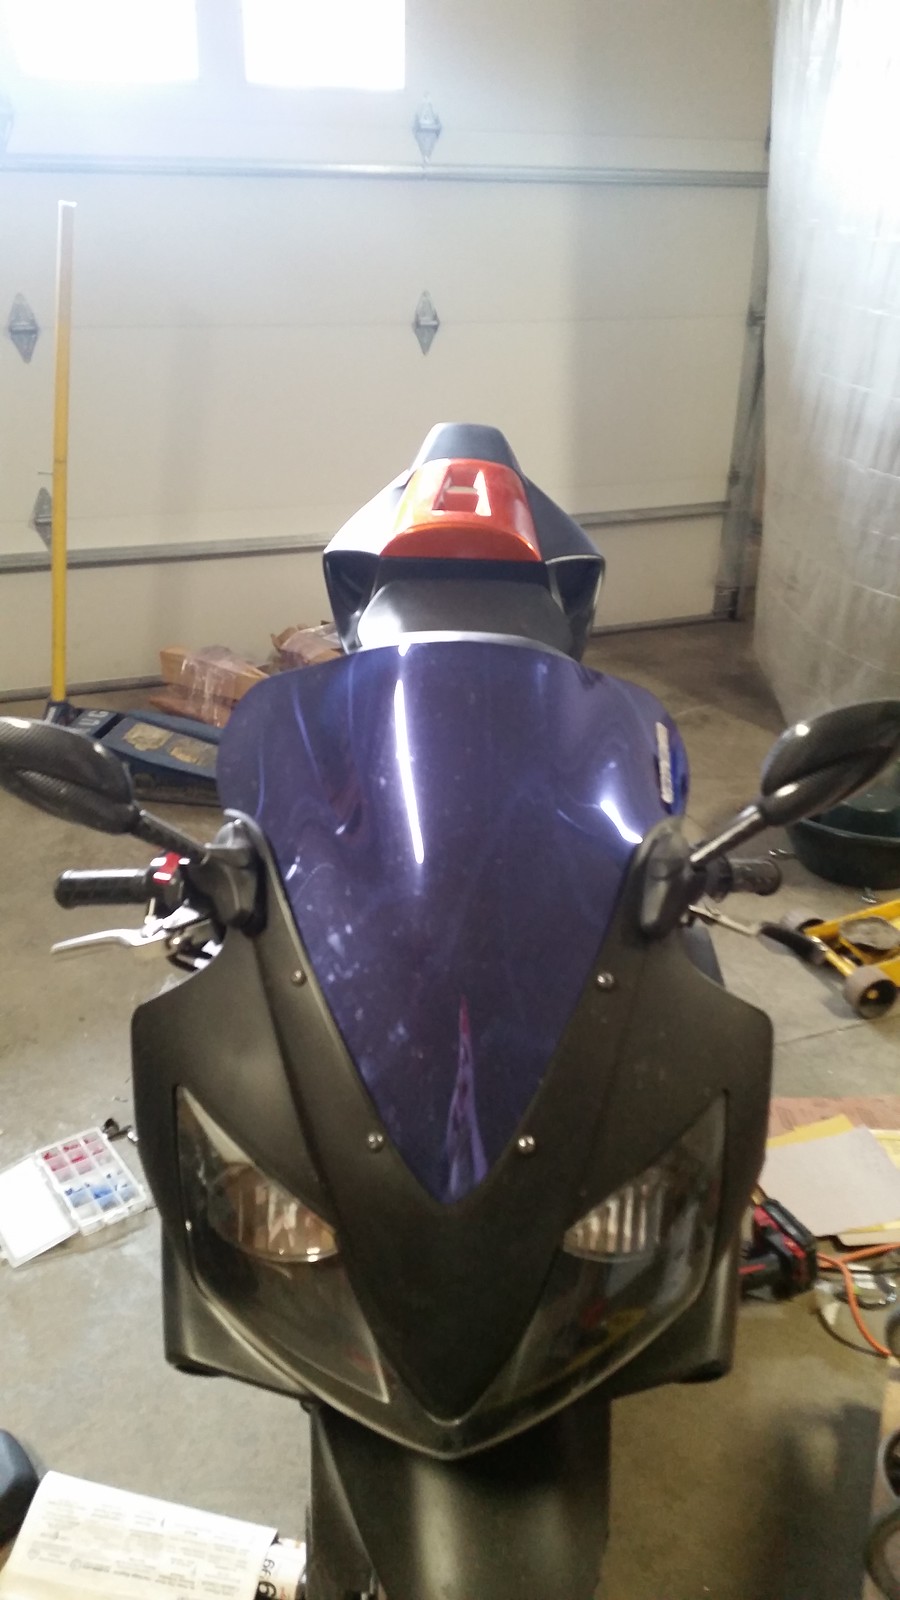
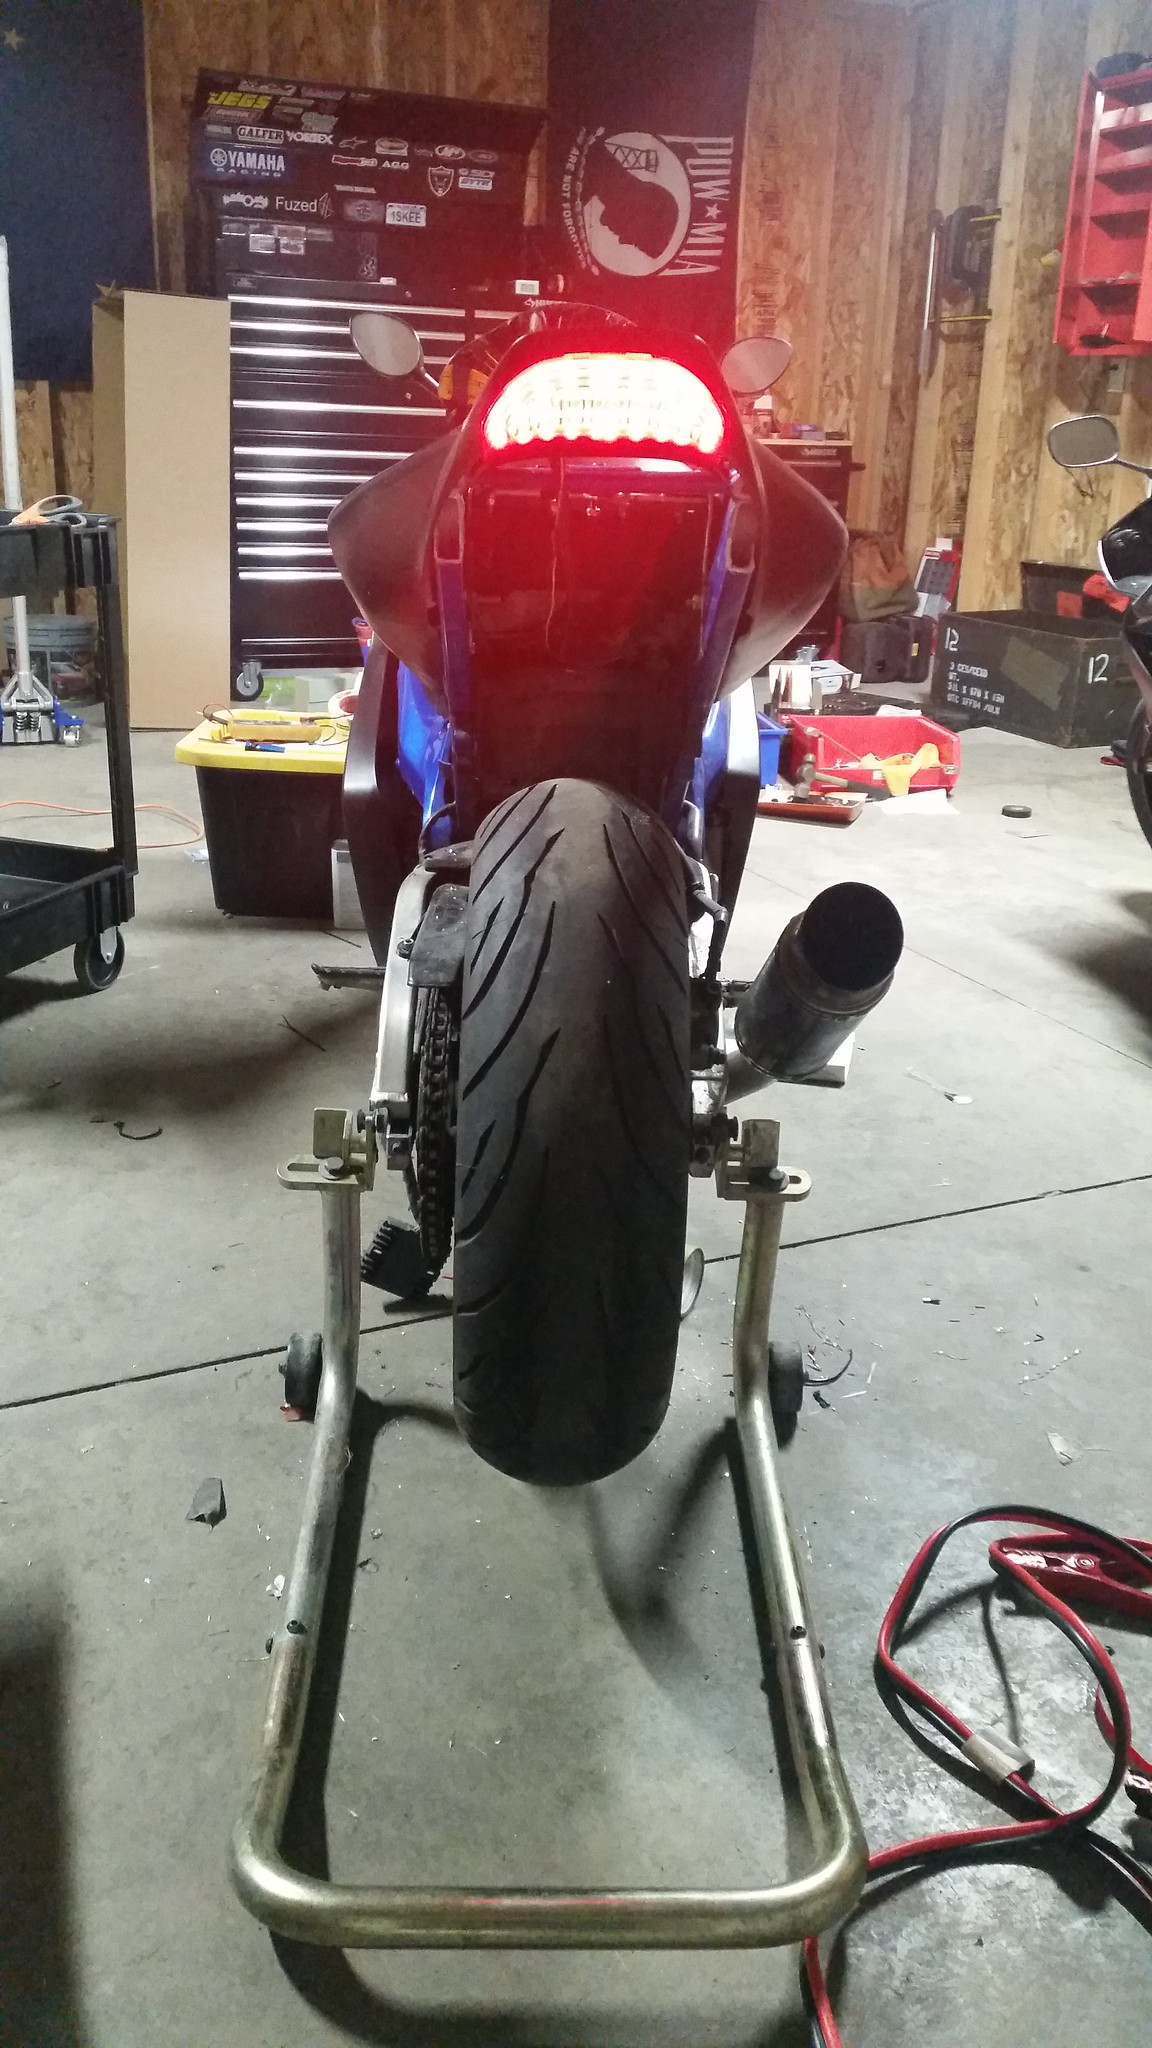
Got the tail mounted up and adjusted for fitment. Now on to the custom hinged solo cowl, undertail, trunk box, and battery tray.
 20160401_153839 by Skee907, on Flickr
 20160401_153953 by Skee907, on Flickr
 20160401_154013 by Skee907, on Flickr
 20160401_154020 by Skee907, on Flickr
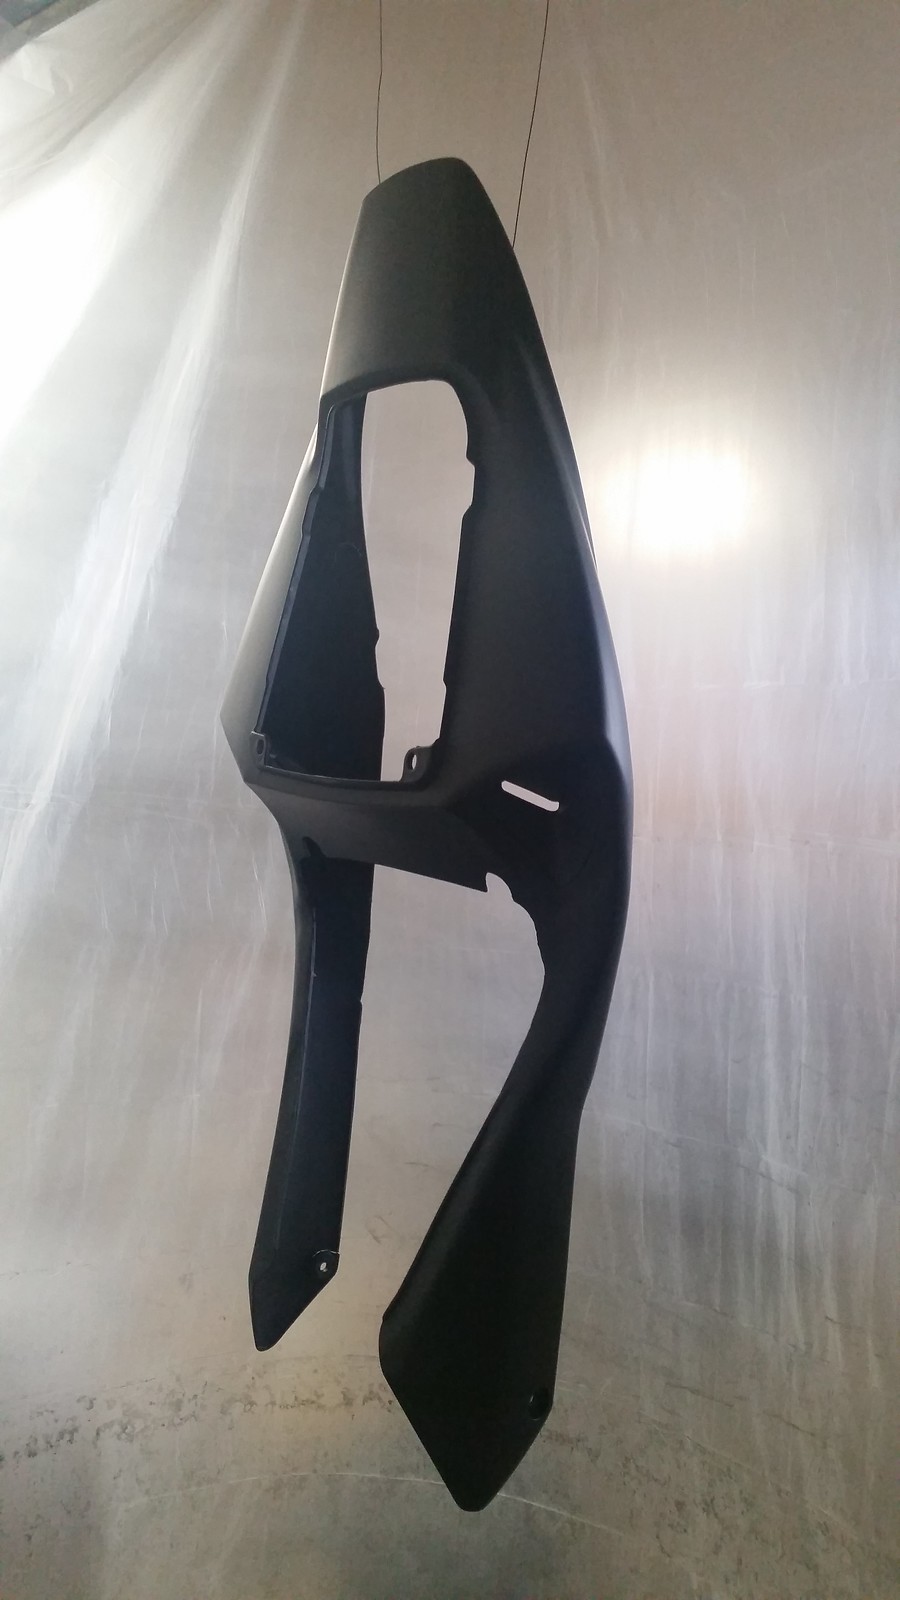
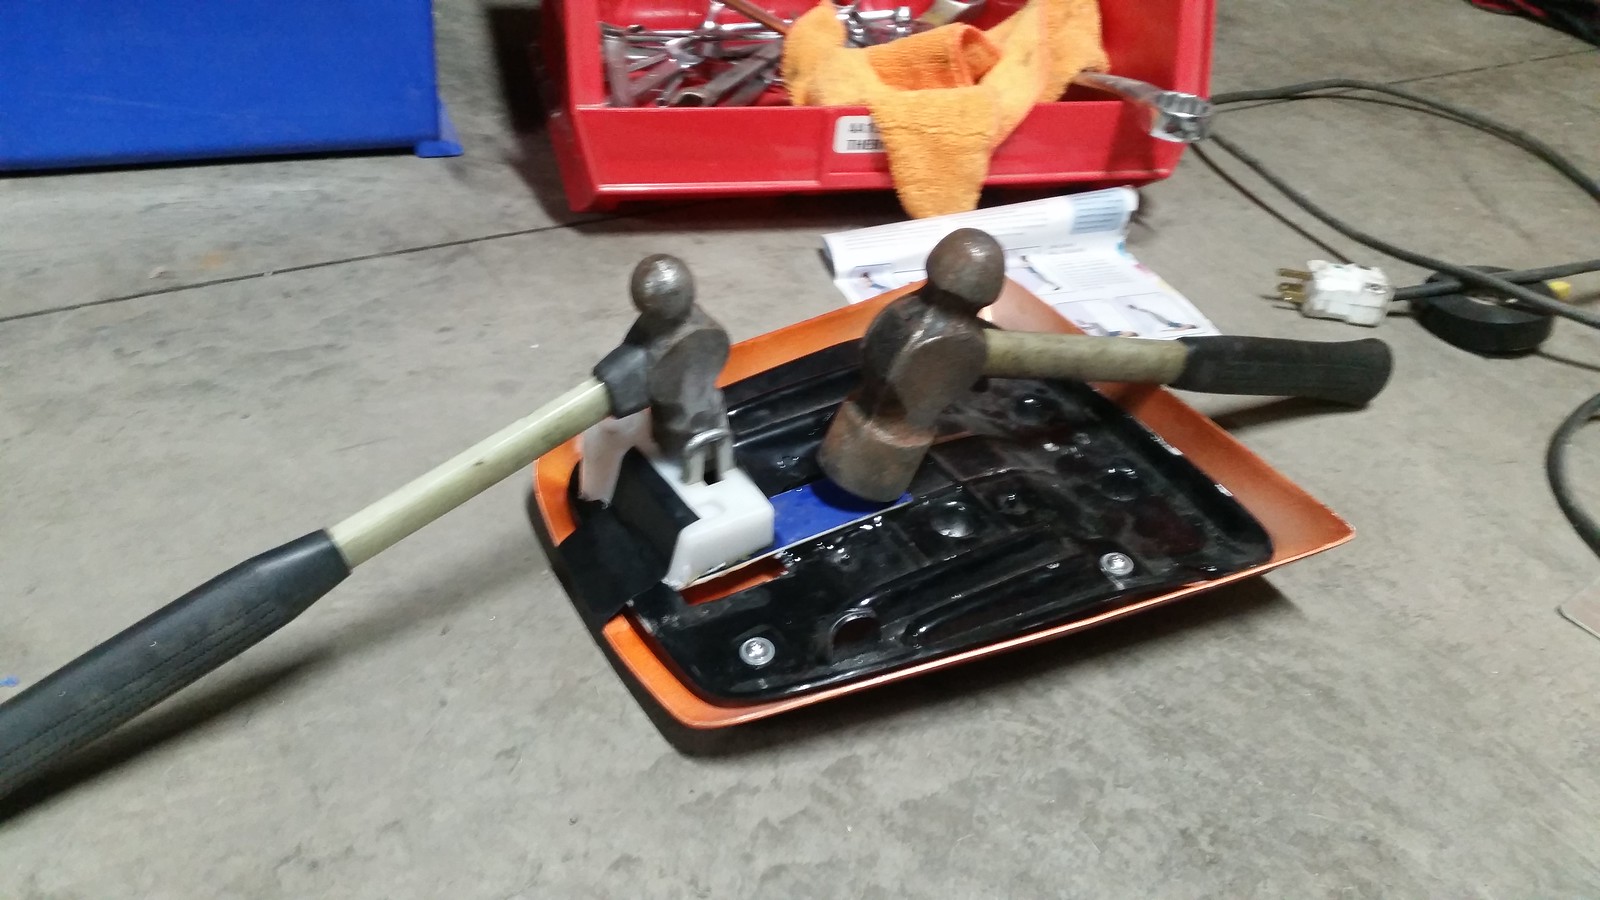
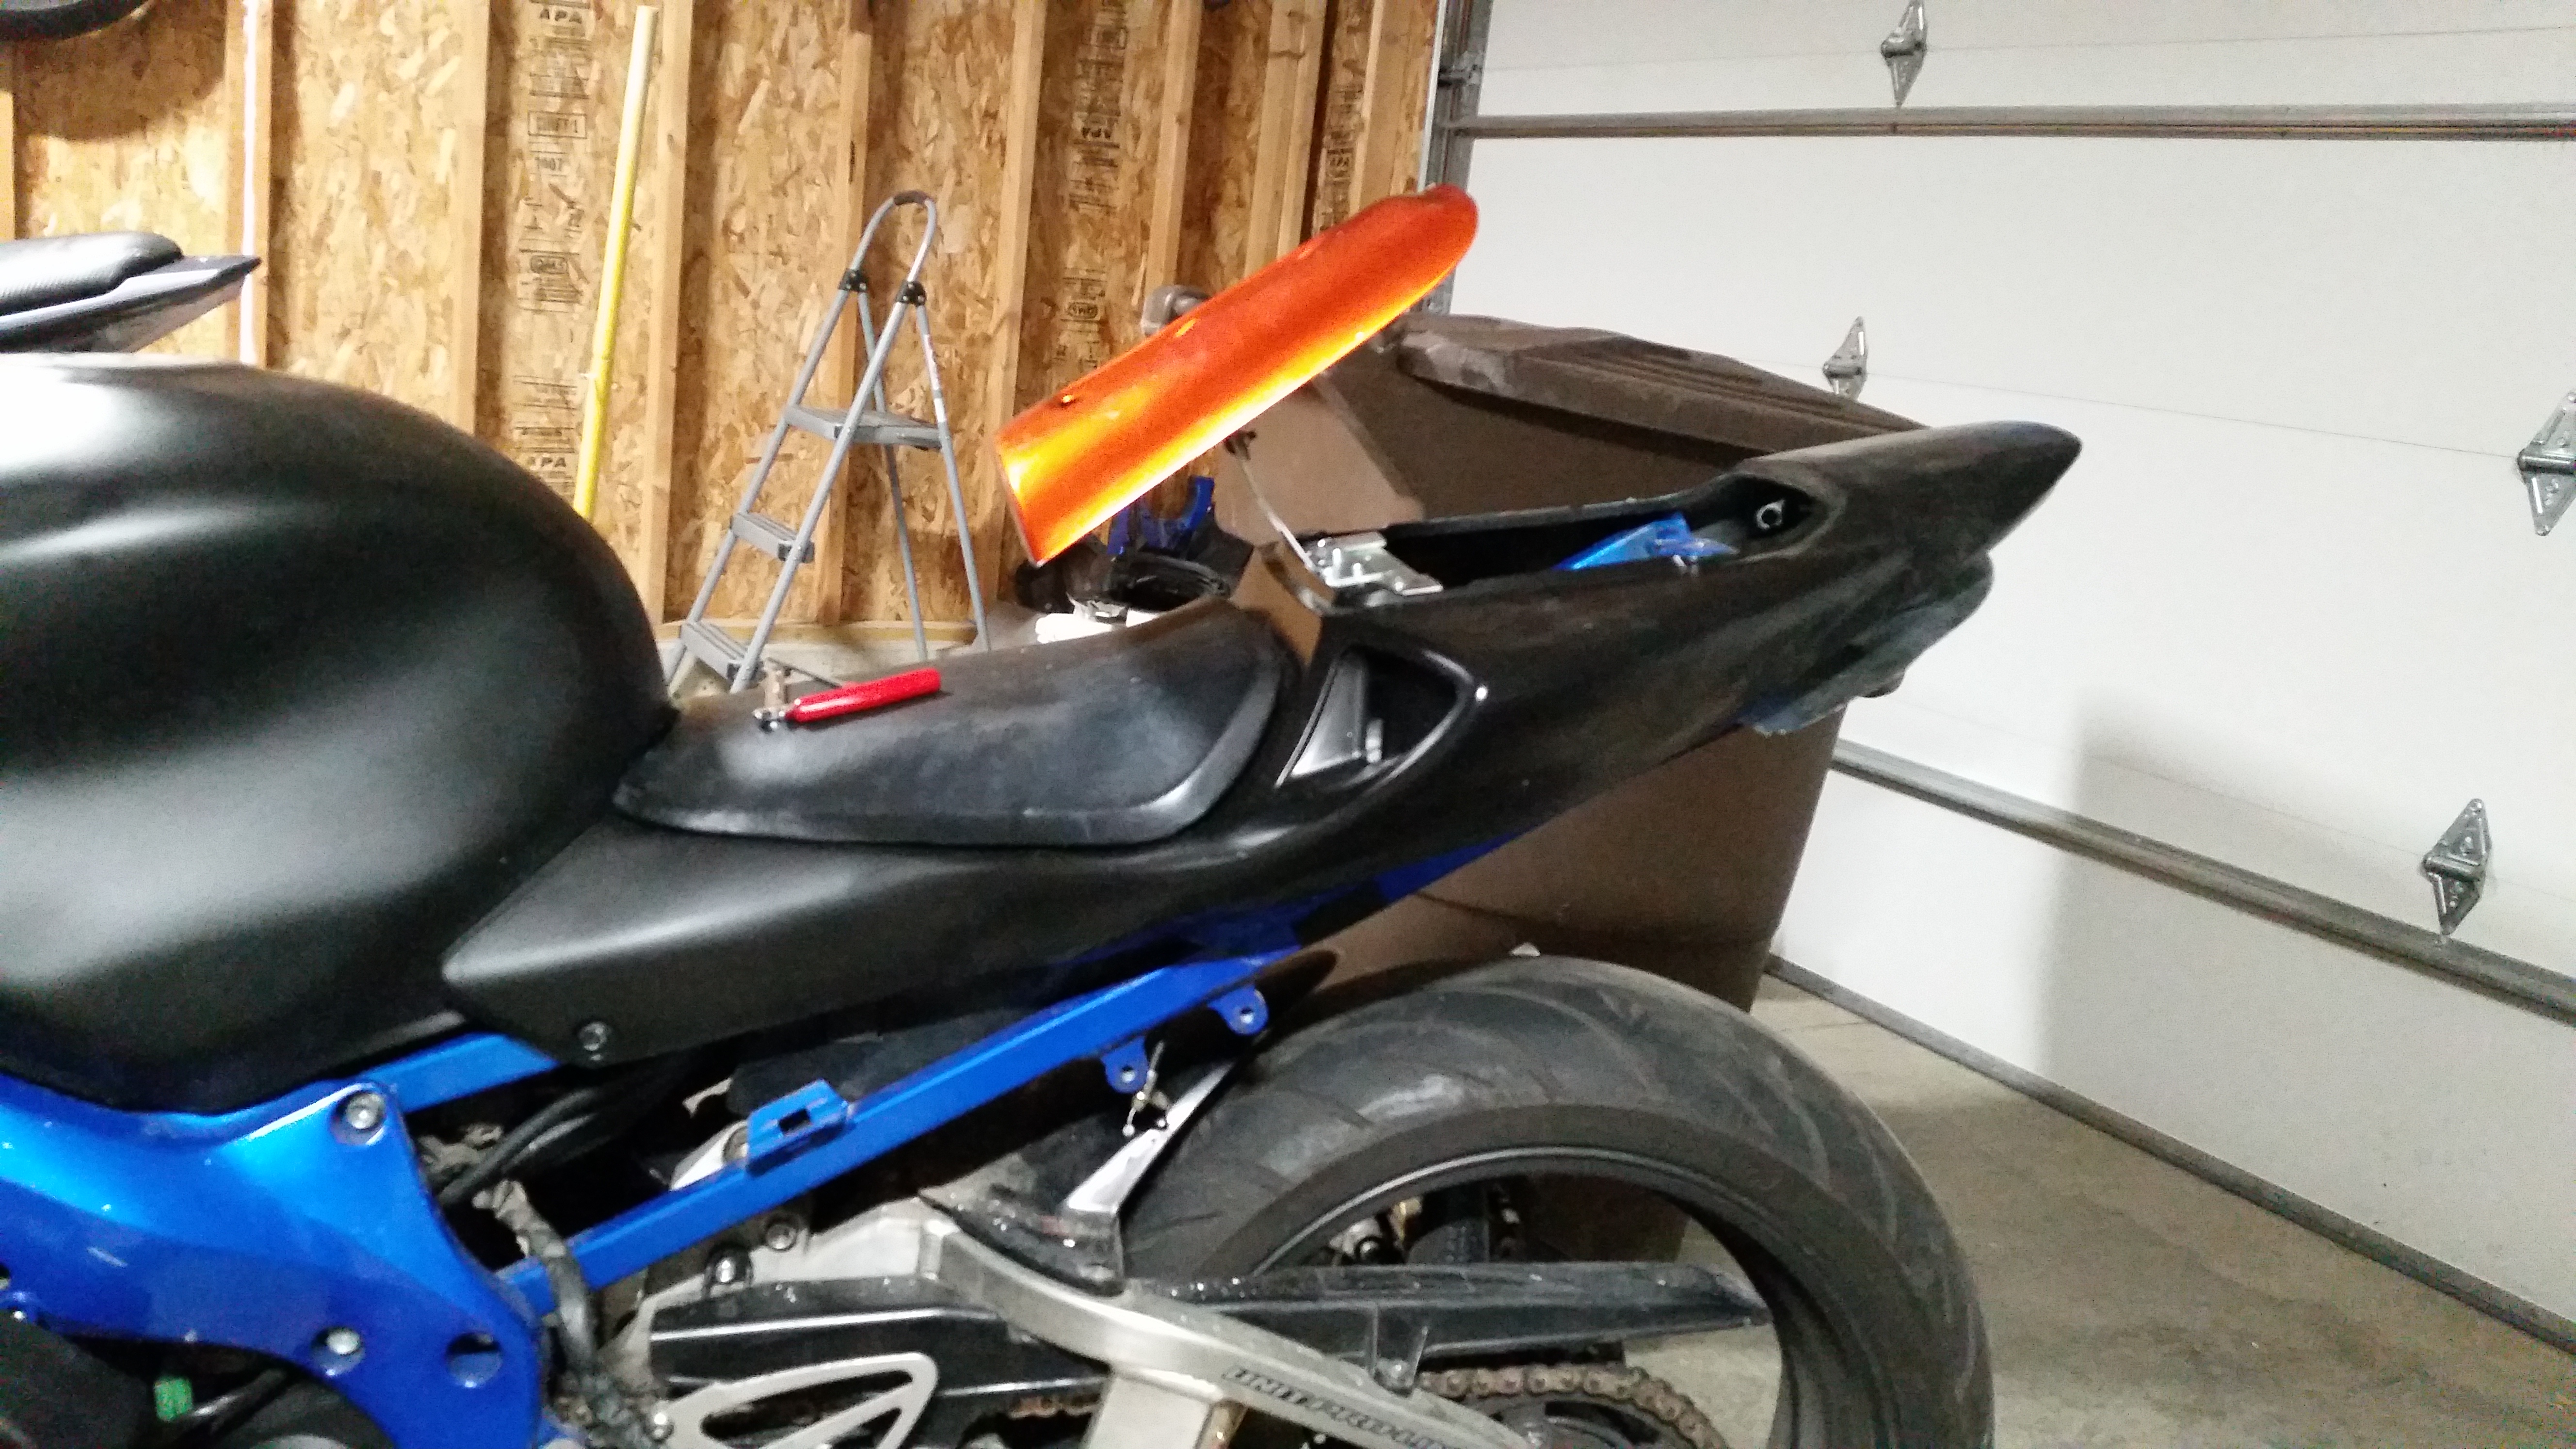
Chopping up the Chinese rear F4i seat to mold some parts onto the Orange 1000rr solo cowl, to use the existing locking setup from the F4i subframe. I will be building a custom undertail to house the key barrel to unlock it, and it will hinge forward like the 954rr trunks do.
 20160401_201717 by Skee907, on Flickr
 20160401_202442 by Skee907, on Flickr
 20160401_203318 by Skee907, on Flickr
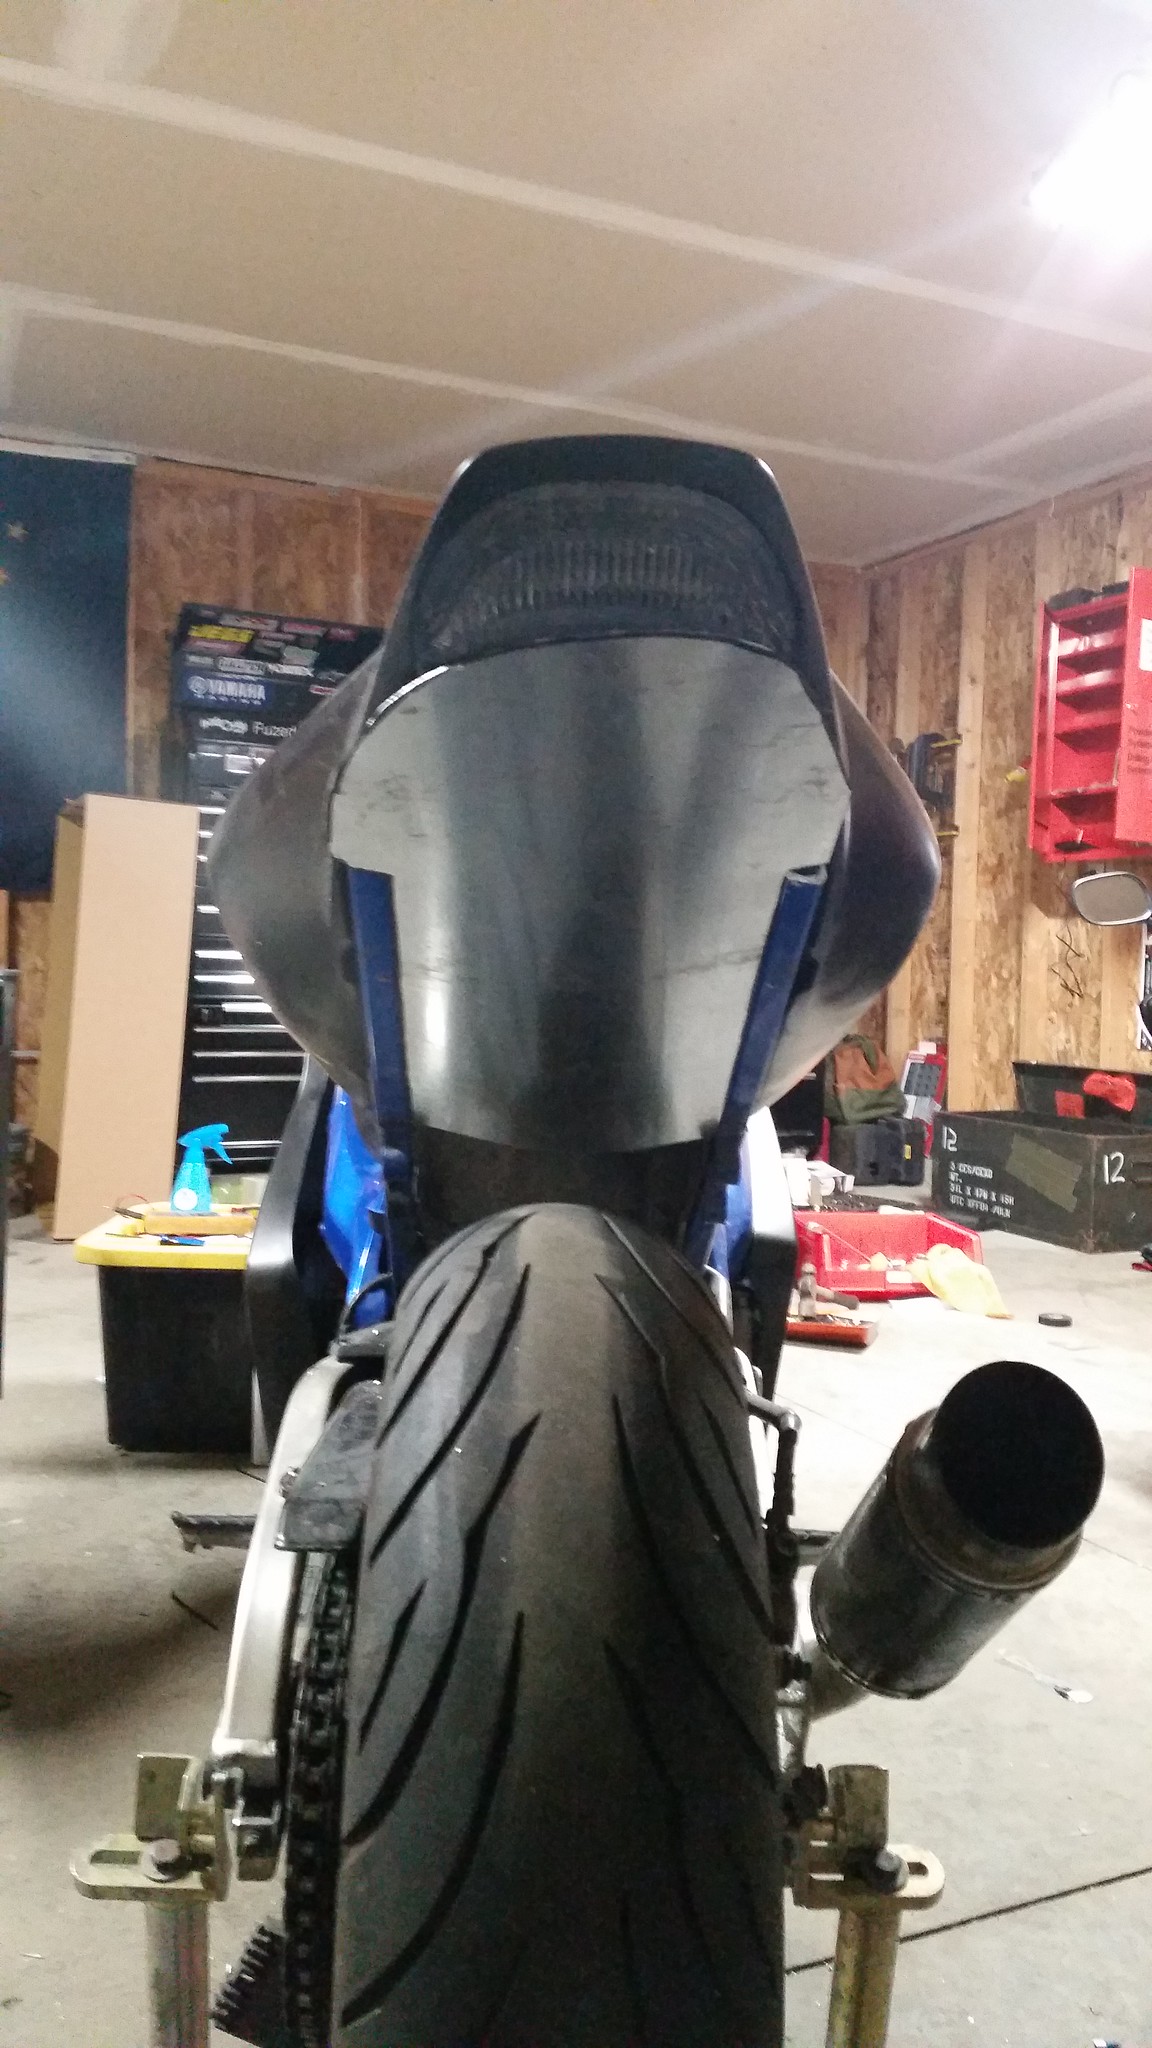
After some trial and error and trimming a few times I was happy with the fitment. Added on some tape to hold it in place and "tacked" it there with some epoxy. Once that dries I will retest the fitment and if I'm happy still, onto the hinge build, which will be bolted to the same brackets that hold the tail currently.
 20160401_210901 by Skee907, on Flickr
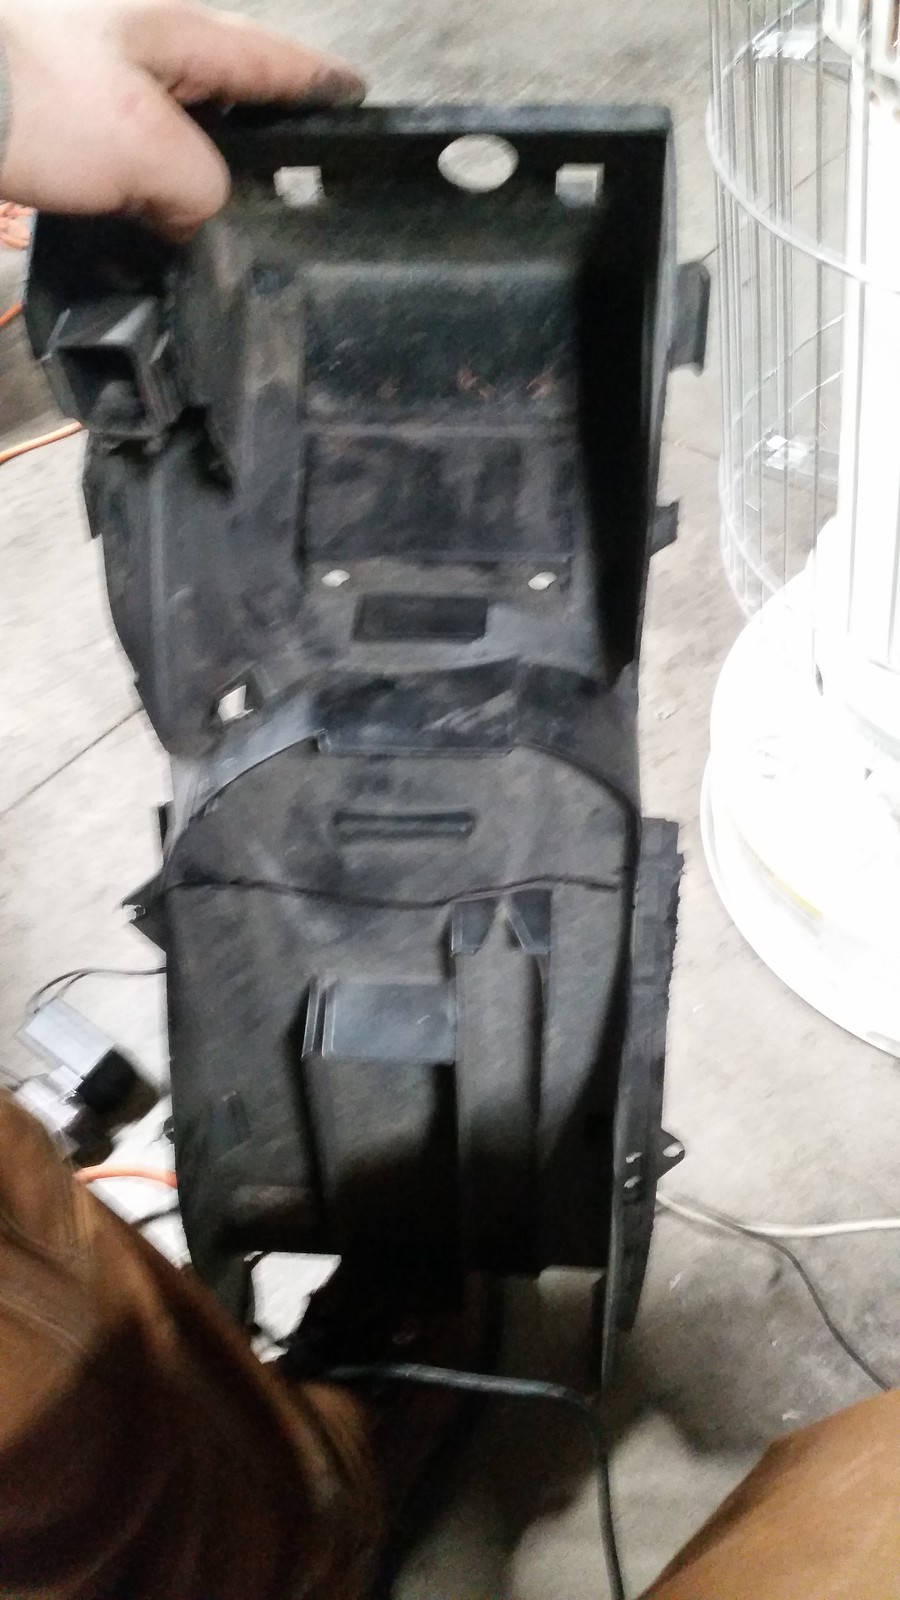
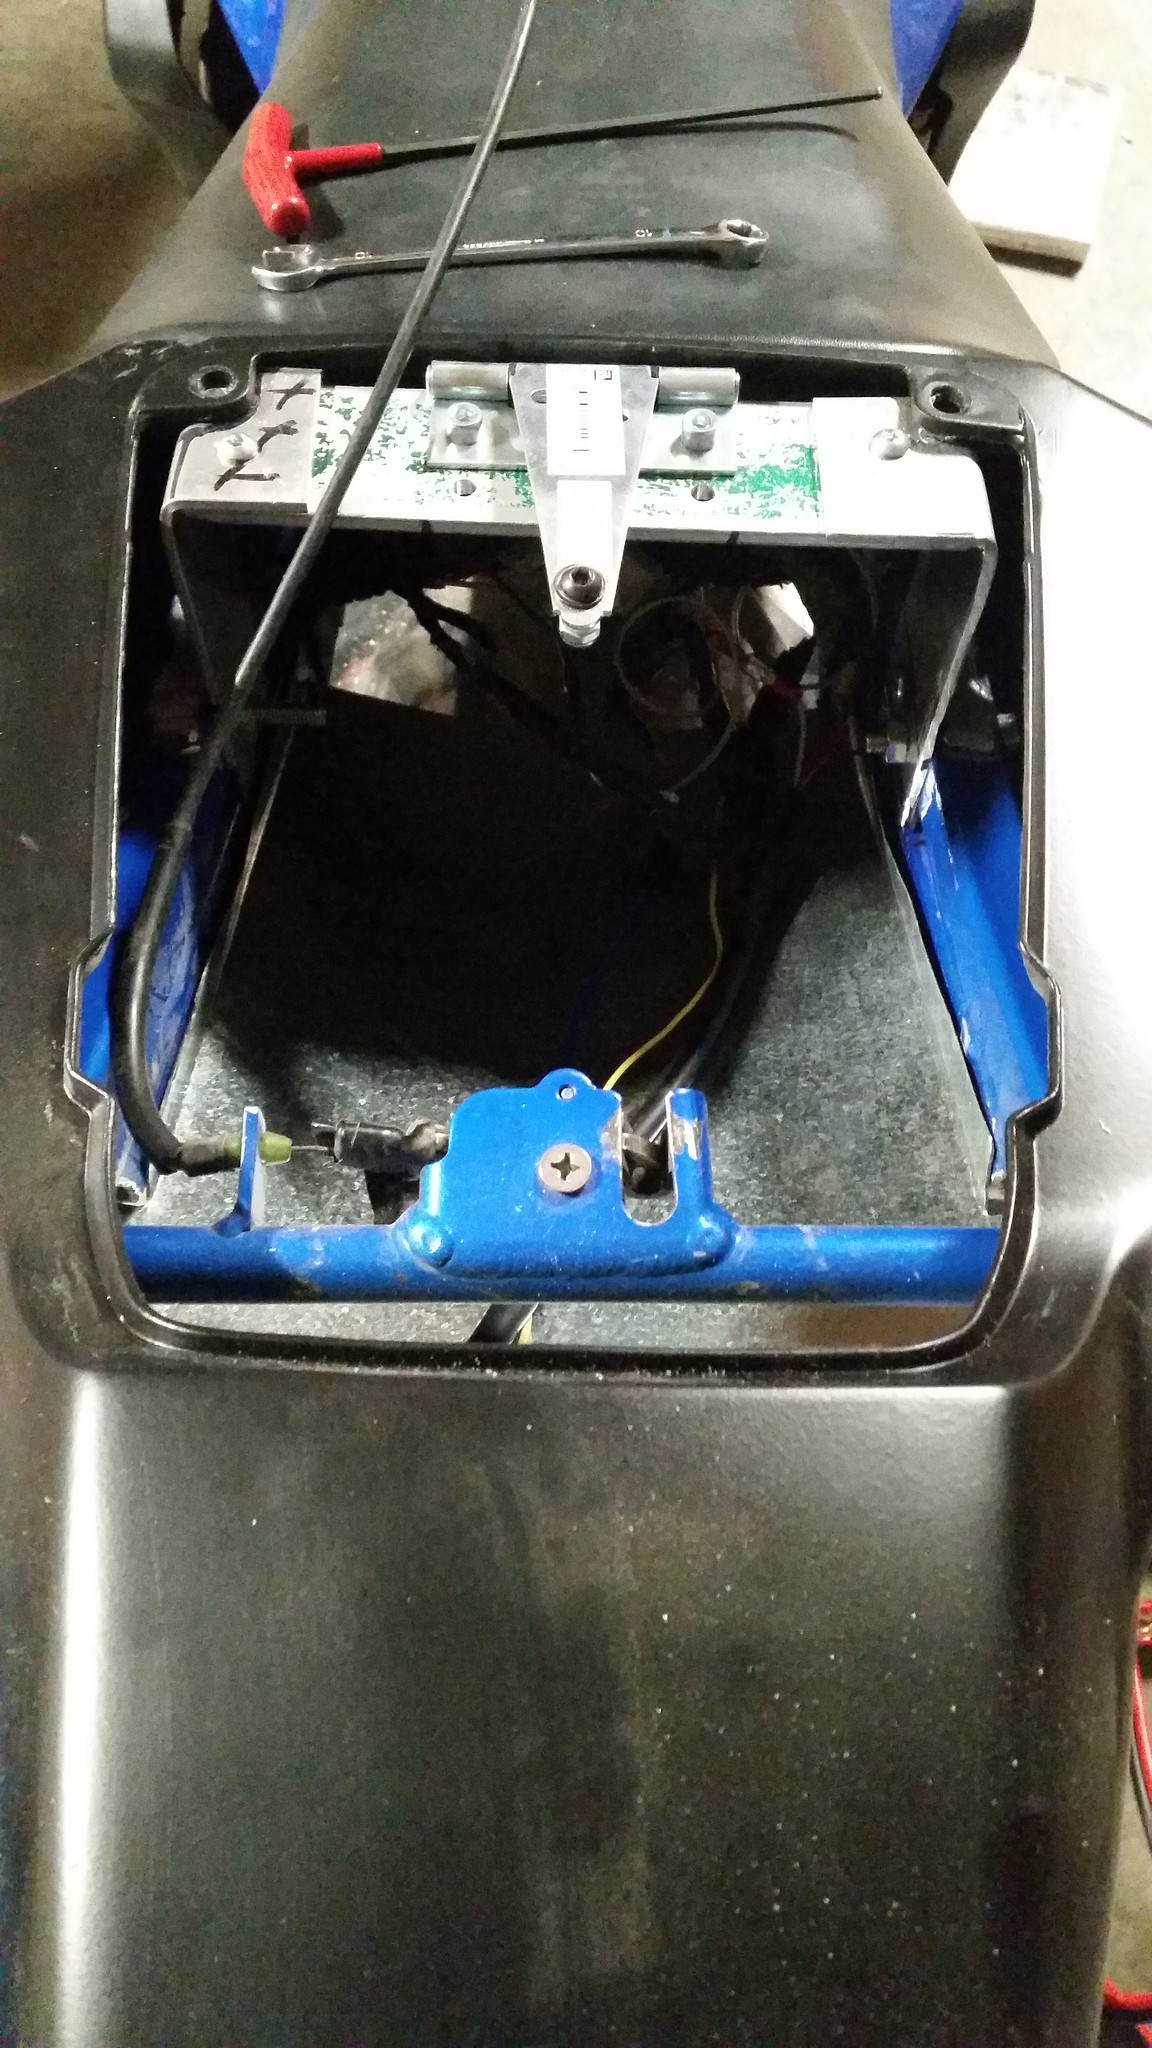
Since I will be building a nice water tight trunk box inside the undertail and the new tail doesnt allow for a good way to keep the whole battery tray, it will be getting trimmed in half and mounted differently.
 20160401_213533 by Skee907, on Flickr
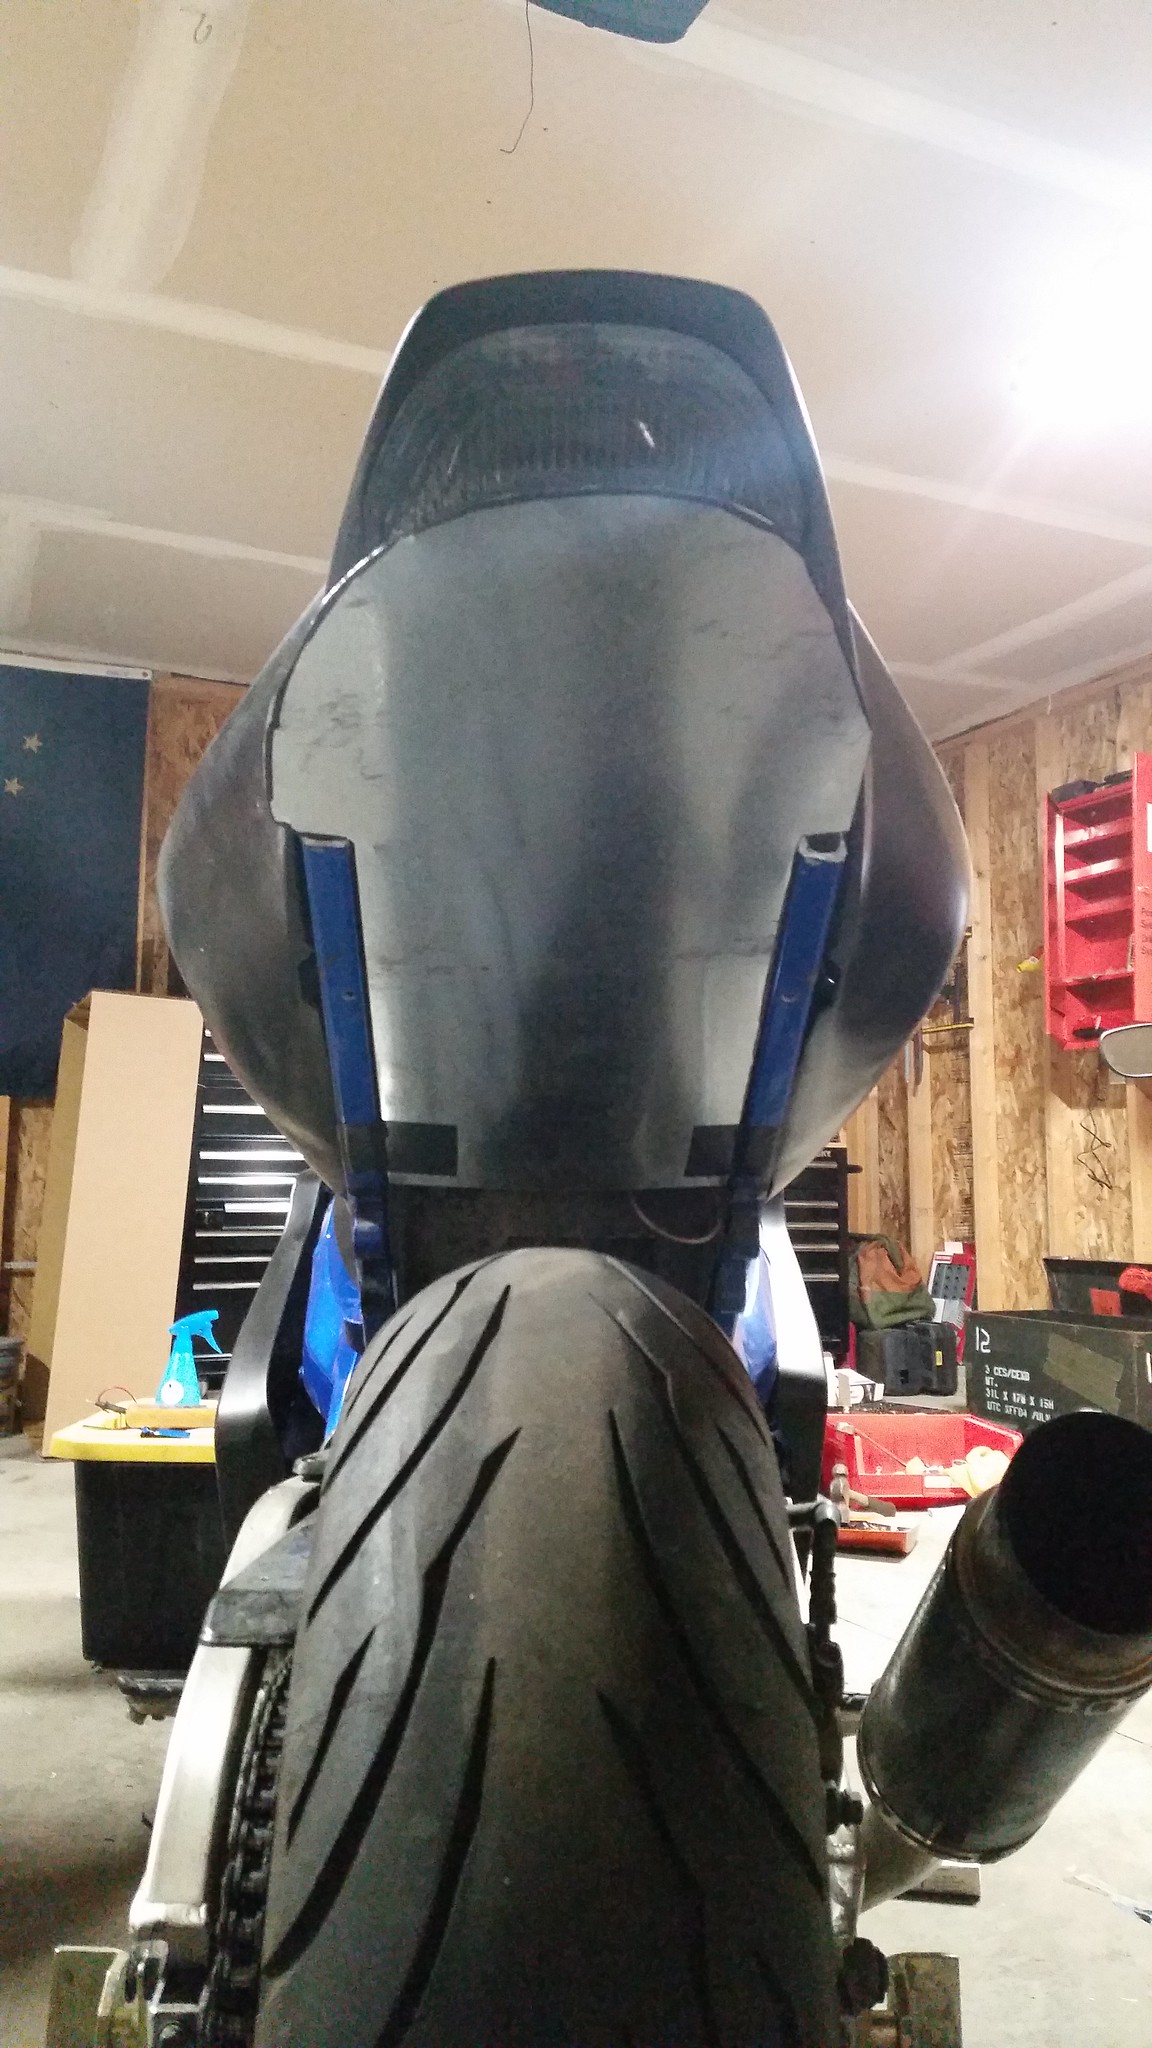
Keeping all the important stuff up front, which is hidden by the new tail anyways.
 20160401_214458 by Skee907, on Flickr
A cleaner cut and more will be trimmed later once I start the trunk build and figure out rear brackets to hold the tray. Also, I started building some "prettier" brackets instead of the roughly bent ones from Aluminum. Not too worried about them as they are all hidden but in the end a nicer setup will be used.
20160401_153839 by Skee907, on Flickr20160401_153953 by Skee907, on Flickr20160401_154013 by Skee907, on Flickr20160401_154020 by Skee907, on FlickrChopping up the Chinese rear F4i seat to mold some parts onto the Orange 1000rr solo cowl, to use the existing locking setup from the F4i subframe. I will be building a custom undertail to house the key barrel to unlock it, and it will hinge forward like the 954rr trunks do.
20160401_201717 by Skee907, on Flickr20160401_202442 by Skee907, on Flickr20160401_203318 by Skee907, on FlickrAfter some trial and error and trimming a few times I was happy with the fitment. Added on some tape to hold it in place and "tacked" it there with some epoxy. Once that dries I will retest the fitment and if I'm happy still, onto the hinge build, which will be bolted to the same brackets that hold the tail currently.
20160401_210901 by Skee907, on FlickrSince I will be building a nice water tight trunk box inside the undertail and the new tail doesnt allow for a good way to keep the whole battery tray, it will be getting trimmed in half and mounted differently.
20160401_213533 by Skee907, on FlickrKeeping all the important stuff up front, which is hidden by the new tail anyways.
20160401_214458 by Skee907, on FlickrA cleaner cut and more will be trimmed later once I start the trunk build and figure out rear brackets to hold the tray. Also, I started building some "prettier" brackets instead of the roughly bent ones from Aluminum. Not too worried about them as they are all hidden but in the end a nicer setup will be used.
Thread Starter
|
Senior Member
Joined: Aug 2013
Posts: 278
Likes: 2
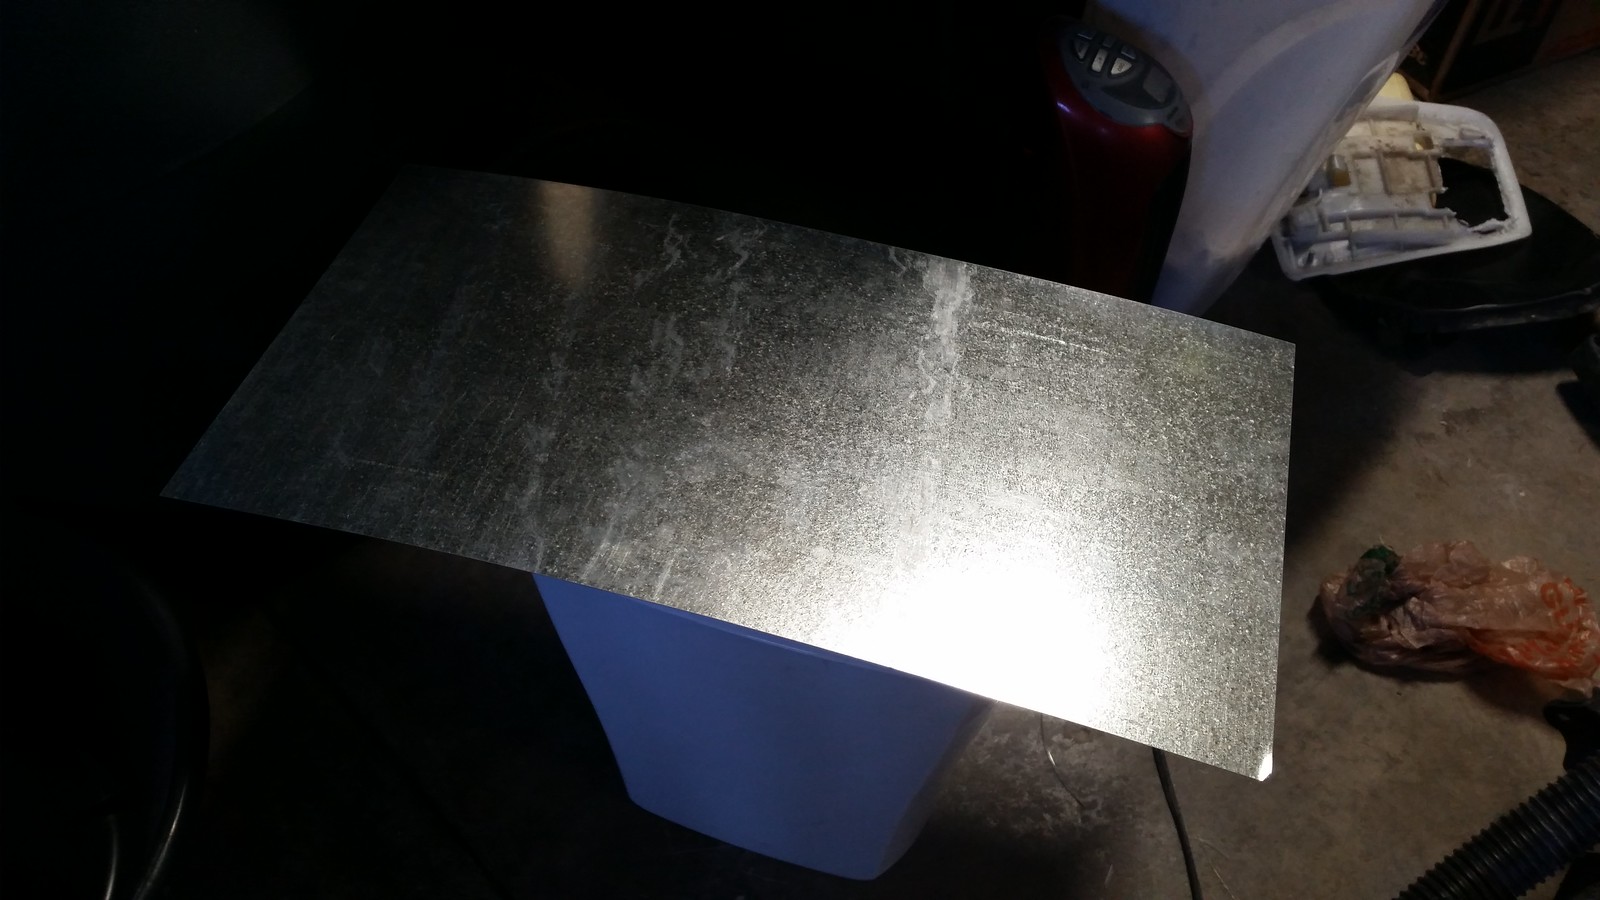
Picked up some sheet metal to make the undertail. The plan is to fab it out of foam board or cardboard first, then use that as a template for the metal to trim.
 20160402_161009 by Skee907, on Flickr
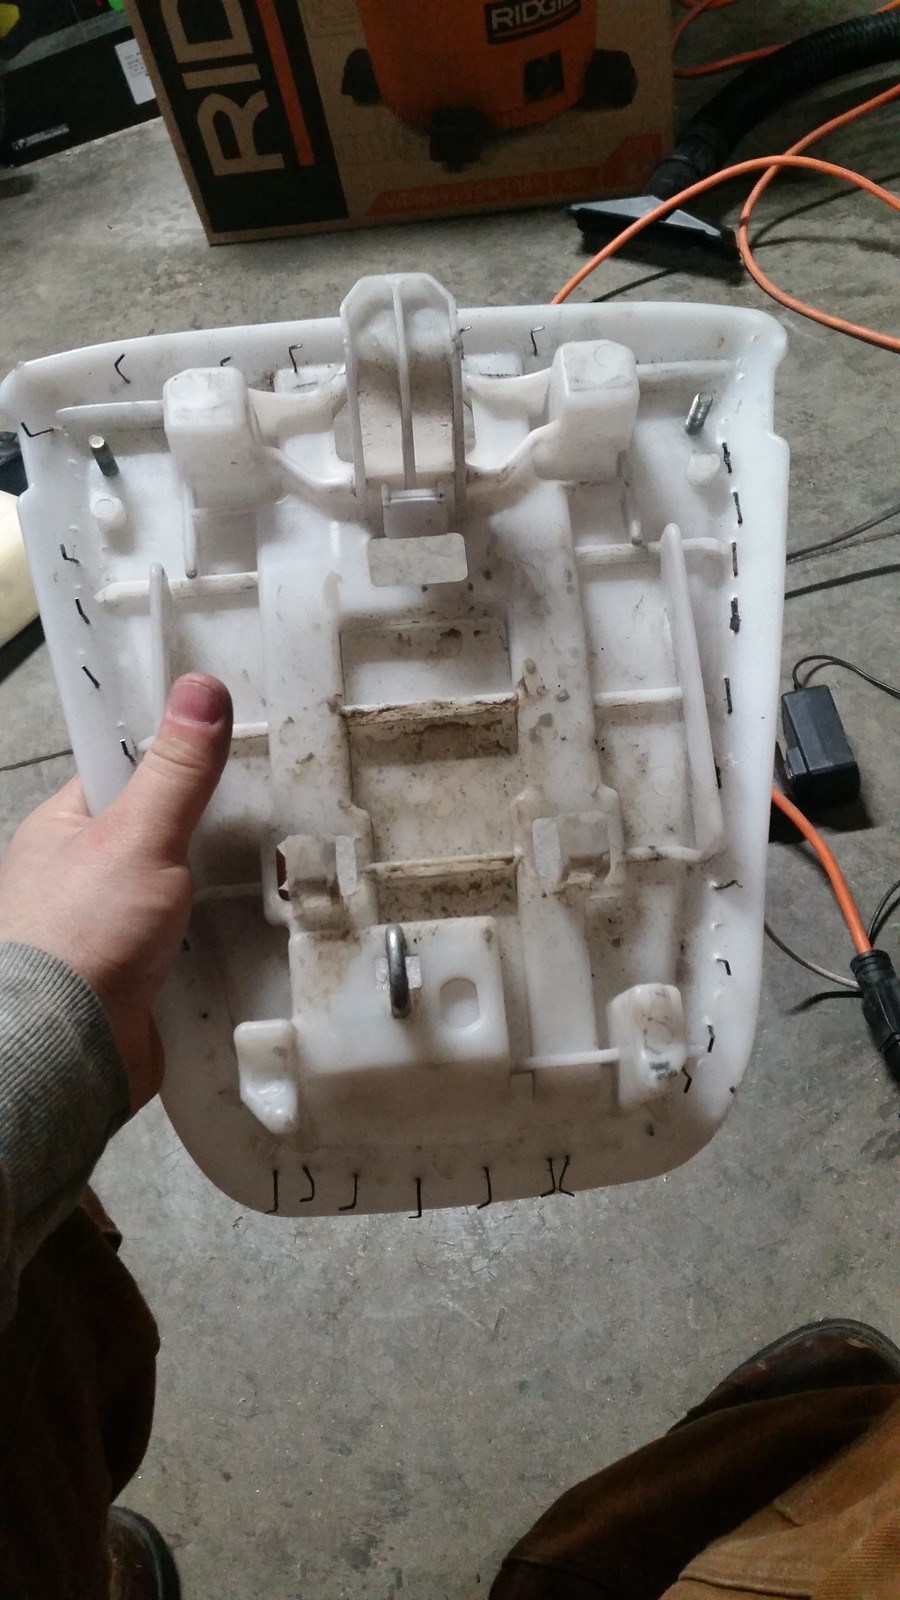
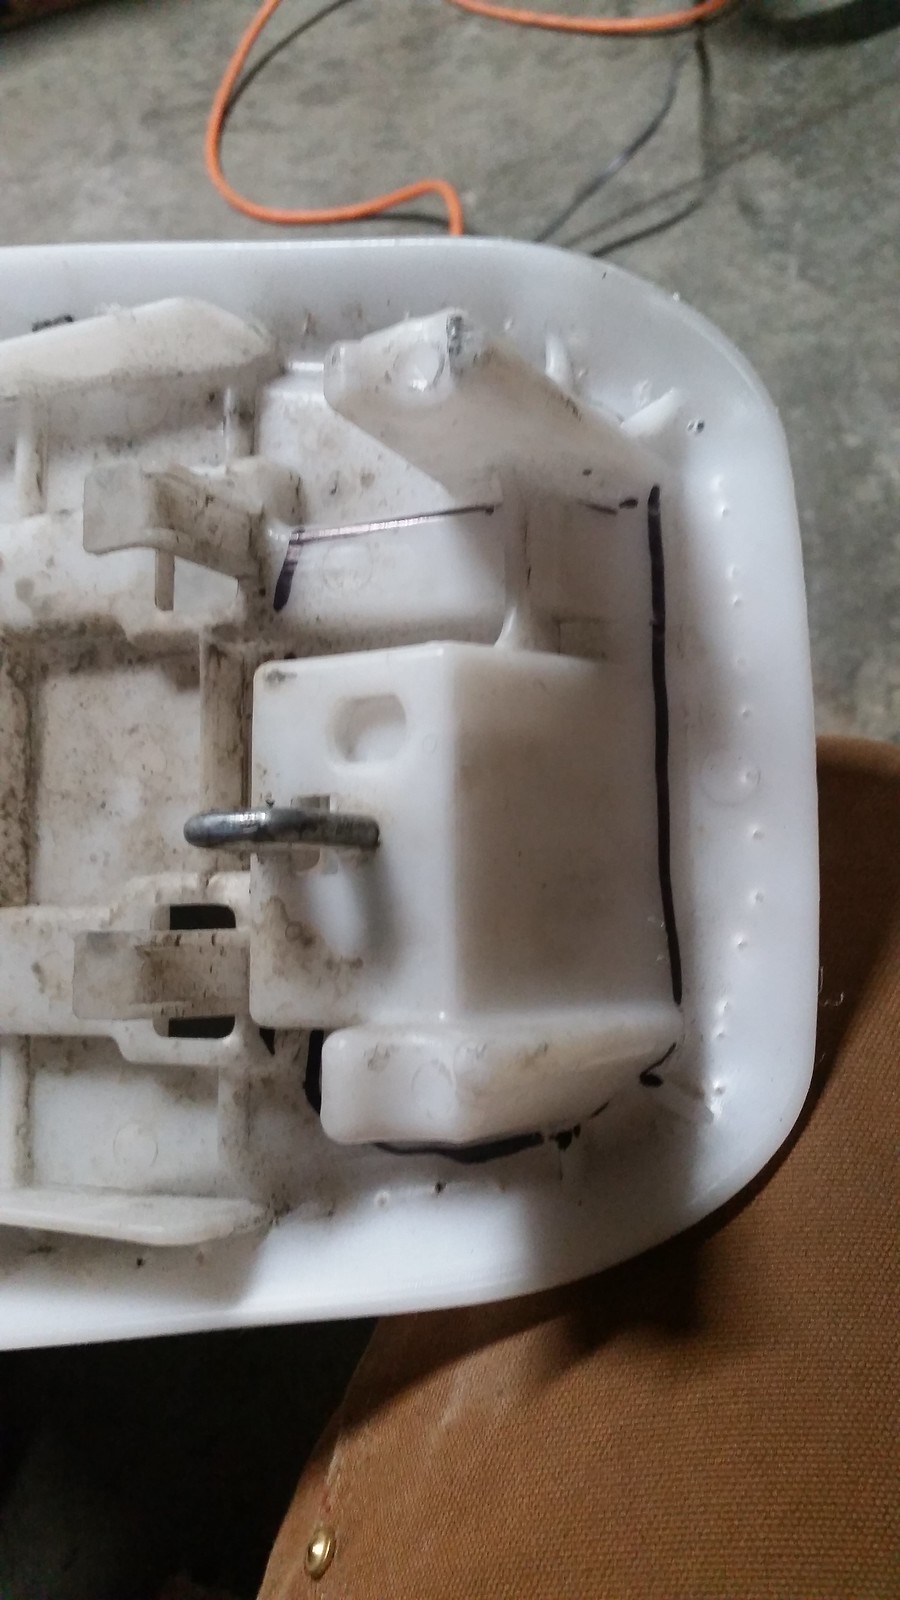
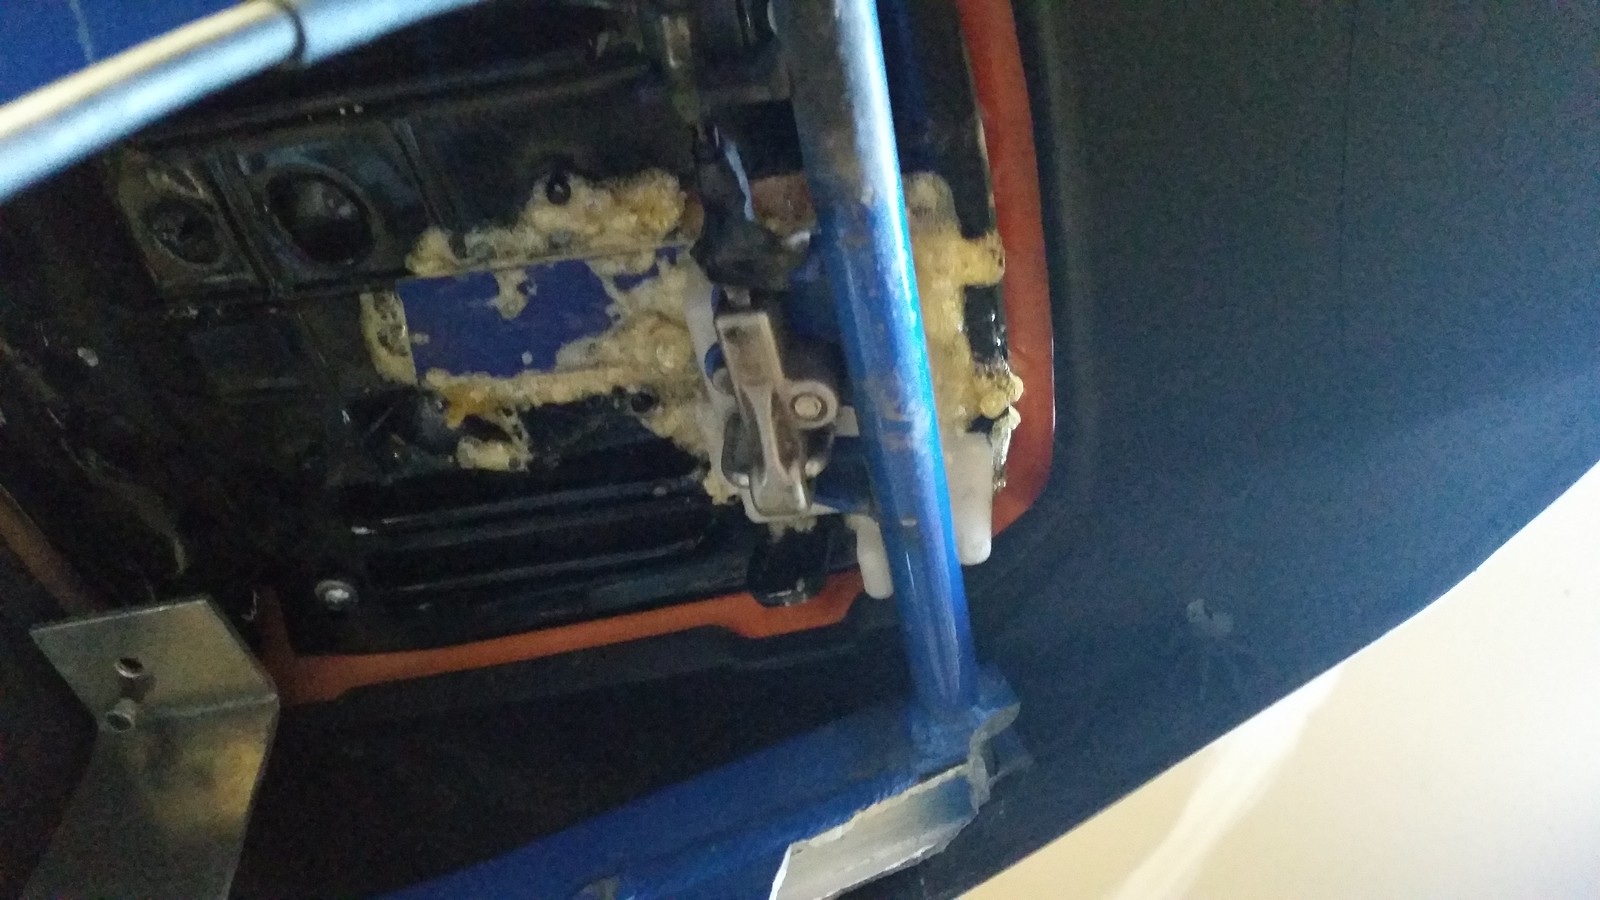
Also, dont mind the mess, but I got the trunk locking mechanism molded to the underside of the cowl. The excess glue will be trimmed and sanded smooth, sealed up and then painted with the rest of the cowl to match the bike.
 20160402_181832 by Skee907, on Flickr
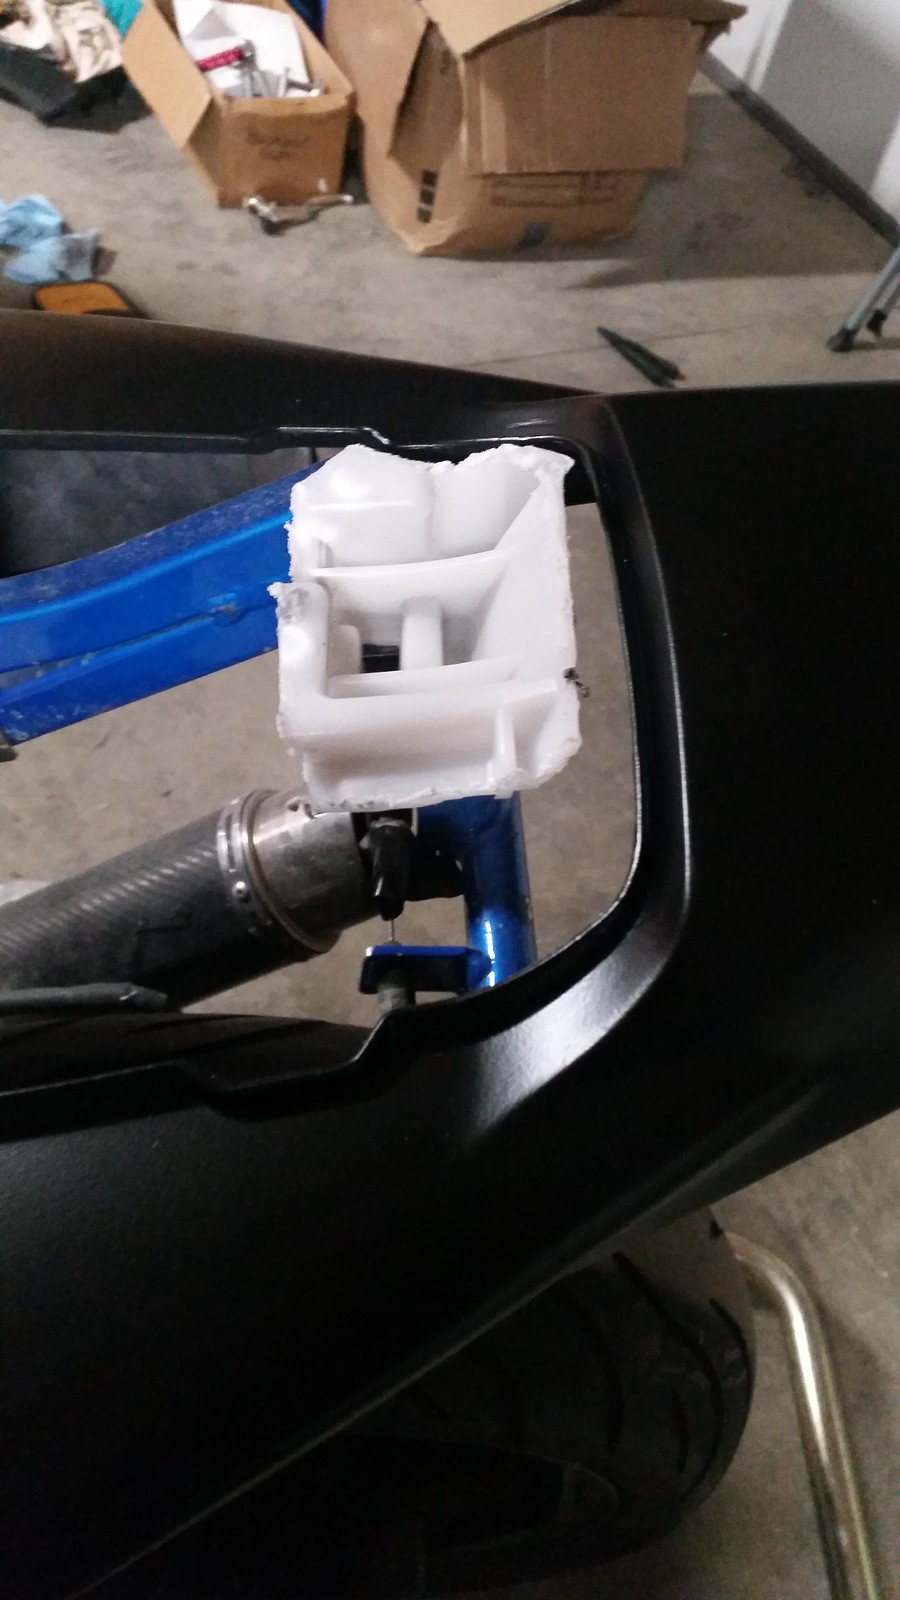
The lock is super snug, fits on the frame just as the F4i seat did. This gave me a good hold for me to start fabbing up the front hinge, which will be really close to how the 954rr trunks hinge open.
 20160402_181847 by Skee907, on Flickr
Once I am done with that I will finish up the new brackets, which will be powdercoated and CNC cut. I will also start on the "trunk box" this weekend that will be mounted and sealed up inside all of this. Watertight and way larger than the OEM "trunk".
20160402_161009 by Skee907, on FlickrAlso, dont mind the mess, but I got the trunk locking mechanism molded to the underside of the cowl. The excess glue will be trimmed and sanded smooth, sealed up and then painted with the rest of the cowl to match the bike.
20160402_181832 by Skee907, on FlickrThe lock is super snug, fits on the frame just as the F4i seat did. This gave me a good hold for me to start fabbing up the front hinge, which will be really close to how the 954rr trunks hinge open.
20160402_181847 by Skee907, on FlickrOnce I am done with that I will finish up the new brackets, which will be powdercoated and CNC cut. I will also start on the "trunk box" this weekend that will be mounted and sealed up inside all of this. Watertight and way larger than the OEM "trunk".

Thread Starter
|
Senior Member
Joined: Aug 2013
Posts: 278
Likes: 2
My point exactly! I should be able to fit gloves and some glasses and some larger things. It should be down to the battery tray and a flush with the undertail.
Thread Starter
|
Senior Member
Joined: Aug 2013
Posts: 278
Likes: 2
Alright... Made some more slight progress on the bike today.
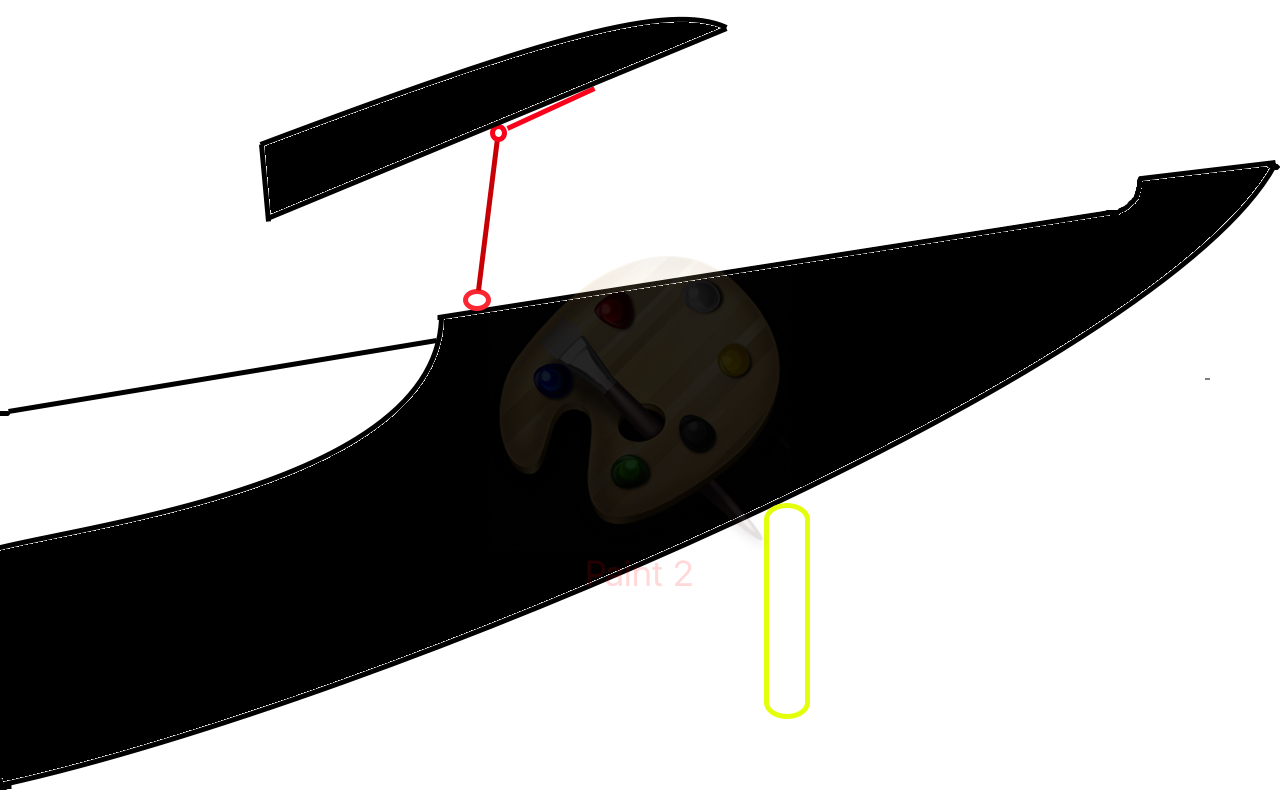
Worked on the hinge setup. A standard hinge wont work due to the depth of the cowl, it will hit on the plastic. And since I could not find a hinge that went up AND out, I compromised. A dual hinge setup that I mocked up worked very well, so waiting on the epoxy to dry on the first prototype and if it works then I will also get that custom made on the CNC to match the rest of my brackets.
Easiest way to describe it was a quick sketch on the paint app...
 Hinge Diagram by Skee907, on Flickr
The second hinge is limited to only rotate about 45*, enough to have it latch securely, and clear the plastics when lifted.
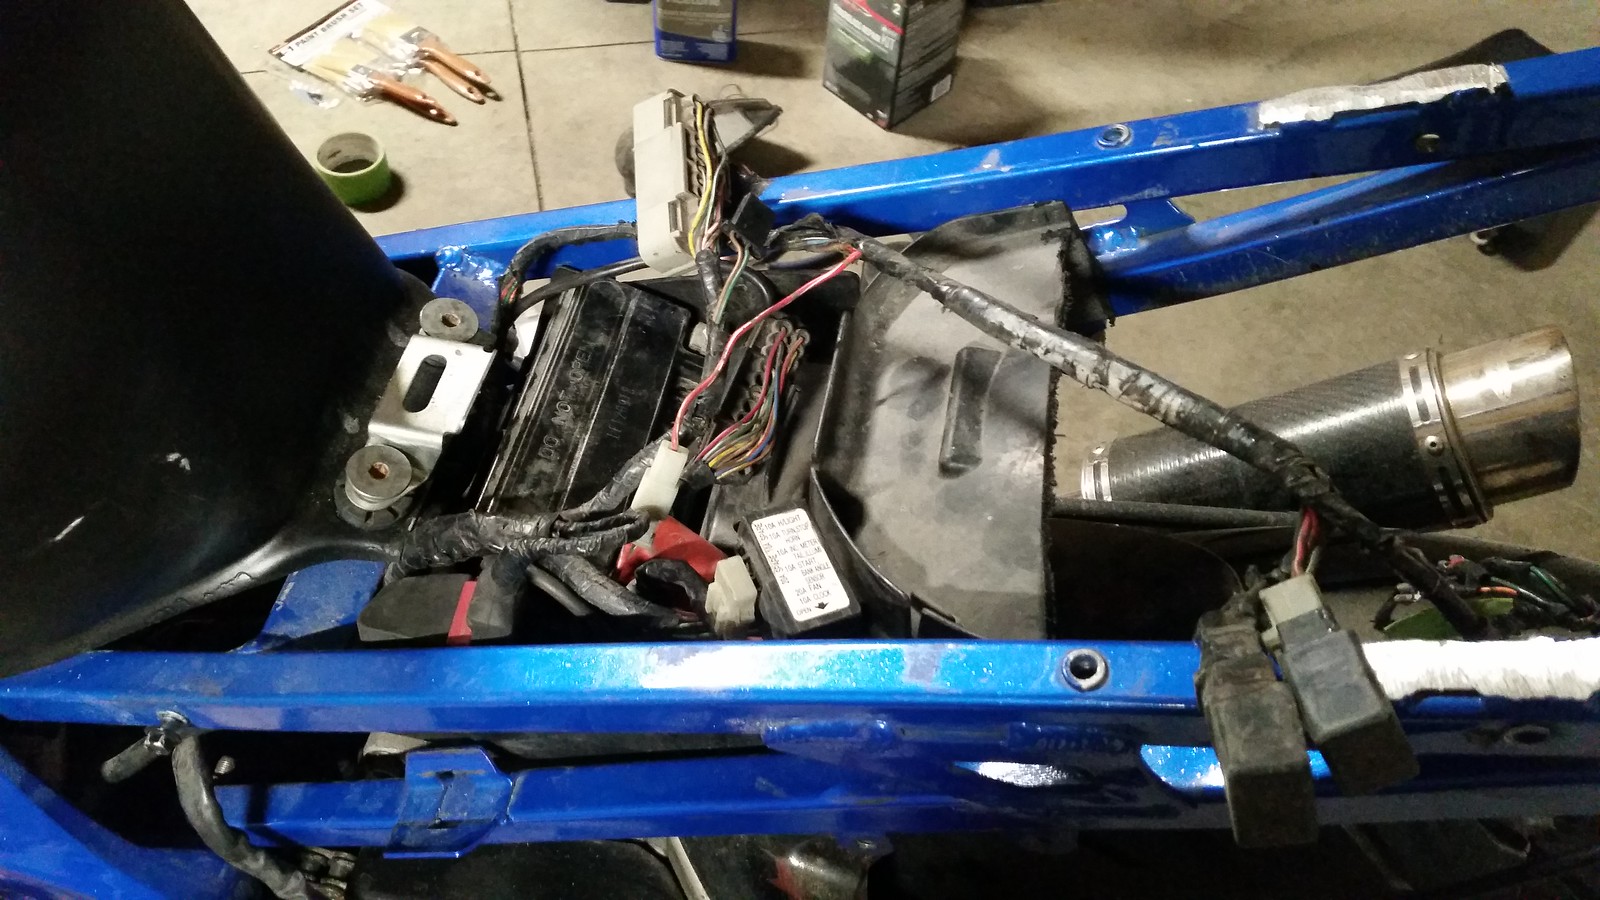
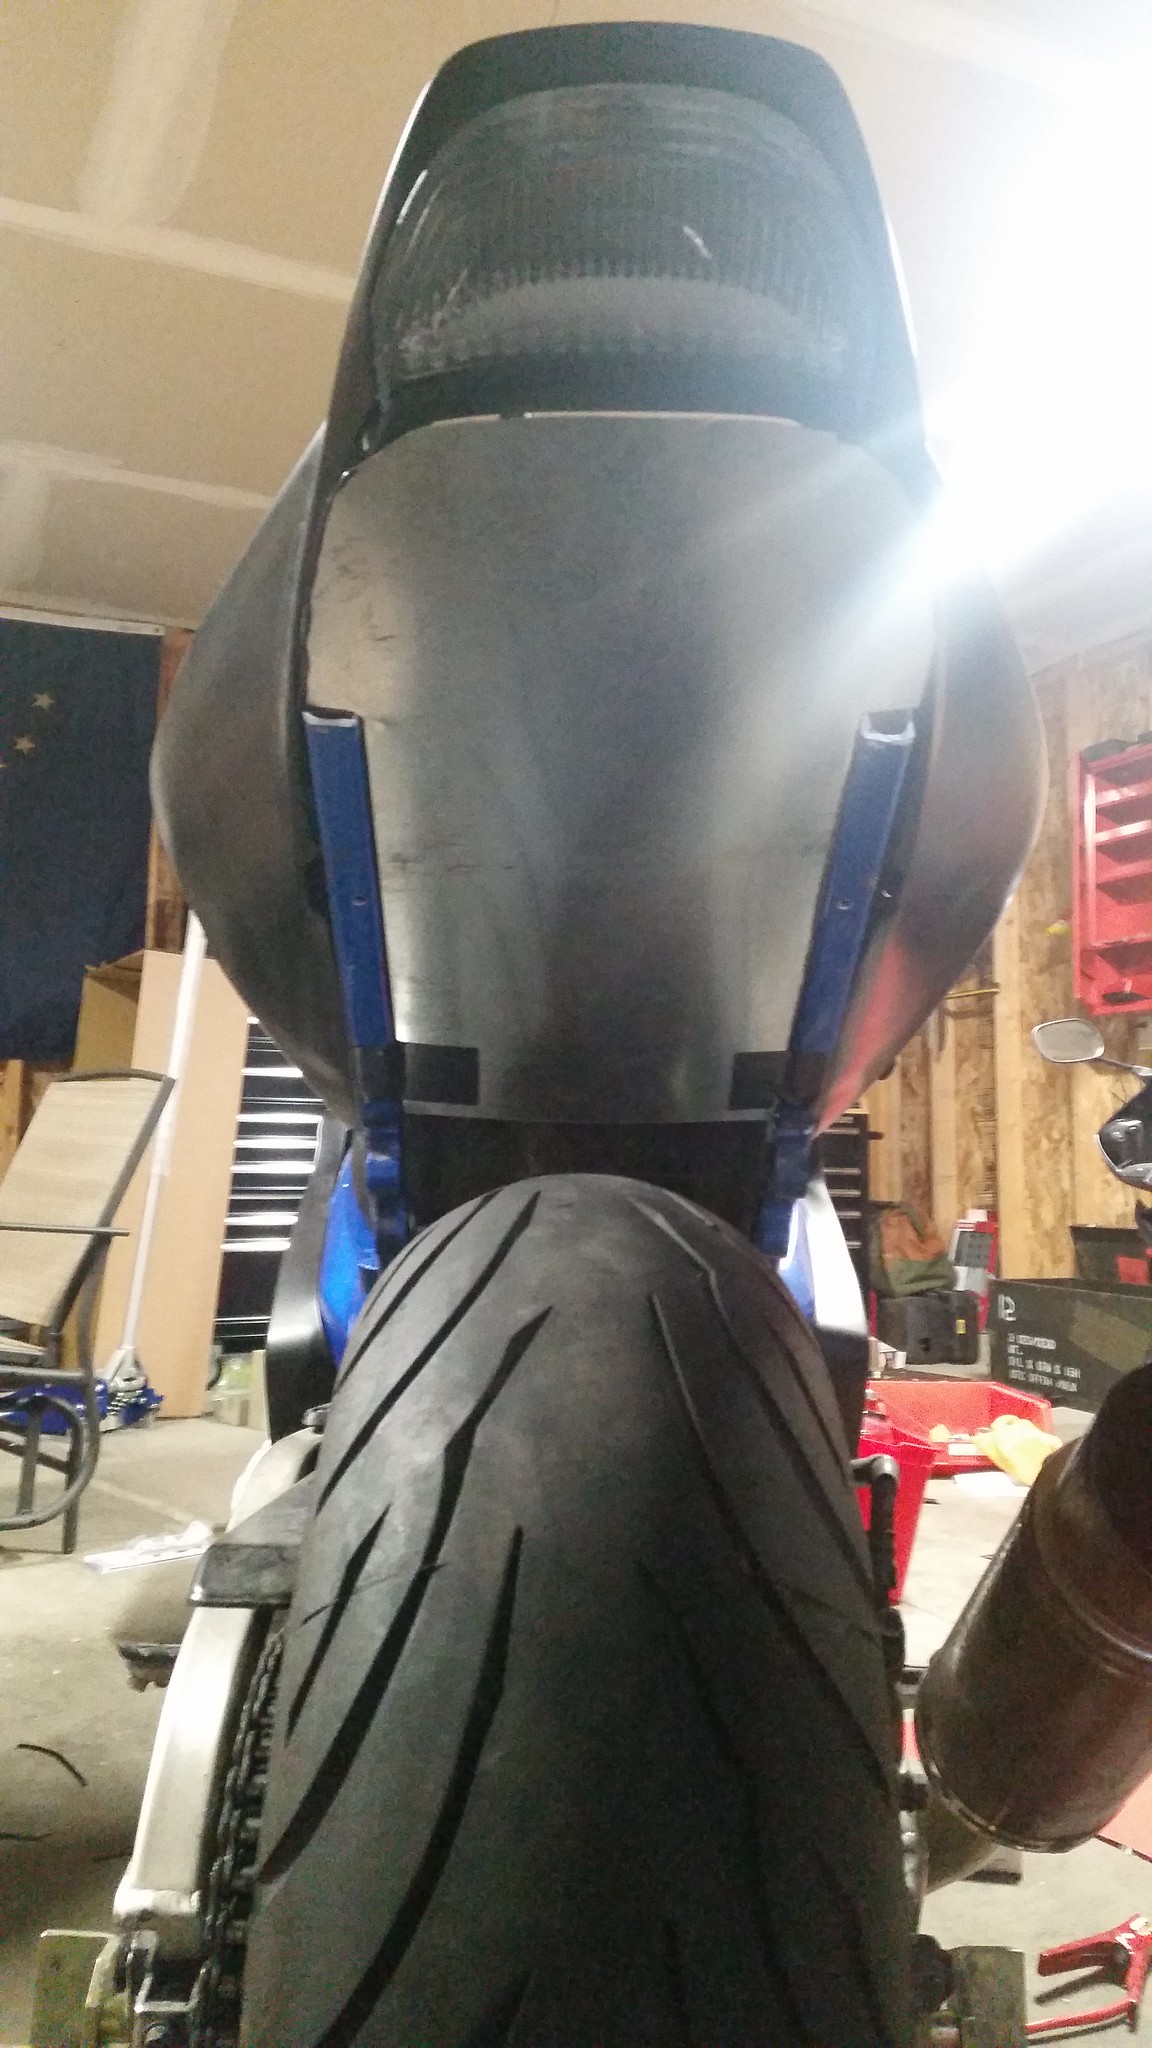
Also pulled all the plastics and started chasing some electrical gremlins I've been having. The right turn signal would not work, even though I was getting an indicator on the gauges. Could not find where the loss of power was happening so I ran a new wire to control the signal from the front. Voila.
1000rr taillight looks and works awesome now.
 20160413_230132 by Skee907, on Flickr
 20160413_230144 by Skee907, on Flickr
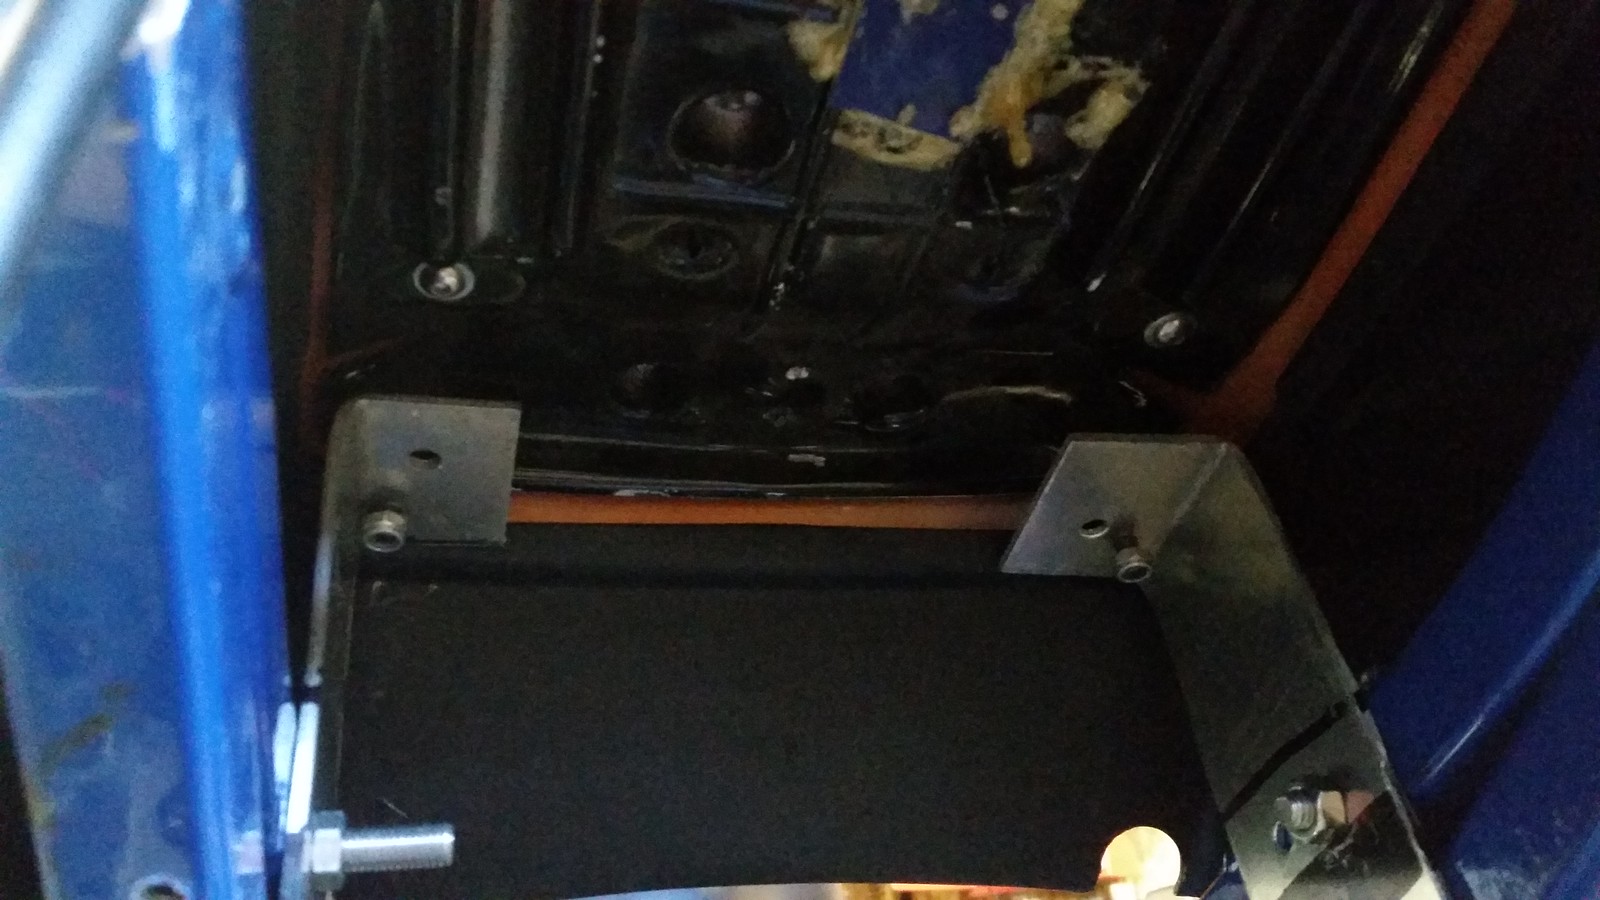
Then I started mocking up for the undertail. Measure, measure, measure, then cut some cardboard for the mock. I cut and folded the edges up so I will have a mounting surface on the inside of the subframe. Once that is fit I will just trial and error to get the lines to work around the tip and the taillight.
The rough first prototype for the undertail.
 20160413_235850 by Skee907, on Flickr
And just an idea of how big the "trunk" will be. I will be making a box that is sealed up to put down in here to keep everything nice and dry and where it needs to be.
 20160413_235921 by Skee907, on Flickr
 20160414_001034 by Skee907, on Flickr
I've also got some plans to clean up the ends of the subframe that were chopped since they will show with this undertail design.
Worked on the hinge setup. A standard hinge wont work due to the depth of the cowl, it will hit on the plastic. And since I could not find a hinge that went up AND out, I compromised. A dual hinge setup that I mocked up worked very well, so waiting on the epoxy to dry on the first prototype and if it works then I will also get that custom made on the CNC to match the rest of my brackets.
Easiest way to describe it was a quick sketch on the paint app...
Hinge Diagram by Skee907, on FlickrThe second hinge is limited to only rotate about 45*, enough to have it latch securely, and clear the plastics when lifted.
Also pulled all the plastics and started chasing some electrical gremlins I've been having. The right turn signal would not work, even though I was getting an indicator on the gauges. Could not find where the loss of power was happening so I ran a new wire to control the signal from the front. Voila.
1000rr taillight looks and works awesome now.
20160413_230132 by Skee907, on Flickr20160413_230144 by Skee907, on FlickrThen I started mocking up for the undertail. Measure, measure, measure, then cut some cardboard for the mock. I cut and folded the edges up so I will have a mounting surface on the inside of the subframe. Once that is fit I will just trial and error to get the lines to work around the tip and the taillight.
The rough first prototype for the undertail.
20160413_235850 by Skee907, on FlickrAnd just an idea of how big the "trunk" will be. I will be making a box that is sealed up to put down in here to keep everything nice and dry and where it needs to be.
20160413_235921 by Skee907, on Flickr20160414_001034 by Skee907, on FlickrI've also got some plans to clean up the ends of the subframe that were chopped since they will show with this undertail design.
Thread Starter
|
Senior Member
Joined: Aug 2013
Posts: 278
Likes: 2
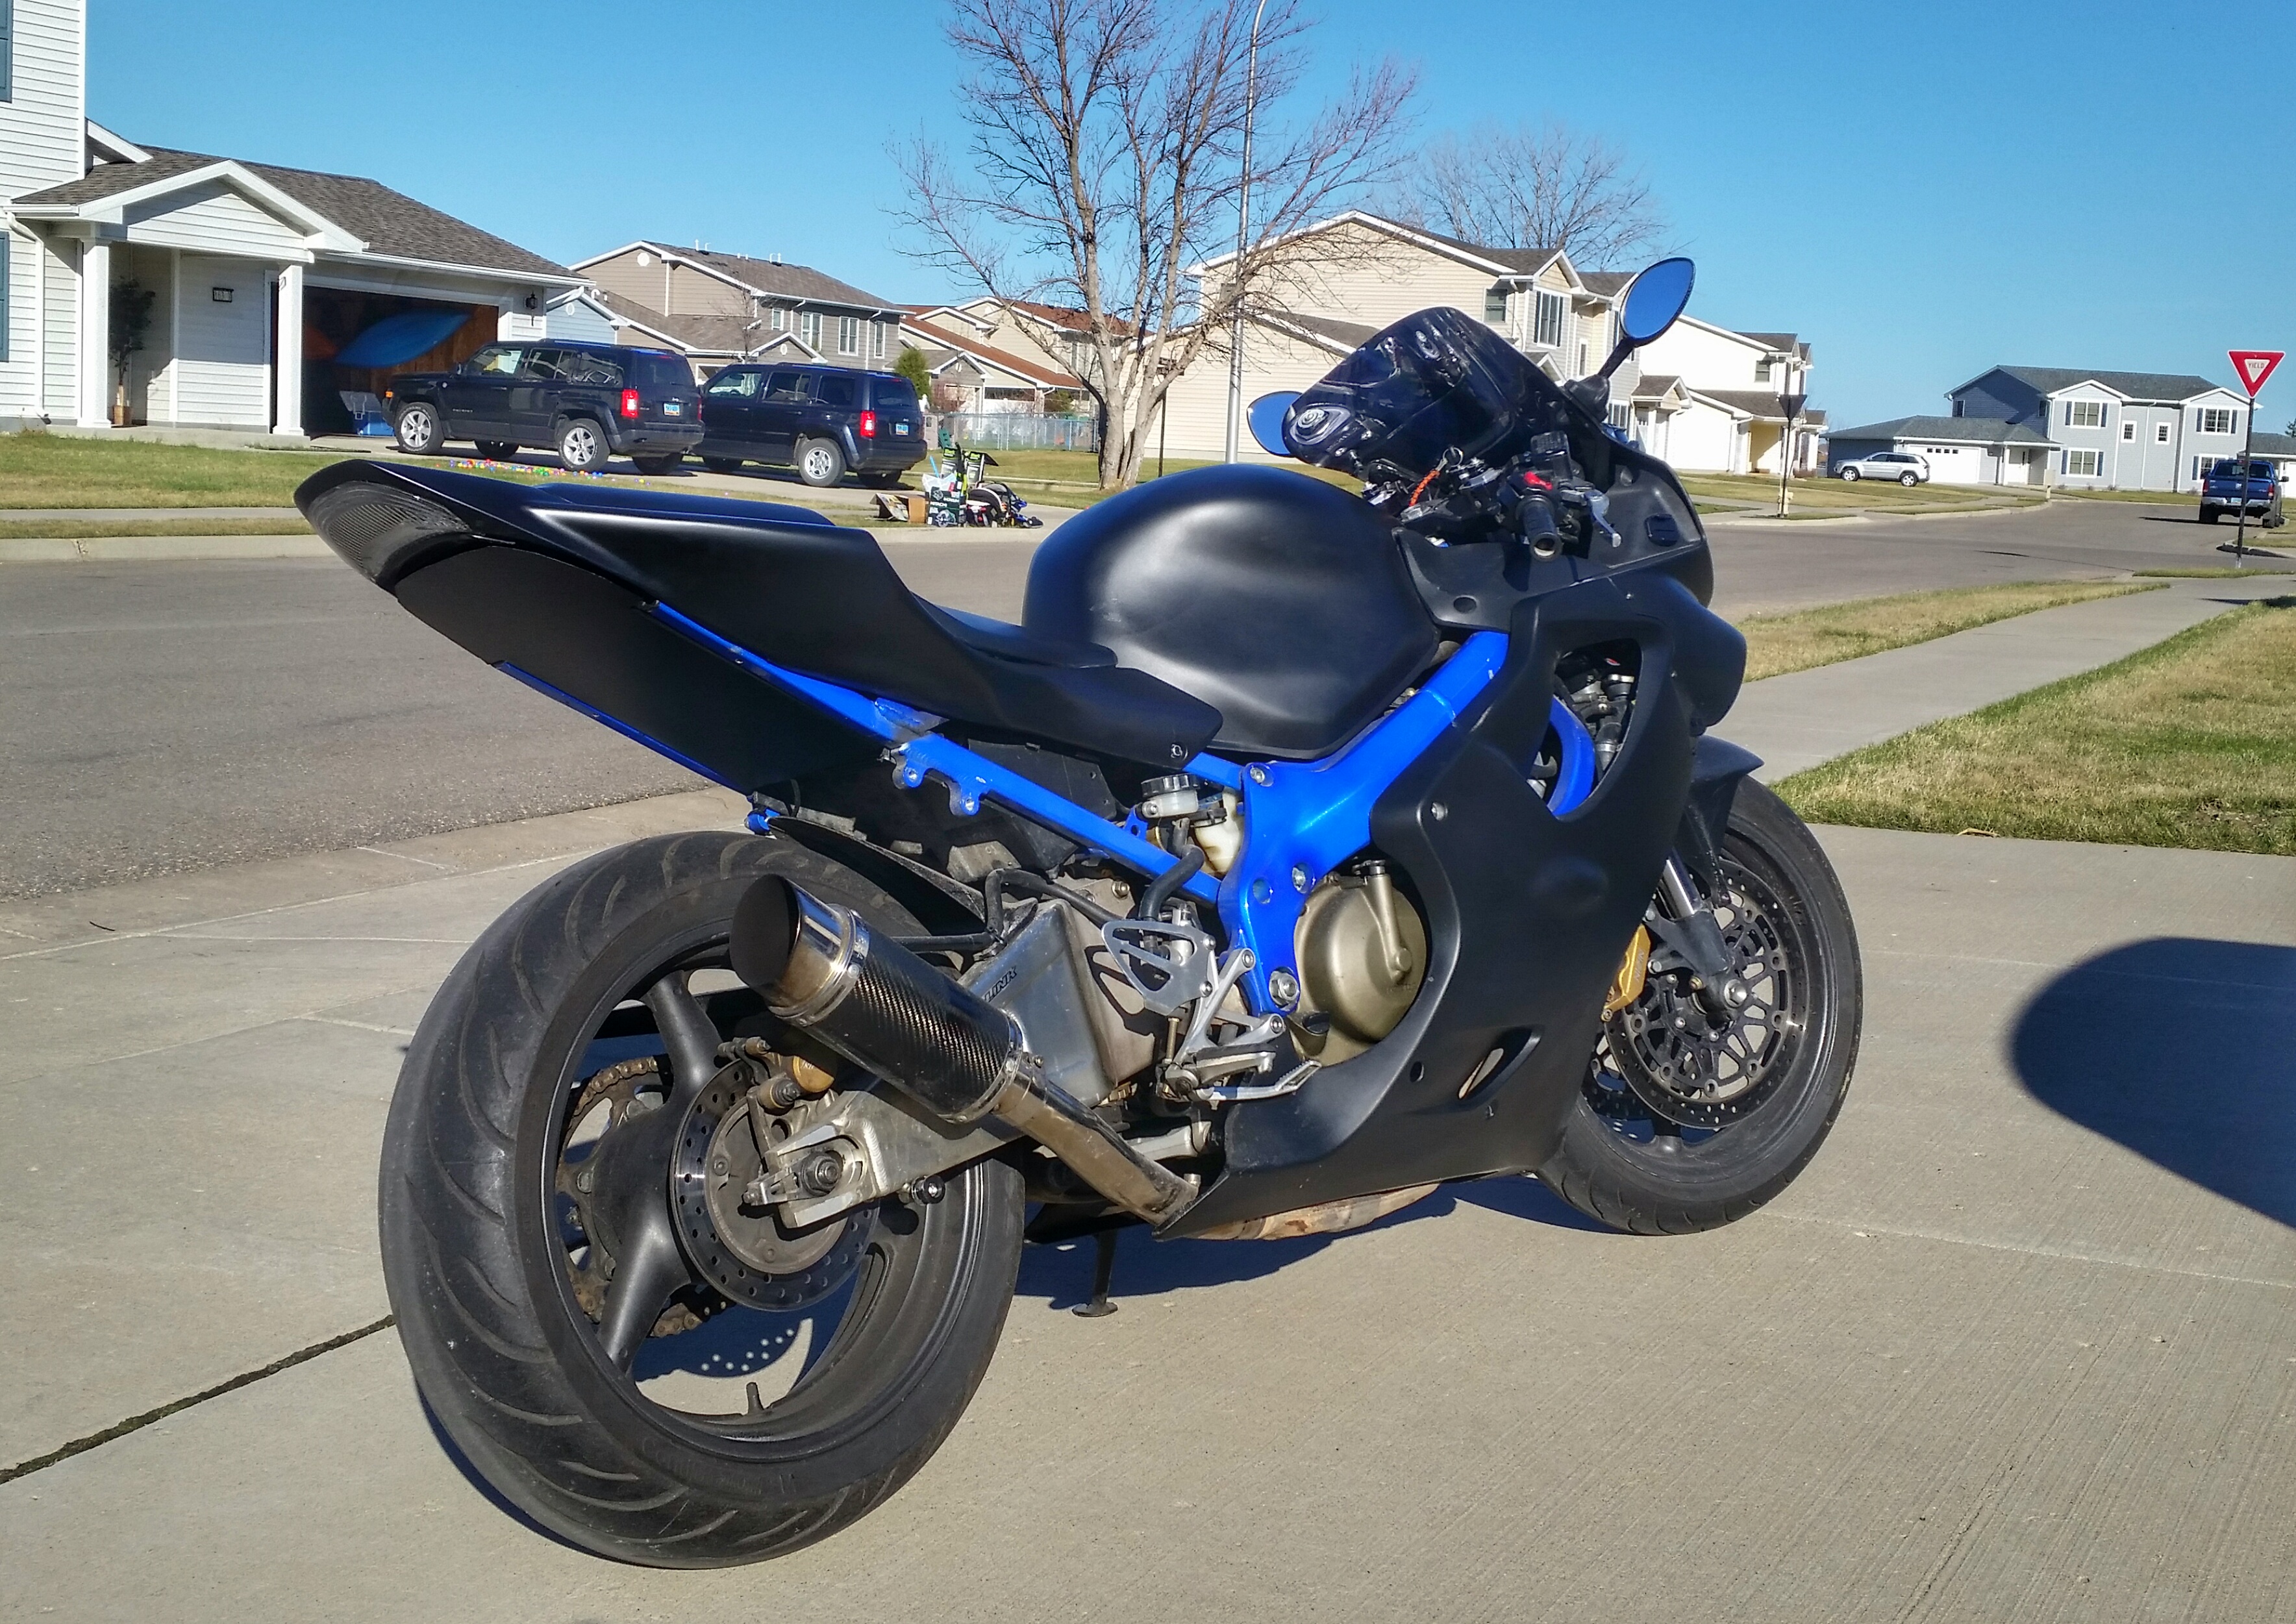
Ta daaaa! Is this the equivalent of Lambo doors on a motorcycle?
 20160414_205148 by Skee907, on Flickr
20160414_205148 by Skee907, on Flickr
Thread Starter
|
Senior Member
Joined: Aug 2013
Posts: 278
Likes: 2
Small update, few pics.
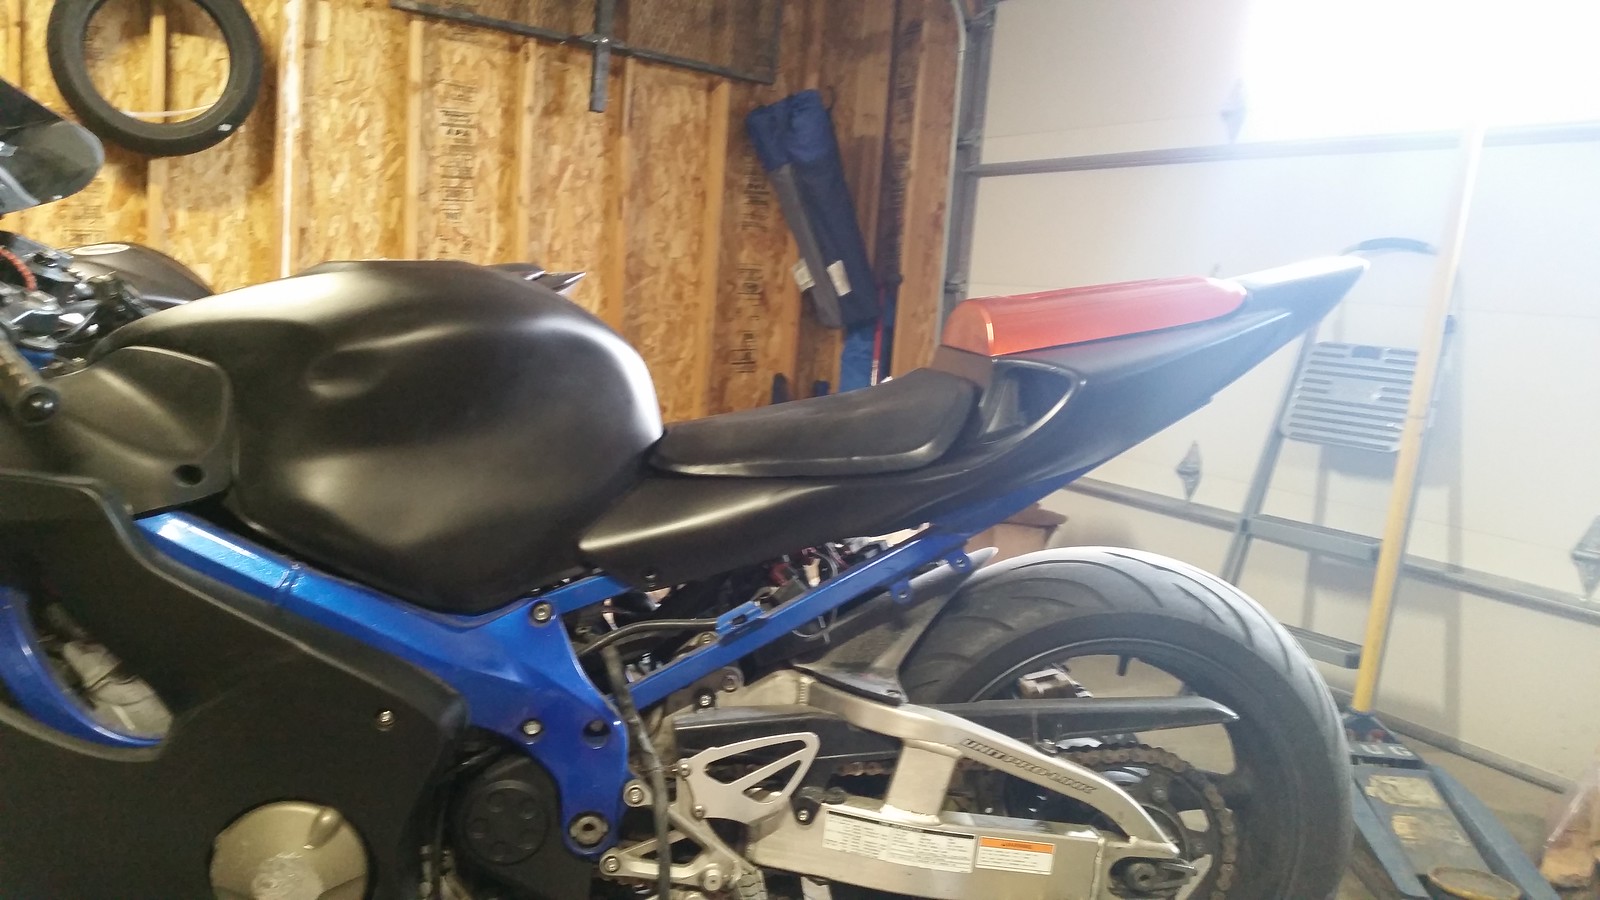
Got the cowl sanded, disassembled and painted tonight.
 20160418_190055 by Skee907, on Flickr
Also got the undertail finished up, trimmed, and painted as well. I am using the press at work to shape the "trunk box" that will be mounted inside the tail after its sealed up and fit. Definitely thinking of building the undertail from fiberglass in the near future, but for now, the sheet metal works.
 20160418_204225 by Skee907, on Flickr
Check out the video above of the cowl in action!
Got the cowl sanded, disassembled and painted tonight.
20160418_190055 by Skee907, on FlickrAlso got the undertail finished up, trimmed, and painted as well. I am using the press at work to shape the "trunk box" that will be mounted inside the tail after its sealed up and fit. Definitely thinking of building the undertail from fiberglass in the near future, but for now, the sheet metal works.
20160418_204225 by Skee907, on FlickrCheck out the video above of the cowl in action!
Thread Starter
|
Senior Member
Joined: Aug 2013
Posts: 278
Likes: 2
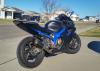
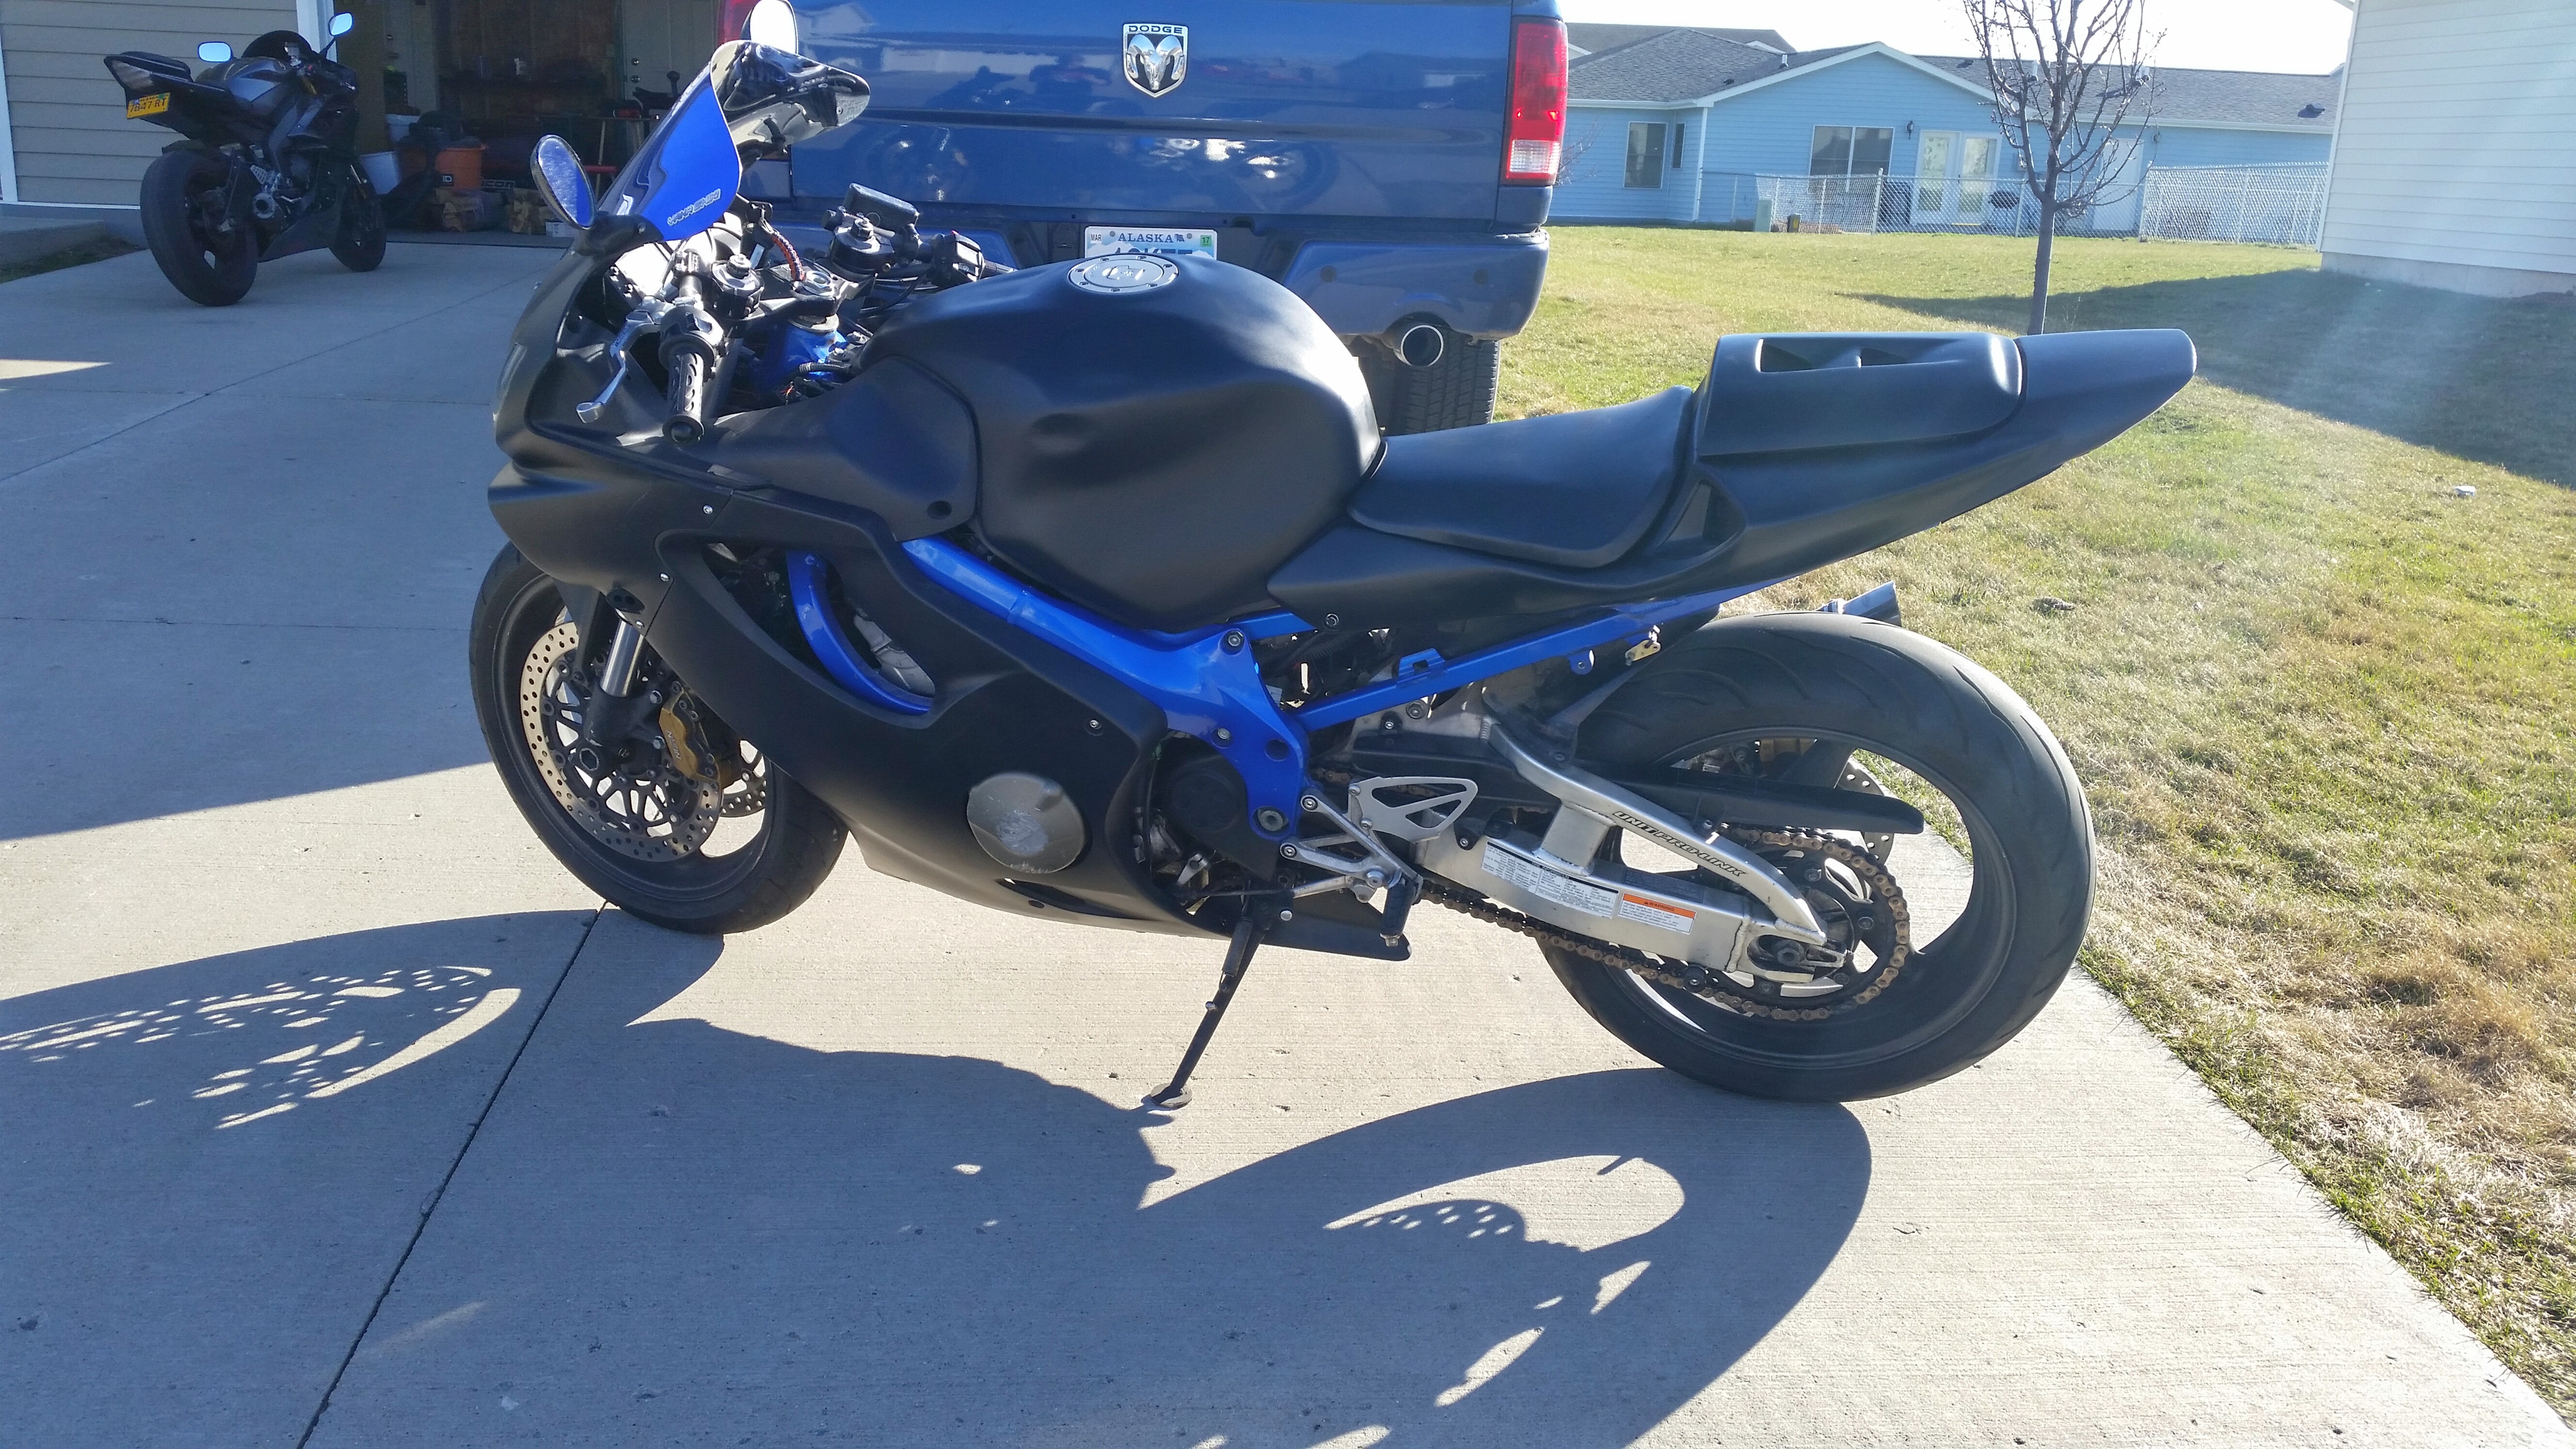
Ever been so happy to be done with a project? Not there yet, going to build a fiberglass undertail, but the quick sheet metal one will work for now.
 20160420_180923-01 by Skee907, on Flickr
 20160420_181124-01 by Skee907, on Flickr
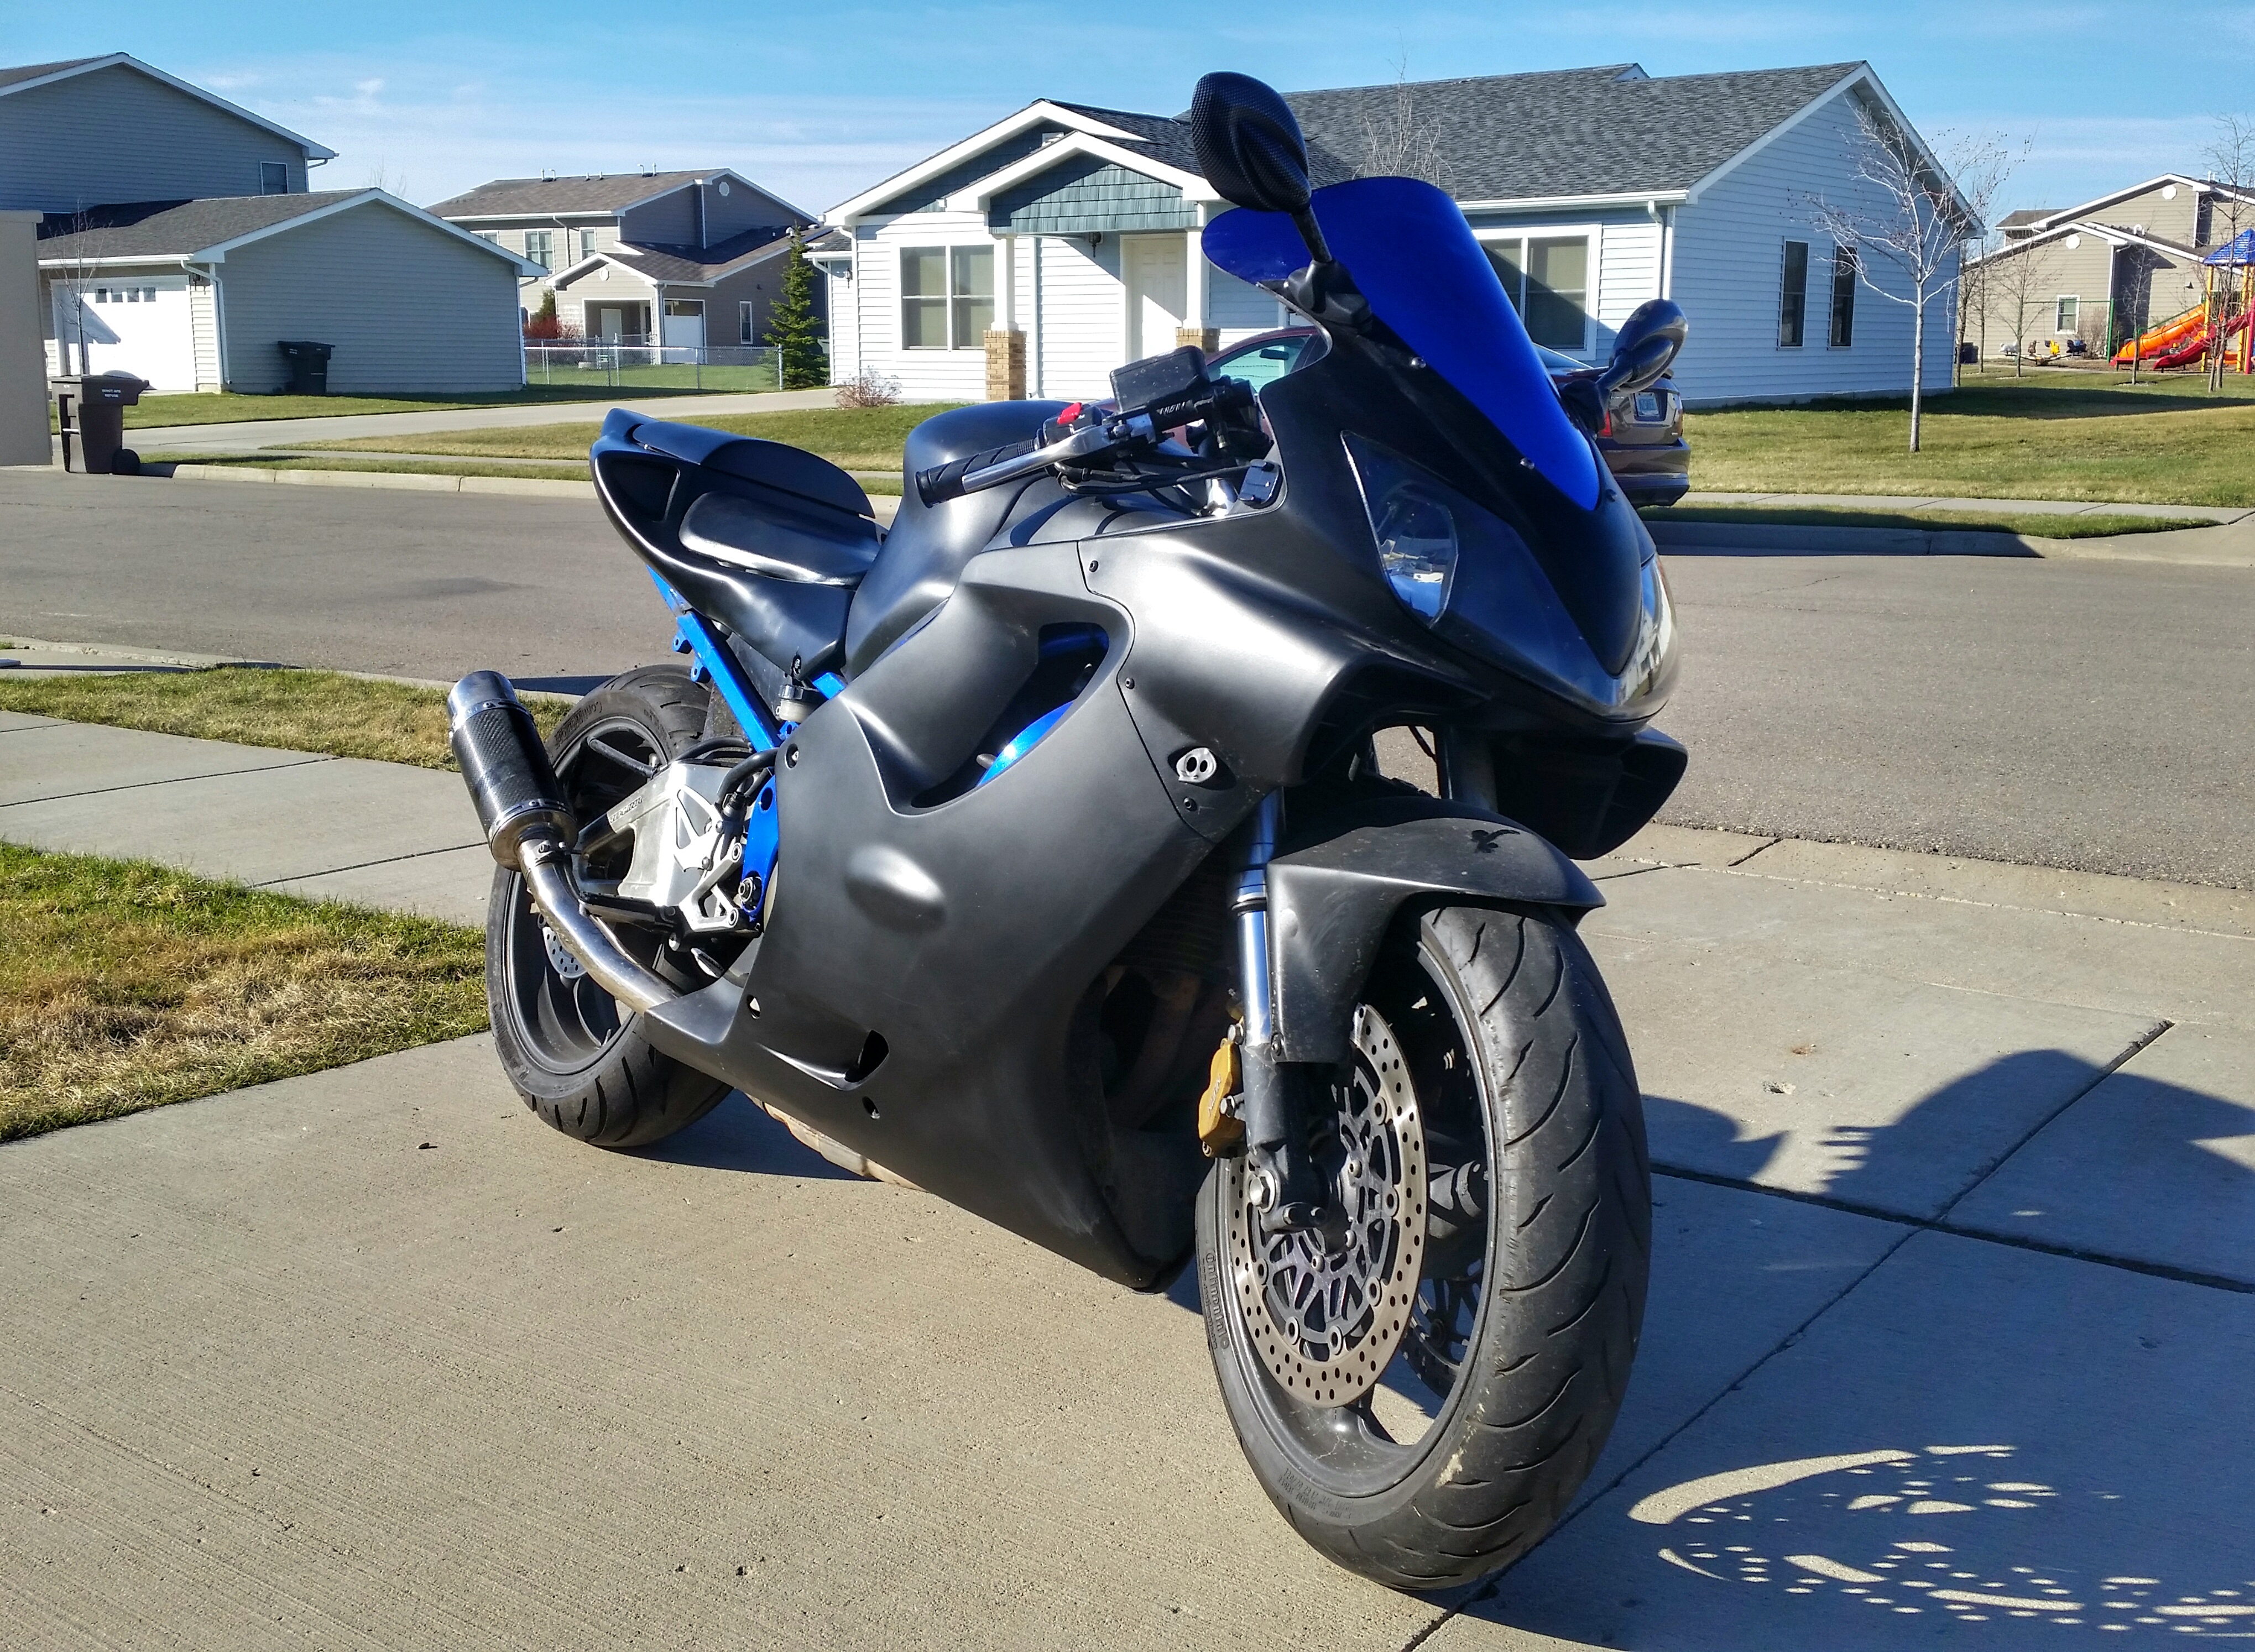 20160420_180936-01 by Skee907, on Flickr
20160420_180923-01 by Skee907, on Flickr20160420_181124-01 by Skee907, on Flickr20160420_180936-01 by Skee907, on Flickr