
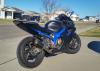
Skee's F4i "Kool Reaper"


Thread Starter
|
Senior Member
Joined: Aug 2013
Posts: 278
Likes: 2
Alright, going to do some copying and pasting to update this thread! Bear with me!
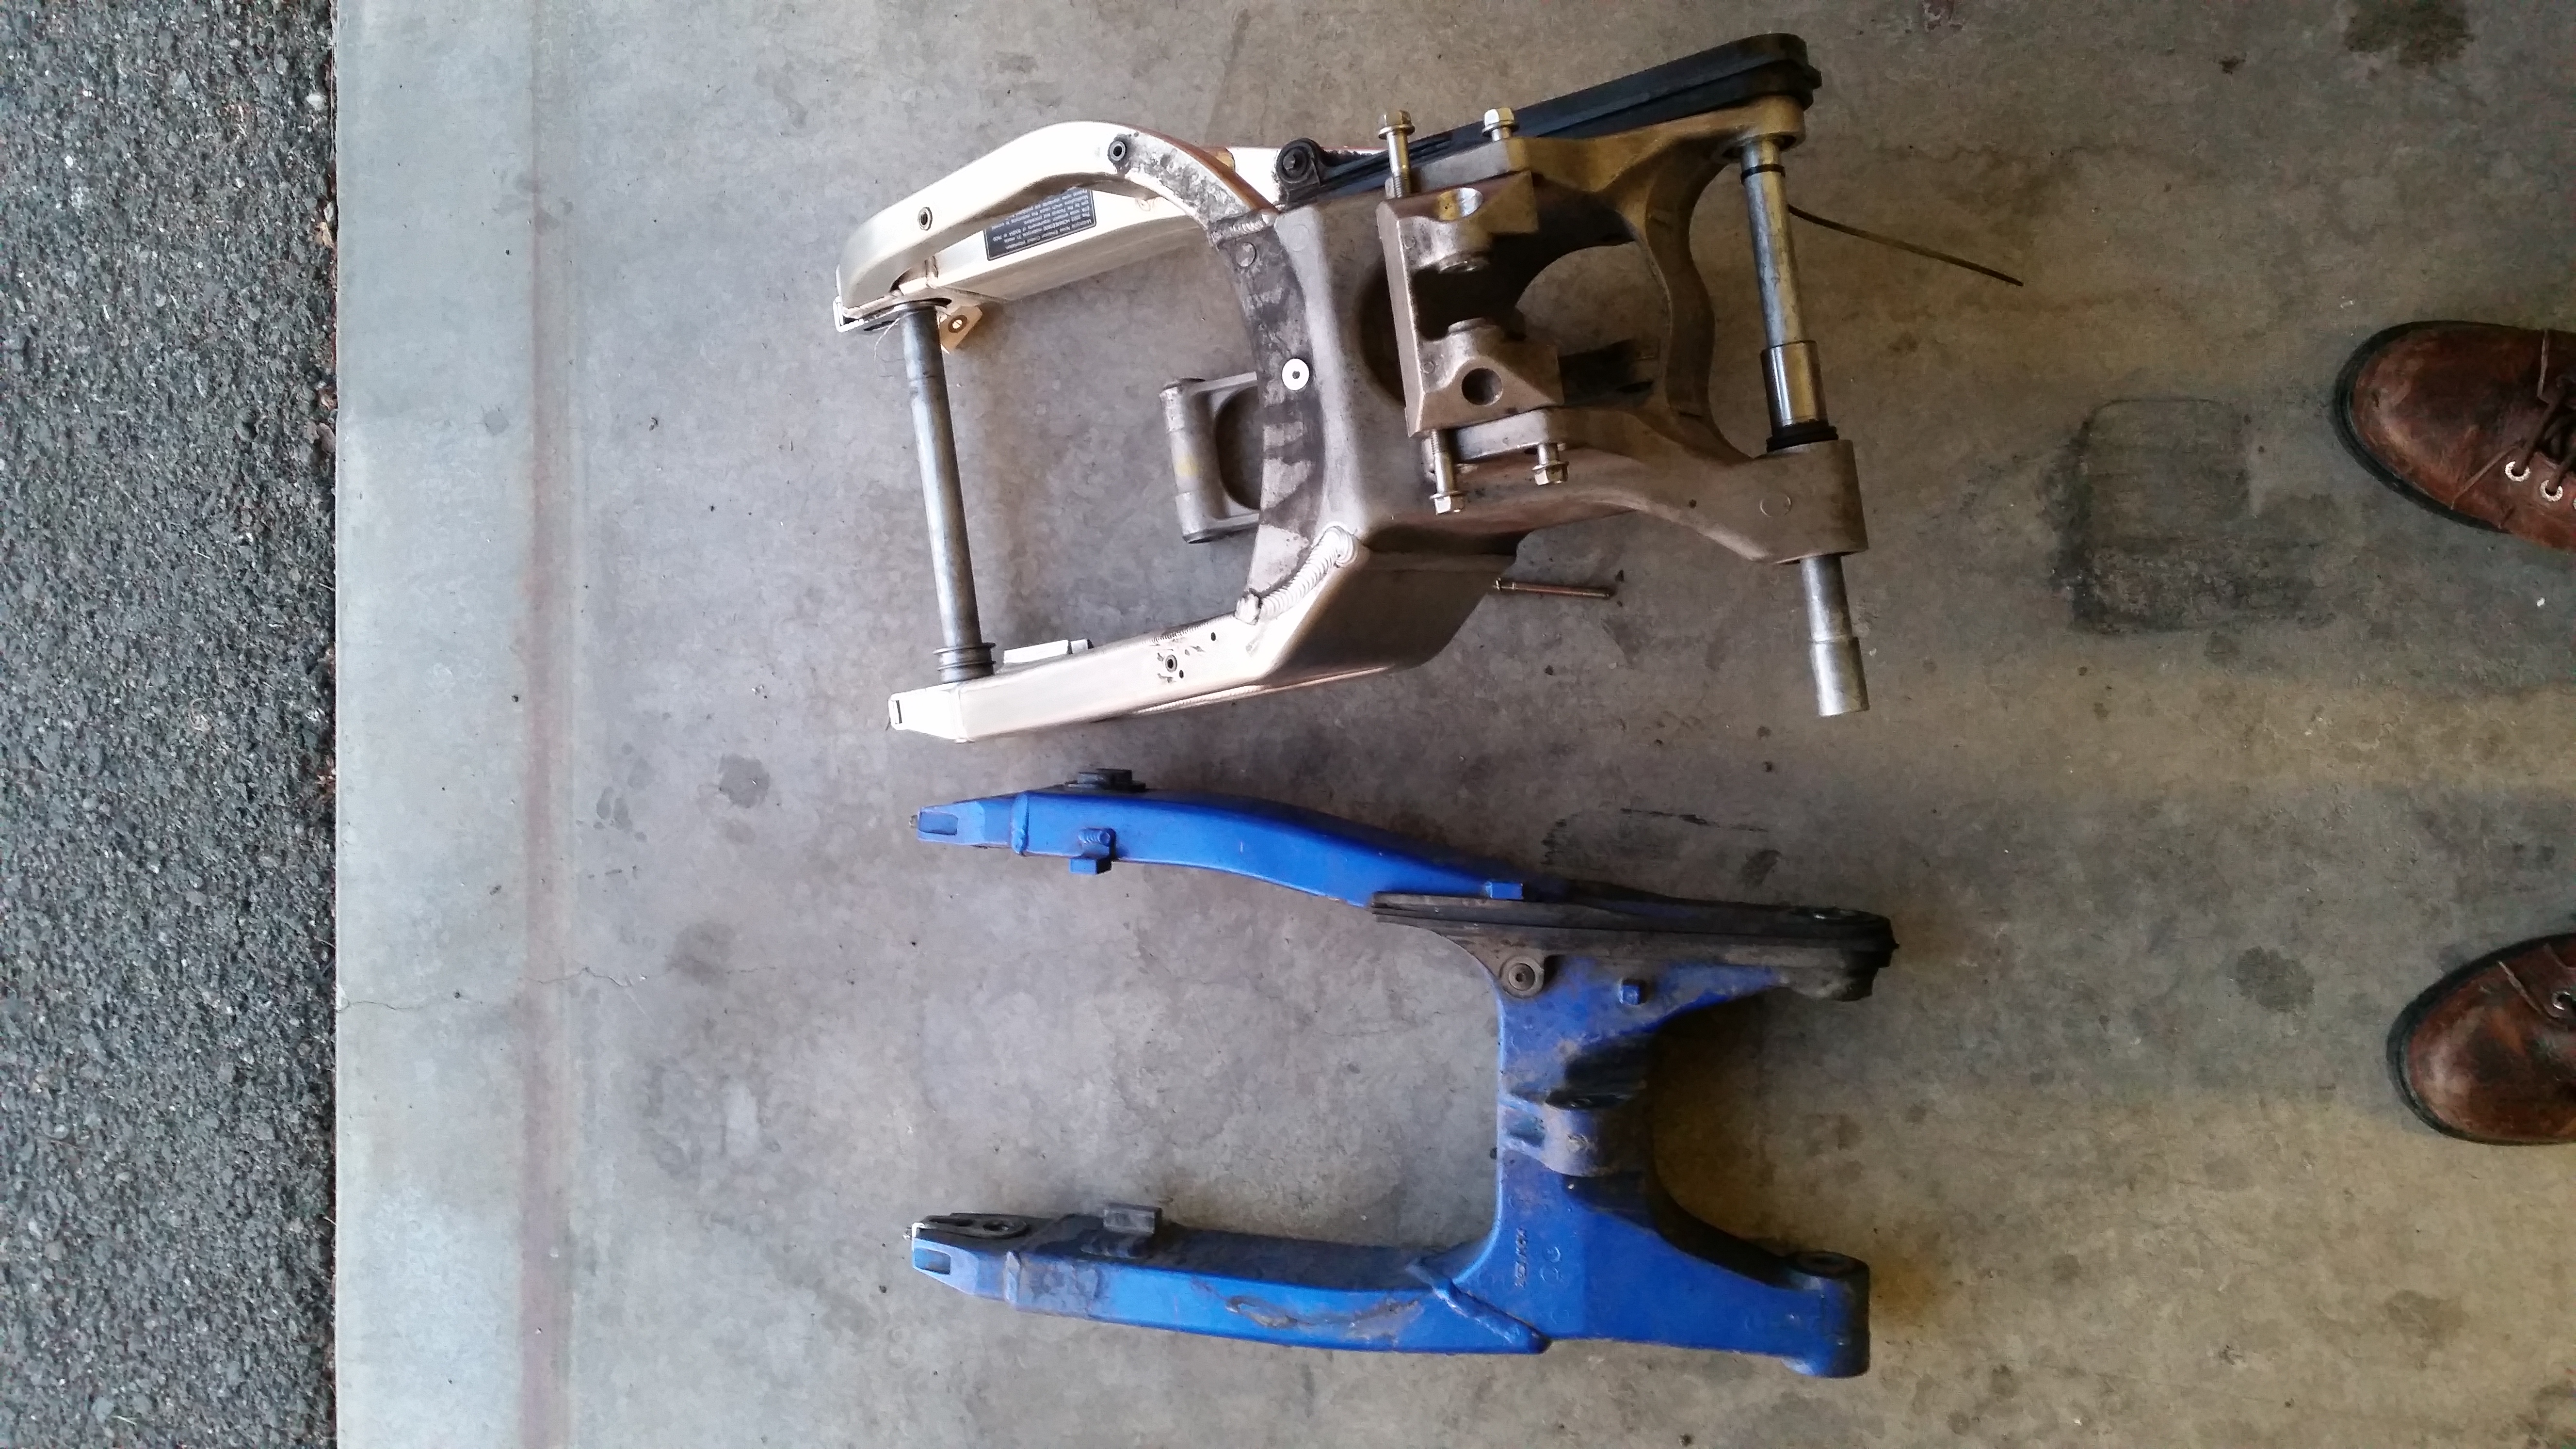
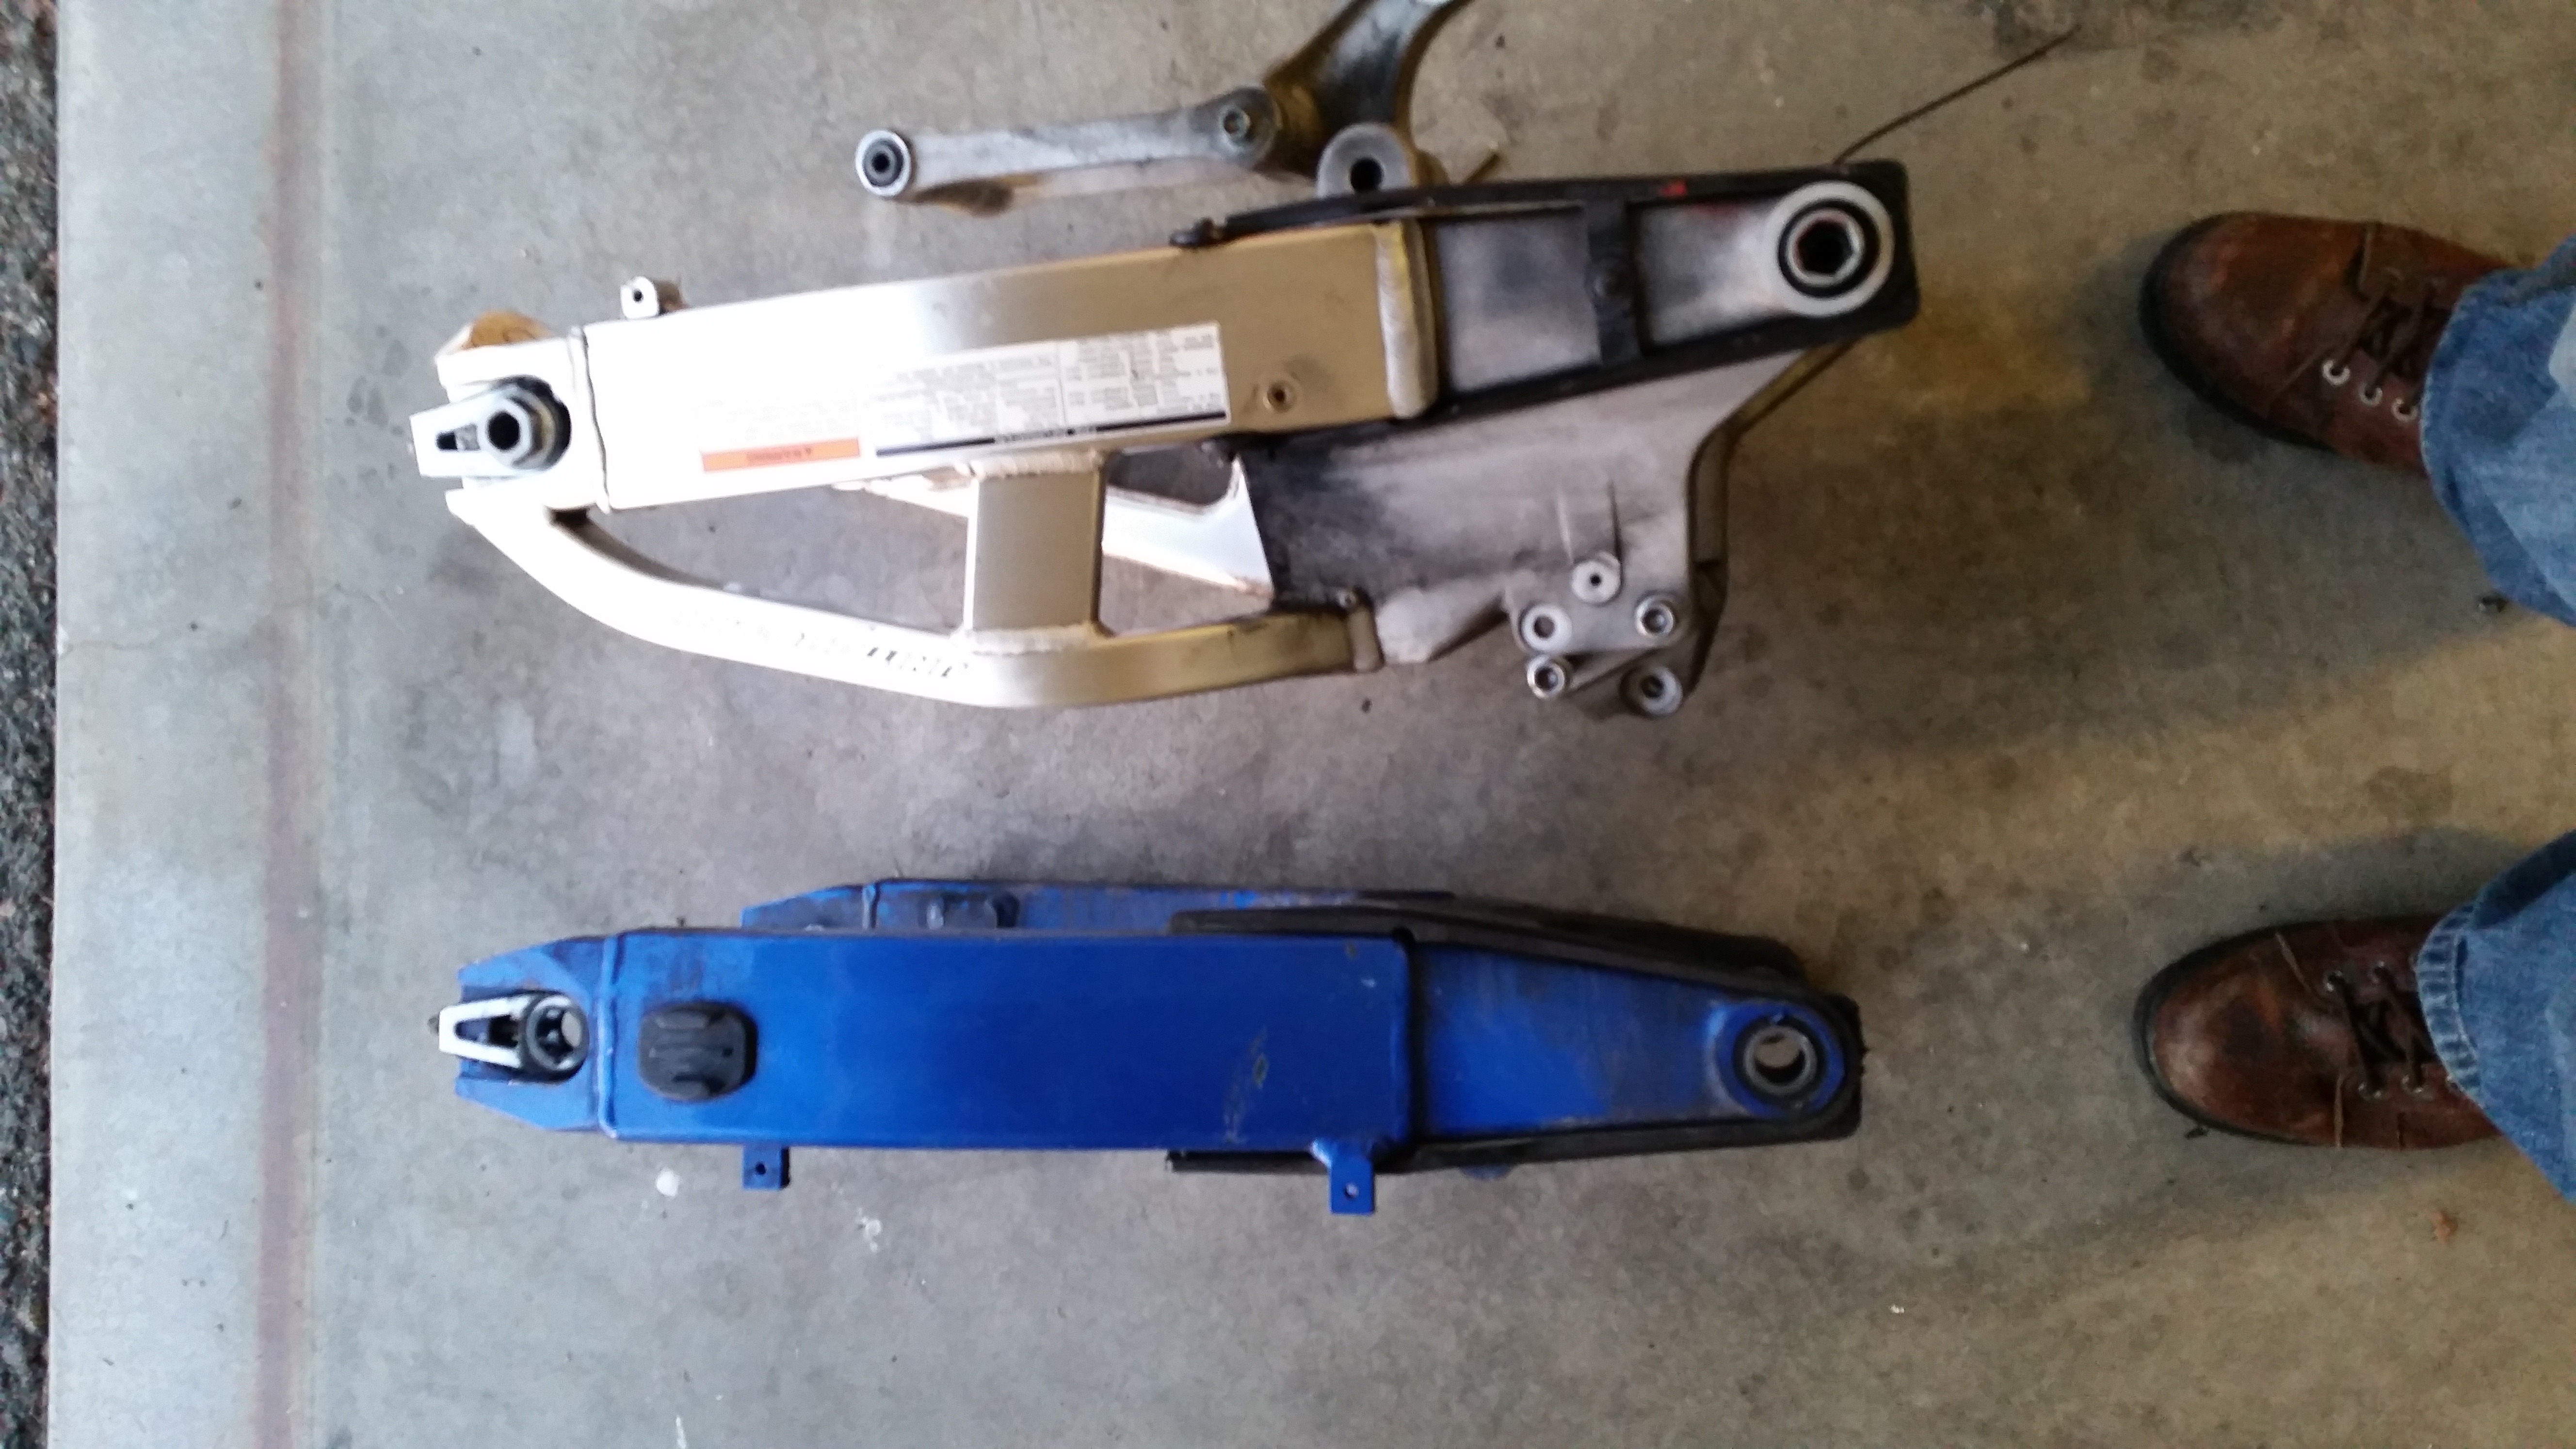
Then came the swingarm swap time.
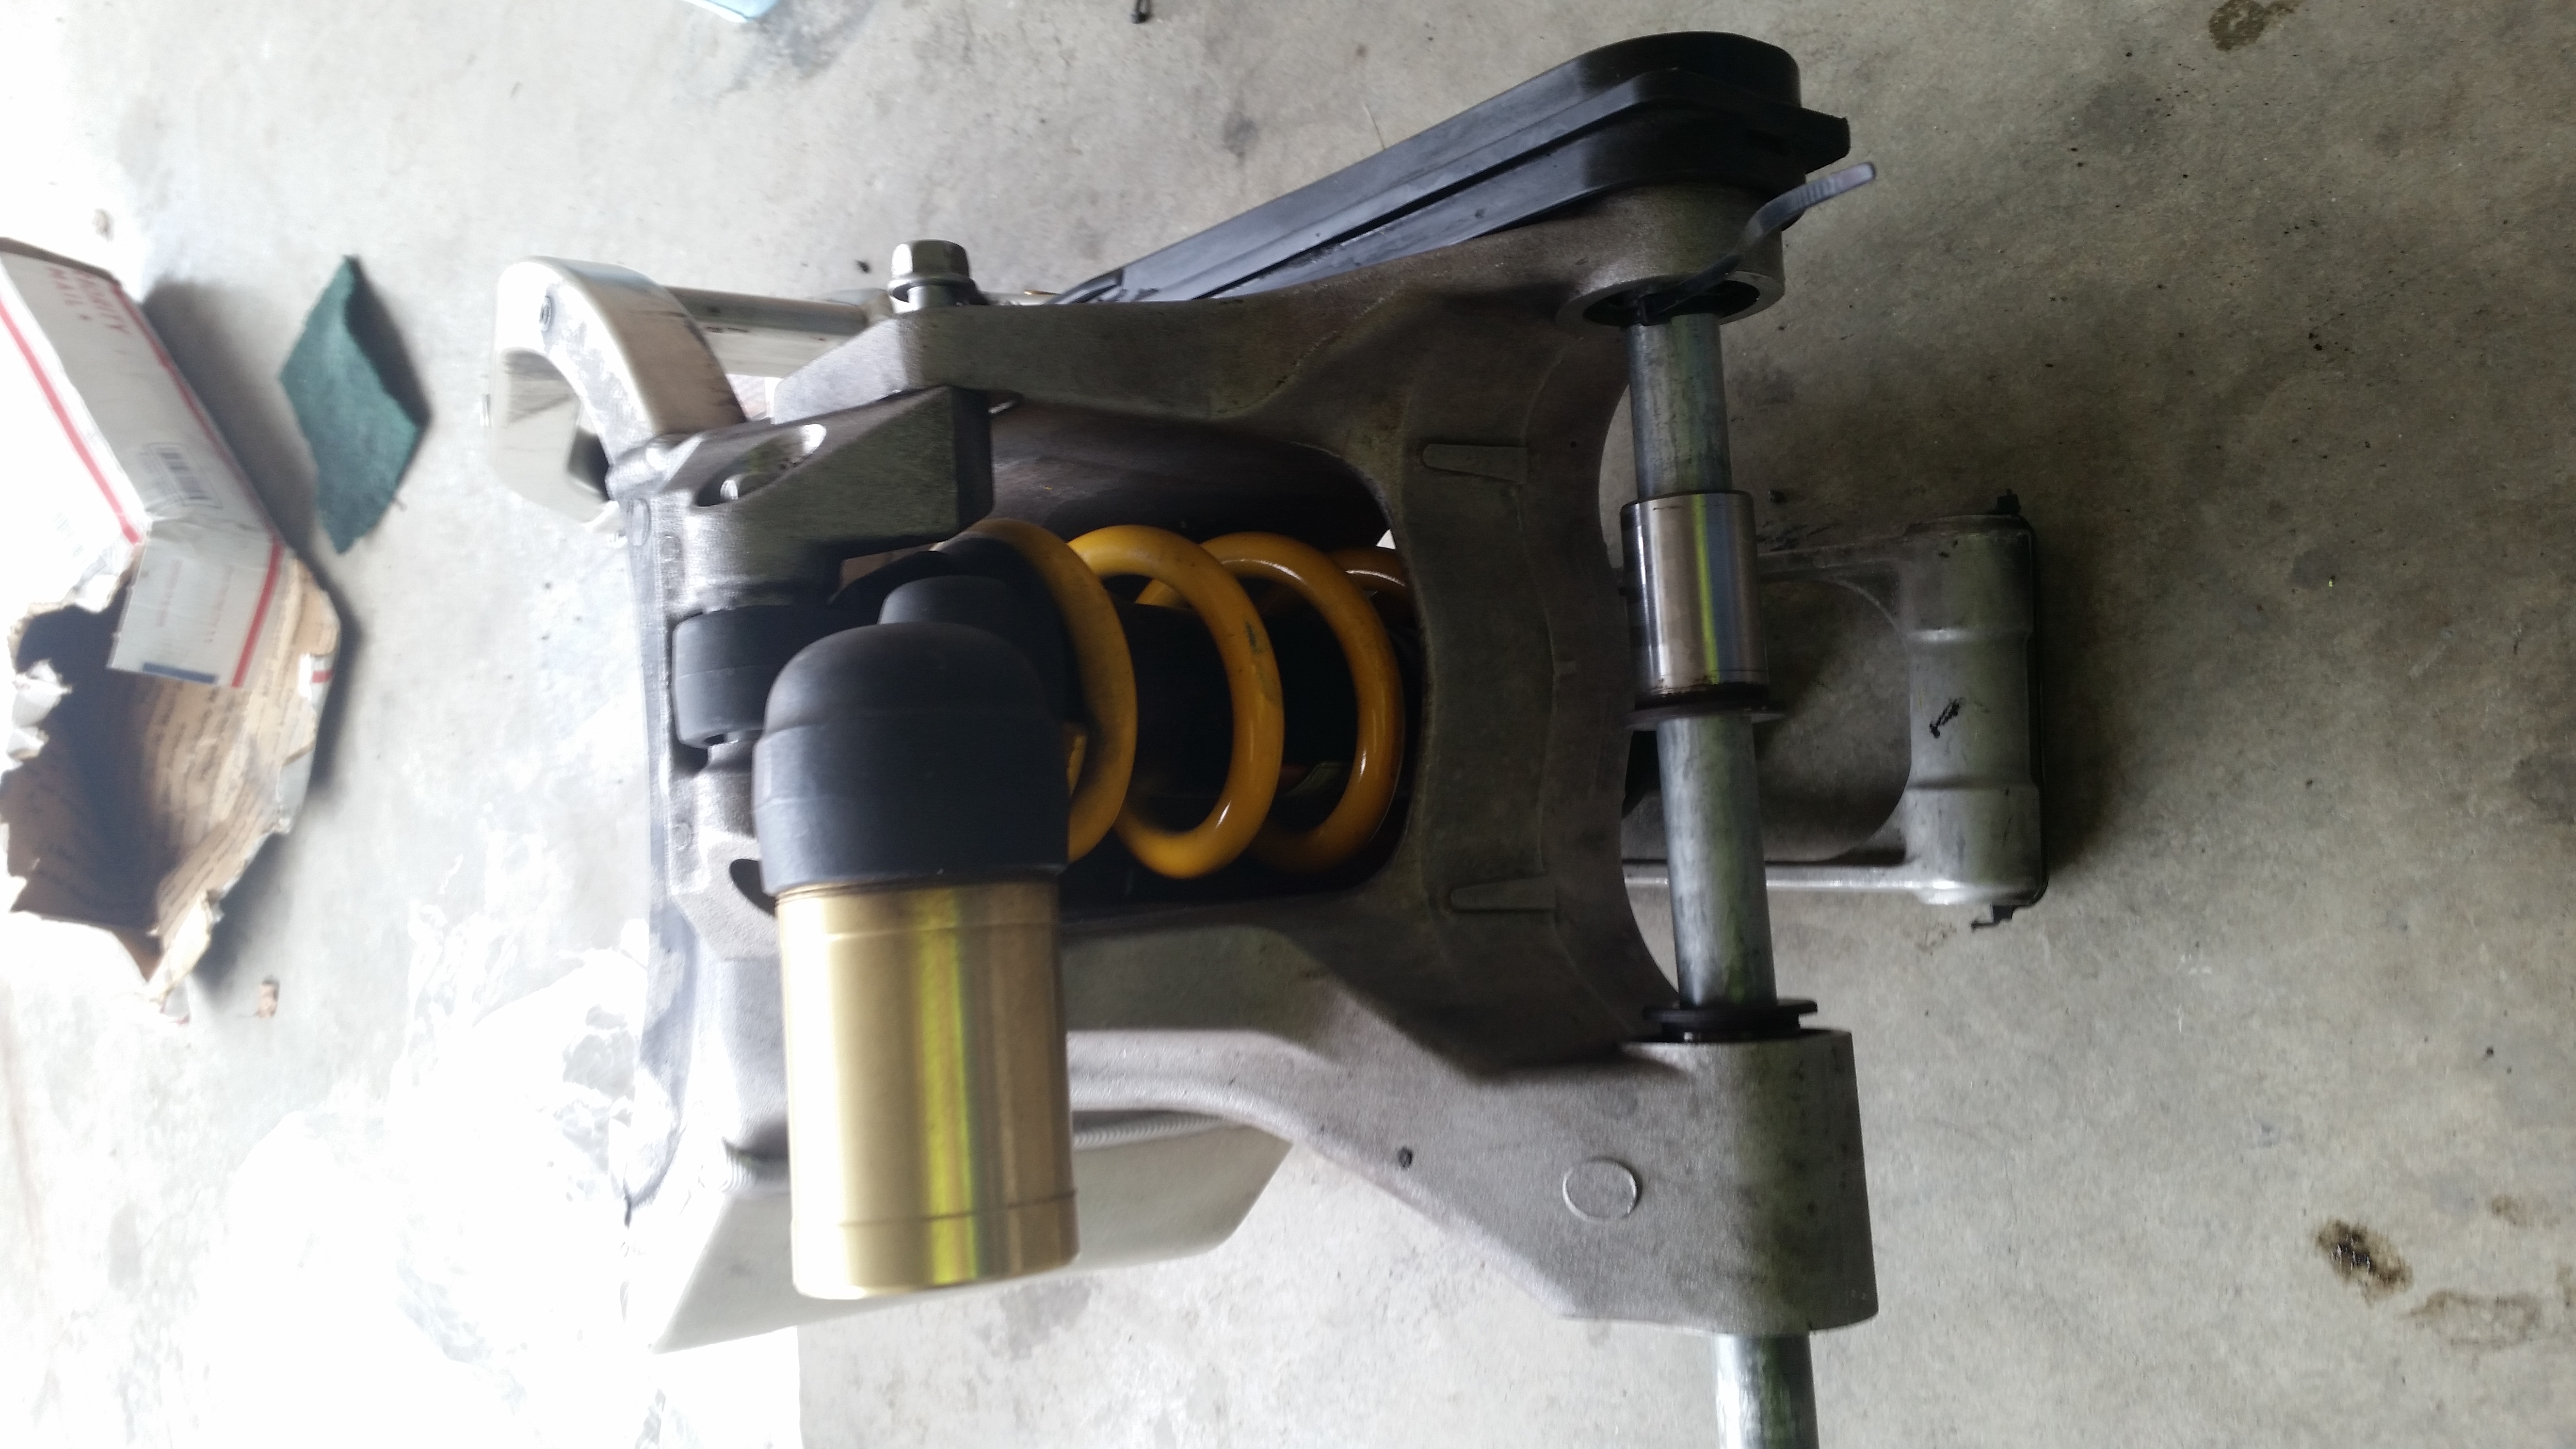
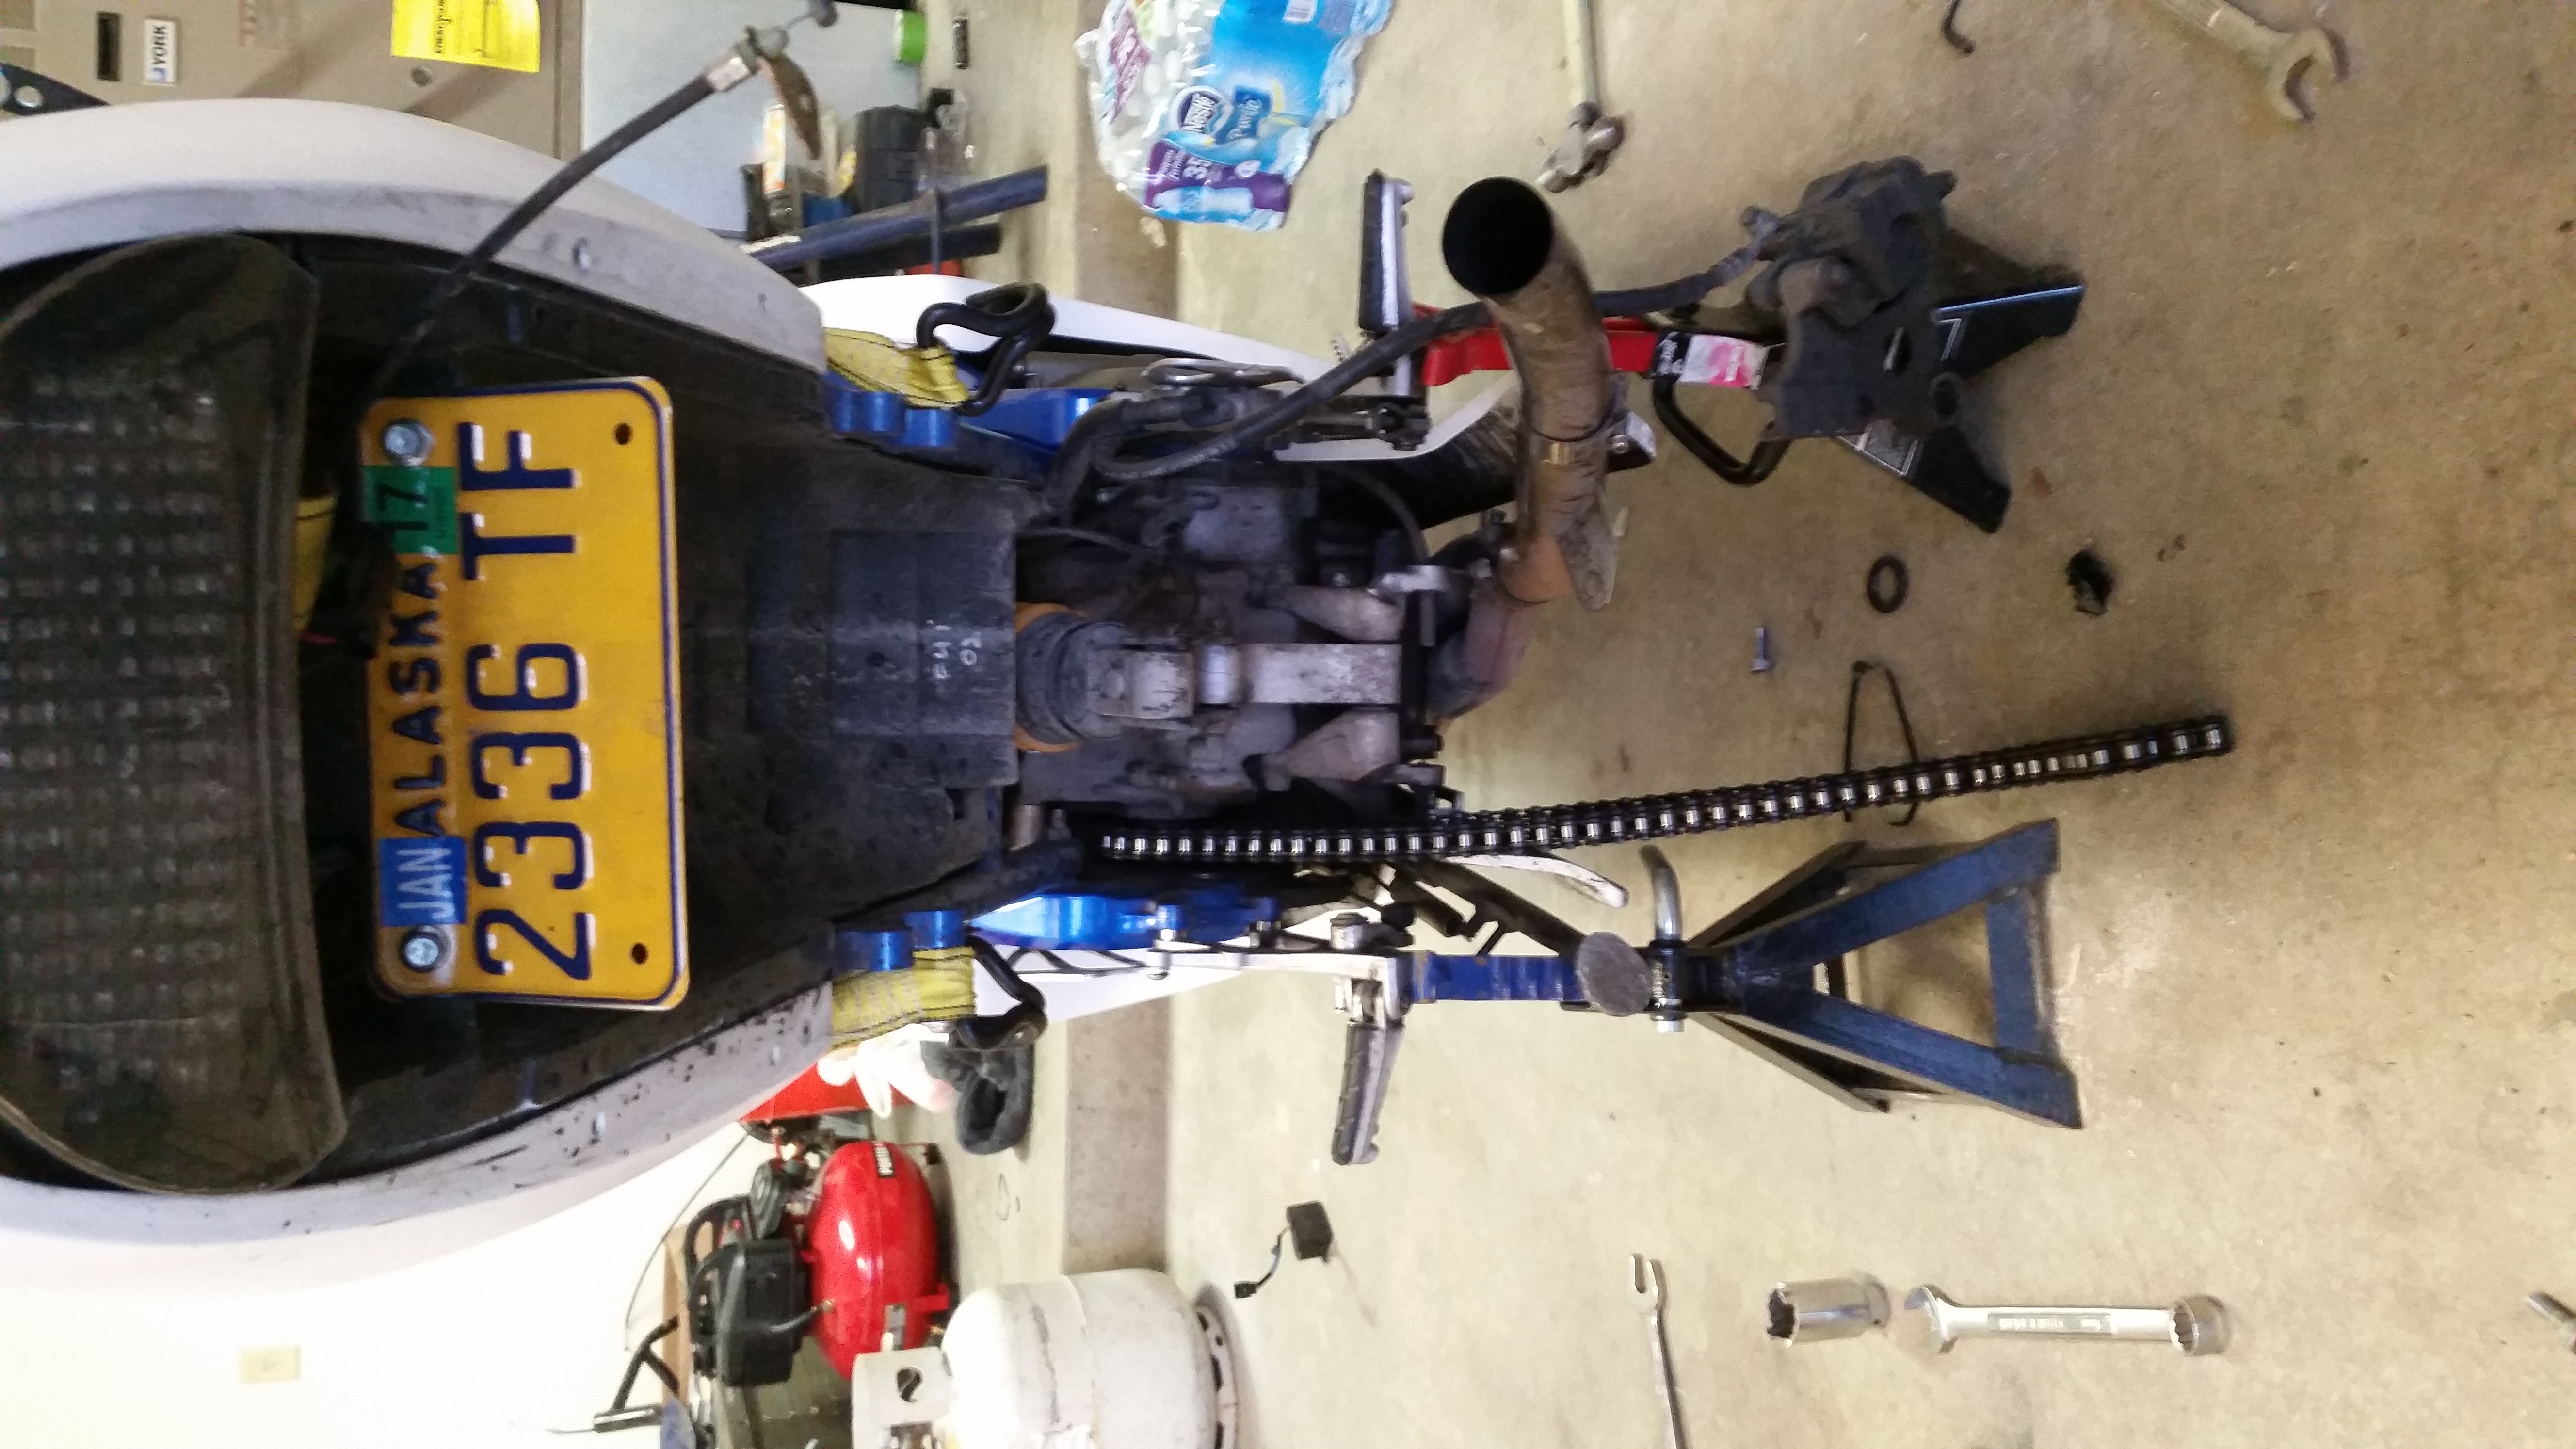
Got an 03-05 600rr swingarm, and took 3 tries but ended up using the 05 600rr shock and making it work, since the wrong 1000 shock came a few times.
 20150528_230141 by Skee907, on Flickr
 20150528_230130 by Skee907, on Flickr
 20150520_172853 by Skee907, on Flickr
 20150528_215843 by Skee907, on Flickr
 20150528_230045 by Skee907, on Flickr
Have to move the reservoir to the outside of the frame to clear the 600rr shock reservoir. Still makes a little contact but I spun the lid and have no problems now.
 20150529_144905 by Skee907, on Flickr
 20150529_154711 by Skee907, on Flickr
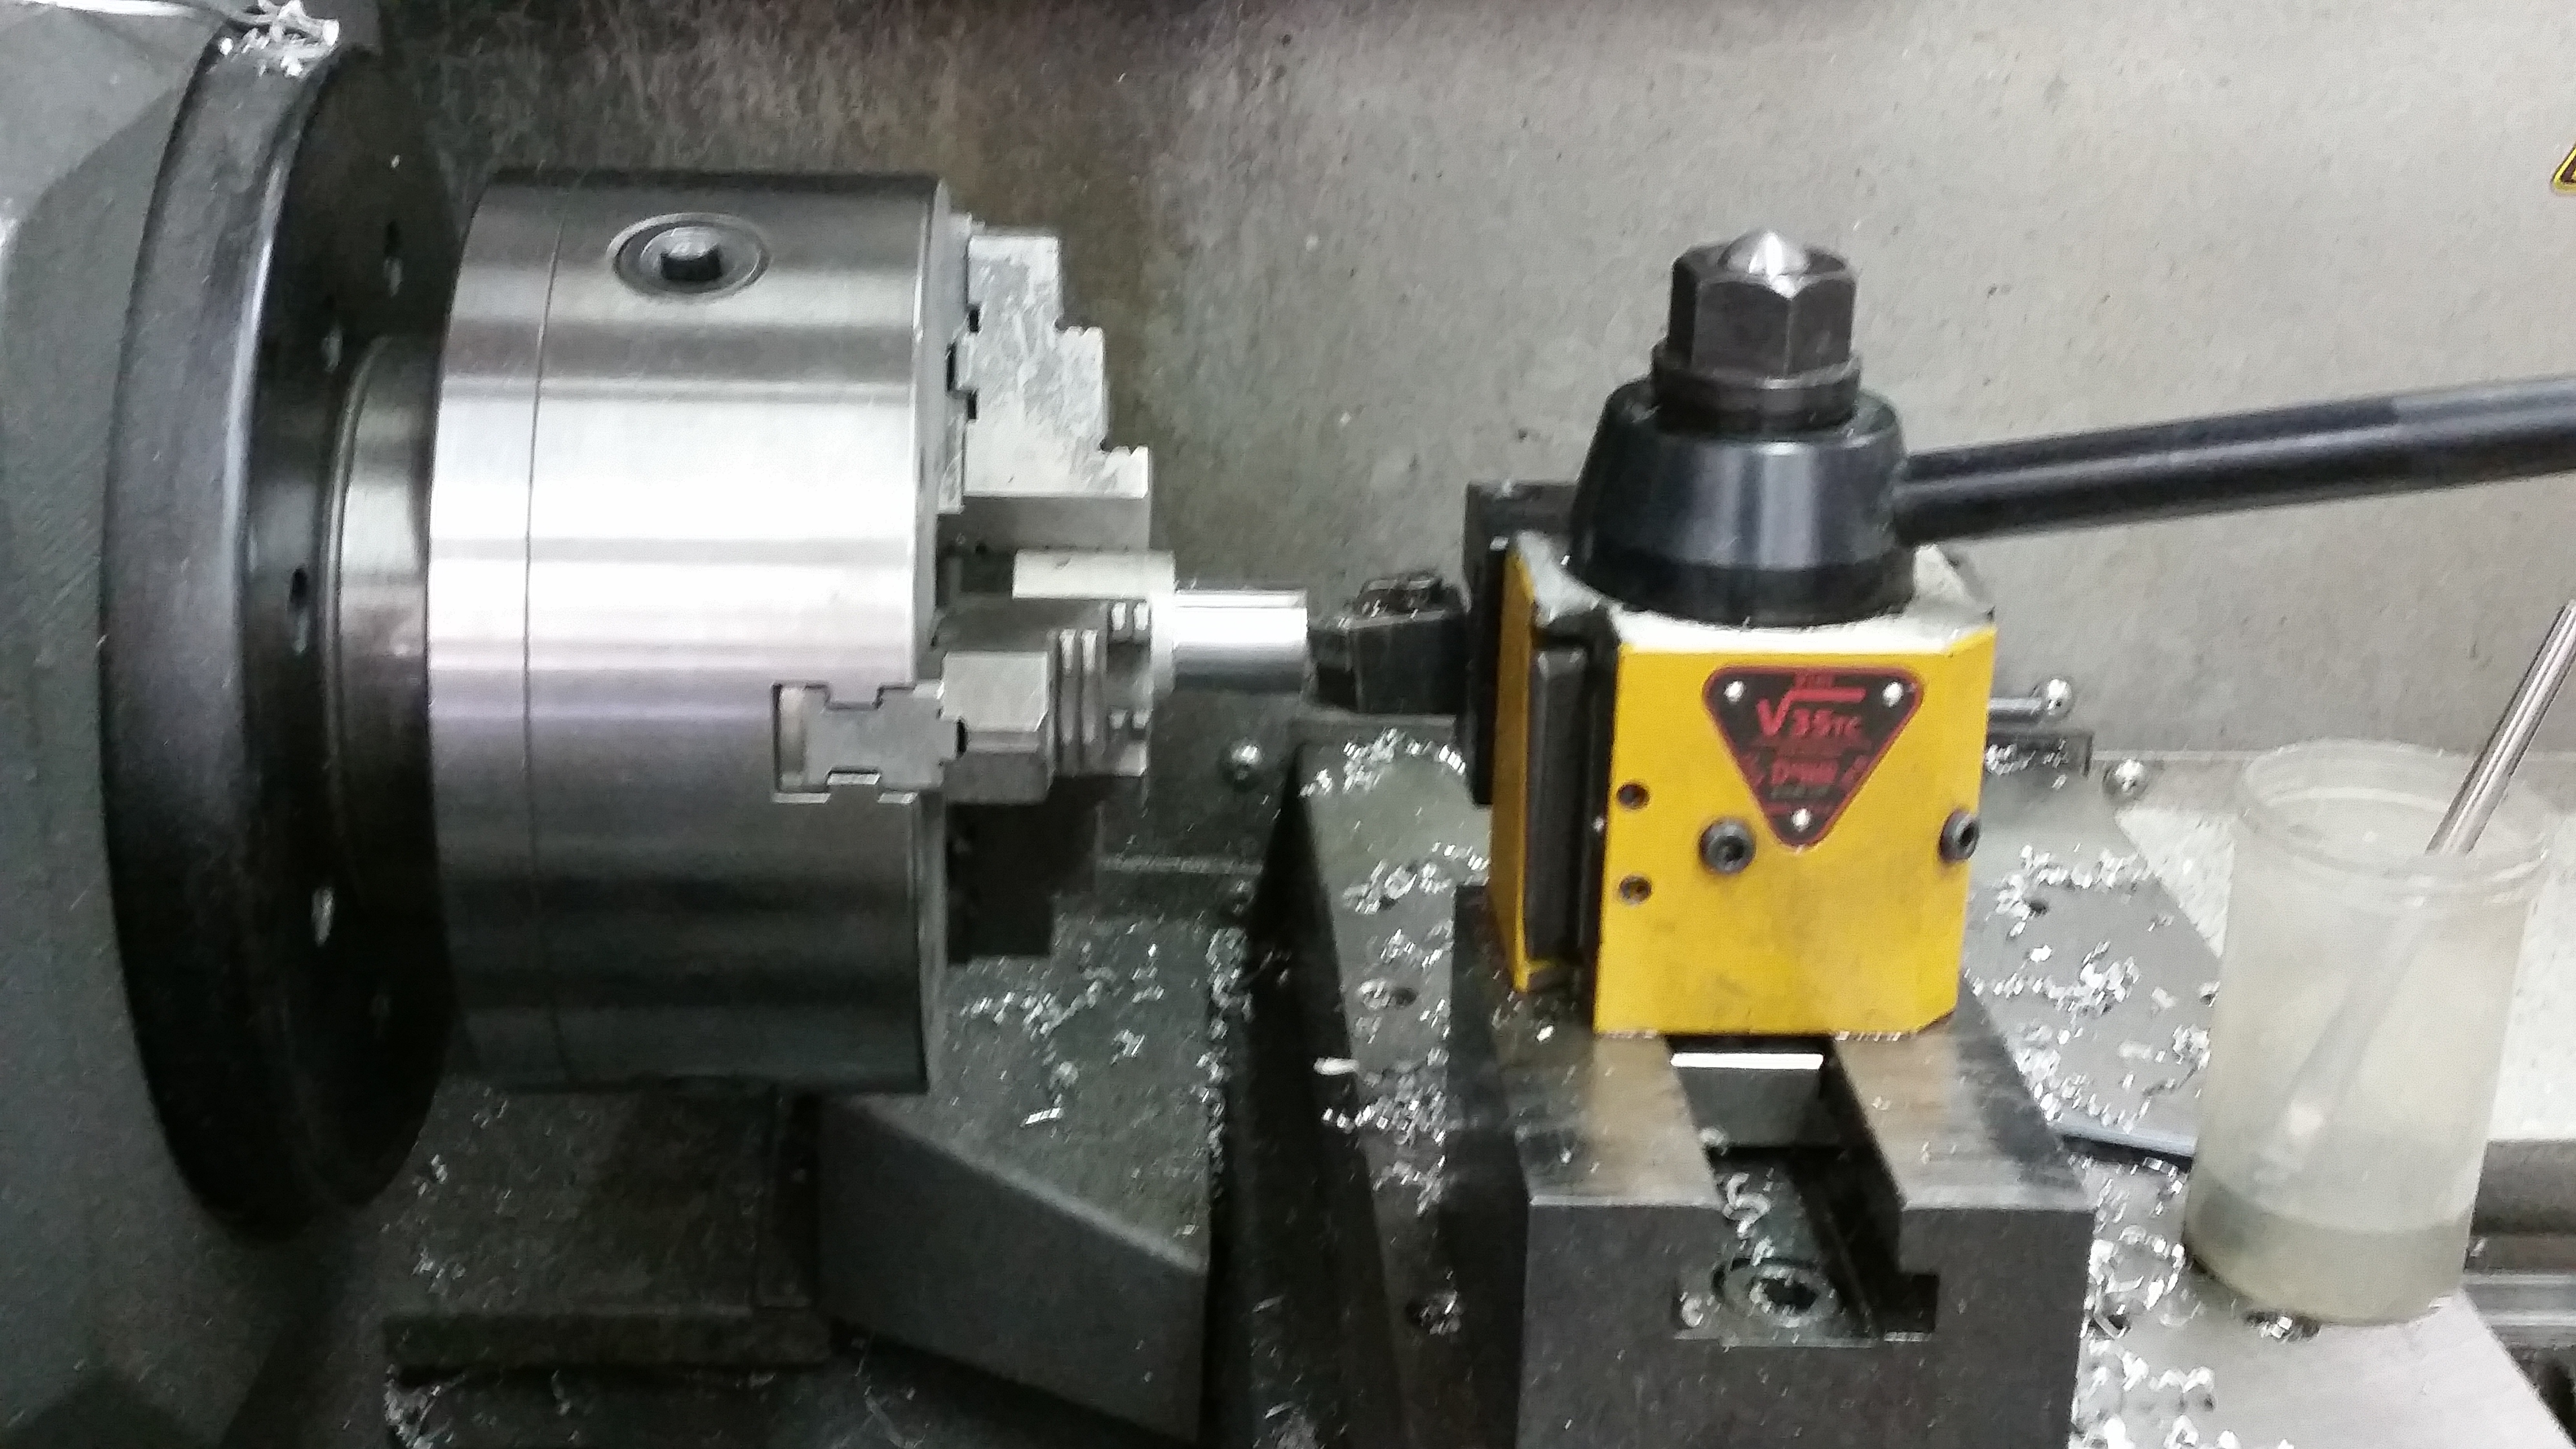
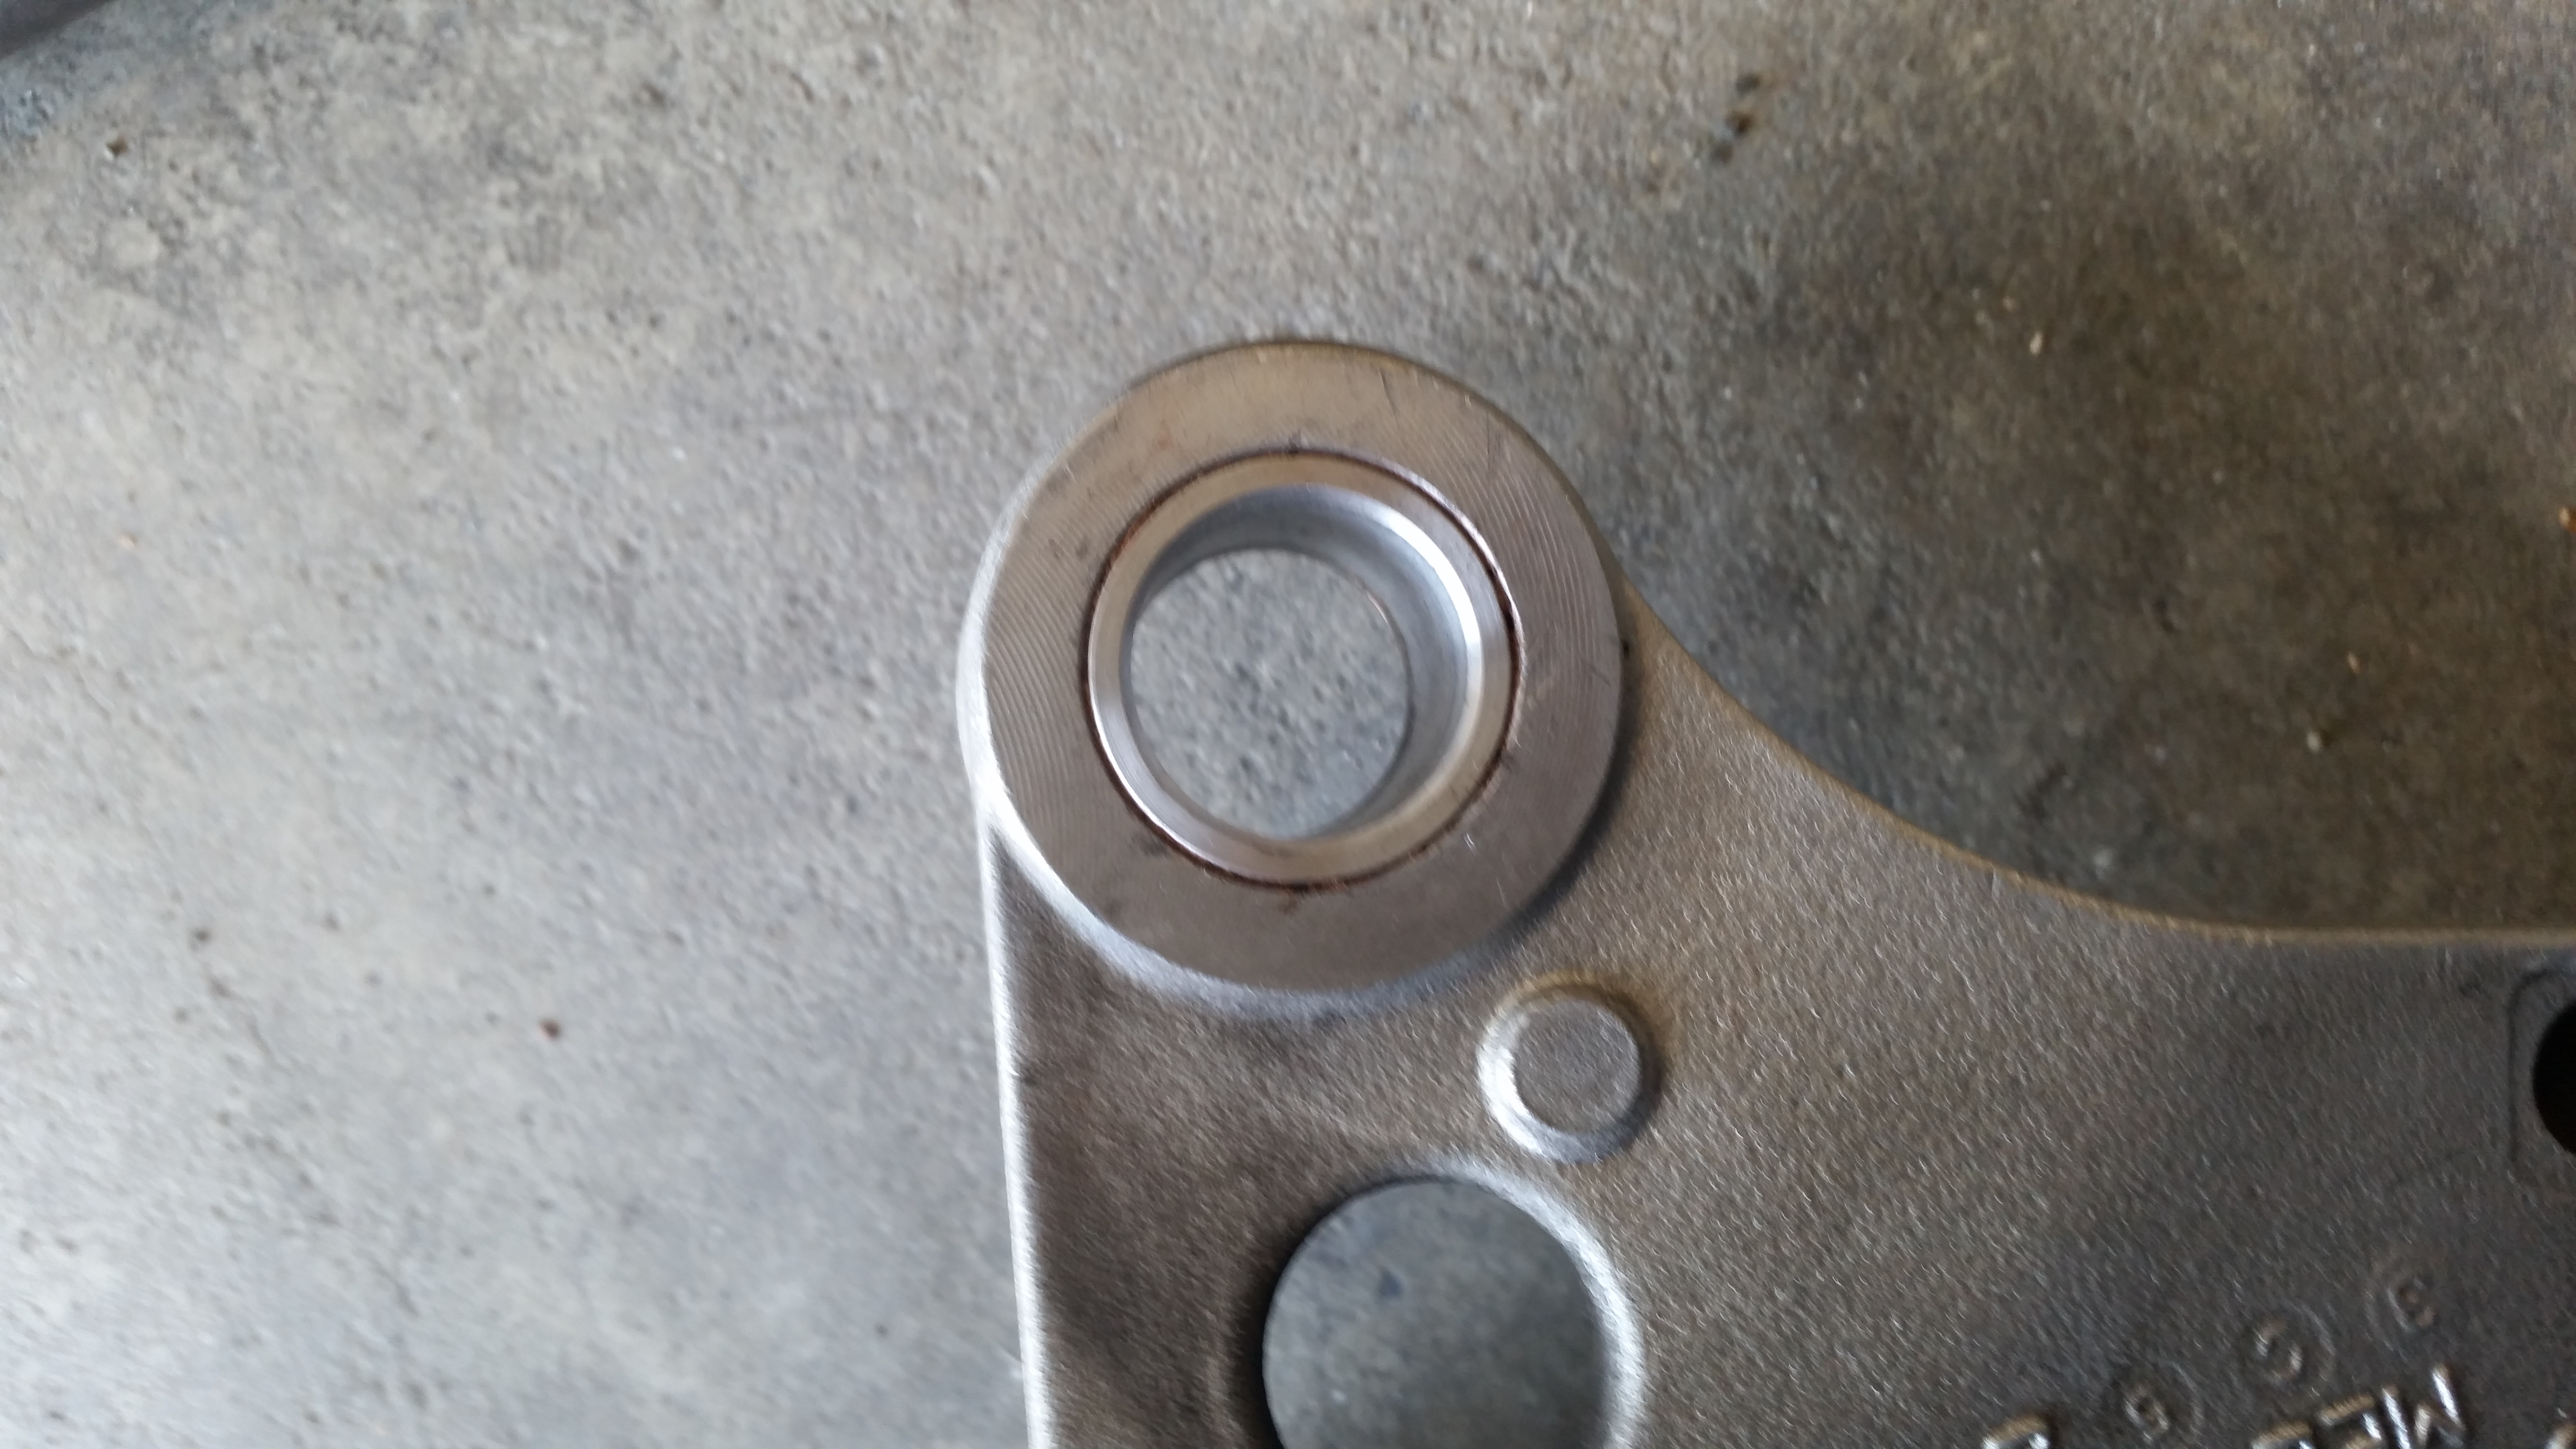
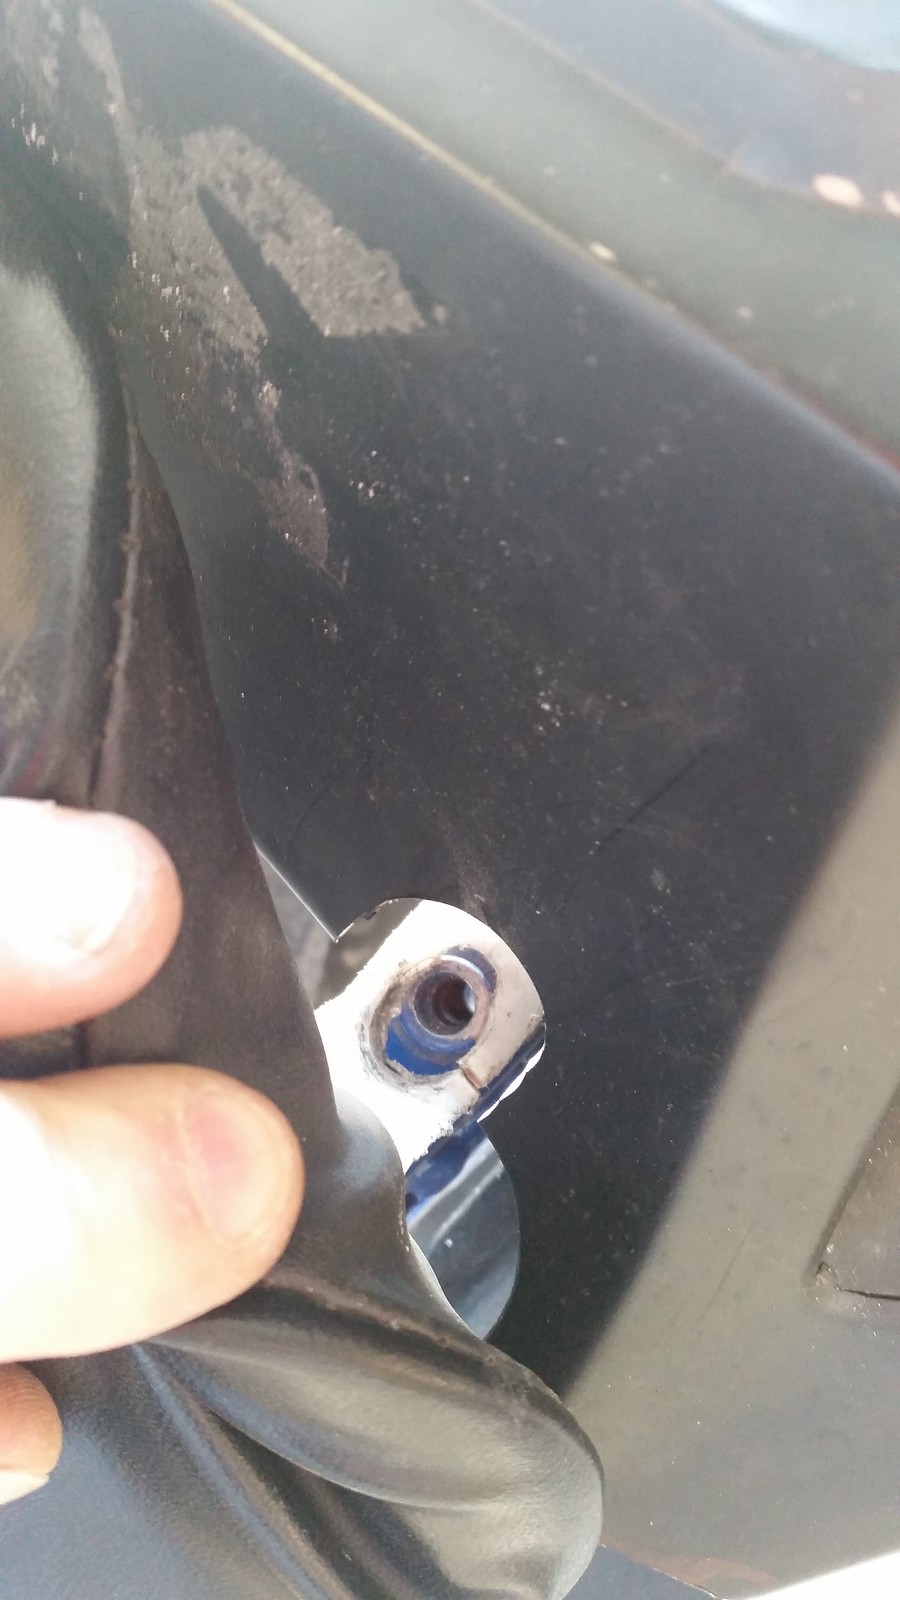
Custom making spacers. The F4i axle is smaller. The spacing is fine from side to side but the diameter is larger for the 600rr swingarm and rear caliper. So using a lathe just created a perfect fit spacer to hold the caliper on the F4i axle.
 20150529_164228 by Skee907, on Flickr
Then came the swingarm swap time.
Got an 03-05 600rr swingarm, and took 3 tries but ended up using the 05 600rr shock and making it work, since the wrong 1000 shock came a few times.
20150528_230141 by Skee907, on Flickr20150528_230130 by Skee907, on Flickr20150520_172853 by Skee907, on Flickr20150528_215843 by Skee907, on Flickr20150528_230045 by Skee907, on FlickrHave to move the reservoir to the outside of the frame to clear the 600rr shock reservoir. Still makes a little contact but I spun the lid and have no problems now.
20150529_144905 by Skee907, on Flickr20150529_154711 by Skee907, on FlickrCustom making spacers. The F4i axle is smaller. The spacing is fine from side to side but the diameter is larger for the 600rr swingarm and rear caliper. So using a lathe just created a perfect fit spacer to hold the caliper on the F4i axle.
20150529_164228 by Skee907, on Flickr
Thread Starter
|
Senior Member
Joined: Aug 2013
Posts: 278
Likes: 2
 20150604_221341 by Skee907, on Flickr
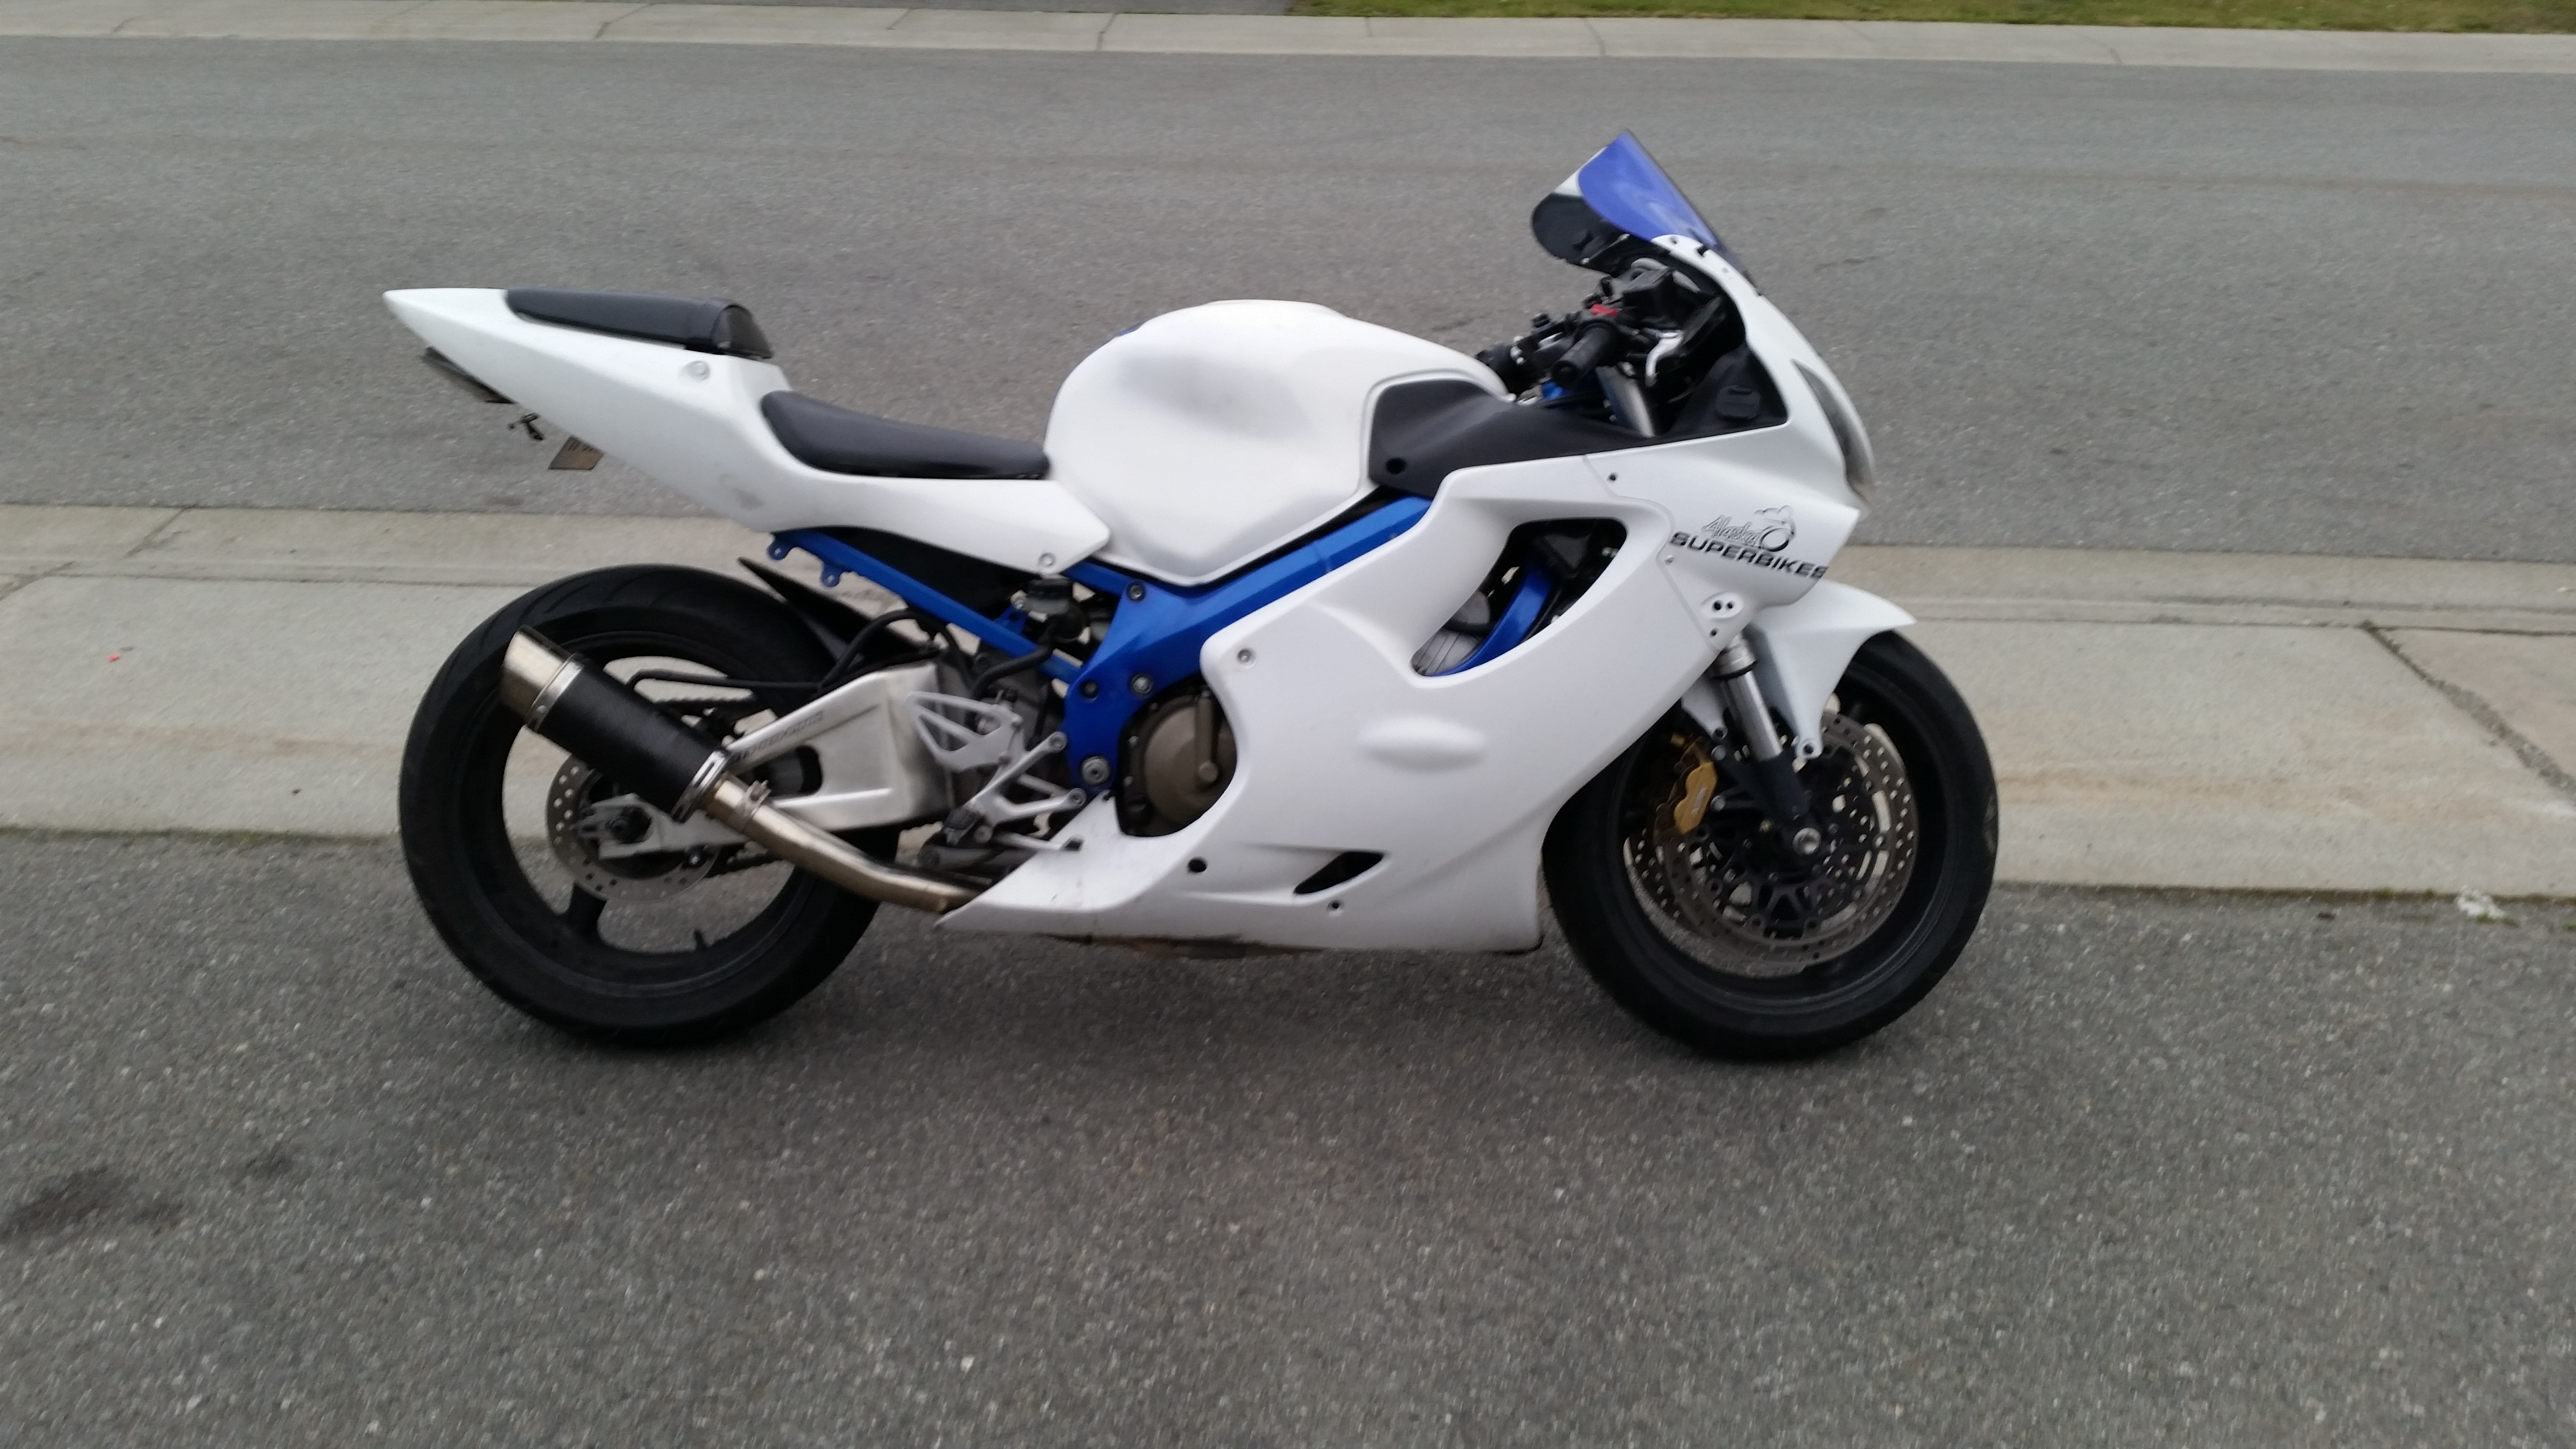
Voila!!!
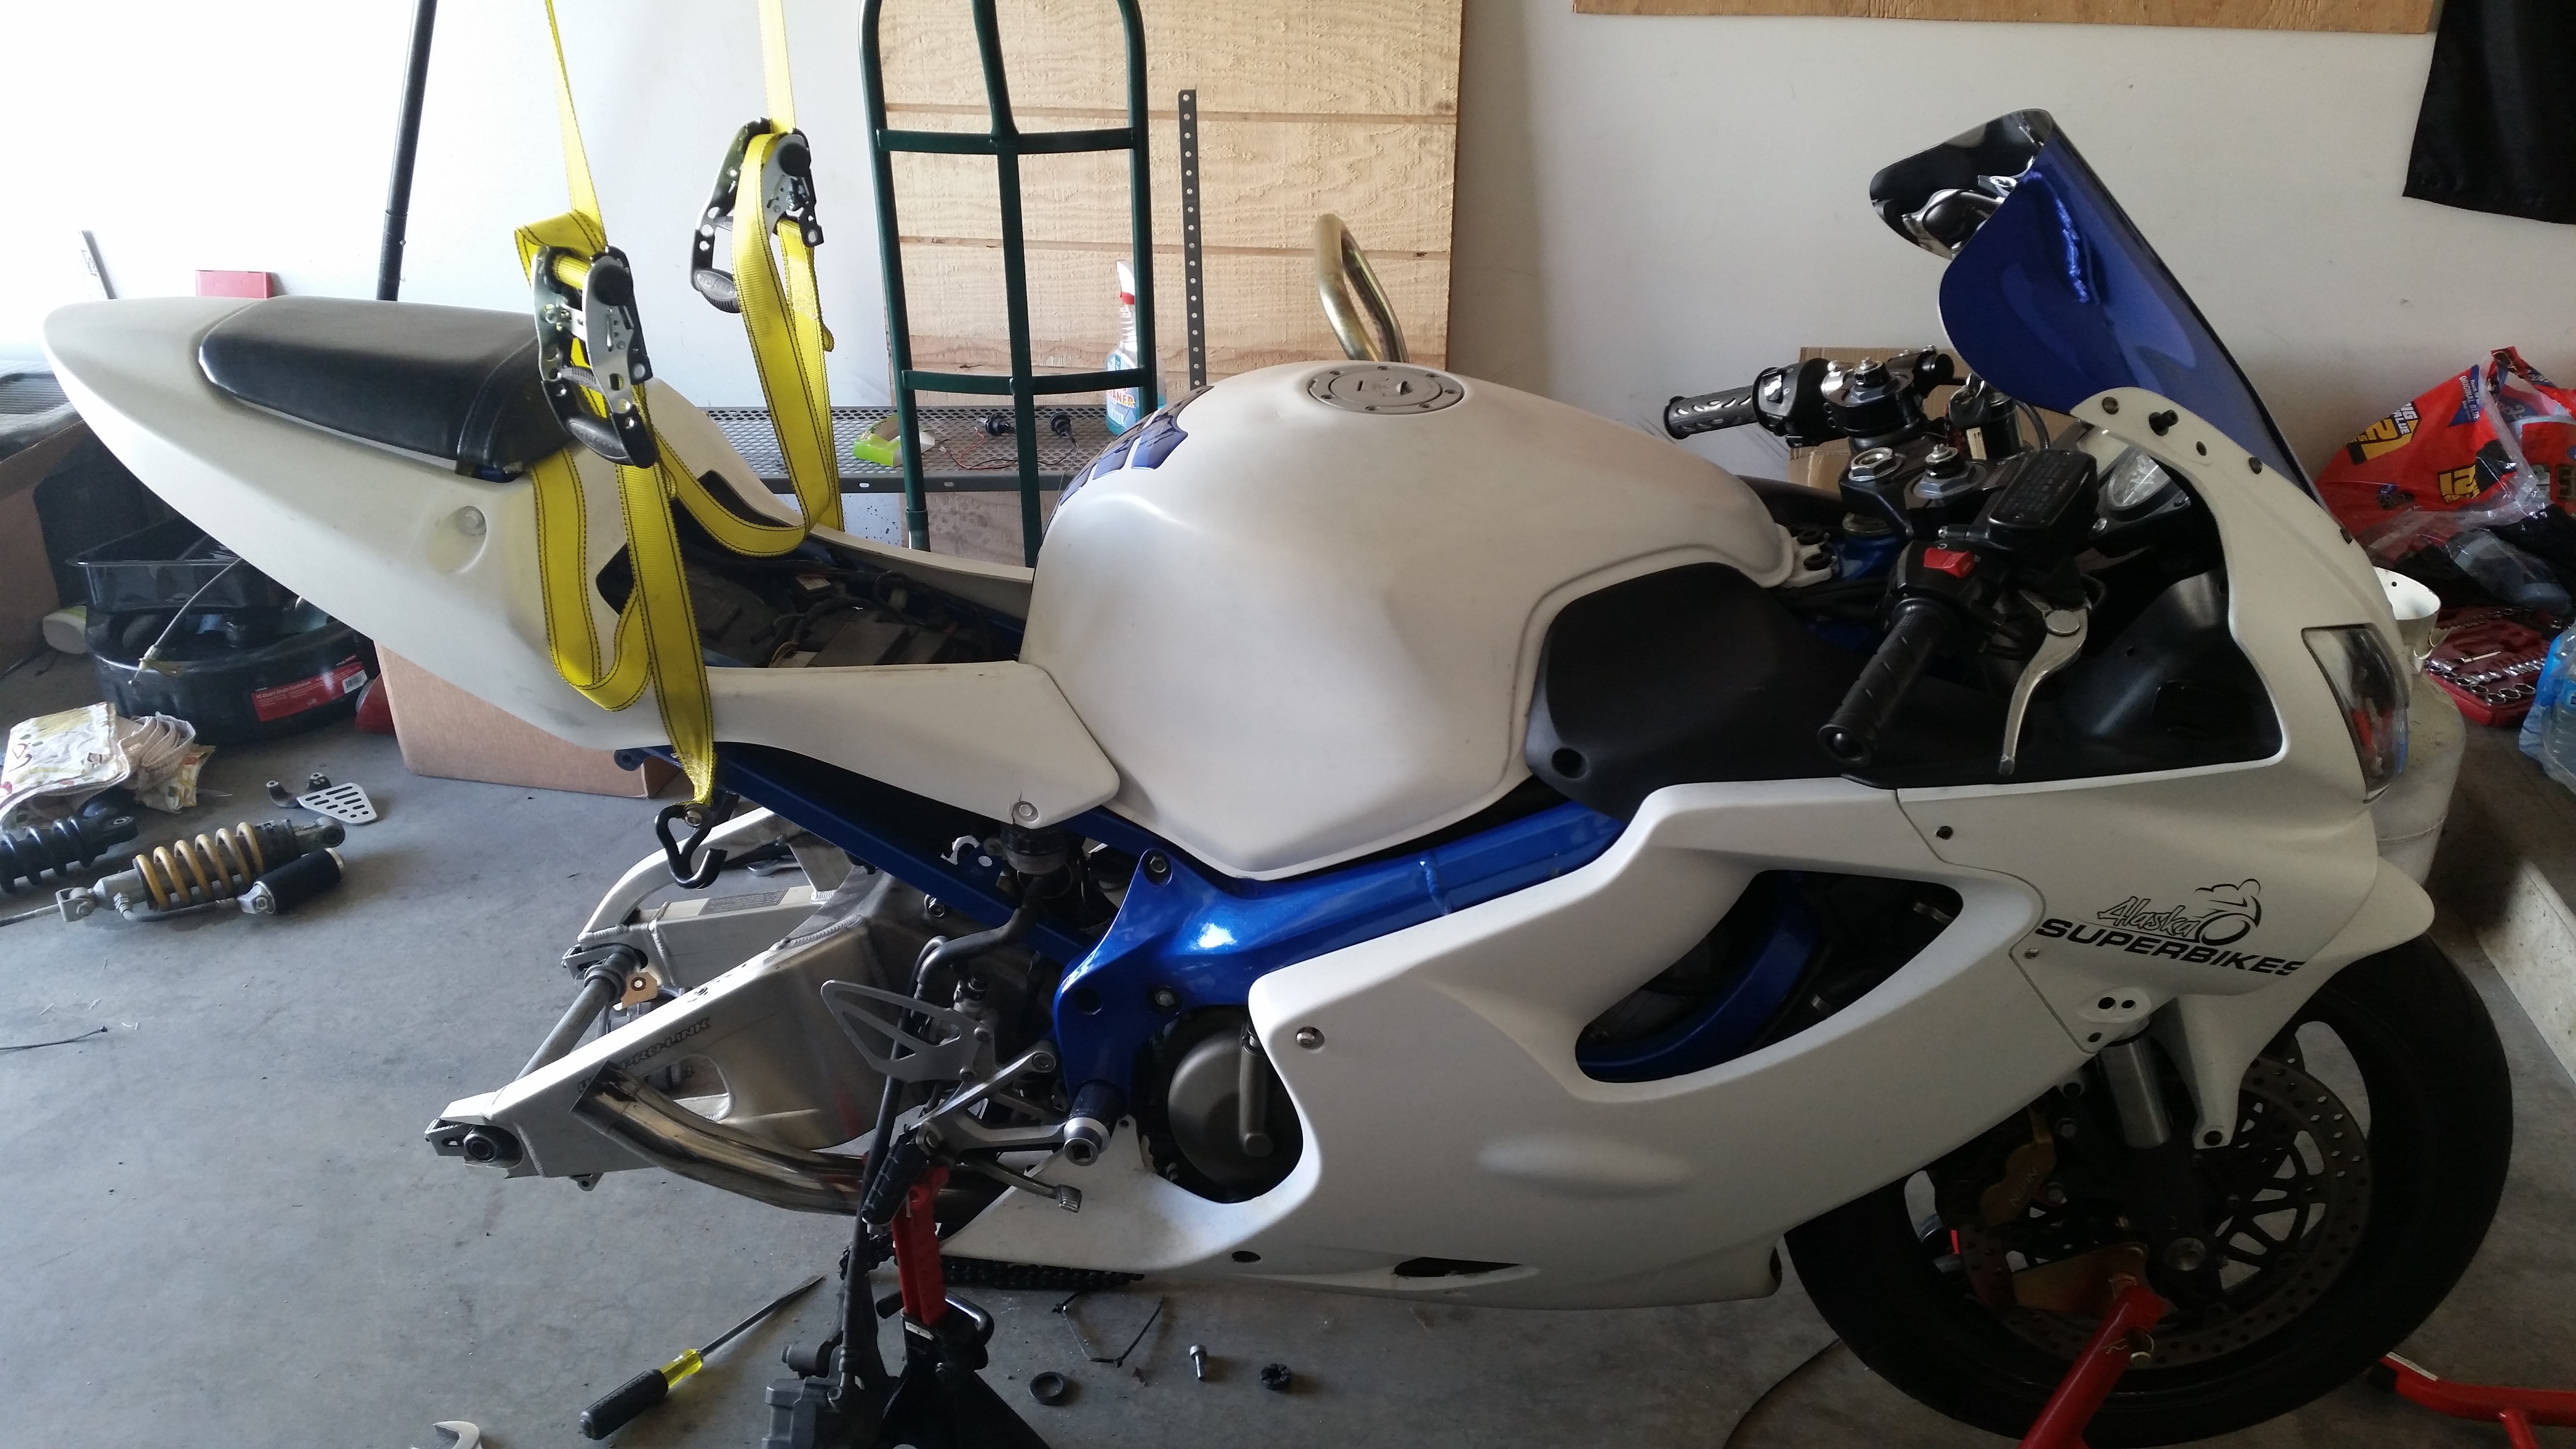
Rides awesome, fixed the saggy *** that the F4i is known for. Added maybe an inch of wheelbase. New chain, sprockets, and all the maintenance while it was all off.
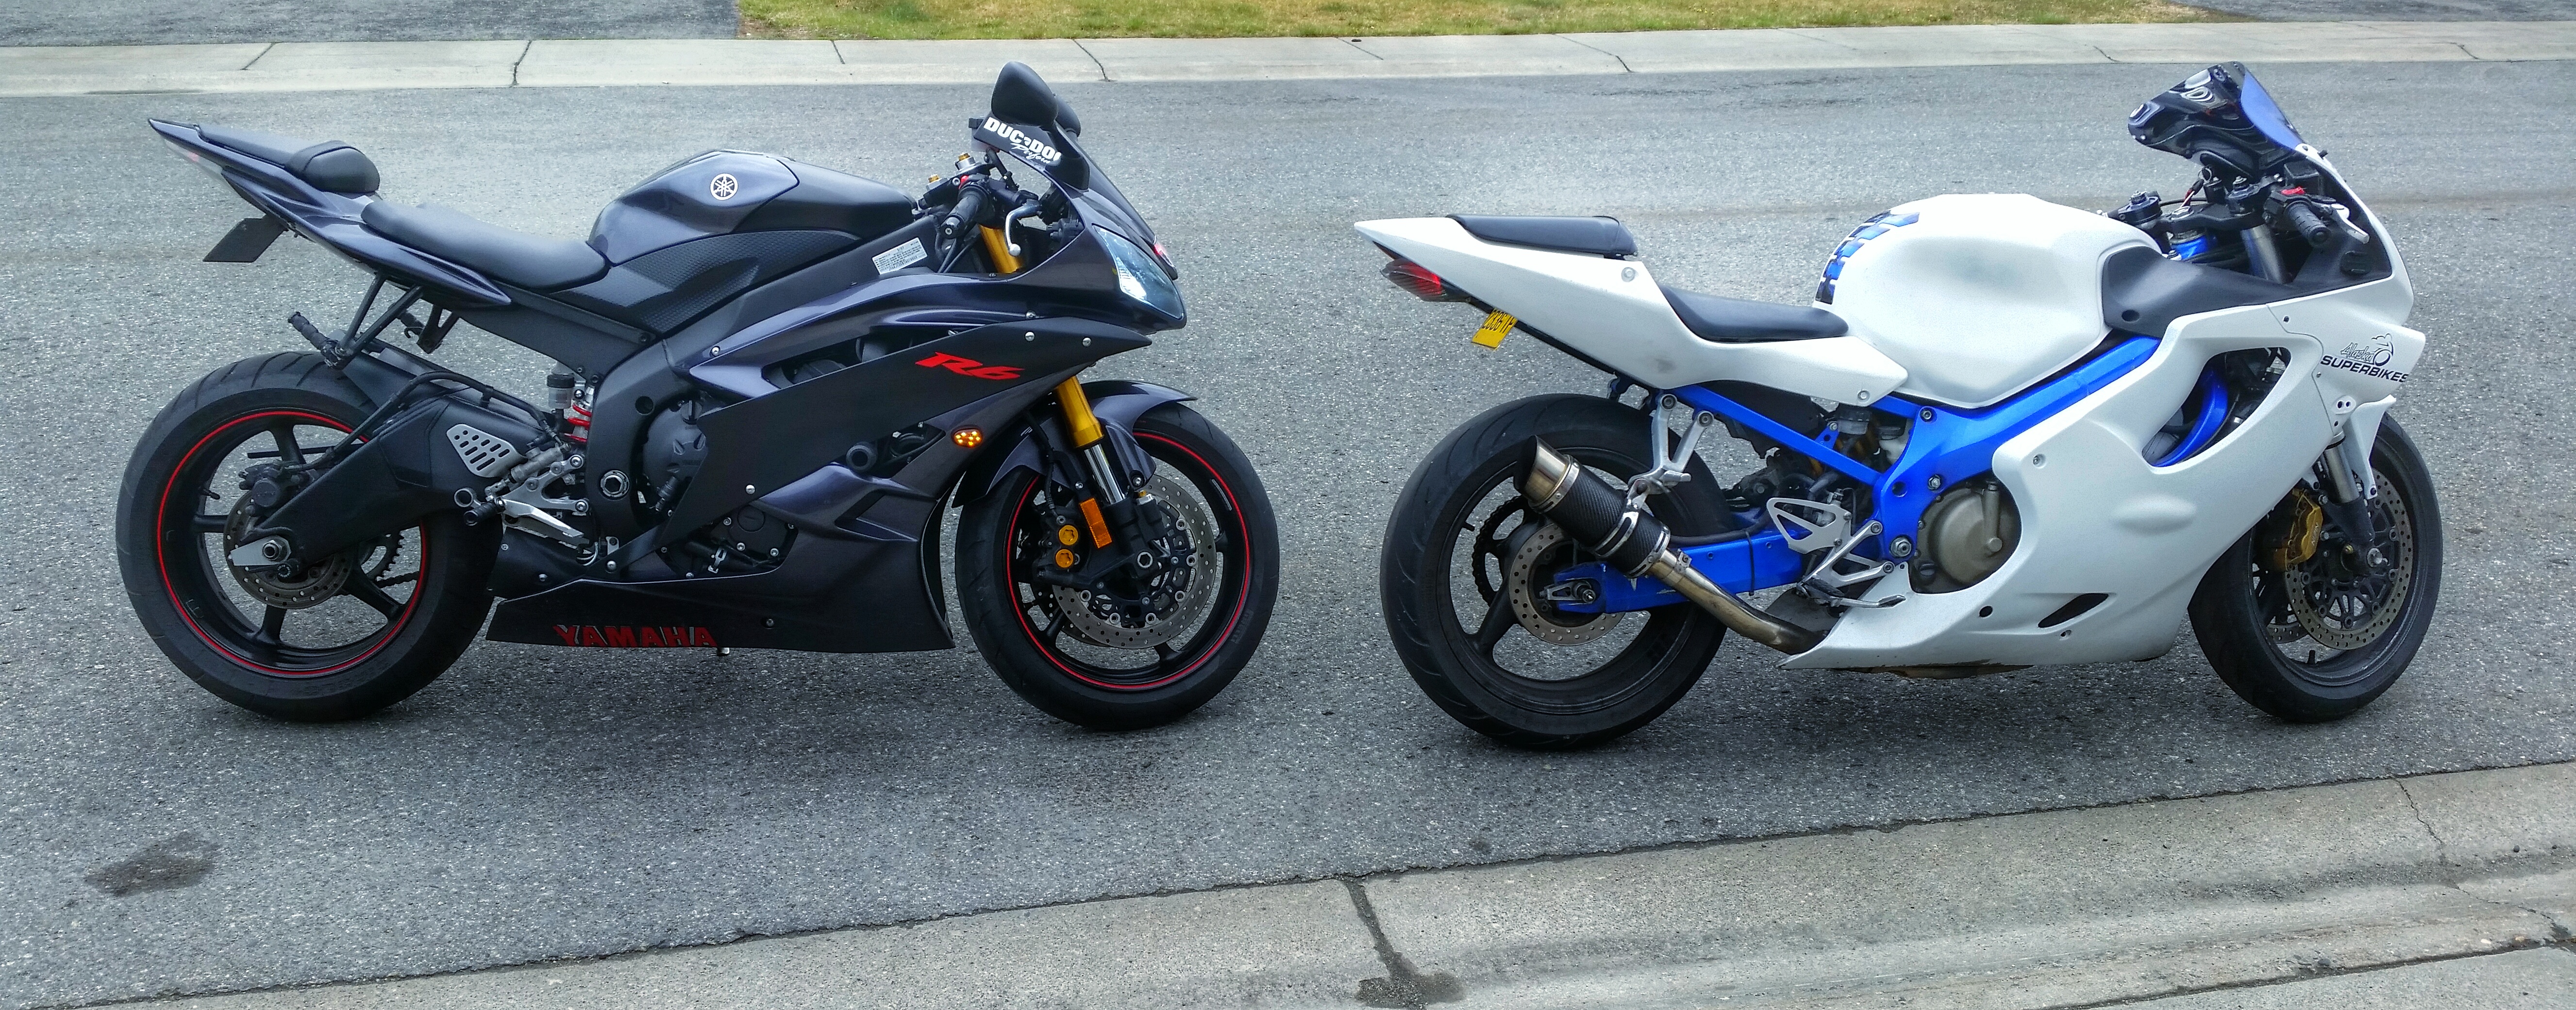
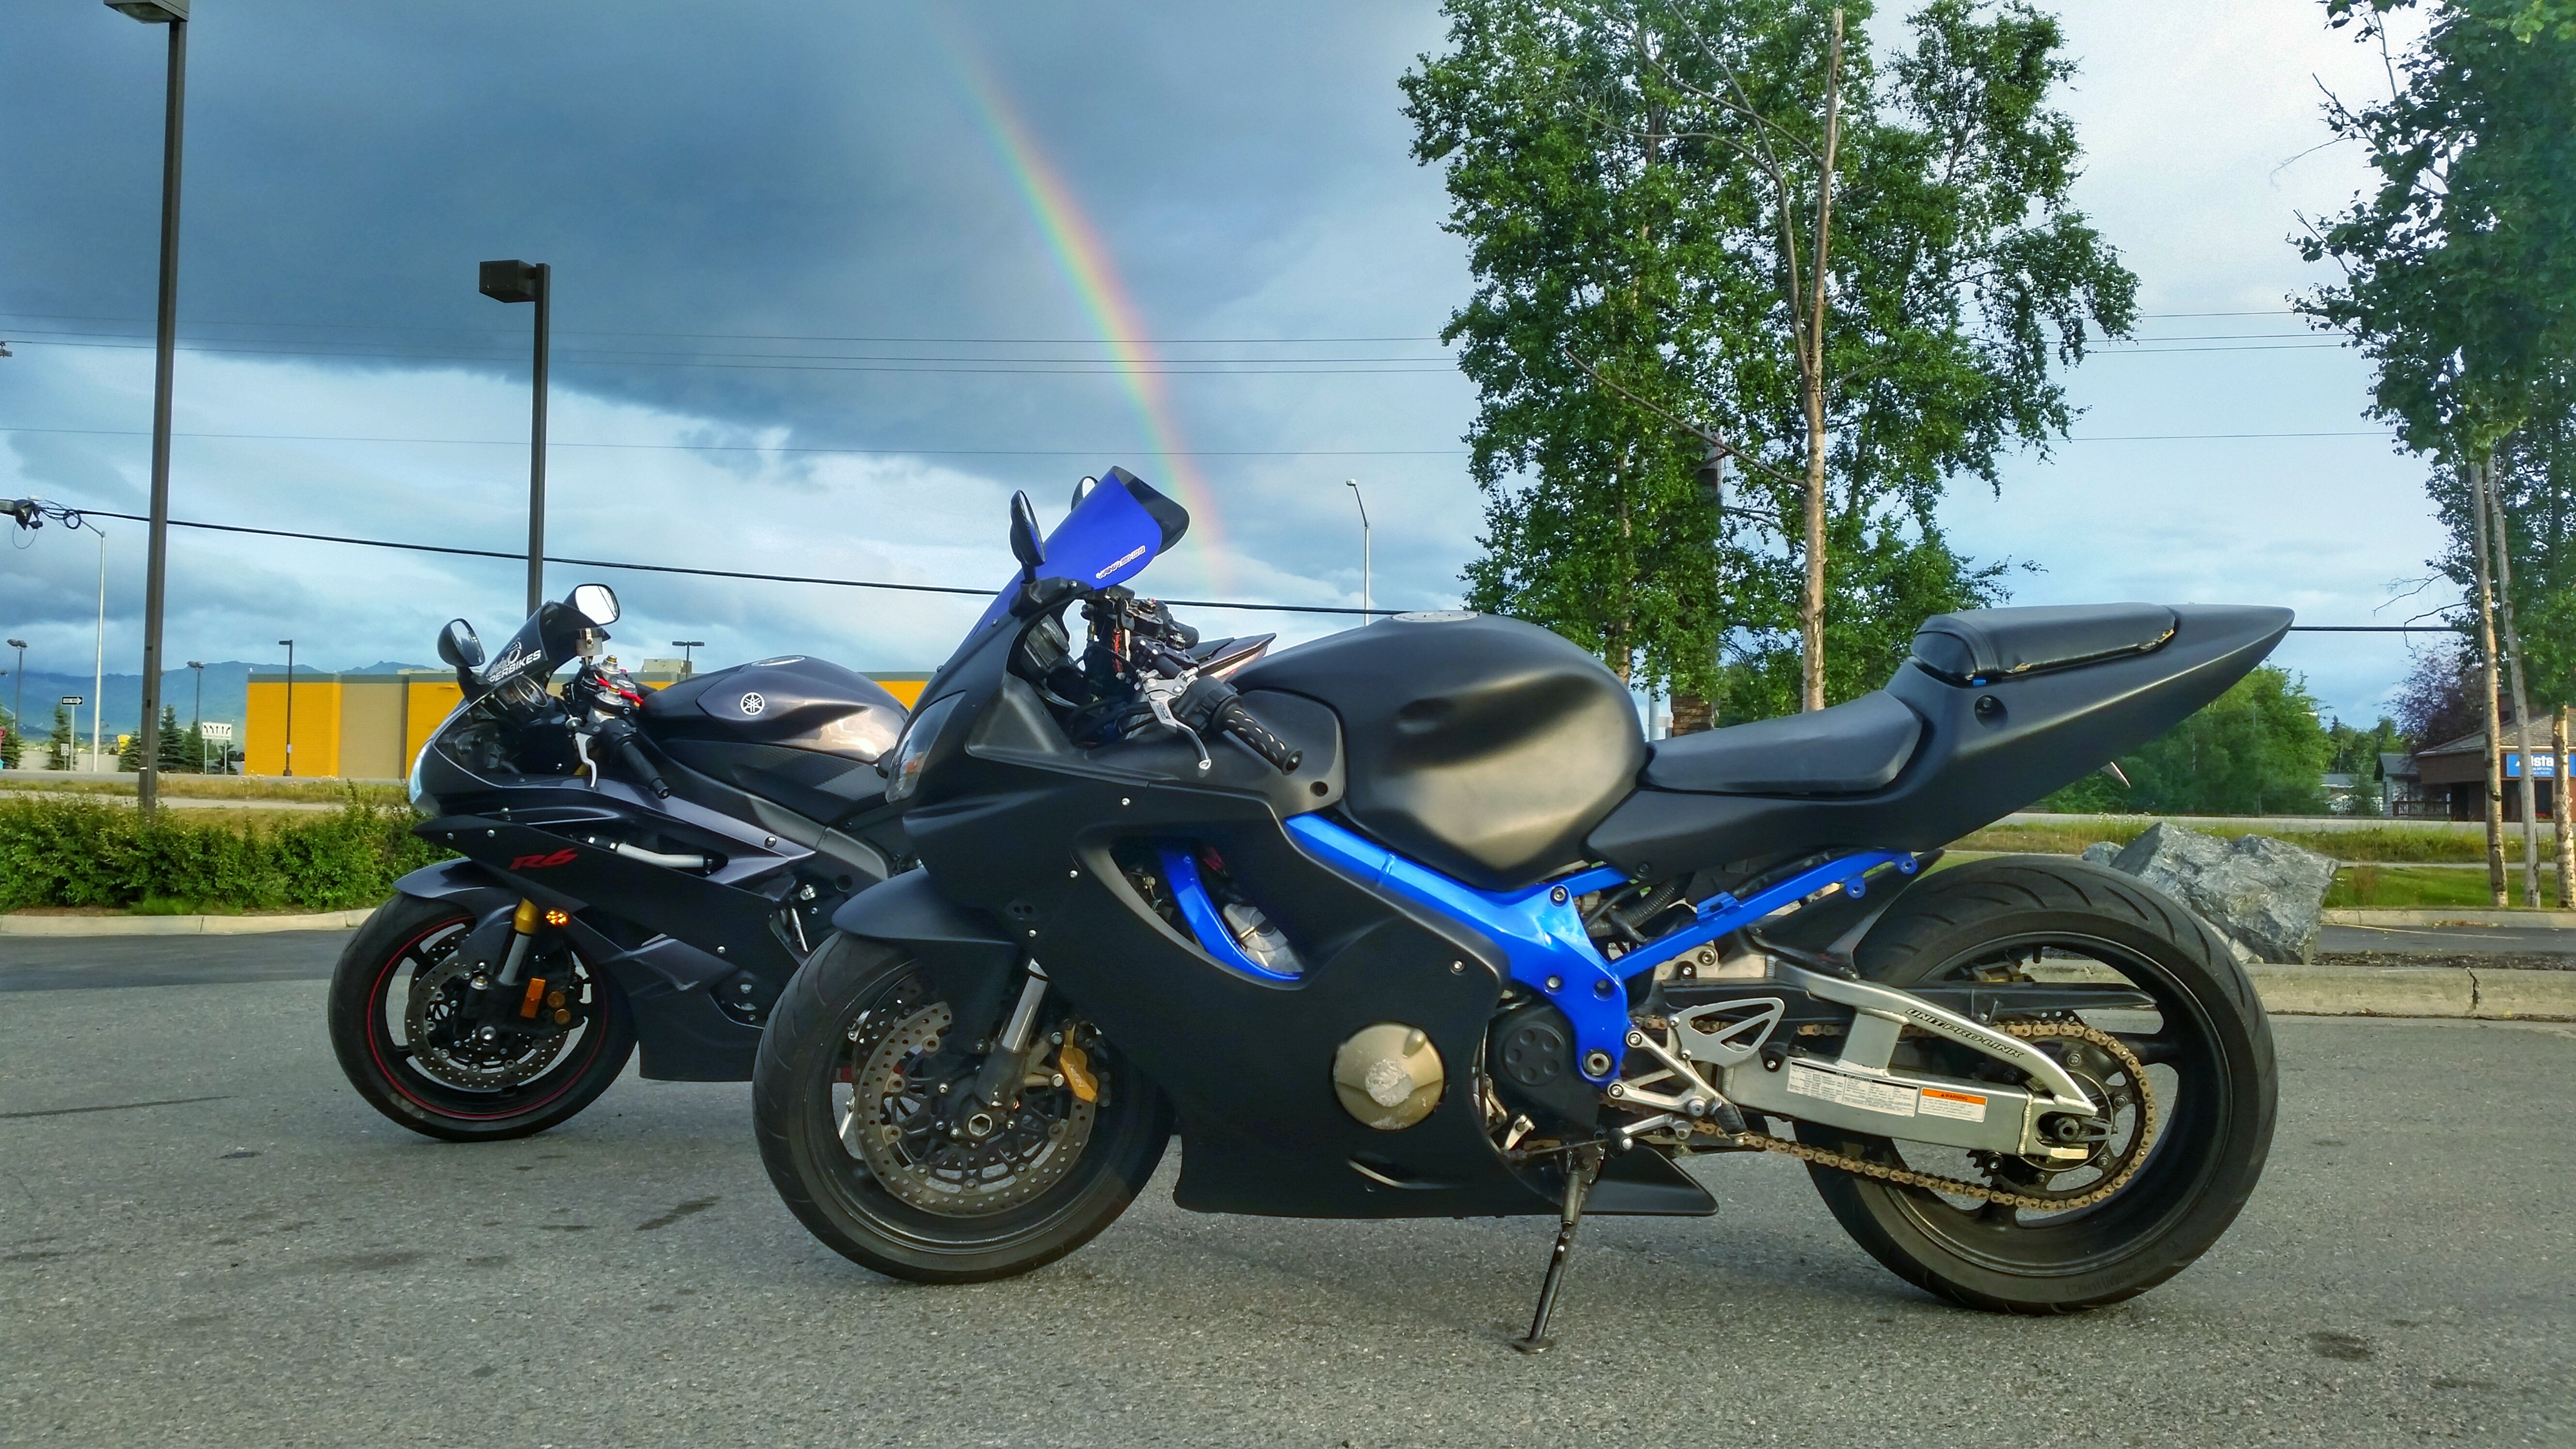
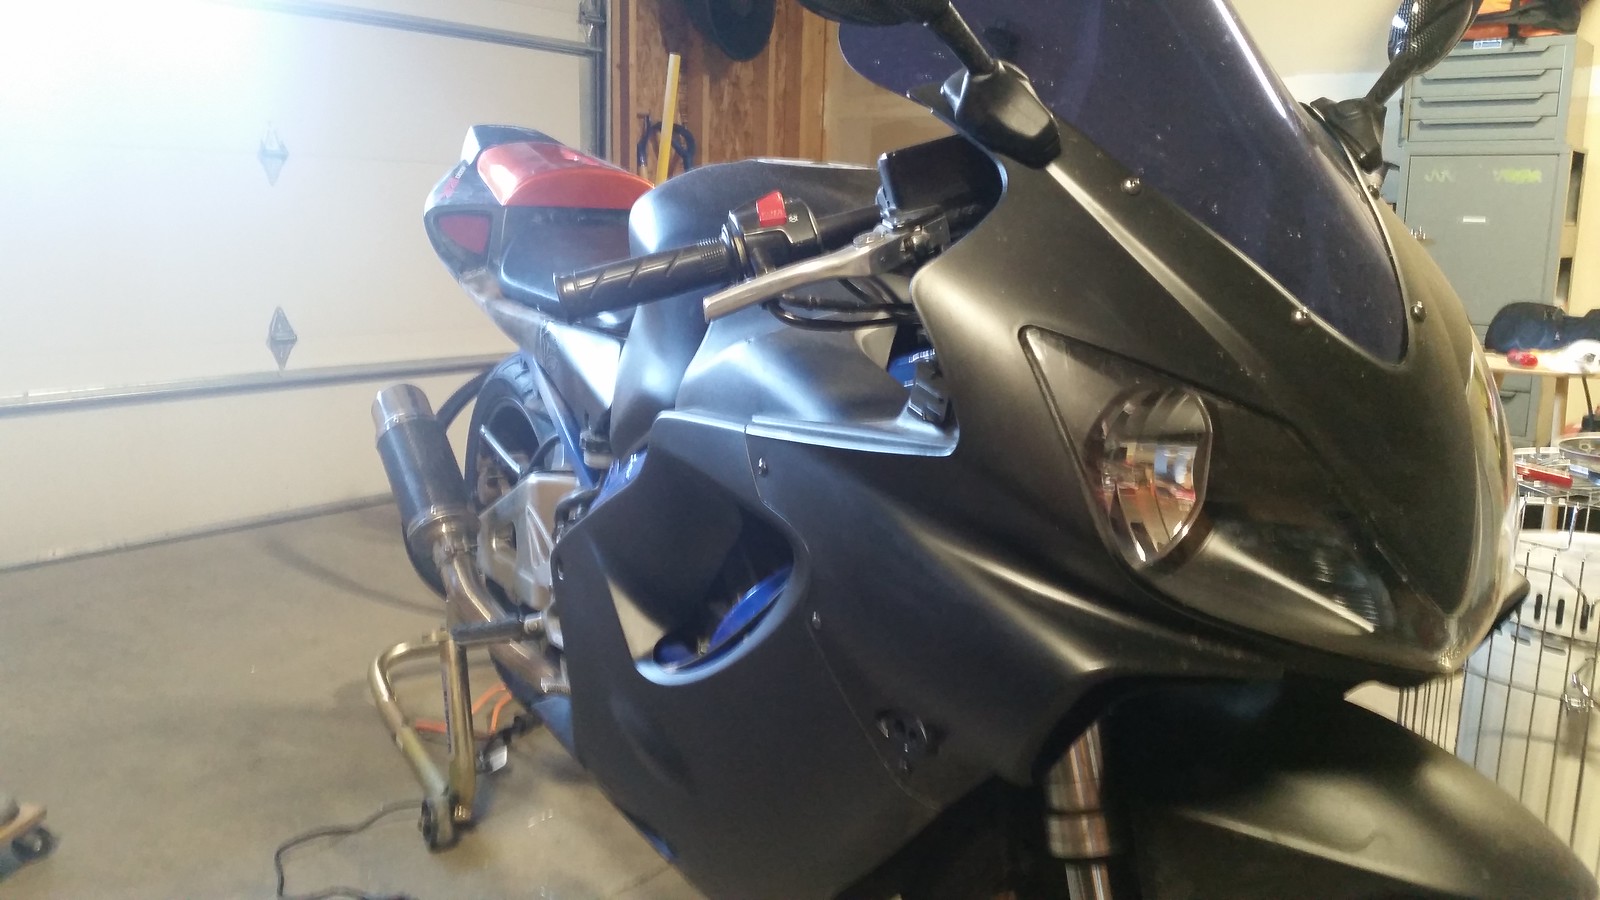
Then the torch was passed as I bought me a new 2007 Yamaha R6.
 20150524_115412-01 by Skee907, on Flickr
The wife got the F4i, and her first point of business was to paint it black again.
So back in the booth it went.
(For the record, I LOVED the white. She didn't it was too hard to keep clean.)
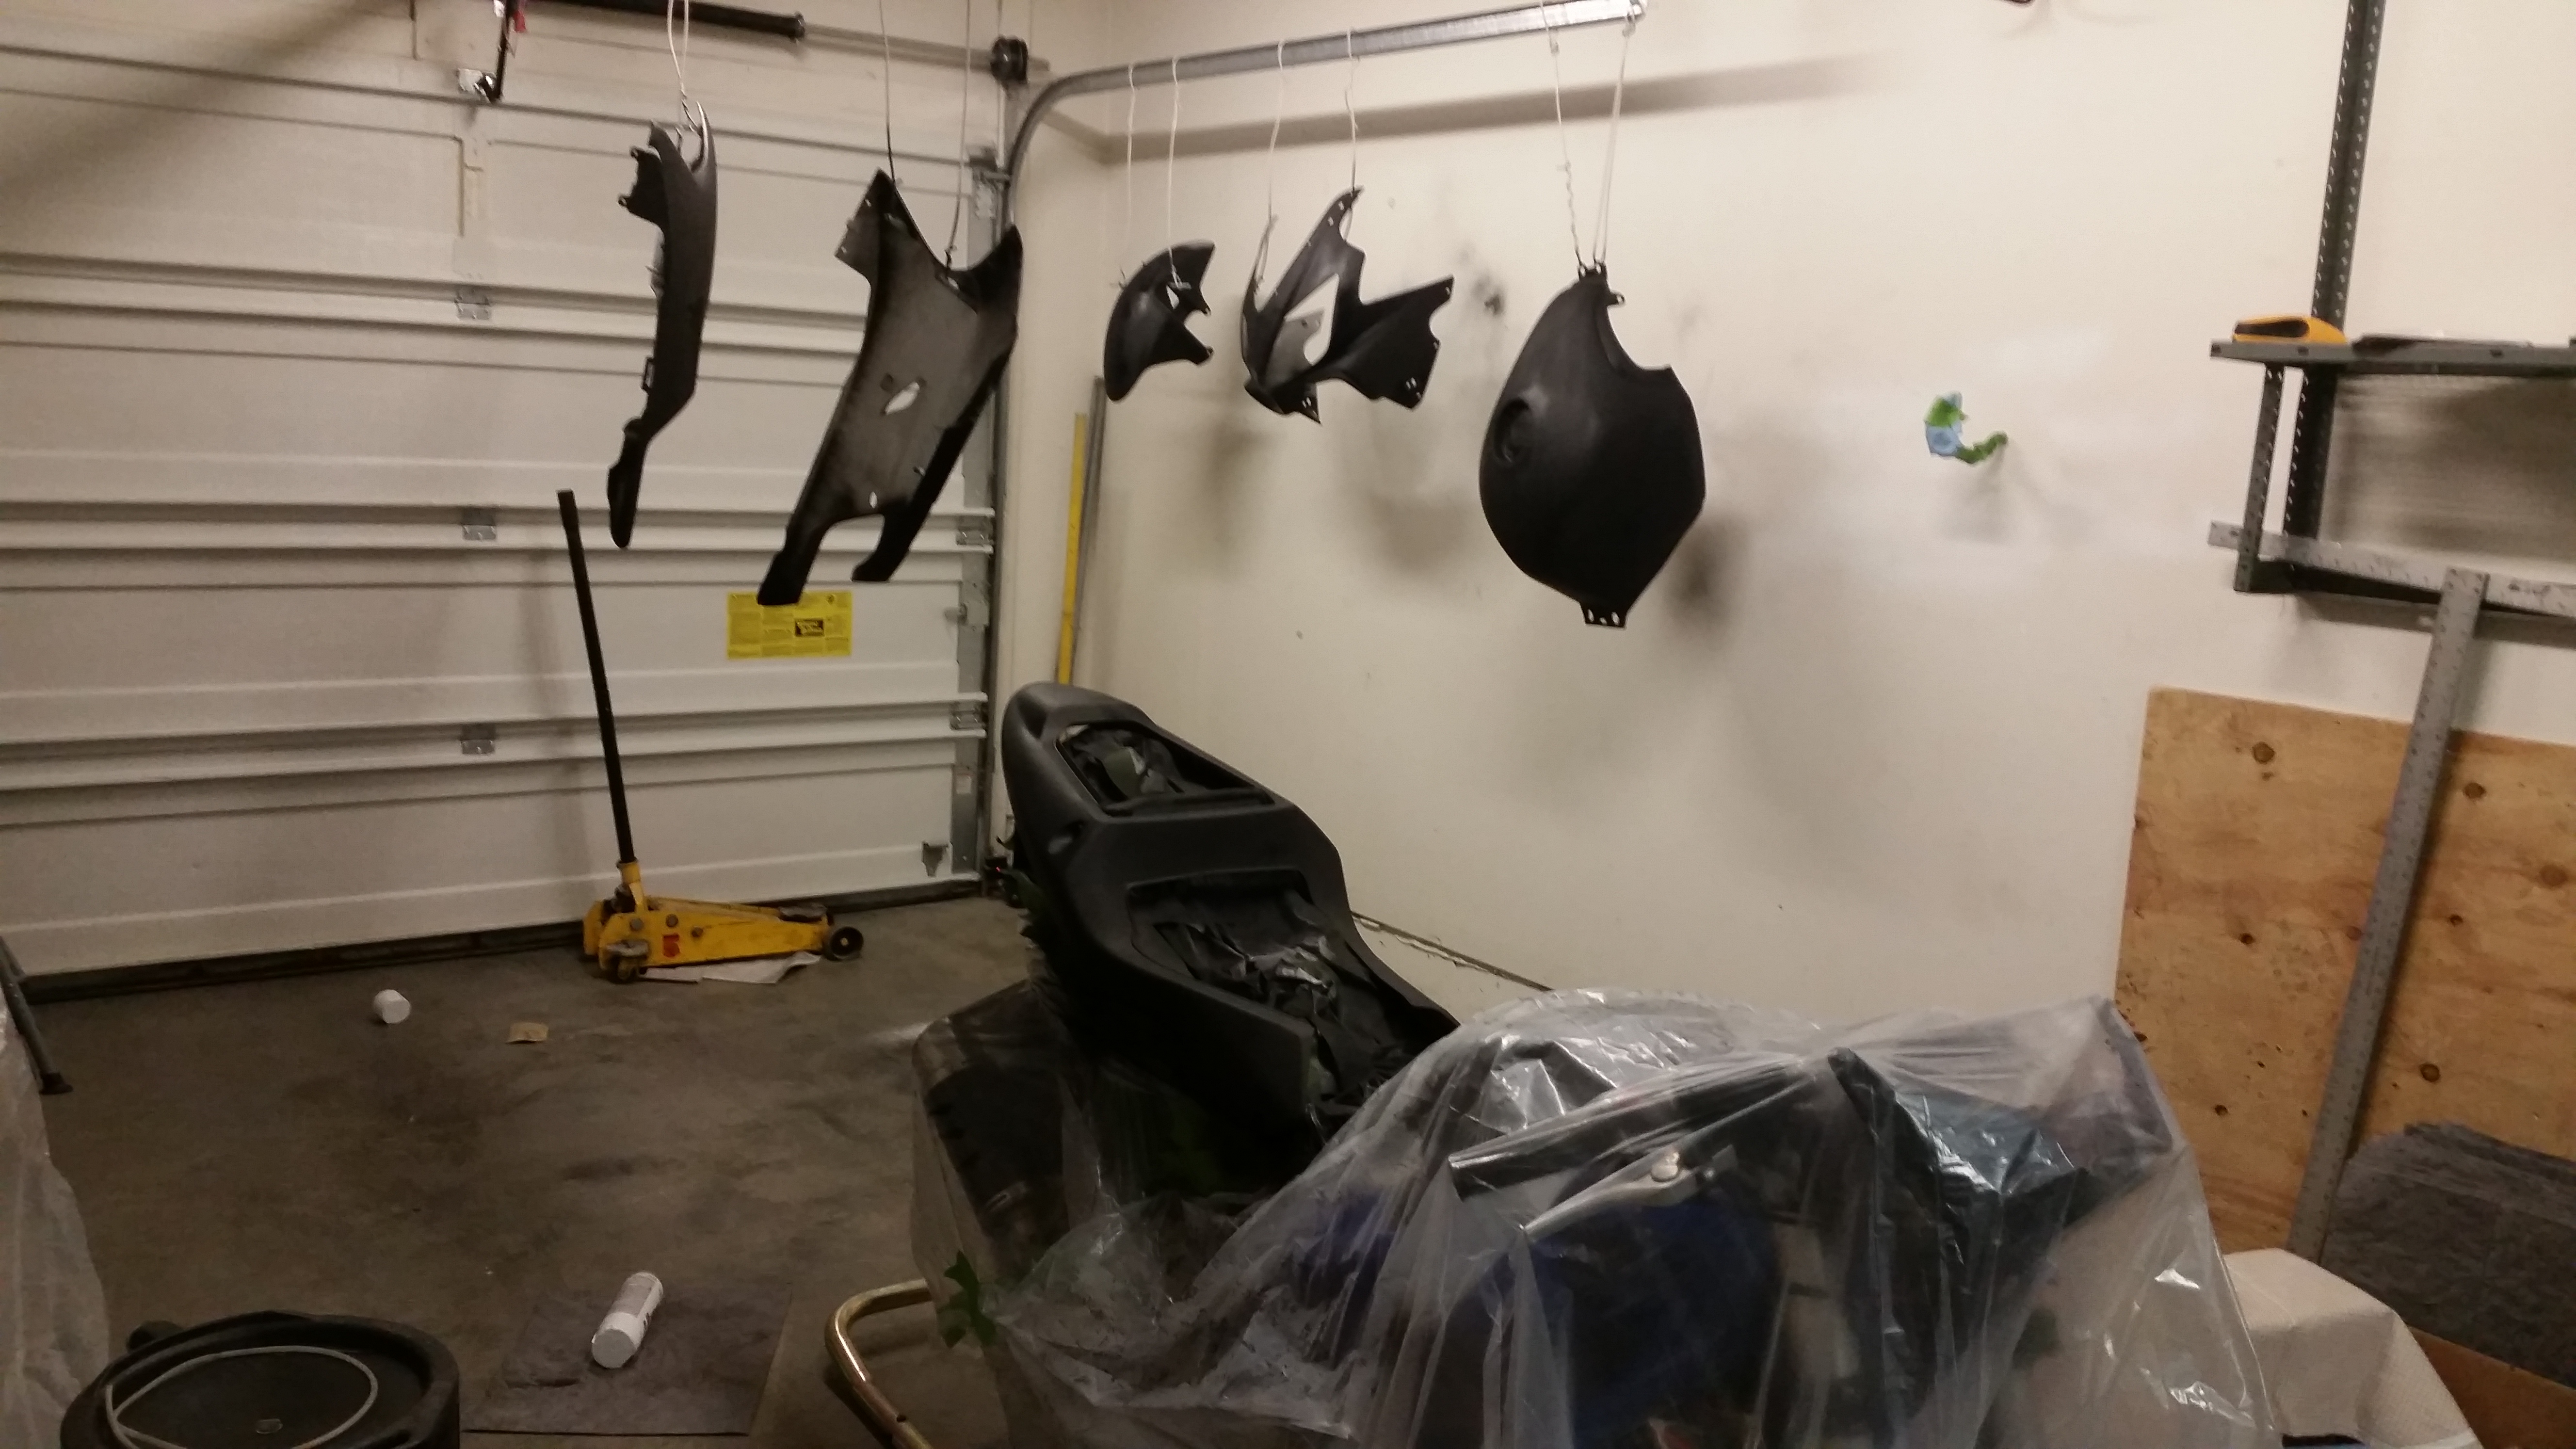 20150708_193147 by Skee907, on Flickr
Again, just used a good primer, and this time a satin clear coat. No paint.
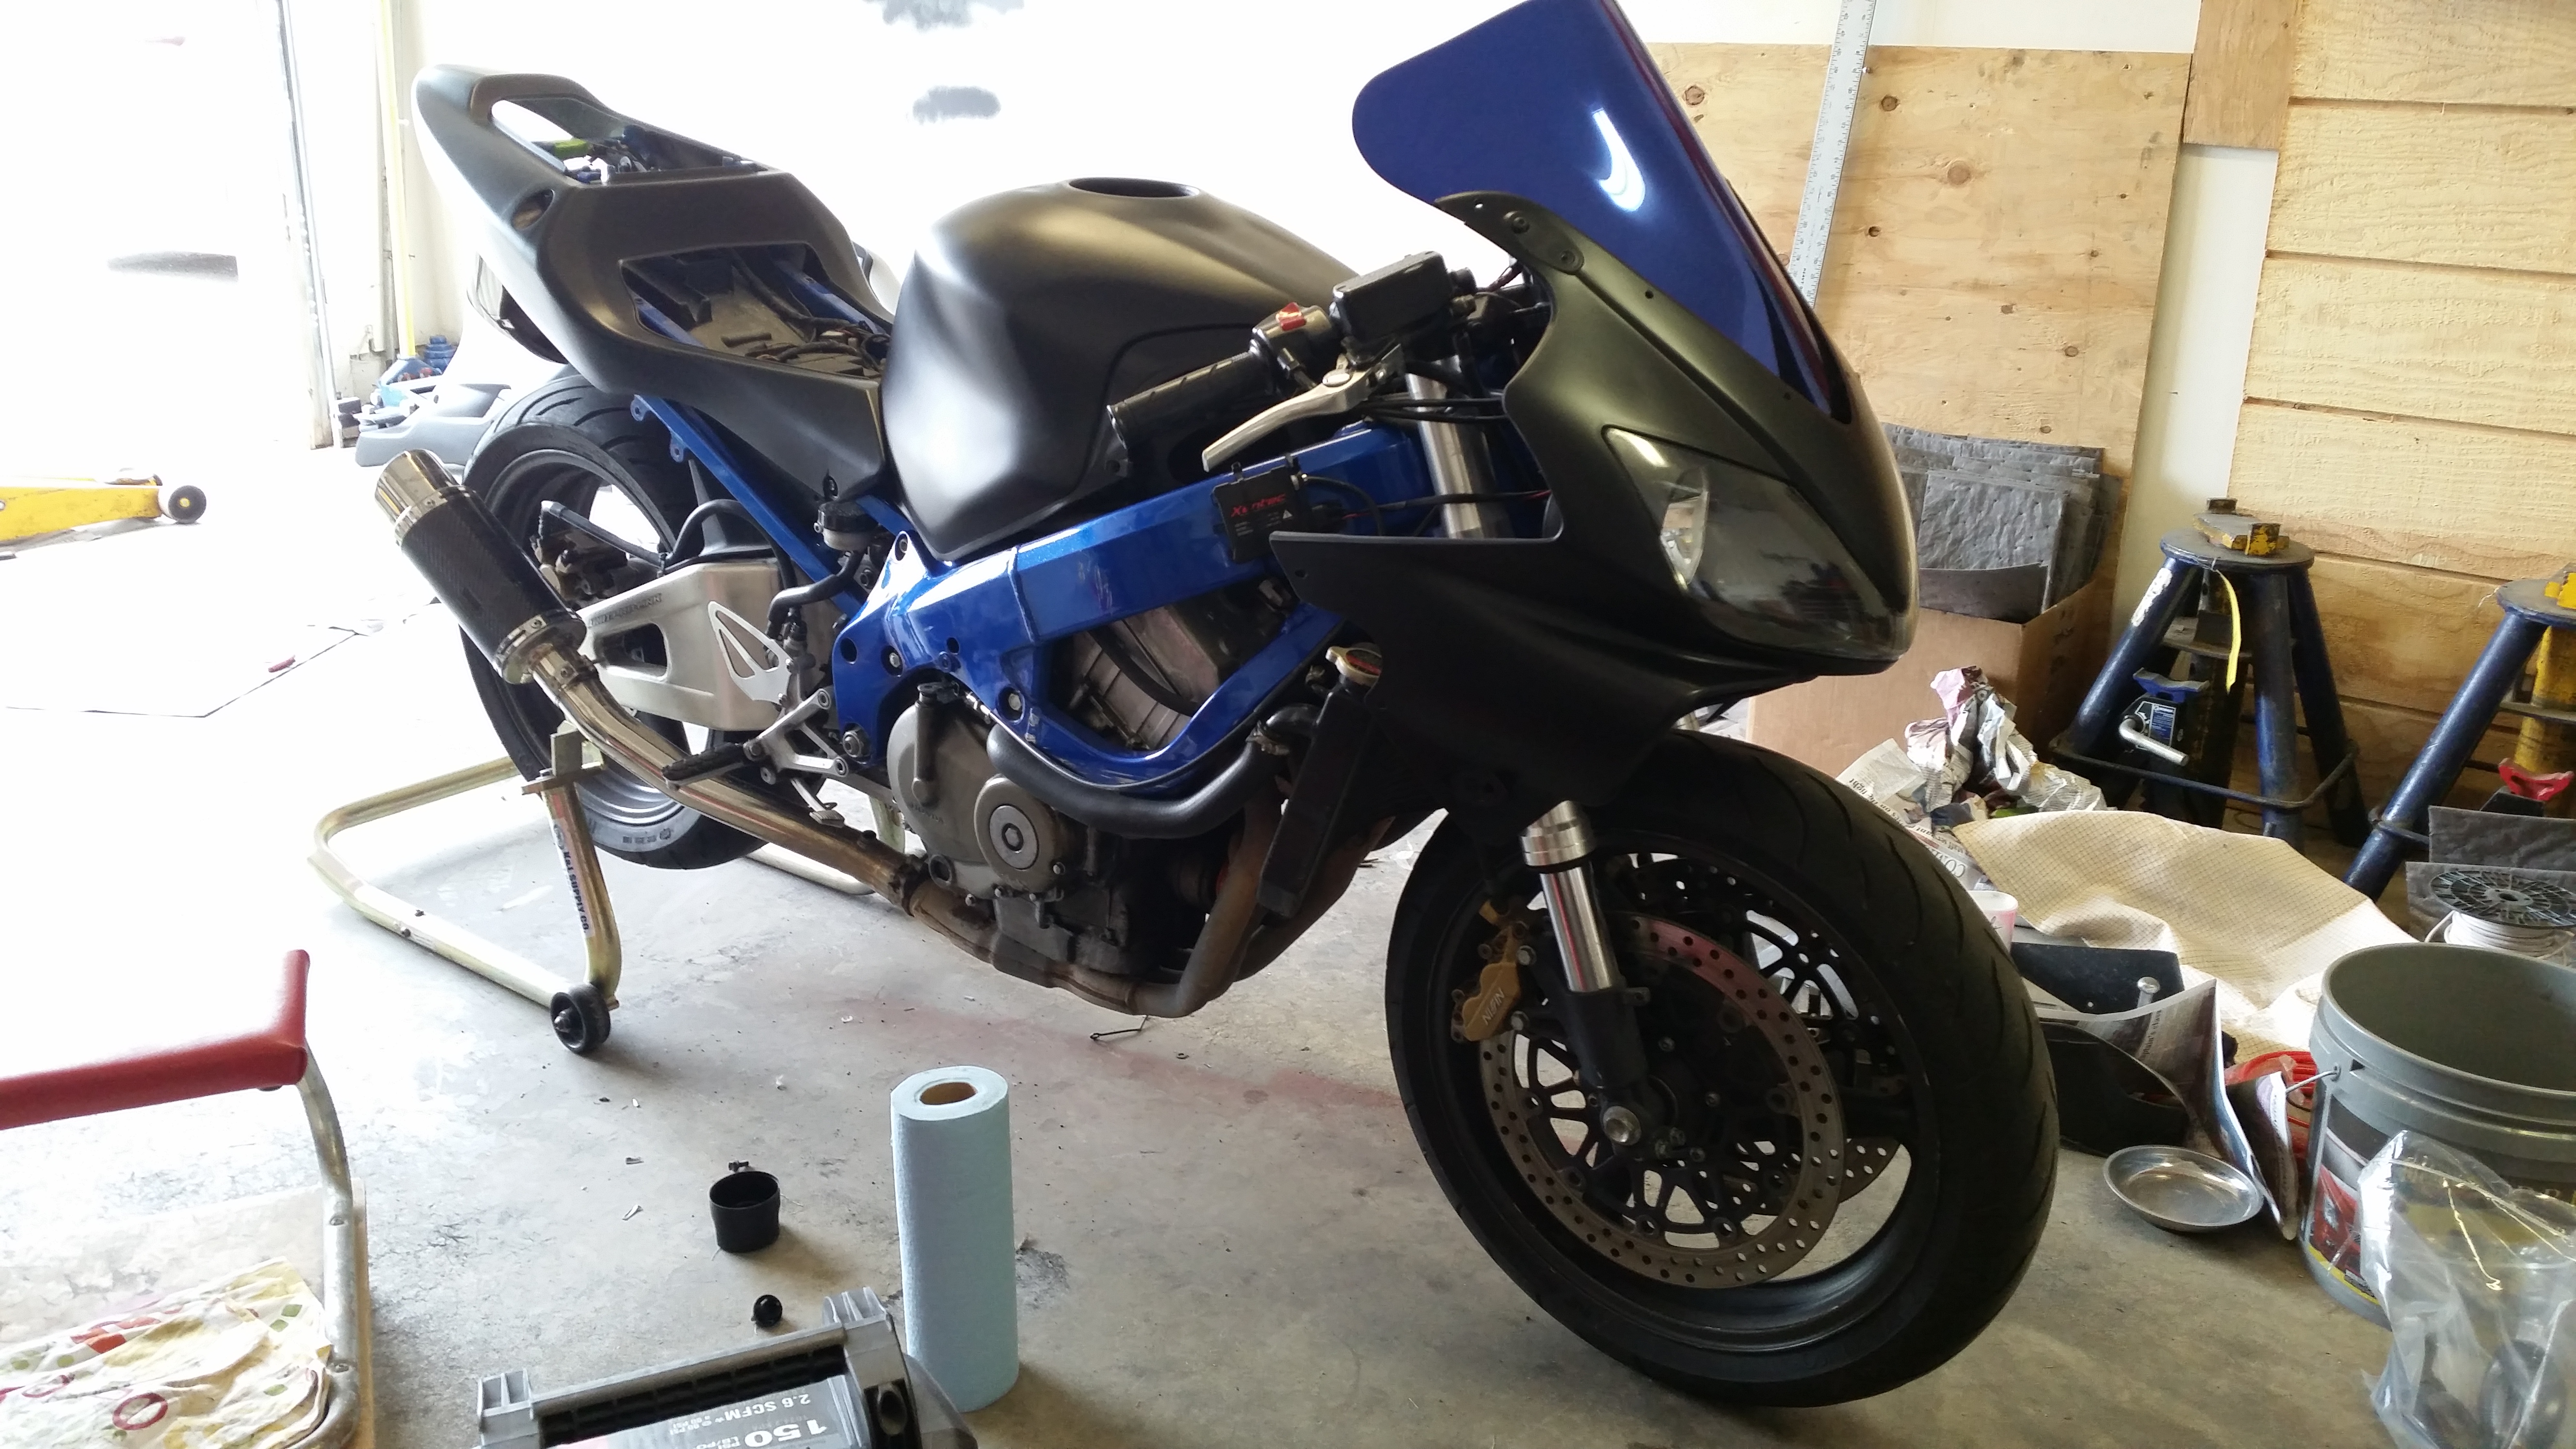 20150711_173557 by Skee907, on Flickr
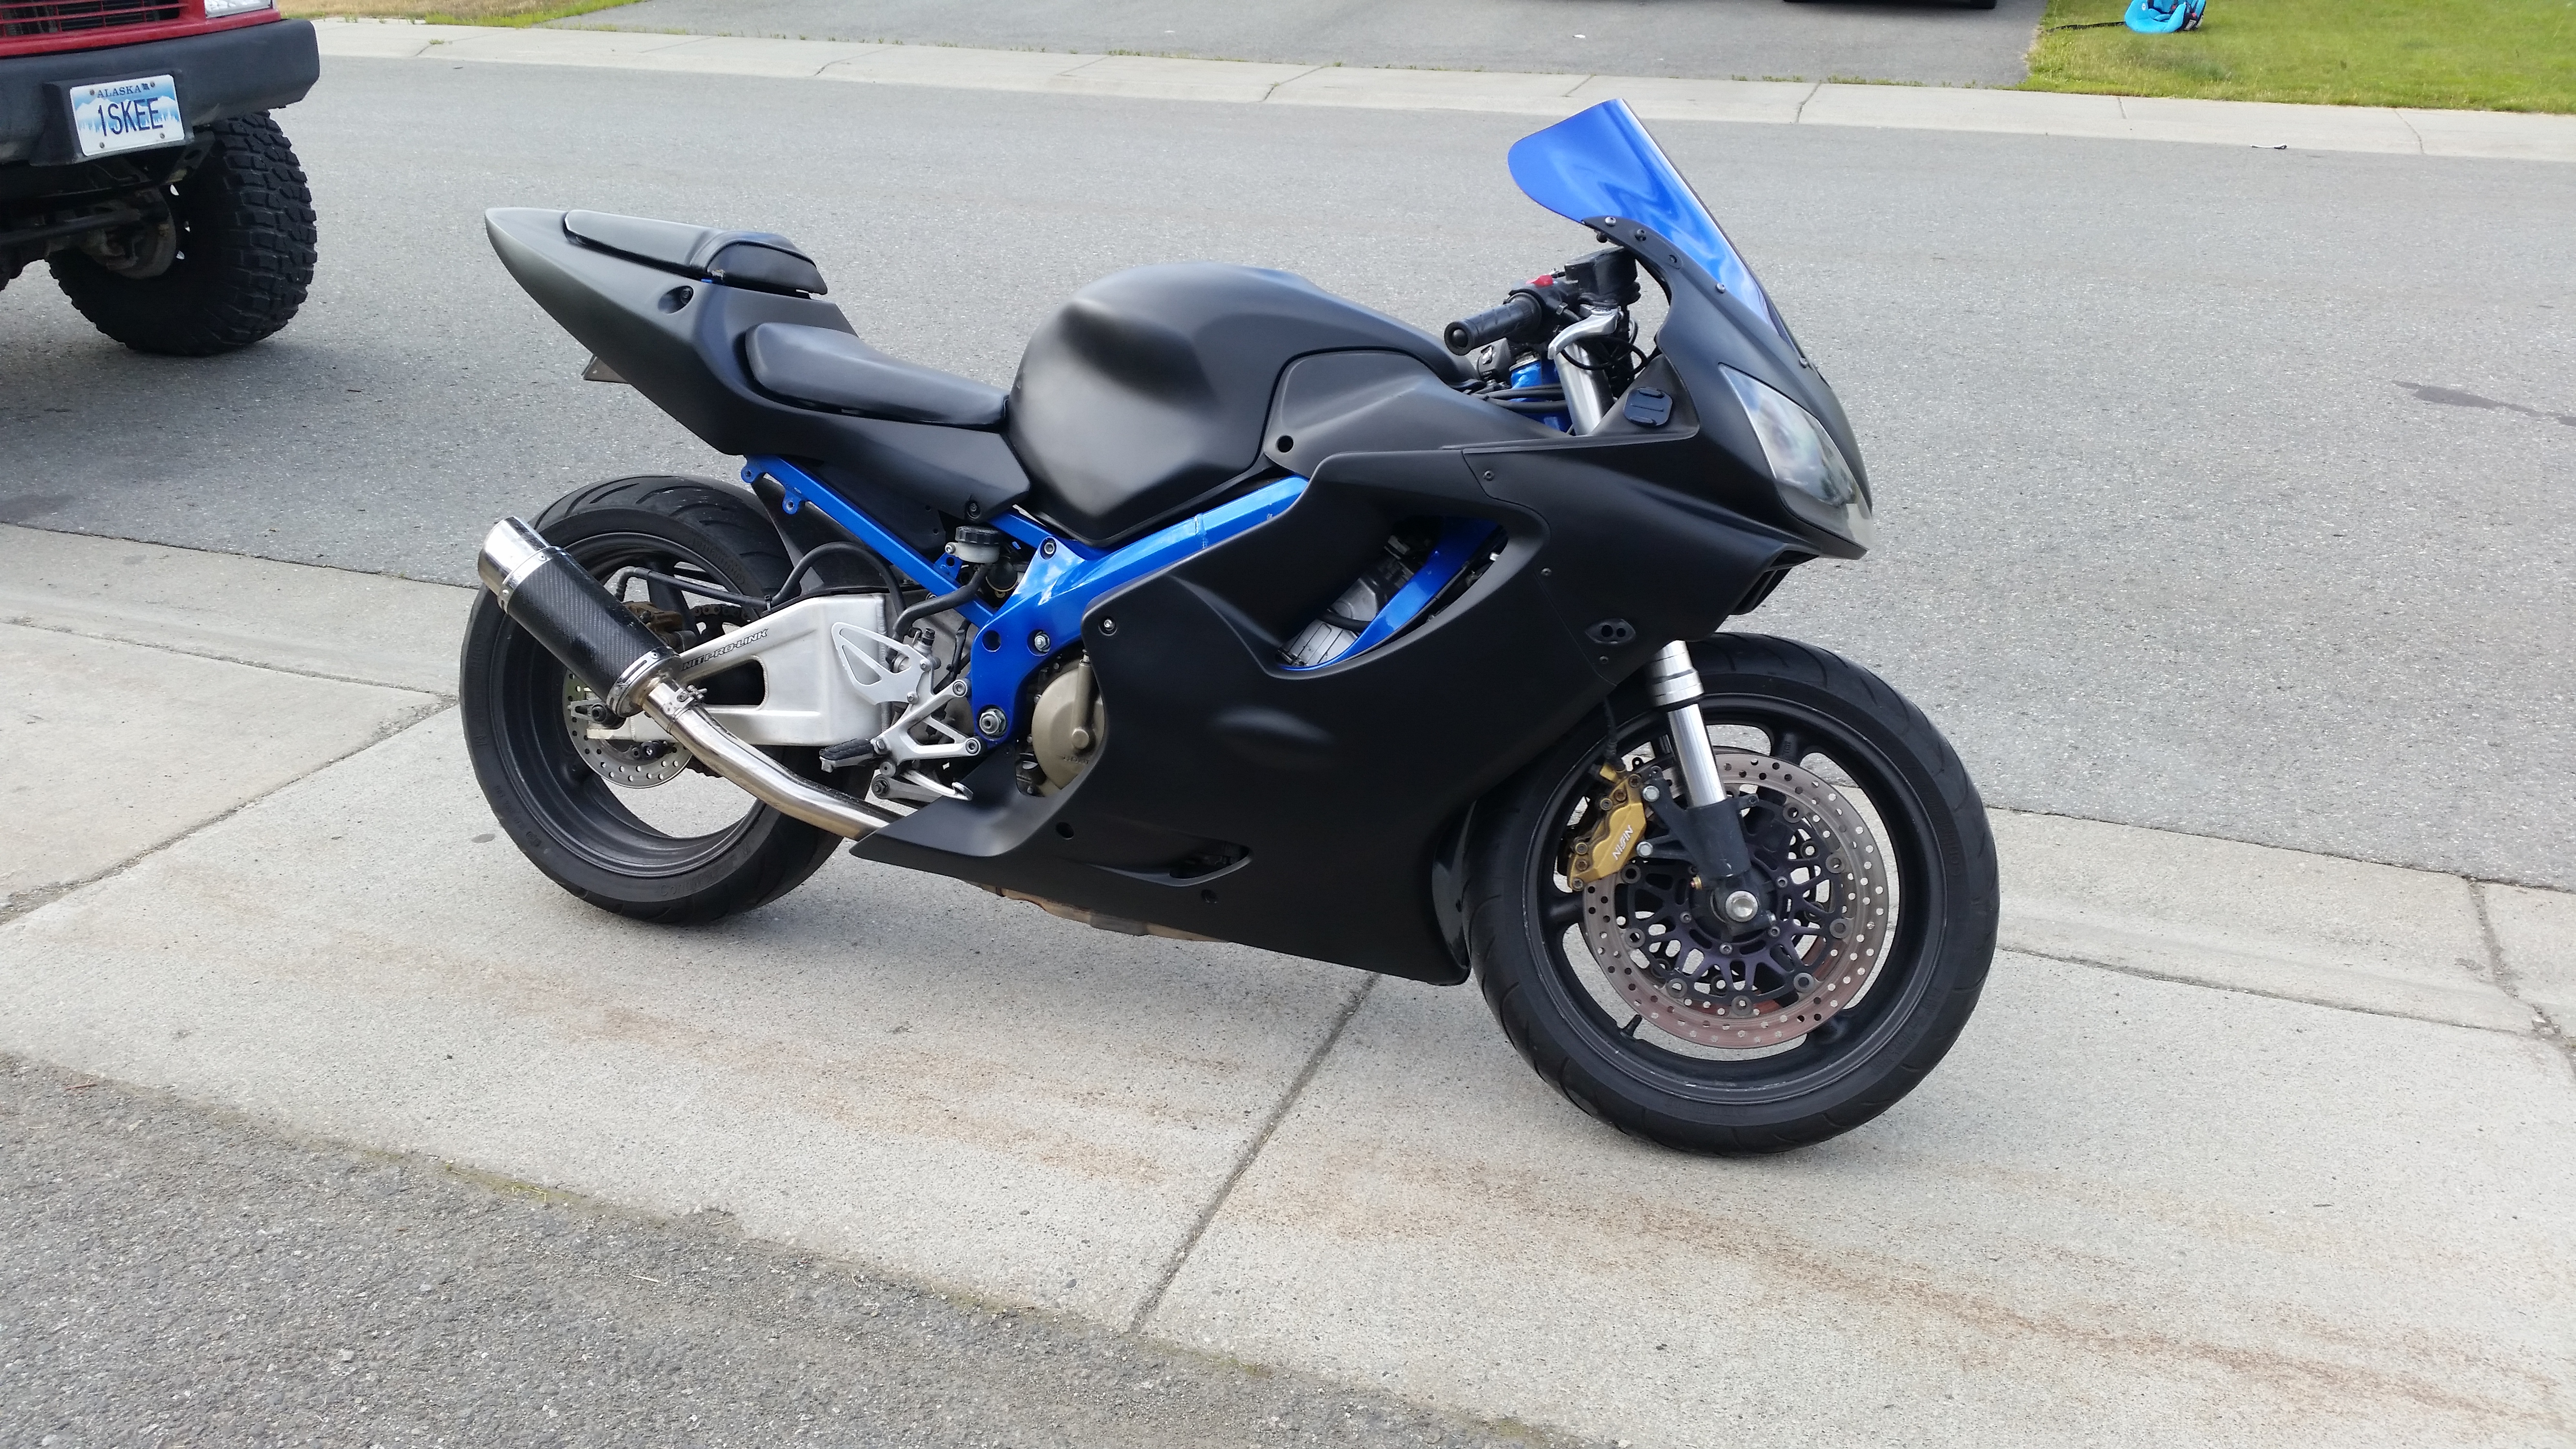 20150711_202348 by Skee907, on Flickr
Thread Starter
|
Senior Member
Joined: Aug 2013
Posts: 278
Likes: 2
Thread Starter
|
Senior Member
Joined: Aug 2013
Posts: 278
Likes: 2
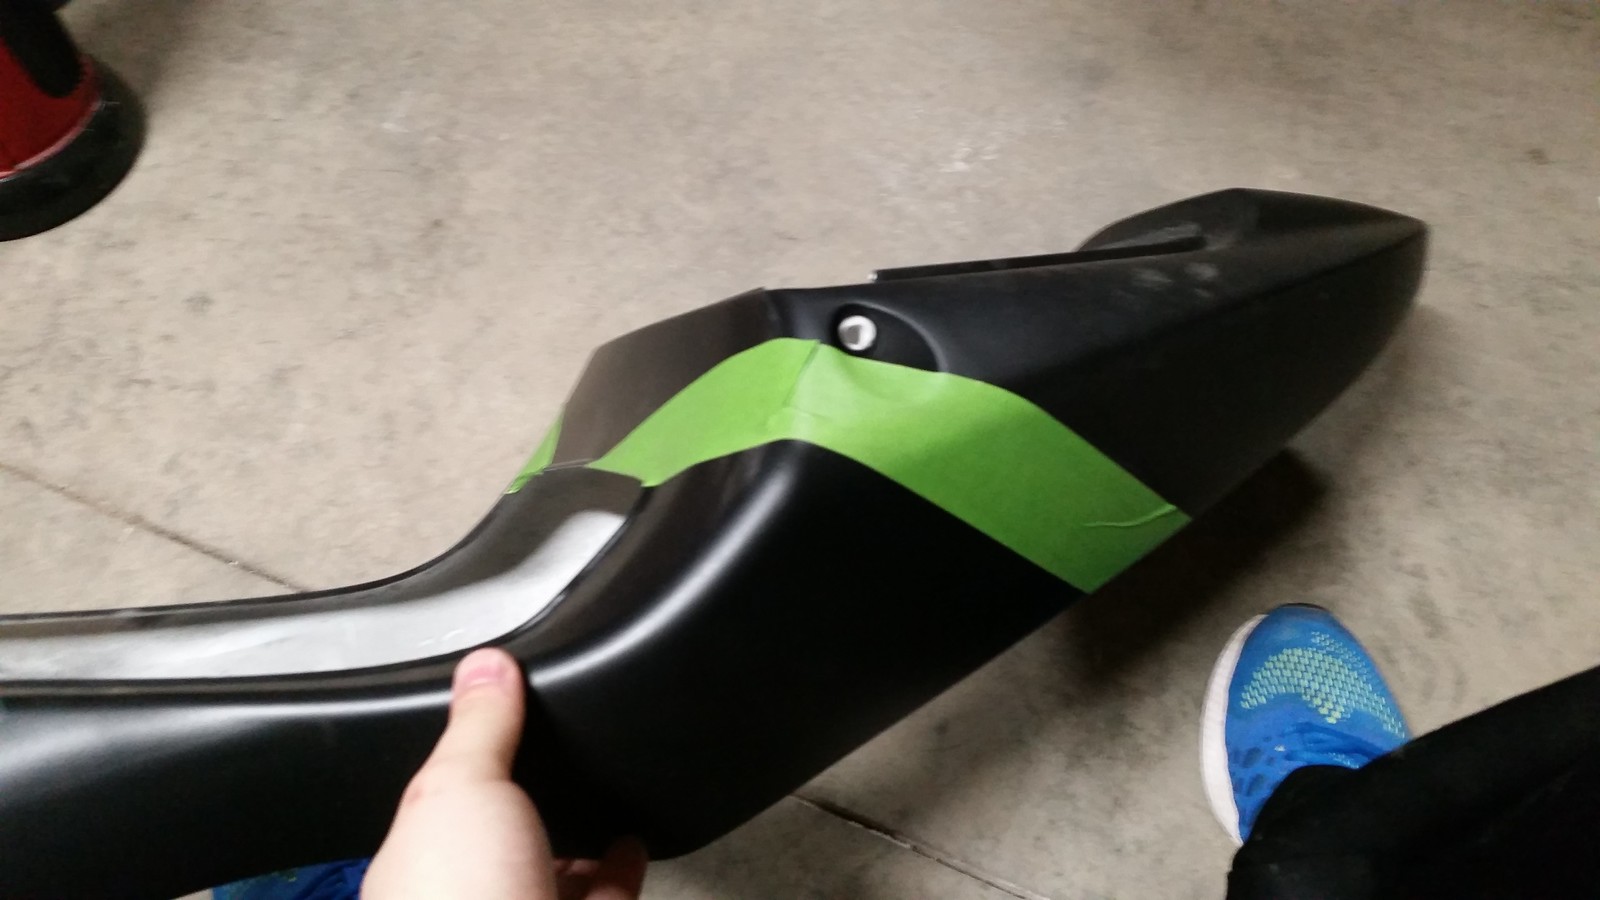
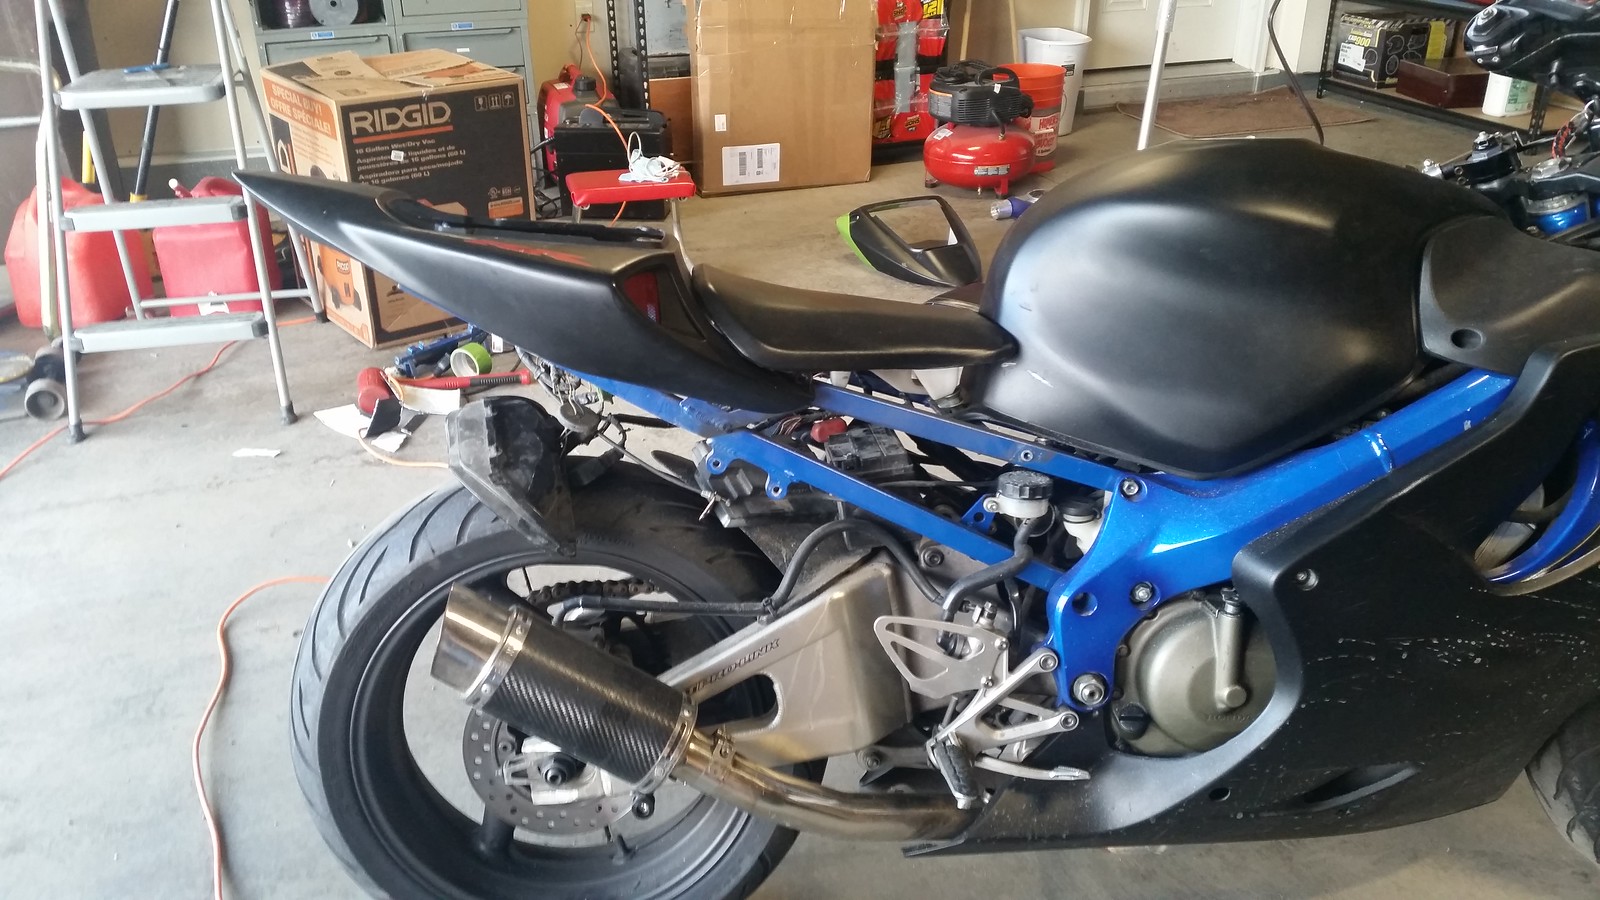
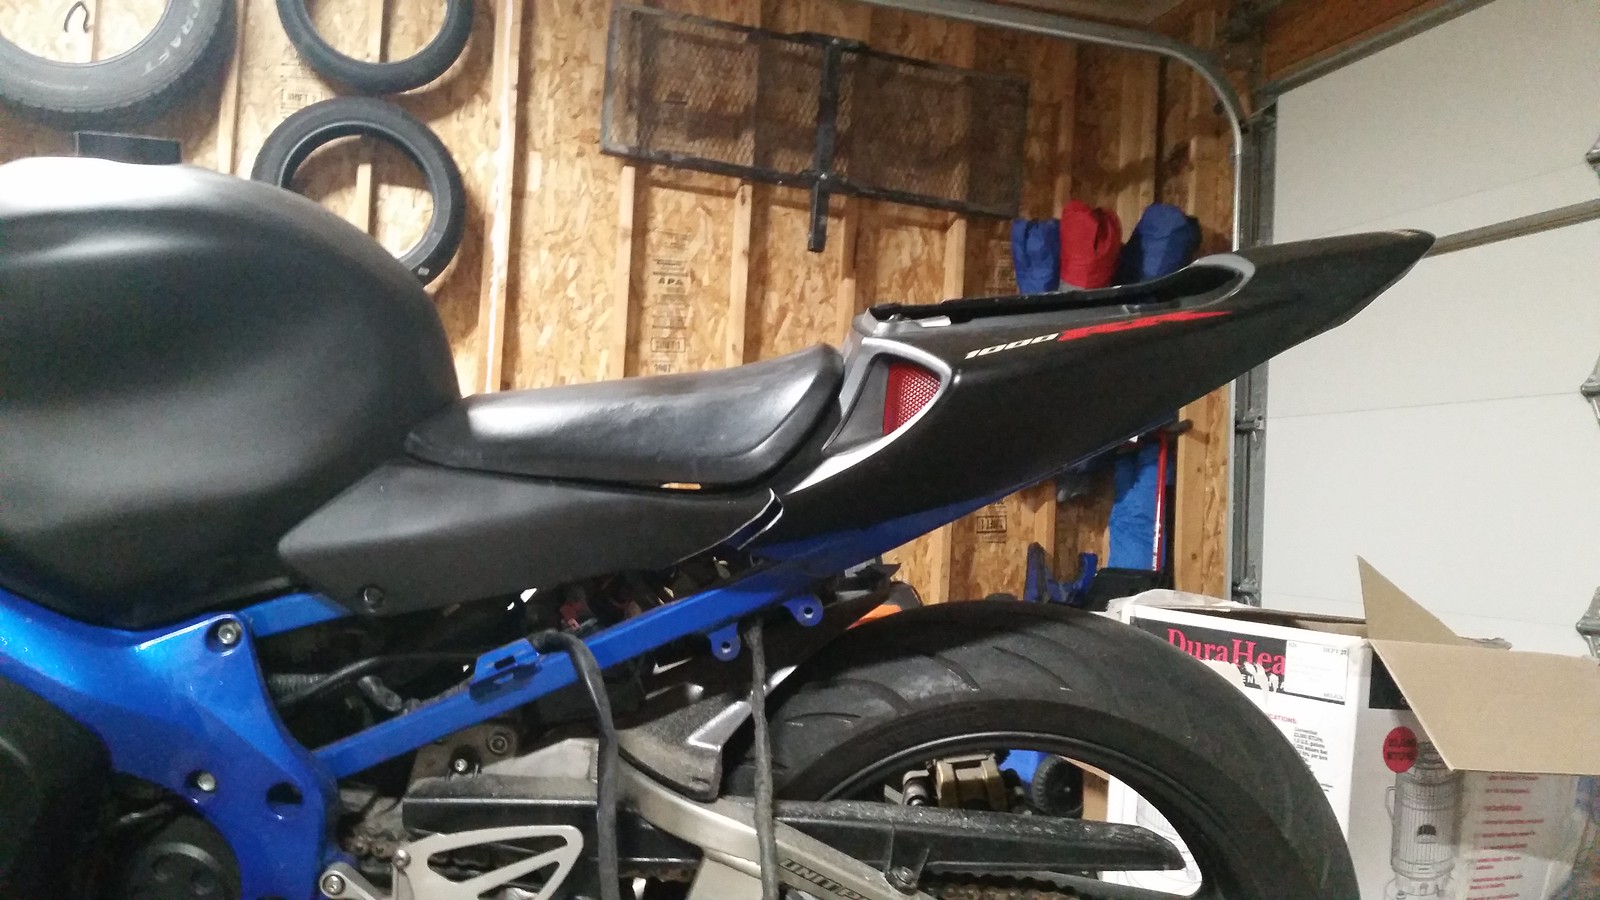
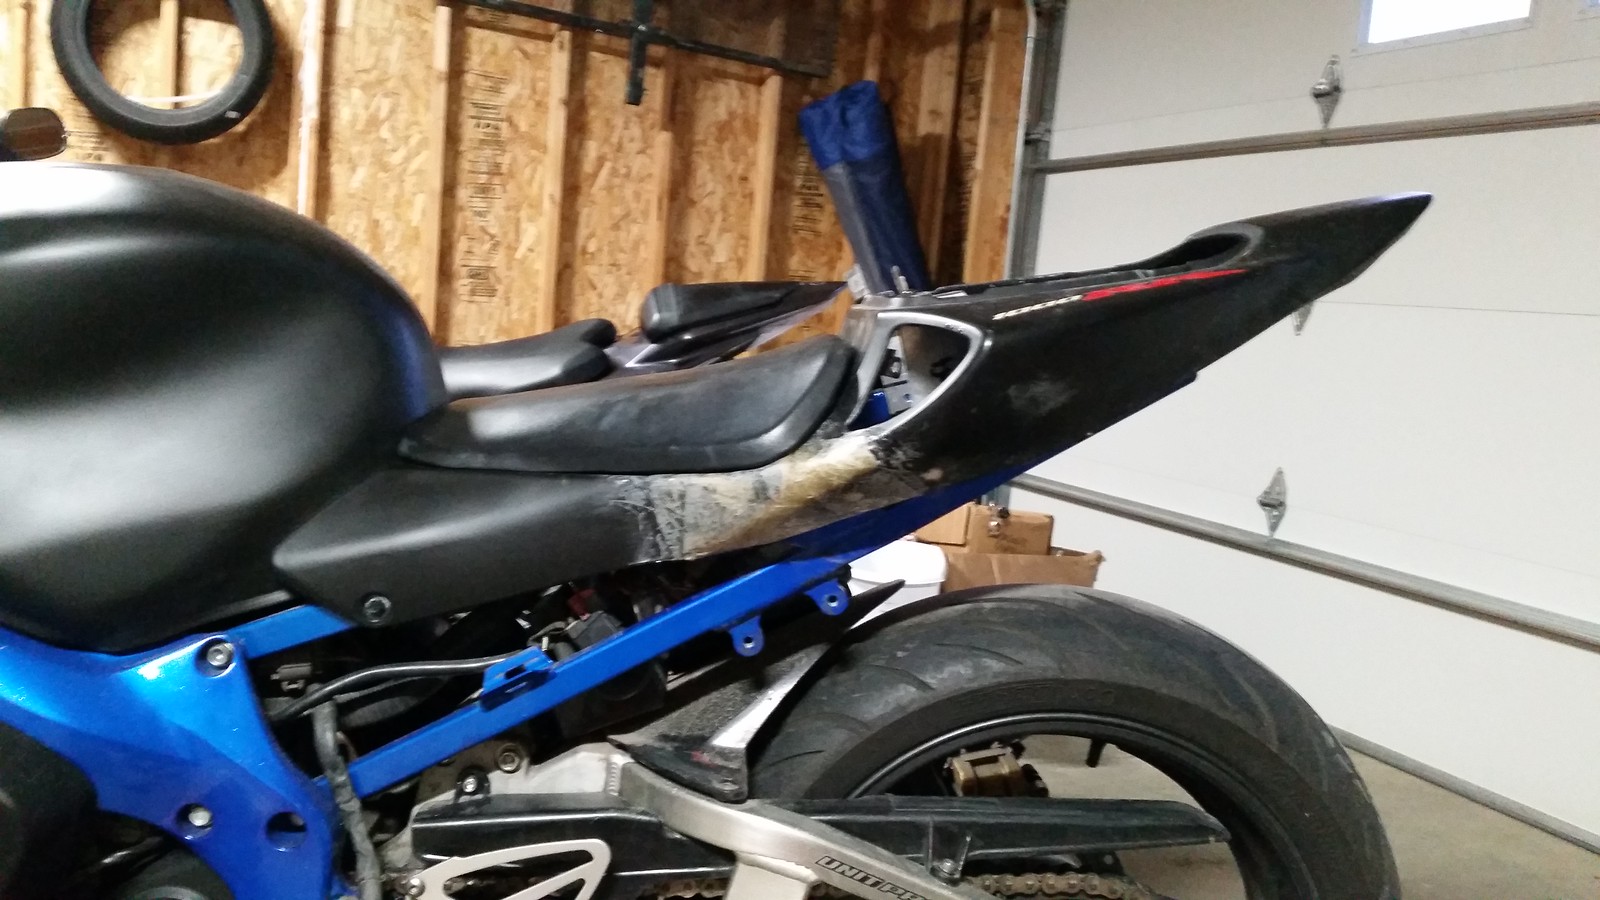
Test fitting the 1000rr tail to see where I like, what the angles will be, etc.
 20160307_181049 by Skee907, on Flickr
The subframe for the F4i is alot longer than needed, and as you can see the new tail needs to come forward about 4" to meet up with the F4i seat.
 20160307_181124 by Skee907, on Flickr
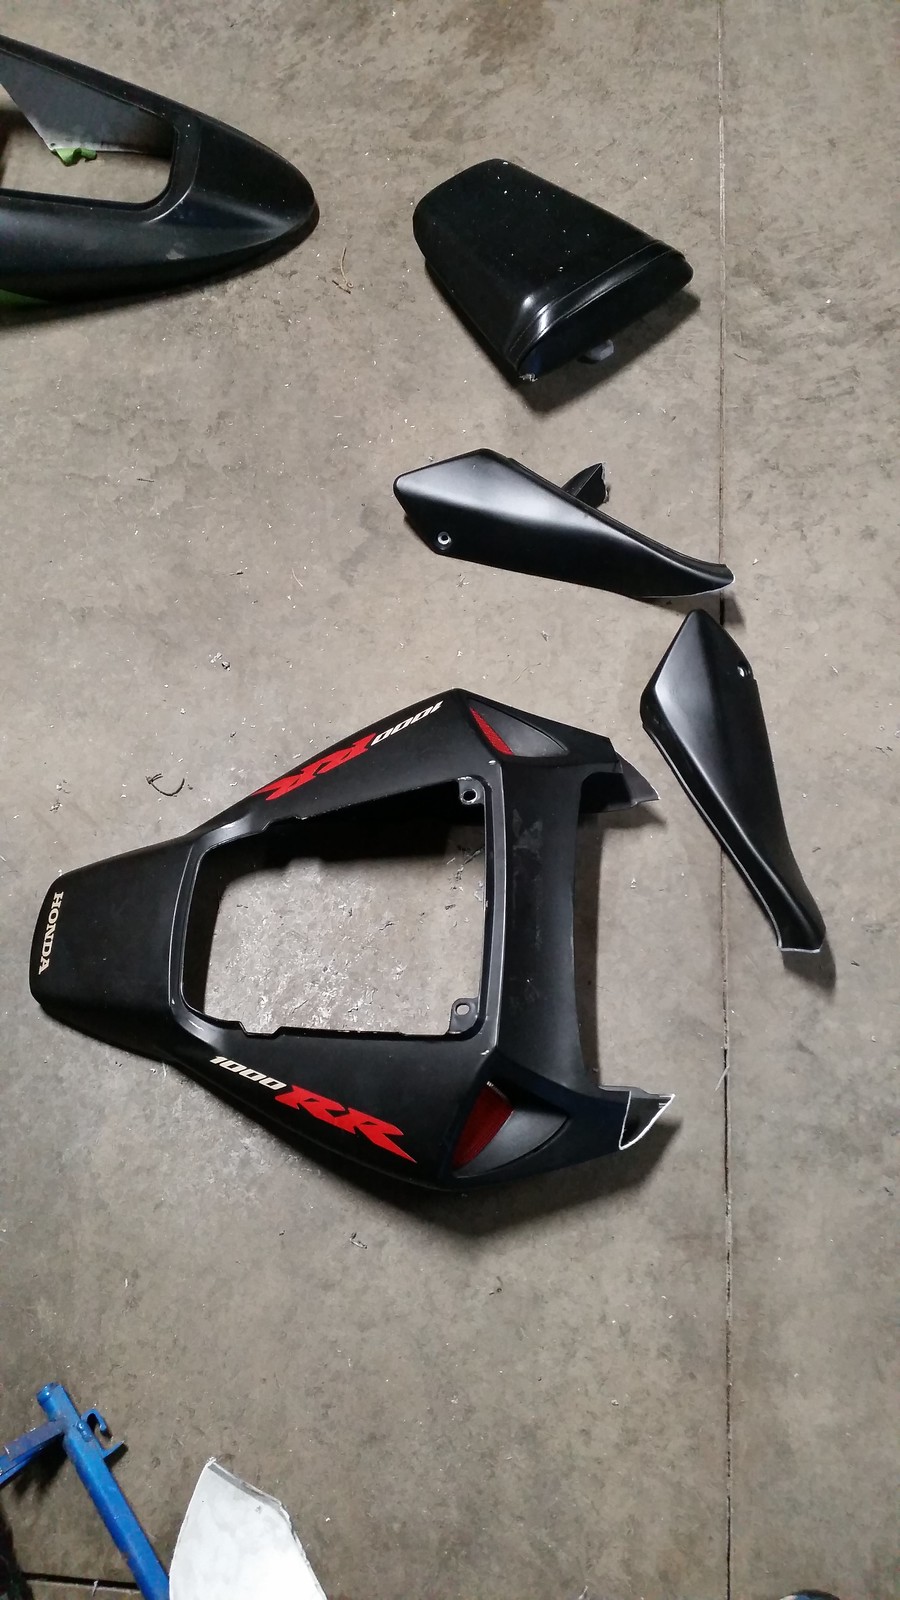
I chopped the F4i tail to leave as much excess and work room after. Its ALWAYS easier to chop more than to put back.
 20160308_200619 by Skee907, on Flickr
 20160308_200919 by Skee907, on Flickr
These are all going to have to go. The front seat brackets, and the bump stops at the very end of the subframe.
 20160308_201145 by Skee907, on Flickr
20160307_181049 by Skee907, on FlickrThe subframe for the F4i is alot longer than needed, and as you can see the new tail needs to come forward about 4" to meet up with the F4i seat.
20160307_181124 by Skee907, on FlickrI chopped the F4i tail to leave as much excess and work room after. Its ALWAYS easier to chop more than to put back.
20160308_200619 by Skee907, on Flickr20160308_200919 by Skee907, on FlickrThese are all going to have to go. The front seat brackets, and the bump stops at the very end of the subframe.
20160308_201145 by Skee907, on Flickr
Thread Starter
|
Senior Member
Joined: Aug 2013
Posts: 278
Likes: 2
Chopped and smoothed the subframe of all the extra brackets. Didn't remove the rear sets as we still use that as tiedown points, and it would show on the blue powdercoat.
 20160308_202018 by Skee907, on Flickr
 20160308_202022 by Skee907, on Flickr
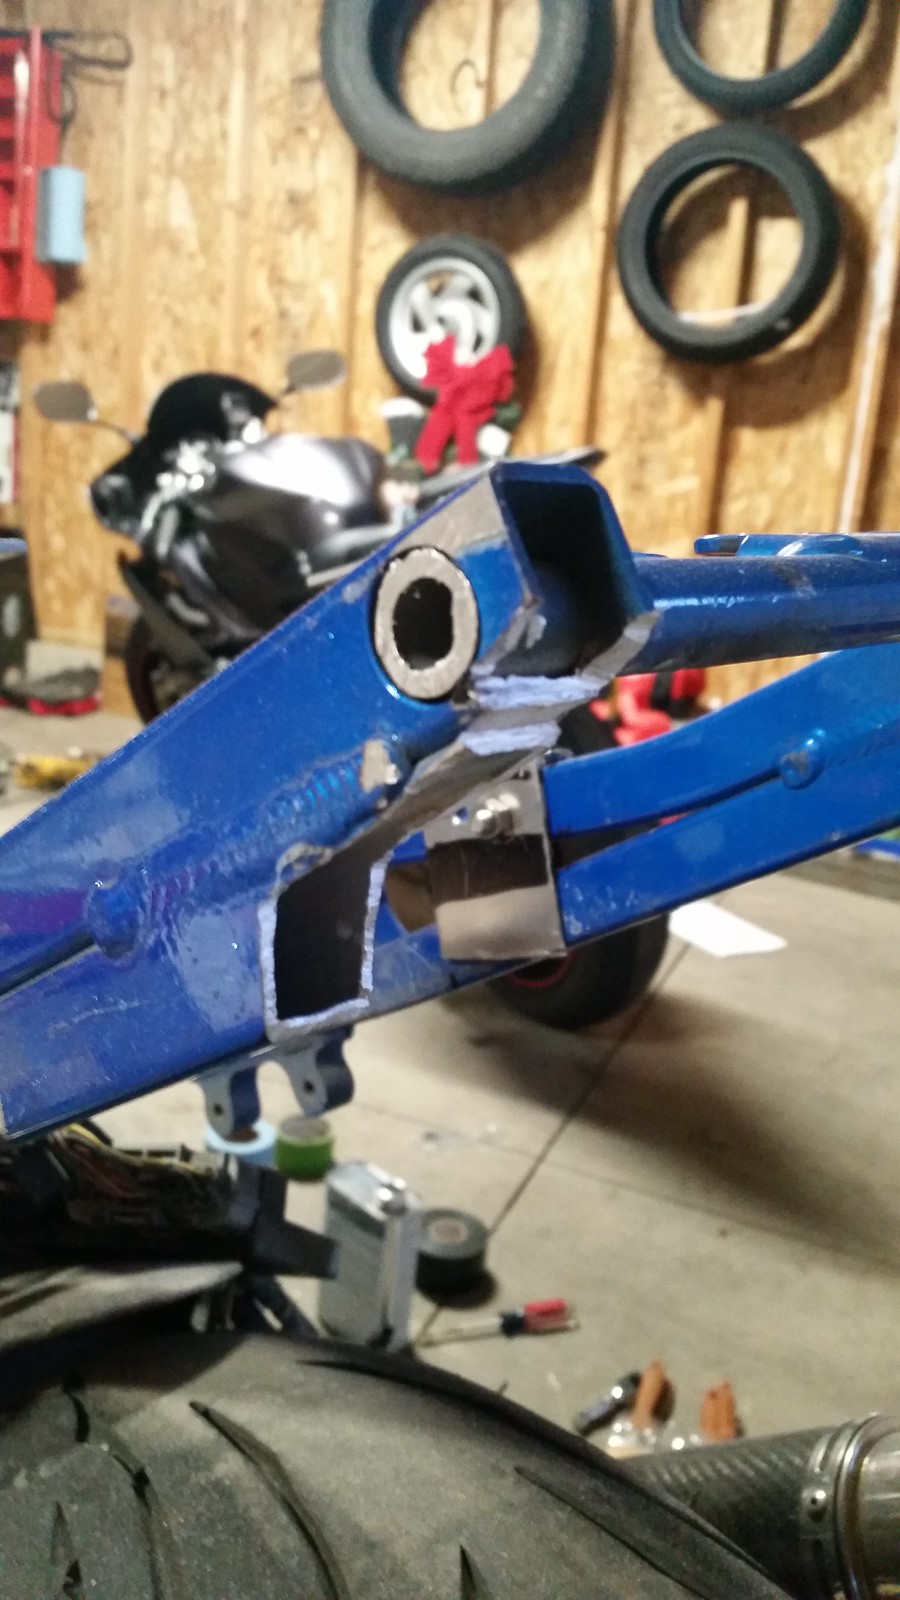
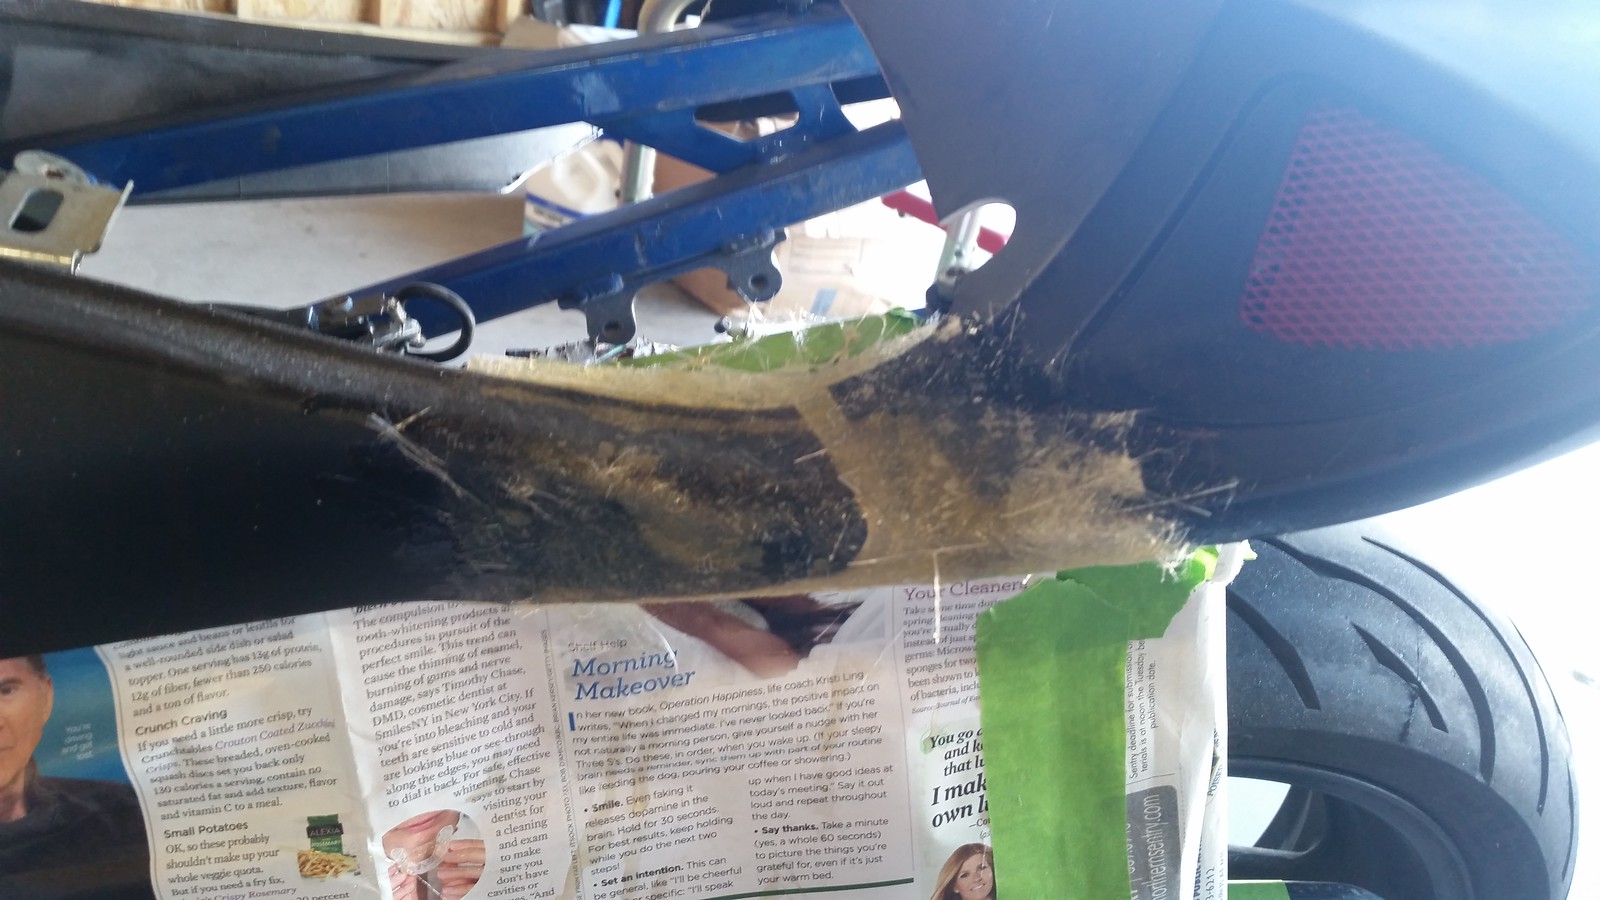
Also took some out of the end and bottom of the subframe to make clearance for the sleeker tail. Too much subframe would show underneath if it was left. Also, it made it too wide for the tail.
 20160316_195154 by Skee907, on Flickr
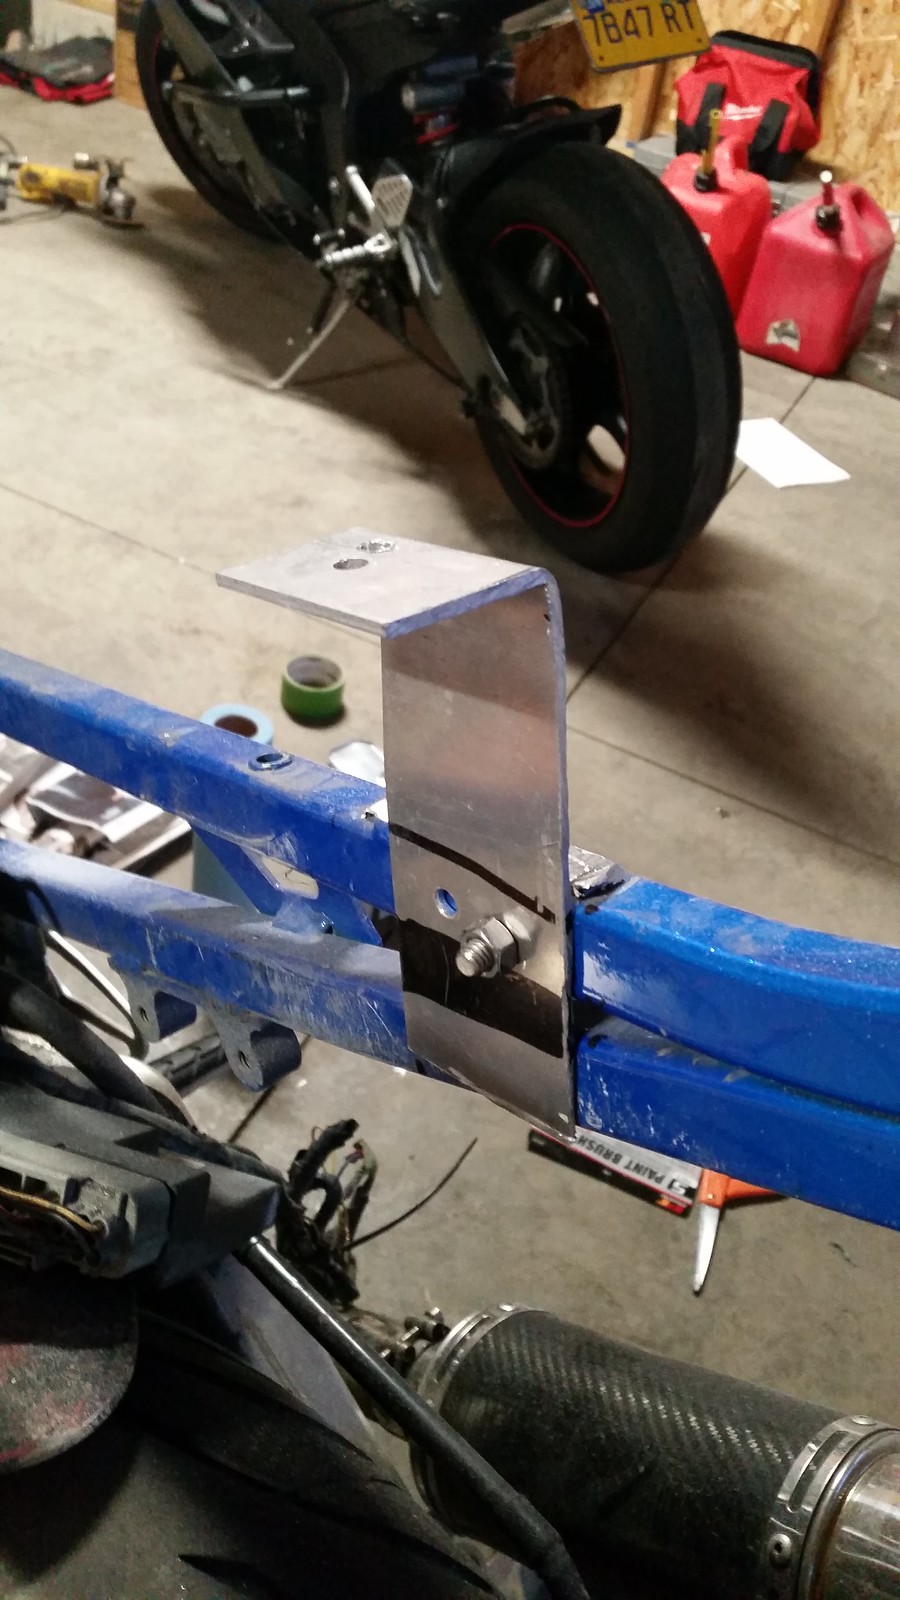
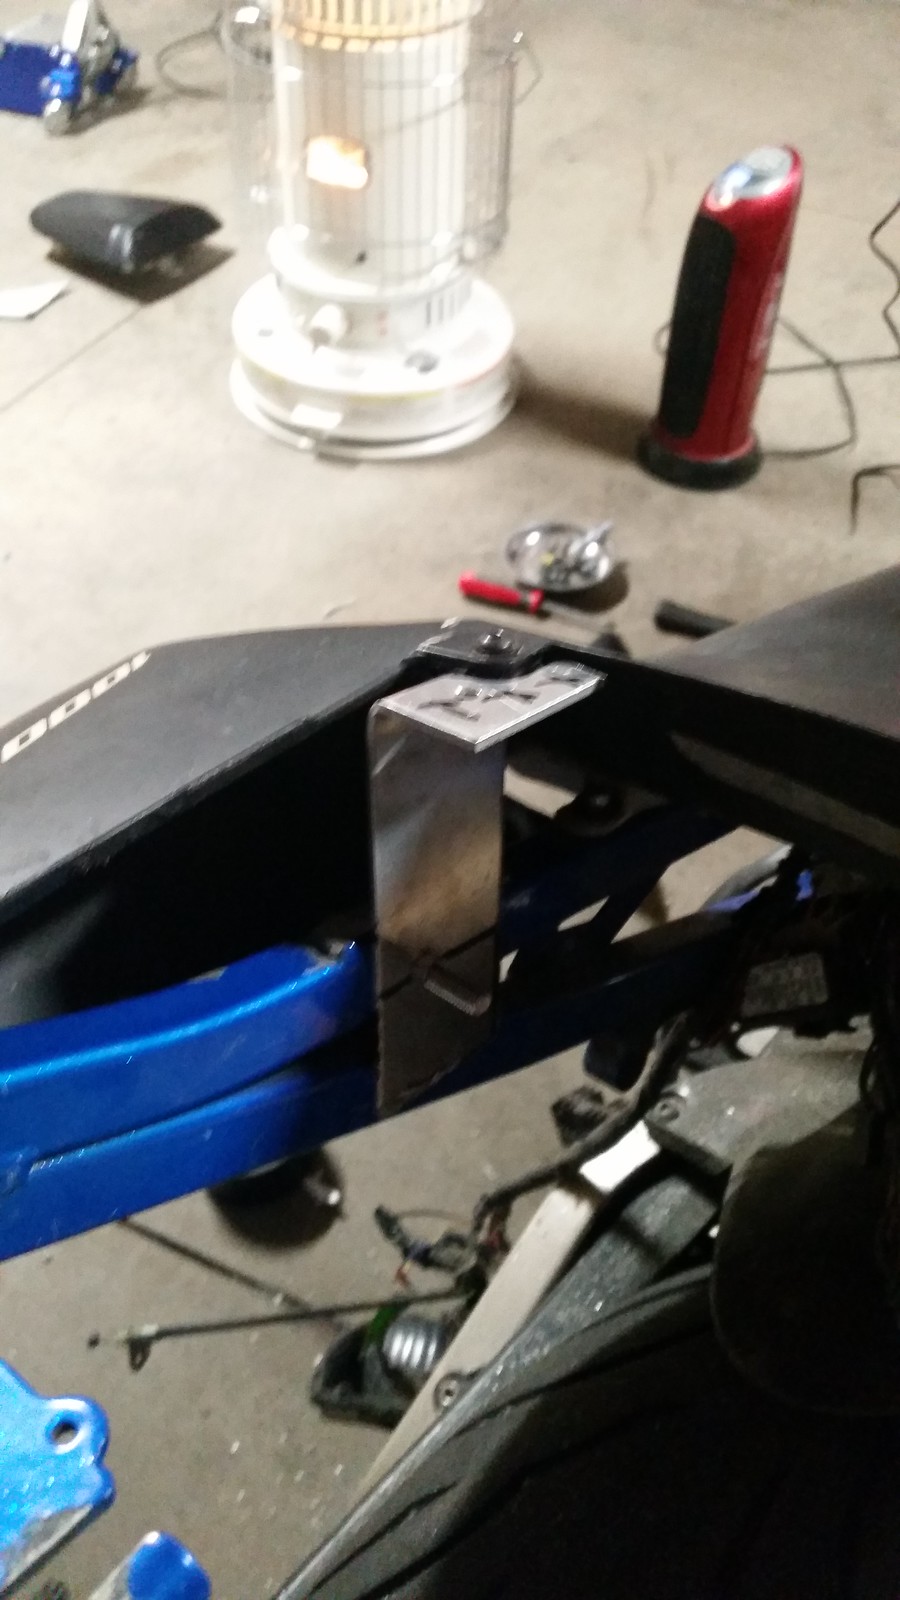
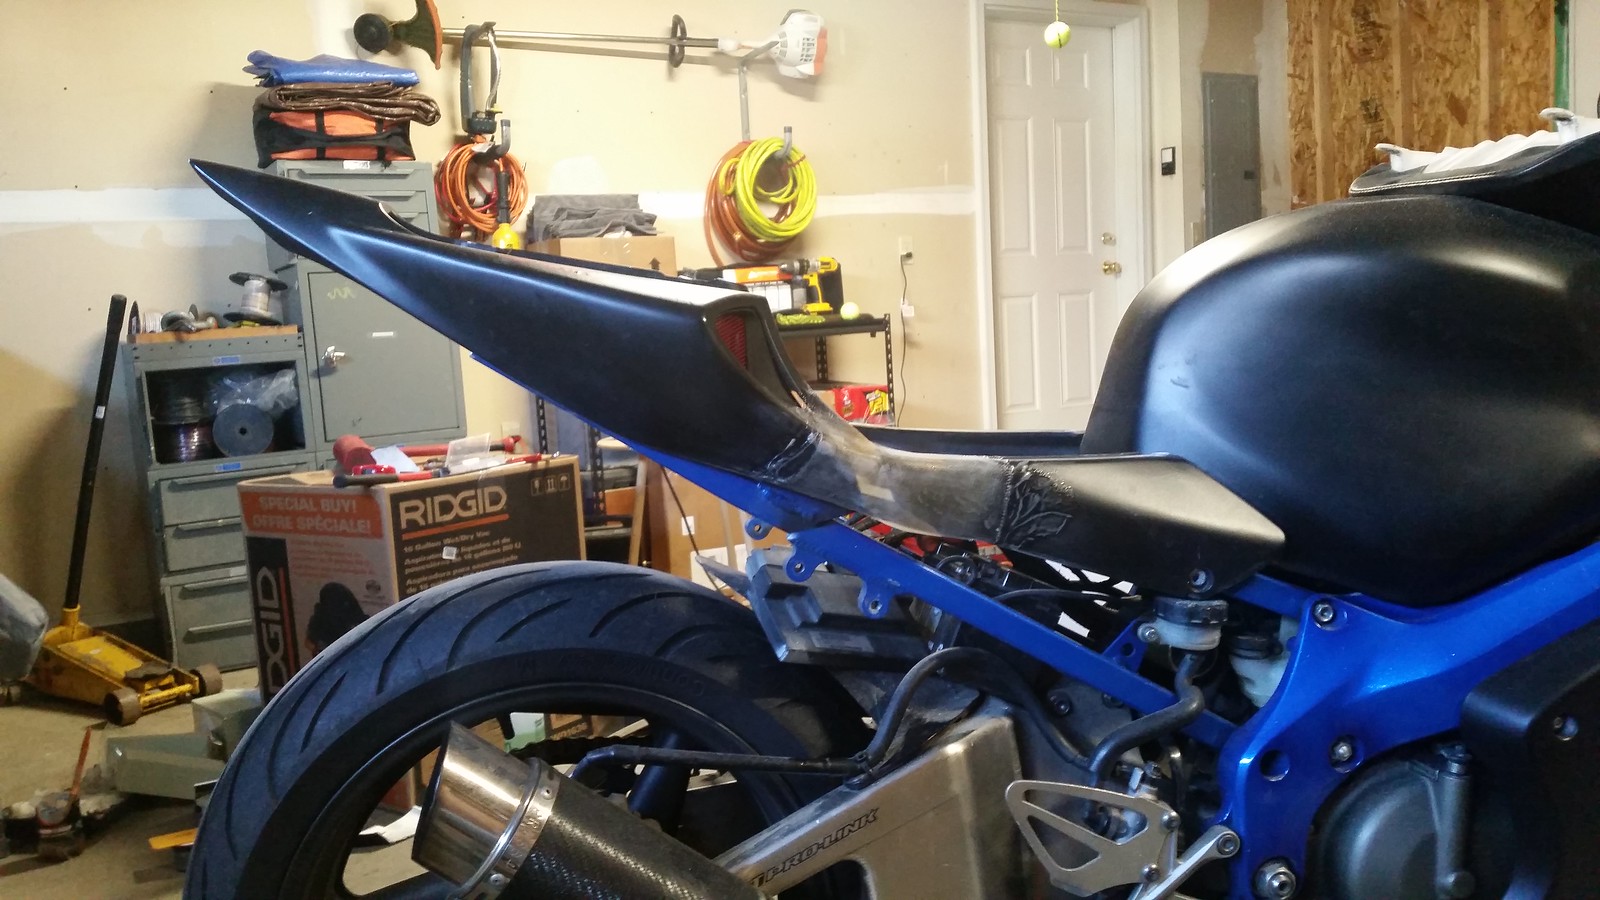
With the 1000rr tail fitting the way I wanted and the angles looking good, I made temporary brackets to hold it in place. Simple aluminum bent in 90* angles in a vice and drilled to match the existing holes in the tail.
 20160316_195159 by Skee907, on Flickr
 20160316_195203 by Skee907, on Flickr
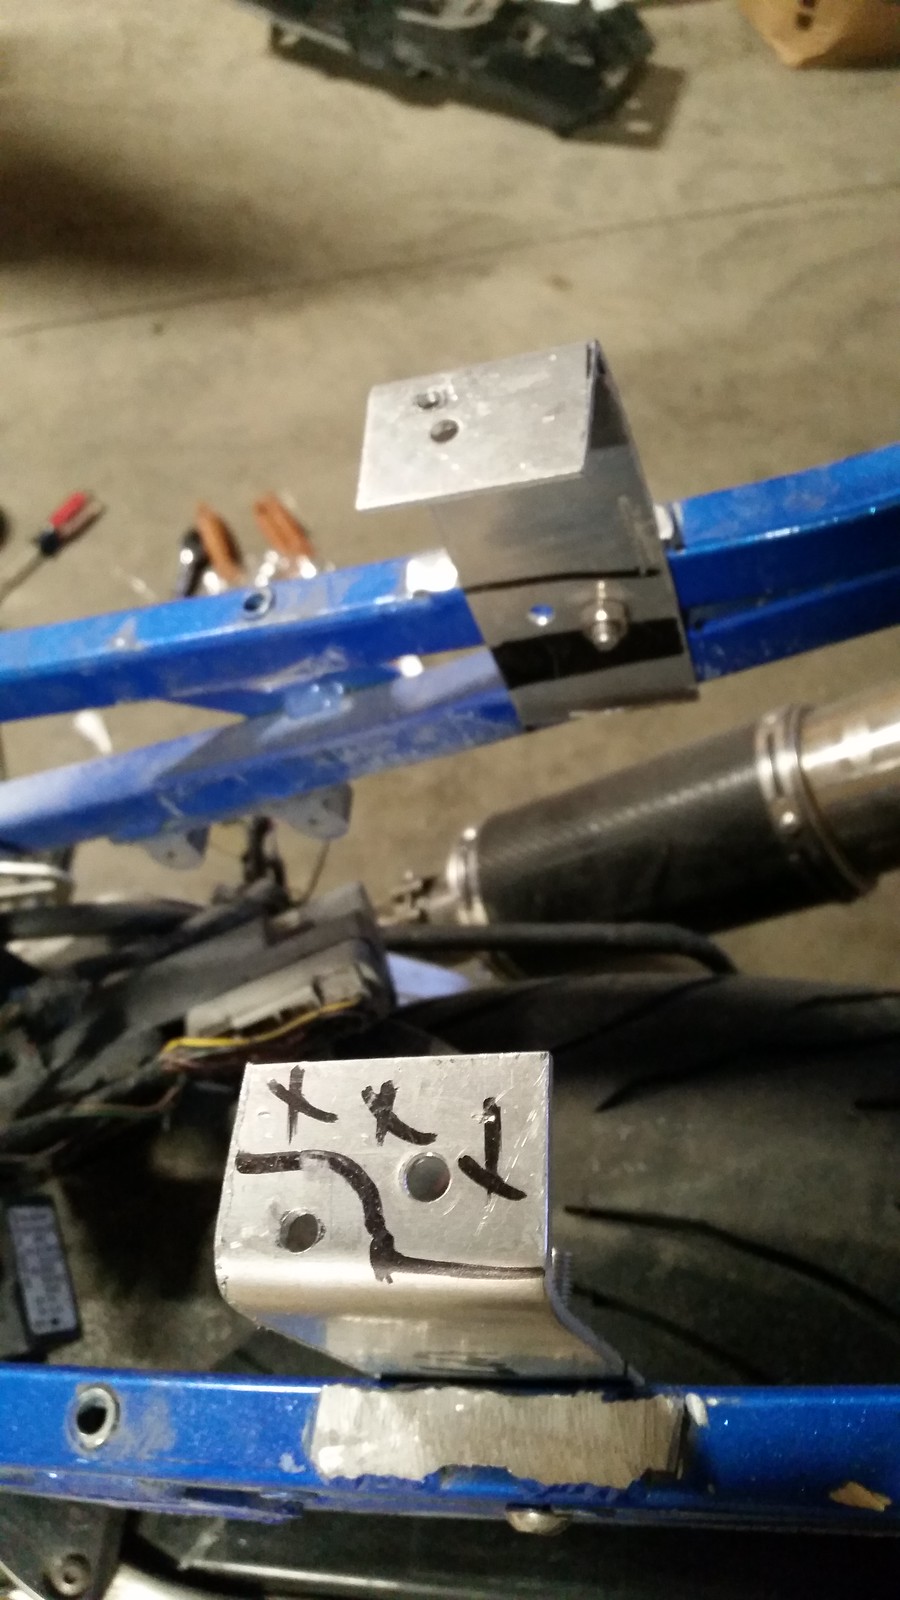 20160316_195213 by Skee907, on Flickr
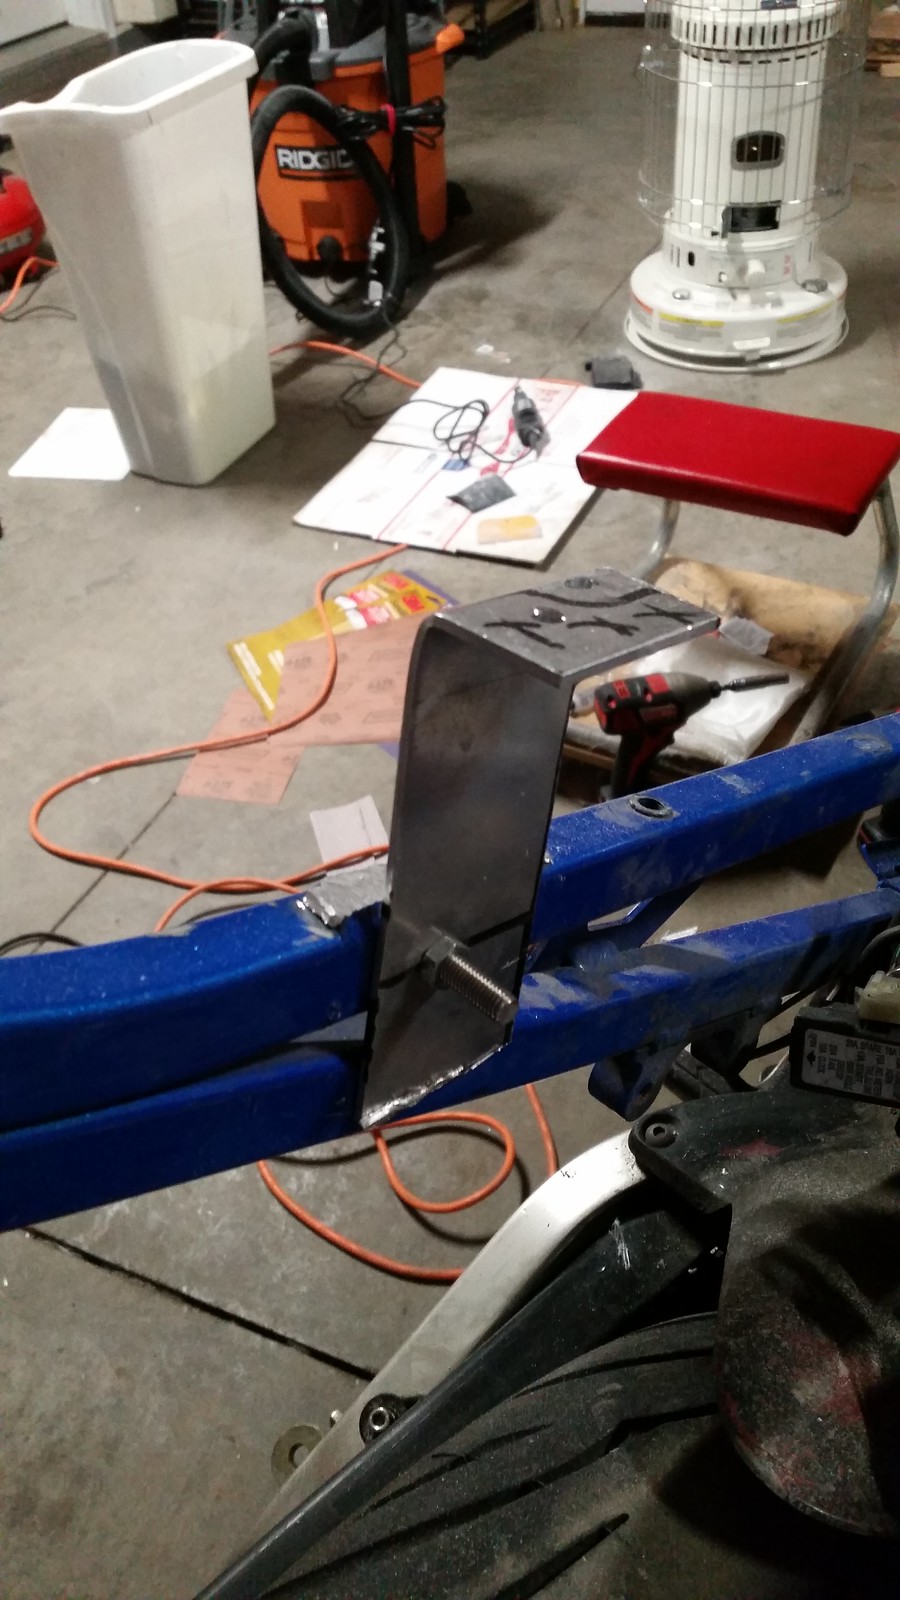
I plan to remake these brackets once I build the undertail/trunk box.
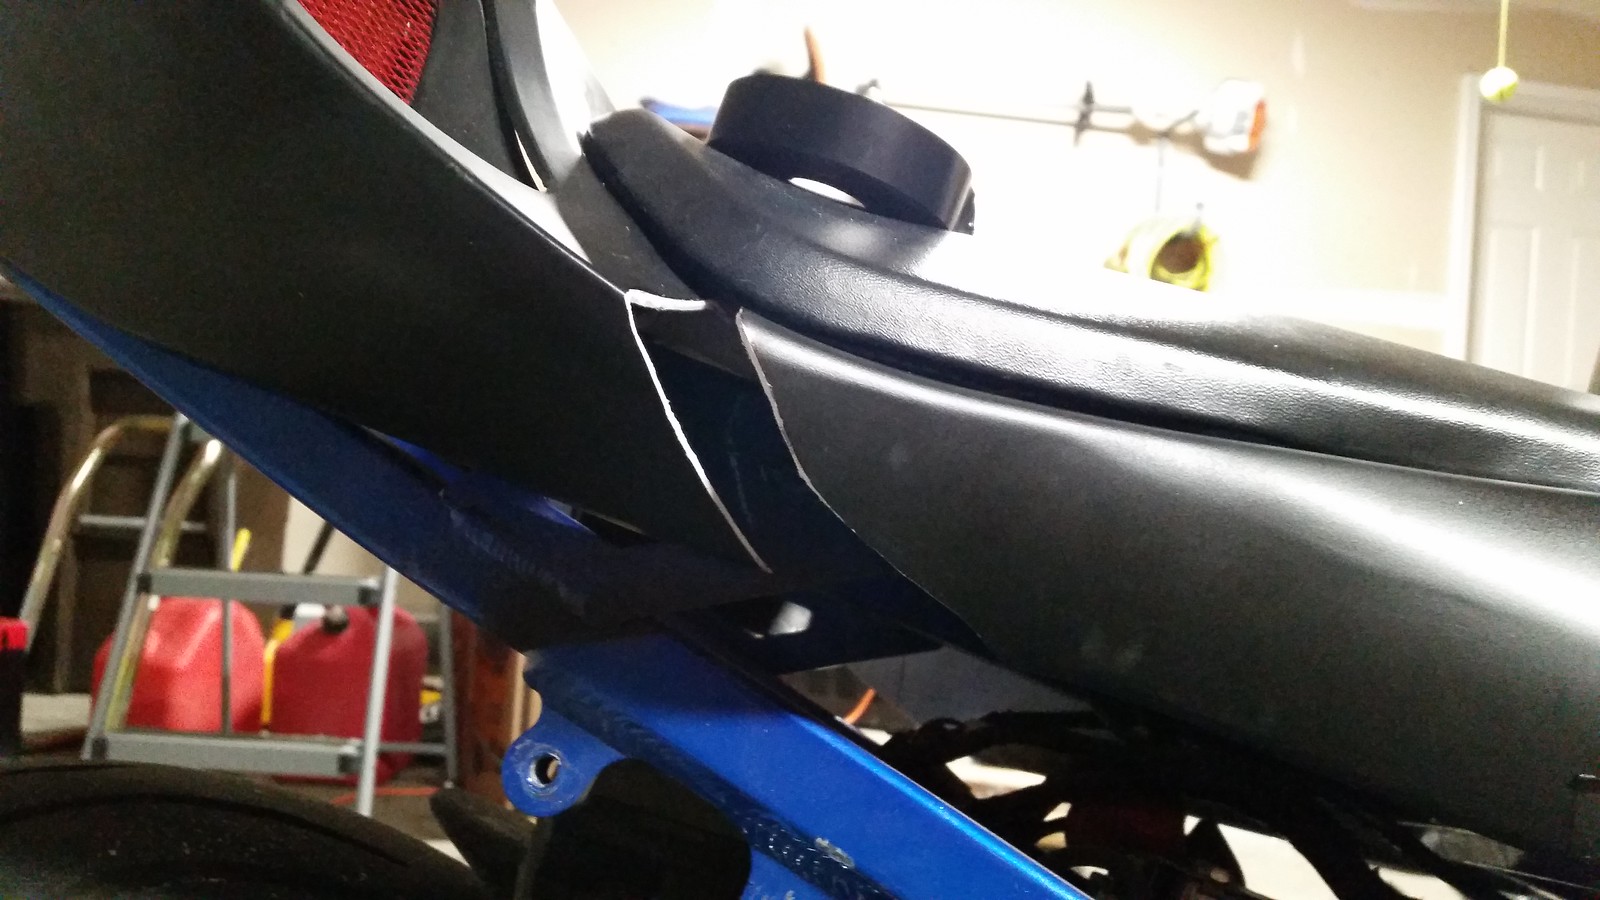
With that held in place, it allowed me to start trimming down the front til the angles were close to matching up. There is a point where the tails are just too different in angles, and you will have to make the transition smooth yourself from the fiberglass.
 20160308_210812 by Skee907, on Flickr
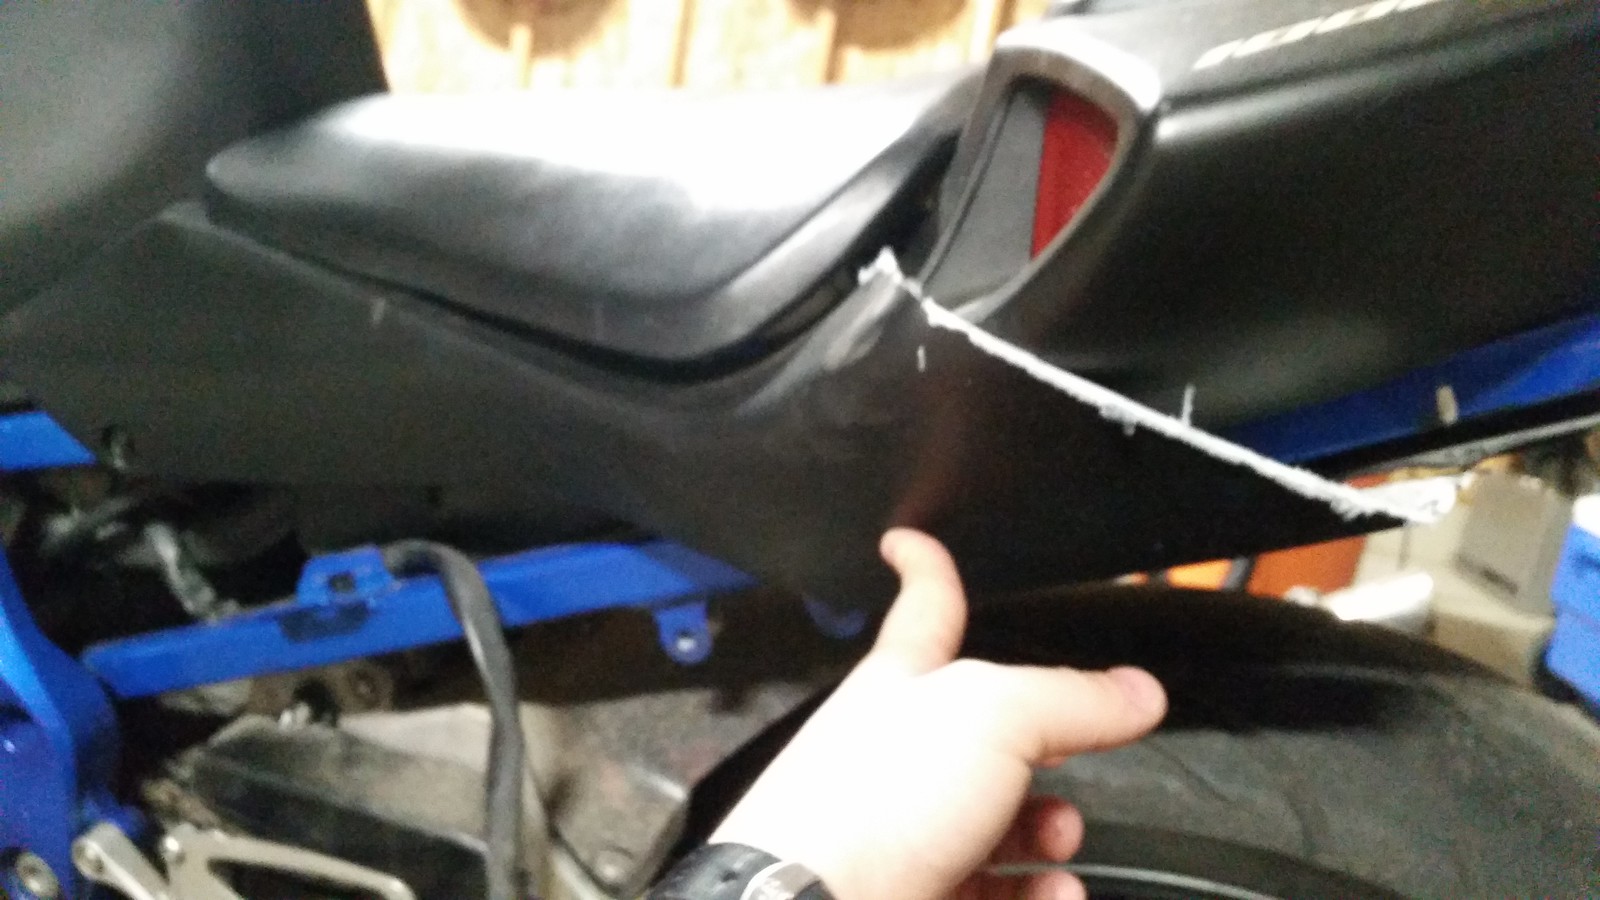
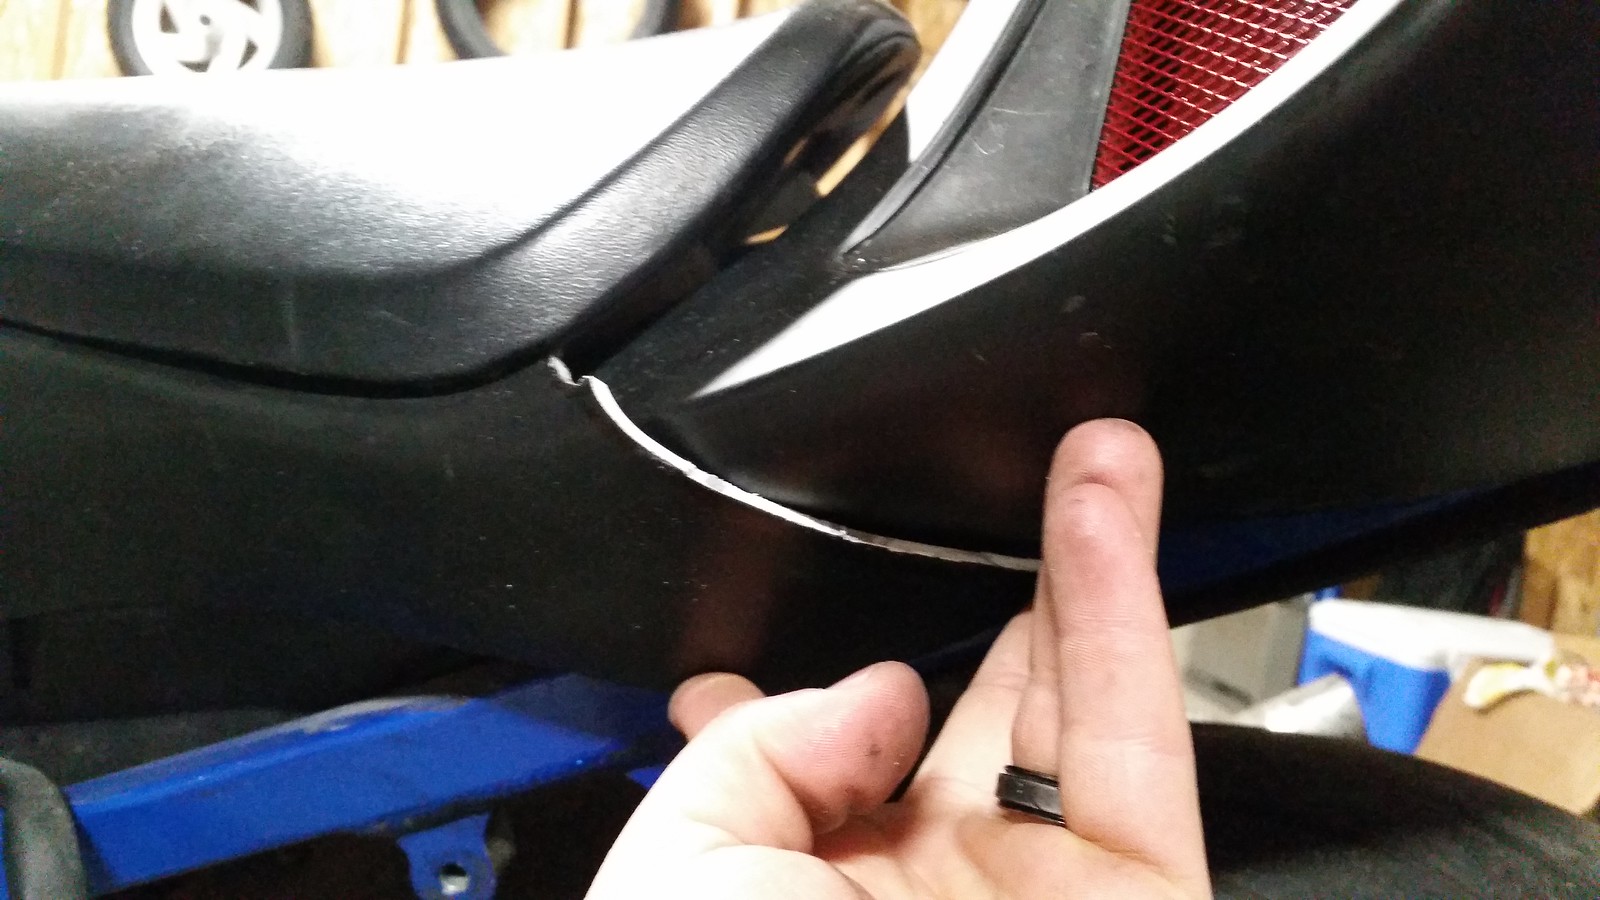
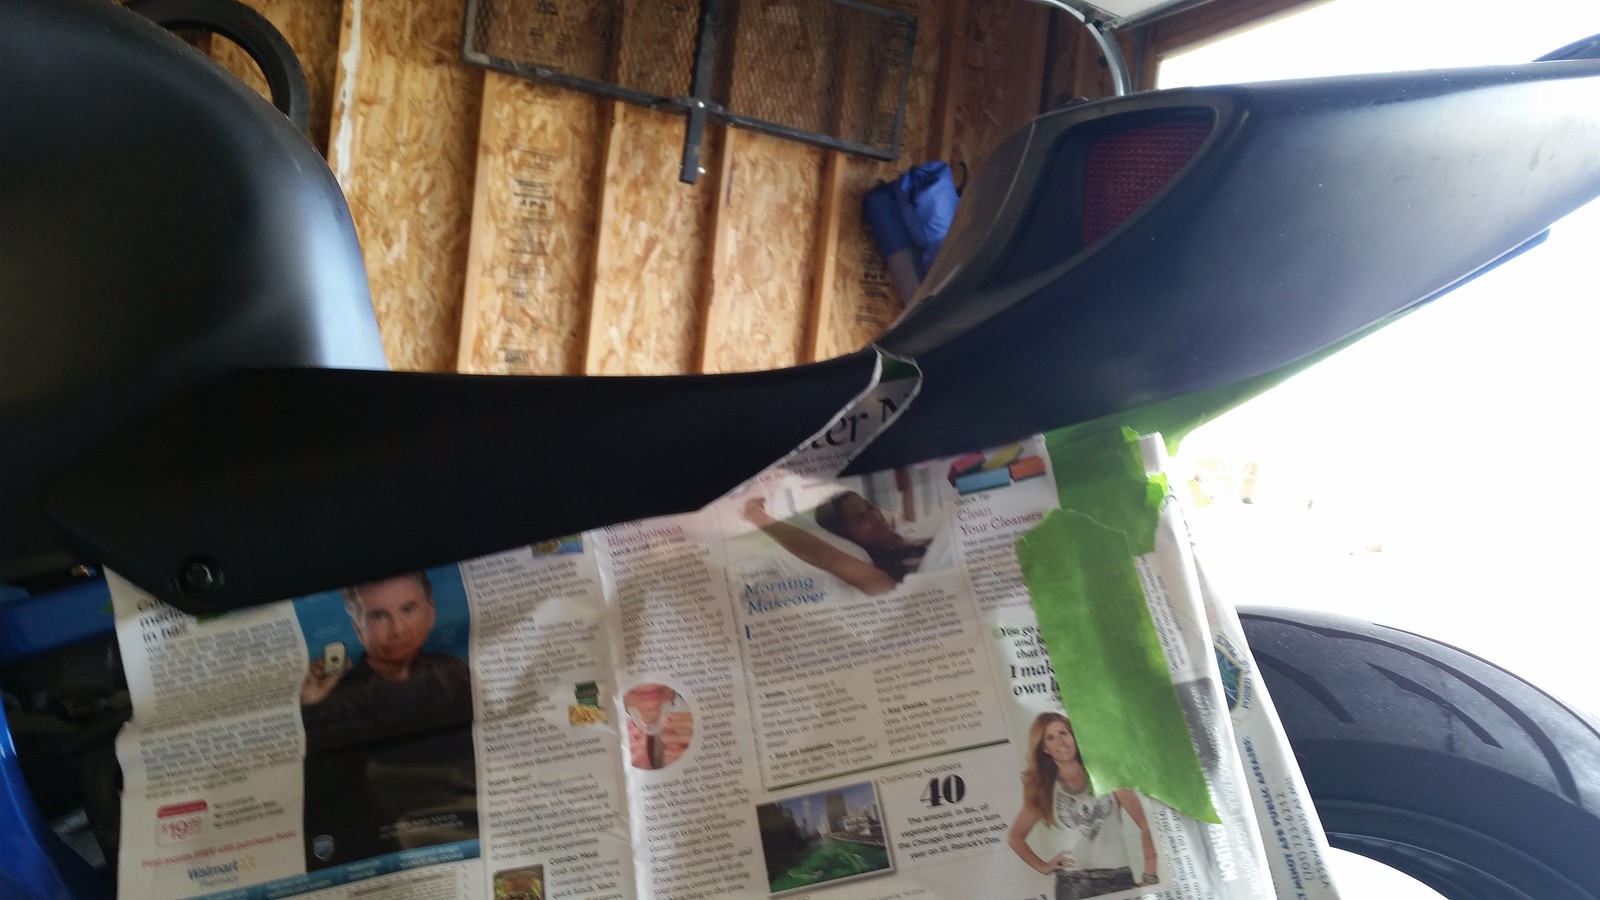
This is the gap that I HATE when the tail swaps are done. Just looks out of place to me. Love the tail, hate how it doesn't fill in the sides.
 20160309_170044 by Skee907, on Flickr
Then came the time to chop the front of the 1000rr tail to match. Just trimming the 1000rr, then the F4i, and back again til I got them to match.
 20160309_182929 by Skee907, on Flickr
 20160309_204156 by Skee907, on Flickr
 20160309_204343 by Skee907, on Flickr
 20160309_215447 by Skee907, on Flickr
20160308_202018 by Skee907, on Flickr20160308_202022 by Skee907, on FlickrAlso took some out of the end and bottom of the subframe to make clearance for the sleeker tail. Too much subframe would show underneath if it was left. Also, it made it too wide for the tail.
20160316_195154 by Skee907, on FlickrWith the 1000rr tail fitting the way I wanted and the angles looking good, I made temporary brackets to hold it in place. Simple aluminum bent in 90* angles in a vice and drilled to match the existing holes in the tail.
20160316_195159 by Skee907, on Flickr20160316_195203 by Skee907, on Flickr20160316_195213 by Skee907, on FlickrI plan to remake these brackets once I build the undertail/trunk box.
With that held in place, it allowed me to start trimming down the front til the angles were close to matching up. There is a point where the tails are just too different in angles, and you will have to make the transition smooth yourself from the fiberglass.
20160308_210812 by Skee907, on FlickrThis is the gap that I HATE when the tail swaps are done. Just looks out of place to me. Love the tail, hate how it doesn't fill in the sides.
20160309_170044 by Skee907, on FlickrThen came the time to chop the front of the 1000rr tail to match. Just trimming the 1000rr, then the F4i, and back again til I got them to match.
20160309_182929 by Skee907, on Flickr20160309_204156 by Skee907, on Flickr20160309_204343 by Skee907, on Flickr20160309_215447 by Skee907, on Flickr
Thread Starter
|
Senior Member
Joined: Aug 2013
Posts: 278
Likes: 2
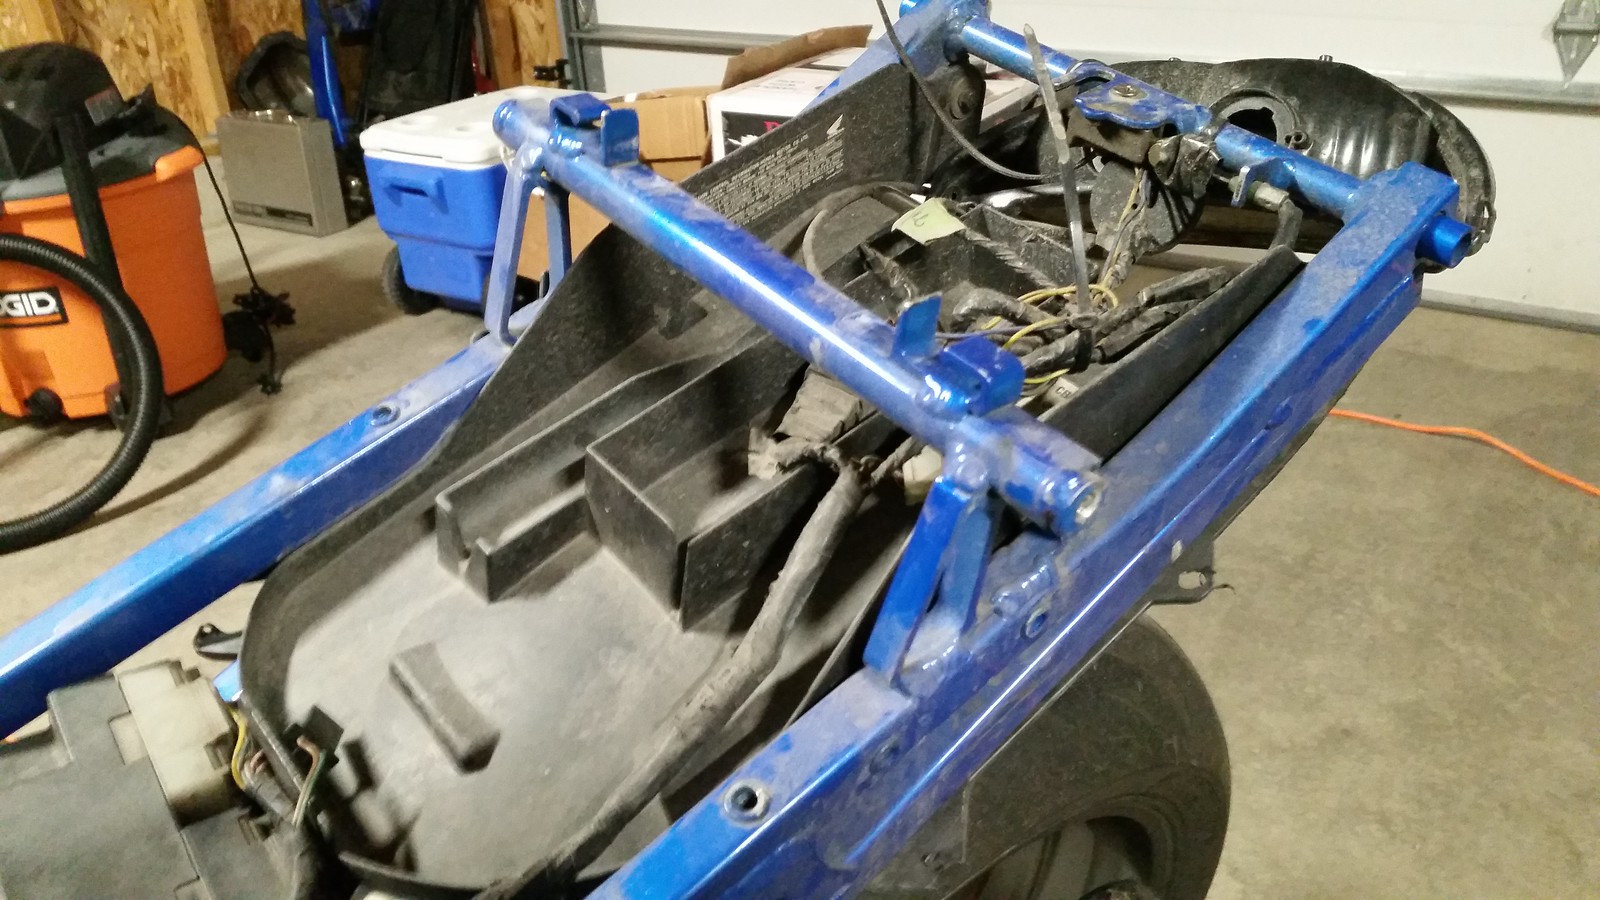
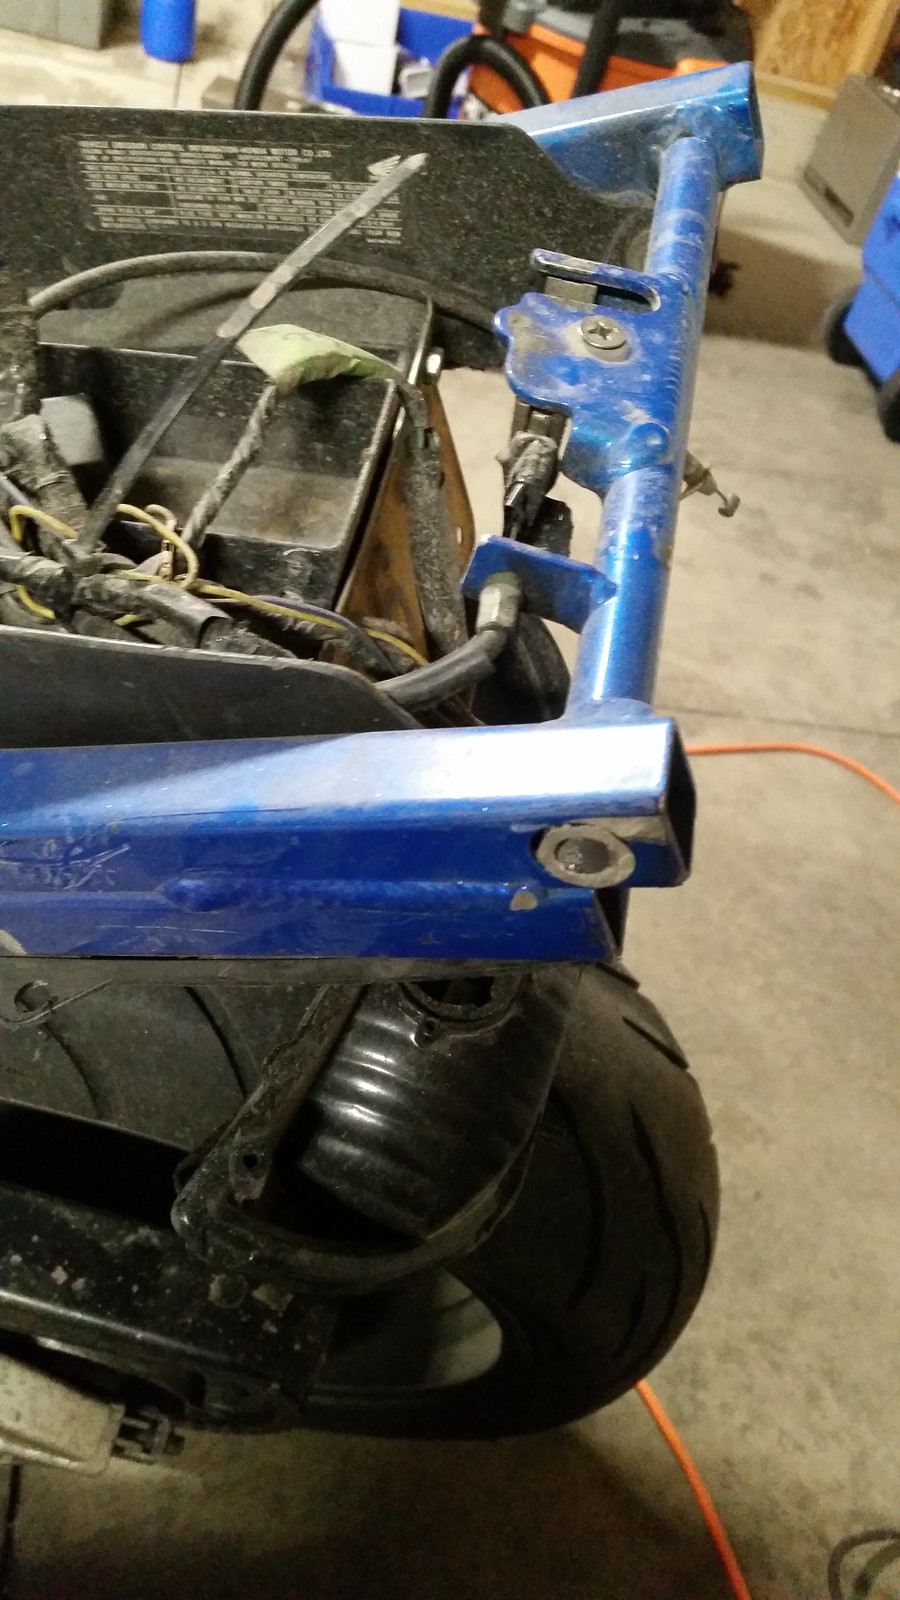
As you can see in the previous pics, I removed the whole battery tray/plastic to have better access to everything. My plan is to chop and leave only the battery tray forward, and build a custom trunk. Its going to be fully sealed and enclosed for my wife to use to store things.
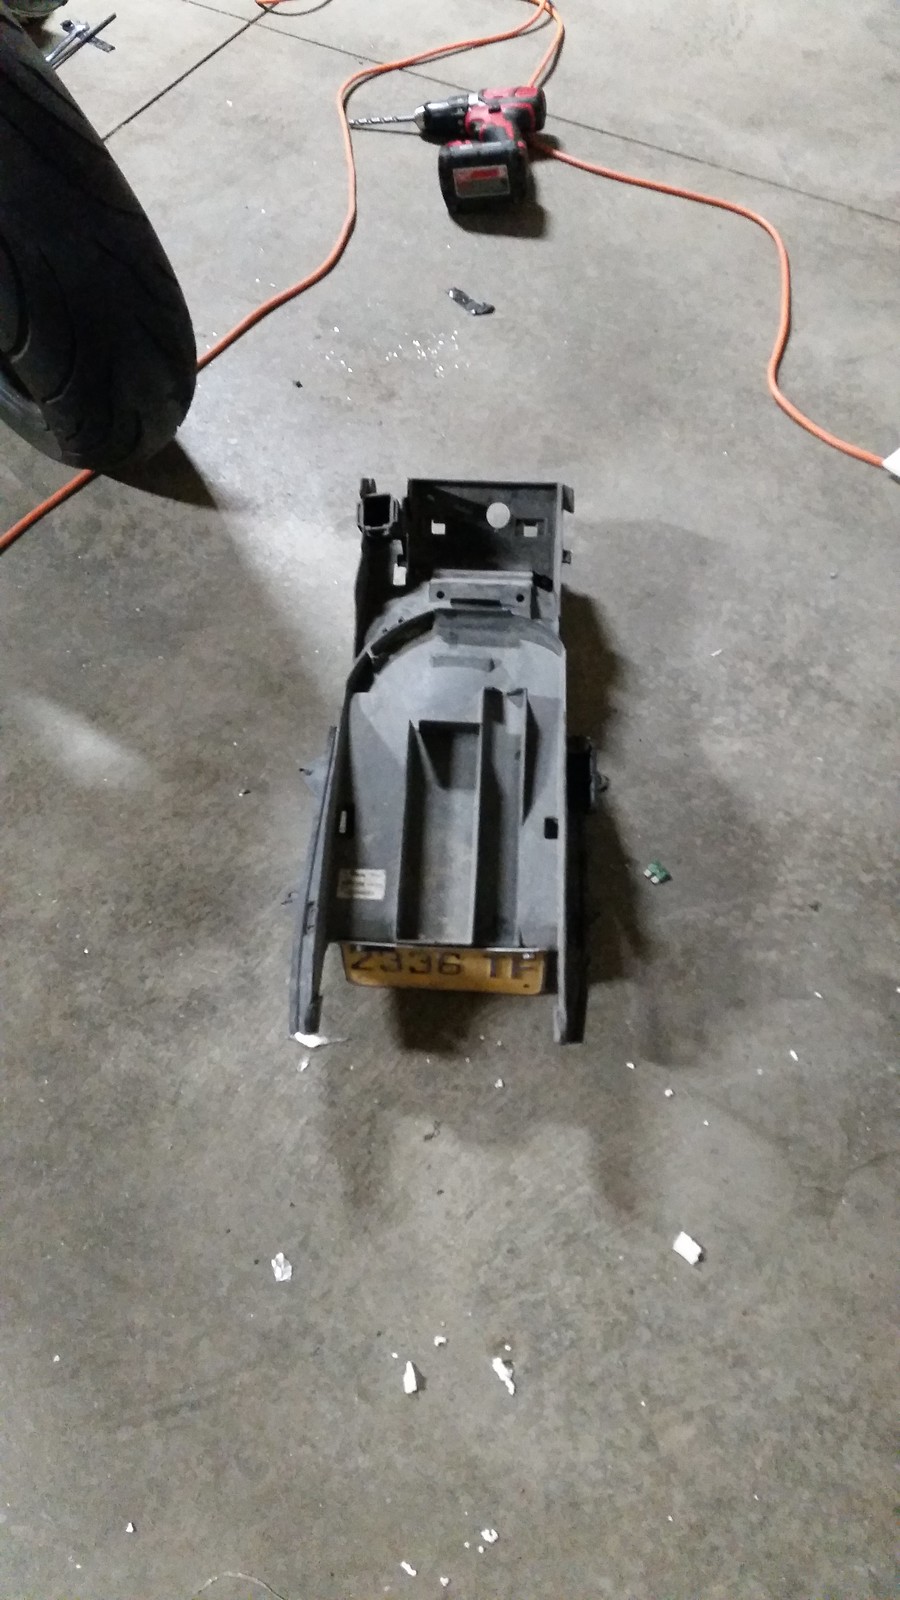 20160309_215659 by Skee907, on Flickr
I used the Dremel to notch the 1000rr tail. It comes more forward and covers the seat bolt holes. Just slowly trimmed it back little by little until the seat goes on and comes off easily.
 20160313_124813 by Skee907, on Flickr
On the clutch side, the bolt held the front leg in place secure enough to start the fiberglass work. I originally purchased some foam to use as a backing for this, but it was too much work to shape and a pain to get behind the plastic anyways. So I just freehanded the glass. I just purchased one of the fiberglass repair kits from O Reillys, like 30$ and change. Plenty of mat and resin for this, and leftover. Although, it came with the chopped mat style, which I used for the clutch side, I purchased some of the "cloth" style to use on the other side.
 20160313_142715 by Skee907, on Flickr
Cleaned the area with Acetone, prepped everything and started the process. Fully soak each layer with the resin. The chopped mat is hard to do since it wants to pull apart. It did NOT like the sharp angle I was forming around the corner of the tail.
 20160313_170713 by Skee907, on Flickr
I went well past the plastics to trim everything back to where I want it later. But this was after everything cured.
 20160313_175316 by Skee907, on Flickr
 20160313_194946 by Skee907, on Flickr
Using the "cloth" style on the other side, it went MUCH better. Cut that into rectangles larger than the area needed, then layer it up. It didn't pull up around the corner hardly at all, but you do have to watch for air bubbles alot more with this style fiberglass.
 20160314_183150 by Skee907, on Flickr
 20160314_185821 by Skee907, on Flickr
After a couple hours of cure time
 20160315_173341 by Skee907, on Flickr
Love the way it ties into the vents on the front as well. Just makes the bike look completely different, and a whole generation newer.
 20160315_173739 by Skee907, on Flickr
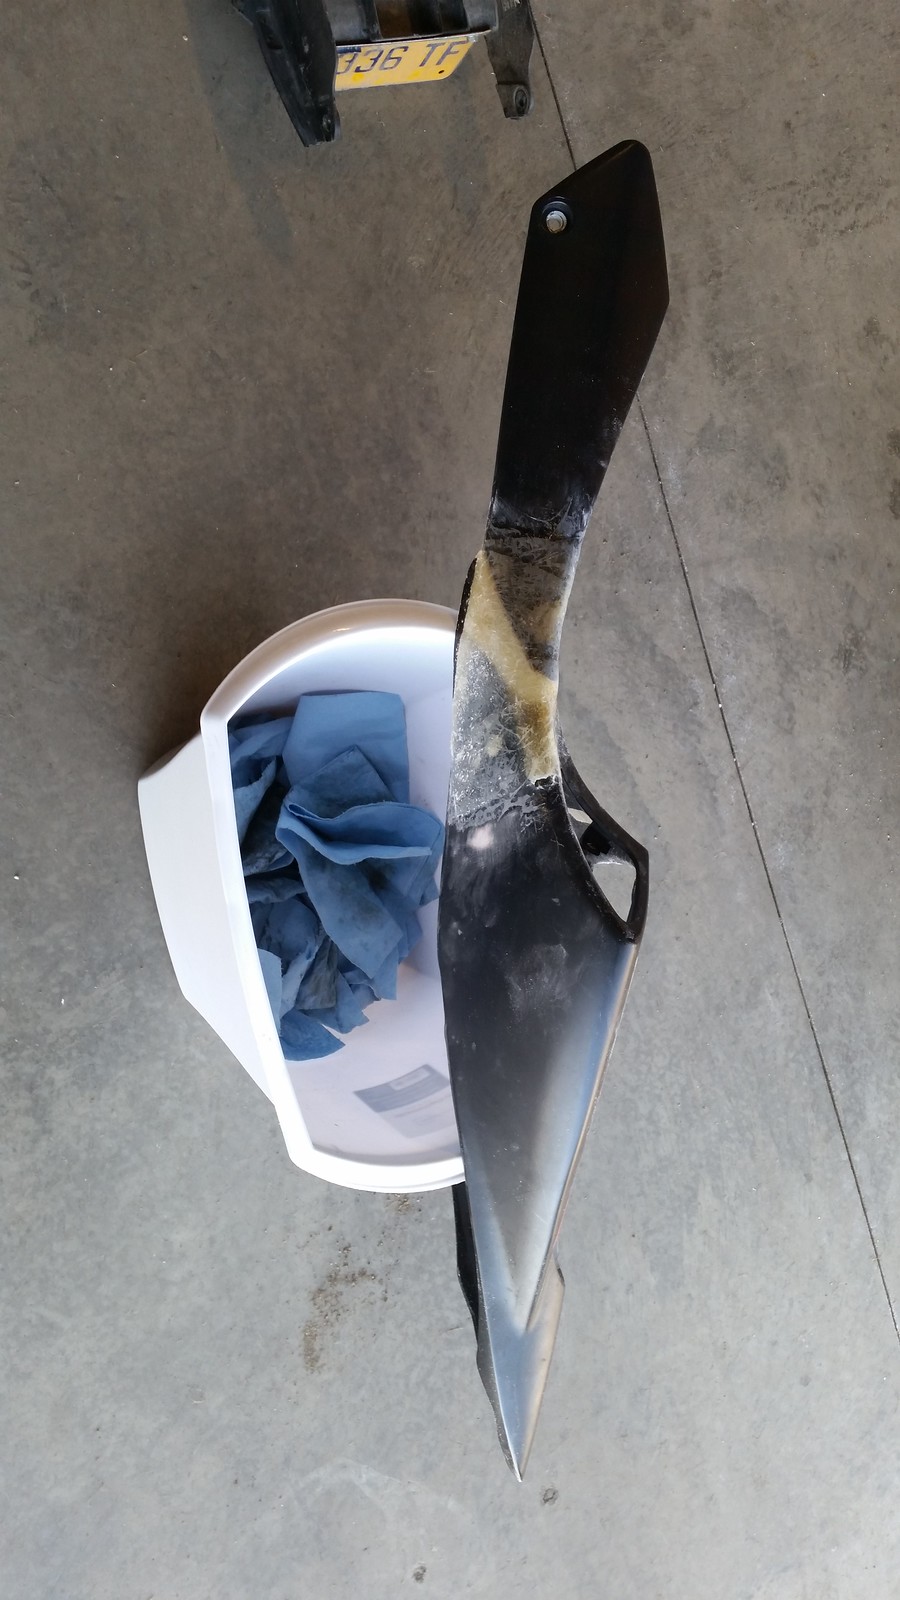
After that, I hit both sides with the Dremel. Using a cutoff wheel, I trimmed all of the excess cloth and glass where needed. Then using a sanding bit, shaped everything in place. Going past the plastic with the fiberglass allowed me to shape the edges how I wanted to make the transition more smooth.
20160315_173739 by Skee907, on Flickr
Then came the Bondo. I layered this on pretty thick, as I wanted to be able to shape it again to my liking. Again, always easier to sand more down than to add more filler to bring up low areas.
 20160315_223813 by Skee907, on Flickr
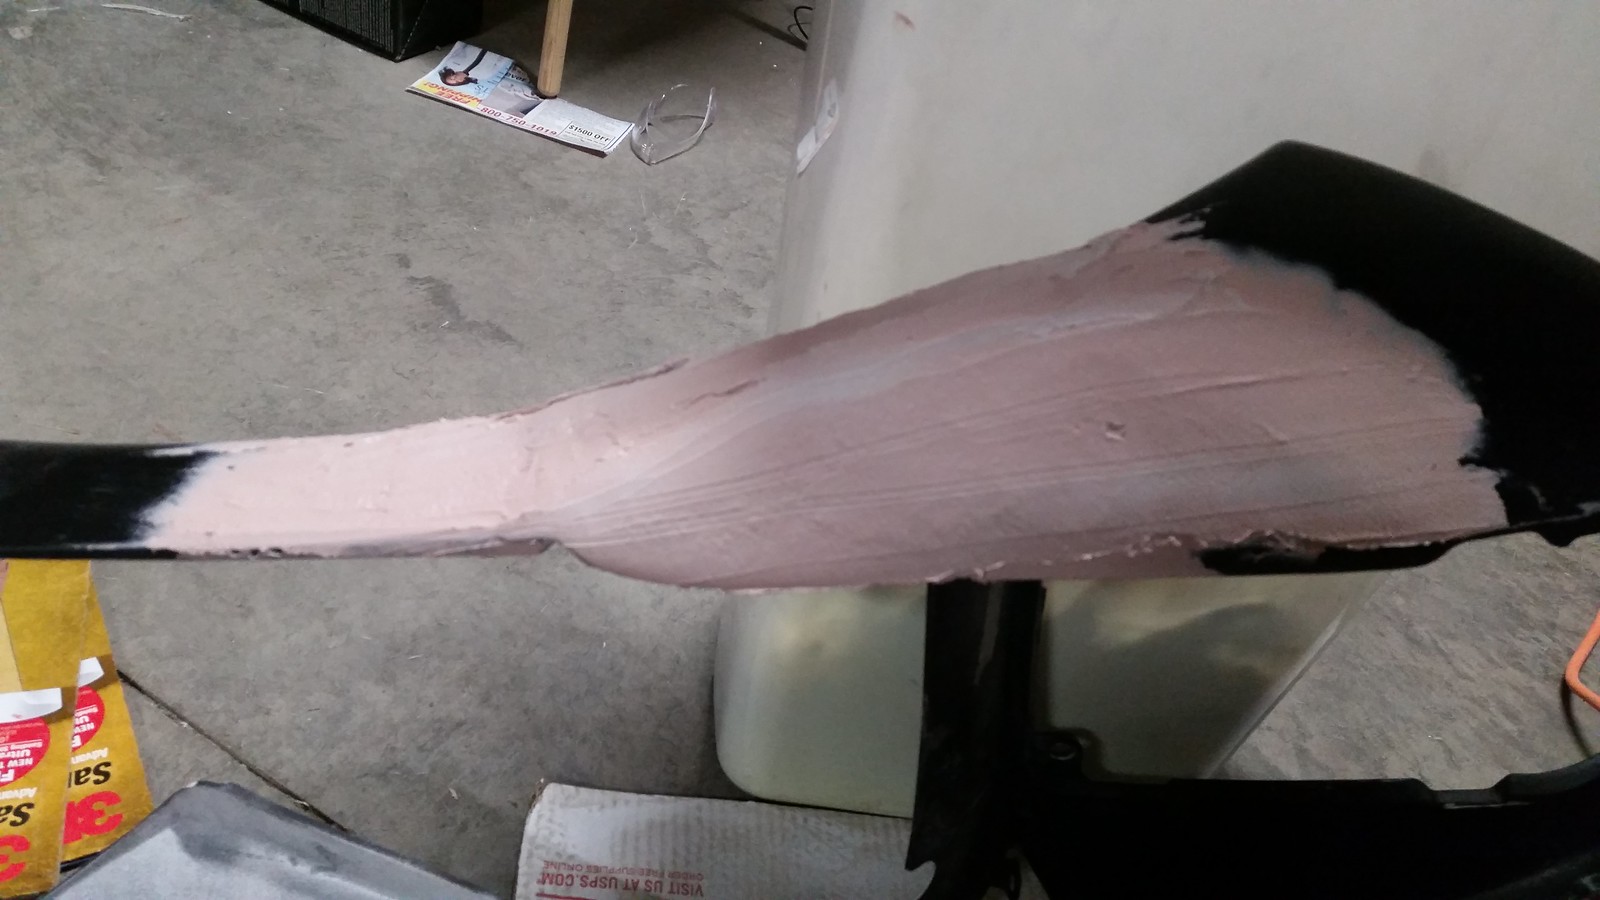
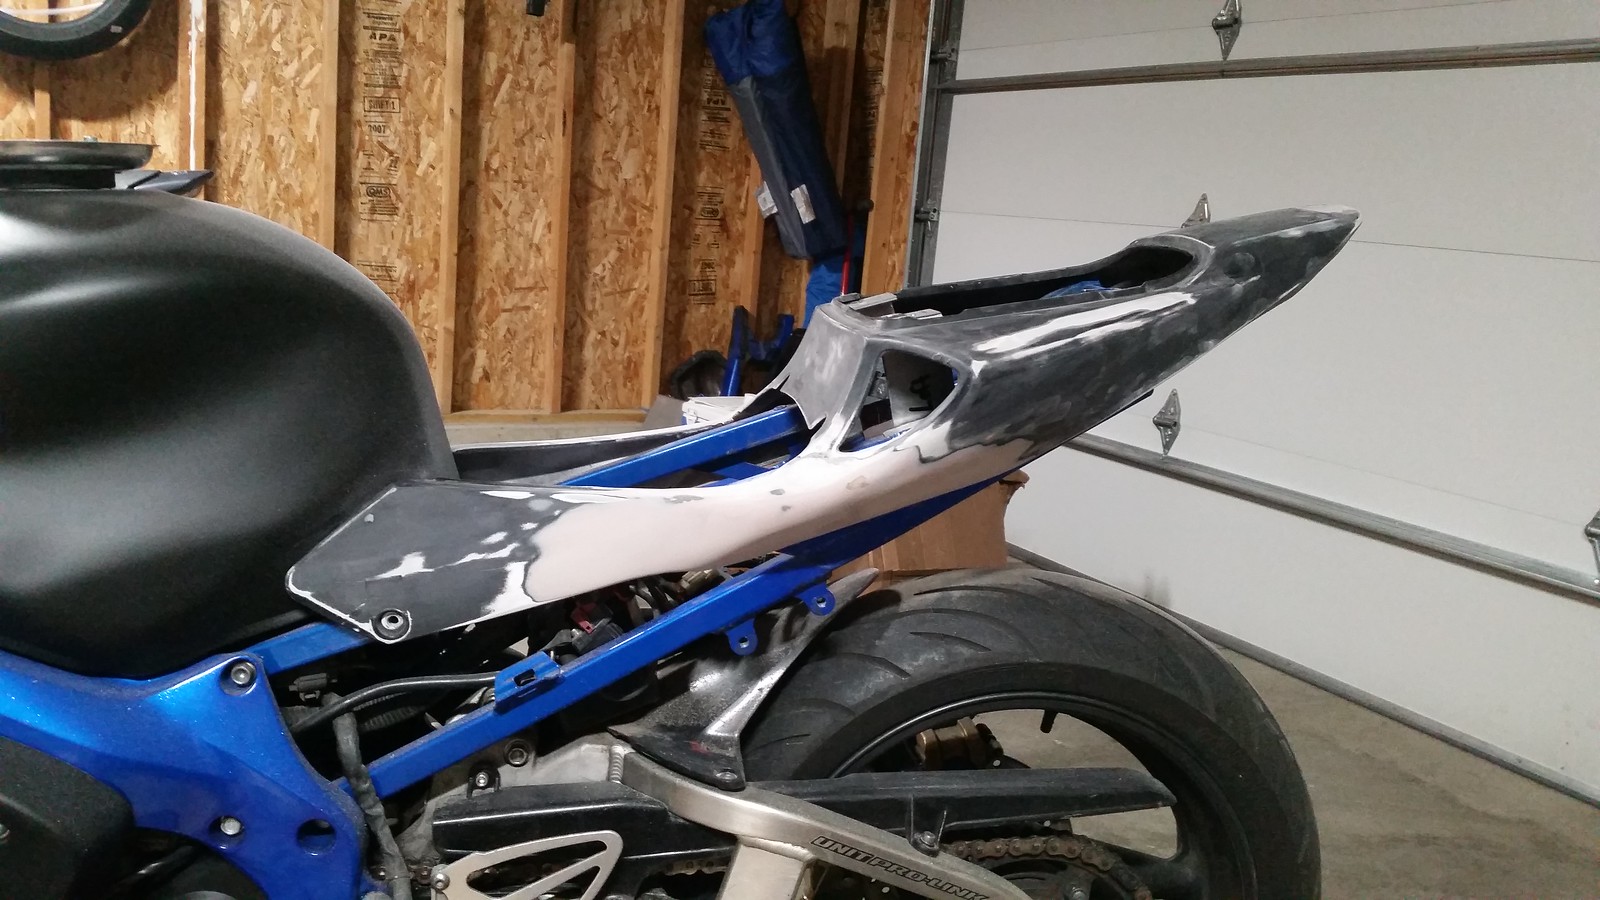
As of today, this was what I got to after work. After letting that body filler cure overnight, Hit it with 80 grit sandpaper to shape it and feather it down to the plastic. I will hit this all with staged 120, 220, 320, etc until smooth and ready for paint. ALOT more prep work needs to be done up around the vent and that corner/transition area. It was a pain to sand smooth and make it look right.
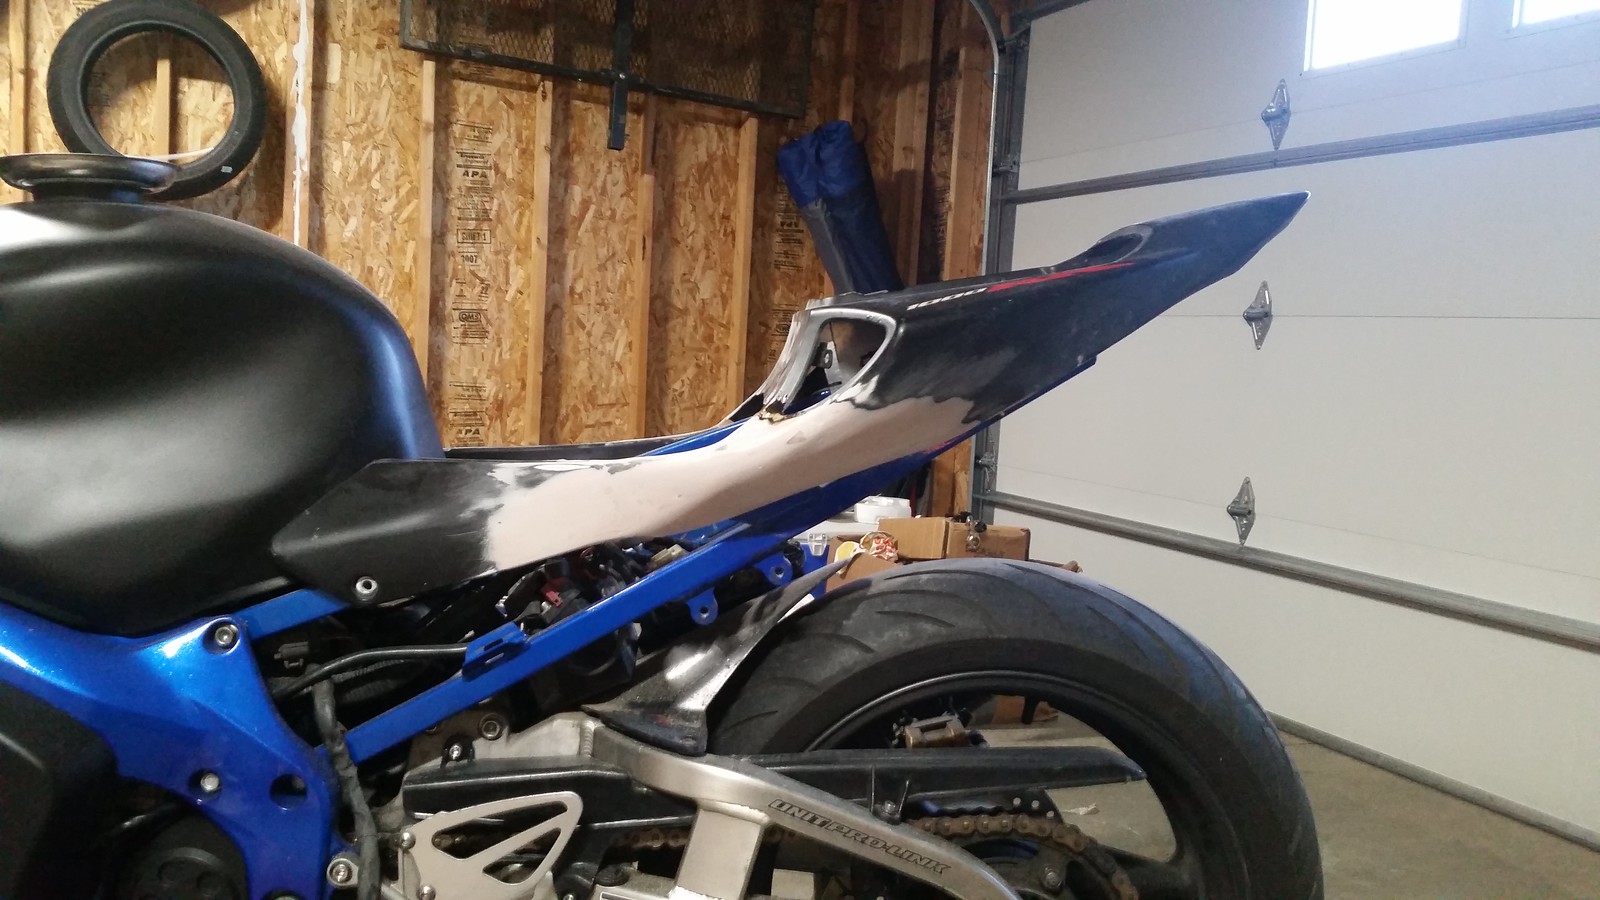 20160316_192536 by Skee907, on Flickr
20160309_215659 by Skee907, on FlickrI used the Dremel to notch the 1000rr tail. It comes more forward and covers the seat bolt holes. Just slowly trimmed it back little by little until the seat goes on and comes off easily.
20160313_124813 by Skee907, on FlickrOn the clutch side, the bolt held the front leg in place secure enough to start the fiberglass work. I originally purchased some foam to use as a backing for this, but it was too much work to shape and a pain to get behind the plastic anyways. So I just freehanded the glass. I just purchased one of the fiberglass repair kits from O Reillys, like 30$ and change. Plenty of mat and resin for this, and leftover. Although, it came with the chopped mat style, which I used for the clutch side, I purchased some of the "cloth" style to use on the other side.
20160313_142715 by Skee907, on FlickrCleaned the area with Acetone, prepped everything and started the process. Fully soak each layer with the resin. The chopped mat is hard to do since it wants to pull apart. It did NOT like the sharp angle I was forming around the corner of the tail.
20160313_170713 by Skee907, on FlickrI went well past the plastics to trim everything back to where I want it later. But this was after everything cured.
20160313_175316 by Skee907, on Flickr20160313_194946 by Skee907, on FlickrUsing the "cloth" style on the other side, it went MUCH better. Cut that into rectangles larger than the area needed, then layer it up. It didn't pull up around the corner hardly at all, but you do have to watch for air bubbles alot more with this style fiberglass.
20160314_183150 by Skee907, on Flickr20160314_185821 by Skee907, on FlickrAfter a couple hours of cure time
20160315_173341 by Skee907, on FlickrLove the way it ties into the vents on the front as well. Just makes the bike look completely different, and a whole generation newer.
20160315_173739 by Skee907, on FlickrAfter that, I hit both sides with the Dremel. Using a cutoff wheel, I trimmed all of the excess cloth and glass where needed. Then using a sanding bit, shaped everything in place. Going past the plastic with the fiberglass allowed me to shape the edges how I wanted to make the transition more smooth.
20160315_173739 by Skee907, on FlickrThen came the Bondo. I layered this on pretty thick, as I wanted to be able to shape it again to my liking. Again, always easier to sand more down than to add more filler to bring up low areas.
20160315_223813 by Skee907, on FlickrAs of today, this was what I got to after work. After letting that body filler cure overnight, Hit it with 80 grit sandpaper to shape it and feather it down to the plastic. I will hit this all with staged 120, 220, 320, etc until smooth and ready for paint. ALOT more prep work needs to be done up around the vent and that corner/transition area. It was a pain to sand smooth and make it look right.
20160316_192536 by Skee907, on Flickr
Thread Starter
|
Senior Member
Joined: Aug 2013
Posts: 278
Likes: 2
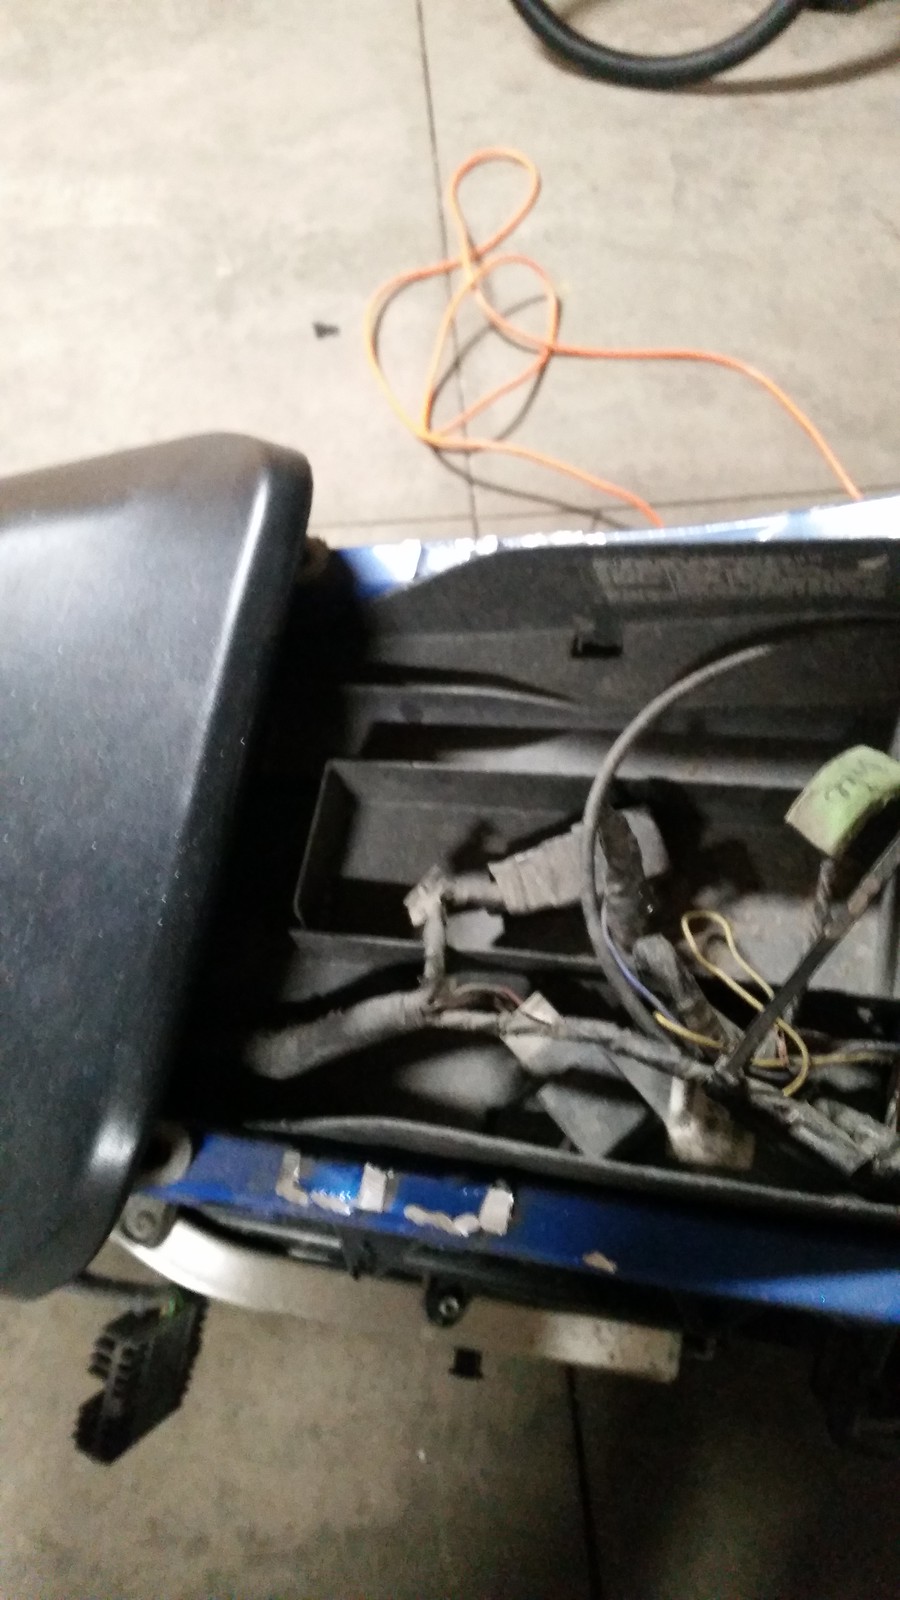
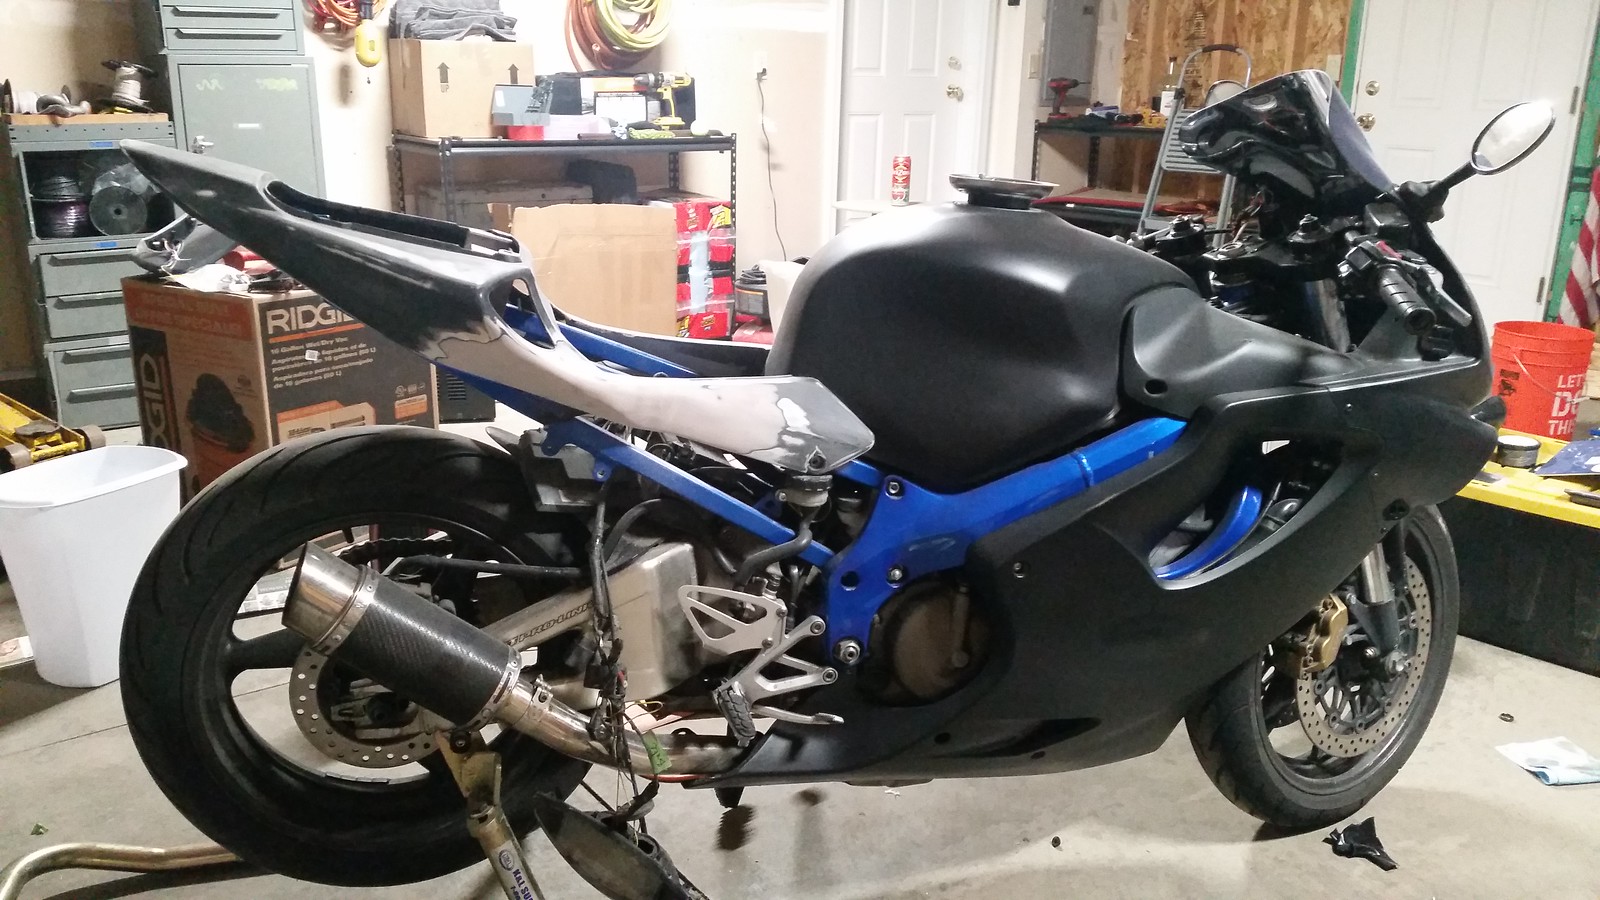
More bodywork completed, sanded smooth and in the makeshift paintbooth. A couple of coats on tonight, and will be hitting with some clear and then mounting it back up. Fabbing up the hinge and lock setup for the cowl. Taillight is all wired up and ready to go. I discovered that I have a melted connector and that is why my right turn signal is inop. I need to either rebuild that connection, or get a new harness.
 20160329_231016 by Skee907, on Flickr
 20160329_231005 by Skee907, on Flickr
 20160330_192041 by Skee907, on Flickr
20160329_231016 by Skee907, on Flickr20160329_231005 by Skee907, on Flickr20160330_192041 by Skee907, on Flickr