


I'm back with another build - 98 900rr

Retired Super Moderator and Fighterer
Joined: Nov 2006
Posts: 6,146
Likes: 37

Its not hard. Basically, you need to know the 4 numbers from the crankshaft and correlate it to each rod's number/letter to determine your rod bearing needs.
For mains, you need to know the 5 letters from the engine case and 5 numbers from the crank to determine which main you need.
Also, I'd plastigage too since you're not quite sure what happened to the engine prior to you owning it. Its just double checking what Honda says you need. Its some extra math, but well worth it.
Also, remember that you're ordering halves, not complete bearings. So you need 2 for each rod and main.
So 18 in total (10 mains and 8 rods)...
For mains, you need to know the 5 letters from the engine case and 5 numbers from the crank to determine which main you need.
Also, I'd plastigage too since you're not quite sure what happened to the engine prior to you owning it. Its just double checking what Honda says you need. Its some extra math, but well worth it.
Also, remember that you're ordering halves, not complete bearings. So you need 2 for each rod and main.
So 18 in total (10 mains and 8 rods)...
Last edited by Conrice; Jan 25, 2016 at 12:25 PM.

Thread Starter
|
Senior Member
Joined: Nov 2010
Posts: 124
Likes: 0
I found them. It was a lighting issue on the case numbers. The crank numbers, however, have a crap stamp job on them. No matter what I did, I couldn't get the complete numbers. I ended up with the following:
- Rods: C2
- Case: ABBAB
- Crank: LAAAA
- Crank: **2232
The good news is, the old bearings were still in the cases and I could still see the colors. So, the main journal bearings from Cyl 1-4 are: Yellow, Green, Green, Green, Green.
I'm definitely going to mic and plasti gauge everything as I put it together just like an actual rebuild.
- Rods: C2
- Case: ABBAB
- Crank: LAAAA
- Crank: **2232
The good news is, the old bearings were still in the cases and I could still see the colors. So, the main journal bearings from Cyl 1-4 are: Yellow, Green, Green, Green, Green.
I'm definitely going to mic and plasti gauge everything as I put it together just like an actual rebuild.

Thread Starter
|
Senior Member
Joined: Nov 2010
Posts: 124
Likes: 0
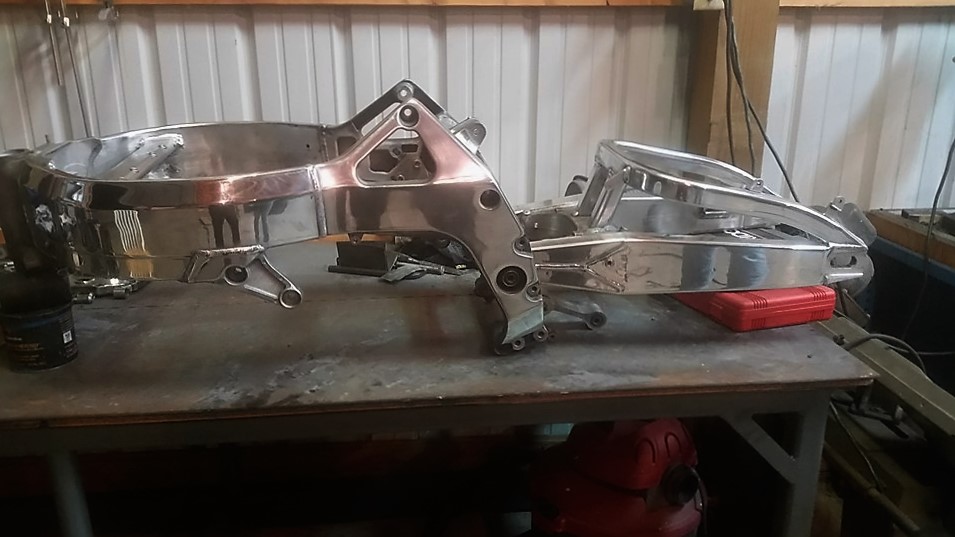
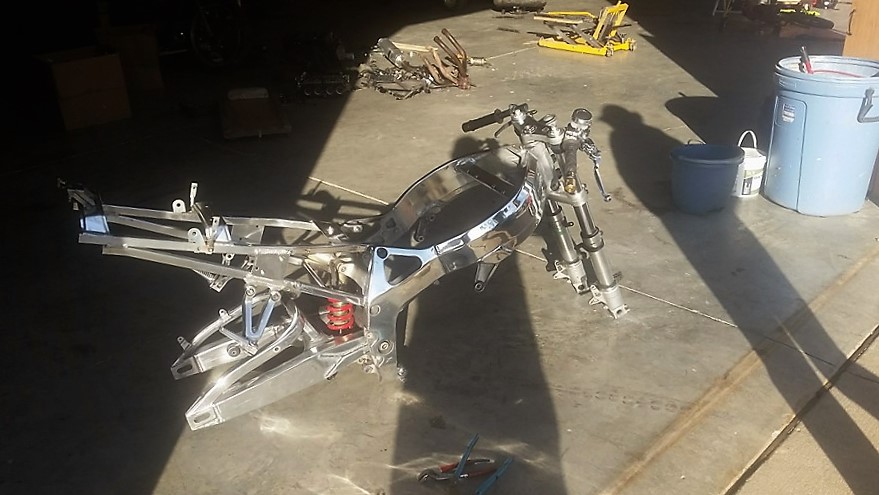
I finished the other side of the frame yesterday, but photobucket was down, so here's the pic.
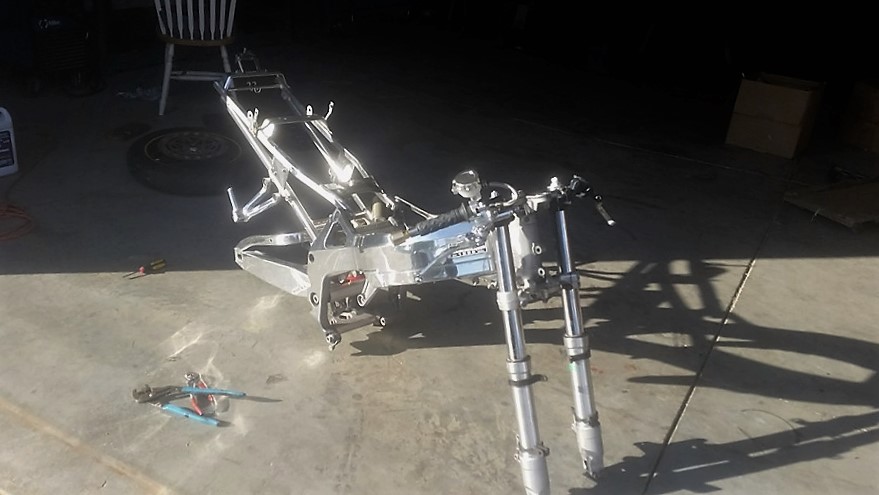
I also started cleaning, polishing, and putting the frame together today. I'm extremely happy with how it's turning out.
We checked the cylinders and they're all in spec and round, so that's good. I'm going to go ahead and replace all of the bearings and rings.
After looking at the head, I'm going to pull it apart and clean the valves. There's more carbon than I'd like to see. While I'm there, I'll replace the valve seals.
Progress is good.

I also started cleaning, polishing, and putting the frame together today. I'm extremely happy with how it's turning out.


We checked the cylinders and they're all in spec and round, so that's good. I'm going to go ahead and replace all of the bearings and rings.
After looking at the head, I'm going to pull it apart and clean the valves. There's more carbon than I'd like to see. While I'm there, I'll replace the valve seals.
Progress is good.
Thread Starter
|
Senior Member
Joined: Nov 2010
Posts: 124
Likes: 0
Let the reassembly begin. I inspected the wiring harness and it was in pretty good shape. I had to resolder one area, because it was less than acceptable - to put it politely.
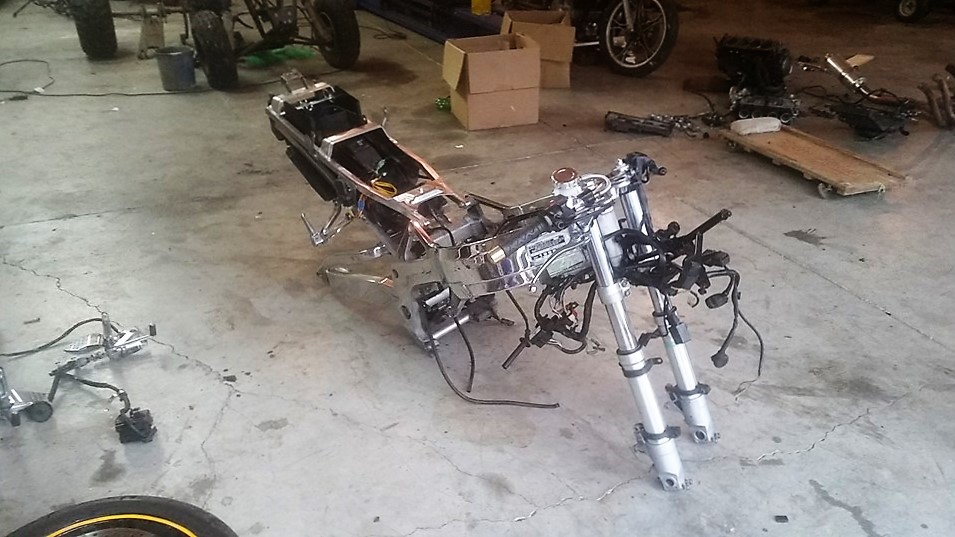
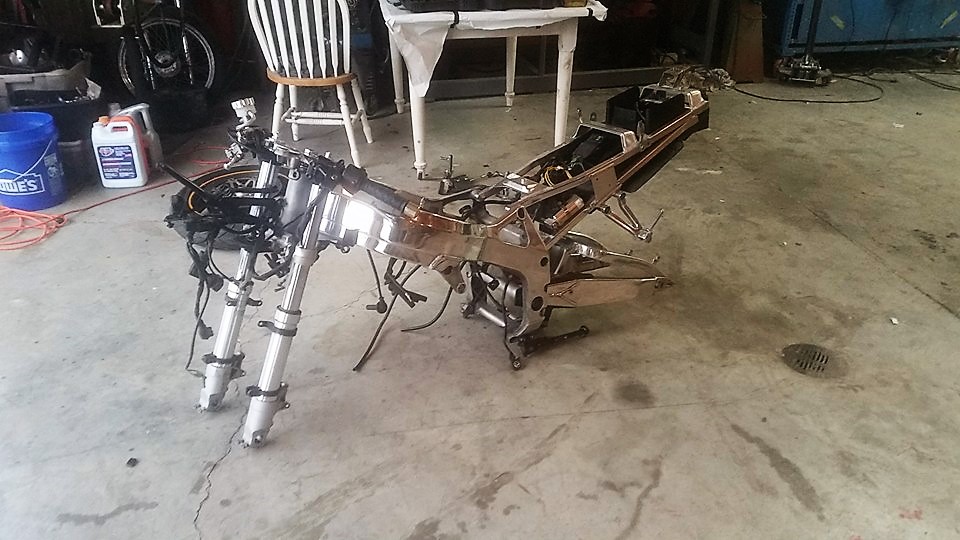
I'm leaving the undertail how it is for the moment, because I'm not sure if I'm going to change the tail down the road. If I change the tail, I'll make my own undertail. Until then, I just want it on the road for this riding season.
As soon as I finish typing this, I'm going to order all of my engine pieces and hope they arrive before this weekend, so I can get it back together.
Then, it's body work and hope for paint-worthy weather.


I'm leaving the undertail how it is for the moment, because I'm not sure if I'm going to change the tail down the road. If I change the tail, I'll make my own undertail. Until then, I just want it on the road for this riding season.
As soon as I finish typing this, I'm going to order all of my engine pieces and hope they arrive before this weekend, so I can get it back together.
Then, it's body work and hope for paint-worthy weather.

