Boyo's Winter Bike project


#72
 02-27-2012, 04:48 PM

Join Date: Mar 2011
Posts: 193
Likes: 0
Received 0 Likes
on
0 Posts
*** man I bet it was sure happy to get sucked in.. ... from my understanding the very top blows air out and the two in the mid breaths it in then its that little wall then the carbs...
Either way get some fliters for that sh*t before you make your motor pissed at you... and trust me they are worse than a women scorned lol
Either way get some fliters for that sh*t before you make your motor pissed at you... and trust me they are worse than a women scorned lol
#73
02-28-2012, 08:16 PM

#74
02-29-2012, 02:42 PM
Join Date: Mar 2011
Posts: 193
Likes: 0
Received 0 Likes
on
0 Posts
Fo sho my brother... just atm I'm want to get the bike back on the road... That's a beauty part to me. It works fine so do my scratched up fairings.I'll fix it when I redo the fairings and get the dent out of the tank as well.
#75
03-02-2012, 09:14 PM
Join Date: Mar 2011
Posts: 193
Likes: 0
Received 0 Likes
on
0 Posts
#76
03-02-2012, 09:27 PM
Join Date: Mar 2011
Posts: 193
Likes: 0
Received 0 Likes
on
0 Posts
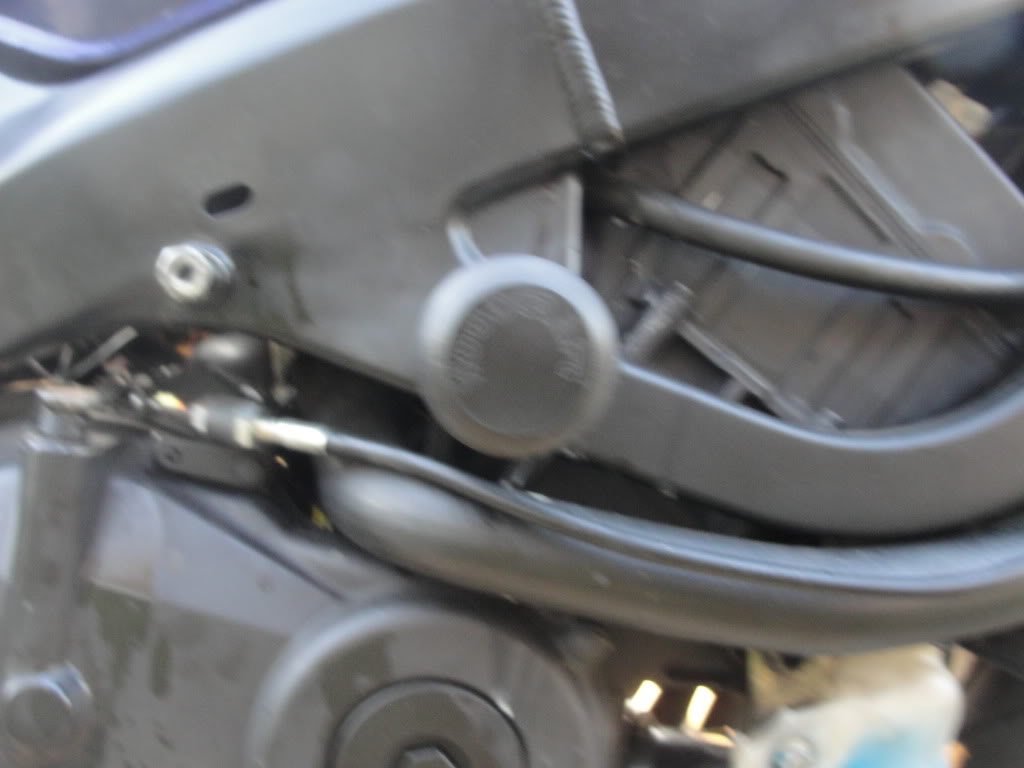
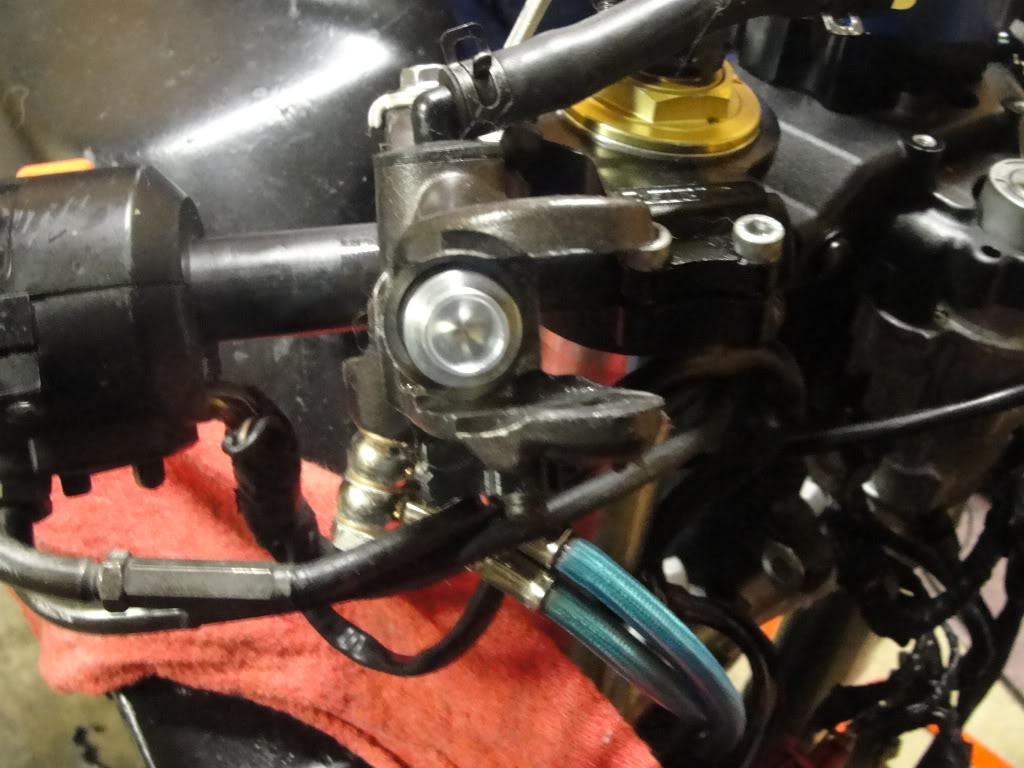
1000rr MC rebuild... Its pretty much the same with the other MC I believe...
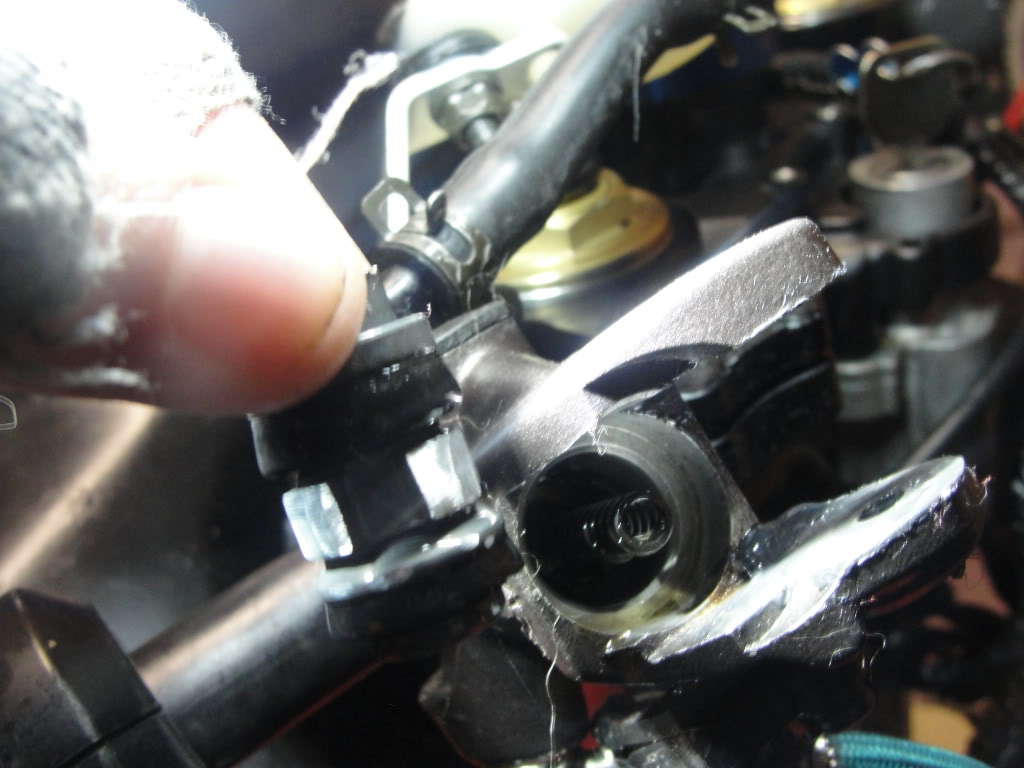
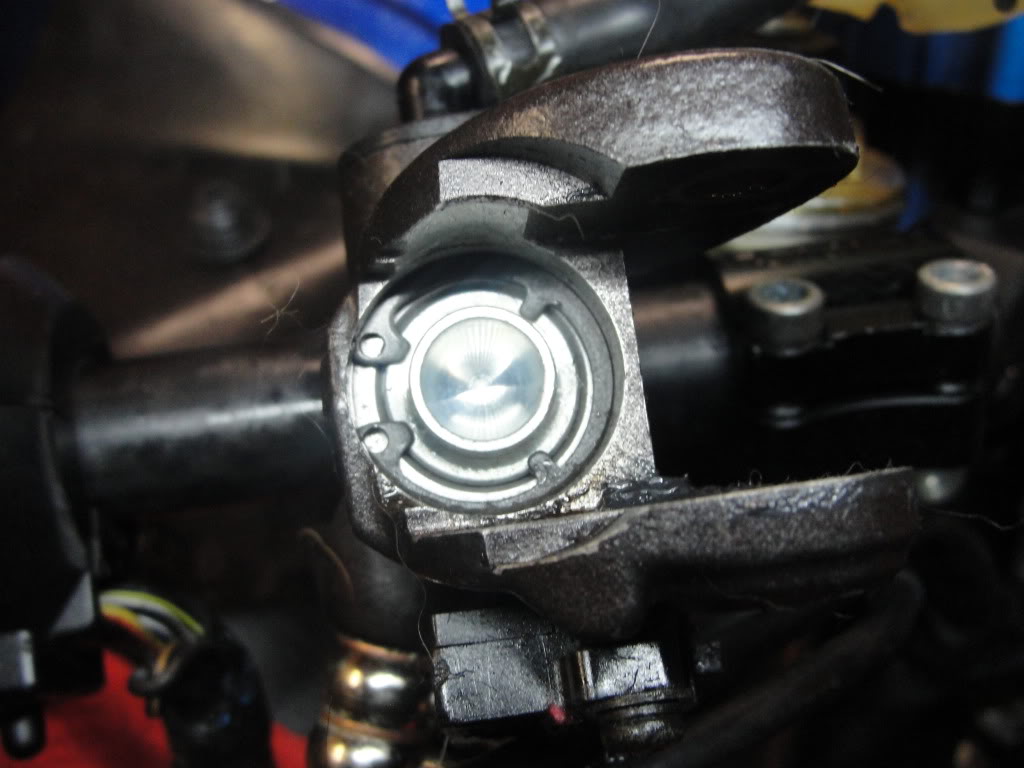
Okay step one.. move the MC to a angle.

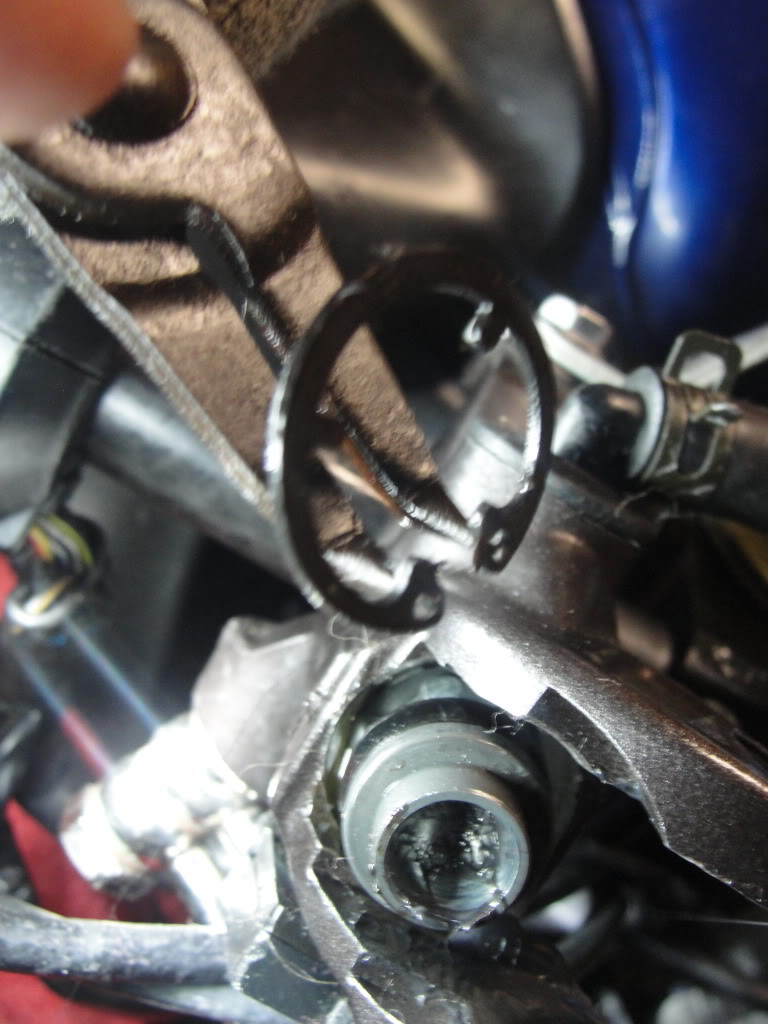
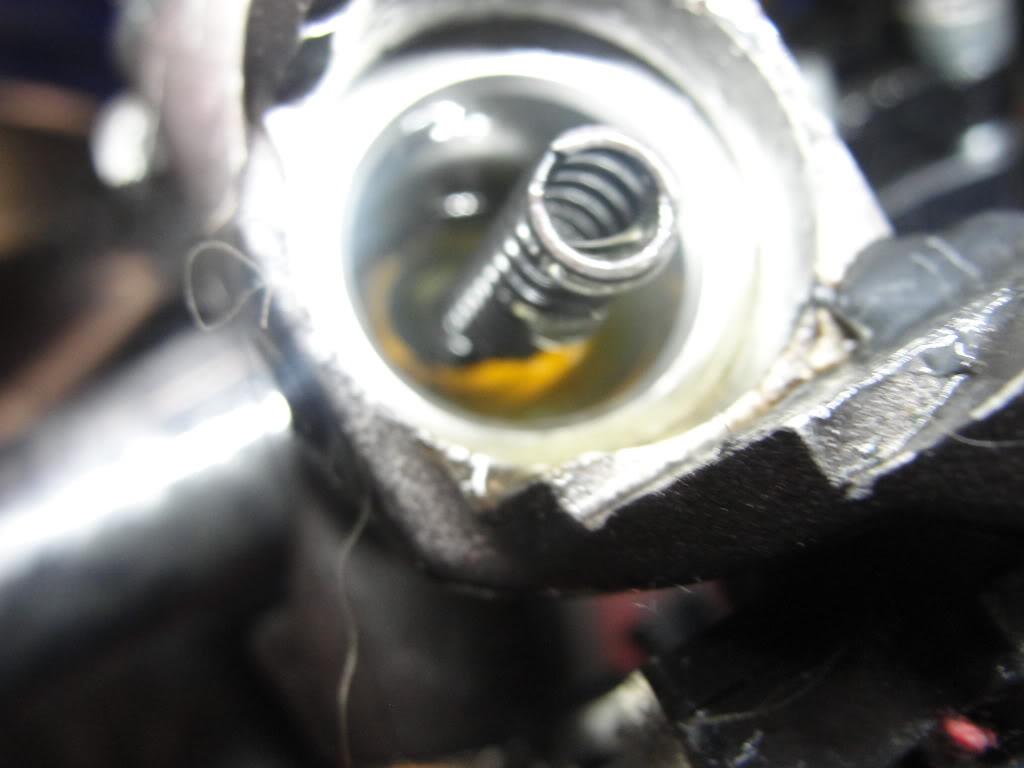
step 2: get the snap ring pliers and get that snap ring out... Be prepared for some break fluid to come out.
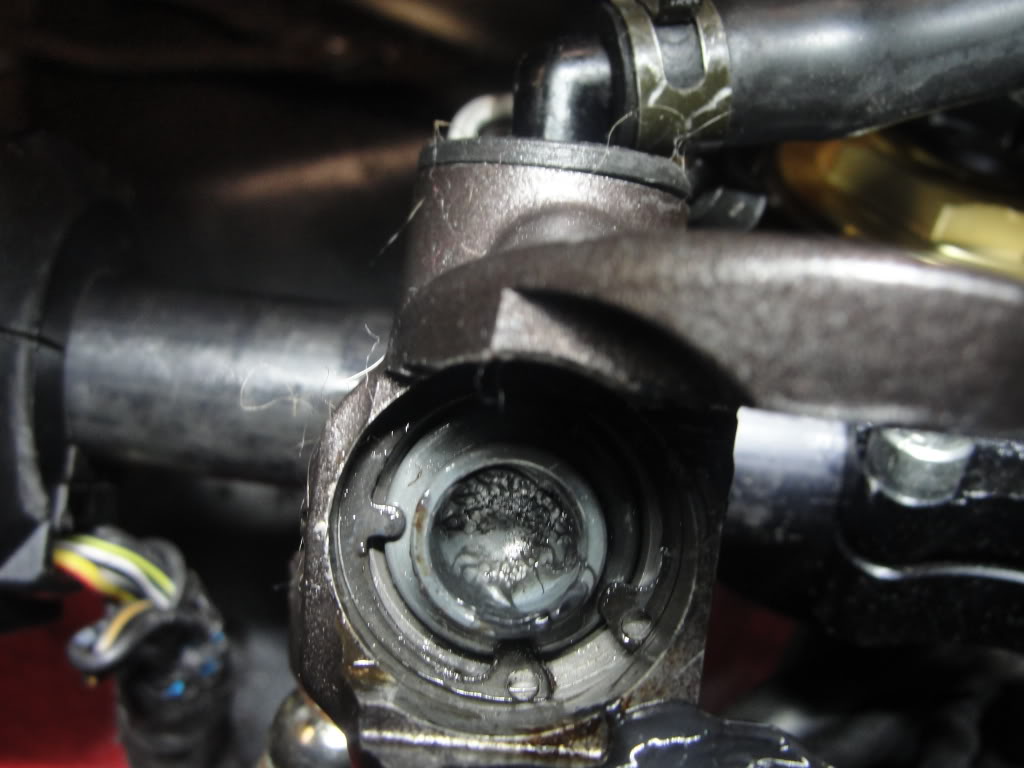
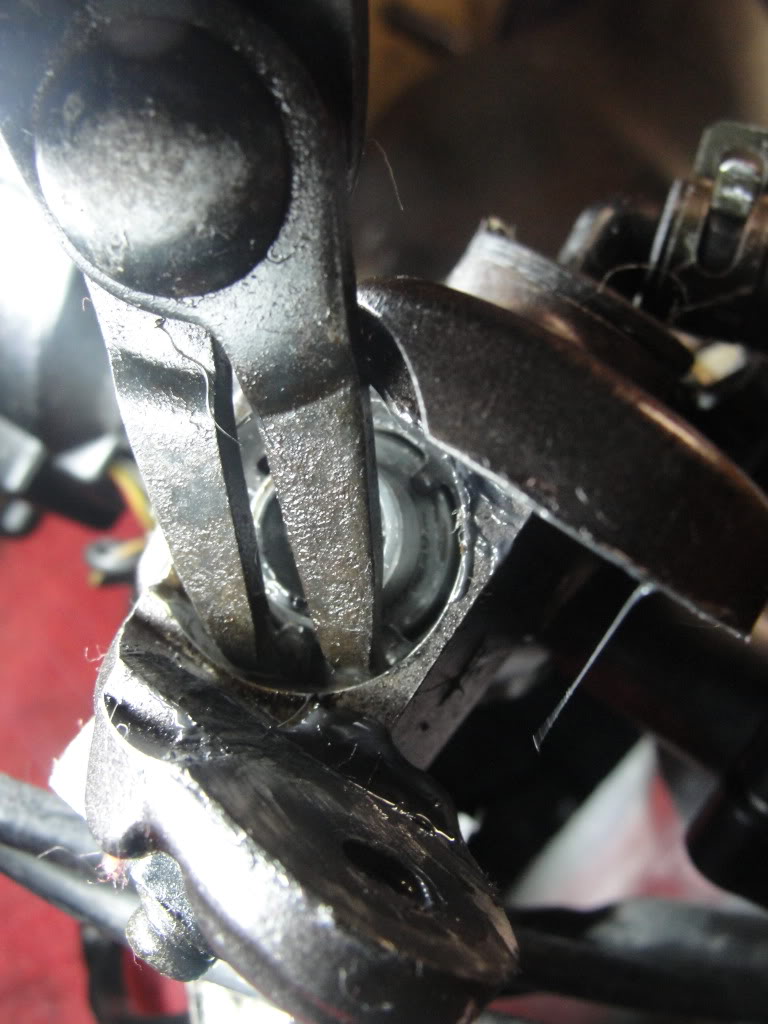
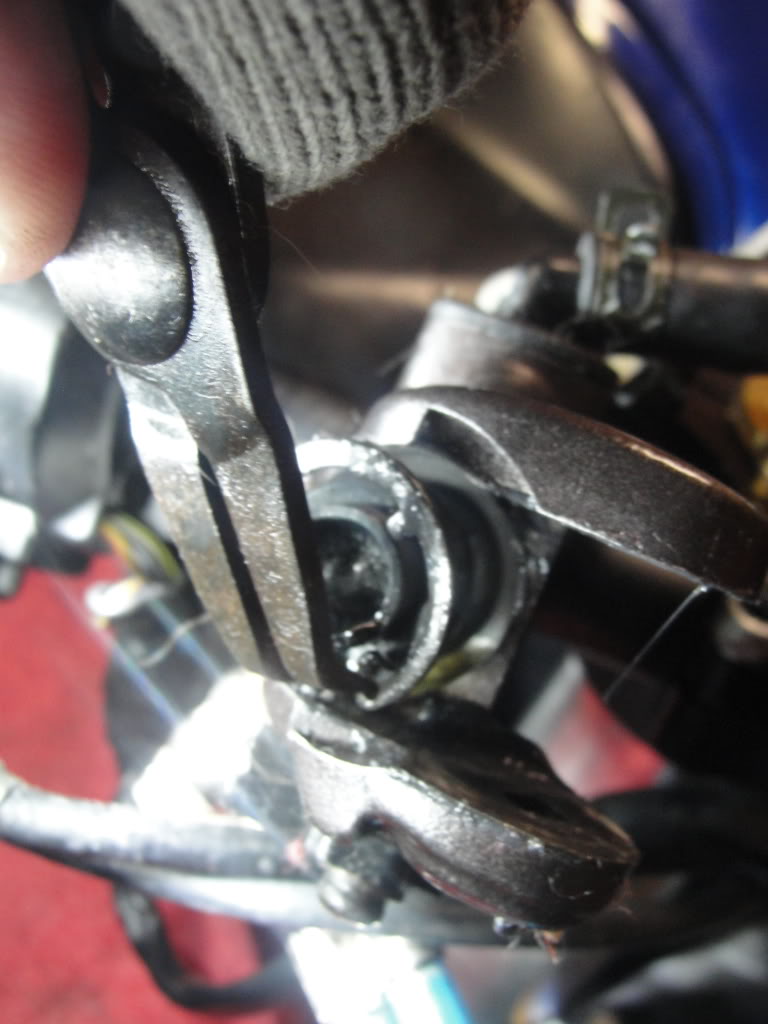
Step 3: Remove the old piston
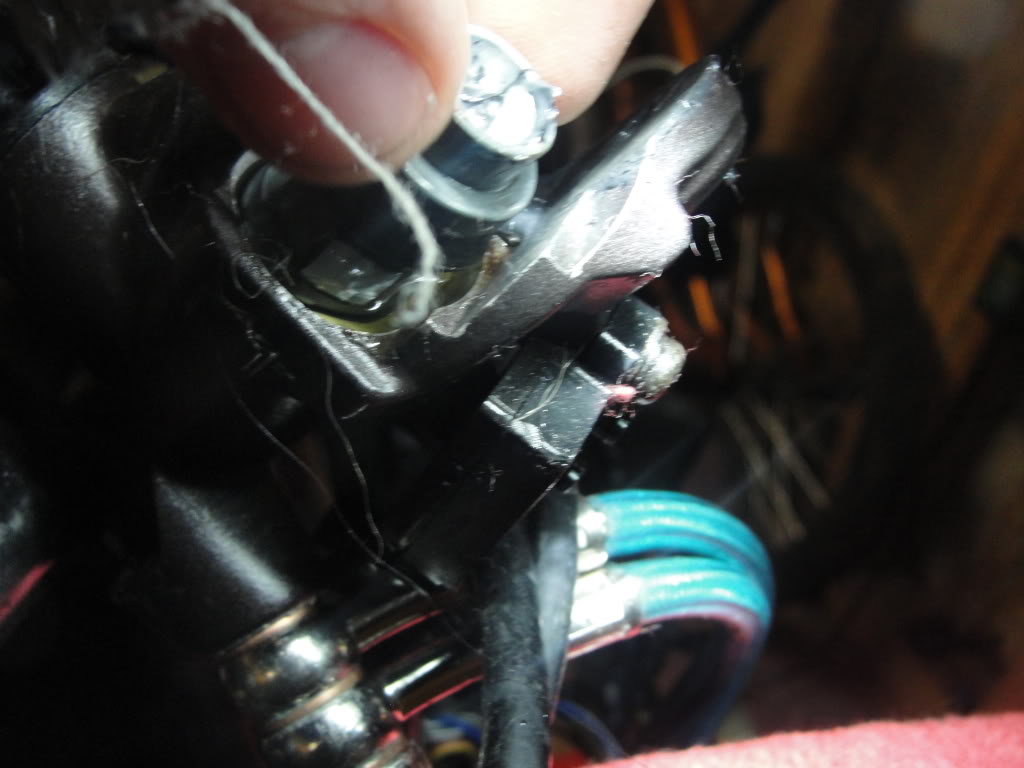
now you see that spring pull it out as well.. If the black piece doesn't come out then you need some needle nose pliers and pull that black part out.

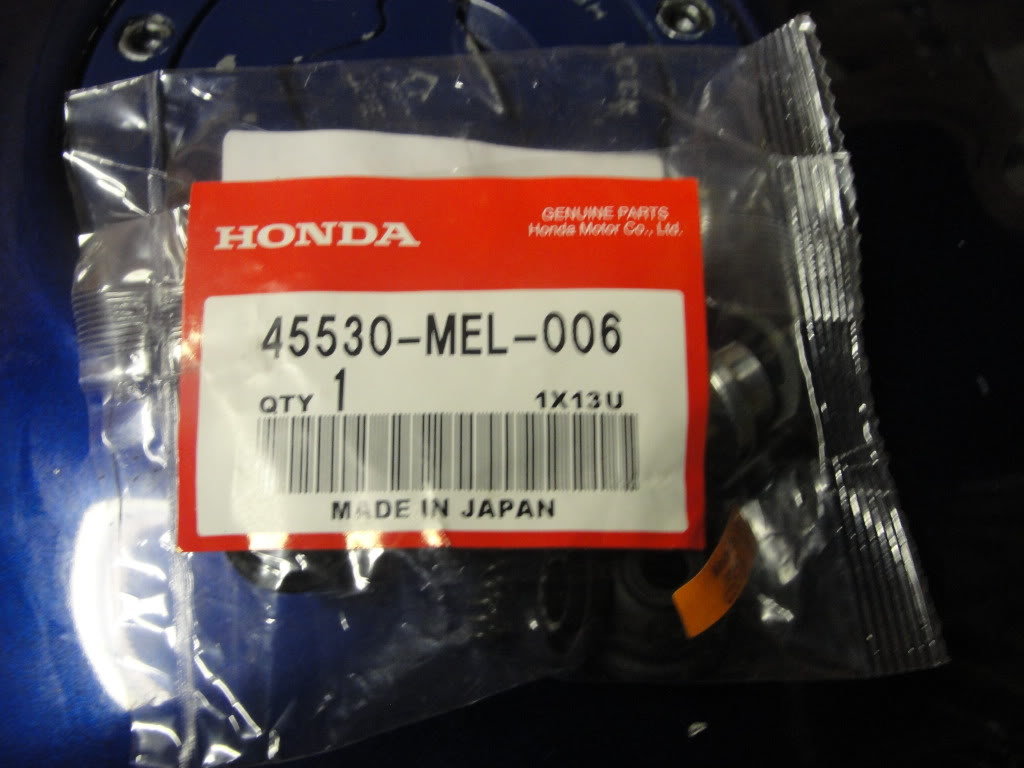
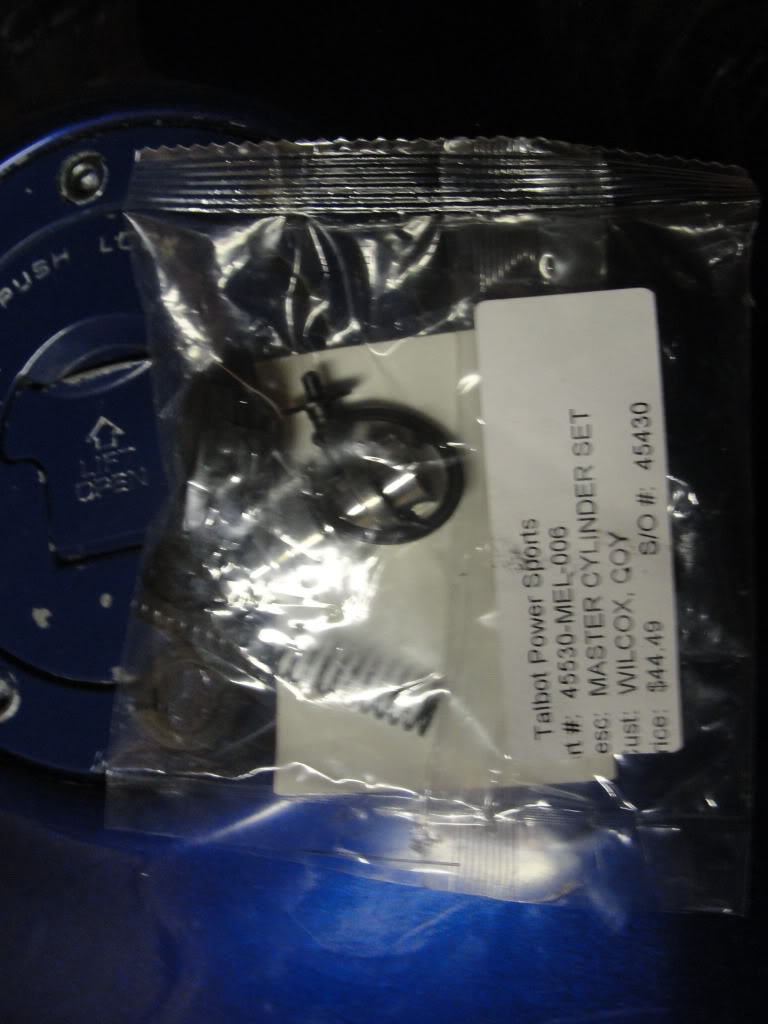
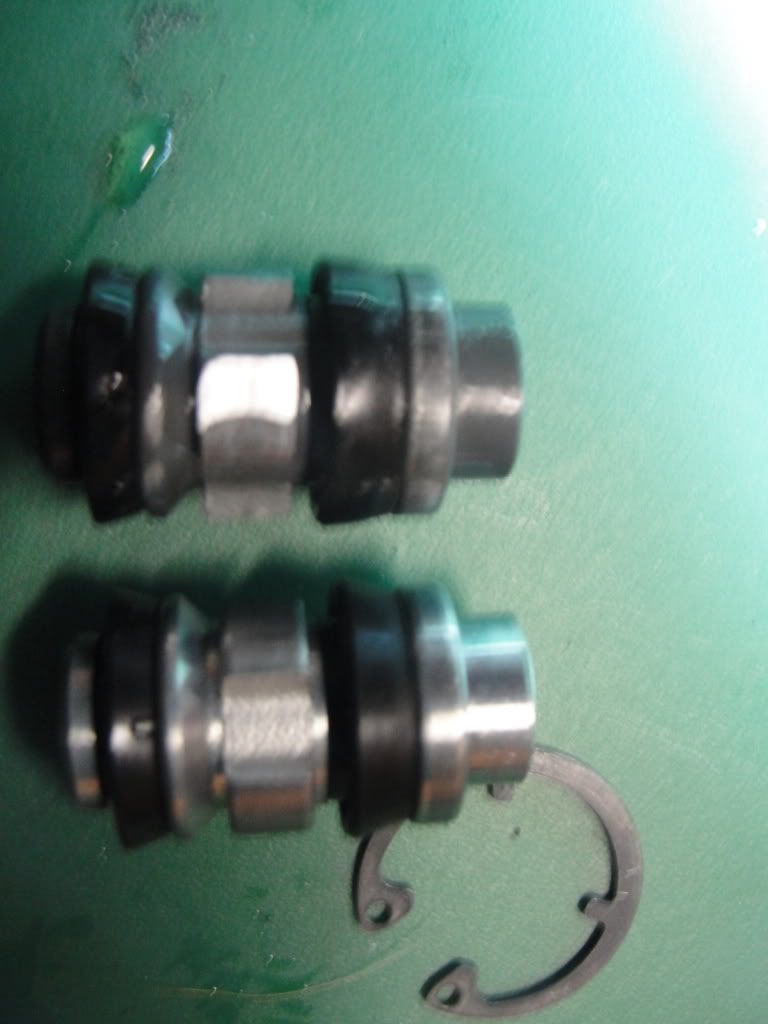
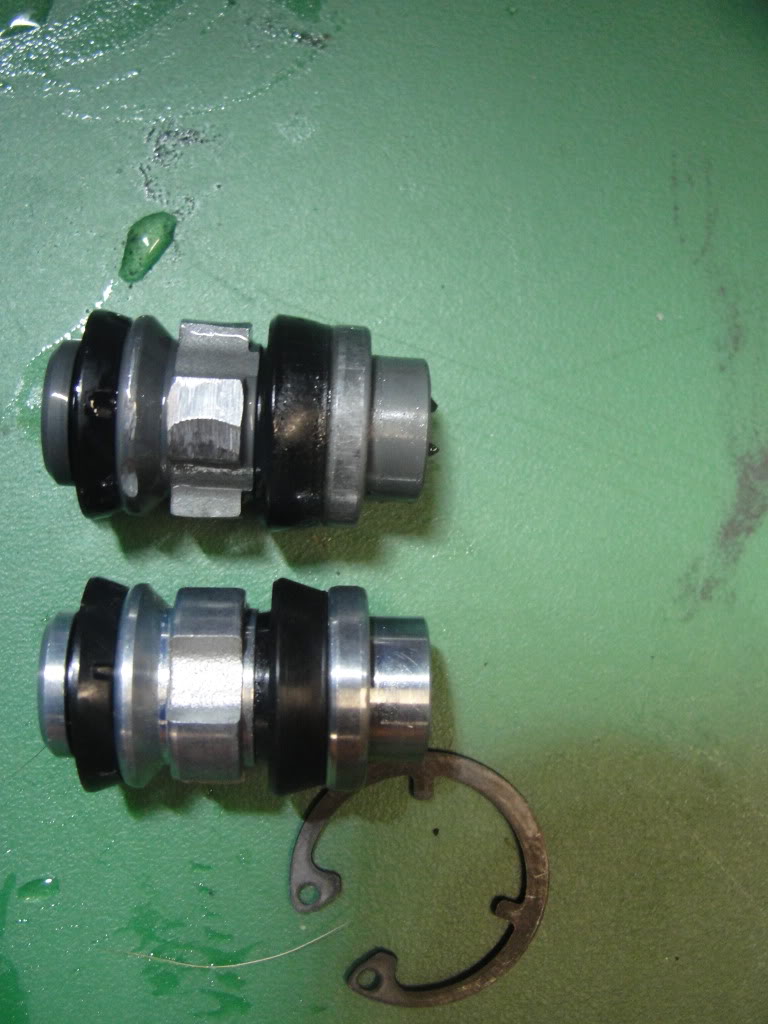
Step 4: Put the new gaskets on the new piston
here is a picture of the new piston next to the old one can you guess which one is the new one?
Step5:
I didn't take pictures of it but you have to put the gaskets on the new piston which wasn't hard and you just have to put everything back together the way it was...
and please use the new snap ring that came with the kit.. and keep the old one as a spare.
and your done. Just have to get the air outa the system.
Okay step one.. move the MC to a angle.
step 2: get the snap ring pliers and get that snap ring out... Be prepared for some break fluid to come out.
Step 3: Remove the old piston
now you see that spring pull it out as well.. If the black piece doesn't come out then you need some needle nose pliers and pull that black part out.
Step 4: Put the new gaskets on the new piston
here is a picture of the new piston next to the old one can you guess which one is the new one?
Step5:
I didn't take pictures of it but you have to put the gaskets on the new piston which wasn't hard and you just have to put everything back together the way it was...
and please use the new snap ring that came with the kit.. and keep the old one as a spare.
and your done. Just have to get the air outa the system.
Last edited by Boyo; 03-02-2012 at 10:11 PM.
#78
03-08-2012, 10:02 PM
Join Date: Mar 2011
Posts: 193
Likes: 0
Received 0 Likes
on
0 Posts
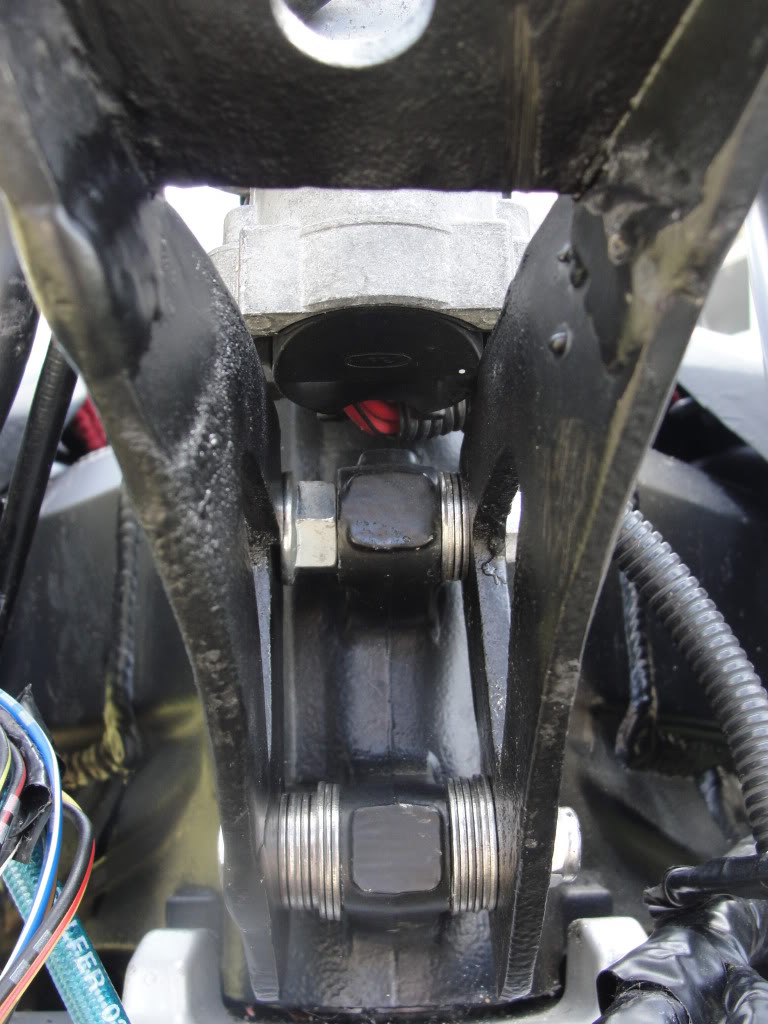
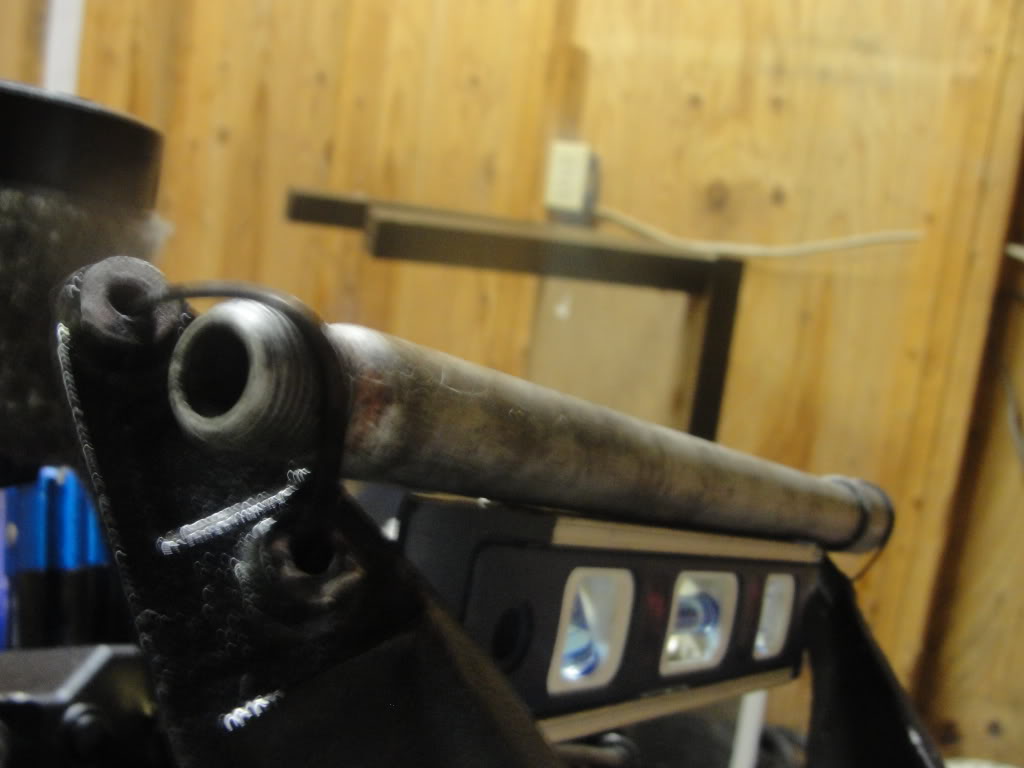
The poor abused Fairing stay. that's been re-welded more than I would like to admit
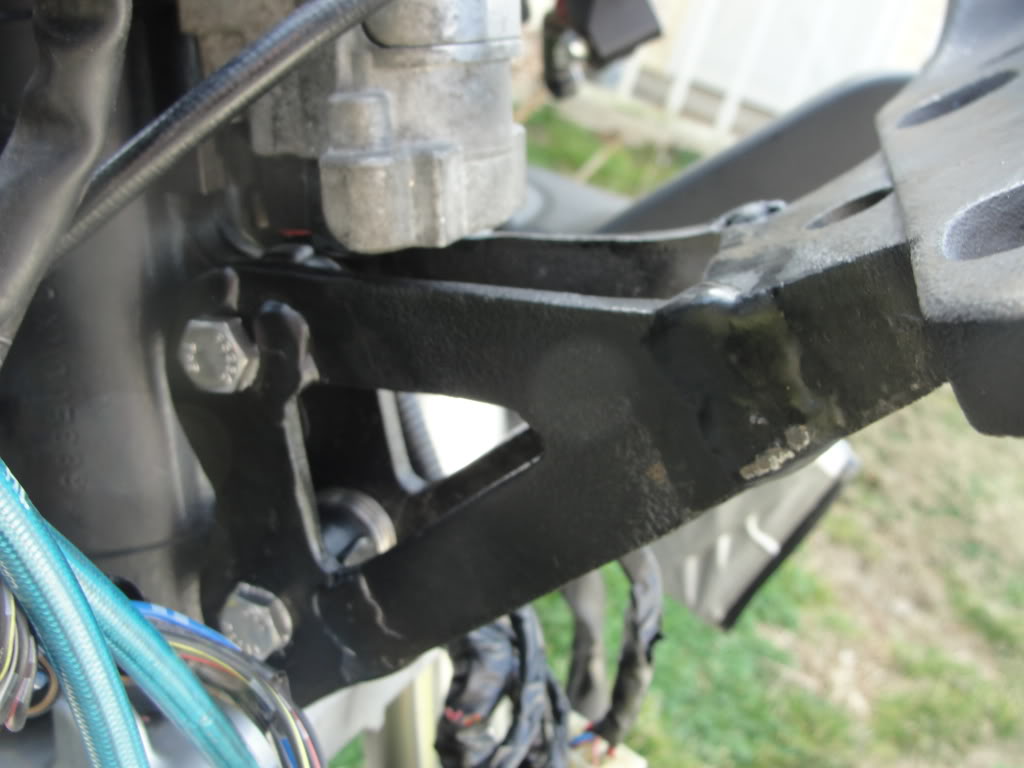
so first off you need to try and find a middle with eye balling it and put washers and even a nut on the top part and tighten it down..
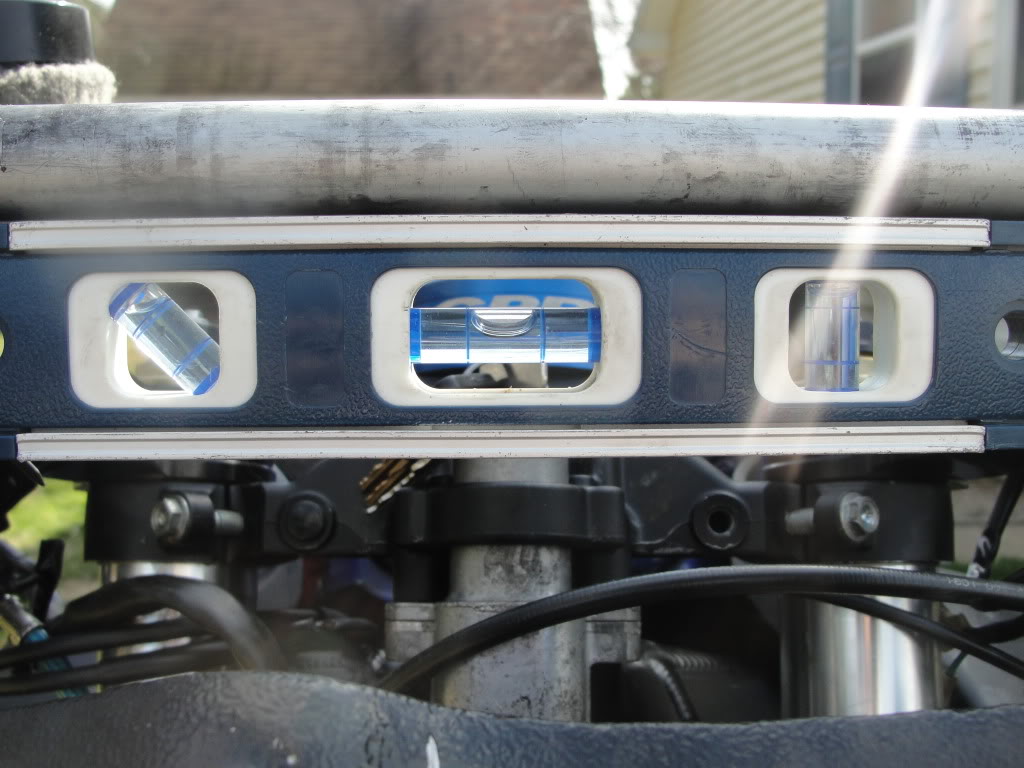
then you want to take a bar acorss where the mirriors mount and zip tie a bar then put a magnet level on that bar like so
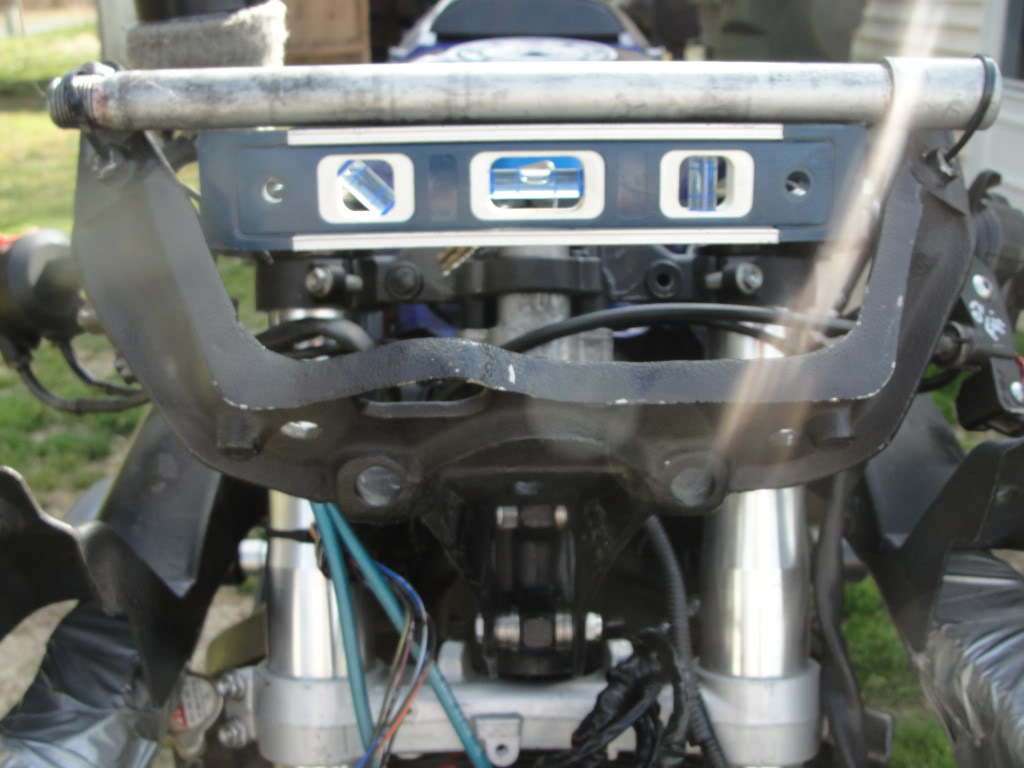
you use the bottom play and make it level!
insert washers to the side that's making it level then fill the gap on the other side and your done.
so first off you need to try and find a middle with eye balling it and put washers and even a nut on the top part and tighten it down..
then you want to take a bar acorss where the mirriors mount and zip tie a bar then put a magnet level on that bar like so
you use the bottom play and make it level!
insert washers to the side that's making it level then fill the gap on the other side and your done.
#79
03-08-2012, 10:10 PM
Join Date: Mar 2011
Posts: 193
Likes: 0
Received 0 Likes
on
0 Posts
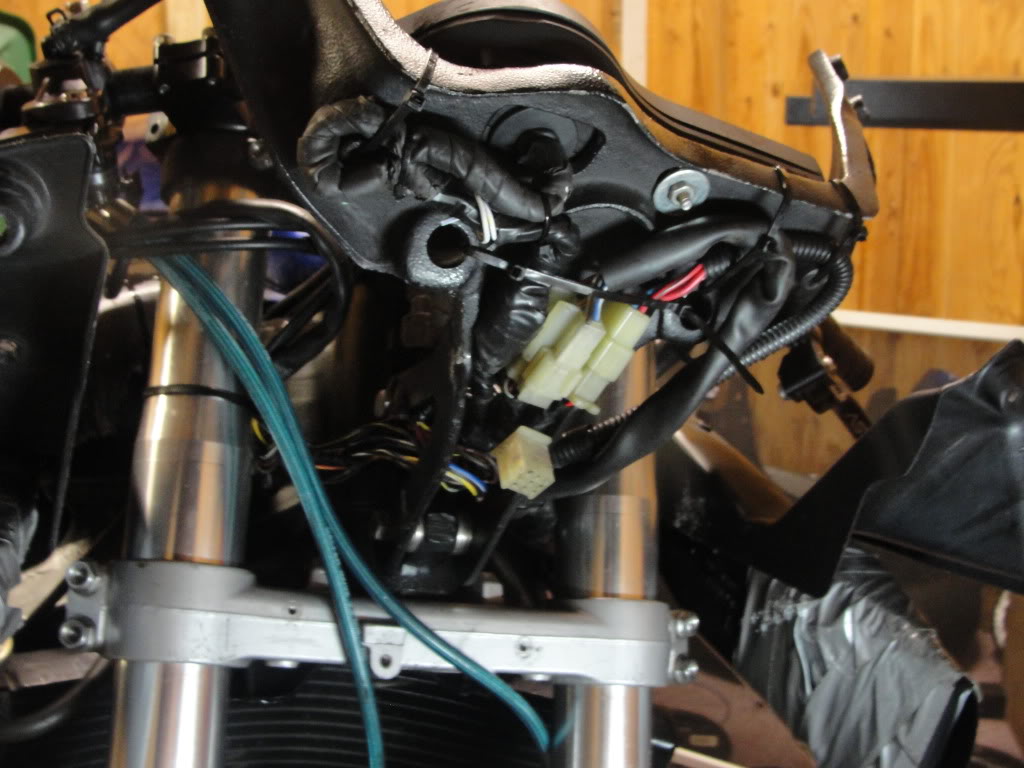
i'm a little OCD when it comes to wire management. I hate seeing wires all out of order and all ***** nilly... but this took me I dunno about 30 to 45 mins to do.
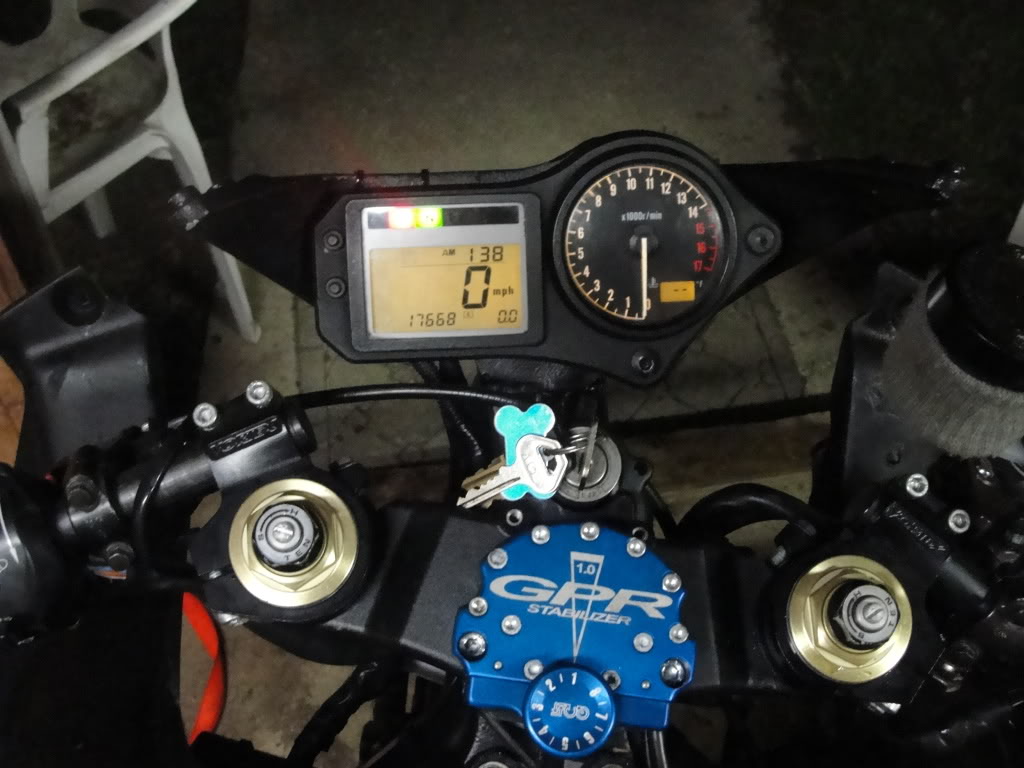
which is mount the tach and start feeding the wires threw the fairing stay.
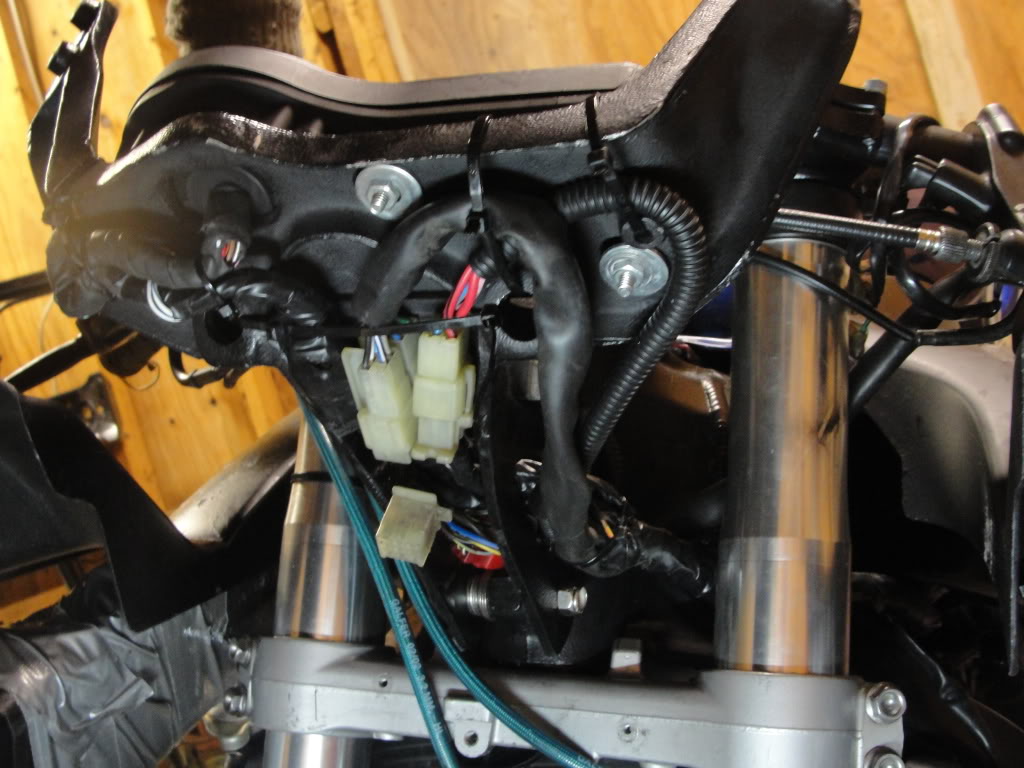
the one plug that's sticking down is for the headlight & blinkers.

which is mount the tach and start feeding the wires threw the fairing stay.
the one plug that's sticking down is for the headlight & blinkers.
Last edited by Boyo; 03-08-2012 at 10:12 PM.
