Boyo's Winter Bike project
#1
 04-25-2011, 05:46 AM


Join Date: Mar 2011
Posts: 193
Likes: 0
Received 0 Likes
on
0 Posts
Hey all I figure its about time to post this.
For me to get better understanding of the bike and to have some fun with it I decided to tear it down to frame send it off to powder coat and rebuild it with a F4i front end and a split seat conversion....
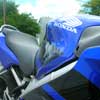
This is how the bike Looked before I started to take it apart

also I havn't started this new mod yet but I found a motor off of CL for 300 bucks 8k on the motor. The dude I bought it from said he wrecked the bike and was going to rebuild it but hes moving away for college and doesn't have enough time to work on it.
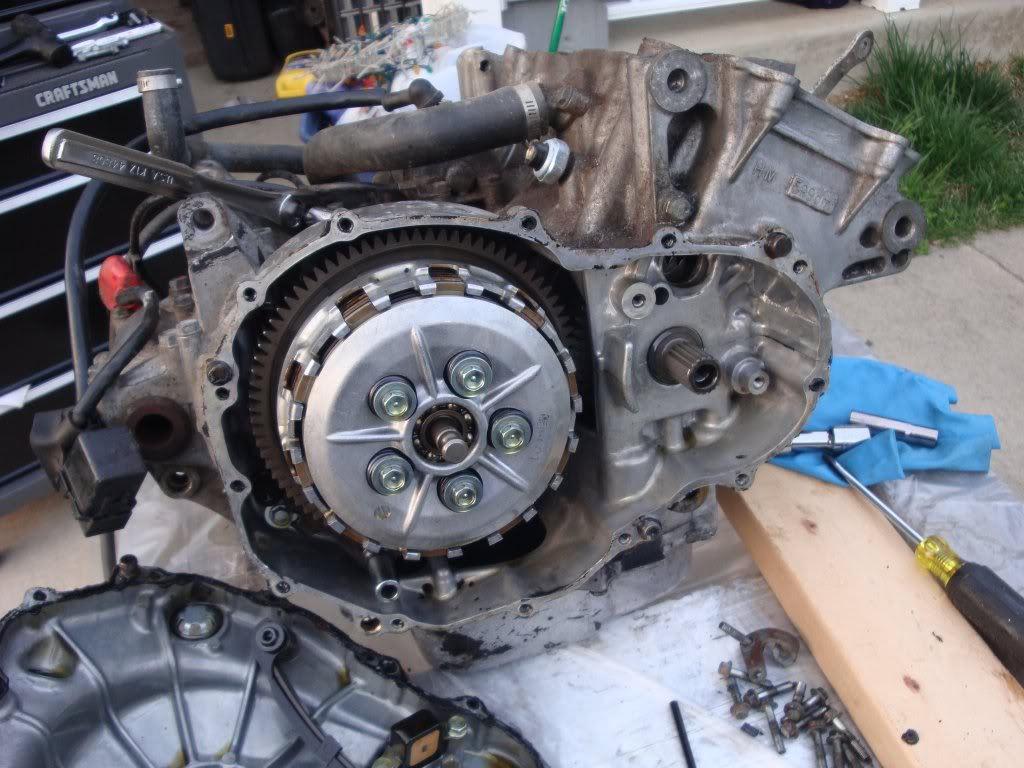
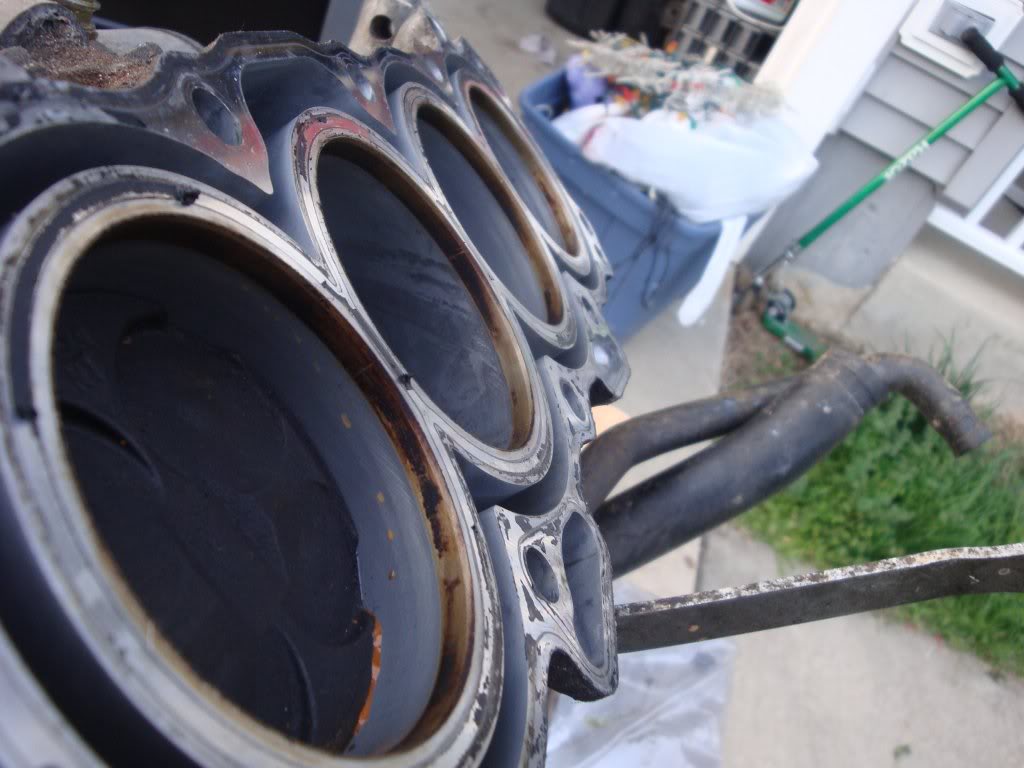
The piston wall was smooth you could tell it only had 8,000 on it
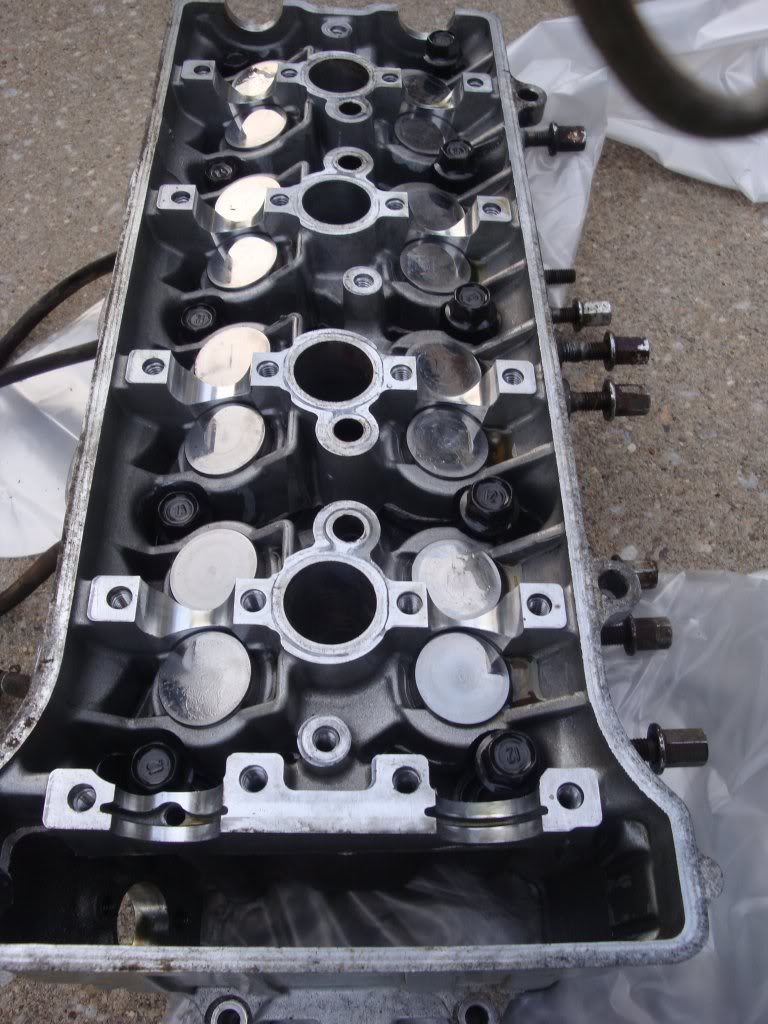
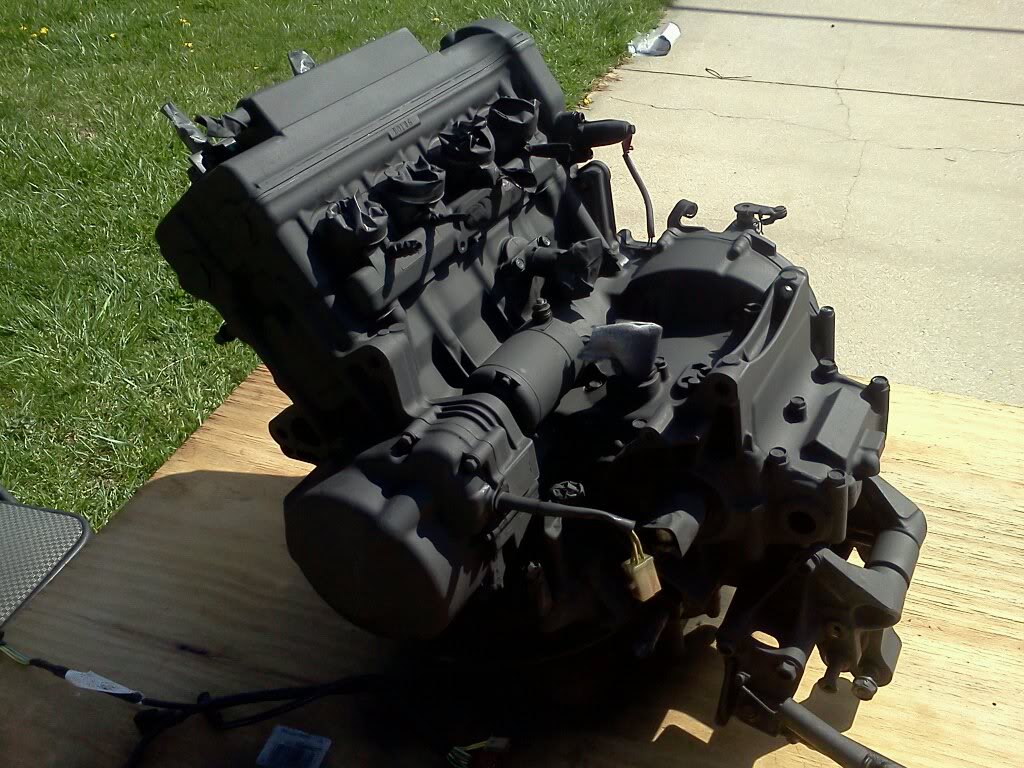
So the First thing i'm going to do is paint the original motor that has 24,000 miles on it
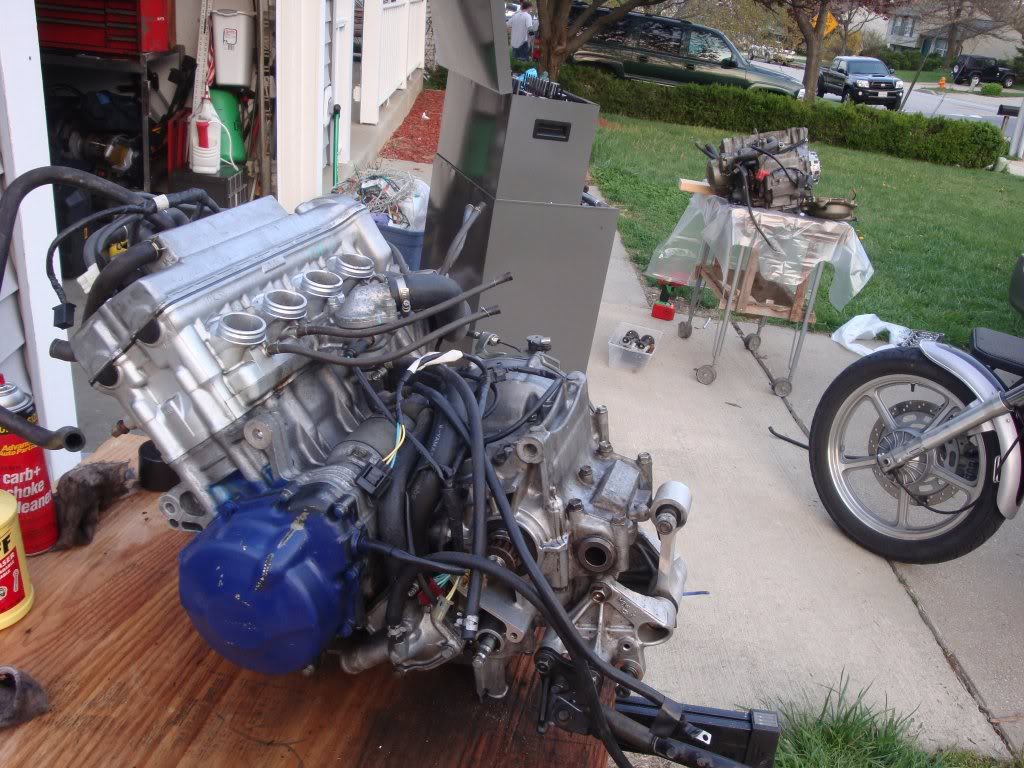
you have to prep it tape up the wholes and use some engine degreaser and a can of 2+2 carb cleaner really helps clean up the block
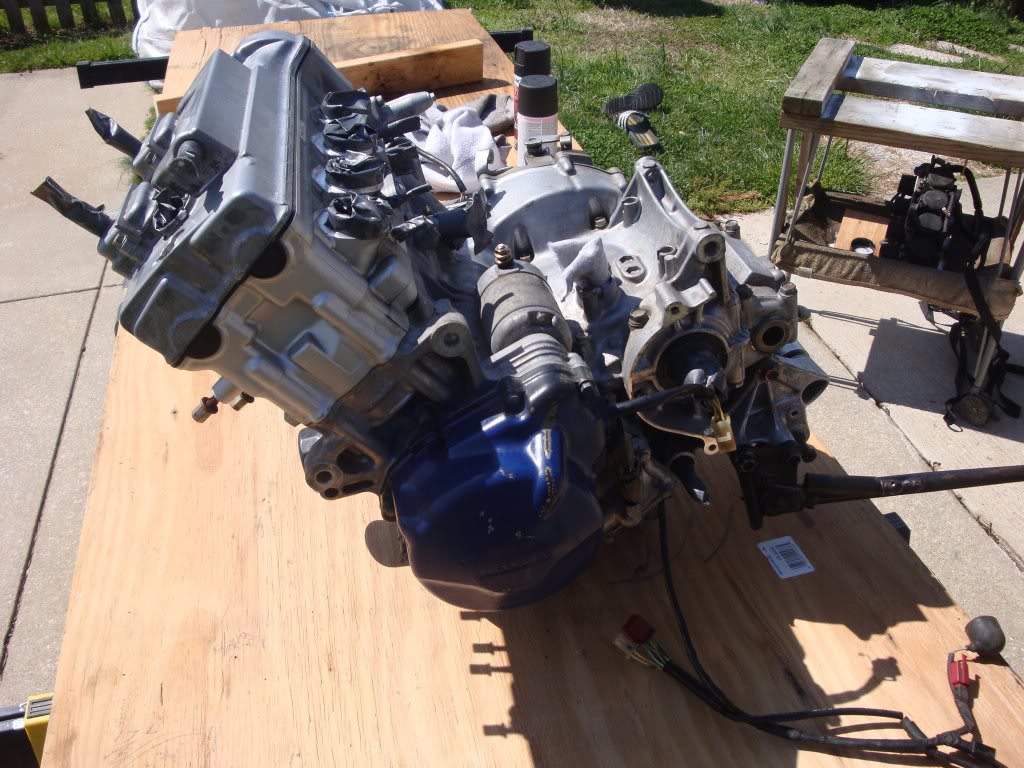
now I personally think if your going to spend the money to get the frame powder coated black why would you have that engine sticking out like a sore thumb and what do or could you do to fix that issiue is to spray paint it.
I used RustOleum high heat black spray paint good till 2000 degrees.
here is the first coat
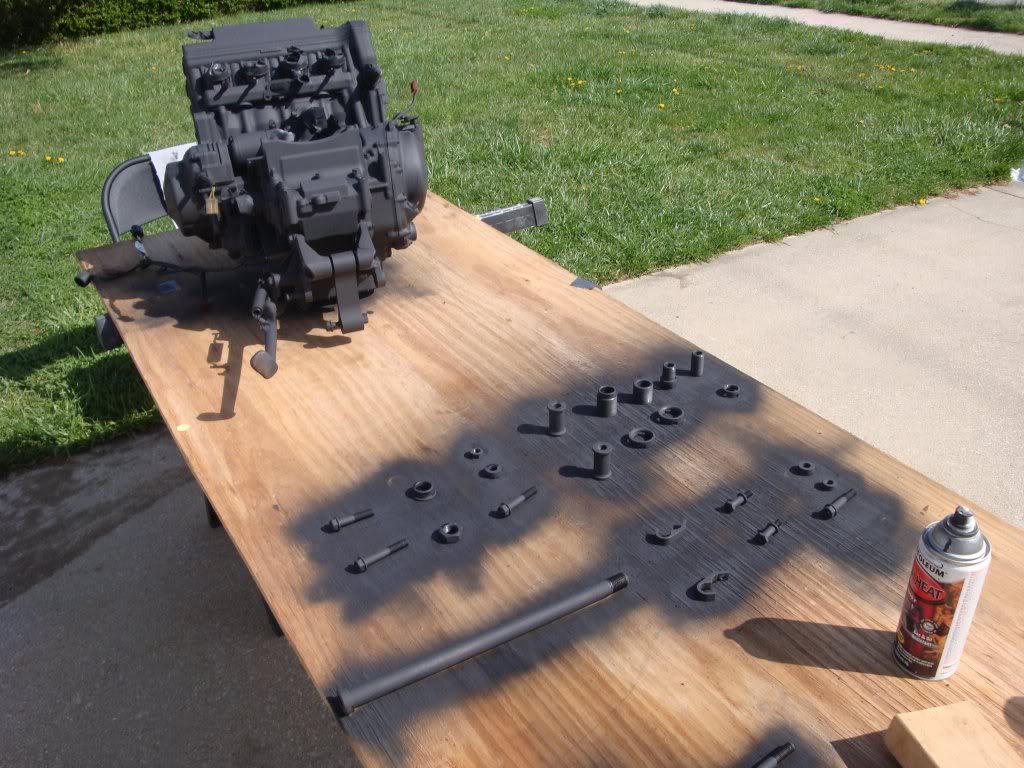
and the second
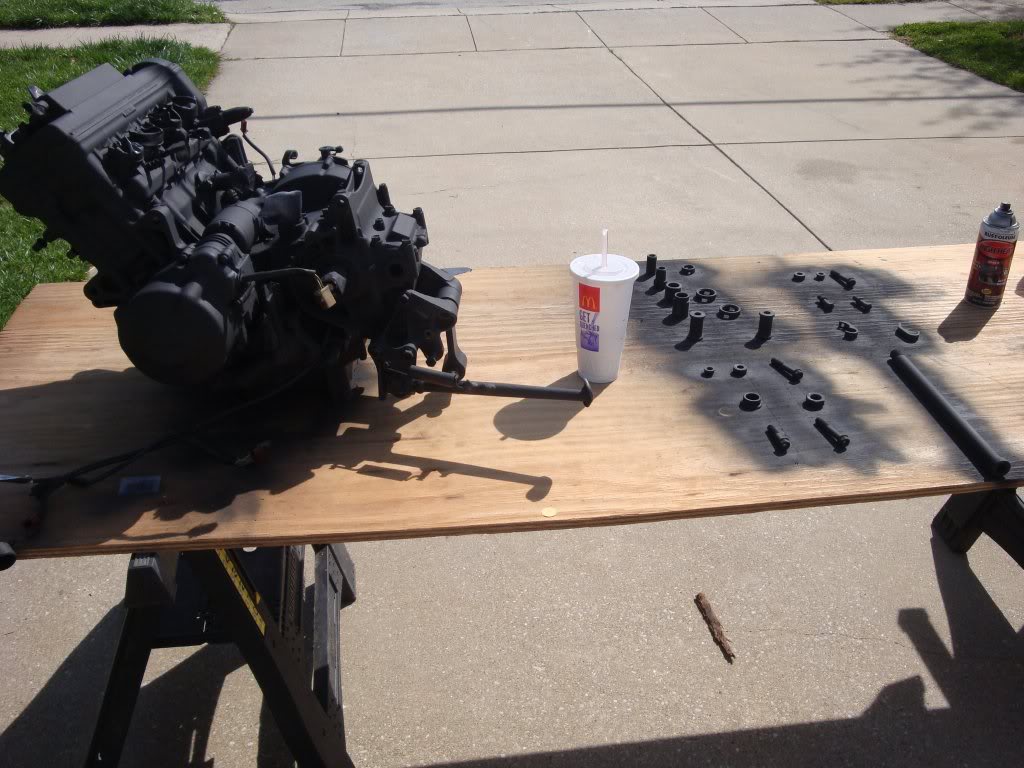
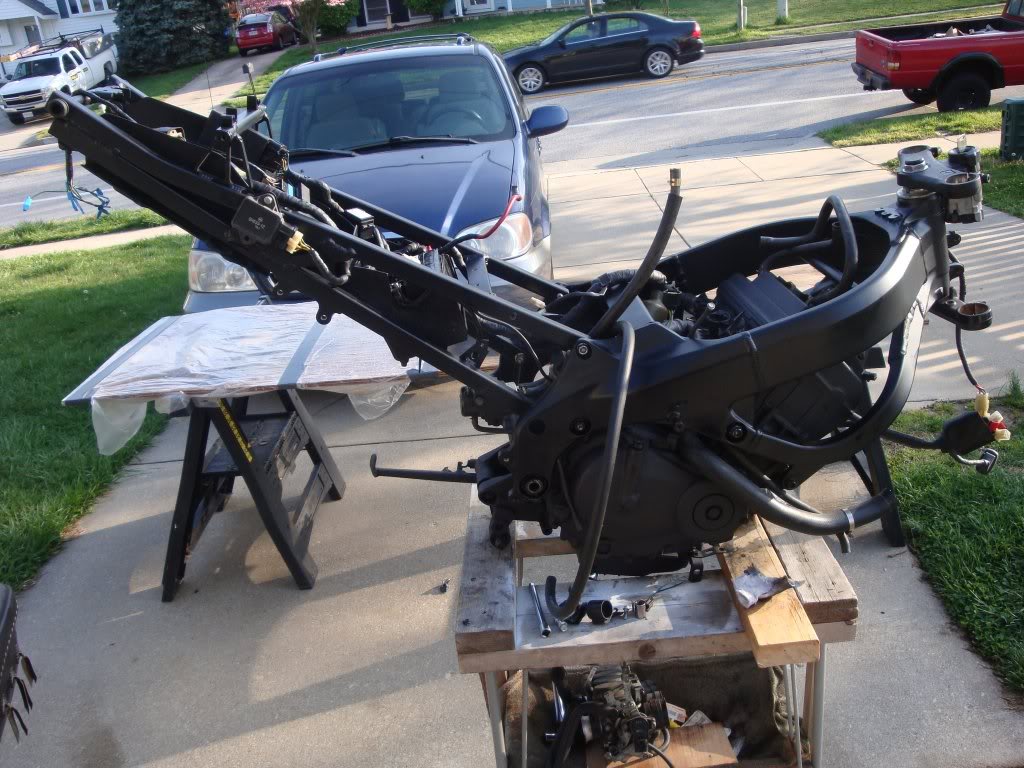
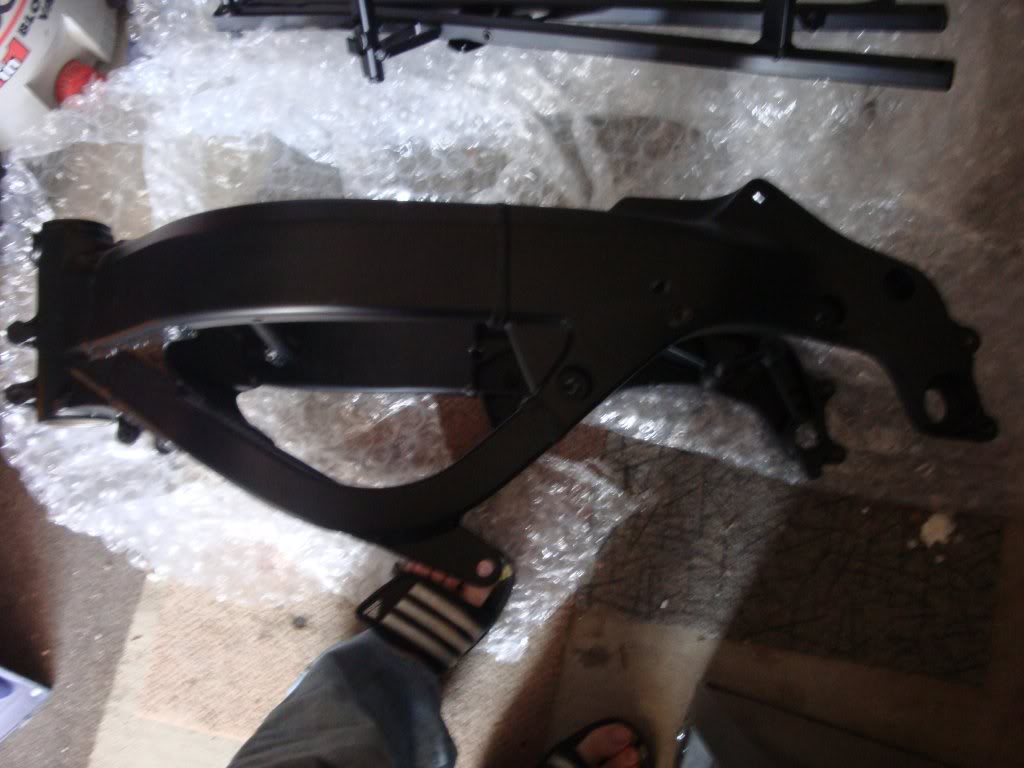
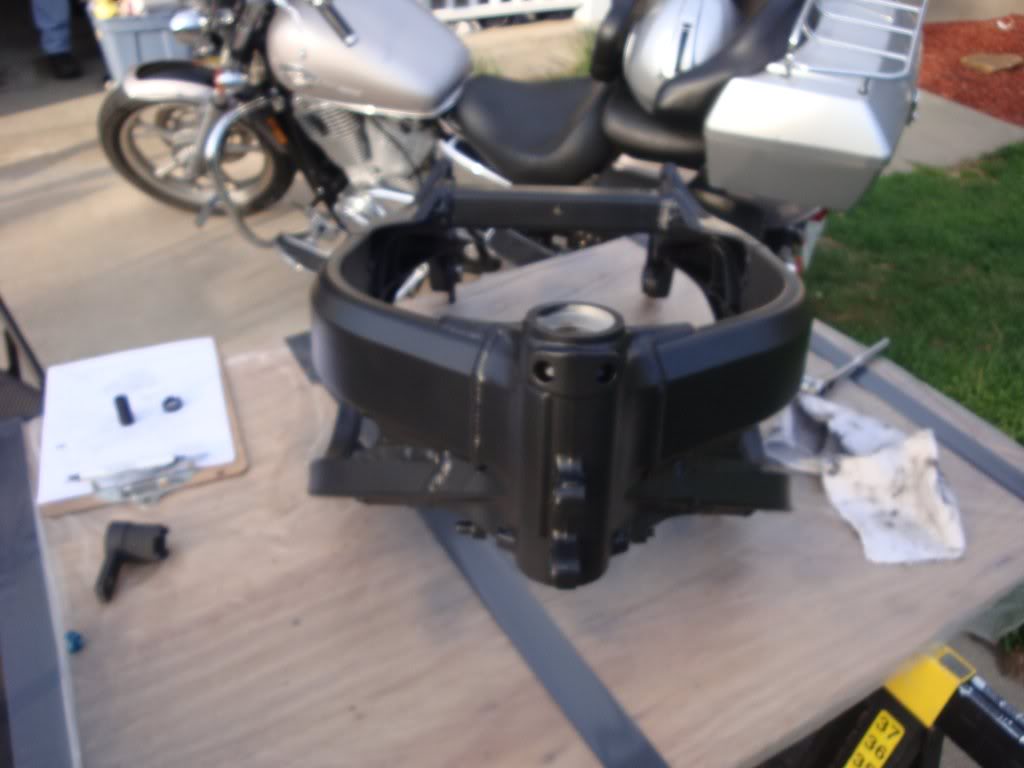
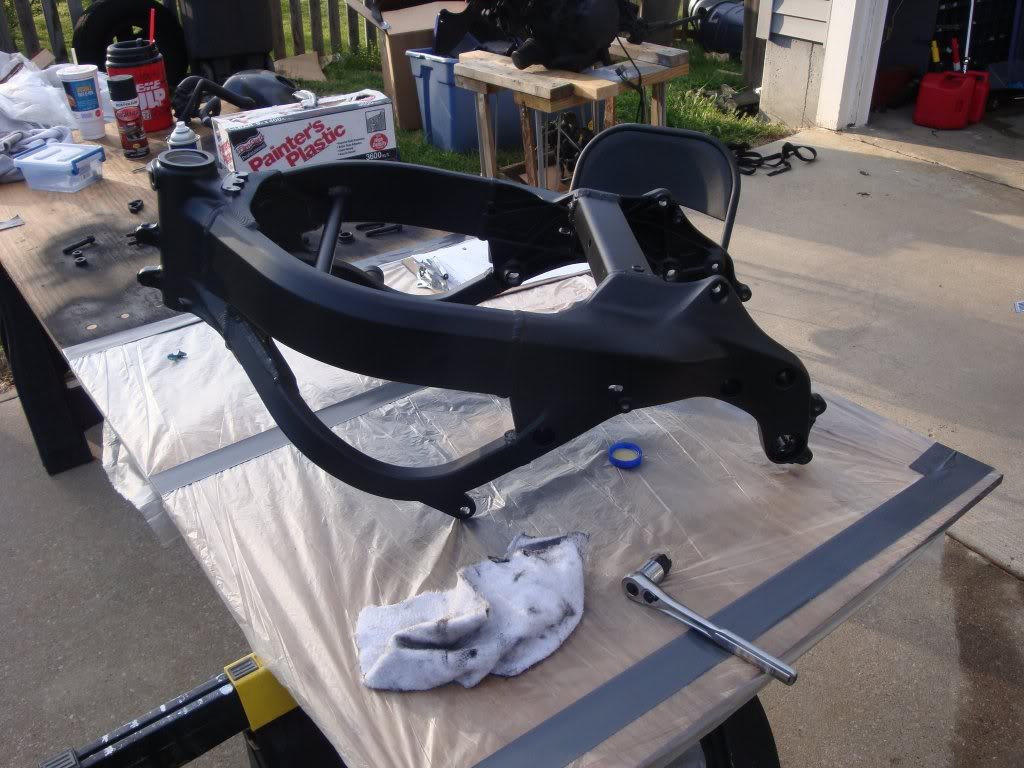
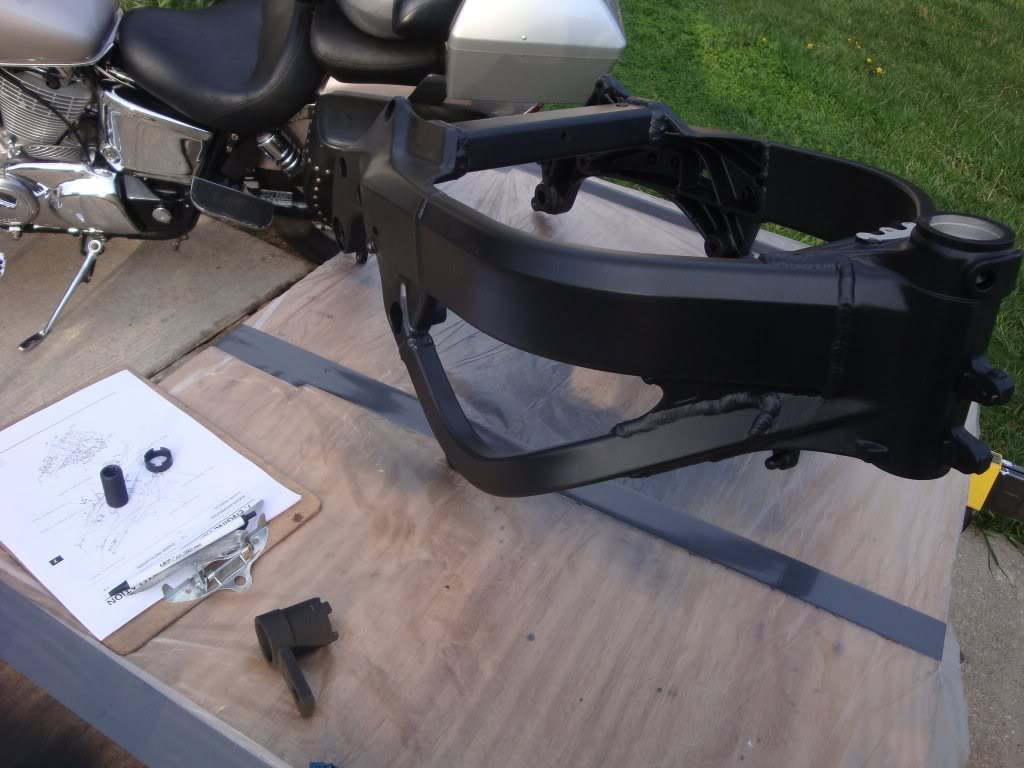
and now the frame
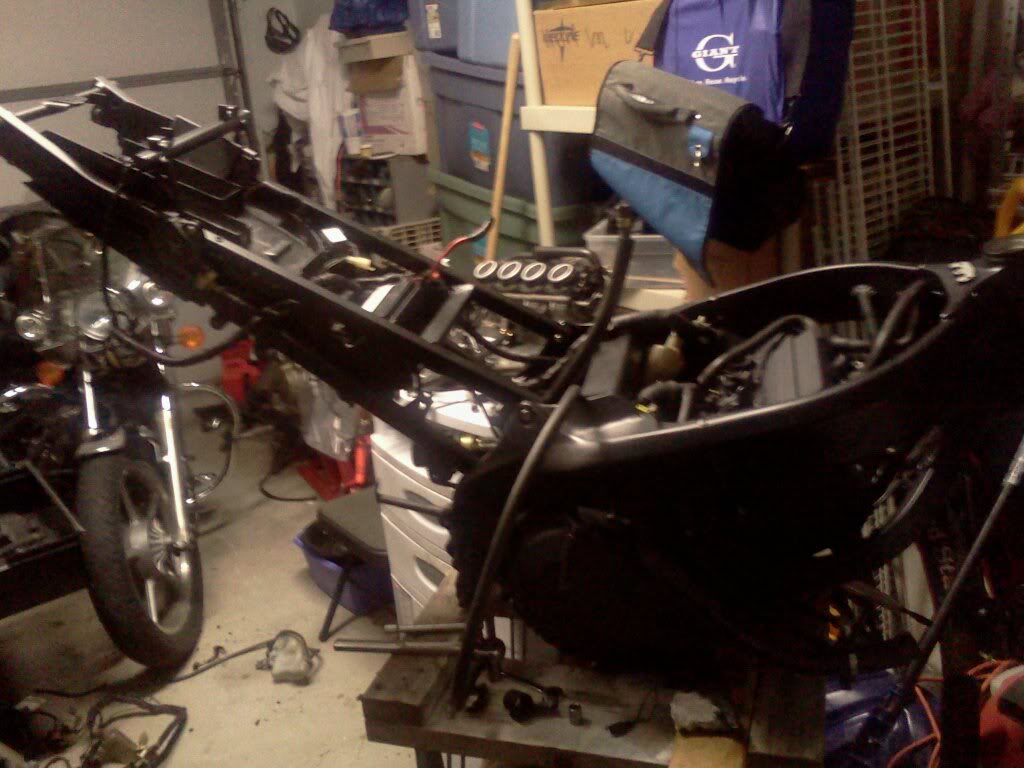
I will update later today I have the sub frame on and ran the wire harness..
But i'm running into some issues and would appreciate ya'll help I'm using the book thats for this bike but would love some help when I have questions because I already have a few
For me to get better understanding of the bike and to have some fun with it I decided to tear it down to frame send it off to powder coat and rebuild it with a F4i front end and a split seat conversion....
This is how the bike Looked before I started to take it apart
also I havn't started this new mod yet but I found a motor off of CL for 300 bucks 8k on the motor. The dude I bought it from said he wrecked the bike and was going to rebuild it but hes moving away for college and doesn't have enough time to work on it.
The piston wall was smooth you could tell it only had 8,000 on it
So the First thing i'm going to do is paint the original motor that has 24,000 miles on it
you have to prep it tape up the wholes and use some engine degreaser and a can of 2+2 carb cleaner really helps clean up the block
now I personally think if your going to spend the money to get the frame powder coated black why would you have that engine sticking out like a sore thumb and what do or could you do to fix that issiue is to spray paint it.
I used RustOleum high heat black spray paint good till 2000 degrees.
here is the first coat
and the second
and now the frame
I will update later today I have the sub frame on and ran the wire harness..
But i'm running into some issues and would appreciate ya'll help I'm using the book thats for this bike but would love some help when I have questions because I already have a few
Last edited by Boyo; 03-03-2012 at 12:53 PM. Reason: add more pictures
#2
04-25-2011, 02:28 PM

Senior Member
Join Date: Nov 2010
Location: Nyon, Switzerland
Posts: 114
Likes: 0
Received 0 Likes
on
0 Posts


#5
04-25-2011, 10:46 PM
Join Date: Mar 2011
Posts: 193
Likes: 0
Received 0 Likes
on
0 Posts
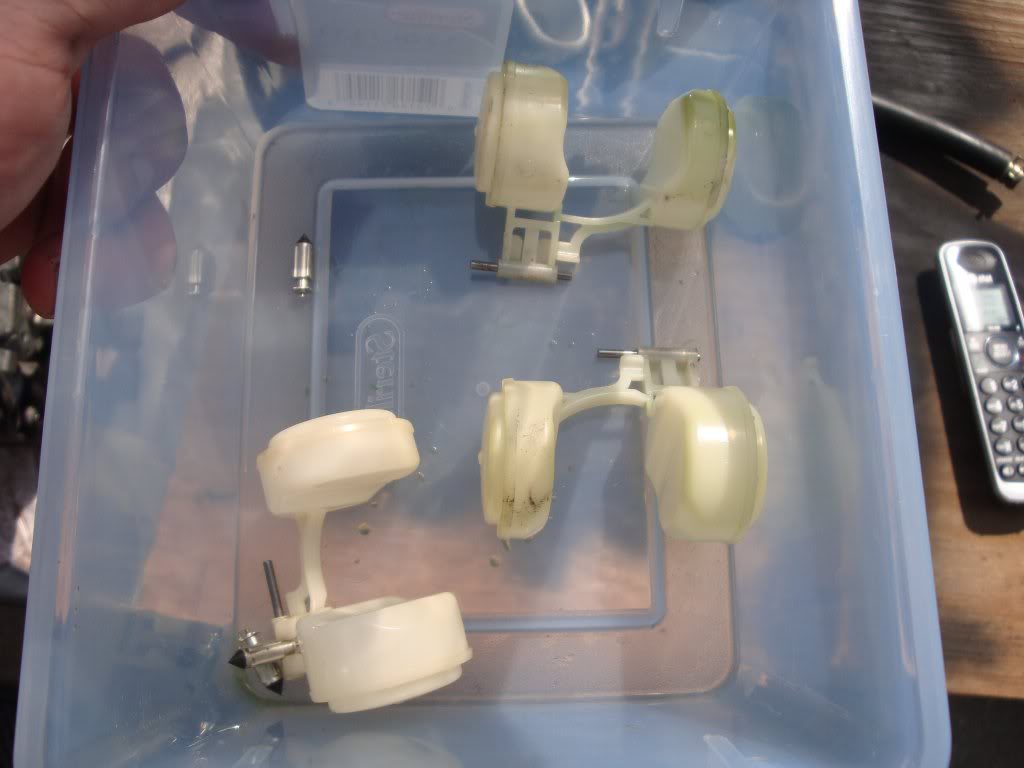
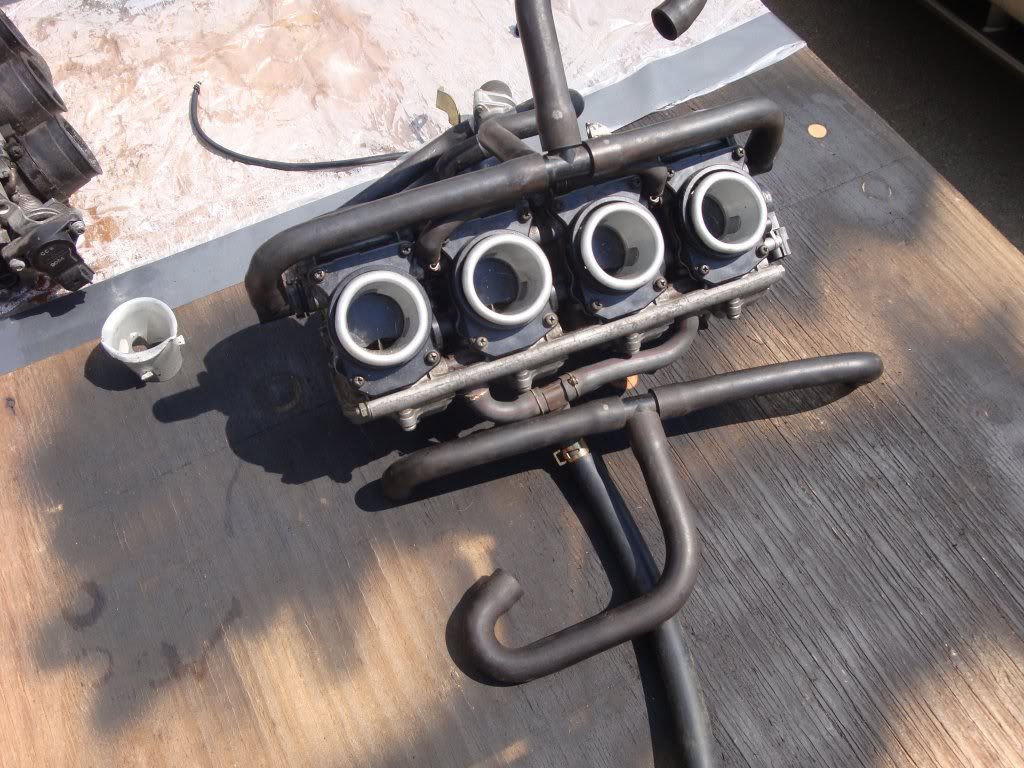
Ok so time to mess with the carbs. I wasn't going to do a write up or anything I've seen alot of people put up pics...
Also this is my first time doing a Carb cleaning and i'm happy how it turned out
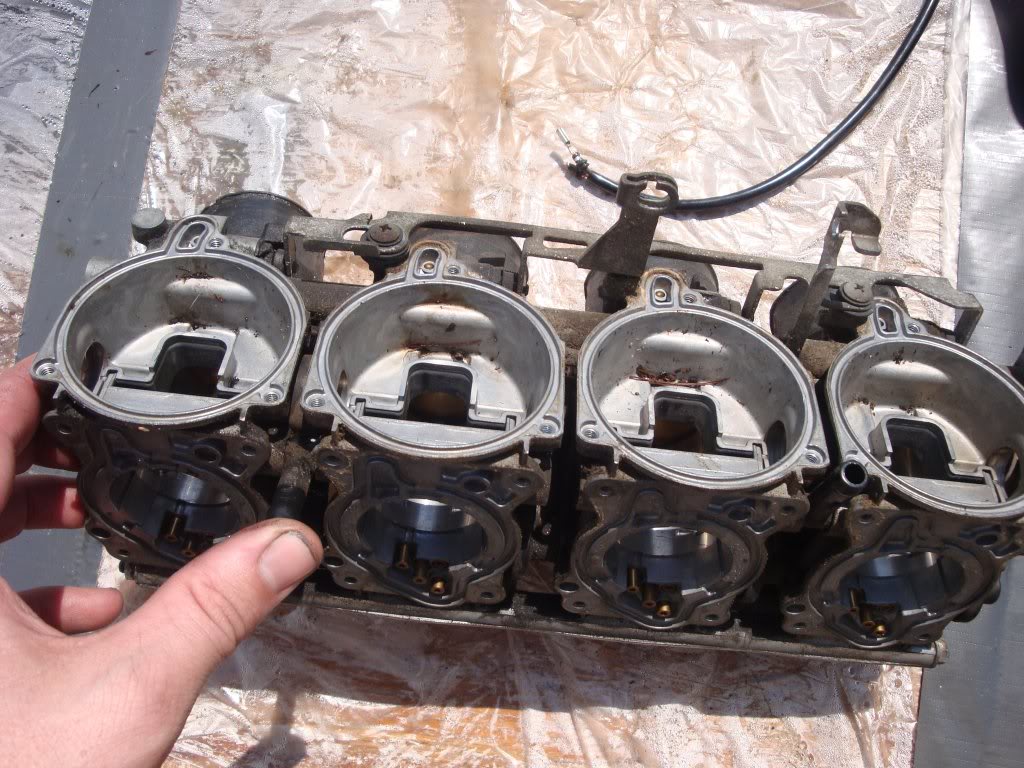
Now when I bought the second motor it came with carbs also but in bad shape so I played doctor to learn how to clean the carbs I know that works.
The damage
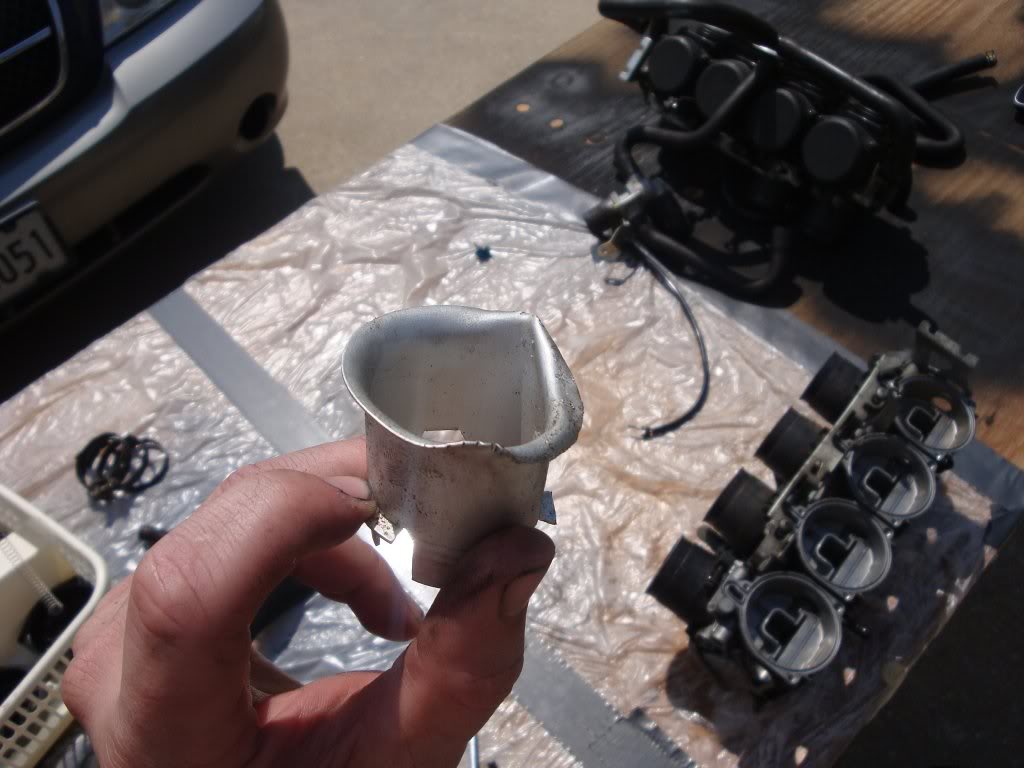
turns out their was a family of Beatles living in one of the carbs to bad I couldn't make them play yellow submarine
Also this is my first time doing a Carb cleaning and i'm happy how it turned out
Now when I bought the second motor it came with carbs also but in bad shape so I played doctor to learn how to clean the carbs I know that works.
The damage
turns out their was a family of Beatles living in one of the carbs to bad I couldn't make them play yellow submarine
Last edited by Boyo; 04-26-2011 at 06:16 AM.
#6
04-25-2011, 11:04 PM
Join Date: Mar 2011
Posts: 193
Likes: 0
Received 0 Likes
on
0 Posts
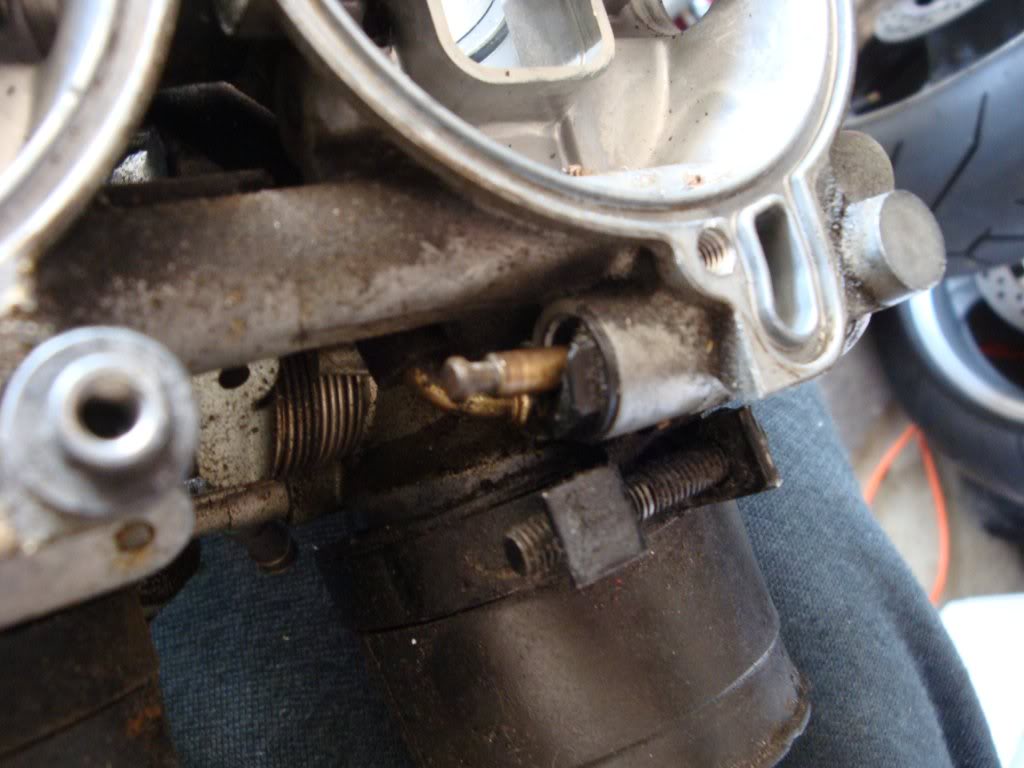
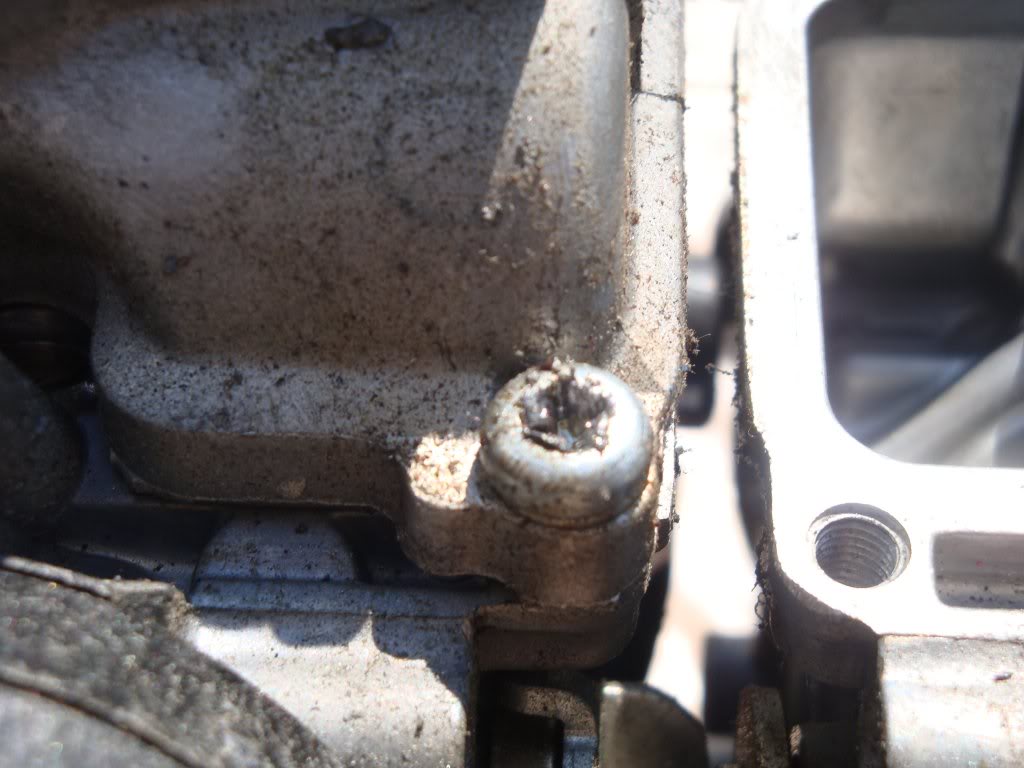
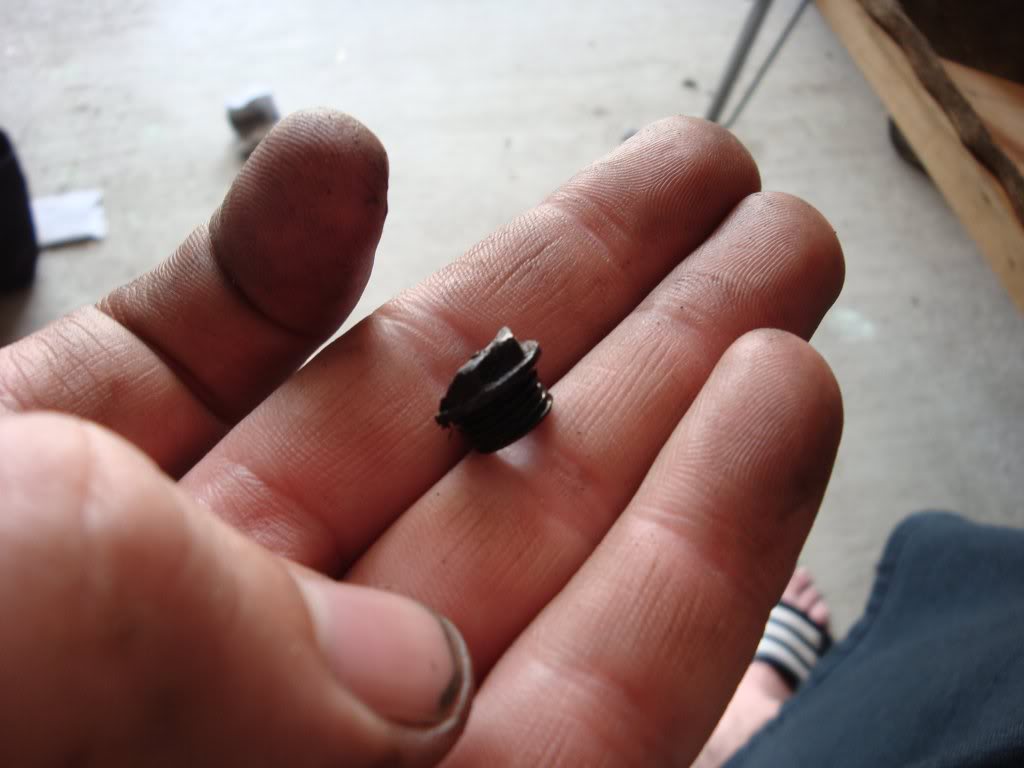
first off its time to fix the screw thats when the handy dandy dremel comes in. Make a cut in the bolt and take a flat headed screw driver and your done 
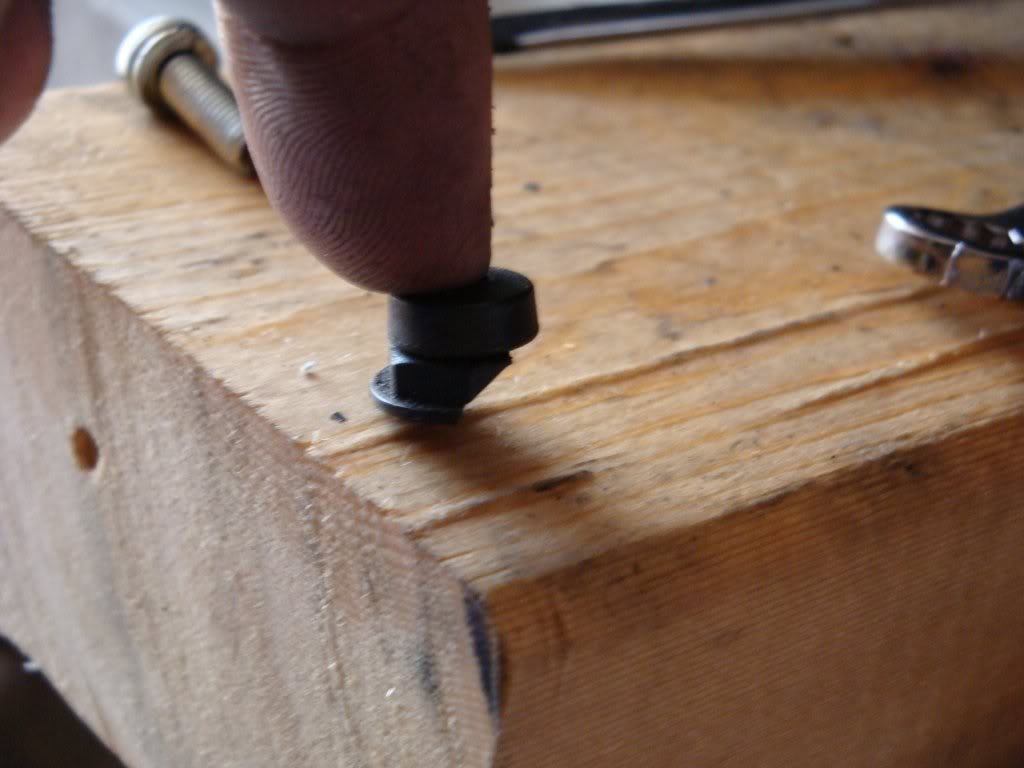
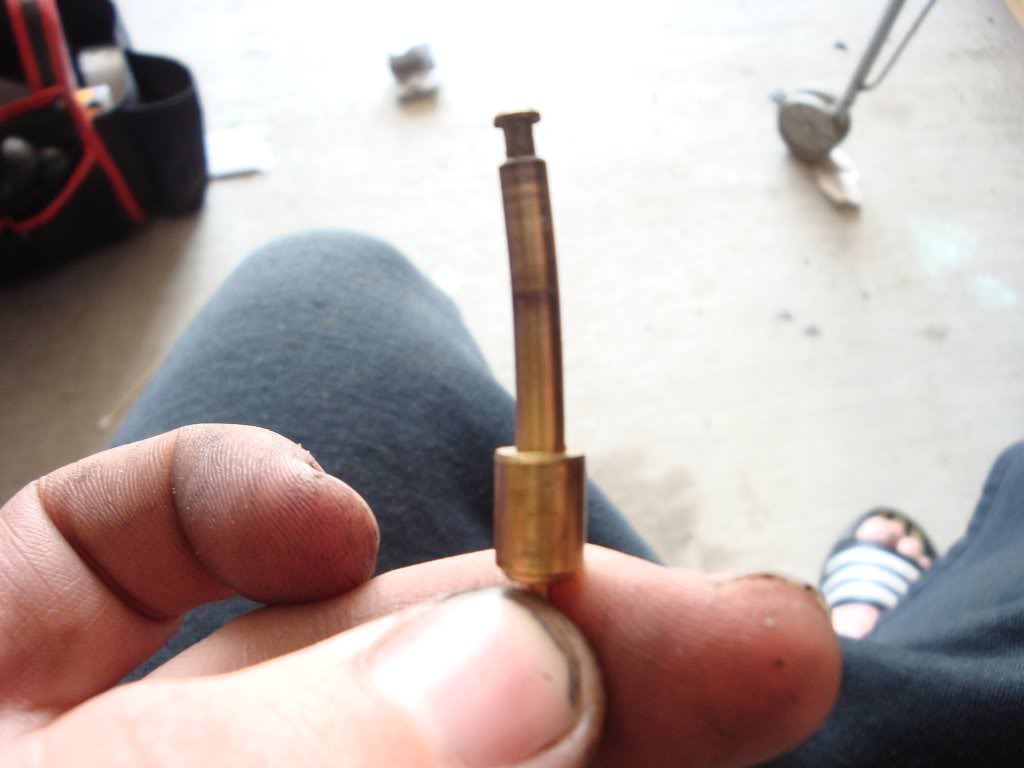
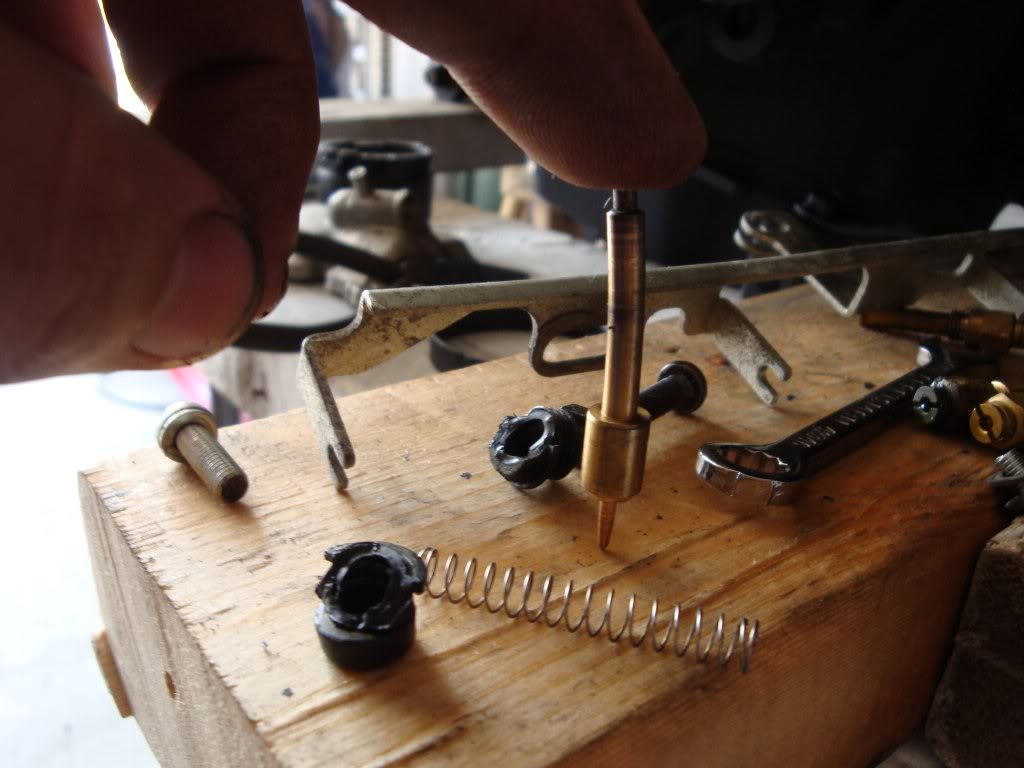
now the choke slider is a wee bit harder... Take the slider off and take a pair of needle noes pliers and start working it
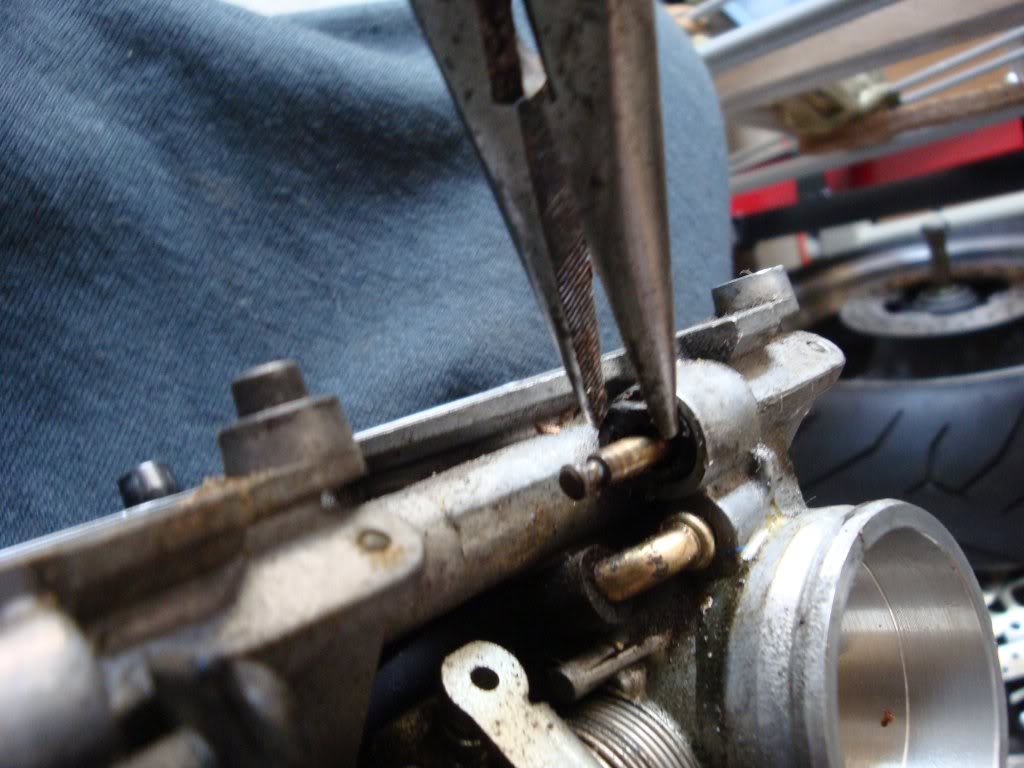
and it will come out after a while
now the choke slider is a wee bit harder... Take the slider off and take a pair of needle noes pliers and start working it
and it will come out after a while
#7
04-25-2011, 11:09 PM
Join Date: Mar 2011
Posts: 193
Likes: 0
Received 0 Likes
on
0 Posts