Honk Kong Fairings (LOTS OF PICTURES)
#1
 10-07-2009, 06:52 AM

Alrighty so I got my fairings yesterday and decided to do the breakdown on them and how good they are so here it goes.
Bike is a 1996 F3
Fairings were supposed to be for the 1996.
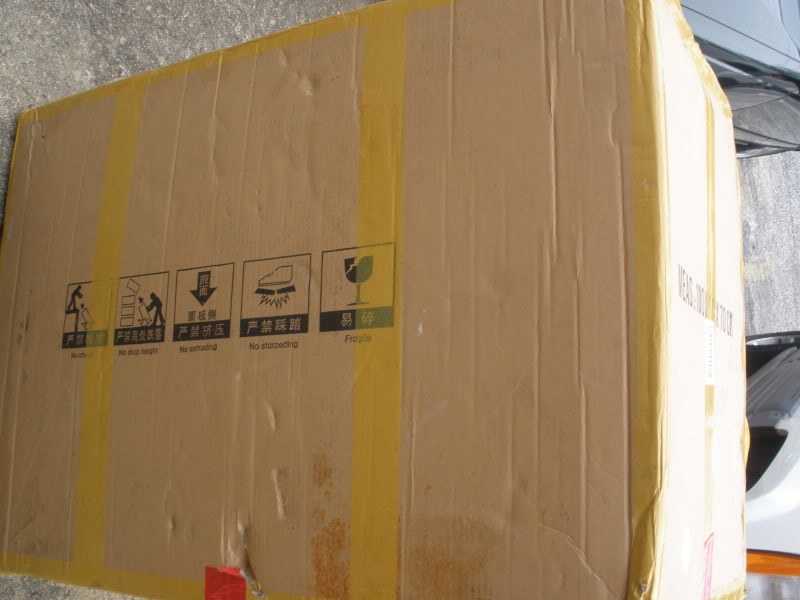
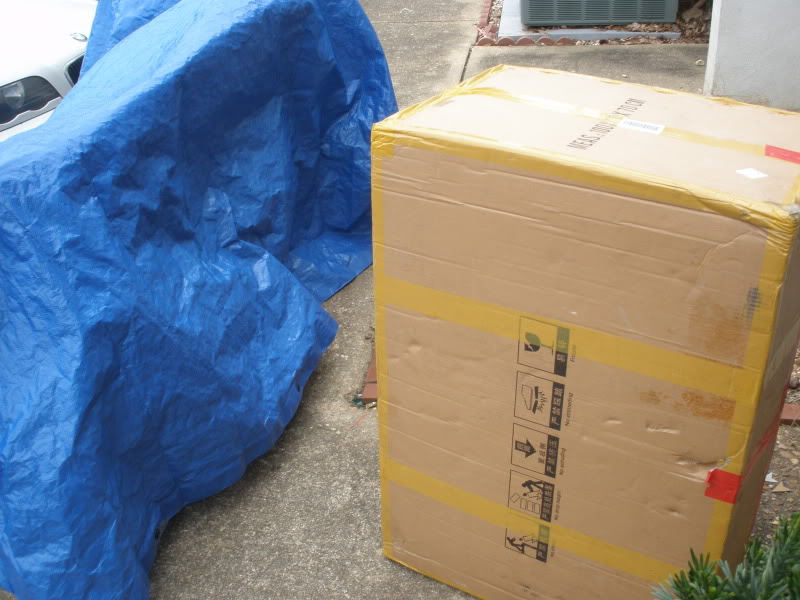
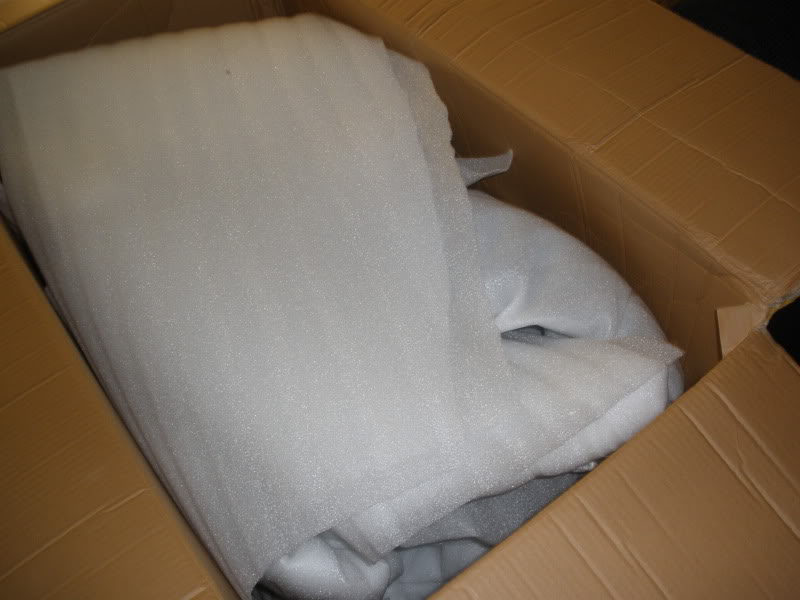
The fairings arrived in a HUGE freaking box.
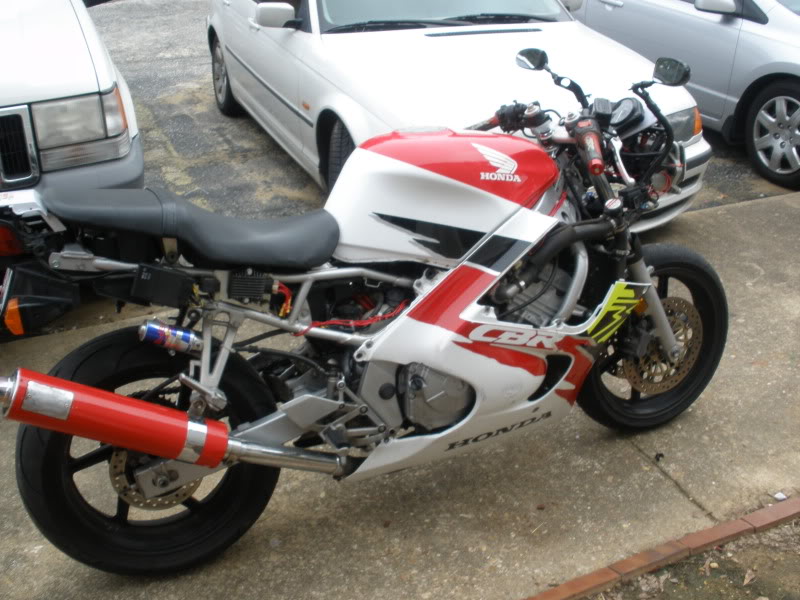

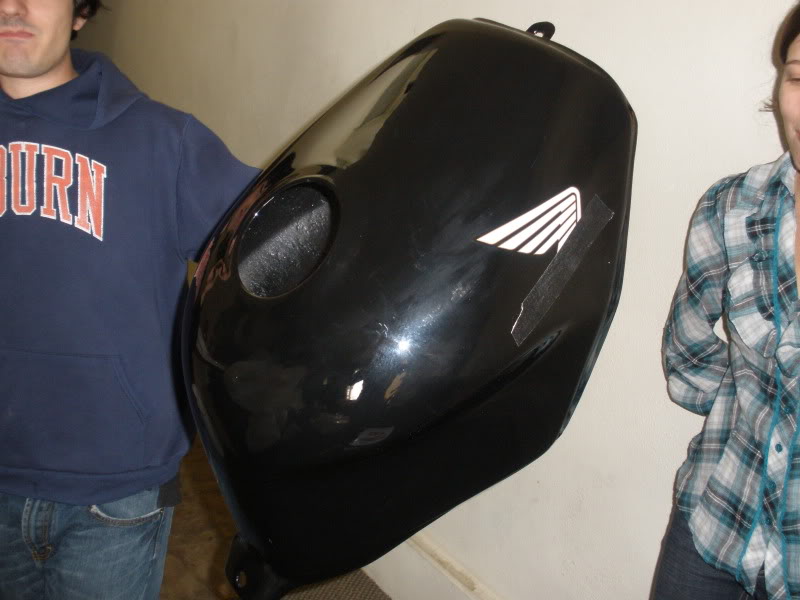
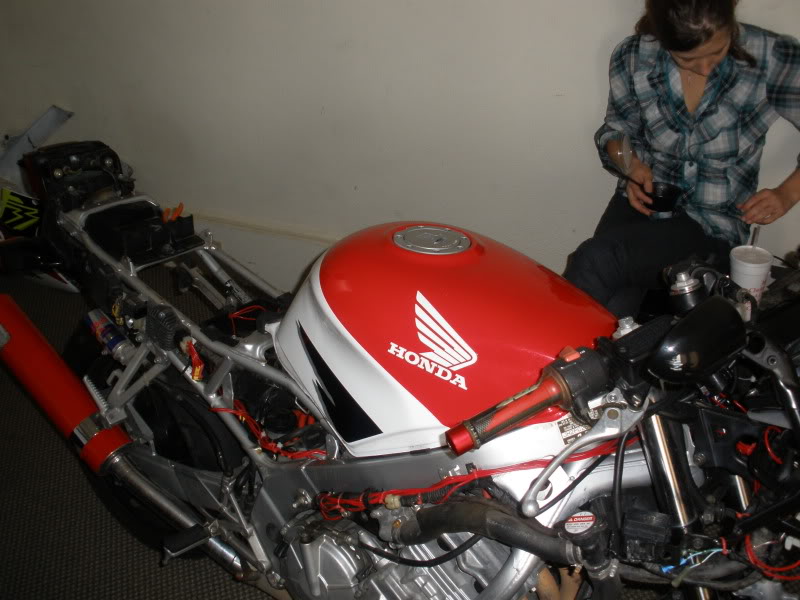
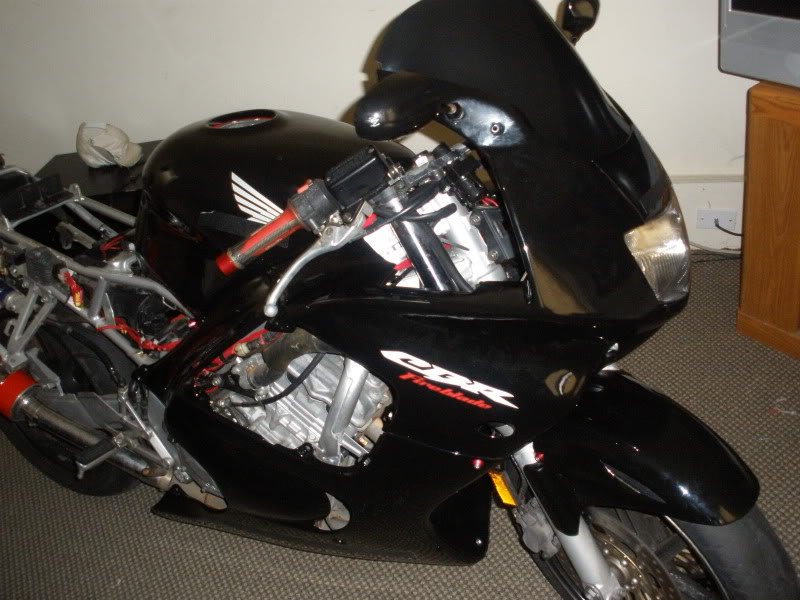
Here is my bike before, and not wanting to scratch the plastics, I decided to move her inside
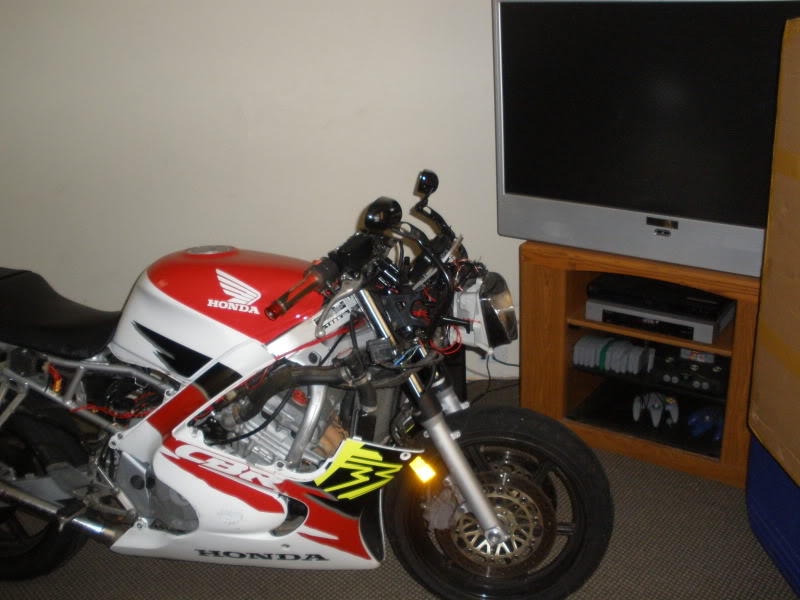
Yes, that's a n64 back there.
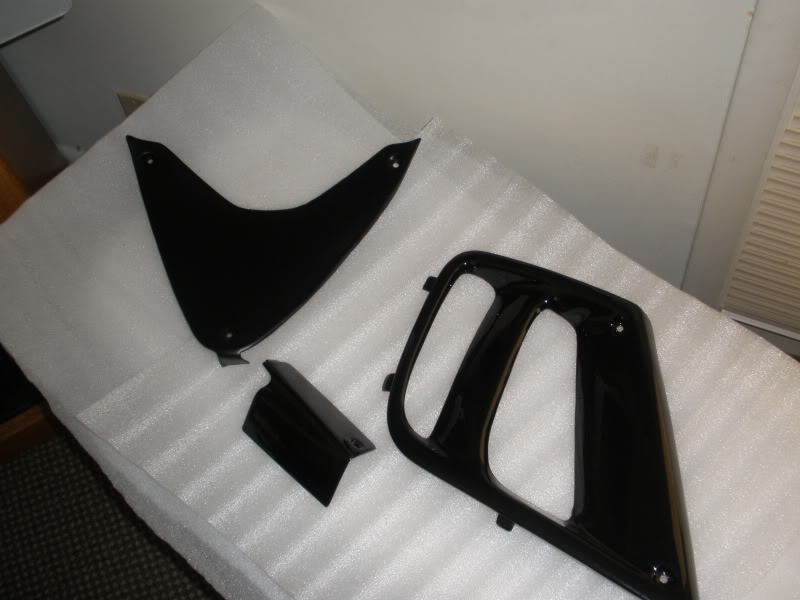
So i opened the box up and this is what I got!
Bike is a 1996 F3
Fairings were supposed to be for the 1996.
The fairings arrived in a HUGE freaking box.
Here is my bike before, and not wanting to scratch the plastics, I decided to move her inside
Yes, that's a n64 back there.
So i opened the box up and this is what I got!
#2
10-07-2009, 07:06 AM
RAWR AT THIS ROOM!
Oh you wanna sit down?... yea you can't do that here.

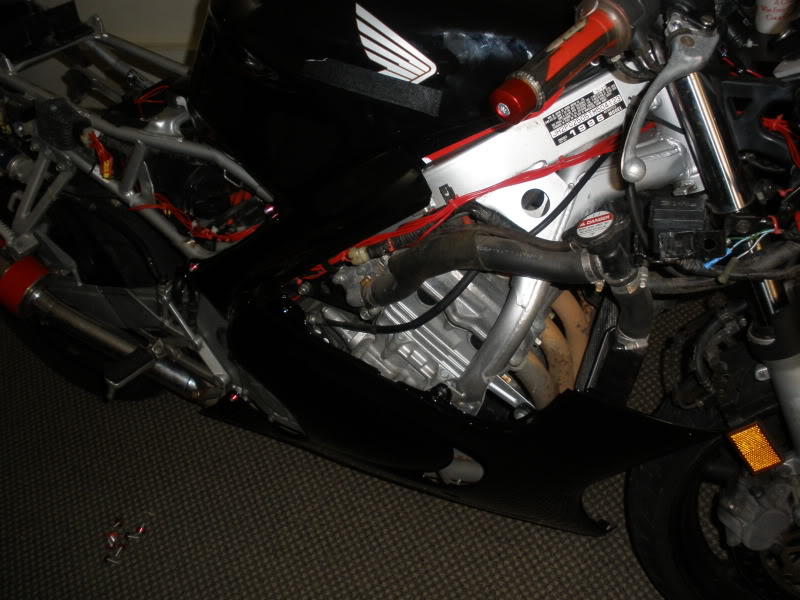
This is her nakie
And here's a few install pics, notes added.
The tank cover is probably the biggest piece of $%^&* god ever allowed to be molded into a frame. I think im going to use it as a cup holder by my desk from now on anyways.
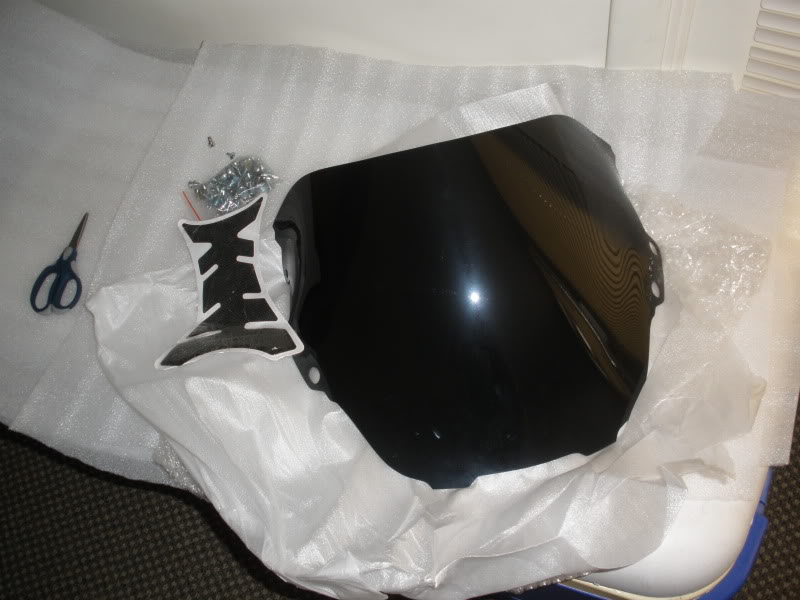
Center cowl fit better than I expected, cept the "included" screws were a no go. So I scavenged and found a few of my own that worked just fine.

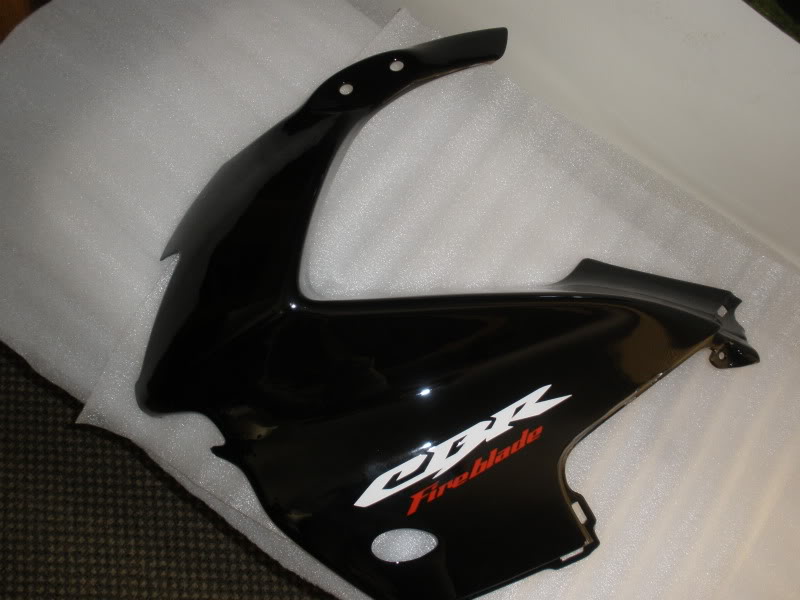
The left and right uppers fit with a bit of work and such... I had to put almost the whole set together before putting it on the bike because the fit was incredibly tight.
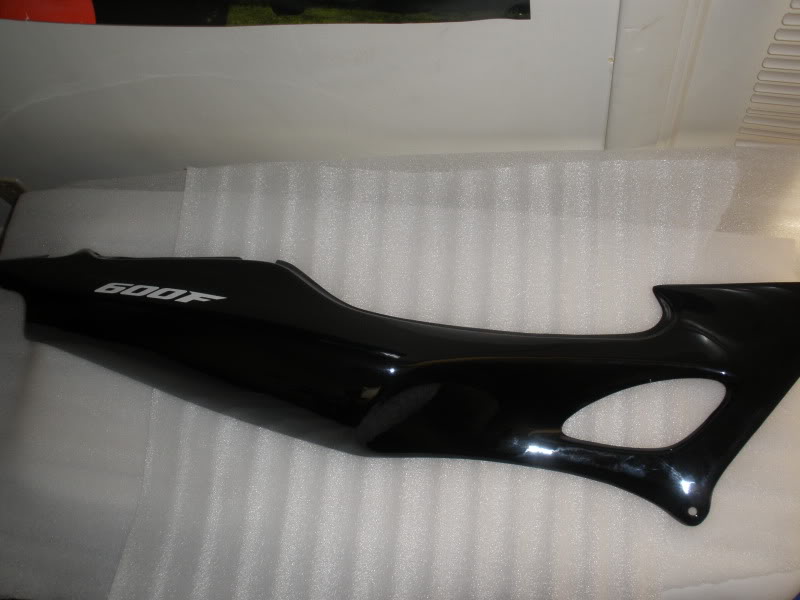
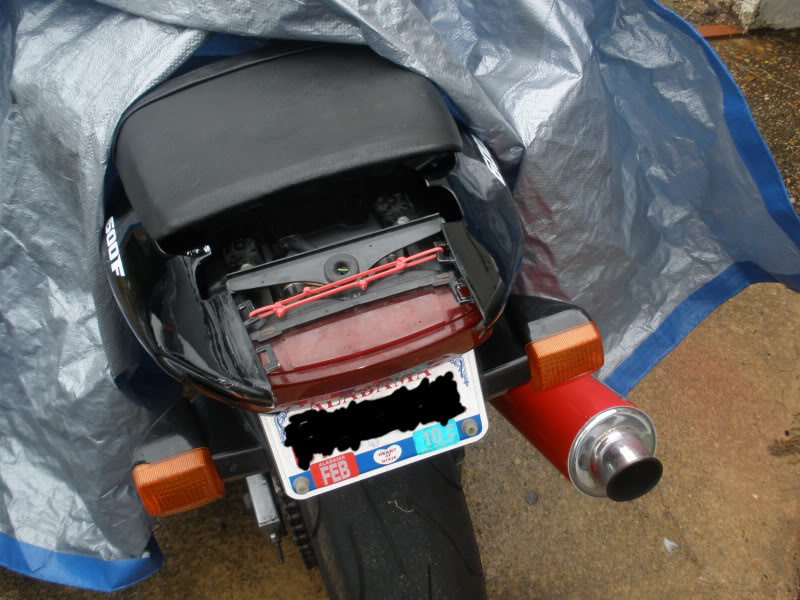
The biggest problem I ran into came when putting on the tail. Then it hit me... this is for the 97-98 models... %^&* %^& $%^& $%^ $%^.
Eventhough it was listed to fit 95-96.

But I just figured I would covert to the new tail soon and call it.
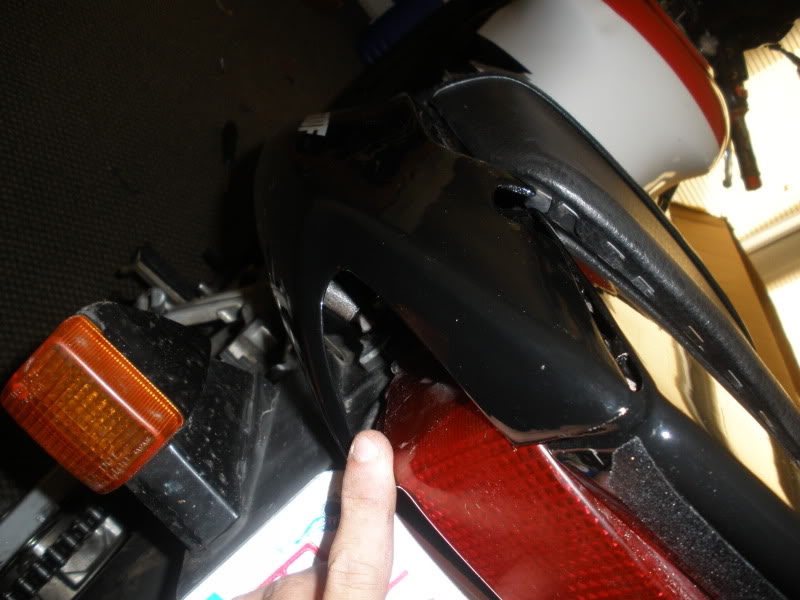
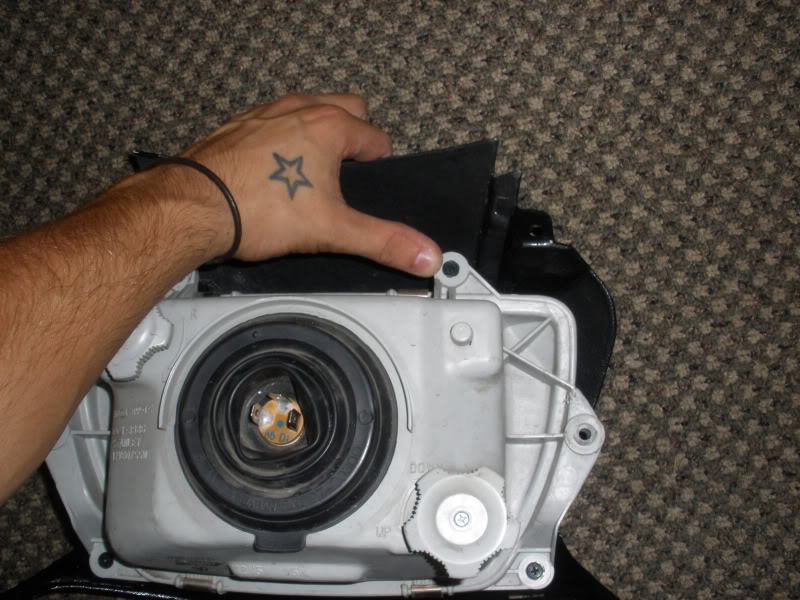
Me being the crafty guy I am, I modded a few pieces of the light and the tail fit... oddly and ugly, but for now it's ok.
 .
.
I wish I could take more pictures but I was dog tired and it got dark wayy to fast.
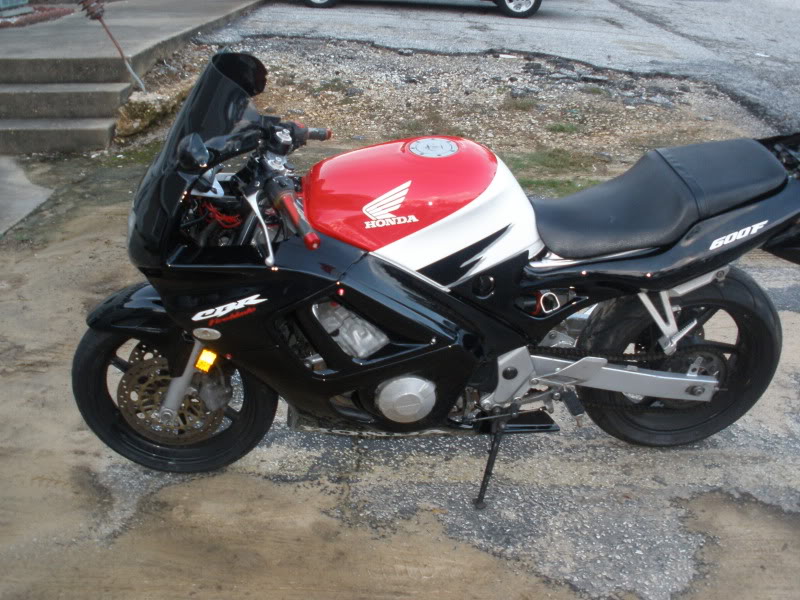
I'm still working on my bike... looks like i gotta paint the tank
Overall the fairings were a SUPER TIGHT FIT.
Kinda iffy about it all because the plastic is rather soft in some places...
I had t cut pieces of the lower fairing holes to make the tail fit.
Some screws were a pain to get in there... some screws aren't in there.
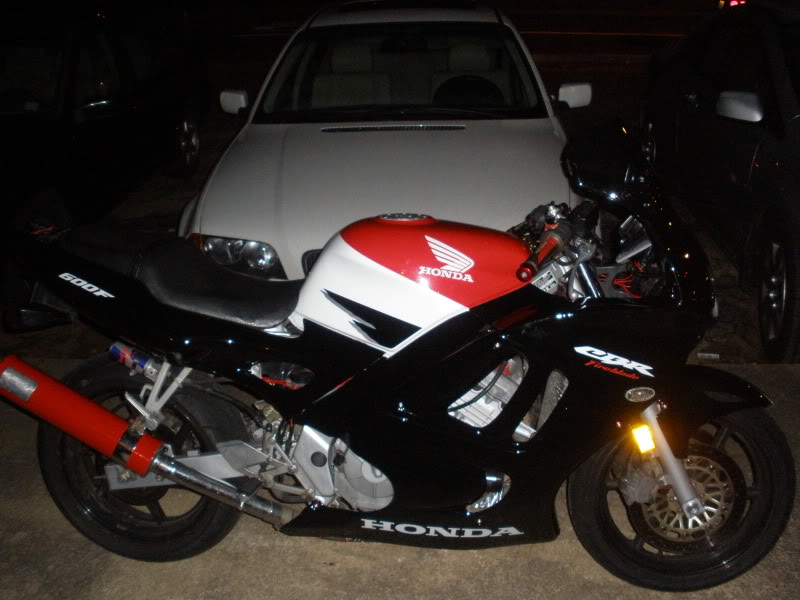
It scratches Very easy, and after a long 2 hour test drive, the fairings held well, though the lowers had to be readjusted in order to prevent any warping. The bike needs a lot of work, but at least the windshield looks nice.
More pics to come soon!
Oh you wanna sit down?... yea you can't do that here.
This is her nakie
And here's a few install pics, notes added.
The tank cover is probably the biggest piece of $%^&* god ever allowed to be molded into a frame. I think im going to use it as a cup holder by my desk from now on anyways.
Center cowl fit better than I expected, cept the "included" screws were a no go. So I scavenged and found a few of my own that worked just fine.
The left and right uppers fit with a bit of work and such... I had to put almost the whole set together before putting it on the bike because the fit was incredibly tight.
The biggest problem I ran into came when putting on the tail. Then it hit me... this is for the 97-98 models... %^&* %^& $%^& $%^ $%^.
Eventhough it was listed to fit 95-96.
But I just figured I would covert to the new tail soon and call it.
Me being the crafty guy I am, I modded a few pieces of the light and the tail fit... oddly and ugly, but for now it's ok.
.I wish I could take more pictures but I was dog tired and it got dark wayy to fast.
I'm still working on my bike... looks like i gotta paint the tank
Overall the fairings were a SUPER TIGHT FIT.
Kinda iffy about it all because the plastic is rather soft in some places...
I had t cut pieces of the lower fairing holes to make the tail fit.
Some screws were a pain to get in there... some screws aren't in there.
It scratches Very easy, and after a long 2 hour test drive, the fairings held well, though the lowers had to be readjusted in order to prevent any warping. The bike needs a lot of work, but at least the windshield looks nice.
More pics to come soon!
Last edited by spicymeowmix; 10-07-2009 at 07:10 AM. Reason: Wrong pics
#3
10-07-2009, 08:34 AM

Member
Join Date: Aug 2009
Location: Rolla, MO
Posts: 48
Likes: 0
Received 0 Likes
on
0 Posts
#4
10-07-2009, 08:36 AM

#5
10-07-2009, 09:33 AM

Senior Member
Join Date: Dec 2007
Location: San Luis Obispo, CA
Posts: 106
Likes: 0
Received 0 Likes
on
0 Posts
Looking good spicy,
I started installing mine last night too! As for the tail i have some plans. After reading the other posts about these kits it appears everyone has the same issue. My tail pieces have about a 1/2 inch gap before touching the lowers. I went to the hardware store and got some aluminum strip about 2 inches wide and 1/8 thick. I am going to try to make some short brackets that mount to the original tail piece mounts with the rubber grommets and drill a new hole in the bracket moving the tail pieces forward a smidge. Also, it will need to be done to the rear tail light bracket as well but i think it will work out just fine. Keep those pics coming.
Were you able to assemble the front upper completely and put it on the bike? Im affraid i might crack something if i do that because as you mentioned, they are really tight.
Blake
#6
10-07-2009, 09:34 AM
came with some already attached, but i dont think it would hurt to add more
and as far as the windscreen goes... yes its massive.
dont know why?
#7
10-07-2009, 10:28 AM
Looking good spicy,
I started installing mine last night too! As for the tail i have some plans. After reading the other posts about these kits it appears everyone has the same issue. My tail pieces have about a 1/2 inch gap before touching the lowers. I went to the hardware store and got some aluminum strip about 2 inches wide and 1/8 thick. I am going to try to make some short brackets that mount to the original tail piece mounts with the rubber grommets and drill a new hole in the bracket moving the tail pieces forward a smidge. Also, it will need to be done to the rear tail light bracket as well but i think it will work out just fine. Keep those pics coming.
Were you able to assemble the front upper completely and put it on the bike? Im affraid i might crack something if i do that because as you mentioned, they are really tight.
Blake
I started installing mine last night too! As for the tail i have some plans. After reading the other posts about these kits it appears everyone has the same issue. My tail pieces have about a 1/2 inch gap before touching the lowers. I went to the hardware store and got some aluminum strip about 2 inches wide and 1/8 thick. I am going to try to make some short brackets that mount to the original tail piece mounts with the rubber grommets and drill a new hole in the bracket moving the tail pieces forward a smidge. Also, it will need to be done to the rear tail light bracket as well but i think it will work out just fine. Keep those pics coming.
Were you able to assemble the front upper completely and put it on the bike? Im affraid i might crack something if i do that because as you mentioned, they are really tight.
Blake
this may be different for others, but i lightly mounted the lowers first, then assembled the uppers and center to the bike tightly.
once they were secure, i then connected them to the lowers, and with a few gaps and odd screw holes, it fit fine.
Ill take some better pictures to show you what i mean.
Also, im thinking of doing some custom work to my tail as well, let me know how yours ends up going as i might want to do the same.
For now, zip ties work miracles.
#8
10-07-2009, 10:47 AM
so i took a few more pictures today.
excuse the weirdness, it was raining.
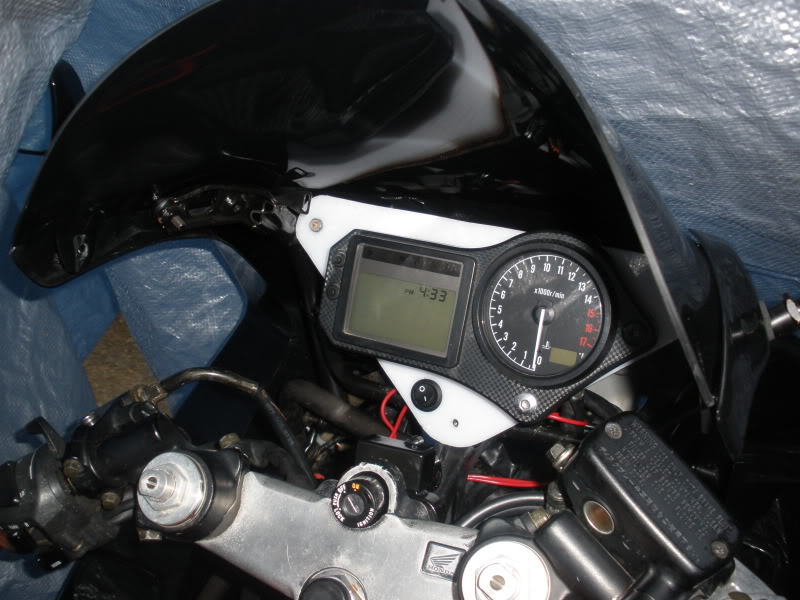
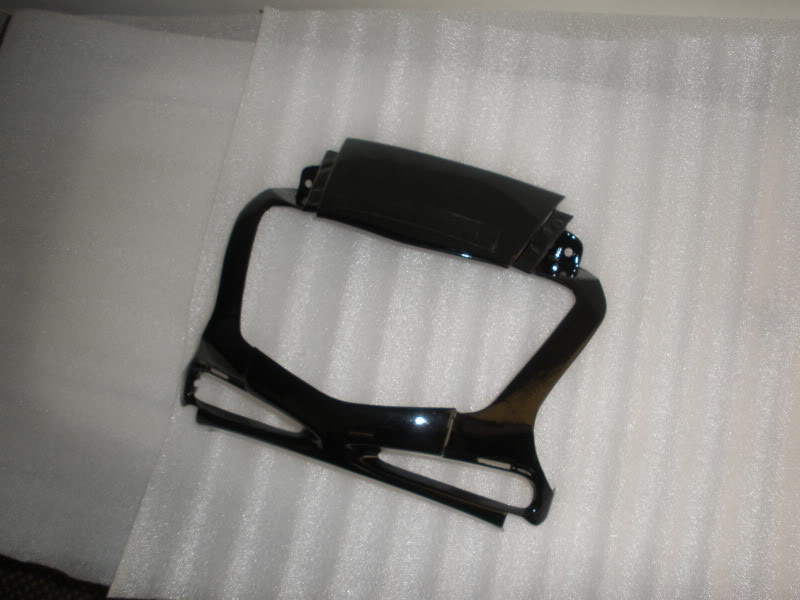
i personally like all of the room for the gauges, i think that's the best turnout of the whole bike so far.
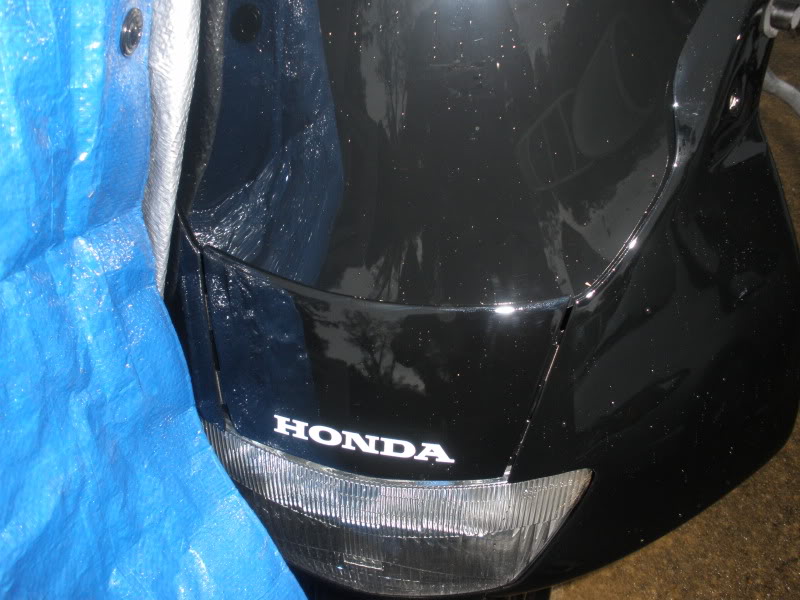
the center fairing has some gaps to the uppers as you can see here, but its still pretty secure.

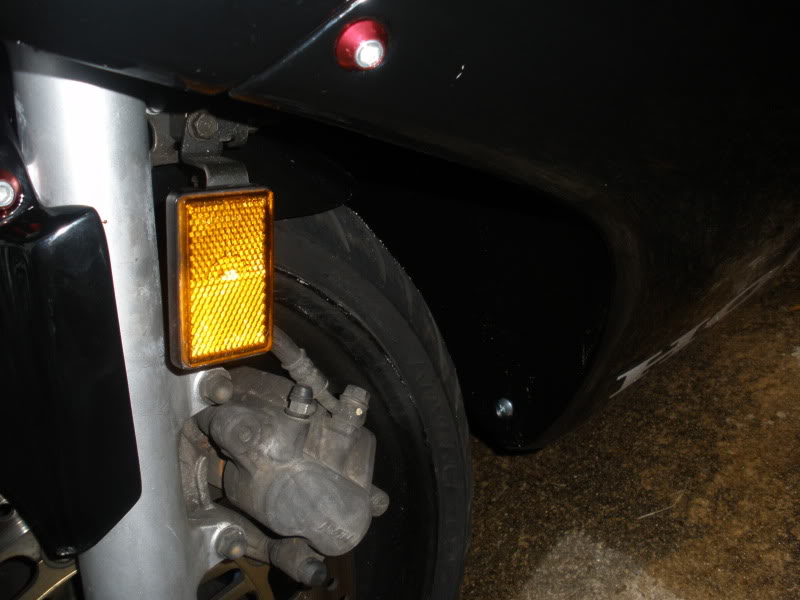
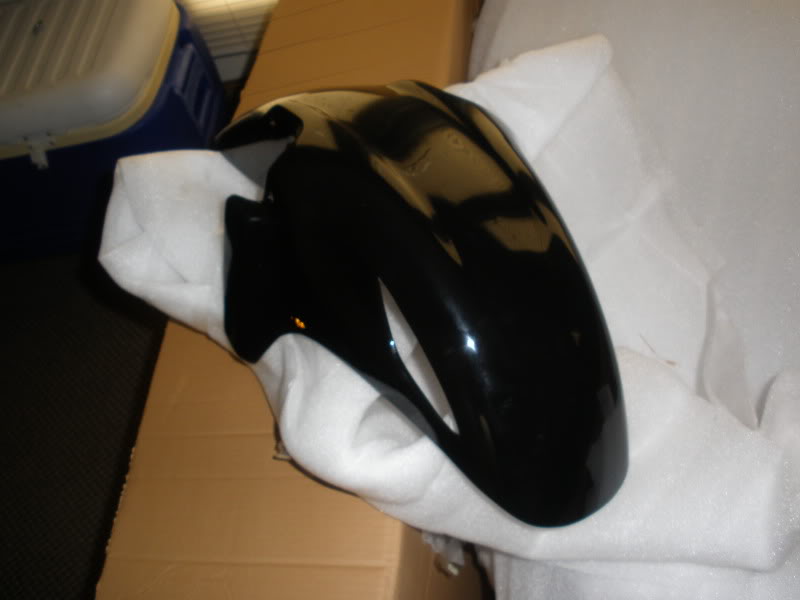
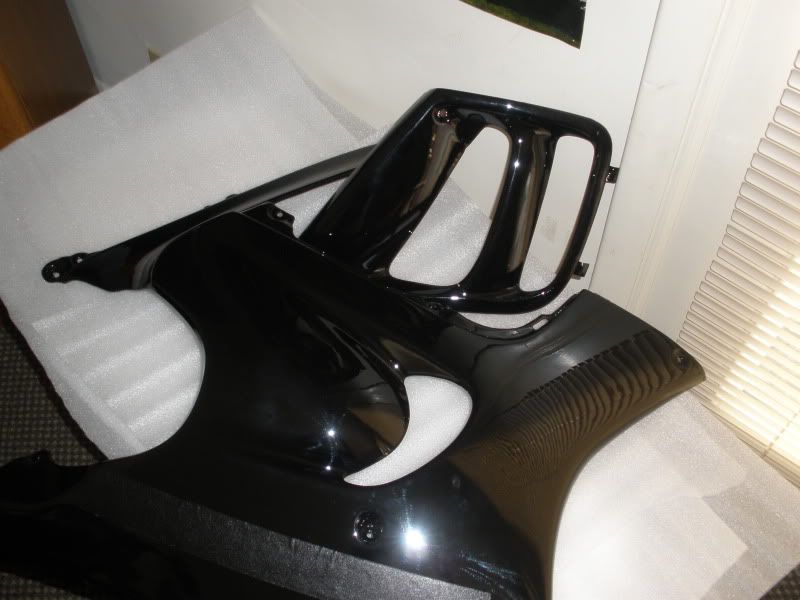
the front lower weirds me out, with both how thin it as and how close it is to the wheel as well. also mounting it was a pain in the ****.
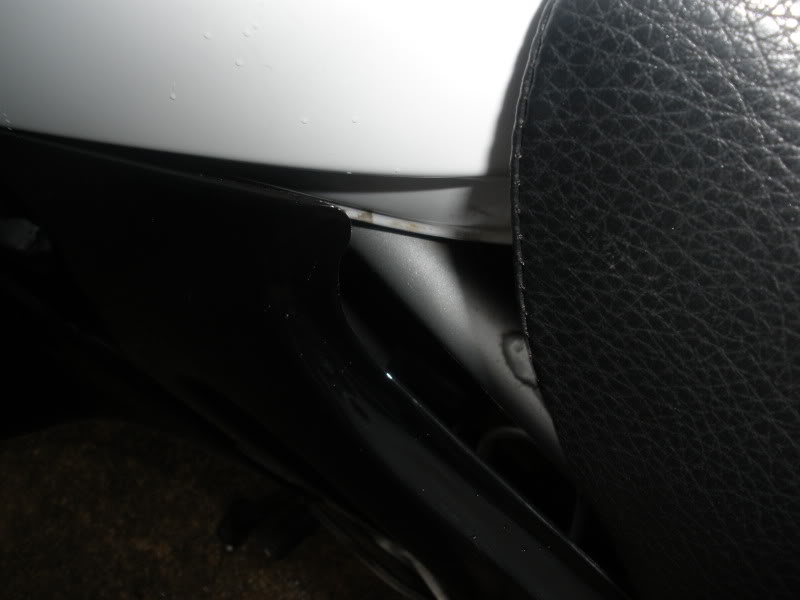
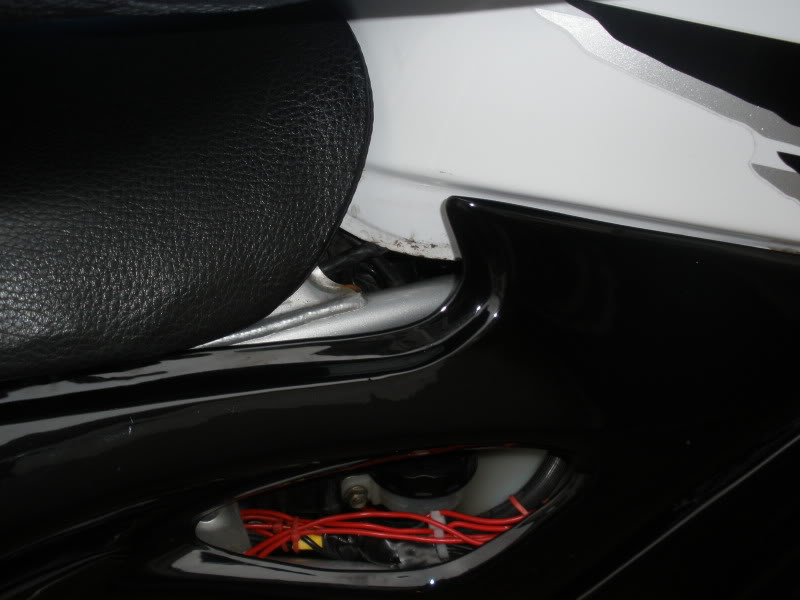
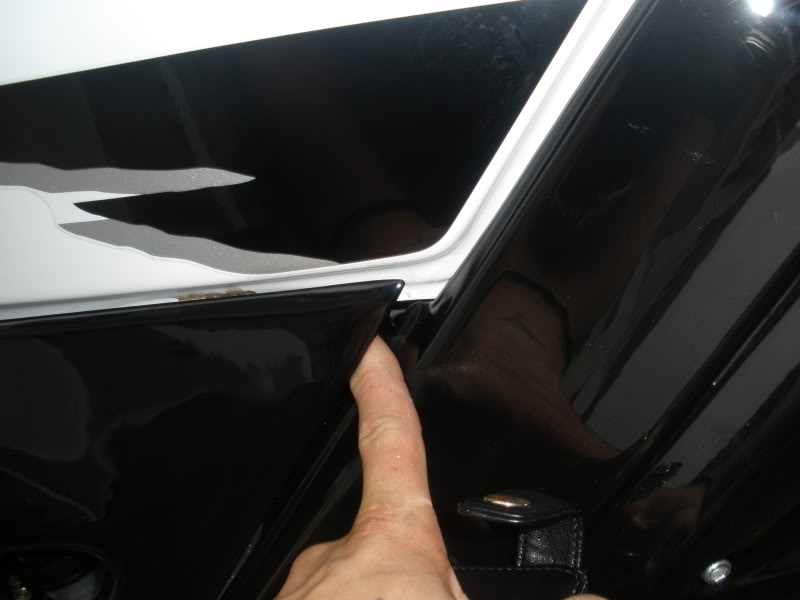
there are some pretty clear gaps here, and hiding them or fixing them is going to be a hassle.
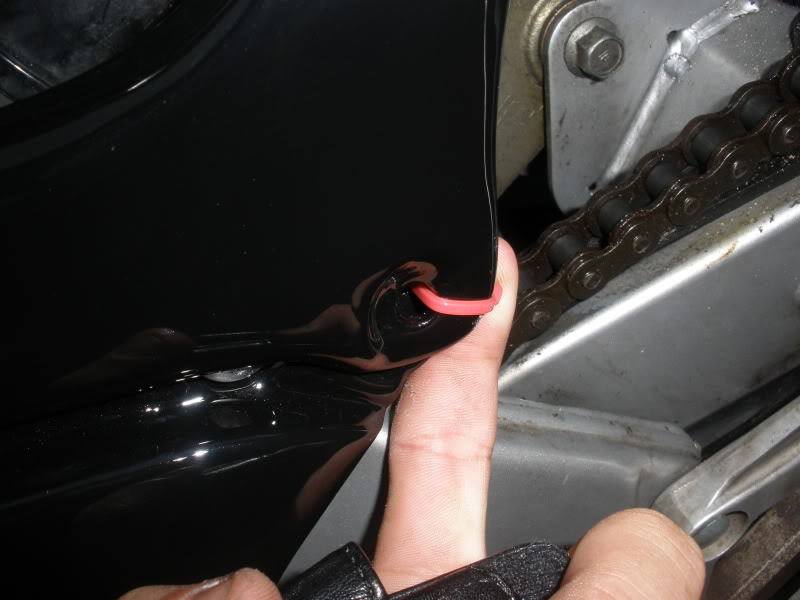
for now and for safety im going to keep everything ziptied.
excuse the weirdness, it was raining.
i personally like all of the room for the gauges, i think that's the best turnout of the whole bike so far.
the center fairing has some gaps to the uppers as you can see here, but its still pretty secure.
the front lower weirds me out, with both how thin it as and how close it is to the wheel as well. also mounting it was a pain in the ****.
there are some pretty clear gaps here, and hiding them or fixing them is going to be a hassle.
for now and for safety im going to keep everything ziptied.

#10
10-07-2009, 12:04 PM

Senior Member
Join Date: Mar 2007
Location: Central Wisconsin
Posts: 624
Likes: 0
Received 0 Likes
on
0 Posts