When you click on links to various merchants on this site and make a purchase, this can result in this site earning a commission. Affiliate programs and affiliations include, but are not limited to, the eBay Partner Network.
That does sound a bit scary lol. I'm not totally opposed to giving it a shot as I have torn apart engine stuff before with the help of a manual. I read that if I pull the carbs apart, then I'll have to sync them which I don't have the tool for. That was the main reason I wasn't figuring on breaking them apart.
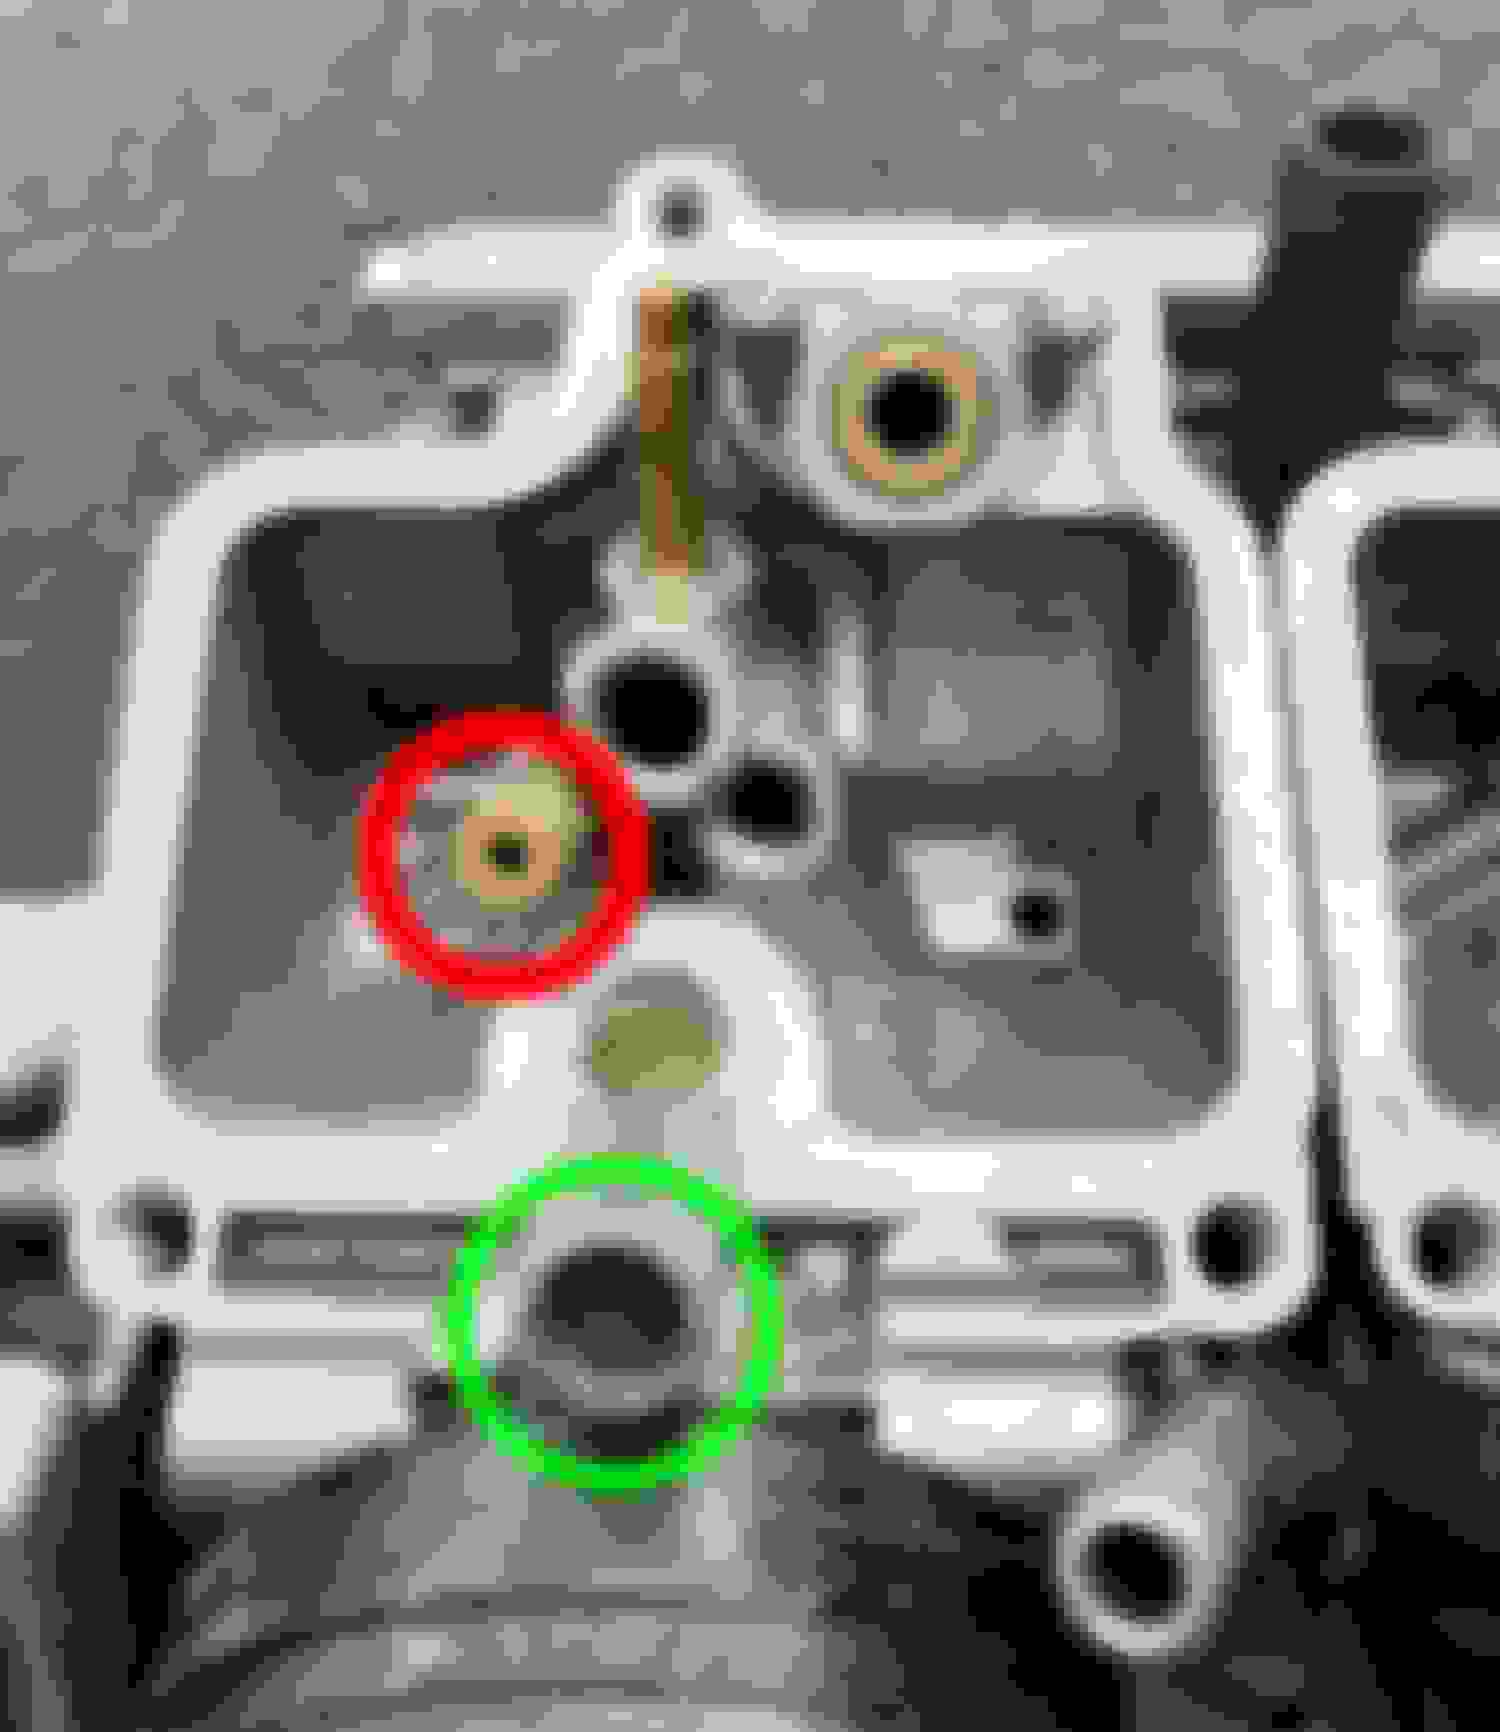
I feel I did a more complete job cleaning the carbs this second time, besides the circled parts above which I wasn't sure about. I'd hate to put them on and have to take them off a third time tho
Good news it after re cleaning the carbs, I was able to get the bike started. It was able to remain idling fairly nicely.
Bad new. I have some smoke coming out of the tail pipe and also some around the engine. There is a slight rattle I would call it coming from the engine block.
I should also say I did an oil change in the midst of cleaning the carbs. I would have thought maybe its just coming from oil burning somewhere however why the smoke from the tailpipe? And the slight rattle (unless thats in my head) in the engine.
I let the bike idle for a good 20 mins. It idled ok. Did have a slight up and down rythm to it. The smoke seemed to go away from around the engine. Still slight smoke from the tailpipe, faint though. The rattle in the engine seemed to go away also. Still don’t like that sound, can’t imagine that was from simply sitting for so many years. Advice going forward? Should I take it out for a ride to see what happens?
Still not running. Hard to start. I can manage to get it started and it seems to idle decent. Planned to take it for a spin but as soon as I give it gas, it dies.
In doing the carb cleaning, I did not remove the Pilot/Slow jet adjustment screw. Needs a special tool from what I read to get it out. I also read mixed things on whether it needs to be moved for cleaning. Can someone shed light on this? Is this whats still holding me back? Getting frustrated.
How do I go about doing that? From what I can tell online, there is a cap over the actual screw that I need to remove. Is that correct? Is there a special tool I need? I can't find much if any info online on how to access this.
I do not believe there's a cap on your year. Take a pic and post it to verify. Other than that, you will either need to purchase the D-shaped tool for adjustment., Or, if you are confident in your skills you can take a very fine toothed, thin-bladed hacksaw and cut a groove into the D-shaped head of the screw. When you do this, you will also be cutting into the part of the carb that holds the screw. It can be done and it works, but it can't be undone if you are too aggressive.
If you haven't downloaded the service manual, I highly recommend doing so and reading all about the pilot circuit prior to starting.
From the pic I had from before it doesn't look like there is a cap. (Blue circle below). I think I'd like to get the tool. Is this the correct tool (https://www.denniskirk.com/motion-pr...d/283936.sku)? I've done a google search and this is what I've found but it doesn't seem like this is correct. Can you verify?
Correct, no cap.
Your link is a little wonky in that it includes the closing bracket and question mark but I got around it. Yes, that is the prober tool.
The process isn't hard or difficult, but it is exacting. My suggestion is, prior to removal, for each pilot screw, while tightening the screw, count down how many turns it takes to just bottom out. Do not try to force any pressure on it as you can break the tip of the jet off into the carb. Record how may turns that is, down to the 1/8th of a turn. Then put the needle, spring, O-ring and washer all in a container that is labeled to that particular carb. This will help insure better results when performing reassembly.
Good news on having a manual. They are a big help.