My 93 F2 project begins!
#91
 06-17-2013, 01:40 PM


you mean the actual drain plug? That sucks. ok, if you have an ez out it could be simple. Just use one to back it out. May be called a bolt extractor too. They are reverse threaded to unscrew the bolt as you tighten it. Worst case is you have to drop the pan itself and drill it out. That way isnt too hard. Just messy and requires a new gasket too. Try the ez out first. You may have to drill a pilot hole, but then its just a matter of getting the right size and using a ratchet to unscrew it.


#93
06-17-2013, 04:20 PM

Ok. So. As I hit it with the centre tap before attempting the drill, it pushed the remaining thread through into the engine. So it did drain the oil. But I'm going to have to do a strip down of the engine that I was not planning to do. Eurgh.
Anyway. I've booked the entirety off next week of work as the misses is away all week. So I can have all day and night for six days on the bike. I'm trying to get everything ordered ready now for next week so I can crack on... Is there anything you guys recommend. Someone's already suggested oil seals, which I'm guessing is going to be a must now I'm going to take it apart. But is there anything else, any other seals or gaskets that are worth changing whilst I'm in there?
I have some photos to upload of the engine and what state it's in. As always. If you see anything that needs attention please speak up.
Thanks.
#94
06-18-2013, 05:24 AM

Senior Member
Join Date: Mar 2010
Location: east cheshire
Posts: 386
Likes: 0
Received 0 Likes
on
0 Posts
#95
06-18-2013, 05:33 AM
Senior Member
Join Date: Mar 2010
Location: east cheshire
Posts: 386
Likes: 0
Received 0 Likes
on
0 Posts
Ok. So. As I hit it with the centre tap before attempting the drill, it pushed the remaining thread through into the engine. So it did drain the oil. But I'm going to have to do a strip down of the engine that I was not planning to do. Eurgh.
Anyway. I've booked the entirety off next week of work as the misses is away all week. So I can have all day and night for six days on the bike. I'm trying to get everything ordered ready now for next week so I can crack on... Is there anything you guys recommend. Someone's already suggested oil seals, which I'm guessing is going to be a must now I'm going to take it apart. But is there anything else, any other seals or gaskets that are worth changing whilst I'm in there?
I have some photos to upload of the engine and what state it's in. As always. If you see anything that needs attention please speak up.
Thanks.
Anyway. I've booked the entirety off next week of work as the misses is away all week. So I can have all day and night for six days on the bike. I'm trying to get everything ordered ready now for next week so I can crack on... Is there anything you guys recommend. Someone's already suggested oil seals, which I'm guessing is going to be a must now I'm going to take it apart. But is there anything else, any other seals or gaskets that are worth changing whilst I'm in there?
I have some photos to upload of the engine and what state it's in. As always. If you see anything that needs attention please speak up.
Thanks.
no need to change any sort of seal just drop the oil pan out retrieve sed piece of bolt then clean the pan if you want to get any loose bits of metal, clean old gasket off and goo the mating surface, reapply oil pan torque the bolts and leave to set.
oh and as for the chunks of metal off the bolts they wont actually cause an issue, drain a bike look at bottom of the oil pan and there is always metal flakes usually off the gearbox with honda's
also whilst you have the cam cover off change the exhaust camshaft for an inlet camshaft (extra bhp) and do the valve clearances

Last edited by jackojeff; 06-18-2013 at 05:40 AM.
#96
06-18-2013, 10:32 AM


#97
06-19-2013, 11:02 AM

Senior Member
Join Date: Mar 2011
Location: Vancouver, Canada
Posts: 249
Likes: 0
Received 0 Likes
on
0 Posts
Like Jackojeff said, it's simple enough to drop the oil pan and to get the bolt thread out and while you are there you'll get to see if any metal from your alternator issue is in there so it's win win.
It's probably a good idea to check the new drain plug bolt fits in the cover ok before you put everything back, just in case there's an issue with the threads on the case.
reading your thread reminds me of when I did a big strip-down of my bike two winters ago. It got to a point after a couple of months where it felt like the end wasn't in sight but turning back wasn't an option either. Keep the momentum going and eventually you'll see the bike coming back together. You'll get a lot of satisfaction when it's all done.
#98
06-21-2013, 09:16 AM
Senior Member
Join Date: Mar 2010
Location: east cheshire
Posts: 386
Likes: 0
Received 0 Likes
on
0 Posts
your running really rich and i wish i had a picture of my new head to show the difference all that build up is going to sap the bhp from your bike it needs cleaning off, a gas flow by a professional may be a good route to follow. im based in Cheshire and if your in the area i can send you a few contacts as far as dyno work and engine work go i spent 6 months finding people who are good at what they do and charge surprisingly the least .
as for the stuck engine mount bolt-
soak in penetrating spray wd40 isnt technically penetrating but should help lots and lots over a few days
you can then file the circular part of the bolt to flat on 2 sides allowing a set of big mole grips to get a strong grip of the bolt and hit said mole grips with a hammer this should 'crack' the bolt and make it spin out
reminds me of my build but loads less grime involved in mine and i did it in 3 weeks
oh and have a look at soda blasting might be worth a try for that grot stuck on your soon to be pride and joy
.as for the stuck engine mount bolt-
soak in penetrating spray wd40 isnt technically penetrating but should help lots and lots over a few days
you can then file the circular part of the bolt to flat on 2 sides allowing a set of big mole grips to get a strong grip of the bolt and hit said mole grips with a hammer this should 'crack' the bolt and make it spin out
reminds me of my build but loads less grime involved in mine and i did it in 3 weeks
oh and have a look at soda blasting might be worth a try for that grot stuck on your soon to be pride and joy
#99
06-24-2013, 04:21 PM
hello guys.
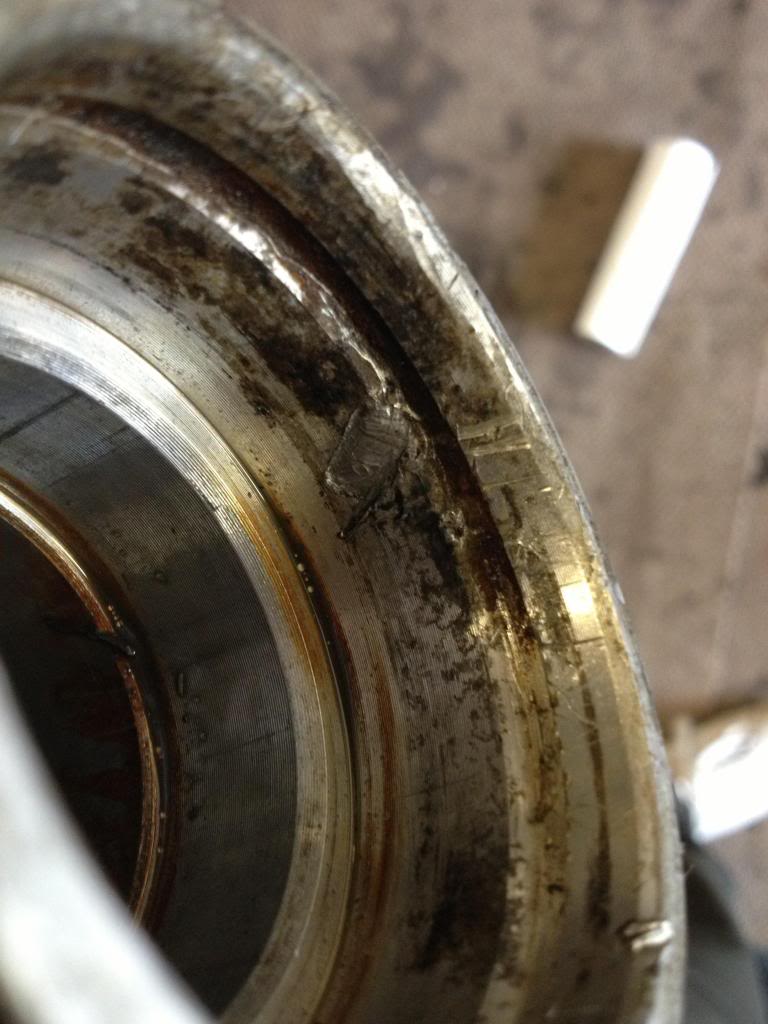
first off, can anyone tell me, do these bearings look ok, or shall i just replace them??
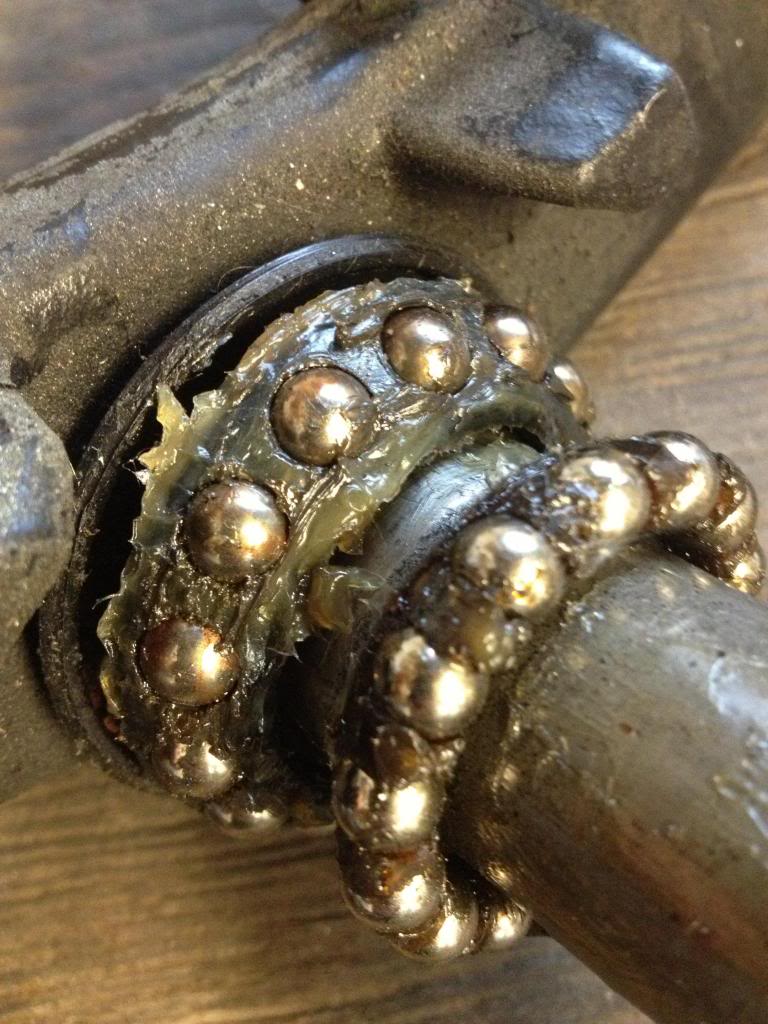
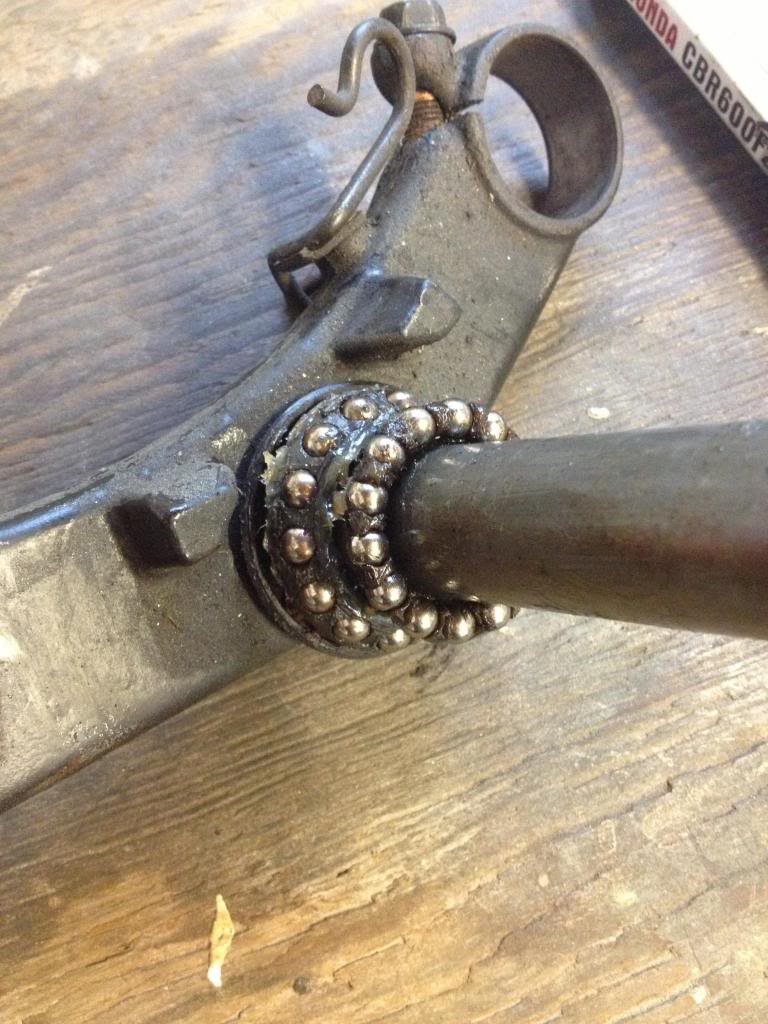
This looks abit dodgy??

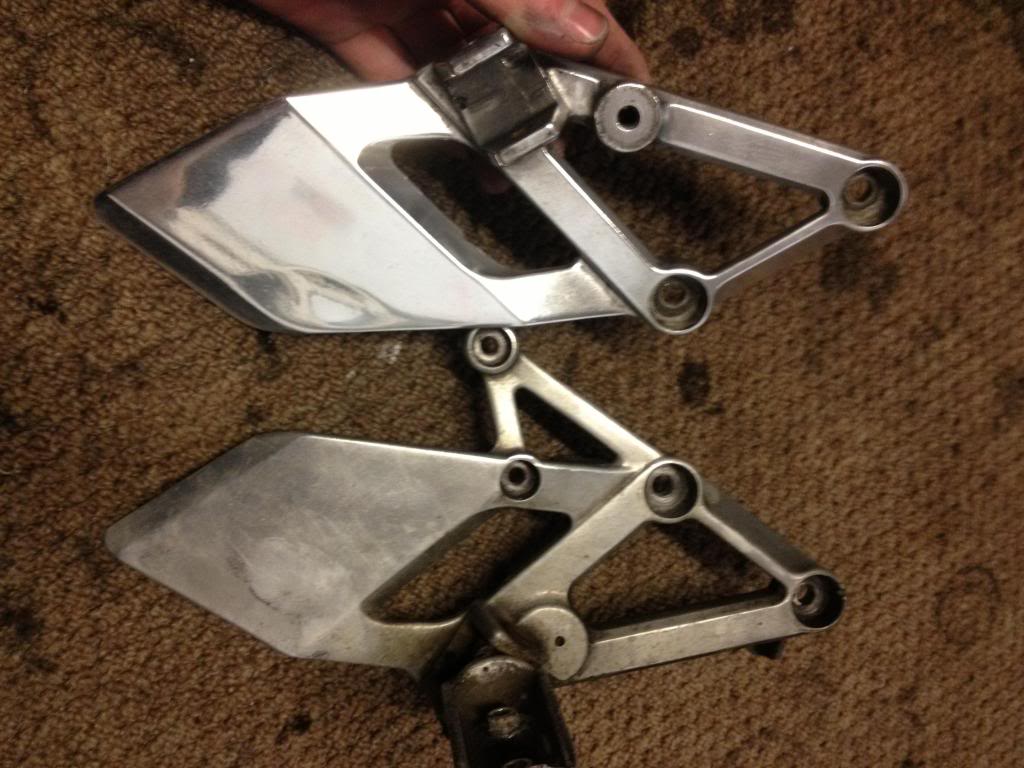
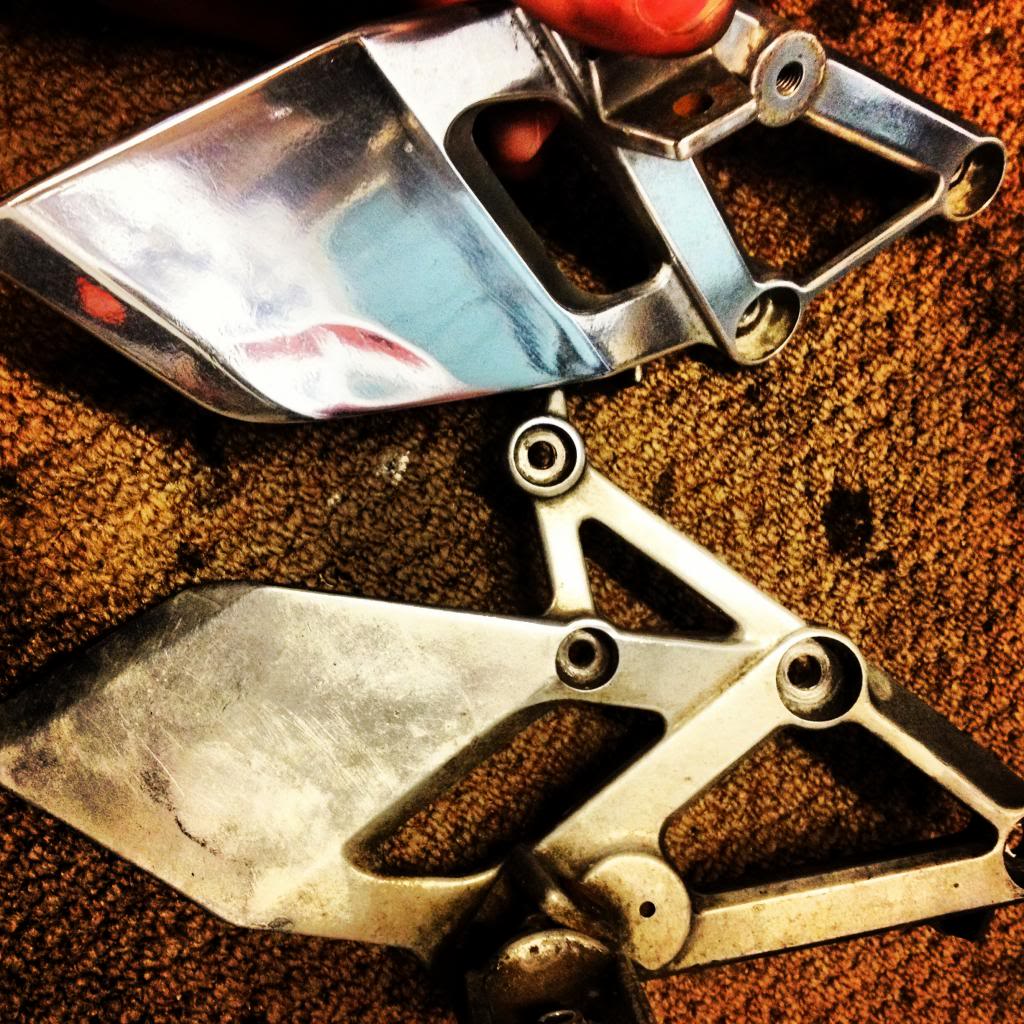
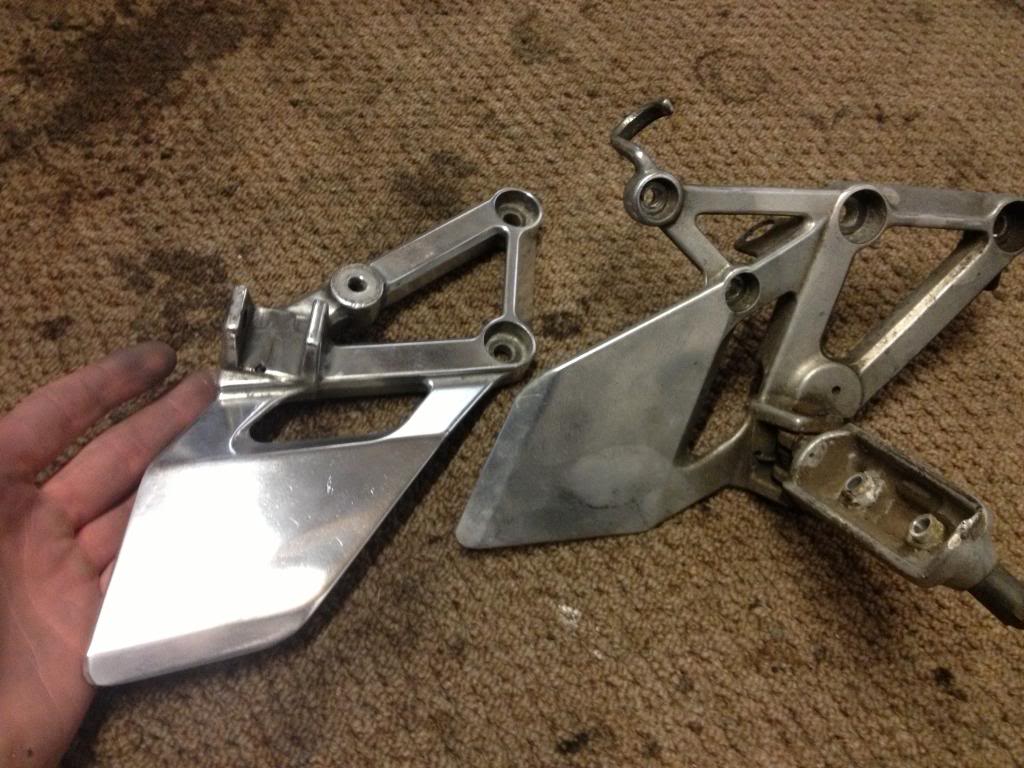
Started polishing the metal parts up should look nice next to the gloss black frame
Took apart my other set of forks today, to see this. No wonder it was leaking oil.
Im assuming its ruined?
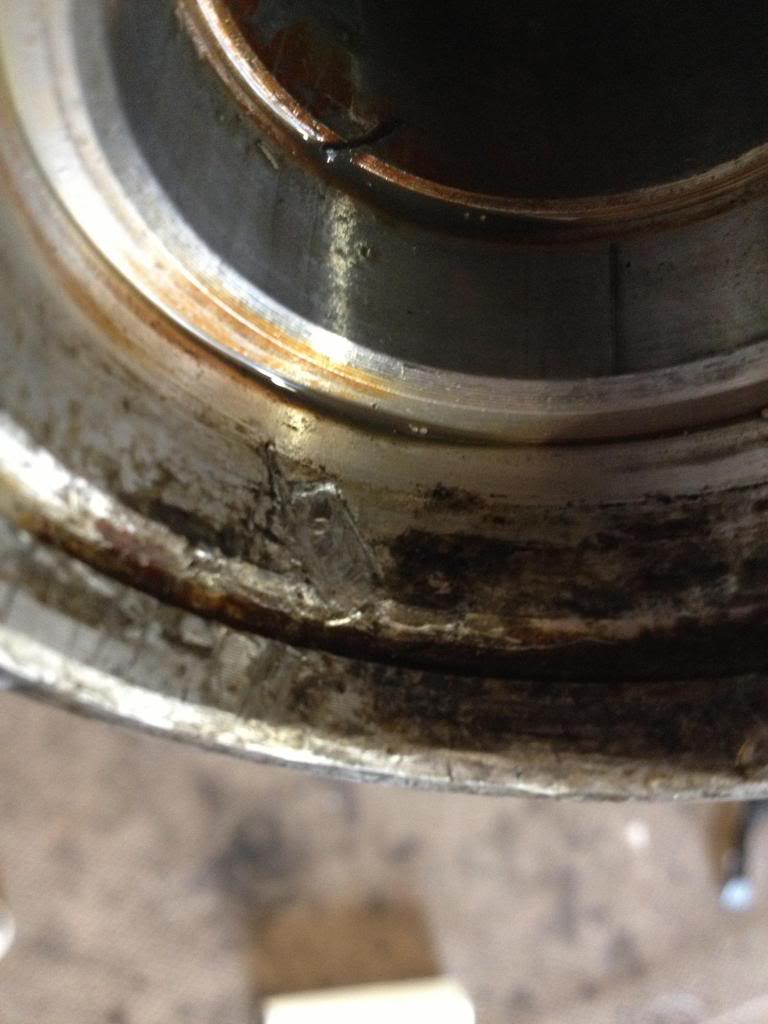
seems whoever went in there before me used a flat headed screw driver to get the seals out.
first off, can anyone tell me, do these bearings look ok, or shall i just replace them??


This looks abit dodgy??

Started polishing the metal parts up
should look nice next to the gloss black frame


Took apart my other set of forks today, to see this. No wonder it was leaking oil.
Im assuming its ruined?


seems whoever went in there before me used a flat headed screw driver to get the seals out.
#100
06-24-2013, 04:24 PM


