
'93 600 Fighter project

Thread Starter
|
July 2011 ROTM
Joined: May 2010
Posts: 223
Likes: 8
From: Hampton Roads, VA
once that is done, i undid the bolt by hand, but you have to hold the clutch still somehow. either by holding the crank while the bike is in gear, or by keeping the sprocket from turning. you may need a breaker bar or an extention for your ratchet.


glad i started looking at this build today or you would have had an impatient black man on your hands haha kept me busy for a bit looking at the progress
**** looks sick bro i wanna see a video walk around soon
**** looks sick bro i wanna see a video walk around soon
Thread Starter
|
July 2011 ROTM
Joined: May 2010
Posts: 223
Likes: 8
From: Hampton Roads, VA
i am glad you like the build...
so got a nice update here.
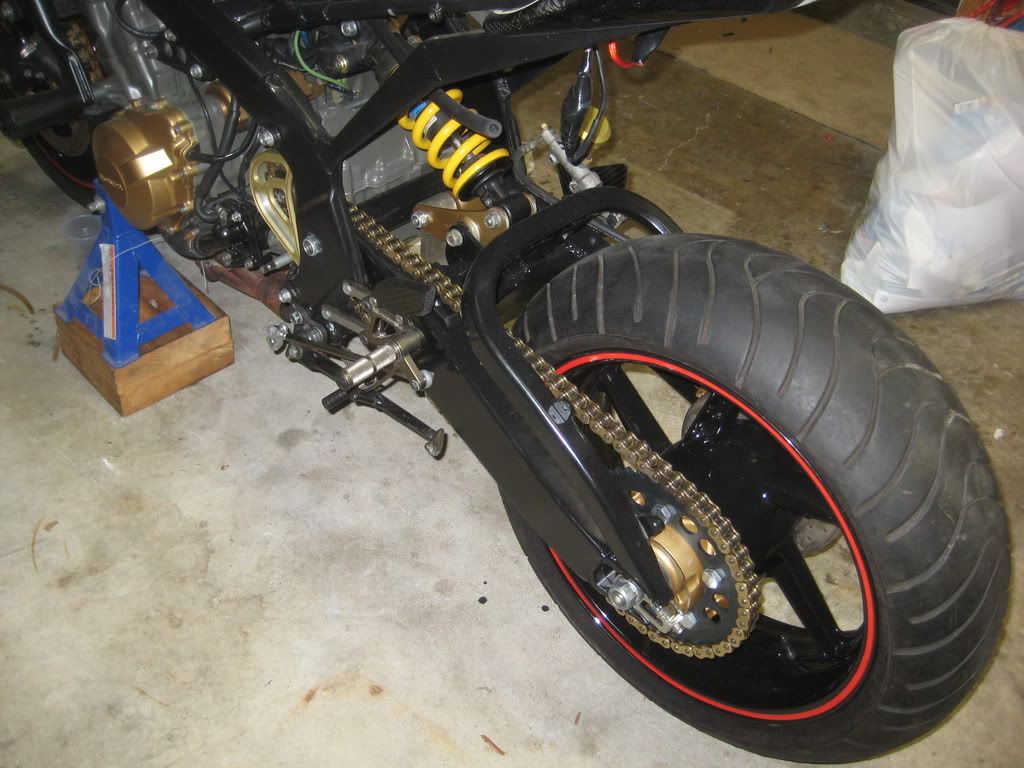
but the wheels on, starting with the back:
then the front:
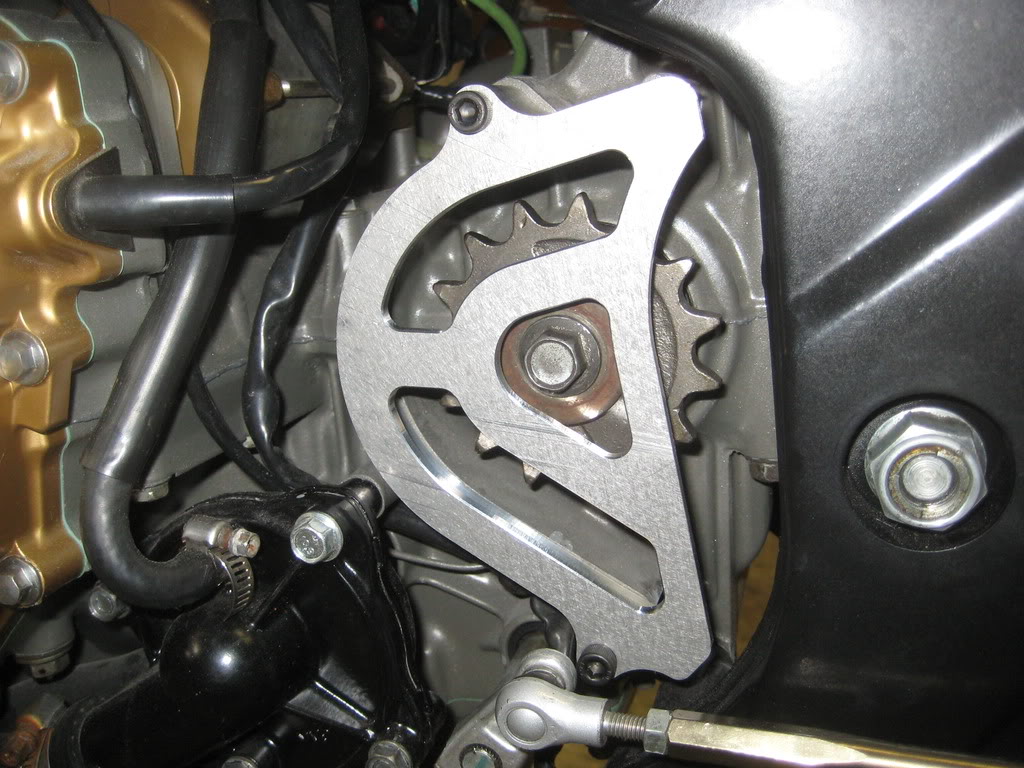
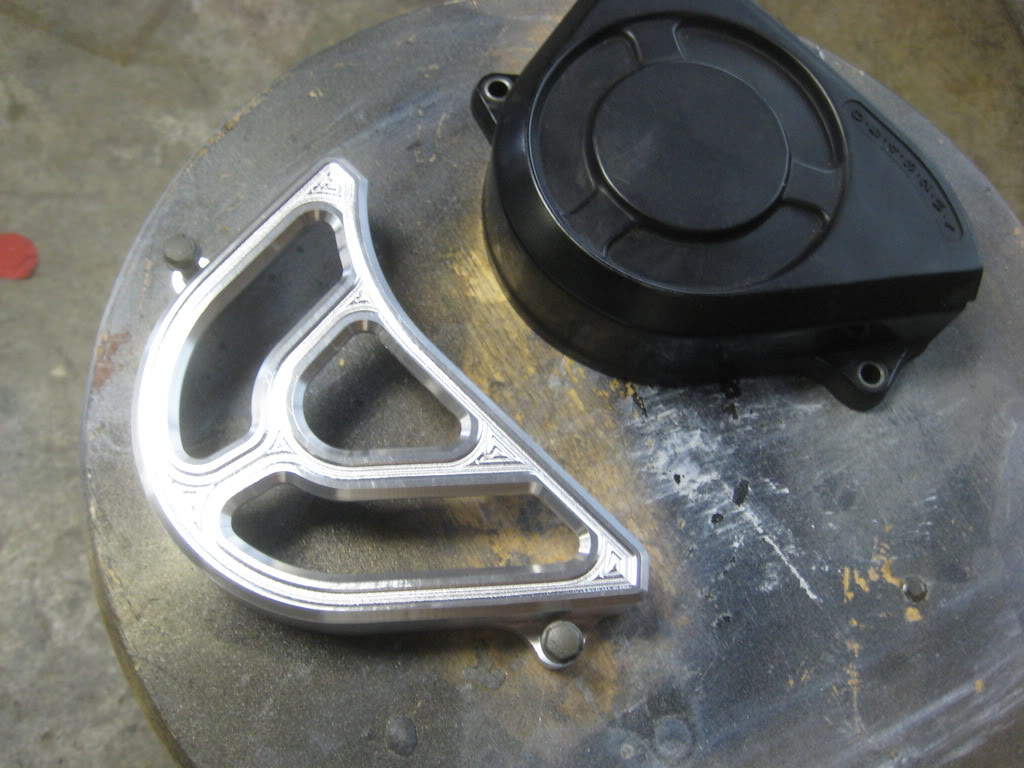
i wanted to get rid of the nasty ugly front sprocket cover, so... i made a new one.
big ol hunk of alloy..

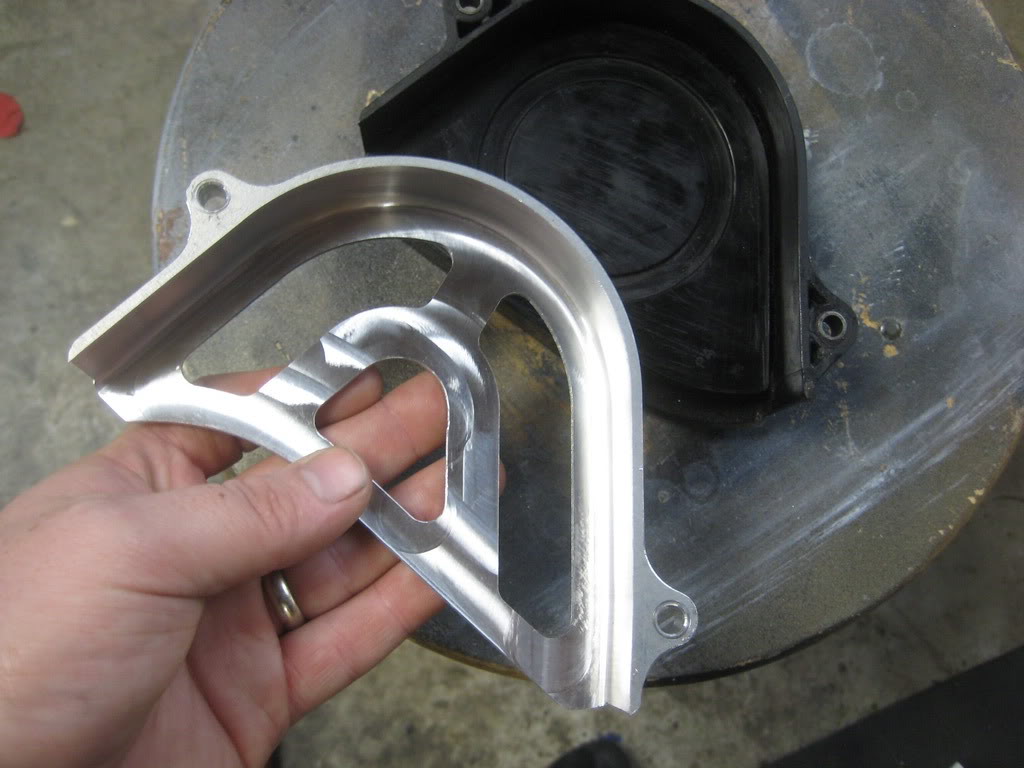
and after a bit of work i had it hollowed out. nothing fancy till i knew it fit. fits pretty good!
so... i went back and made it pretty

the problem is... on the last pass to clean up the tabs, the endmilll decided it wanted MORE!!!
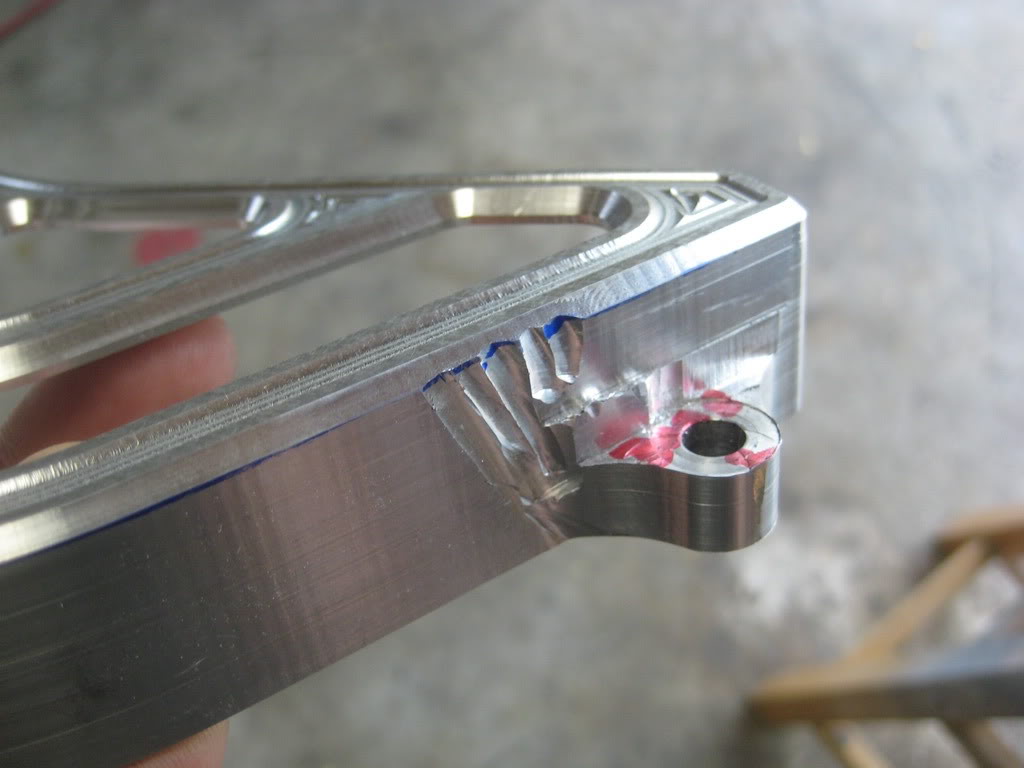
so... i made a better one. (i still have the other one.... if anybody is interested... you can't even see the damage when it is installed)
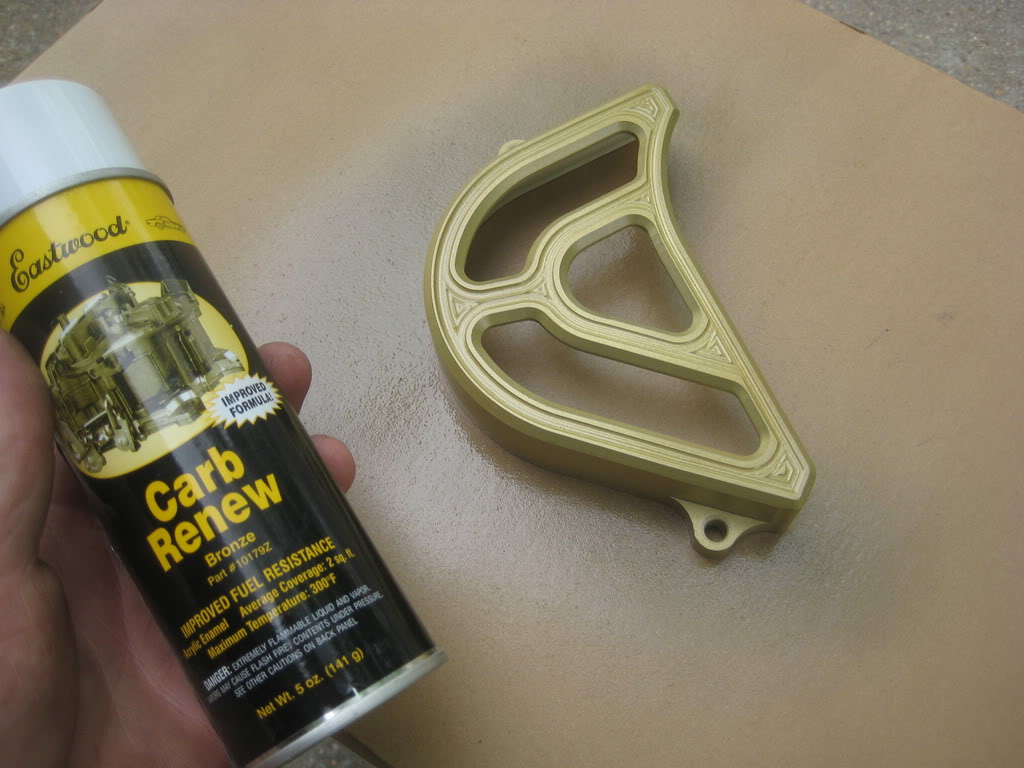
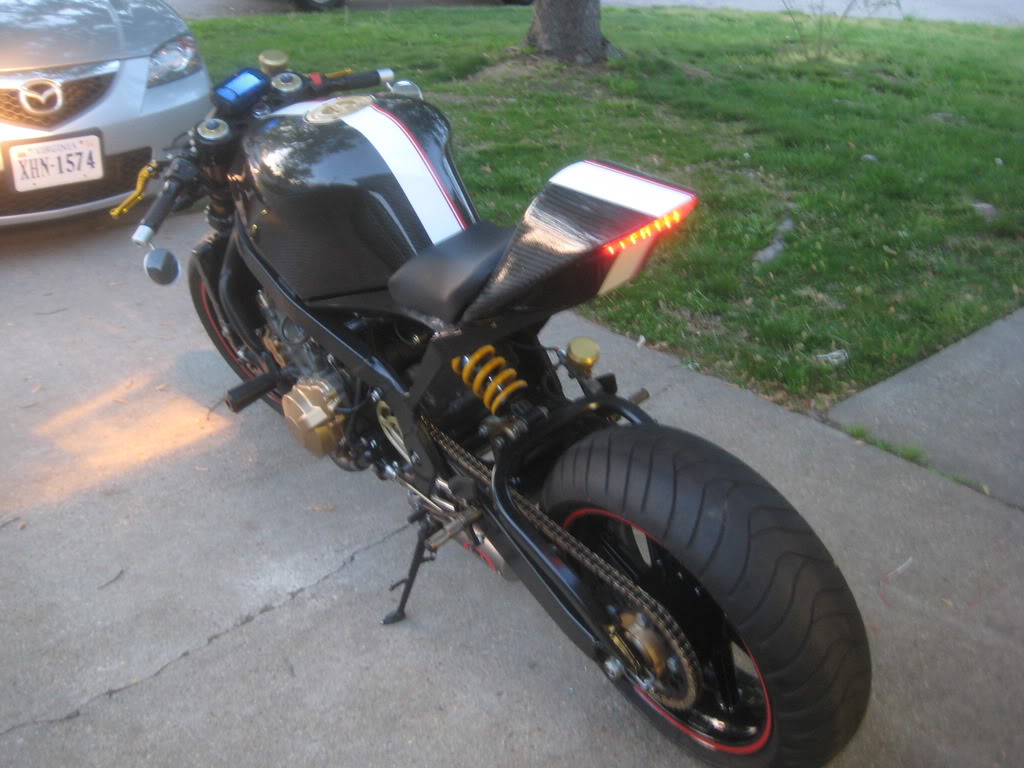
and... did some poor-mans anodizing
and put it on.

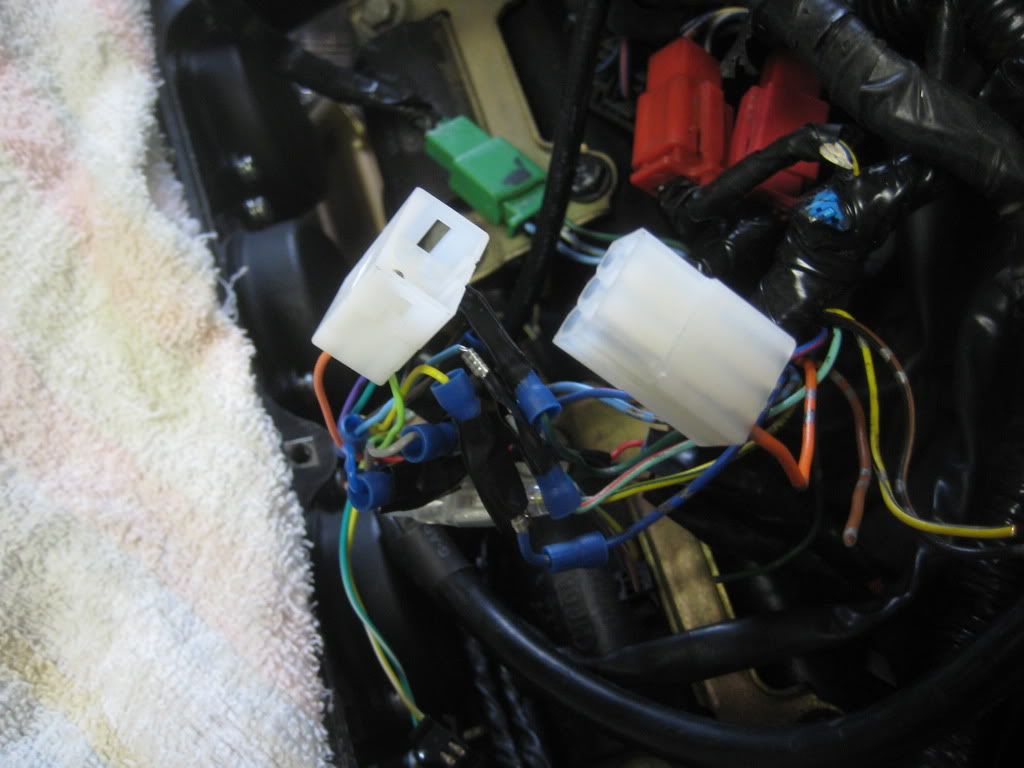
replaced 1-1 connectors with molex connectors, since none of the colors match...
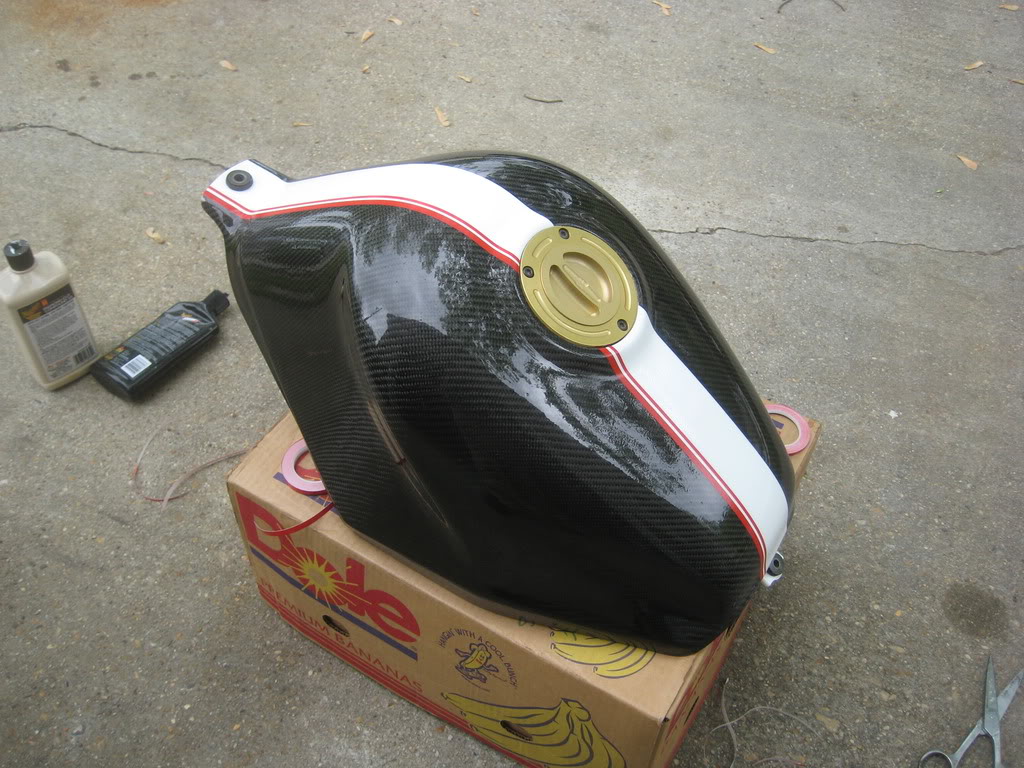
buffed the tank... it will get cut and buffed soon.. but not right now.
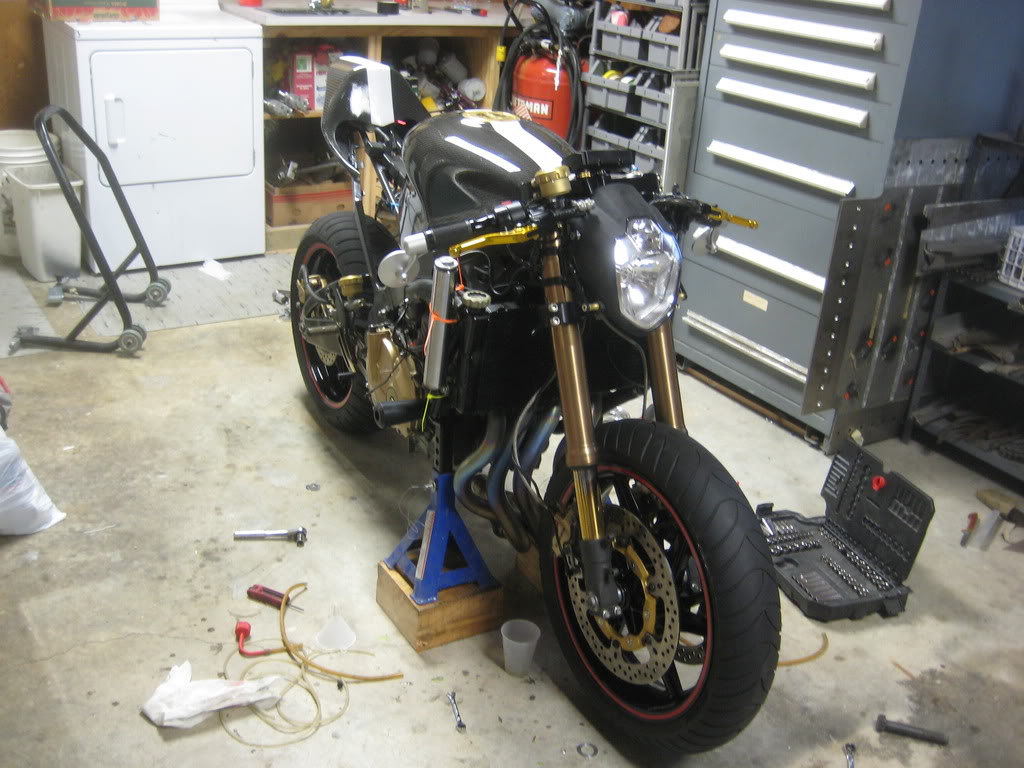
and i didnt think you wanted pictures of tighttening bolts and connecting hoses... so... here you go. final product.
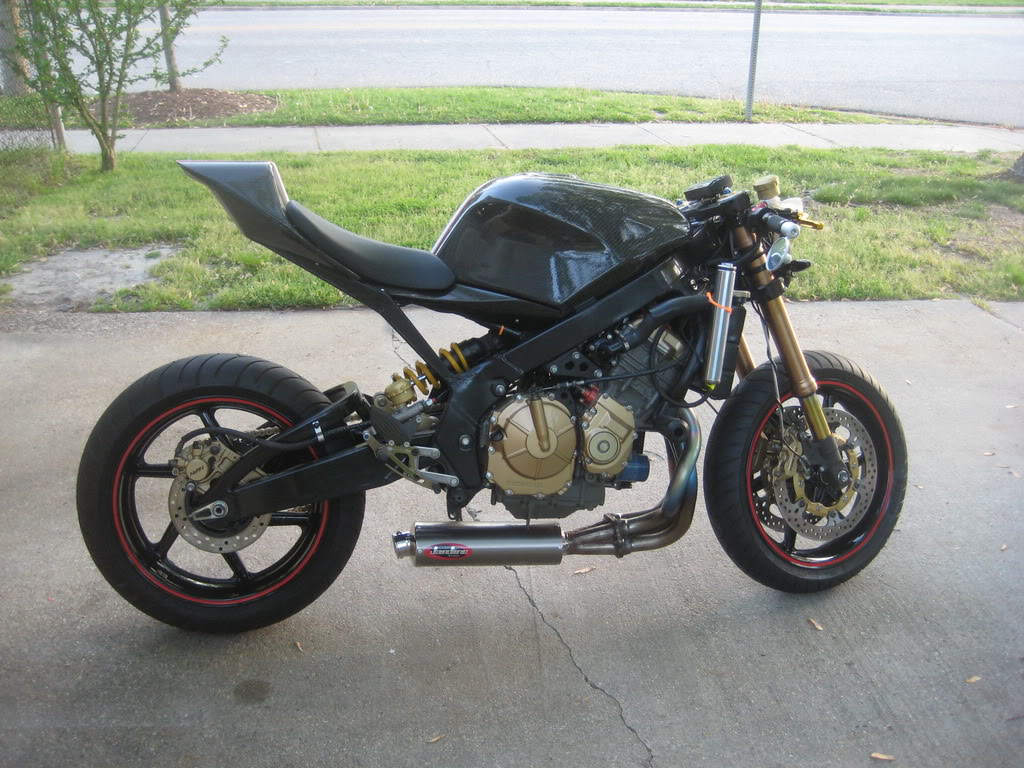
i still have a few things to tweak before it goes out for the first time... (and there will be a video) but it is up an running, and rolled out of the garage under its own power. better pictures soon.
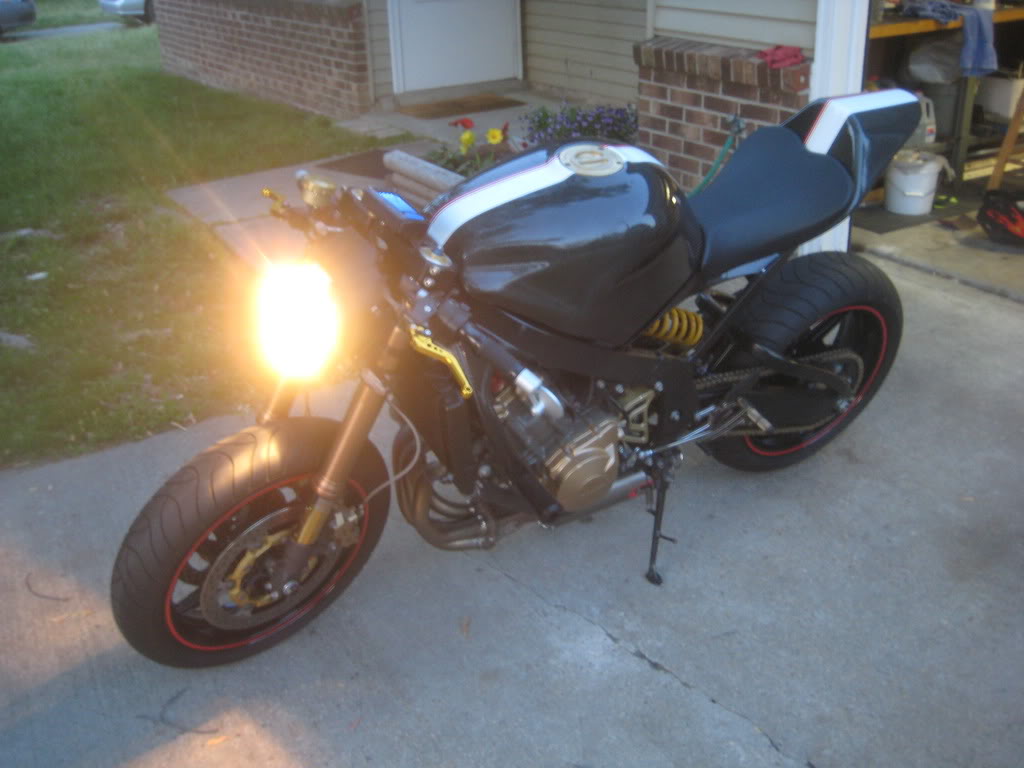
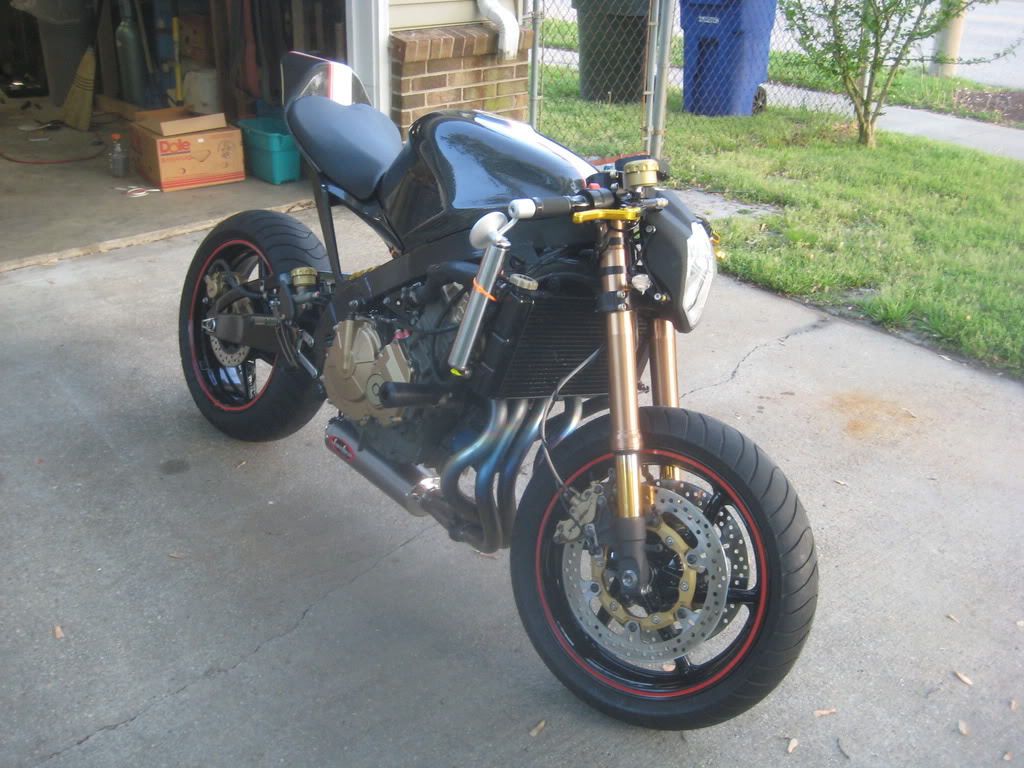
it still needs the front fender and the flyscreen, and the overflow "tank" needs to be re-invented.
let me know what you think!
~Chris
so got a nice update here.
but the wheels on, starting with the back:
then the front:
i wanted to get rid of the nasty ugly front sprocket cover, so... i made a new one.
big ol hunk of alloy..
and after a bit of work i had it hollowed out. nothing fancy till i knew it fit. fits pretty good!
so... i went back and made it pretty
the problem is... on the last pass to clean up the tabs, the endmilll decided it wanted MORE!!!
so... i made a better one. (i still have the other one.... if anybody is interested... you can't even see the damage when it is installed)
and... did some poor-mans anodizing
and put it on.
replaced 1-1 connectors with molex connectors, since none of the colors match...
buffed the tank... it will get cut and buffed soon.. but not right now.
and i didnt think you wanted pictures of tighttening bolts and connecting hoses... so... here you go. final product.
i still have a few things to tweak before it goes out for the first time... (and there will be a video) but it is up an running, and rolled out of the garage under its own power. better pictures soon.
it still needs the front fender and the flyscreen, and the overflow "tank" needs to be re-invented.
let me know what you think!
~Chris


Thread Starter
|
July 2011 ROTM
Joined: May 2010
Posts: 223
Likes: 8
From: Hampton Roads, VA
hey yall... looking at maybe making about 5 of those sprocket covers... interested in paying about $100 for one?
so i had to figure out what the positions meant for the petcock.. cause it isnt really in a stock location...
this is "on"
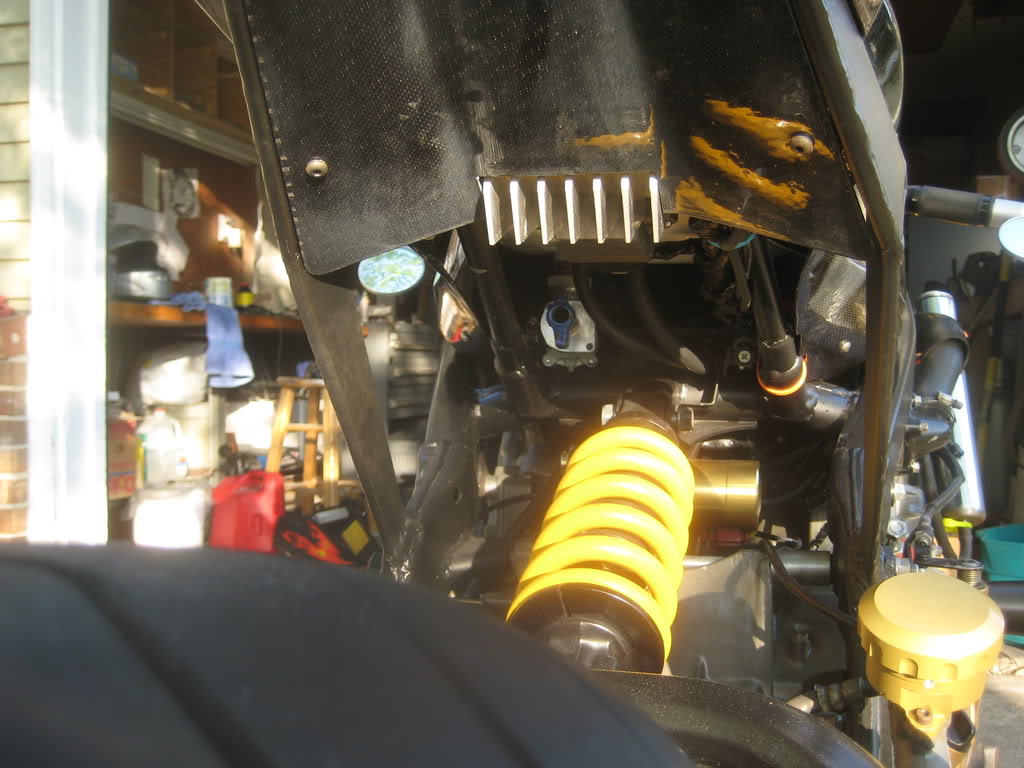
and a couple glamor shots...
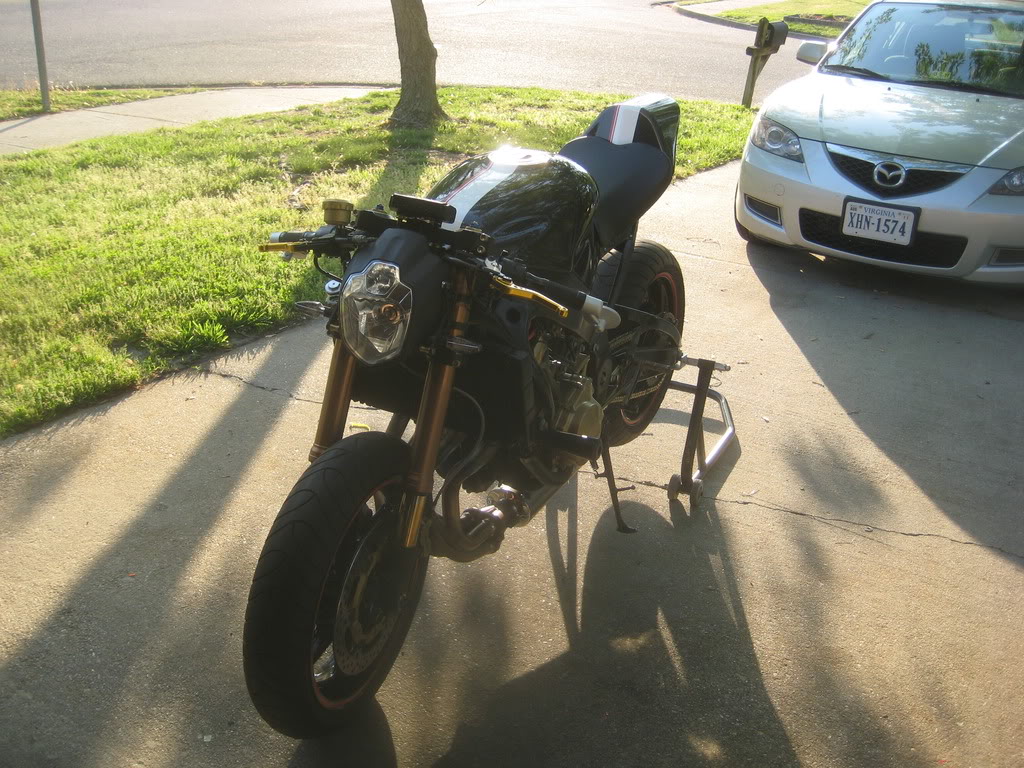
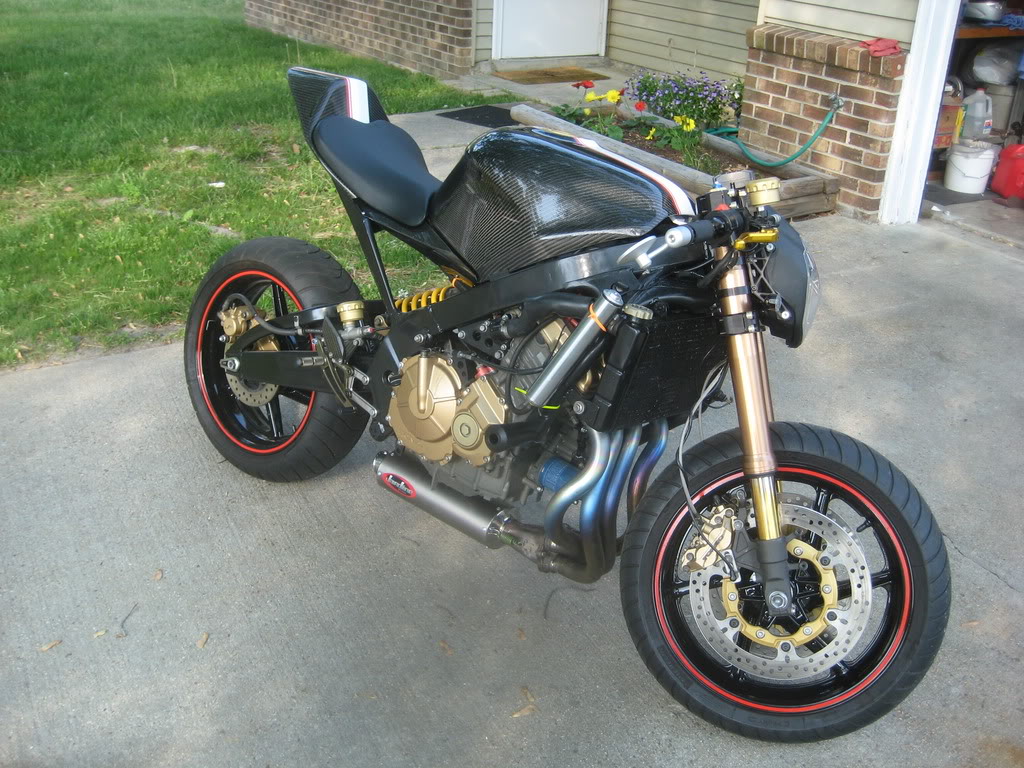
right now i am making a list of all the things that are wrong with the bike. and i am working on the fly-screen and front fender hardware.
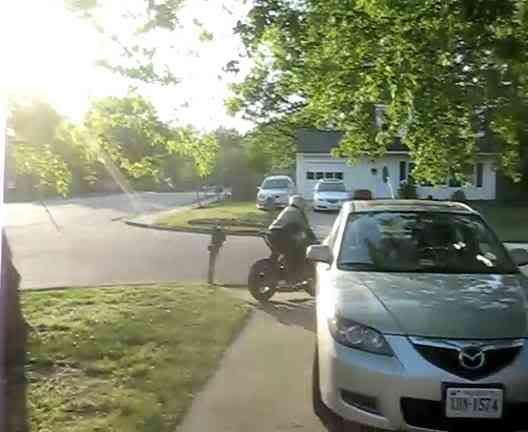
one of the things on the list is "clutch adjustment" it had too much play.. so i tightened it.. then i took this video... which told me two things...
1. fix the clutch adjustment
2. this bike needs some sort of exhaust shroud. that is back on top of the list. carbon fiber honeycomb here i come.
so i had to figure out what the positions meant for the petcock.. cause it isnt really in a stock location...
this is "on"
and a couple glamor shots...
right now i am making a list of all the things that are wrong with the bike. and i am working on the fly-screen and front fender hardware.
one of the things on the list is "clutch adjustment" it had too much play.. so i tightened it.. then i took this video... which told me two things...
1. fix the clutch adjustment
2. this bike needs some sort of exhaust shroud. that is back on top of the list. carbon fiber honeycomb here i come.