Hoppa's 2006 1000RR Street Bike Build - Desdemona
#21
 05-19-2011, 11:30 PM


Senior Member
Join Date: Jul 2010
Location: NC
Posts: 126
Likes: 0
Received 0 Likes
on
0 Posts
#22
05-22-2011, 11:07 AM

Junior Member

#24
05-23-2011, 09:37 AM

@MeanGreen - thanks!
@iamloyal - I bought the SMD LED's from a eLED.com. Part number: EA3528RWC-A Here is the link:
eLED.com, your online source of LEDs. Products include: LED Lamp, LED Display. SMD LED, SMT LED, Surface Mount, Ultra Bright LED, White & Blue LED, Circuit Board Indicators, Dot Matrix Display, Light Pipe, IR & Phototransist www.dotcom-monitor.com
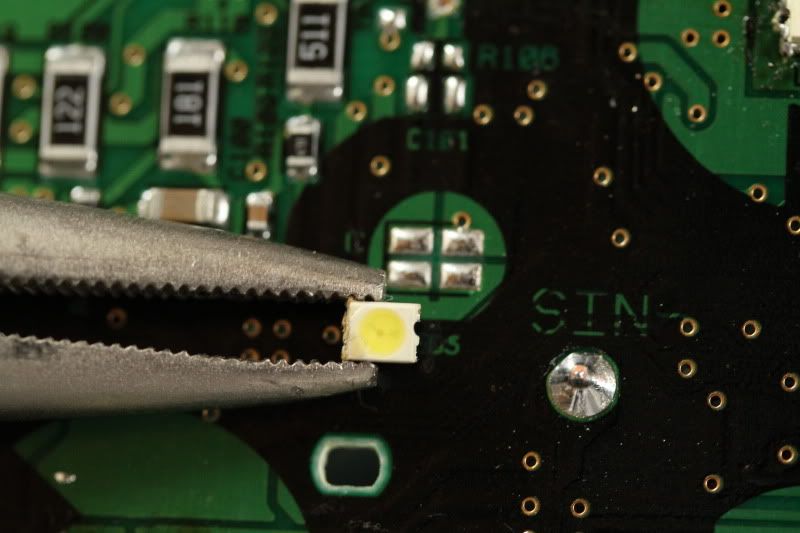
Unfortunately, you have to cut the contact on the bottom of the SMD to get it to work. The board has 4 contacts, three of them being ground, but that doesn't match up with the SMD's contact because it comes with two solid contacts on each side. So you just need to figure out which one is positive by looking at the board and cut the contacts in half, modifying it to have 4 contacts, and them remove the one you don't need. There are some clues on the board to help you figure that out... Otherwise, you can call eLED and they can order you the SMD's that have the correct pads on the bottom but they cost quite a bit more...
Here are some pix of that process:
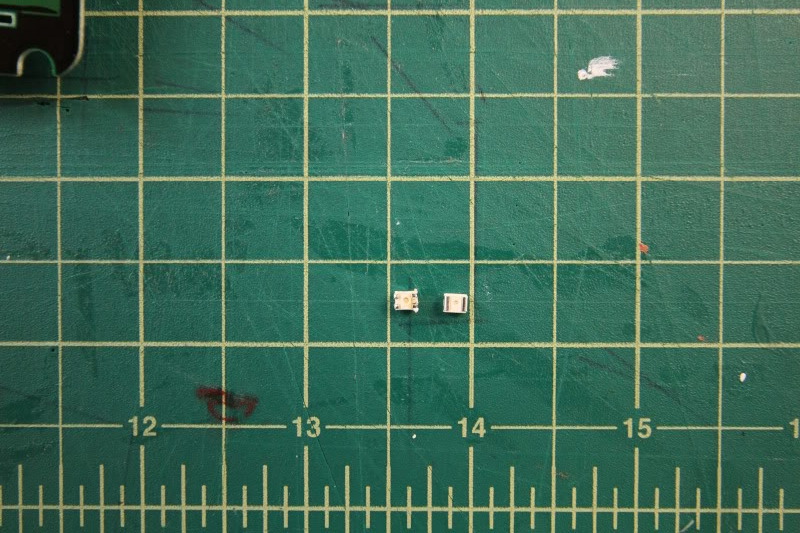
The LED on the left is the OEM honda led after I removed it and the one on the right is from eLED. See the difference?
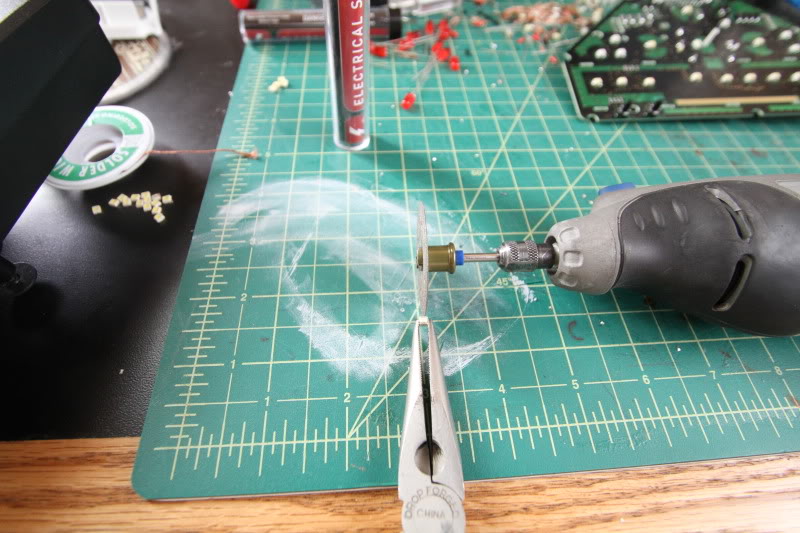
I use my dremmel to cut the bottom pads in half. Gotta be super careful at this step!
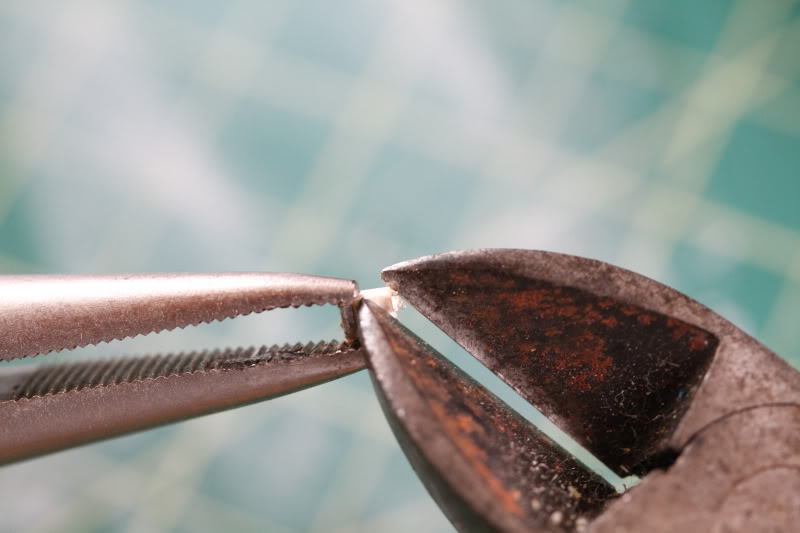
This is what it looks like after I cut it in half. I took away some of the plastic casing, but not too much so it's not a big deal if you grind into it a little....

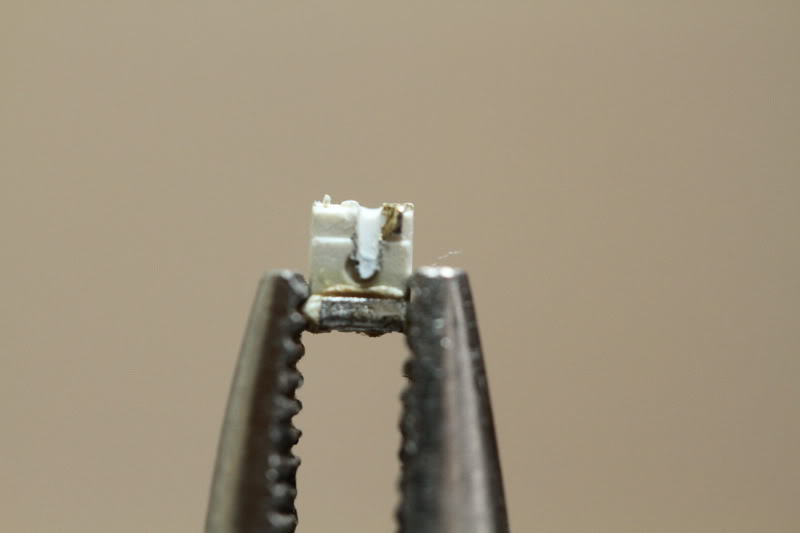
Then cut off the pad you don't need:
Looks a little rough, but it'll work:
and this is where it'll be soldered:
If you are going to do it yourself, just be super careful of the tach needle! It was a bit scary taking it off. Couldn't really tell how much pressure you needed to use to get it off, but just use a spoon and pop it straight up and off.
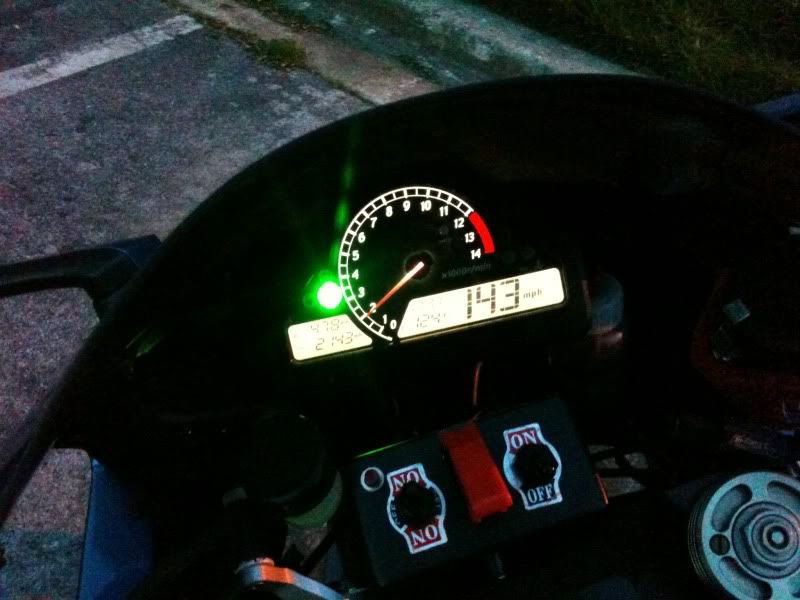
Took her out for a spin two days ago and this is the speed recall for the day (and it gives you an idea of what the white SMD's look like:
@iamloyal - I bought the SMD LED's from a eLED.com. Part number: EA3528RWC-A Here is the link:
eLED.com, your online source of LEDs. Products include: LED Lamp, LED Display. SMD LED, SMT LED, Surface Mount, Ultra Bright LED, White & Blue LED, Circuit Board Indicators, Dot Matrix Display, Light Pipe, IR & Phototransist www.dotcom-monitor.com
Unfortunately, you have to cut the contact on the bottom of the SMD to get it to work. The board has 4 contacts, three of them being ground, but that doesn't match up with the SMD's contact because it comes with two solid contacts on each side. So you just need to figure out which one is positive by looking at the board and cut the contacts in half, modifying it to have 4 contacts, and them remove the one you don't need. There are some clues on the board to help you figure that out... Otherwise, you can call eLED and they can order you the SMD's that have the correct pads on the bottom but they cost quite a bit more...
Here are some pix of that process:
The LED on the left is the OEM honda led after I removed it and the one on the right is from eLED. See the difference?
I use my dremmel to cut the bottom pads in half. Gotta be super careful at this step!
This is what it looks like after I cut it in half. I took away some of the plastic casing, but not too much so it's not a big deal if you grind into it a little....
Then cut off the pad you don't need:
Looks a little rough, but it'll work:
and this is where it'll be soldered:
If you are going to do it yourself, just be super careful of the tach needle! It was a bit scary taking it off. Couldn't really tell how much pressure you needed to use to get it off, but just use a spoon and pop it straight up and off.
Took her out for a spin two days ago and this is the speed recall for the day (and it gives you an idea of what the white SMD's look like:
#26
05-23-2011, 06:48 PM

Junior Member
Join Date: May 2010
Location: San Antonio, Texas
Posts: 14
Likes: 0
Received 0 Likes
on
0 Posts
#28
05-24-2011, 06:27 PM
Junior Member
Join Date: May 2010
Location: San Antonio, Texas
Posts: 14
Likes: 0
Received 0 Likes
on
0 Posts
#29
05-25-2011, 09:57 AM
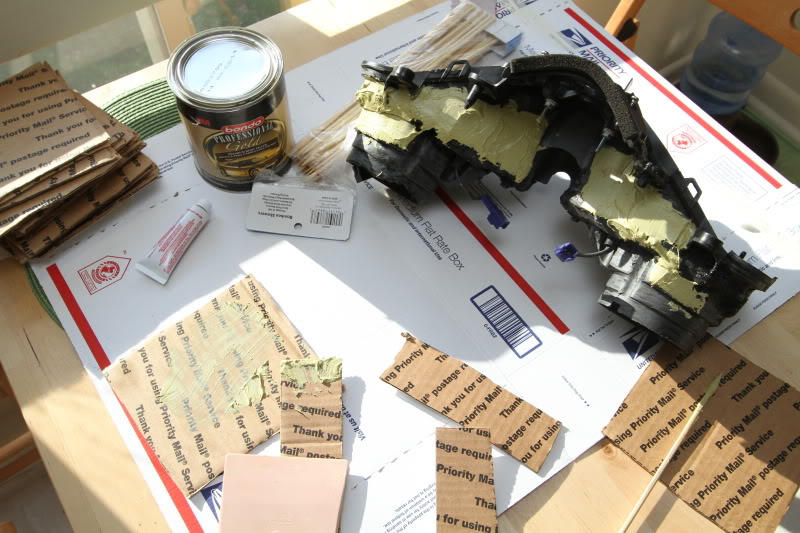
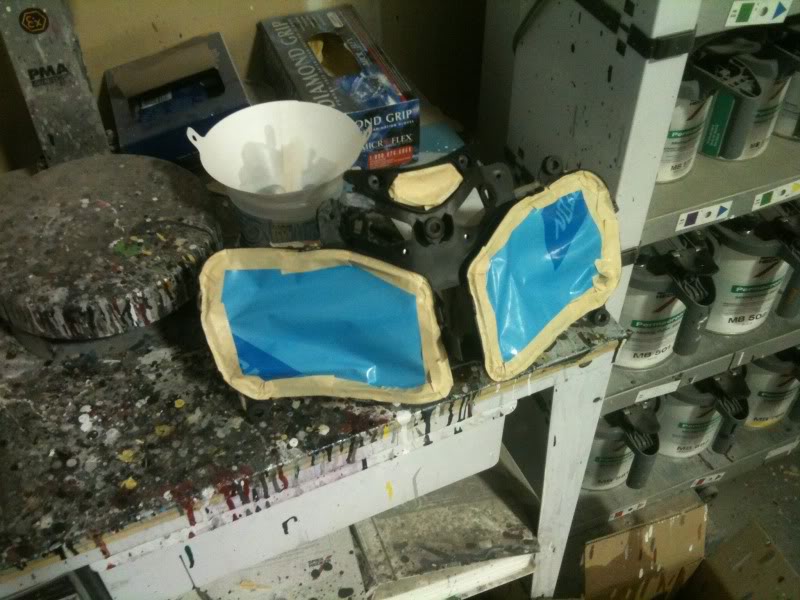
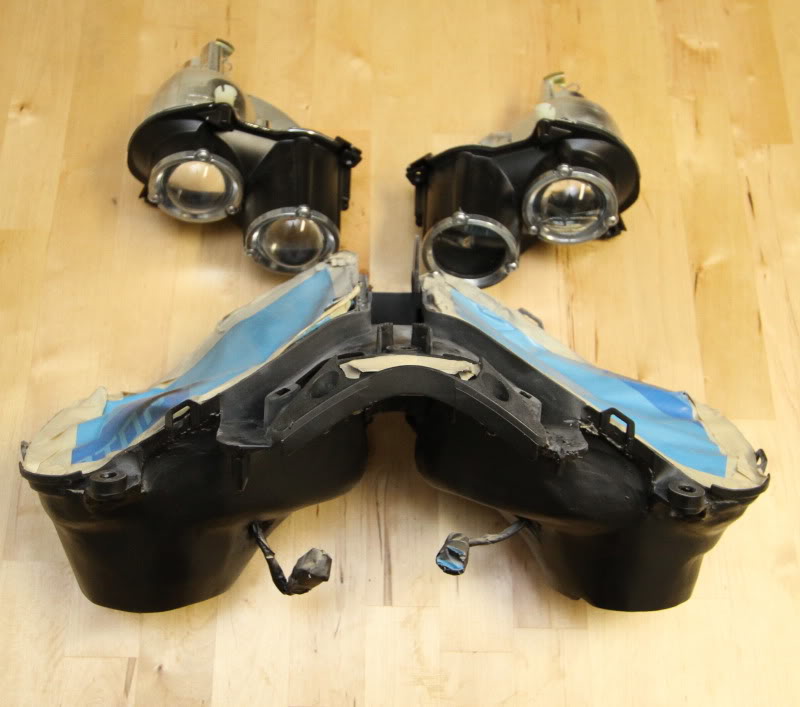
a ton. the majority of time I spent on the project was ensuring that the rear portion of the R6 headlight assembly wasn't protruding too far backwards, hitting the forks at full lock.
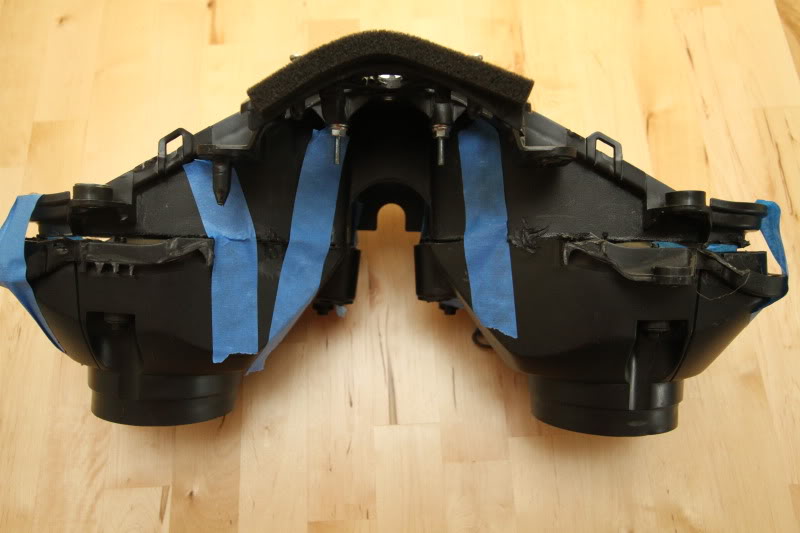
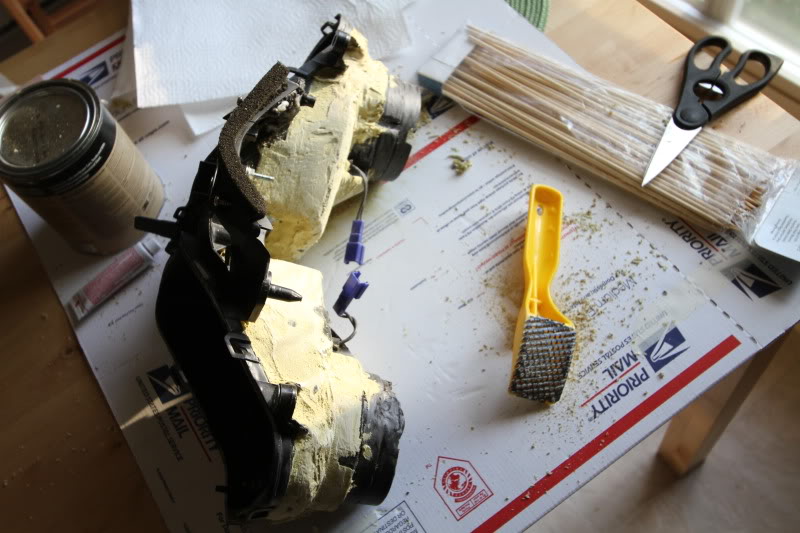
once you make sure the test fit is ok, then you can do some plastic welding. this can get ugly:
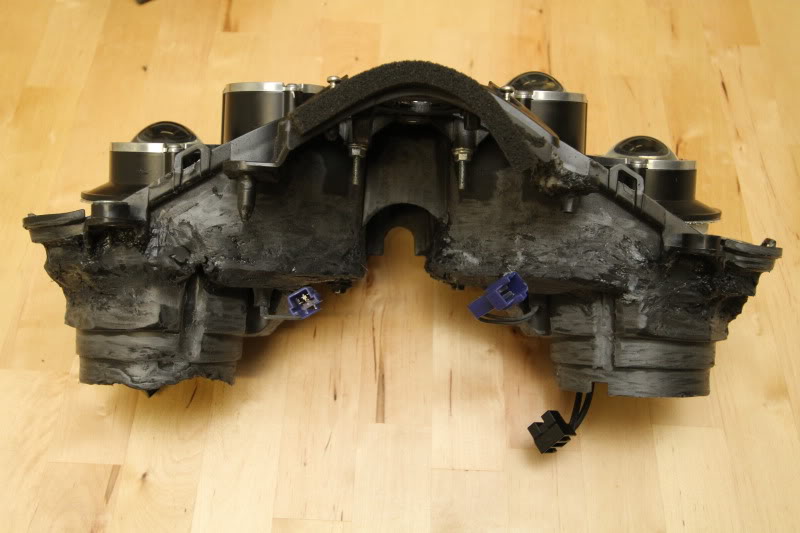
but that's what bondo is for...
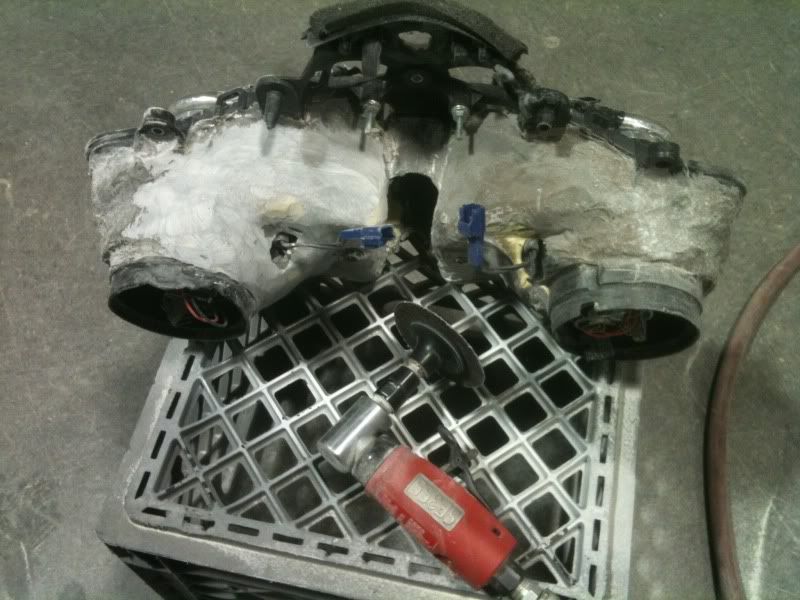
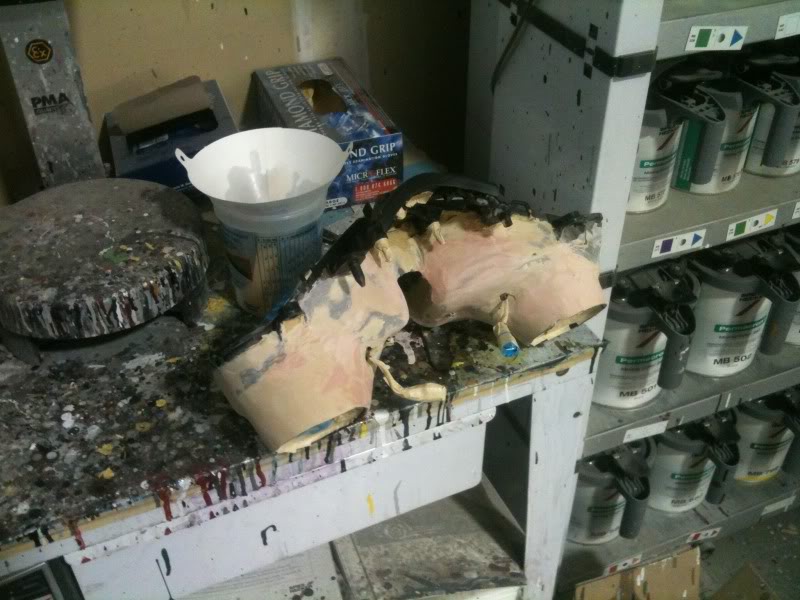
ready for paint:
ta-daahhhhh!
once you make sure the test fit is ok, then you can do some plastic welding. this can get ugly:
but that's what bondo is for...
ready for paint:
ta-daahhhhh!
Last edited by hoppa2k6; 05-25-2011 at 10:00 AM.

Thread
Thread Starter
Forum
Replies
Last Post
baboex
Street Fighters
26
09-29-2012 09:00 PM
__Z__
Street Fighters
289
08-02-2011 07:29 PM