Hoppa's Track Bike Build


Thread Starter
|
Senior Member
Joined: Jul 2009
Posts: 108
Likes: 1
So I picked up this track bike from a great guy from another forum. I think I made out like a bandit with all the spares I got with the bike and everything that was already done to the bike. It didn't have too much bling on it, but where it lacked in bling, it made up for it in power. It'll constantly be a work in progress and I have many plans for it already in the works, but here is what it came with:
2007 CBR1000RR Built Motor (04 frame) Engine work by Dick Suarez of Full Spectrum Racing - Ported and Polished Head - .8mm HRC Spec, HRC Intake Springs, APE Manual Cam Tensioner, Professionally degreed and shimmed
Fresh off the dyno - 170 RWHP @ 12,500 RPM & 78 lbs Torque @ 11,000 RPM
� HRC JSB ECU
� Akropovic Evo Titanium Full System with carbon can
� Carbon Fiber Intake
� K&N Air Filters
� 06-07 1000RR Forks with Ohlins FGK126 25MM Cartridge Kit
� Penske 8987 Triple Clicker Shock with HRC Link and custom reservoir bracket on subframe
� Dorkman Custom Aluminum (HRC Style) Subframe
� Dorkman Aluminum Fairing Stay with aluminum overflow bottle mount and motion pro overflow bottle
� Ohlins Steering Damper with Dorkman Custom Linear Adjustable Fork Mount Steering Damper Mount
� 2007 Sharkskinz Fiberglass Track Fairings (Upper, Lower, Front Fender and Tank)
� Ten Kate Superbike Tail Fairing
� Zero Gravity Windscreen
� XT Racing Ultralap Lap Timer
� Speed - o - Healer
� Active Throttle with custom adjustable cables
� Arata Adjustable Rearsets
� Dorkman Custom Aluminum Clipons
� CRG Brake and Clutch Levers
� Keyless Gas Cap
� 2007 1000rr Radiator Swap
� HRC Style Stripped Wiring Harness
� Keyless (Toggle Switch) Ignition
� 2007 1000rr 320MM Front Brake Rotor Swap
So I drove down to South Carolina from Baltimore, Maryland to meet up with the seller and pick everything up and he was a great guy. We continue to talk regularly as he was the original owner and knows the complete history of the bike. He gave me every receipt for the bike and the manila folder holding all the receipts, paperwork, and complete history of the bike is so large the folder can't even fold to the halfway mark of the 8 1/2" paper width! It's huge! Must be something like a ream and a half of paperwork in there...
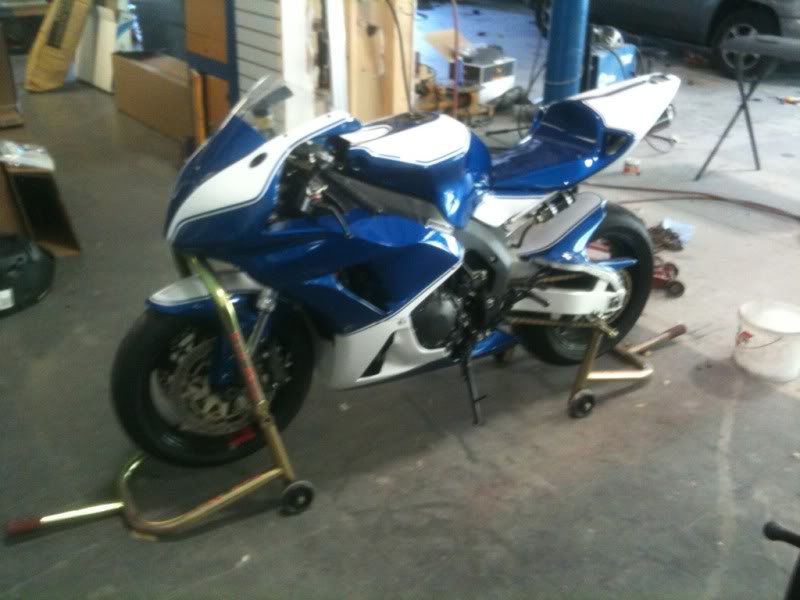
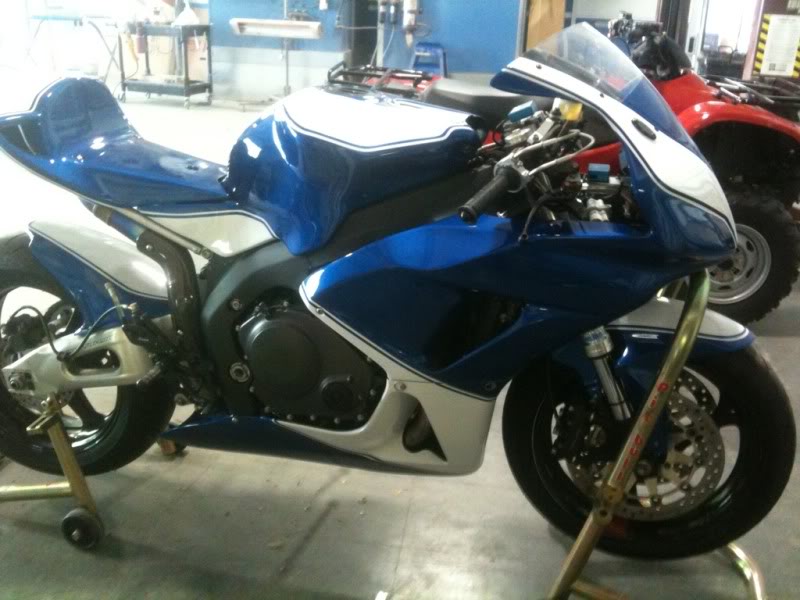
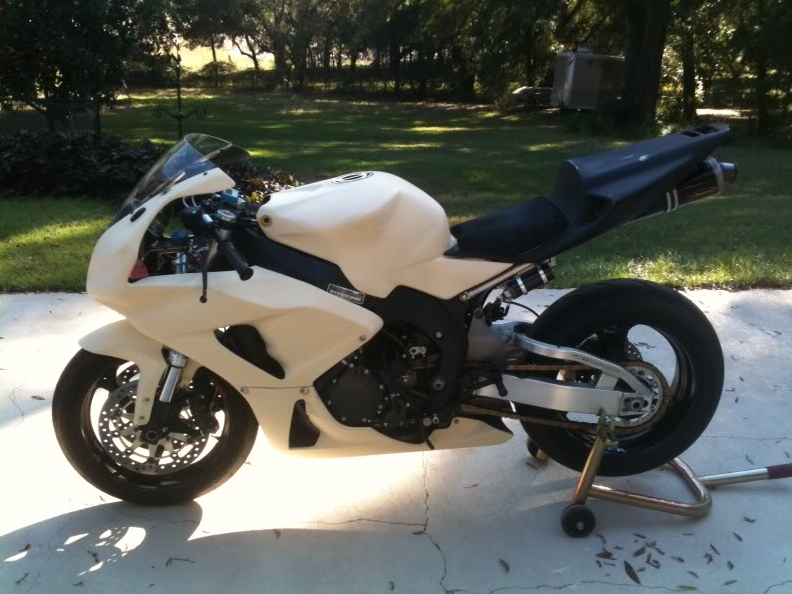
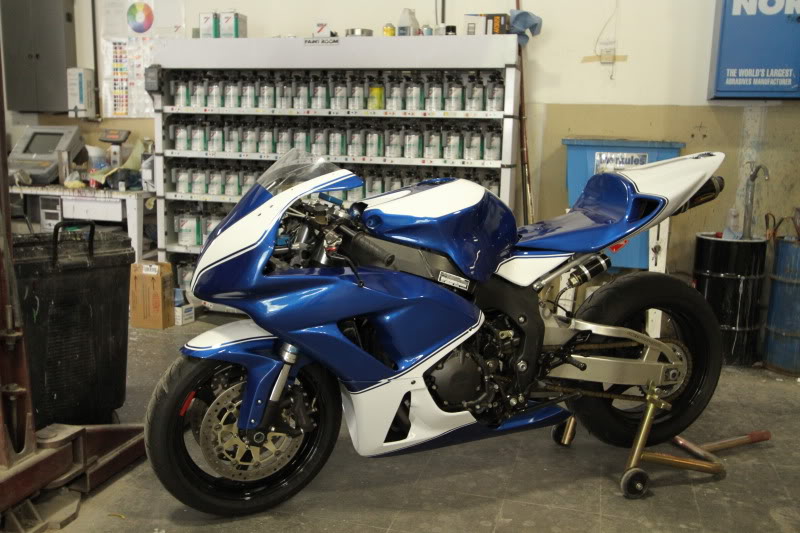
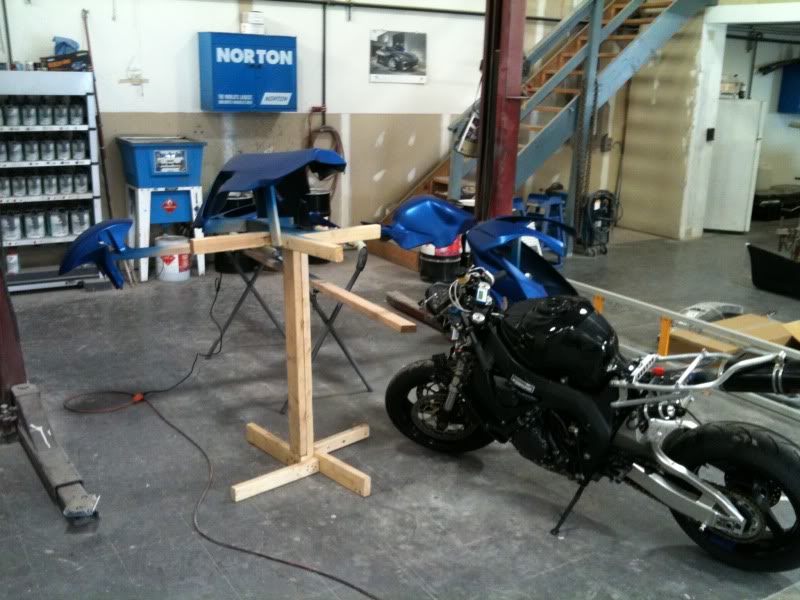
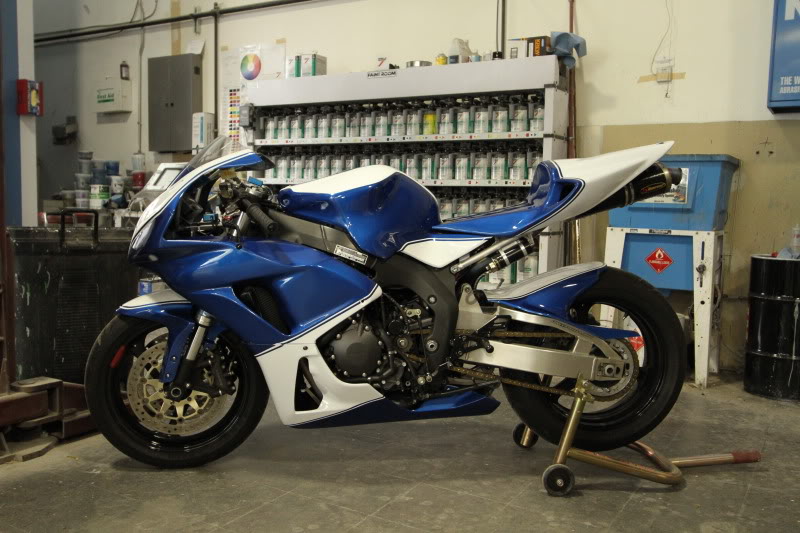
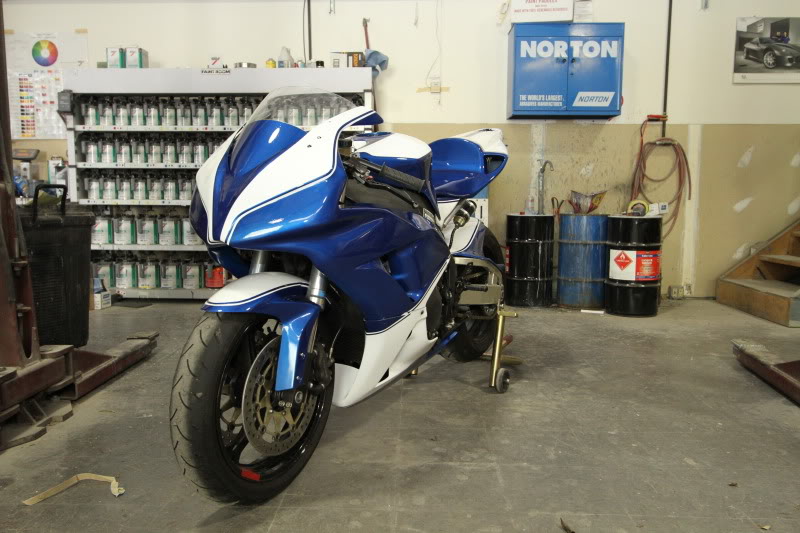
Anyway, so I really lucked out getting a bike I know was taken care of and tracked properly. So I drove it home and started working on a few things. When I got it, it came with a set of sharkskinz fairings that were just primered and not painted. So, since I work at a body shop, I brought the bike in and painted the bike myself, doing a two tone paint scheme with Spies Hecker Paint in blue and white.
Before:
After:
I added the fiberglass hugger and a LifeP04 6 cell (662 gram) Battery to the bike and and just waiting for some vinyl to by cut by my vinyl cutter and I'll get the bike badged up and to the track.
Unfortunately, I have so many parts to put on the bike at the moment but no time. Here is a list of parts to install:
HRC Spec Cams, Ten Kate Pistons, Ferrero Valves, HRC Exhaust Springs, Marchesini Mags, Braketech Iron Rotors, Brembo GP4RX Calipers, Brembo RCS Masters, Marzocchi Forks, HRC Sprint tank and HRC fuel pump, Ten Kate Radiator and oil cooler, STM Slipper Clutch, STM Clutch Slave, Black Powdercoated Swingarm, 520 Chain and Sprocket Kit
It's a shame all these parts are just sitting in boxes, but I'd rather ride the bike all season and start putting on all the parts after the season that lose most of the season due to installing parts in my limited spare time.
After I get all the easy parts installed (everything but the internal motor parts), I plan on sending the bike down to Full Spectrum Racing do pull the motor, send the block to get a Nikosil Block Coating and the pistons and gears to JetHot for skirt and gear clad coatings and then have Full Spectrum install all my internal goodies and get it all back together, back on their dyno, program the HRC ECU and get me some new numbers. As of right now, she's at 170 RWHP @ 12,500 RPM & 78 lbs Torque @ 11,000 RPM. Wondering if I can get her up to 180. Going to cross my fingers really hard. Probably should just buy a new bmw and do filters and a full exhaust and get 180 easily, for half the cost of this build, but I just love hondas too damn much to turn to the dark side.
I'll post up with any updates.
2007 CBR1000RR Built Motor (04 frame) Engine work by Dick Suarez of Full Spectrum Racing - Ported and Polished Head - .8mm HRC Spec, HRC Intake Springs, APE Manual Cam Tensioner, Professionally degreed and shimmed
Fresh off the dyno - 170 RWHP @ 12,500 RPM & 78 lbs Torque @ 11,000 RPM
� HRC JSB ECU
� Akropovic Evo Titanium Full System with carbon can
� Carbon Fiber Intake
� K&N Air Filters
� 06-07 1000RR Forks with Ohlins FGK126 25MM Cartridge Kit
� Penske 8987 Triple Clicker Shock with HRC Link and custom reservoir bracket on subframe
� Dorkman Custom Aluminum (HRC Style) Subframe
� Dorkman Aluminum Fairing Stay with aluminum overflow bottle mount and motion pro overflow bottle
� Ohlins Steering Damper with Dorkman Custom Linear Adjustable Fork Mount Steering Damper Mount
� 2007 Sharkskinz Fiberglass Track Fairings (Upper, Lower, Front Fender and Tank)
� Ten Kate Superbike Tail Fairing
� Zero Gravity Windscreen
� XT Racing Ultralap Lap Timer
� Speed - o - Healer
� Active Throttle with custom adjustable cables
� Arata Adjustable Rearsets
� Dorkman Custom Aluminum Clipons
� CRG Brake and Clutch Levers
� Keyless Gas Cap
� 2007 1000rr Radiator Swap
� HRC Style Stripped Wiring Harness
� Keyless (Toggle Switch) Ignition
� 2007 1000rr 320MM Front Brake Rotor Swap
So I drove down to South Carolina from Baltimore, Maryland to meet up with the seller and pick everything up and he was a great guy. We continue to talk regularly as he was the original owner and knows the complete history of the bike. He gave me every receipt for the bike and the manila folder holding all the receipts, paperwork, and complete history of the bike is so large the folder can't even fold to the halfway mark of the 8 1/2" paper width! It's huge! Must be something like a ream and a half of paperwork in there...
Anyway, so I really lucked out getting a bike I know was taken care of and tracked properly. So I drove it home and started working on a few things. When I got it, it came with a set of sharkskinz fairings that were just primered and not painted. So, since I work at a body shop, I brought the bike in and painted the bike myself, doing a two tone paint scheme with Spies Hecker Paint in blue and white.
Before:
After:
I added the fiberglass hugger and a LifeP04 6 cell (662 gram) Battery to the bike and and just waiting for some vinyl to by cut by my vinyl cutter and I'll get the bike badged up and to the track.
Unfortunately, I have so many parts to put on the bike at the moment but no time. Here is a list of parts to install:
HRC Spec Cams, Ten Kate Pistons, Ferrero Valves, HRC Exhaust Springs, Marchesini Mags, Braketech Iron Rotors, Brembo GP4RX Calipers, Brembo RCS Masters, Marzocchi Forks, HRC Sprint tank and HRC fuel pump, Ten Kate Radiator and oil cooler, STM Slipper Clutch, STM Clutch Slave, Black Powdercoated Swingarm, 520 Chain and Sprocket Kit
It's a shame all these parts are just sitting in boxes, but I'd rather ride the bike all season and start putting on all the parts after the season that lose most of the season due to installing parts in my limited spare time.
After I get all the easy parts installed (everything but the internal motor parts), I plan on sending the bike down to Full Spectrum Racing do pull the motor, send the block to get a Nikosil Block Coating and the pistons and gears to JetHot for skirt and gear clad coatings and then have Full Spectrum install all my internal goodies and get it all back together, back on their dyno, program the HRC ECU and get me some new numbers. As of right now, she's at 170 RWHP @ 12,500 RPM & 78 lbs Torque @ 11,000 RPM. Wondering if I can get her up to 180. Going to cross my fingers really hard. Probably should just buy a new bmw and do filters and a full exhaust and get 180 easily, for half the cost of this build, but I just love hondas too damn much to turn to the dark side.
I'll post up with any updates.
Thread Starter
|
Senior Member
Joined: Jul 2009
Posts: 108
Likes: 1
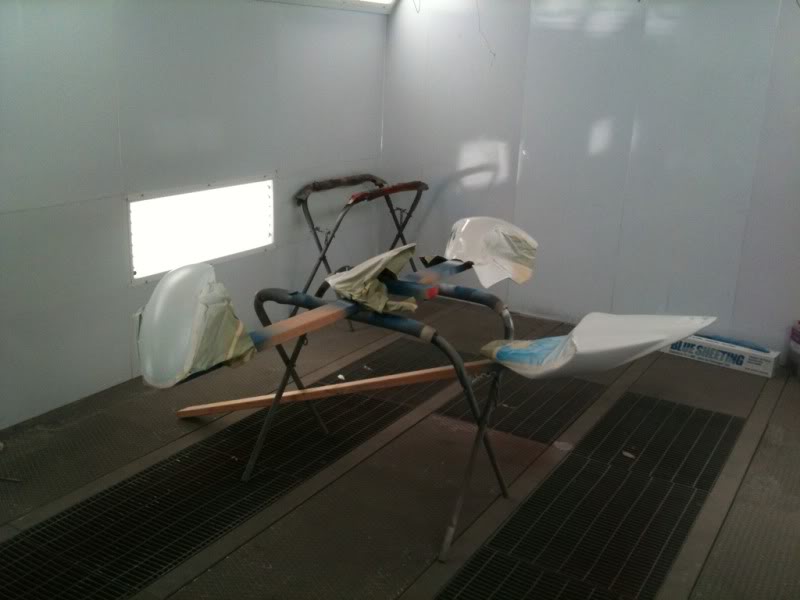
some pix of painting the fairings.
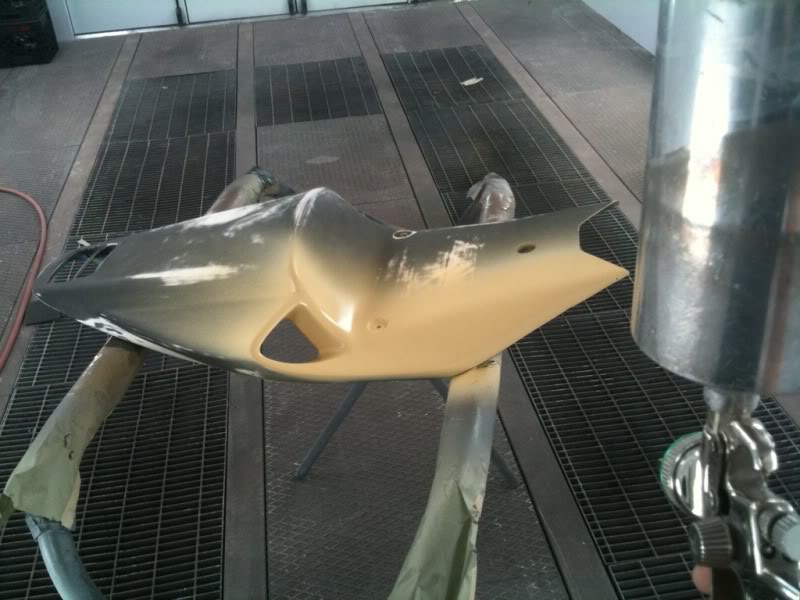
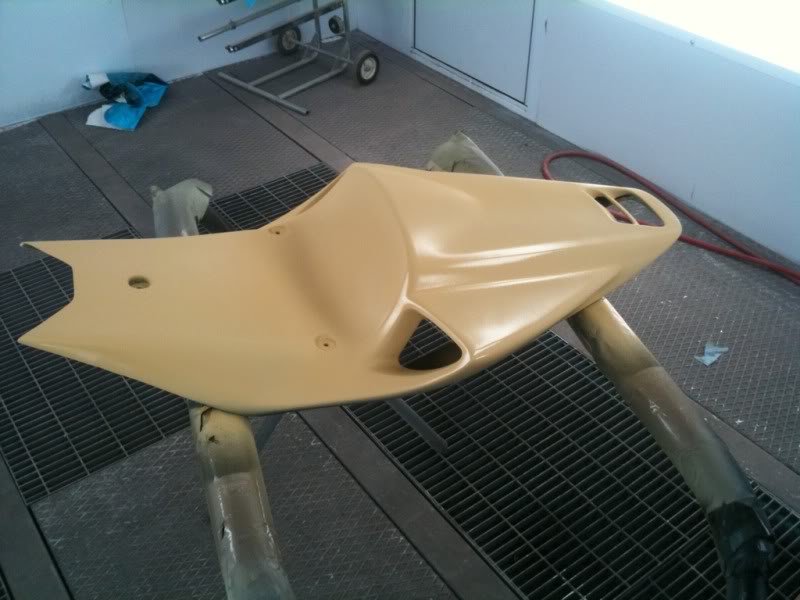
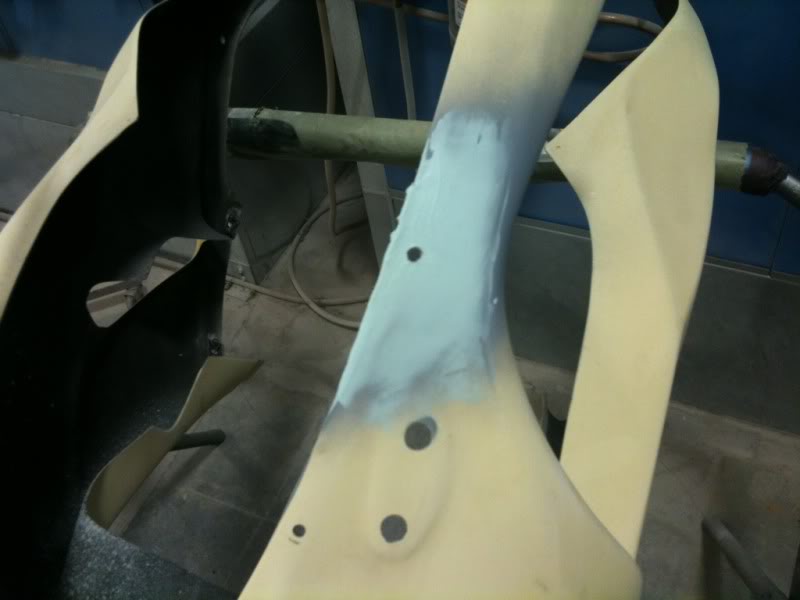
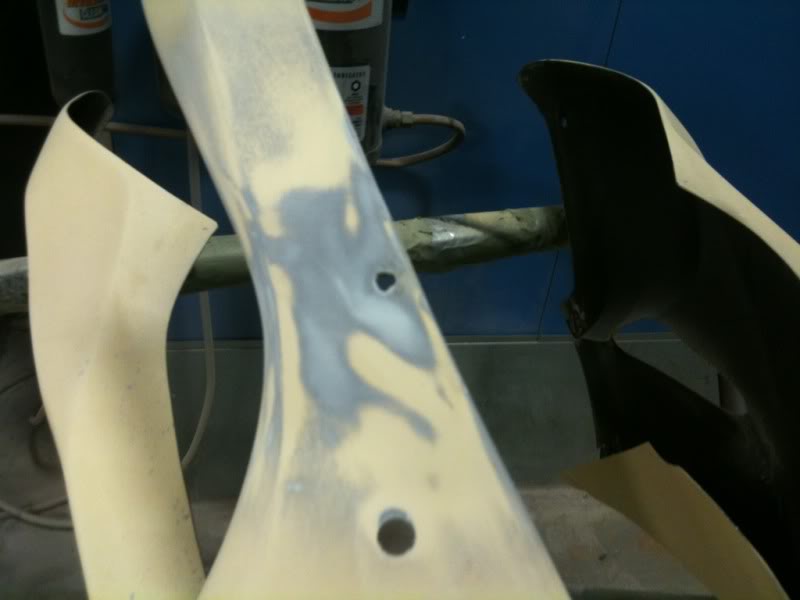
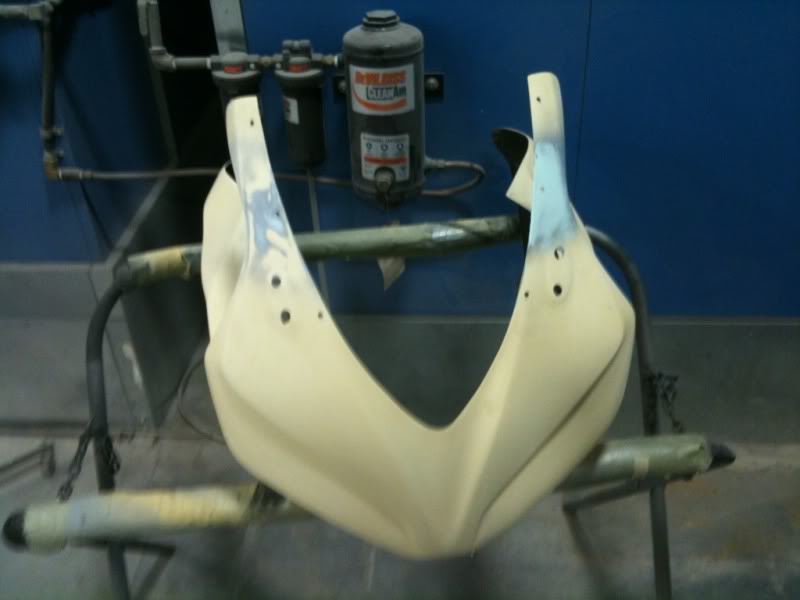
minor pitting in the ten kate tail, so I added some top coat in the pitted area and sanded them down really well:
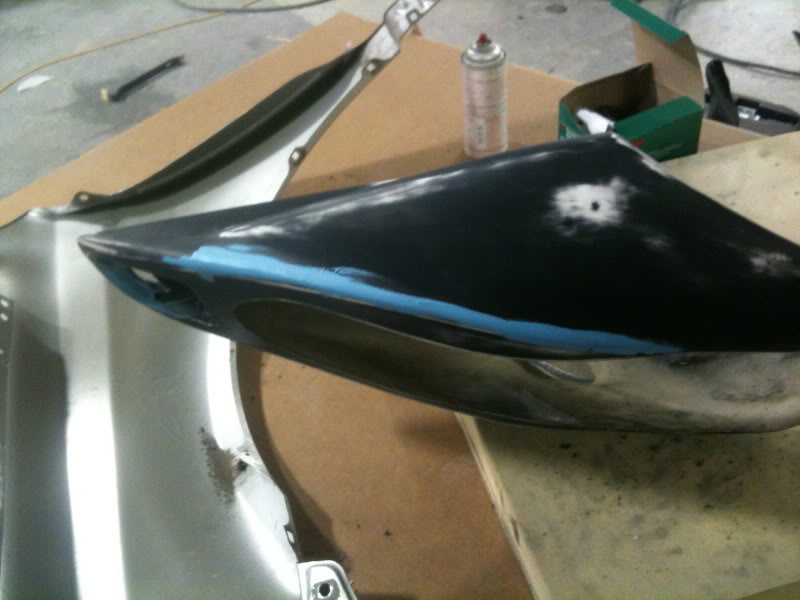
adding some "real" primer to the ten kate tail:
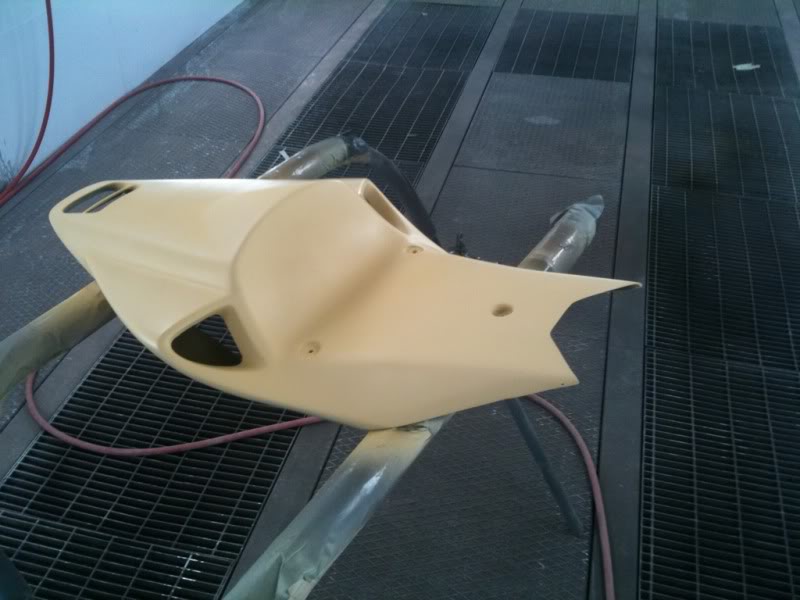
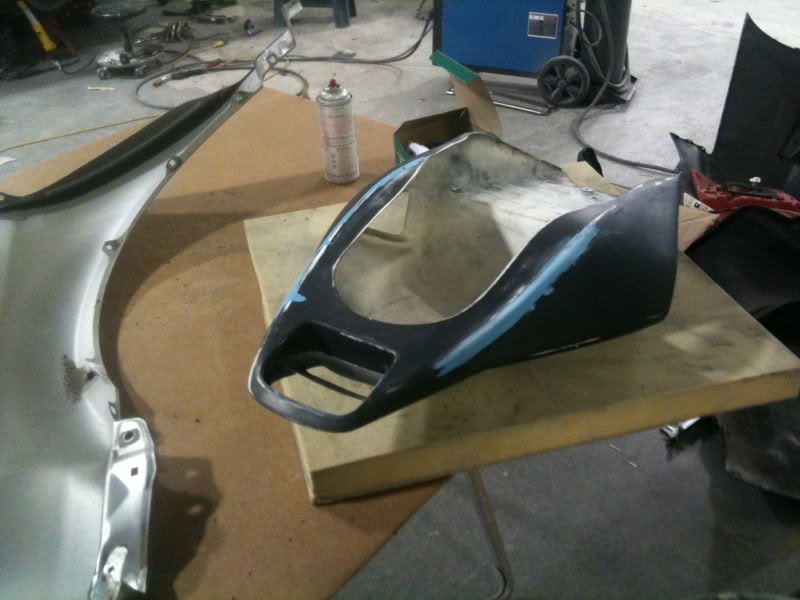
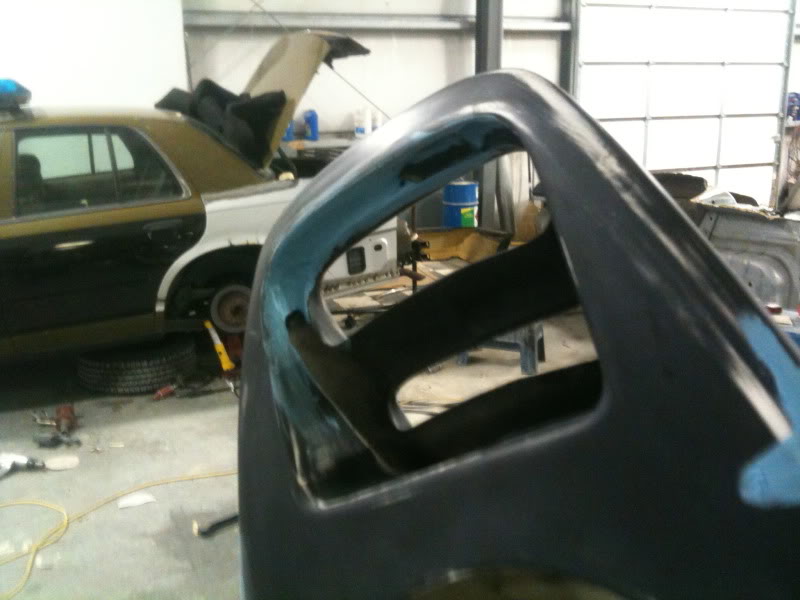
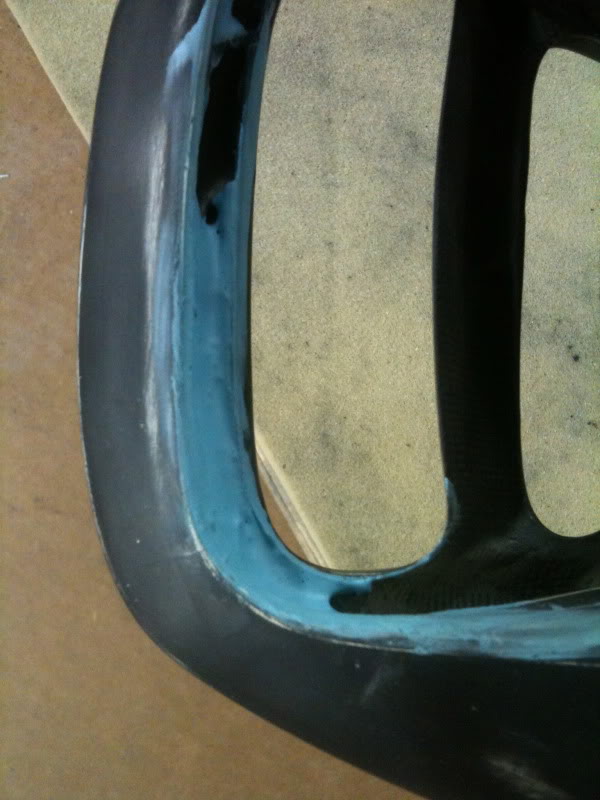
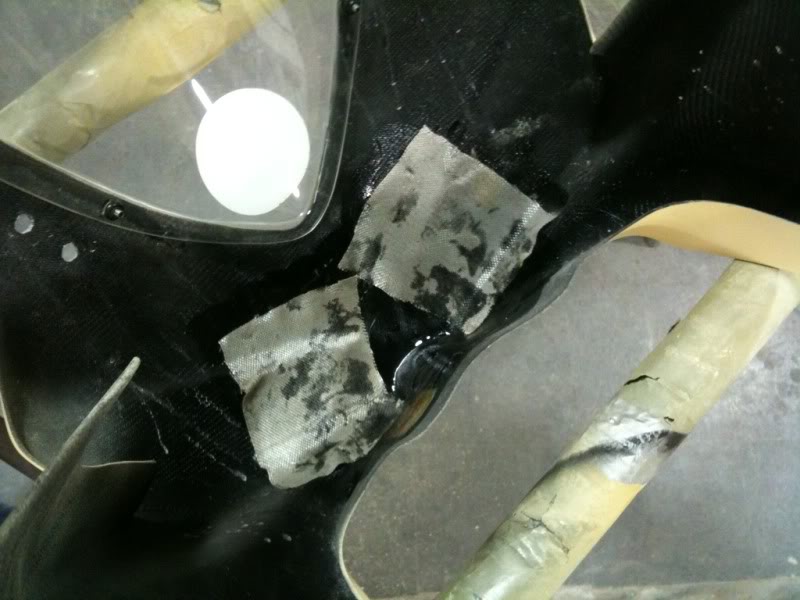
reinforcing the nose because it had some cracks in the primer:
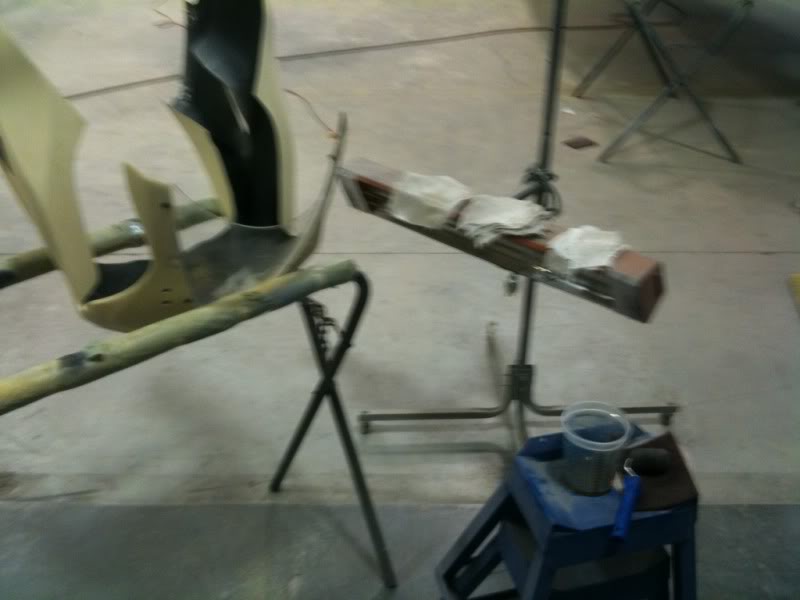
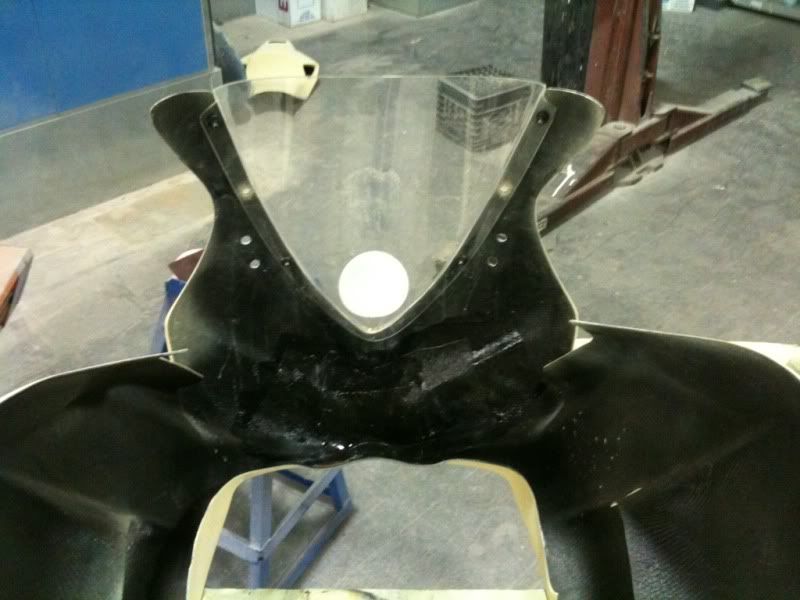
minor pitting in the ten kate tail, so I added some top coat in the pitted area and sanded them down really well:
adding some "real" primer to the ten kate tail:
reinforcing the nose because it had some cracks in the primer:
Last edited by hoppa2k6; May 7, 2011 at 01:51 AM.
Thread Starter
|
Senior Member
Joined: Jul 2009
Posts: 108
Likes: 1
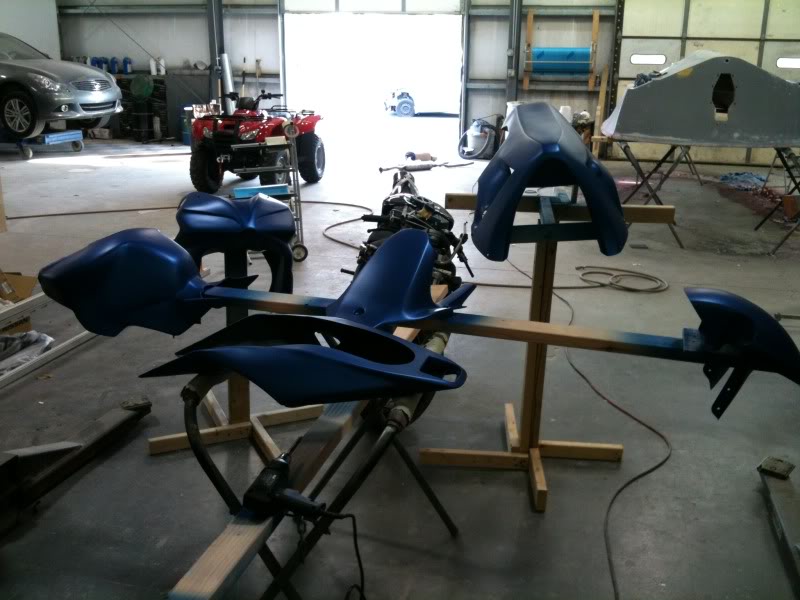
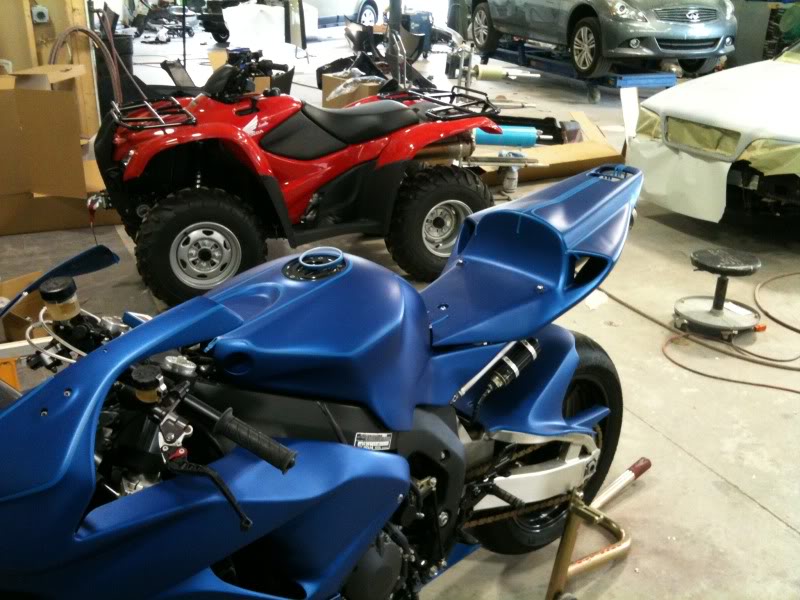
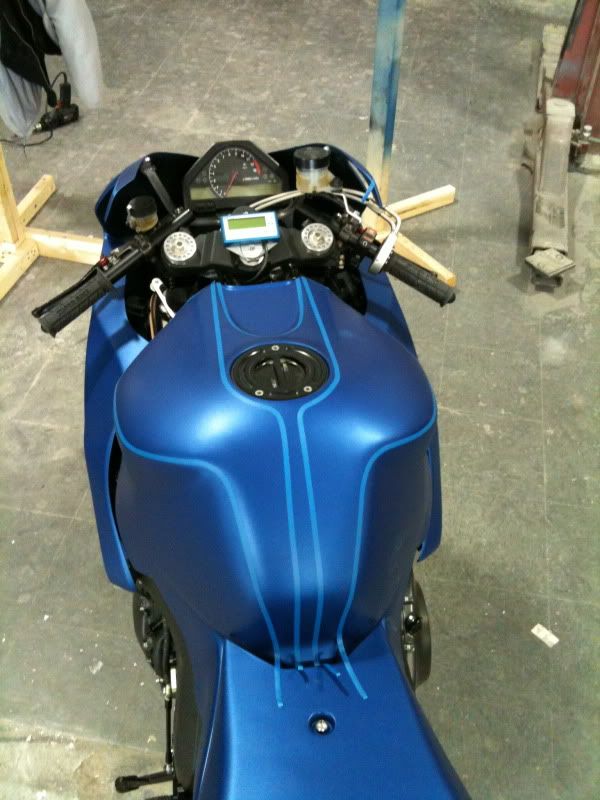
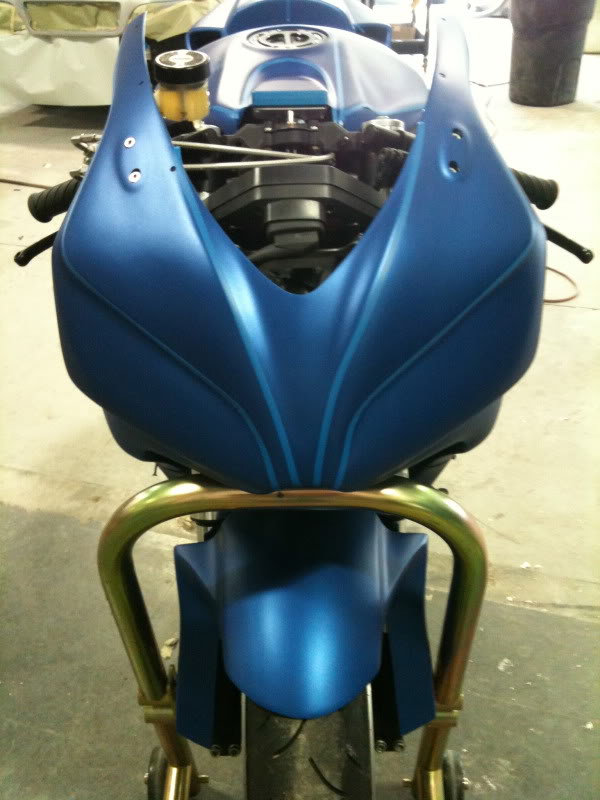
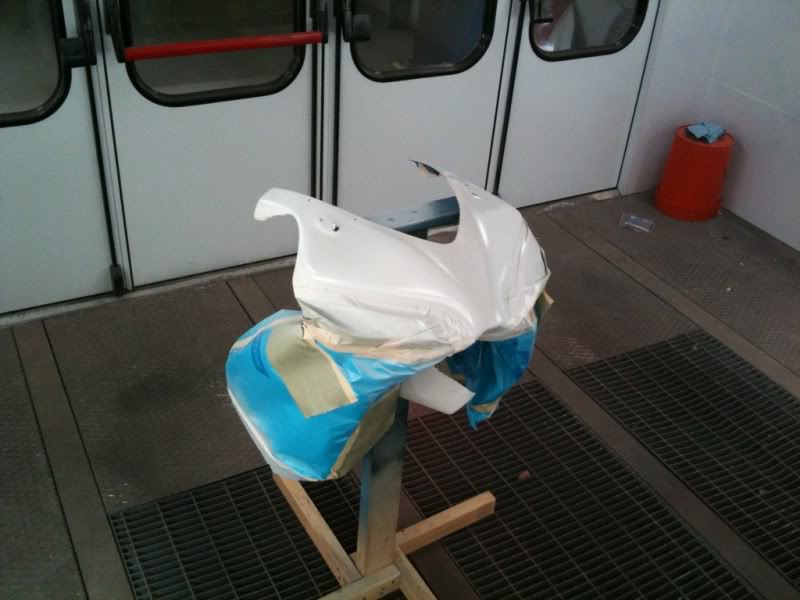
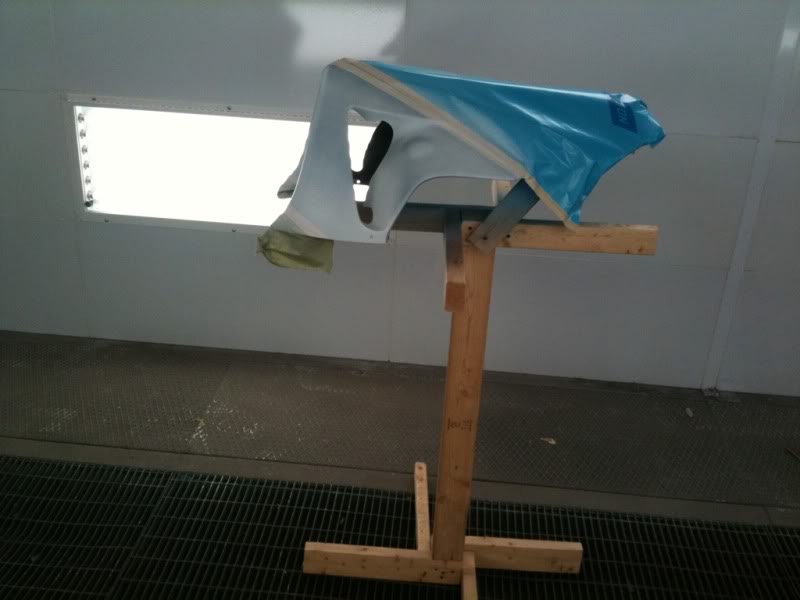
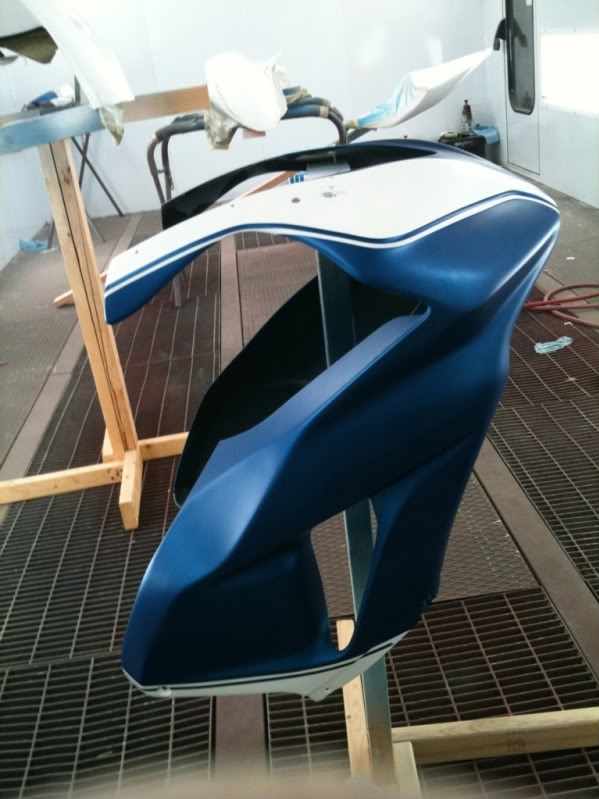
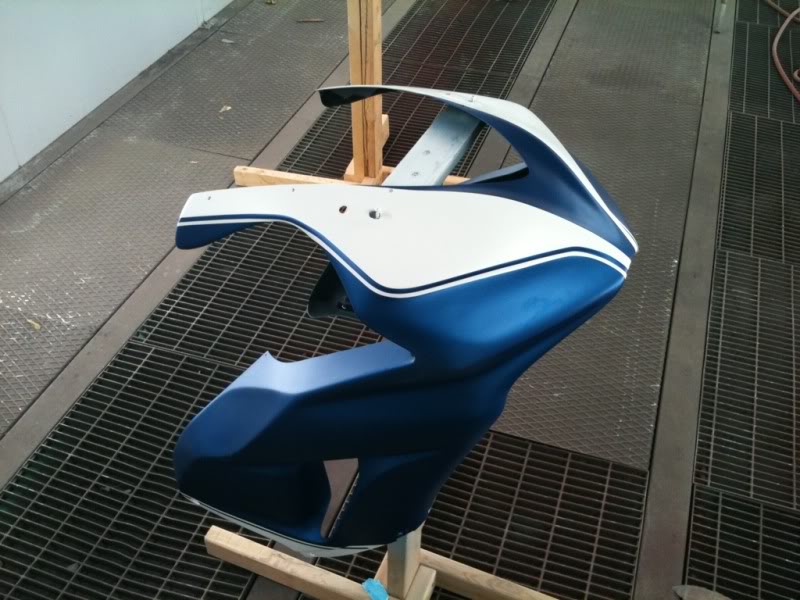
got all the fairings base coated a nice blue color:
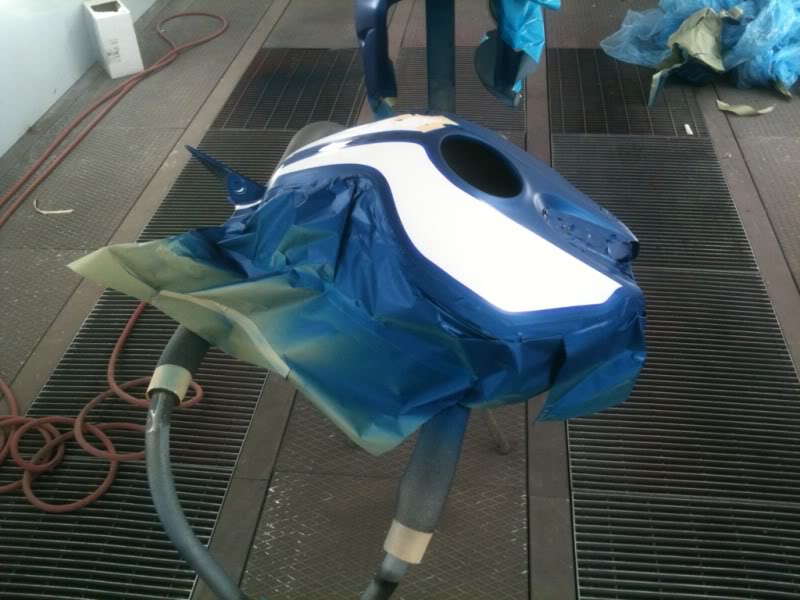
test fitting and getting ready to run some fine line tape to see where I want the white:

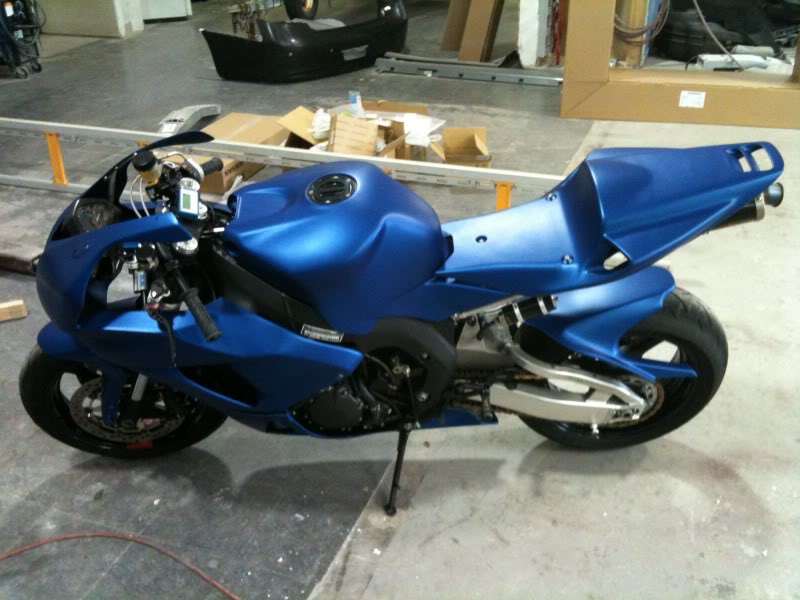
playing with some fine line tape:

test fitting and getting ready to run some fine line tape to see where I want the white:
playing with some fine line tape:
Last edited by hoppa2k6; May 7, 2011 at 01:56 AM.
Thread Starter
|
Senior Member
Joined: Jul 2009
Posts: 108
Likes: 1
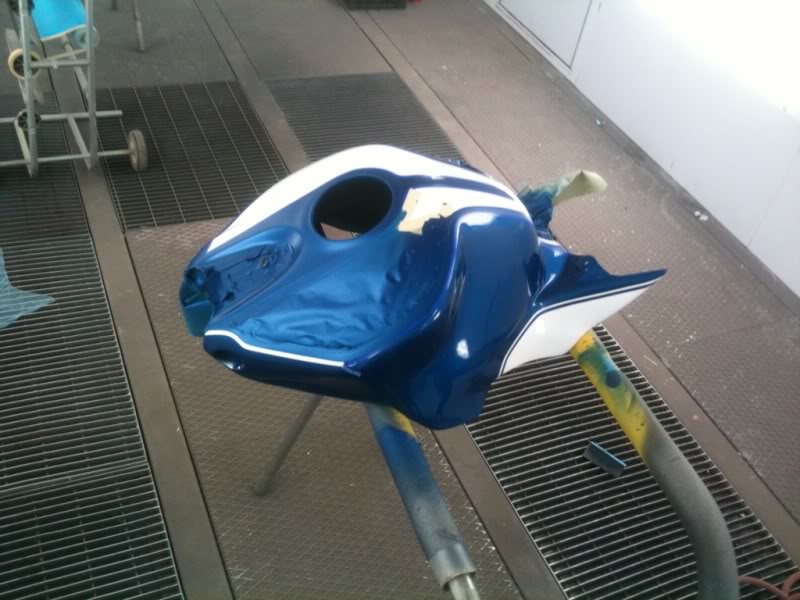
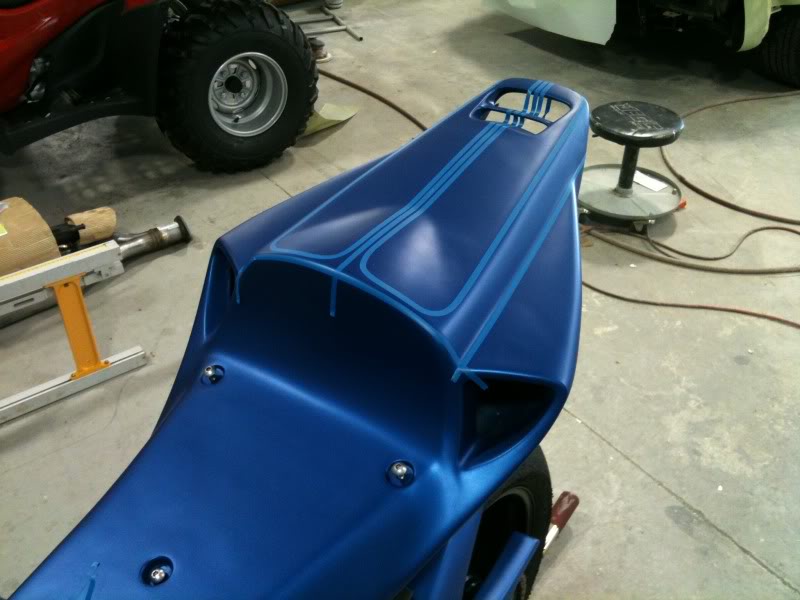
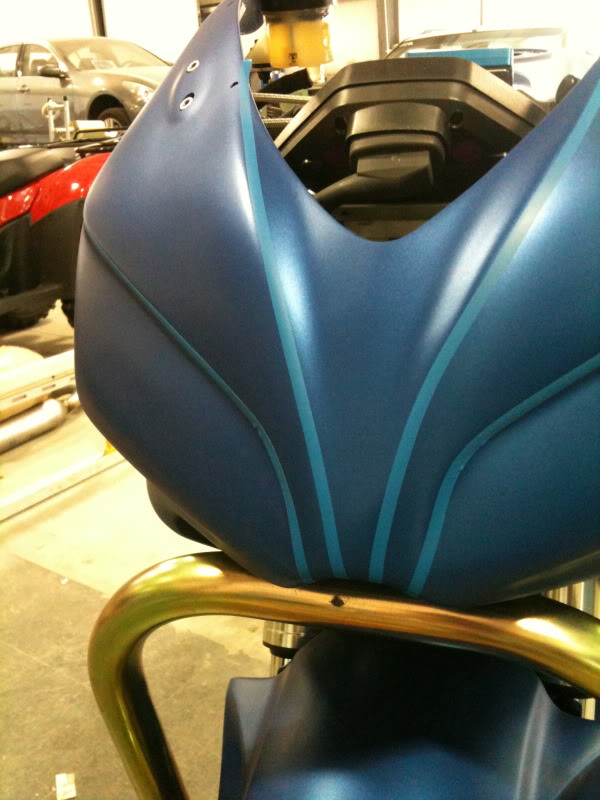
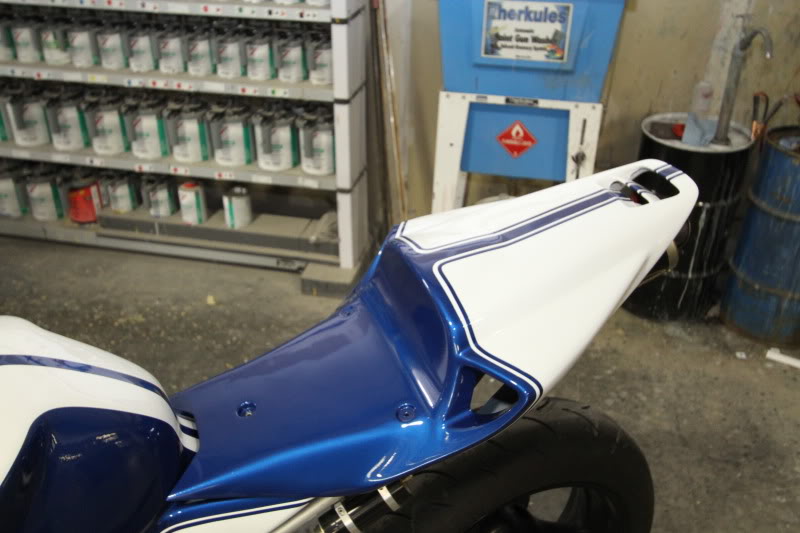
finalized the lines, taped off all the blue I wanted to keep and sprayed them down:
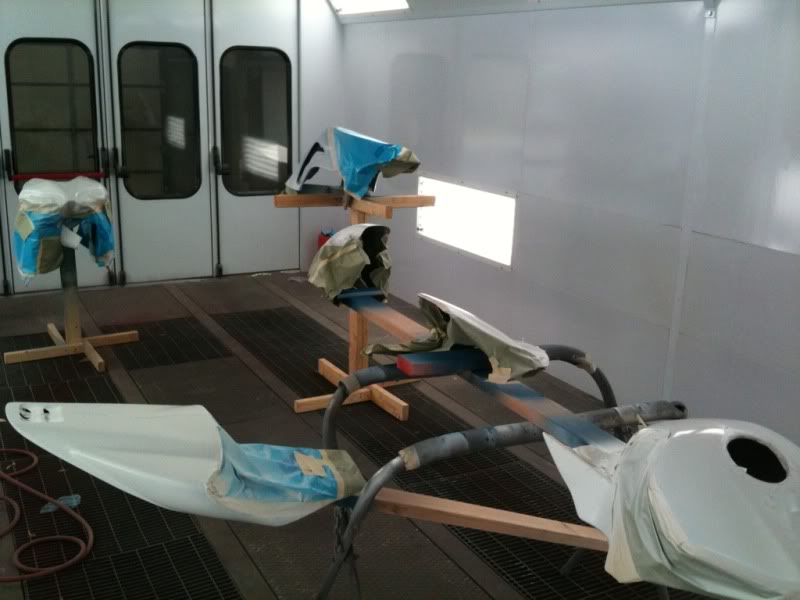
taking off the paper and fine line tape. Love pealing this stuff off:
f0edd1e6.mp4 video by ngartz - Photobucket
a little clear and they are good to go. Well, for a week or so. I decided the tank needed a fine line on each side of the top of the tank and the upper needed to be recleared because there was some comtamination issues I was dealing with because I only get to work on my stuff after all the work stuff is done at work (who would have guessed, right?)...so the fairings sat around with just the base coat of blue and white waiting for a clear coat for about a week ...and in a body shop, dust and debris is always floating around and no matter how well you cover stuff up, it always gets nasties on it. I wiped them down really well, but since they were laying around for so long, they pinholed on me when I cleared them.
So right now, I have the upper and tank ready to be reshot next week, but they'll be done and back on the bike in no time. The weather is getting nicer out and I'm so ready to hit the track! Dial in the suspension and have some fun!
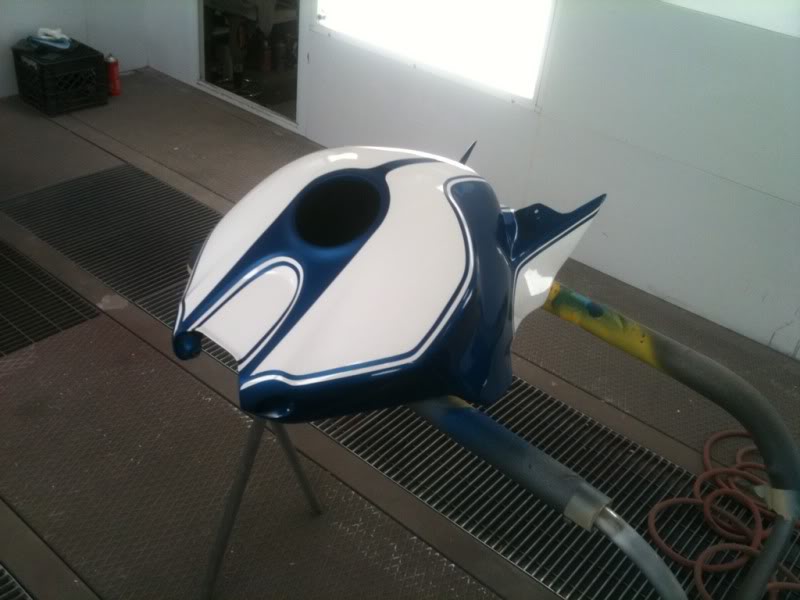
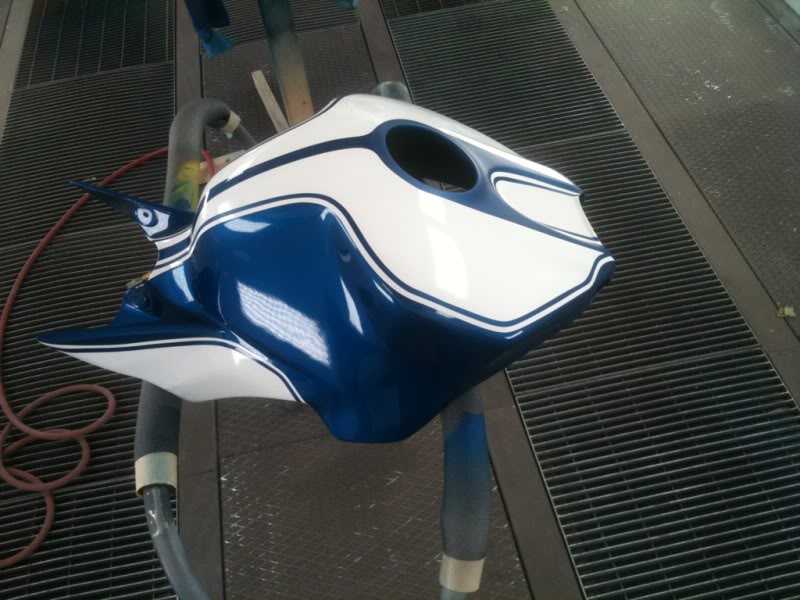
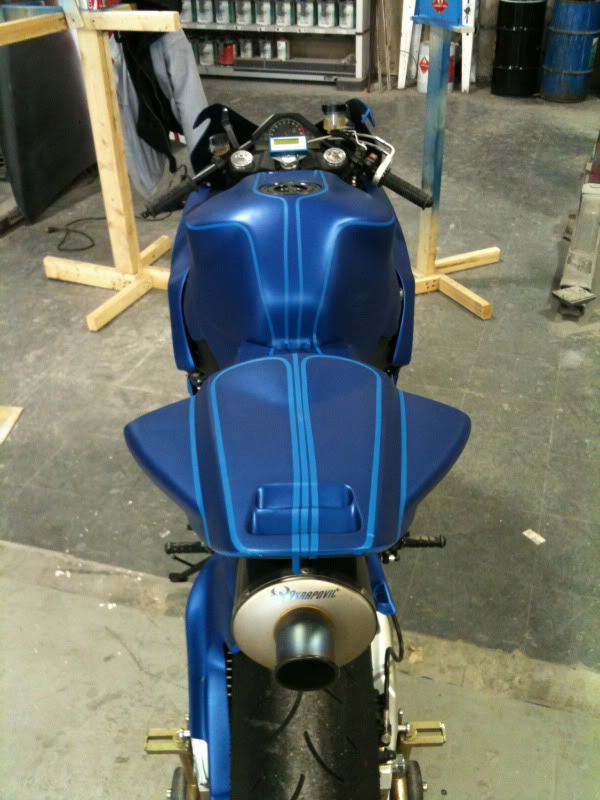
cleared:
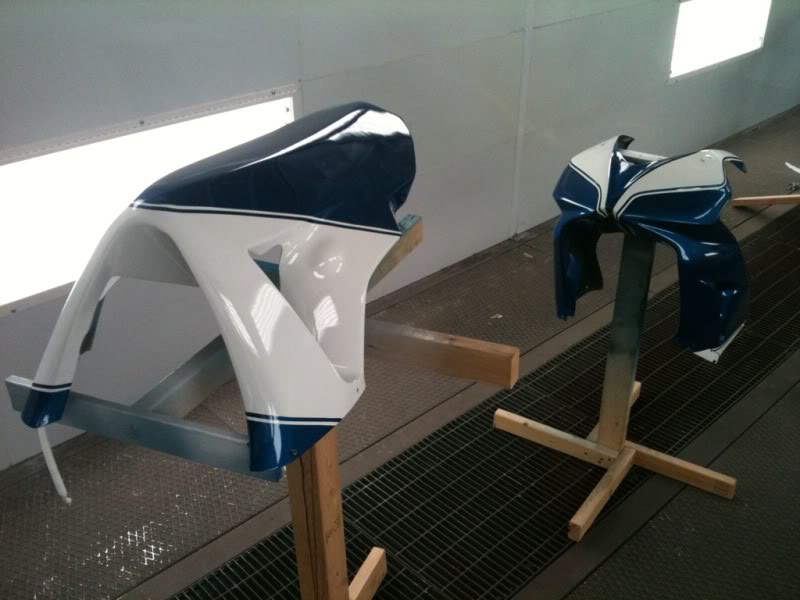
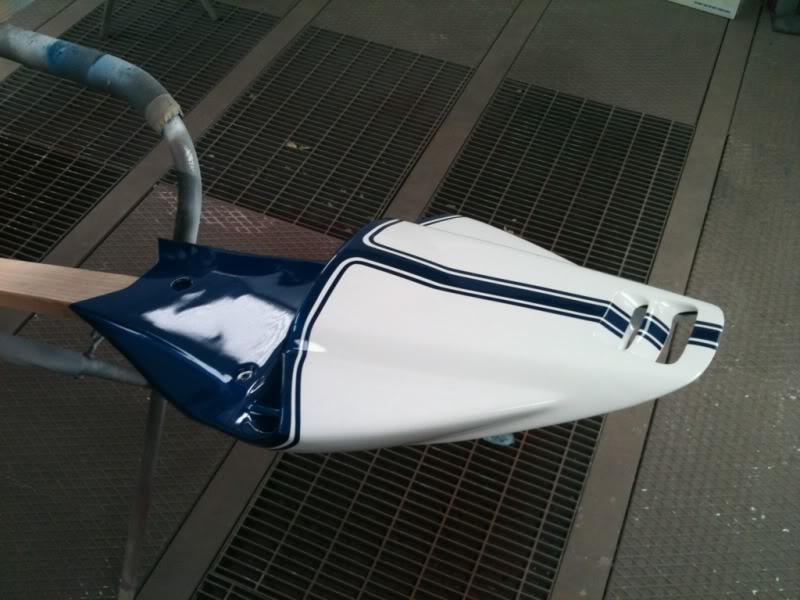


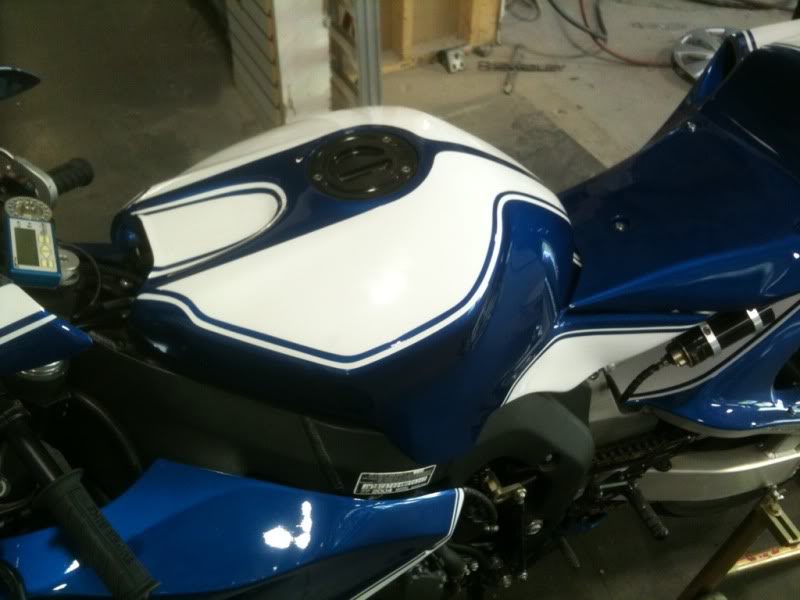
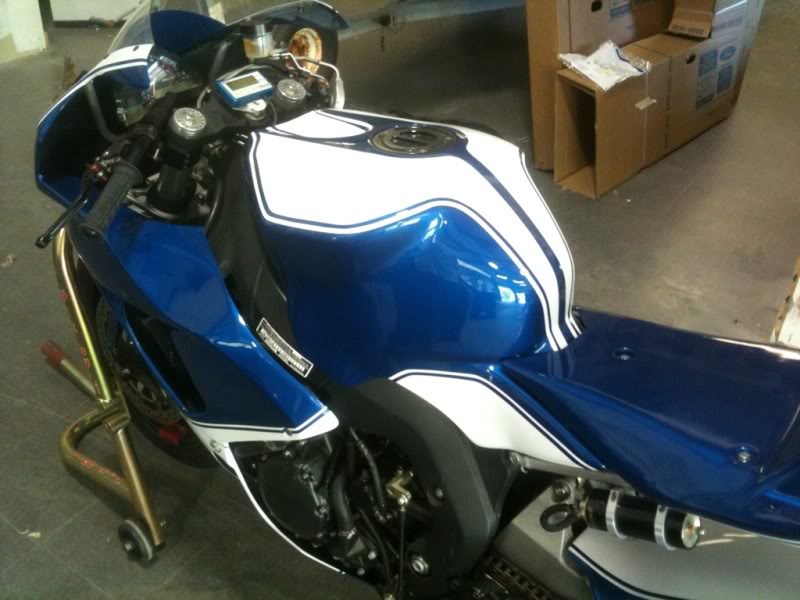
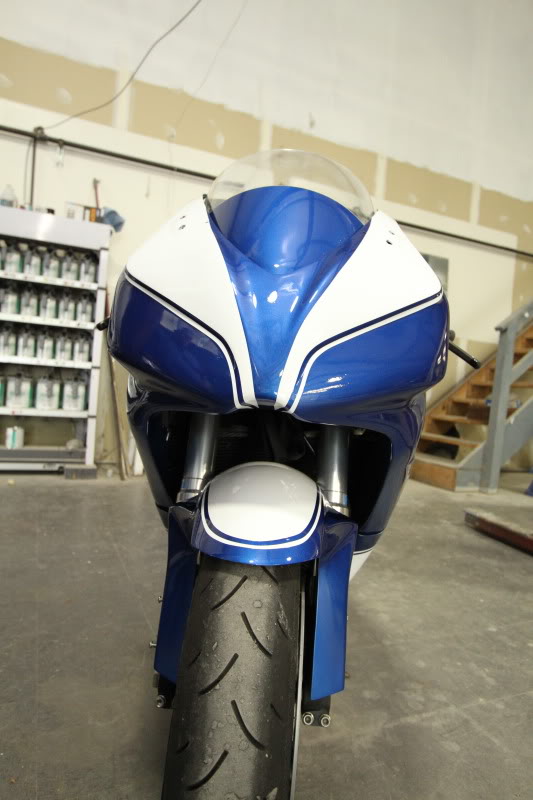
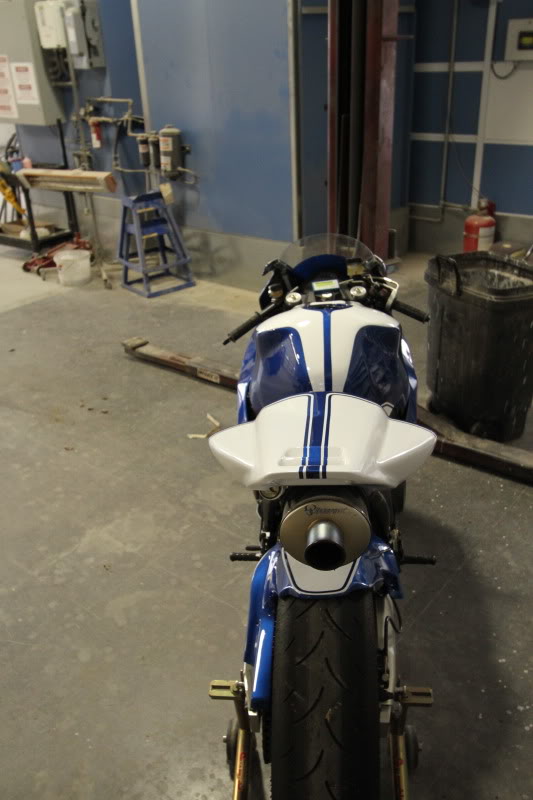
semi done with the paint job (tank needs a white line on the top edge and upper needs to be recleared after a wetsand):
taking off the paper and fine line tape. Love pealing this stuff off:
f0edd1e6.mp4 video by ngartz - Photobucket
a little clear and they are good to go. Well, for a week or so. I decided the tank needed a fine line on each side of the top of the tank and the upper needed to be recleared because there was some comtamination issues I was dealing with because I only get to work on my stuff after all the work stuff is done at work (who would have guessed, right?)...so the fairings sat around with just the base coat of blue and white waiting for a clear coat for about a week ...and in a body shop, dust and debris is always floating around and no matter how well you cover stuff up, it always gets nasties on it. I wiped them down really well, but since they were laying around for so long, they pinholed on me when I cleared them.
So right now, I have the upper and tank ready to be reshot next week, but they'll be done and back on the bike in no time. The weather is getting nicer out and I'm so ready to hit the track! Dial in the suspension and have some fun!
cleared:
semi done with the paint job (tank needs a white line on the top edge and upper needs to be recleared after a wetsand):


Senior Member
Joined: Aug 2009
Posts: 207
Likes: 0
From: Setubal,Portugal
Very nice specs on that bike! You really lucked out hein? 
The paint is awesome, really, really diggin the cool scheme.
Post up some track pics/video if you can so that we can hear her roar!!
The paint is awesome, really, really diggin the cool scheme.
Post up some track pics/video if you can so that we can hear her roar!!