
How To: Change your oil on CBR 600F3


Thread Starter
|
Super Moderator
Joined: Aug 2006
Posts: 5,304
Likes: 512
From: South Florida, USA
So, you want to change your own oil instead of paying a shop to do it. That's a great decision. Changing your own oil is an easy task that anyone can do, you only need a few simple tools, and it give you the opportunity to get to know your bike a little better. I'm going to include as many pictures as I can since they tell a better story. If you haven't read this article on Motorcycles, filters and Oil, I highly recommend it.
http://www.calsci.com/motorcycleinfo/Consumables.html
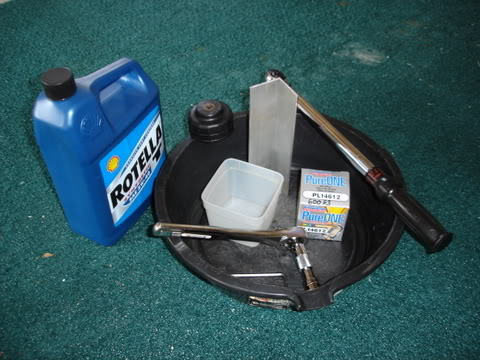
Well, to start with get together the things your're going to need.
�Drain pan
�Oil Filter (I use the Puralator PureONE PL14612)
�Oil (I use the Shell Rotella T Full Synthetic 5w40)
�Allen wrench 5mm
�Filter Tool
�Socket wrench
�Torque wrench
�Misc. rags, gloves, screw container
Having a nice clean area is always nice to work in. Clear the area you're going to work in so you can be comfortable. If you have paddoc stands, they're nice but not necessary. My wifes F3 has the optional center stand so I use that. Neither of these are needed, but make it nice when checking the oil level after since the bike needs to be level, not leaning on it's side stand.
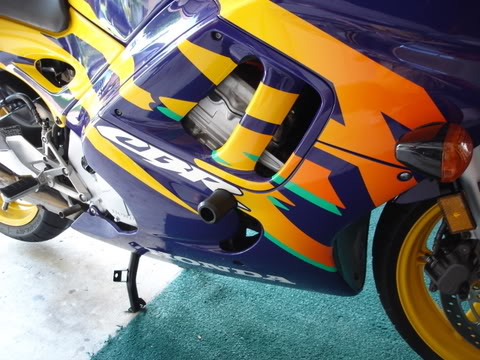
To start with, you need to remove the lower fairings on the right side. Remove the right side cover (below the seat) first to gain access to 2 of the screws holding the lower fairings on.

You also need to remove the lower front fairing thats located in front of the headers.
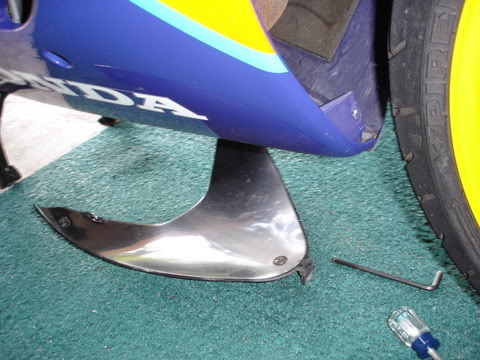
There are 7 allen head screws, and 1 plastic snap pin (located on the inside lower cowl behind the turn signal) and you end up looking like this.
The first thing would be to drain the old oil. Place the drain pan under the bike, remove the drain bolt, located in the rear left corner of the oil pan and drain the old oil from the bike.
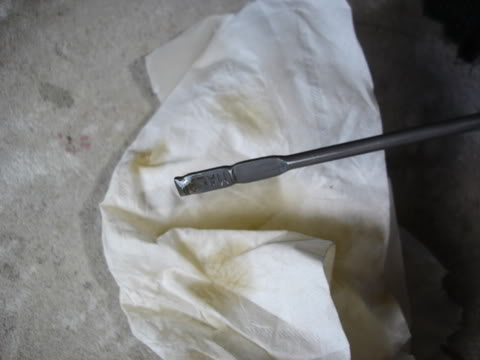
Here's the drain bolt, it's fairly large and easy to recognize.
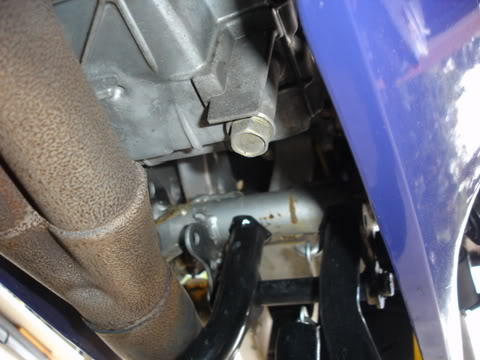
Remove the bolt.
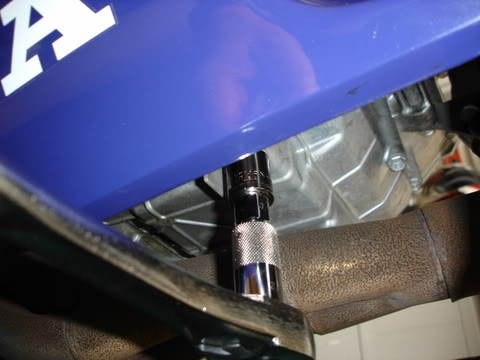
Drain the oil.
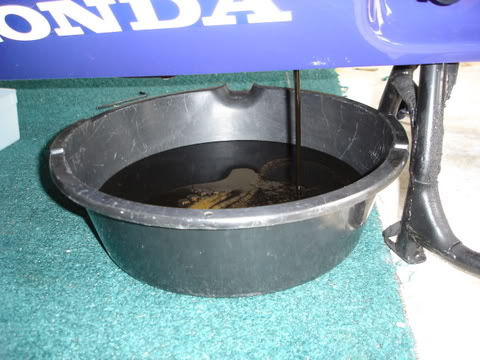
After it stops coming out (drips slowly) put the plug back in and tighten it to the proper torque specs (check your shop manual for your specific year). Then it's on the replacing the oil filter.
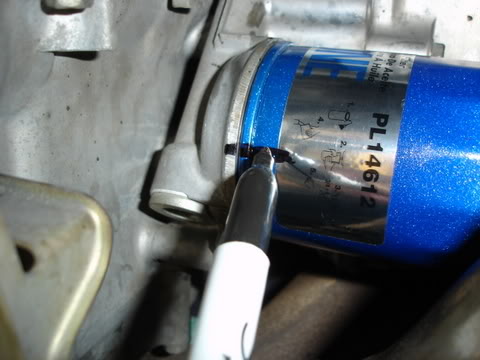
I always put a black line on the filter and engine so I can tell if the filter is coming loose with just a glance. If you look closely you can see it on the filter in the photo up above.
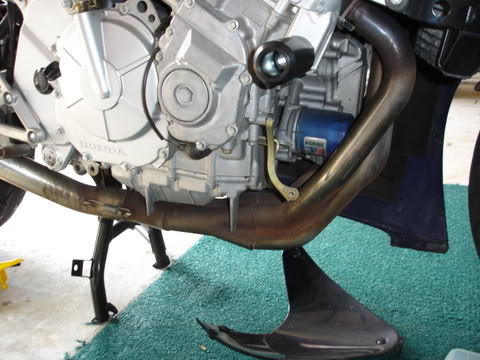
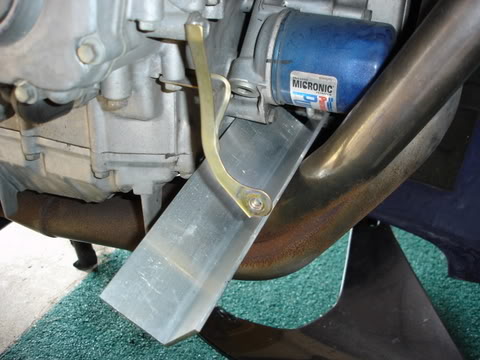
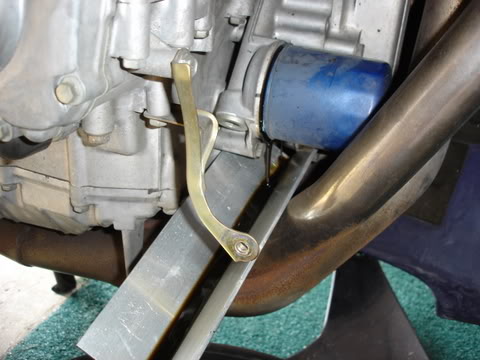
I use a 8" section of 2" angle aluminum as a drain trough to catch the oil that comes out from the filter when I remove it. I got it at Home Depot one time when working on another project. A small piece of cardboard box would do as well, cut and folded in a similar shape.
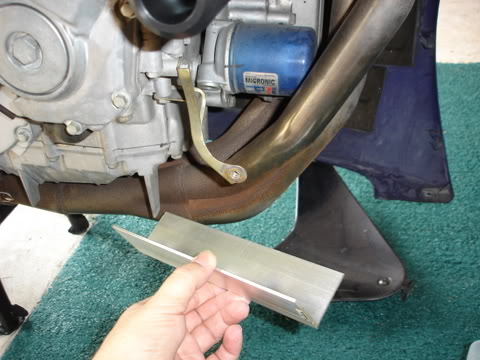
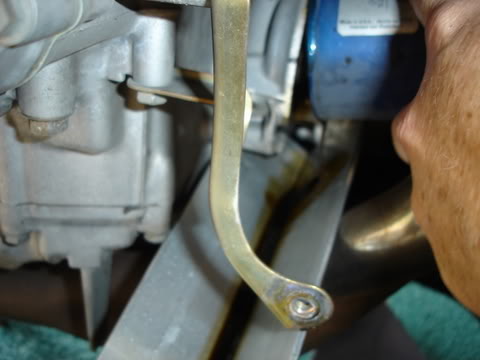
It fits very nicely in under the filter and above the headers. I place the oil drain pan under the end of the trough to catch the oil as it comes out. Use the filter wrench to loosen the filter. Many times I can just use my hand to grab a hold of the filter and break it loose without the wrench.
I just loosen the oil filter a little to start with and allow it to drain out. Then I loosen it more and tip up the end of it to allow more oil to drain out before removing it completely.
After removing the filter, put a little oil on the gasket of the new filter before installing it.
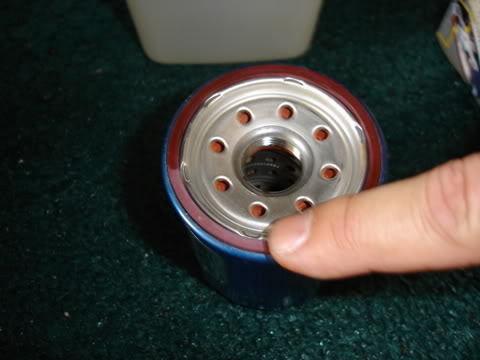
Tighten the filter until the gasket just comes into contact with the engine. Then tighten it 1/2 to 3/4 of a turn further. That's all the tight it needs to go. I then put my black line on the filter to mark it's position for future reference.
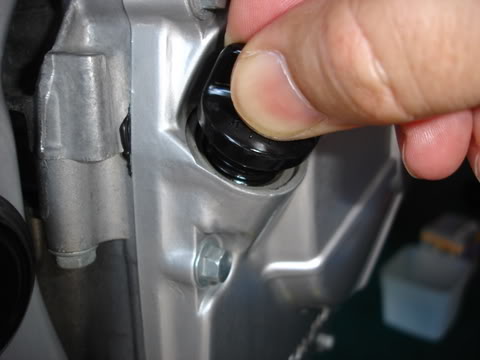
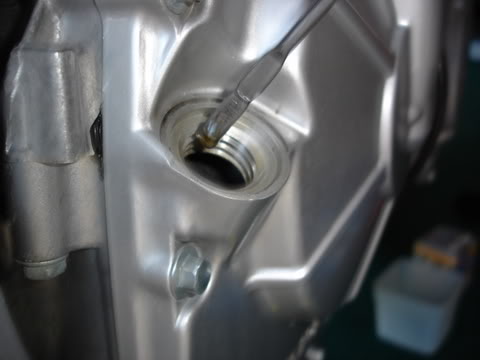
Now fill the engine back with oil. The 97 takes 3.9 quarts (just shy of a gallon) when you replace the filter too. The oil goes in through the opening where the dip stick is. Just remove the dip stick, use a funnel and add your oil. To check the oil level, insert the dipstick to the threads, but don't screw it in. The bike needs to be level at this time, if you've got the bike on the side stand. Get someone to hold the bike level for you.
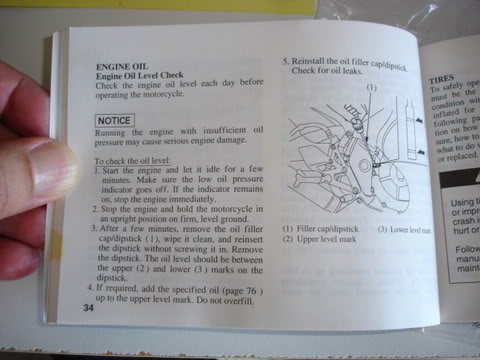
Then check the level. The oil should not be above the upper mark on the dipstick.
After getting the level right, put the dipstick in, tighten it up and start the engine. Let it run for a few minutes. Then turn it off and check the level again. If it checks good, put the fairings back on and take it for a ride.
http://www.calsci.com/motorcycleinfo/Consumables.html
Well, to start with get together the things your're going to need.
�Drain pan
�Oil Filter (I use the Puralator PureONE PL14612)
�Oil (I use the Shell Rotella T Full Synthetic 5w40)
�Allen wrench 5mm
�Filter Tool
�Socket wrench
�Torque wrench
�Misc. rags, gloves, screw container
Having a nice clean area is always nice to work in. Clear the area you're going to work in so you can be comfortable. If you have paddoc stands, they're nice but not necessary. My wifes F3 has the optional center stand so I use that. Neither of these are needed, but make it nice when checking the oil level after since the bike needs to be level, not leaning on it's side stand.
To start with, you need to remove the lower fairings on the right side. Remove the right side cover (below the seat) first to gain access to 2 of the screws holding the lower fairings on.
You also need to remove the lower front fairing thats located in front of the headers.
There are 7 allen head screws, and 1 plastic snap pin (located on the inside lower cowl behind the turn signal) and you end up looking like this.
The first thing would be to drain the old oil. Place the drain pan under the bike, remove the drain bolt, located in the rear left corner of the oil pan and drain the old oil from the bike.
Here's the drain bolt, it's fairly large and easy to recognize.
Remove the bolt.
Drain the oil.
After it stops coming out (drips slowly) put the plug back in and tighten it to the proper torque specs (check your shop manual for your specific year). Then it's on the replacing the oil filter.
I always put a black line on the filter and engine so I can tell if the filter is coming loose with just a glance. If you look closely you can see it on the filter in the photo up above.
I use a 8" section of 2" angle aluminum as a drain trough to catch the oil that comes out from the filter when I remove it. I got it at Home Depot one time when working on another project. A small piece of cardboard box would do as well, cut and folded in a similar shape.
It fits very nicely in under the filter and above the headers. I place the oil drain pan under the end of the trough to catch the oil as it comes out. Use the filter wrench to loosen the filter. Many times I can just use my hand to grab a hold of the filter and break it loose without the wrench.
I just loosen the oil filter a little to start with and allow it to drain out. Then I loosen it more and tip up the end of it to allow more oil to drain out before removing it completely.
After removing the filter, put a little oil on the gasket of the new filter before installing it.
Tighten the filter until the gasket just comes into contact with the engine. Then tighten it 1/2 to 3/4 of a turn further. That's all the tight it needs to go. I then put my black line on the filter to mark it's position for future reference.
Now fill the engine back with oil. The 97 takes 3.9 quarts (just shy of a gallon) when you replace the filter too. The oil goes in through the opening where the dip stick is. Just remove the dip stick, use a funnel and add your oil. To check the oil level, insert the dipstick to the threads, but don't screw it in. The bike needs to be level at this time, if you've got the bike on the side stand. Get someone to hold the bike level for you.
Then check the level. The oil should not be above the upper mark on the dipstick.
After getting the level right, put the dipstick in, tighten it up and start the engine. Let it run for a few minutes. Then turn it off and check the level again. If it checks good, put the fairings back on and take it for a ride.


Official CBRF Welcome Crew Undercover Agent
Joined: Oct 2008
Posts: 1,907
Likes: 1
From: Colorado, U.S.A.
 The F4 has a
Thread Starter
|
Super Moderator
Joined: Aug 2006
Posts: 5,304
Likes: 512
From: South Florida, USA
Don't feel bad phillycbr, I helped a friend of mine work on his 2005 600RR. When I took the filler cap off, all I could think of was "did it fall in ?". It took me a few minutes to realize it wasn't supposed to have one and that it did have a Site Glass as pointed out by Incognito.
Chuckbear,
I say beg, barrow, steel, don't reinvent the wheel. Take any ideas you like, that's what they're here for.
Chuckbear,
I say beg, barrow, steel, don't reinvent the wheel. Take any ideas you like, that's what they're here for.


