
Fairing repair


Thread Starter
Joined: Aug 2008
Posts: 9
Likes: 0
Ok I'll let the pictures do the talking. I bought the bike with some minor damage to the fairings, and I know how to repair plastic so....
I used a 50 gal air compressor, hooked to the cheapo harbor freight plastic welder, a bic lighter and a steel ruler are used for shaping the plasitc if it gets too hot and starts to deform. I also use a heat gun to soften the plastics if I need to move/form/fix any out of place pieces.


Now the upper fairing has all the cracks fixed and they wont get any worse, on to the mid fairing


Mid fairing is fixed. Next on the list is sanding of the current welds, shaping of the filler piece to go in the hole in the upper fairing, trimming of the upper fairing to fit the new filler plastic, welding that in, a very little bit of body filler, and sanding that down so it matches the curves of the fairing. I'm not going to paint it, I just cant justify spending the money on pro paint. I will however be using vynil to match, yellow over the mid fairing only over the part where the crack is, and white over the corner of the upper fairing, both sides to match, and probably going to throw on a fireblade sticker over the yellow to whit transition to make it look like the white belongs.
I used a 50 gal air compressor, hooked to the cheapo harbor freight plastic welder, a bic lighter and a steel ruler are used for shaping the plasitc if it gets too hot and starts to deform. I also use a heat gun to soften the plastics if I need to move/form/fix any out of place pieces.
Now the upper fairing has all the cracks fixed and they wont get any worse, on to the mid fairing
Mid fairing is fixed. Next on the list is sanding of the current welds, shaping of the filler piece to go in the hole in the upper fairing, trimming of the upper fairing to fit the new filler plastic, welding that in, a very little bit of body filler, and sanding that down so it matches the curves of the fairing. I'm not going to paint it, I just cant justify spending the money on pro paint. I will however be using vynil to match, yellow over the mid fairing only over the part where the crack is, and white over the corner of the upper fairing, both sides to match, and probably going to throw on a fireblade sticker over the yellow to whit transition to make it look like the white belongs.
Thread Starter
Joined: Aug 2008
Posts: 9
Likes: 0
I cut the fairing so the edges of the hole were straight, makes it easy to fit a filler part in there

I heated this square until it was flexiblethen clamped it to the fairing and waited for it to cool. Once it was cool I heated up the right edge to form the 2nd curve and the corner. Once that was done I marked from the inside of the fairing where to cut

This is the final filler piece ready to get melted in. I cut it too big by a fe MM on each edge and hand sanded/filed it to fit. it has to fit very tight or the joints will fatigue and crack over time.

First pass with teh plastic welder, came out good, but it looks like ****e

Ok, that looks better, was sanded using my home made 1x3" block sander


There are still some divets and low points where the heat distorted the plastic, which requires some bondo. I try to get the plastic as flush first before going to bondo. I also do my best to use as little bondo as I possibly can.

And finally the finished repair, sanded from 60 to 1000 grit paper, the surface feels like an egg shell, and is ready for paint, or in my case vynil


Total 'actual' work time is just under 5 hours. I probably put another 5 or 6 into it waiting for the plastic to cool so I could keep going without melting the plastic until it droops or distorts beyond repair.
I heated this square until it was flexiblethen clamped it to the fairing and waited for it to cool. Once it was cool I heated up the right edge to form the 2nd curve and the corner. Once that was done I marked from the inside of the fairing where to cut
This is the final filler piece ready to get melted in. I cut it too big by a fe MM on each edge and hand sanded/filed it to fit. it has to fit very tight or the joints will fatigue and crack over time.
First pass with teh plastic welder, came out good, but it looks like ****e
Ok, that looks better, was sanded using my home made 1x3" block sander
There are still some divets and low points where the heat distorted the plastic, which requires some bondo. I try to get the plastic as flush first before going to bondo. I also do my best to use as little bondo as I possibly can.
And finally the finished repair, sanded from 60 to 1000 grit paper, the surface feels like an egg shell, and is ready for paint, or in my case vynil
Total 'actual' work time is just under 5 hours. I probably put another 5 or 6 into it waiting for the plastic to cool so I could keep going without melting the plastic until it droops or distorts beyond repair.


Member
Joined: Apr 2008
Posts: 83
Likes: 0
Thread Starter
Joined: Aug 2008
Posts: 9
Likes: 0
yup thats the one.
The fairing repair works best with it on the bike or it could easily flex and distort, especially with that level of work being done to it. the mid panel was a straight crack and only needed one joint fixed so i was able to take it off.
The fairing repair works best with it on the bike or it could easily flex and distort, especially with that level of work being done to it. the mid panel was a straight crack and only needed one joint fixed so i was able to take it off.
Thread Starter
Joined: Aug 2008
Posts: 9
Likes: 0
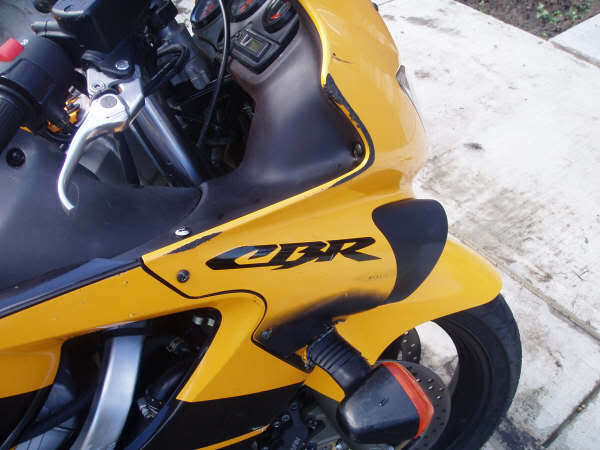
The finished product. I'm pretty happy about it, there are some minor imperfections, but you really have to look carefully to see them. I was contemplating adding another yellow piece of vynil to the corners just to keep the black from dominating the front. this would turn the black into more of a stripe. I also added the CBR sticker over the headlight, I was trying to make it look like the black corners were a factory design, I should have done the outline of the R in yellow instead of white, but its too late now.
Also take not of the left side mid panel where I fixed it.


Also take not of the left side mid panel where I fixed it.

Senior Member
Joined: Aug 2008
Posts: 491
Likes: 0
From: Calgary Alberta
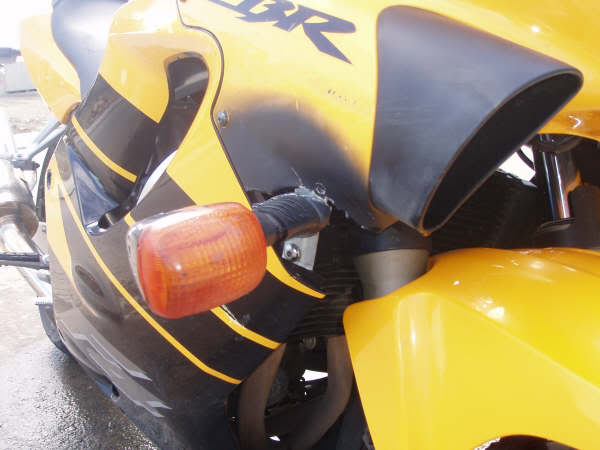
Wow that looks great. Any tips on if you think this front fairing can be repaired? (notice the signal light attachment has been destroyed). I am not sure if I can fix it or if I should try and find a used new fairing for the bike.
Senior Member
Joined: Aug 2008
Posts: 491
Likes: 0
From: Calgary Alberta
No opinions on if this could be a self repair job? Welding a peice of plasitic into the gap may not be so bad, I am just unsure of the signal light attachment and how that could be accomplished.
Thread Starter
Joined: Aug 2008
Posts: 9
Likes: 0
Your best bet is to find a wrecked upper fairing as cheap as you can, preferably one that is shattered into a million pieces and only that one part that isnt burned on yours is left. Cut out the burn and replace just that part. I would keep that middle bolt hole, that will be needed for the strength and integrity of the fairing. Cut your fairing 2 inches ahead of that center bolt and go from there following the outline of the burn. Take a piece of paper and trace the cut you made on your fairing and transfer it to the newish fairing you bought, then cut the new fairing larger than your cut by 1/4". Using a slow speed power sander trim it to fituntil it fits perfectly.
It wont hurt to try and fix it yourself, especially if you are prepared to buy a new one anyway. You might save some money if you are good with your hands, you might spend some extra if youre not.
It wont hurt to try and fix it yourself, especially if you are prepared to buy a new one anyway. You might save some money if you are good with your hands, you might spend some extra if youre not.
Senior Member
Joined: Aug 2008
Posts: 491
Likes: 0
From: Calgary Alberta
Thanks for the response...I did look into other fairings, even broken ones can be a bit pricey up here (Calgary AB, Can). I just ordered a prepainted front fairing off of one of the ebay sellers (hopefully the fitment is ok).

Thread
Thread Starter
Forum
Replies
Last Post