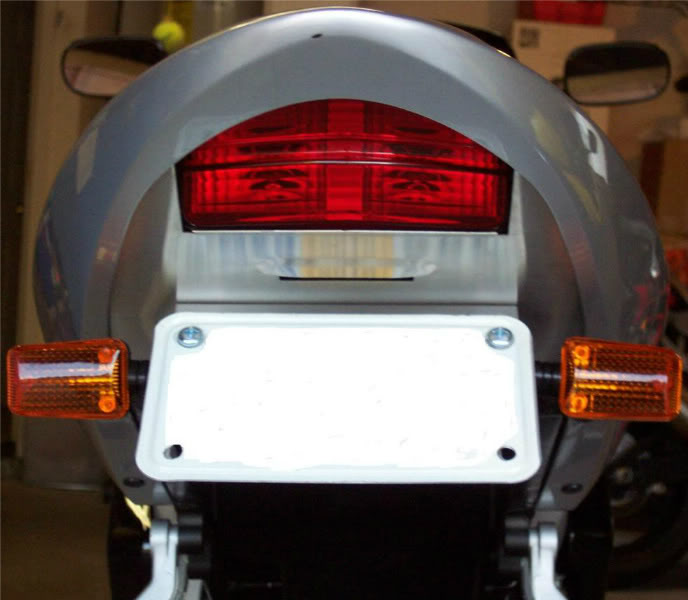
Installing a CW fender kit...


Thread Starter
|
Member
Joined: Sep 2011
Posts: 41
Likes: 0
From: NC
 Installing a CW fender kit...
Installing a CW fender illiminator kit.....its a real pain in the head. Instructions are not very well explained.
Here's what we got so far......does anyone have any pointers.....
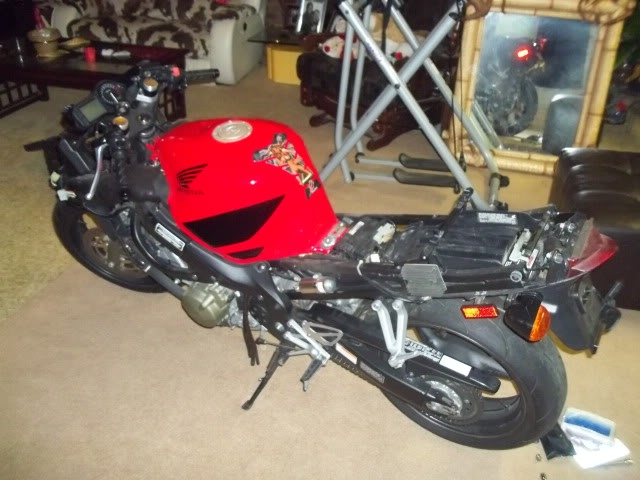
Cut with a hacksaw
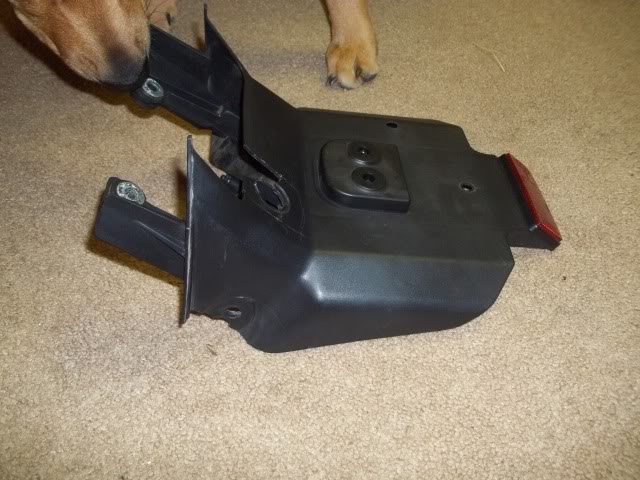
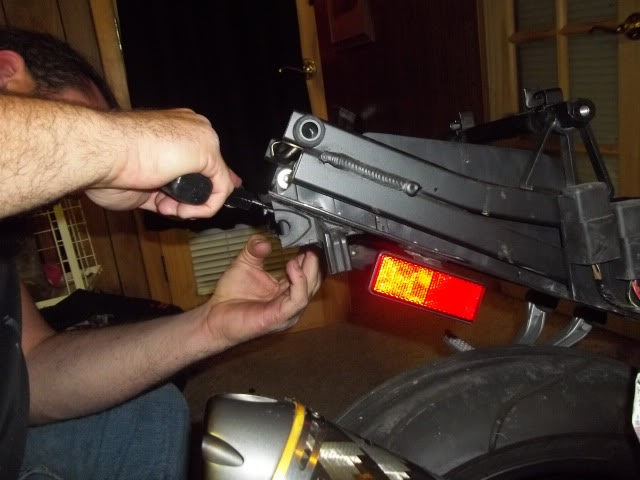
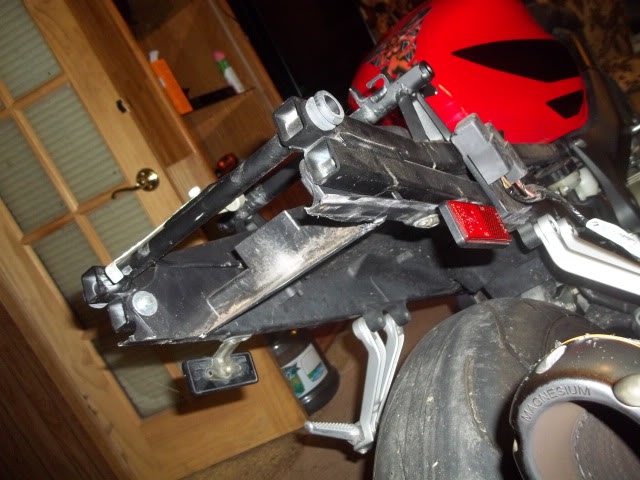
Here's what we got so far......does anyone have any pointers.....
Cut with a hacksaw

Senior Member
Joined: Apr 2009
Posts: 6,494
Likes: 5
Glad to help if I can. Sending PM...
ETA: This thread has a couple more pics of my install, as well as Turbulenz's... https://cbrforum.com/forum/cbr-600f4...-119446/page3/
ETA: This thread has a couple more pics of my install, as well as Turbulenz's... https://cbrforum.com/forum/cbr-600f4...-119446/page3/
Last edited by gotcbr; Dec 15, 2011 at 06:49 PM. Reason: more info
Thread Starter
|
Member
Joined: Sep 2011
Posts: 41
Likes: 0
From: NC
Glad to help if I can. Sending PM...
ETA: This thread has a couple more pics of my install, as well as Turbulenz's... https://cbrforum.com/forum/cbr-600f4...-119446/page3/
ETA: This thread has a couple more pics of my install, as well as Turbulenz's... https://cbrforum.com/forum/cbr-600f4...-119446/page3/
Thank you so much....any help is needed. I just want to make sure I'm doing it right and don't cut to much off
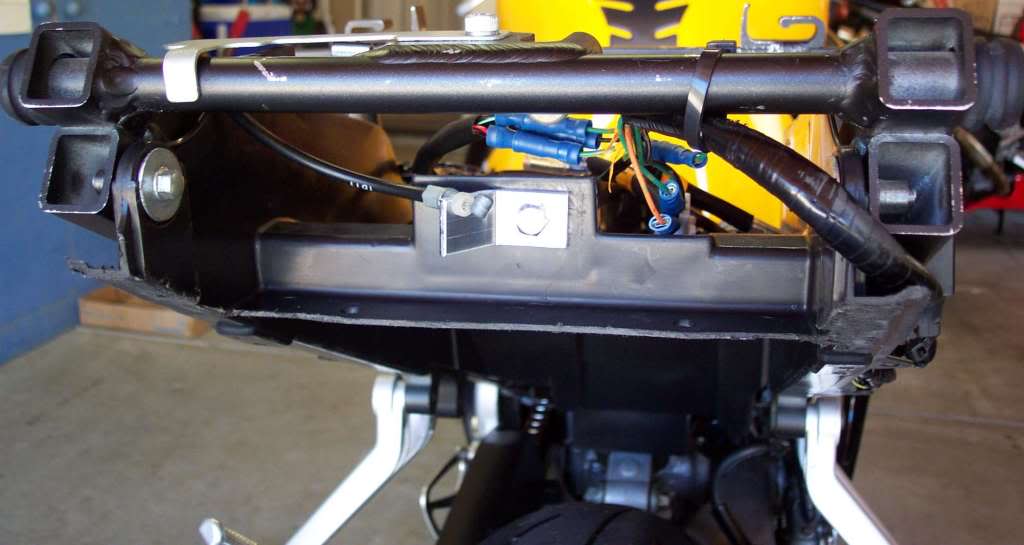
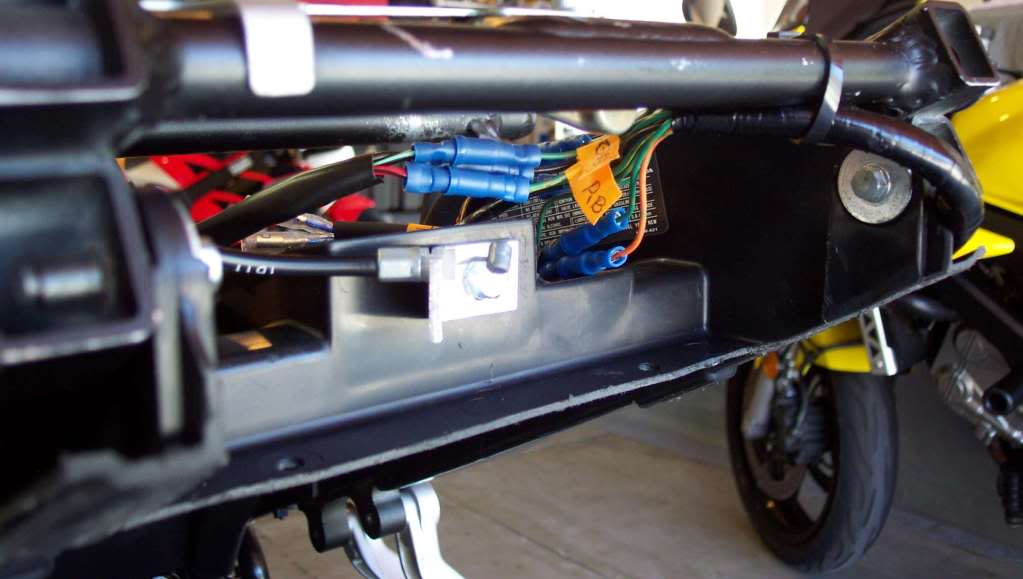
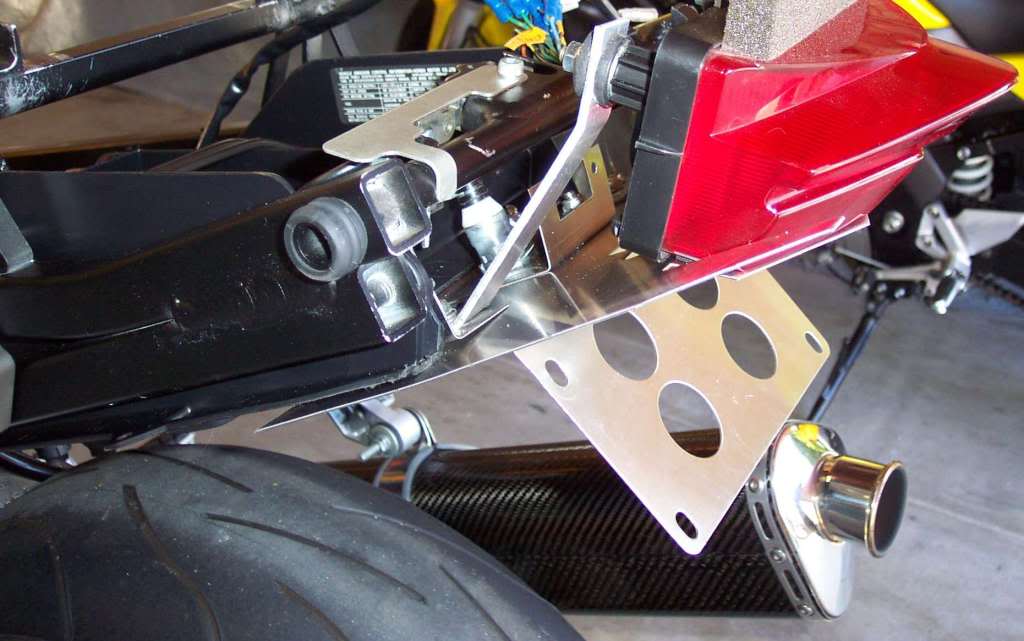

 You can't use a dog to chew down the parts for you!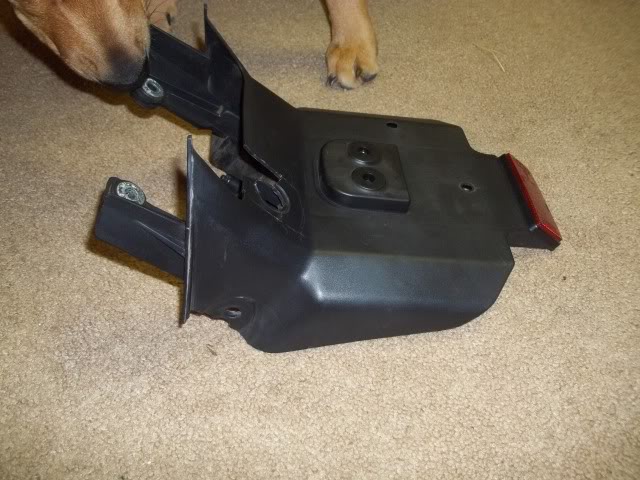
Senior Member
Joined: Apr 2009
Posts: 6,494
Likes: 5
^ You'll need to save those rubber grommet washers from that shovel to reuse w/ your new CW kit as well. See my pic above. The kit didn't used to come w/ those...unless it does now, you'll need 'em to secure your tail light to the brackets.
I reused my stock/oem tail light as well, as the CW kit allows for it. No need to go buy another plate light unless you really want it.
I reused my stock/oem tail light as well, as the CW kit allows for it. No need to go buy another plate light unless you really want it.

I like that kit, I've been hunting for a fender eliminator kit for mine. I'm not big on the fiberglass ones.
Would love to see more pic's of it all put back together. Also any info on where your ordered it from
Would love to see more pic's of it all put back together. Also any info on where your ordered it from
Last edited by jveach; Dec 17, 2011 at 09:00 AM.