F4i cosmetic/performance bike makeover (a diary)...(PICS)
#41
 09-21-2007, 07:53 PM


ffingers.. i saw a thread somewhere about a kid who put R6 projectors in his f4i. i checked it out and it looked pretty sweet. i think those are HID lights actually. at least one side is anyways. couldn't be too hard to convert the high beam over. i'm pretty interested in this mod so i'll see what i can find too.
#42
09-22-2007, 01:32 AM

hey ffingers, im interested to see how you got your engine covers done. did you manage to get just the outside powdercoated, or are the entire things covered? im just wondering if it will affect the gasket or the oil or anything....
________
LAMBORGHINI LM004 SPECIFICATIONS
________
LAMBORGHINI LM004 SPECIFICATIONS
Last edited by axsys; 05-04-2011 at 11:05 PM.
#43
09-26-2007, 09:36 AM

Join Date: Jun 2007
Location: Chicago, IL (downtown)
Posts: 2,360
Likes: 0
Received 0 Likes
on
0 Posts
alright...my buddy still has the pictures but i got everything put on. i will get pictures posted as soon as i can. everything turned out awesome....i mean it looks so different, but you can't quite put your finger on what it is.
now just a note to everyone who powdercoats....have you ever watched something like american chopper?? where they bitch about the chroming or powder...yeah....now i know why....because a lot of the pieces have very small tolerances, it was a BITCH to put some things back together, specifically the rearsets and their associated levers....it took a lot of sanding and some wd-40 to get things to work, but it eventually worked out. the covers went on without a hitch and everything was great. i found a NICE how-to another 600rr.net that i will post a link to just because i didn't take the time to document it, but it's exactly what needs to be done.
finally, the bootleg pipe...IN...CRED.....IBLE!!! first, wait til you see the black pipe...it looks sick, second, it sounds even better than it looks....
i also started my bodylighting install, but because i got sick, didn't get that far....but that will be coming soon....
i also have an APE cct to install and might be getting my frame sliders shortly so stay tuned.
#44
09-26-2007, 09:40 AM
Join Date: Jun 2007
Location: Chicago, IL (downtown)
Posts: 2,360
Likes: 0
Received 0 Likes
on
0 Posts
here is the how-to for removing the clutch and stator cover...
http://www.600rr.net/vb/showthread.p...ternator+cover
only difference really is there isn't a dowel pin and washer as depicted....but it is pretty much the same....
http://www.600rr.net/vb/showthread.p...ternator+cover
only difference really is there isn't a dowel pin and washer as depicted....but it is pretty much the same....
#45
10-08-2007, 03:39 PM
Join Date: Jun 2007
Location: Chicago, IL (downtown)
Posts: 2,360
Likes: 0
Received 0 Likes
on
0 Posts
alright i feel horrible it has taken this long but my buddy has ALL the pics from the install....but here is one from his camera phone at least showing the exhaust....he is uploading the rest of the pics tonight so i will post them in a few days....so basically in this pic you can see the black engine cover, the black rearsets, and black pegs, with the bootleg exhaust and the black midpipe...like i said..sorry it's a crappy pic, but at least you can get an idea...
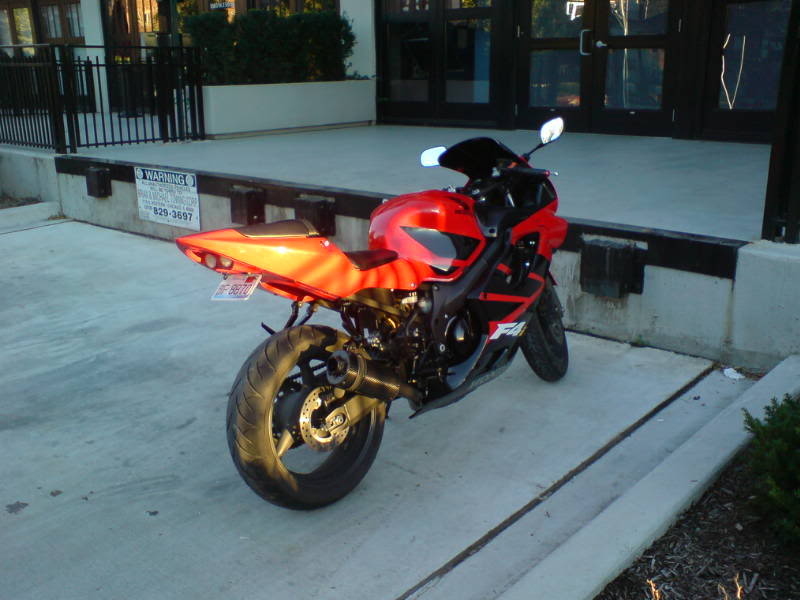
i did also start the LED install....i will have more on that later...and i just got my frame sliders in and will be tackling that project in the coming weeks as well...
i did also start the LED install....i will have more on that later...and i just got my frame sliders in and will be tackling that project in the coming weeks as well...
#46
10-08-2007, 03:47 PM

I thought you had the high mount? But anyway I love everything blacked out. PM with how much you paid to have that done and how well the shop that did your did. I might want to give them a call since they will know what to do and have them do it. Thanks looks great though
#47
10-08-2007, 09:09 PM
bike is lookin' good ffingers. I was looking at the first pics you posted. do you work on your bike in a multi-story parking garage?
If you're still interested in putting HIDs in your bike i'll let you know how it goes over with mine. Soon as my check clears from the campus i'm ordering a set.
If you're still interested in putting HIDs in your bike i'll let you know how it goes over with mine. Soon as my check clears from the campus i'm ordering a set.
#48
10-08-2007, 11:30 PM

Senior Member
Join Date: Jun 2006
Location: 703 NOVA
Posts: 491
Likes: 0
Received 0 Likes
on
0 Posts
#49
10-09-2007, 09:48 AM
Join Date: Jun 2007
Location: Chicago, IL (downtown)
Posts: 2,360
Likes: 0
Received 0 Likes
on
0 Posts
Ace, not really...i live in a condo and we have an underground heated garage....i used to have a house with a 2-car attached garage...man do i miss it now....luckily....the parking spaces are REALLY wide and there are large cement support beams between every few spaces so i can pull my bike in between the two columns being virtually protected....the neighboring spot is pretty cool and has never complained about me having things apart...i just try and not let things pile up by their spot....that being said, i don't like leaving it on a stand down there...no problems yet, but i live in a college area in downtown chicago and the last thing i want is some drunk *** college kid wandering into our garage and messin with it on the stand....so i try not to leave it up for too long....
#50
10-09-2007, 09:55 AM
Join Date: Jun 2007
Location: Chicago, IL (downtown)
Posts: 2,360
Likes: 0
Received 0 Likes
on
0 Posts
alright here is a bunch of pics from the disassembly and reassembly...i am sort of pissed, my buddy forgot to take NICE after pictures so i will have to get some....so for now...here is some of the work....
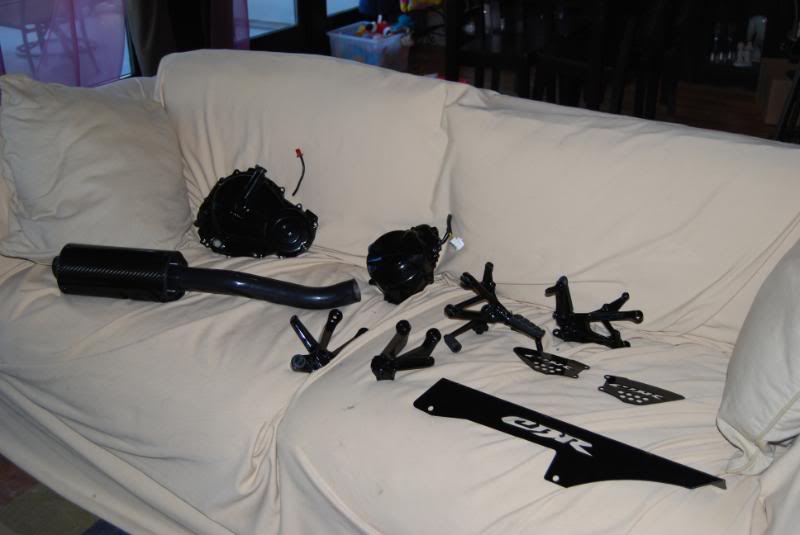
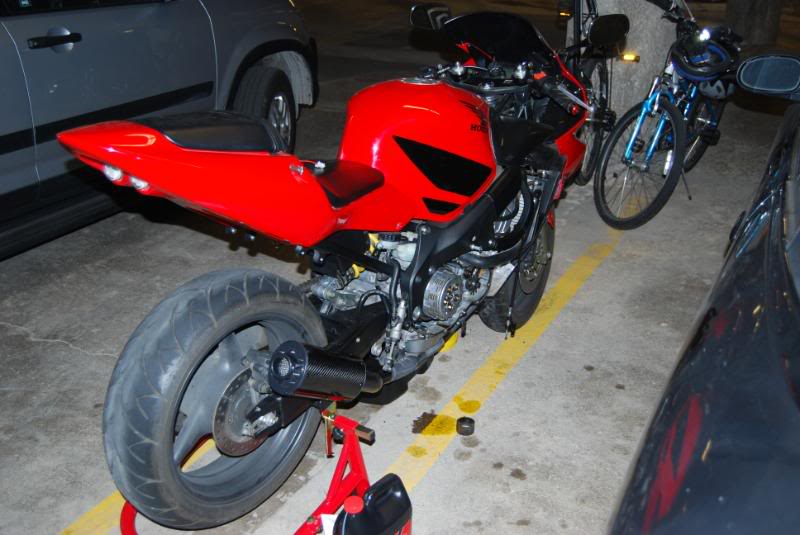
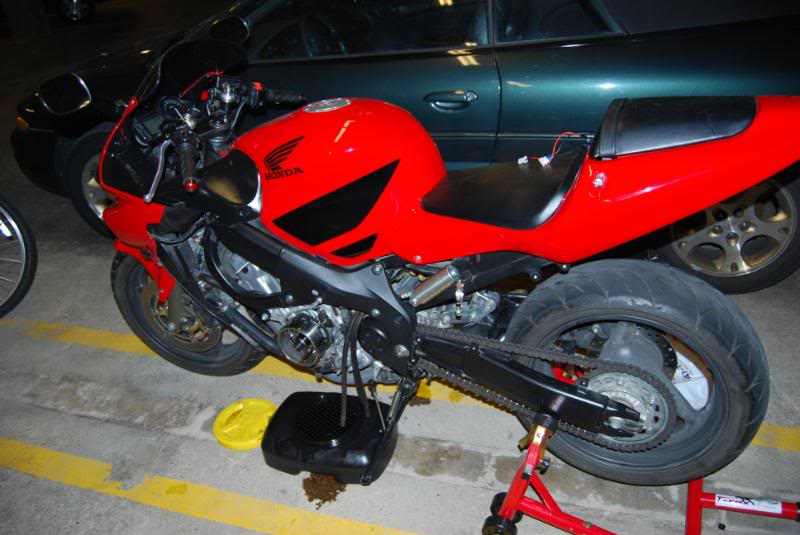
here's are the parts back from powder and assembled...they came in pieces so this is after a LOT of work sanding and fitting things back together as well as putting the exhaust together
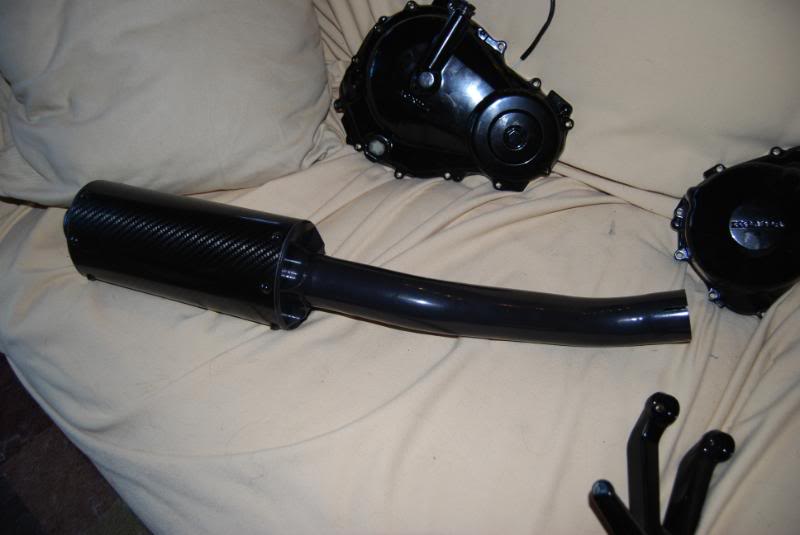
here's a closer shot of the exhaust and the engine cover (everything looks dirty from fingerprints, only downside to glossy powder..haha)
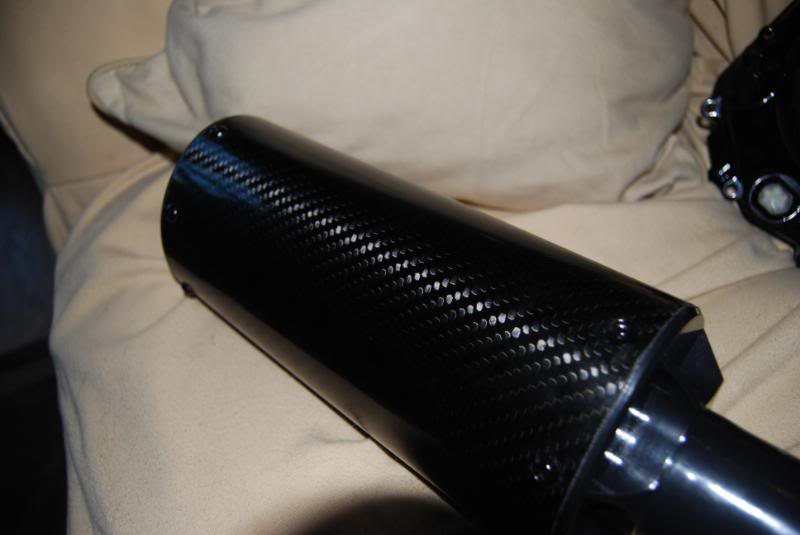
closeup of the exhaust (Bootleg Shorty Carbon Fiber - ceramic coated black)
exhaust trial fitting
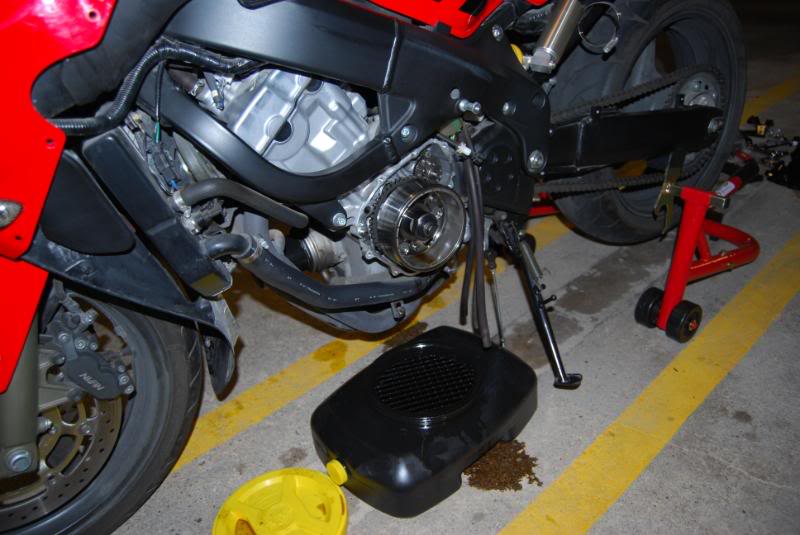
stator cover off
another of the stator side
here's are the parts back from powder and assembled...they came in pieces so this is after a LOT of work sanding and fitting things back together as well as putting the exhaust together
here's a closer shot of the exhaust and the engine cover (everything looks dirty from fingerprints, only downside to glossy powder..haha)
closeup of the exhaust (Bootleg Shorty Carbon Fiber - ceramic coated black)
exhaust trial fitting
stator cover off
another of the stator side