
How To: Installing Temp Sensor (InLine)

http://www.harvel.com/piping-cpvc-derating.asp
"THE MAXIMUM SERVICE TEMPERATURE FOR CPVC IS 200�F."
The more pressure the lower heat rating it has... pvc is also soft. I'll stop by HD and Menards and look for a copper T, I just need to find the right size for it to fit in the hose.
"THE MAXIMUM SERVICE TEMPERATURE FOR CPVC IS 200�F."
The more pressure the lower heat rating it has... pvc is also soft. I'll stop by HD and Menards and look for a copper T, I just need to find the right size for it to fit in the hose.

ALRIGHTY KIDS.
so a bit of an update
thanks to the heads up from Kero, i decided to study up a bit on pvc and decided to make my own fitting from copper and such.
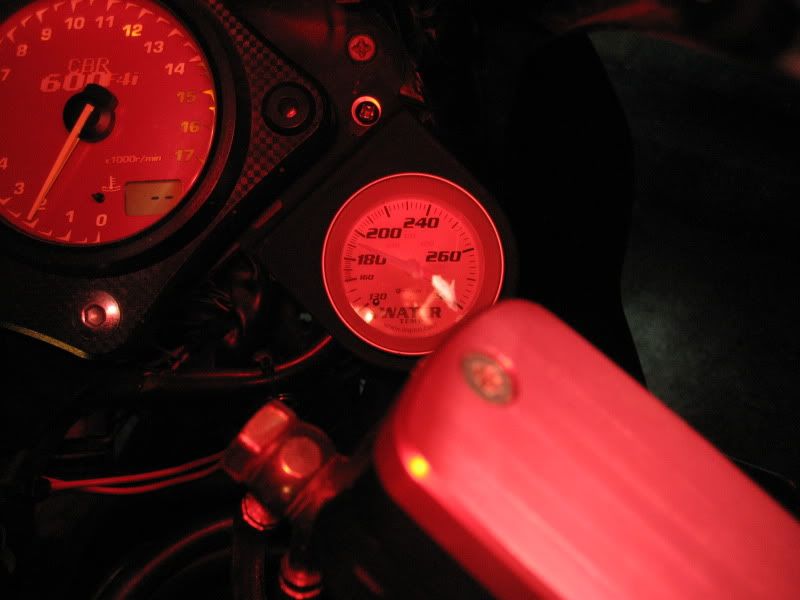
Here's results of a day of riding with pvc:
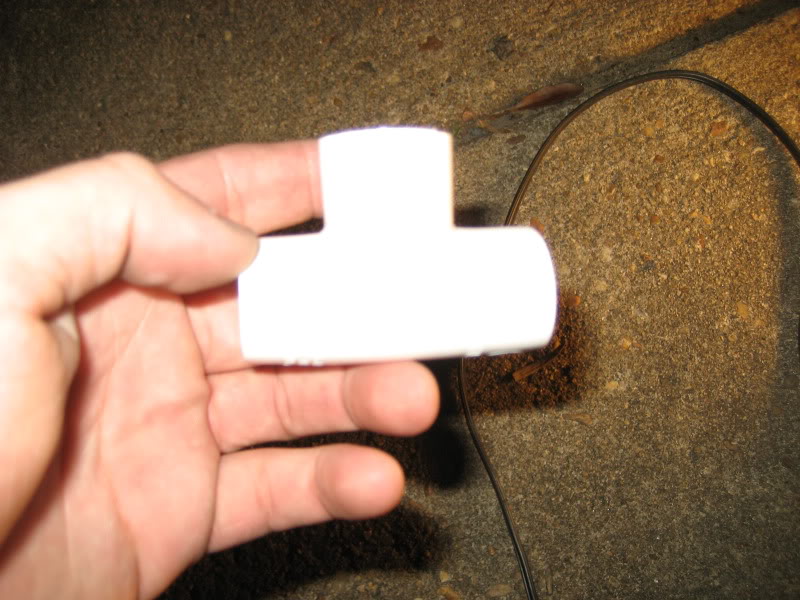
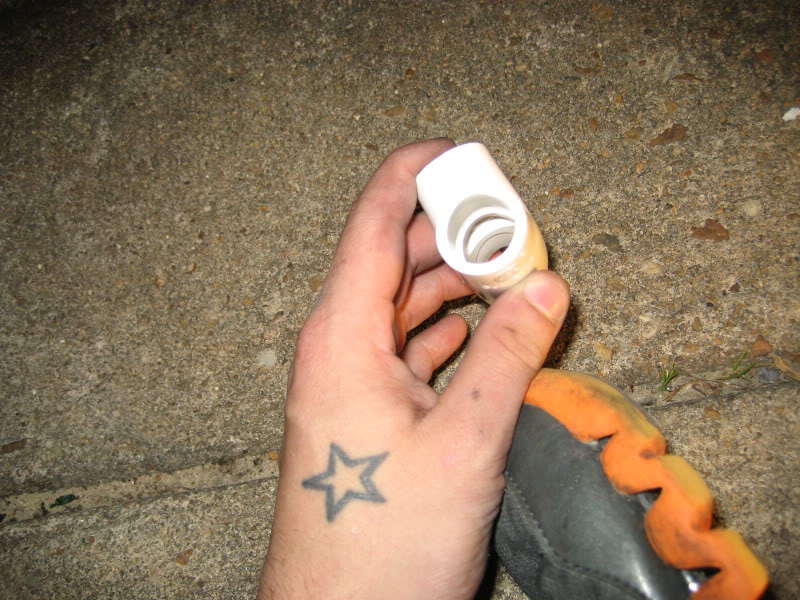
As you can well see, extended riding had in fact caused it to warp
.
DO NOT USE PVC.
Although it did not leak, it doesnt seem stable enough for this job.
---
So here's the update:
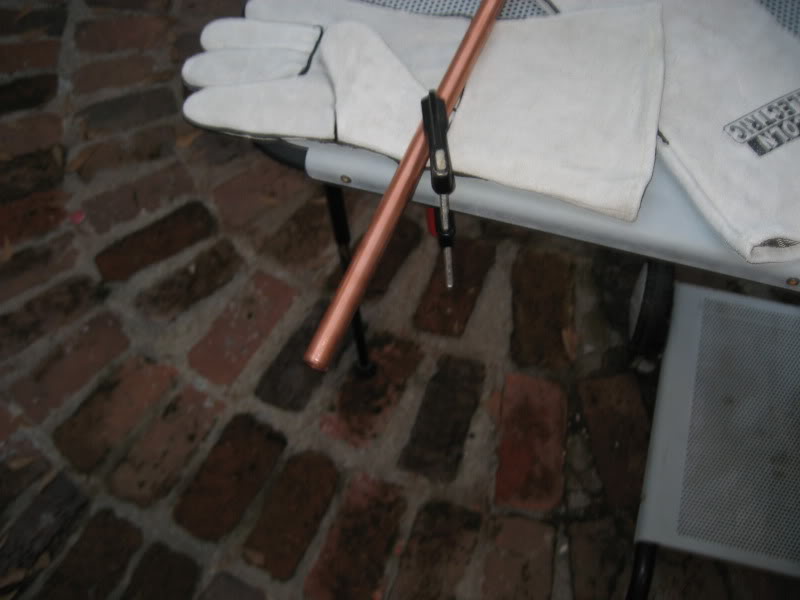
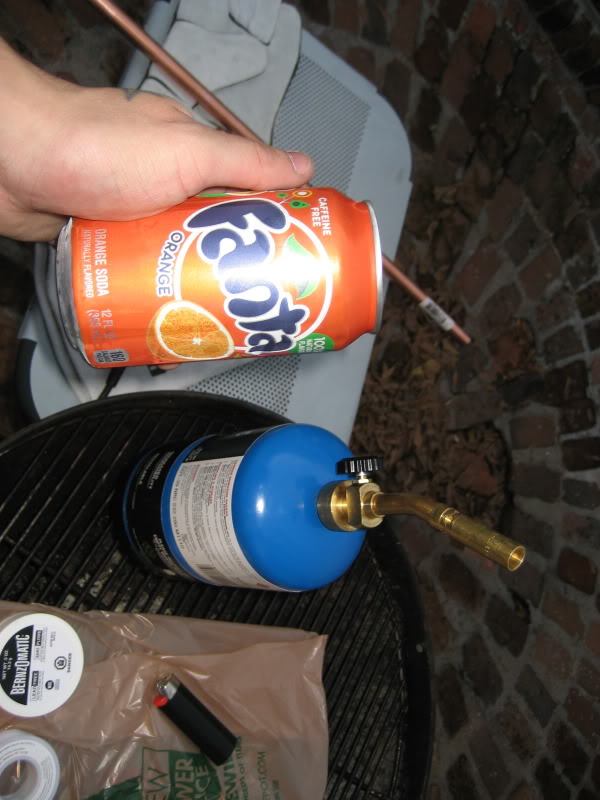
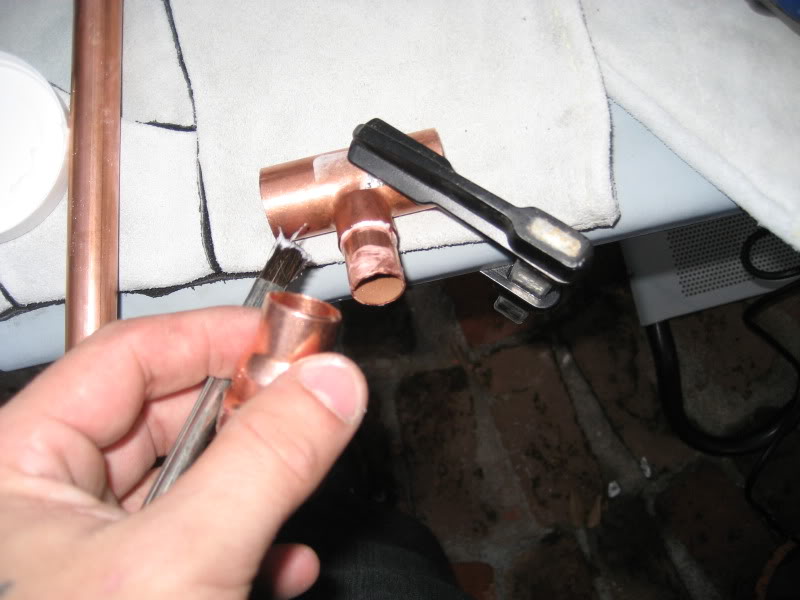
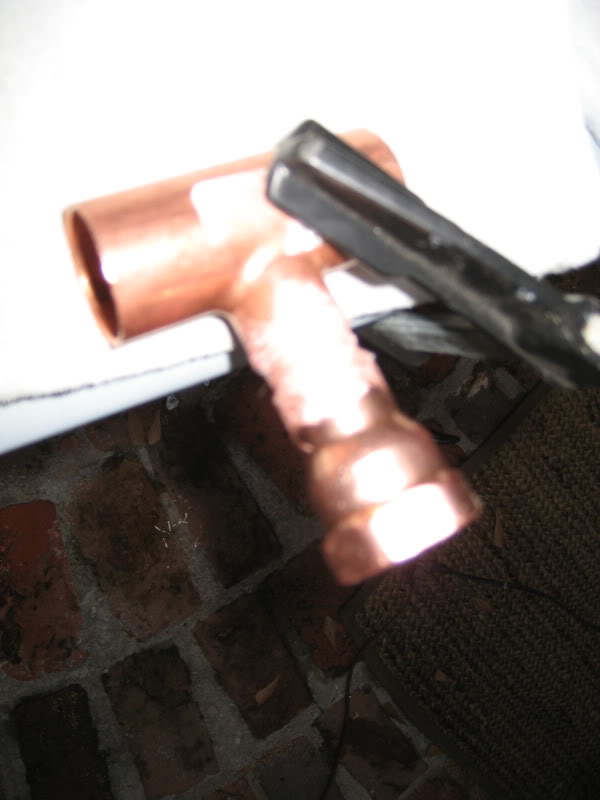
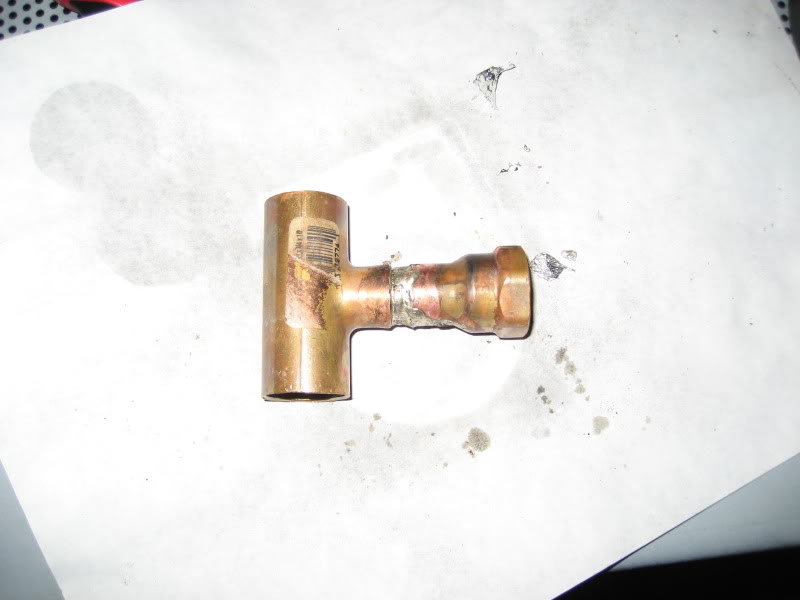
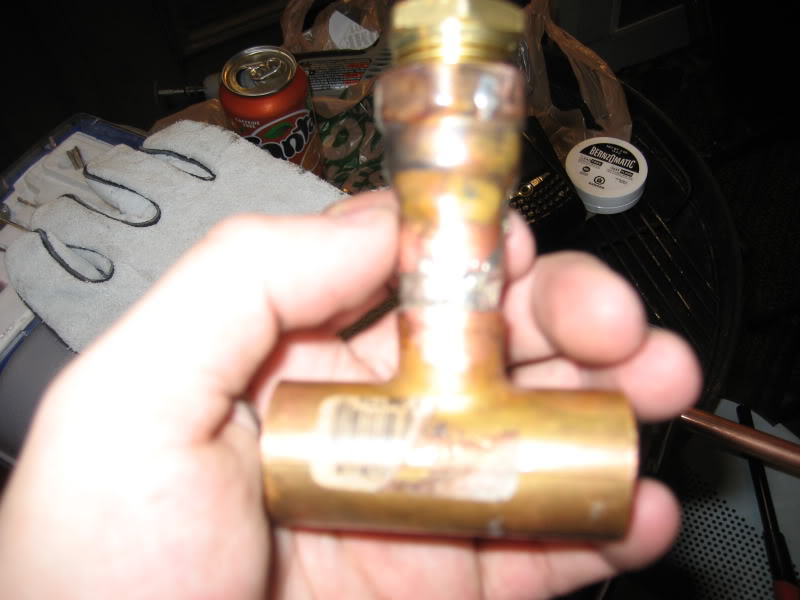
Got some new materials and went to work on the copper replacement.
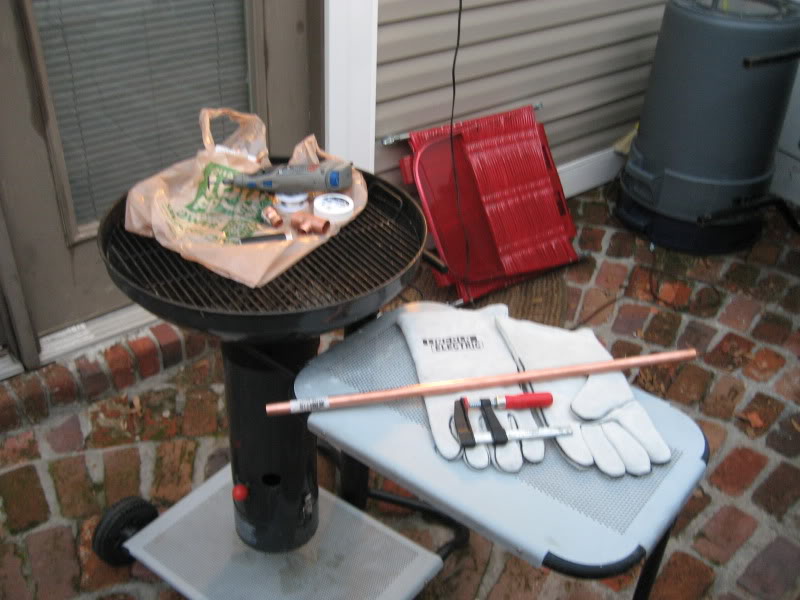
Went to work:
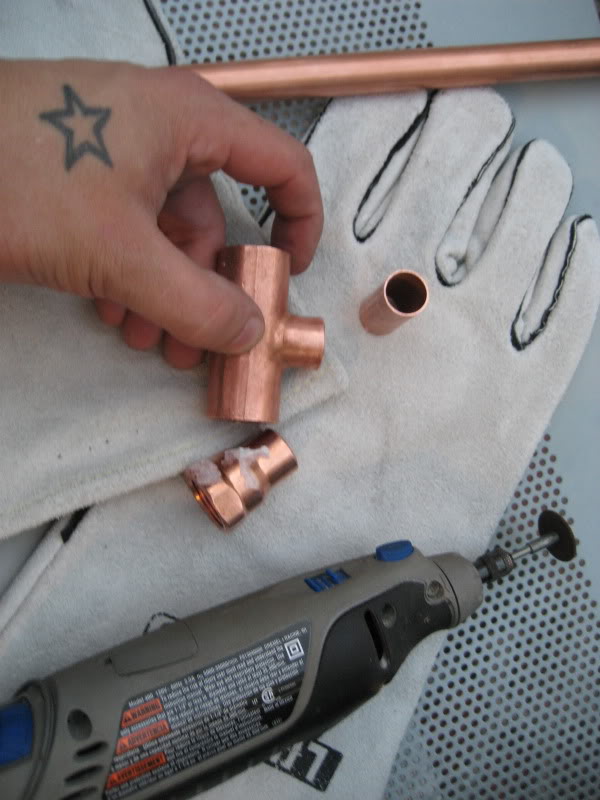
Effin Fantastic
---
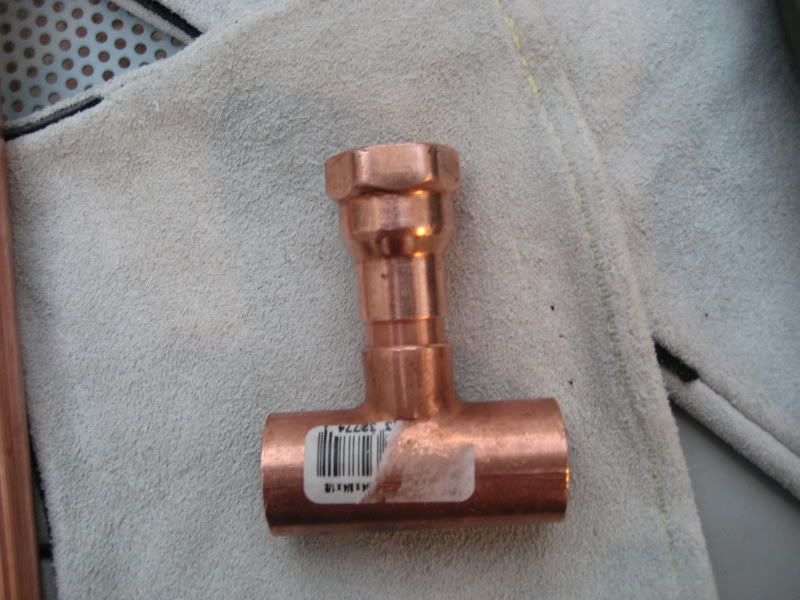
Welding:
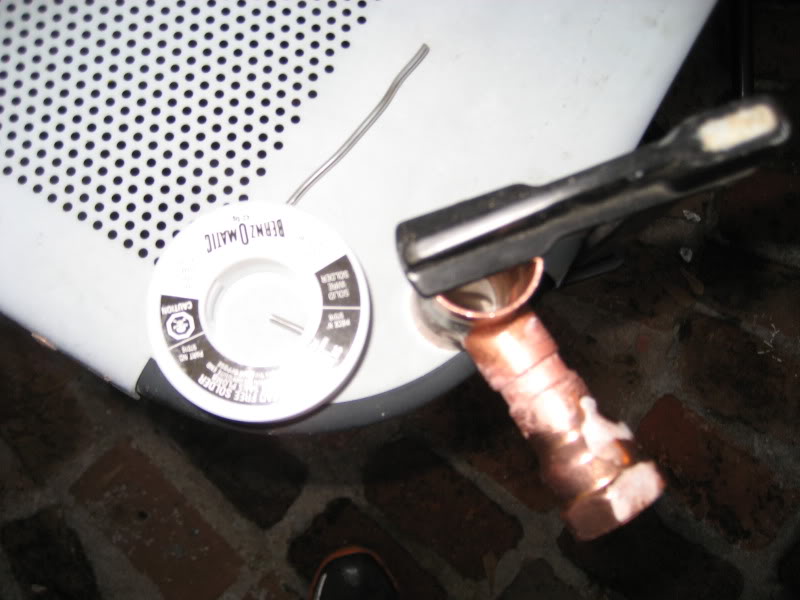
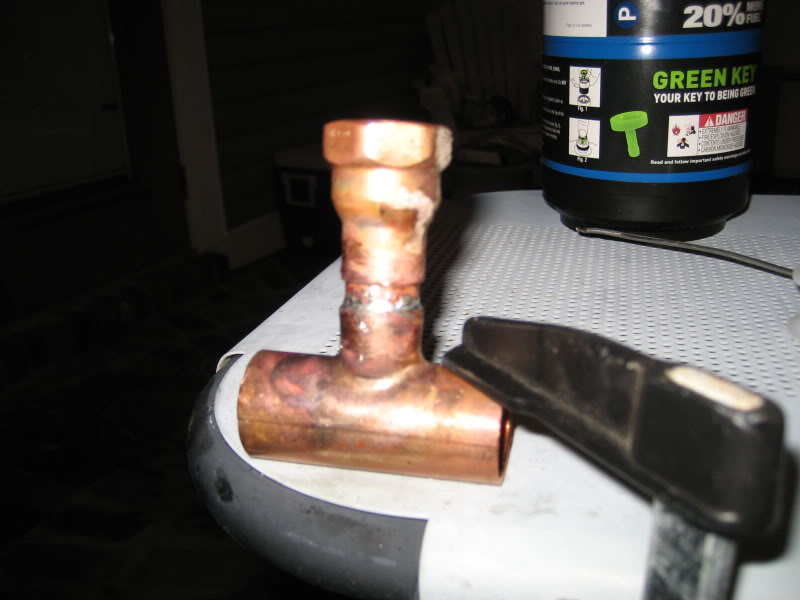
Pretty shoddy job... but then again, it worked fine.
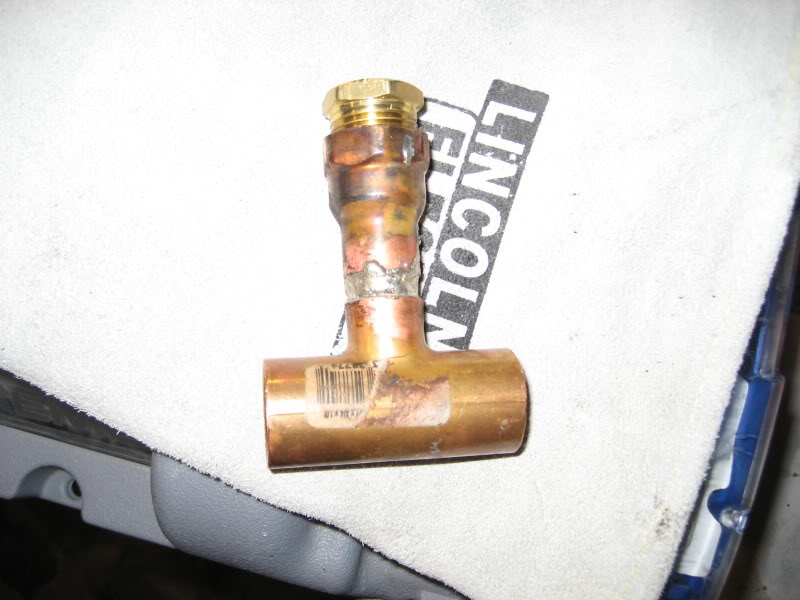
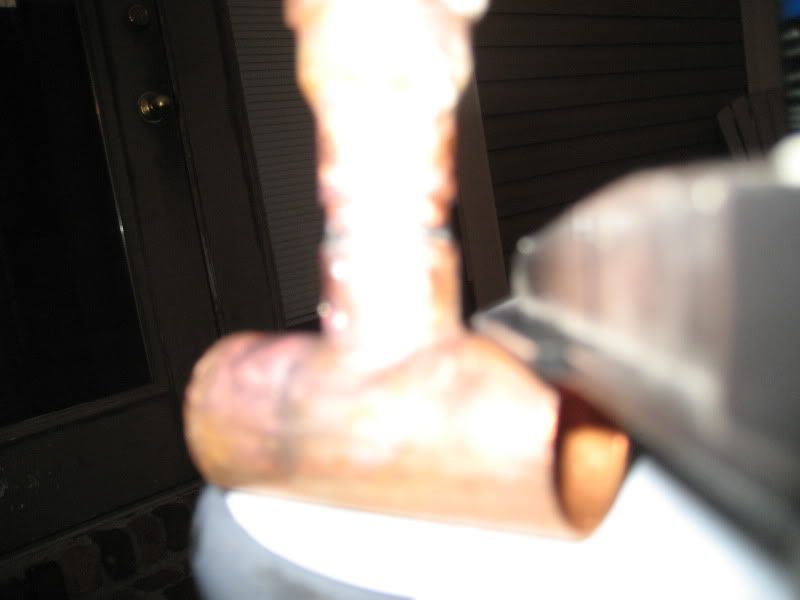
Threw it on as the replacement:
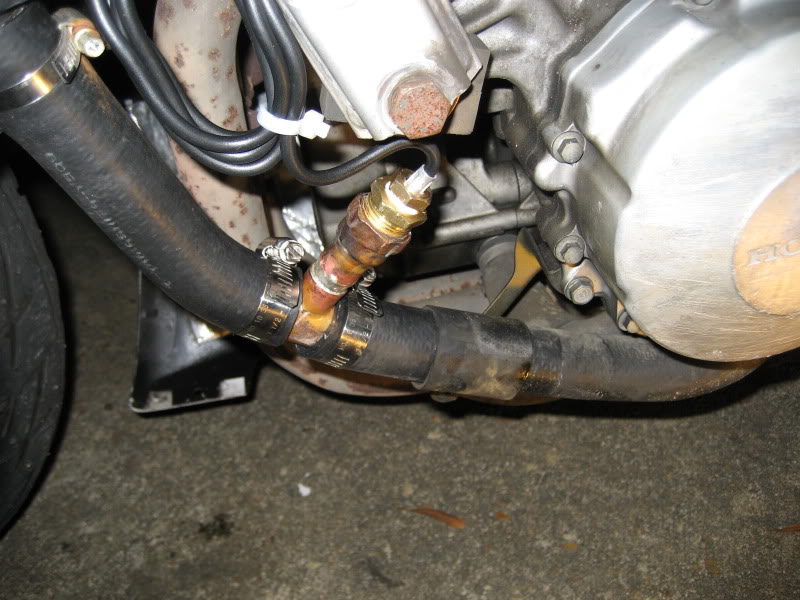
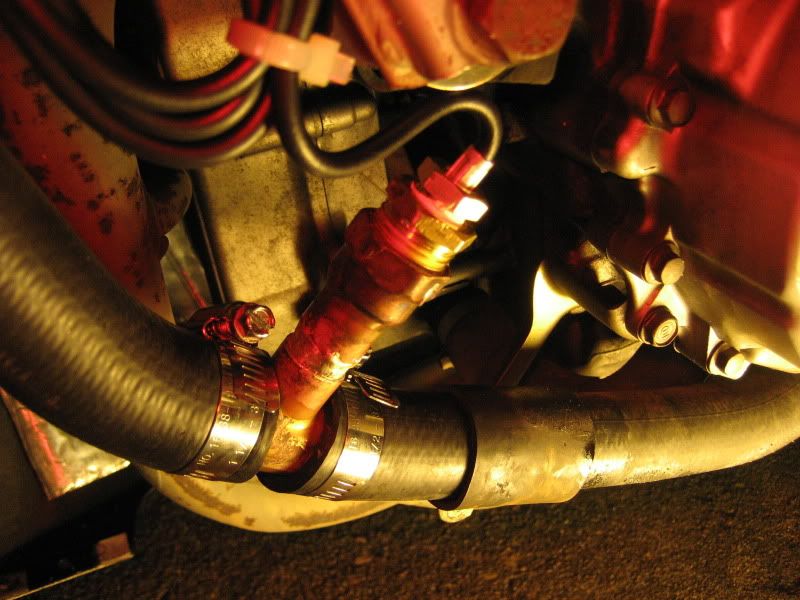
No leaks...
And hopefully this one wont melt.
<3
so a bit of an update
thanks to the heads up from Kero, i decided to study up a bit on pvc and decided to make my own fitting from copper and such.
Here's results of a day of riding with pvc:
As you can well see, extended riding had in fact caused it to warp
.
DO NOT USE PVC.
Although it did not leak, it doesnt seem stable enough for this job.
---
So here's the update:
Got some new materials and went to work on the copper replacement.
Went to work:
Effin Fantastic
---
Welding:
Pretty shoddy job... but then again, it worked fine.
Threw it on as the replacement:
No leaks...
And hopefully this one wont melt.
<3
got a learning experience today


Senior Member
Joined: Apr 2010
Posts: 484
Likes: 0
From: Chicago, IL
You did a decent job for your first time.
Only thing I'd change is remove that expander you have the sensor screwed into and put the white tape on it to seal it off... you don't HAVE to but it'll be one less point of failure... just make sure none of it is covering the hole.
Only thing I'd change is remove that expander you have the sensor screwed into and put the white tape on it to seal it off... you don't HAVE to but it'll be one less point of failure... just make sure none of it is covering the hole.
came with