
'93 F2 Mods - Phase 2


Thanks for the answers and thanks for writing all these posts. They are truly inspiring and have made me decide not to streetfight my own too much but keep it more like yours, because that is one hell of a look, I must say!

Thread Starter
|
Welcome Crew and ROTY 2014
Joined: Dec 2010
Posts: 2,059
Likes: 6
From: Kansas
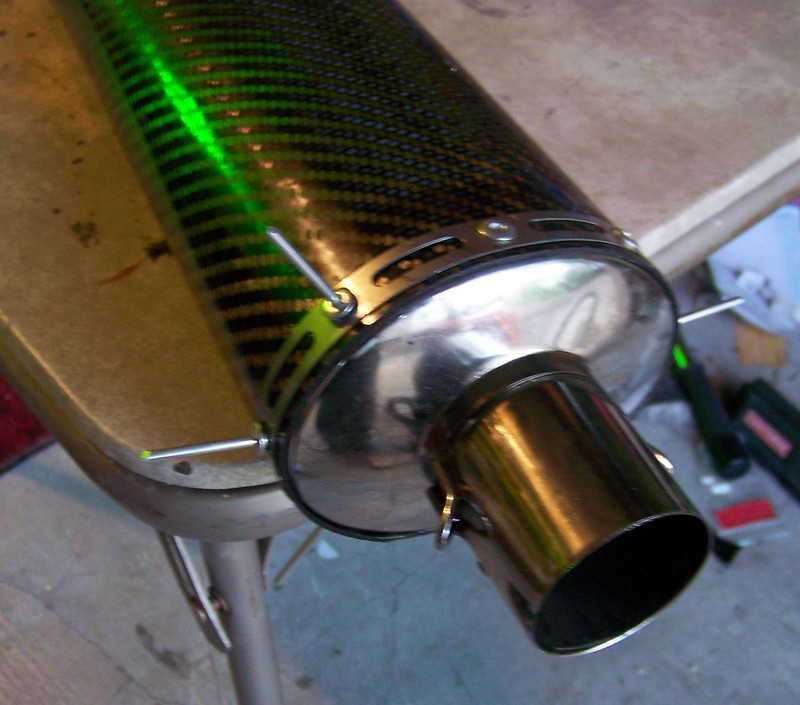
I cut down the Yosh can about 5.25 inches - dropped another 1/2 to 3/4 lb.

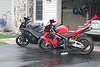
The race upper was looking a touch dull, so I decided to add some more red accents.
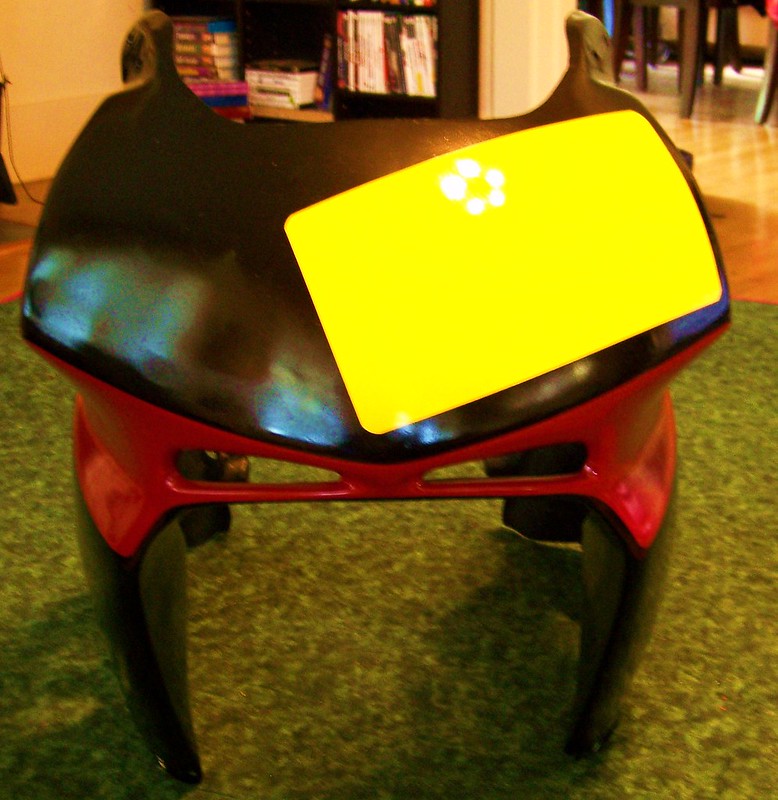
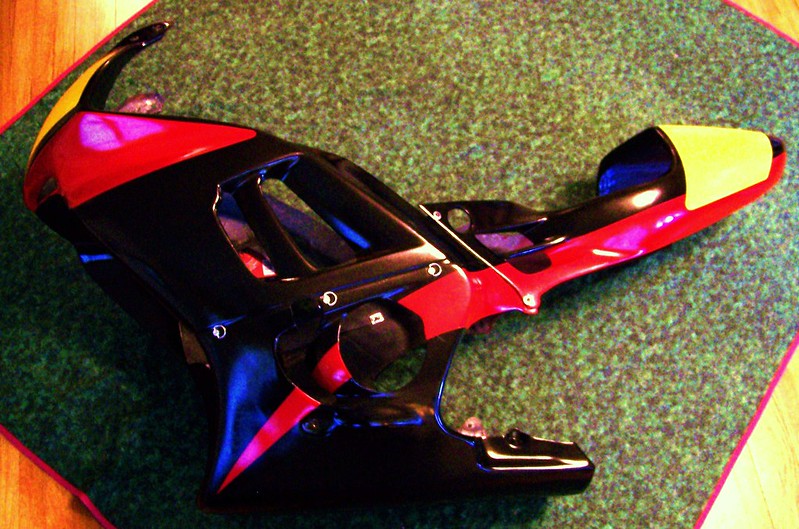
Clear coat, graphics, more clear coat, and race numbers added.
Mounted.


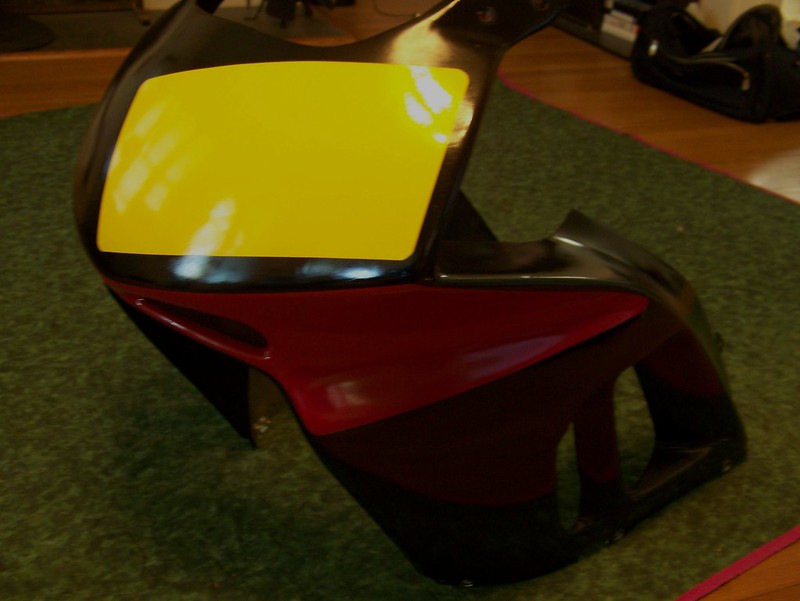
The race upper was looking a touch dull, so I decided to add some more red accents.
Clear coat, graphics, more clear coat, and race numbers added.
Mounted.
Thread Starter
|
Welcome Crew and ROTY 2014
Joined: Dec 2010
Posts: 2,059
Likes: 6
From: Kansas
I will have an old '70's XS-650 Special cafe racer project going sometime in the next couple of years... I hope.
Thread Starter
|
Welcome Crew and ROTY 2014
Joined: Dec 2010
Posts: 2,059
Likes: 6
From: Kansas
So, somewhere along the line, I also removed the side-stand safety switch, removed the wiring back to the place where it just leaves the harness, and bypassed the switch at that point, allowing me to make a quick removal of the kickstand for track events.
Also, somewhere back near the beginning of things, I switched to GP shift, and of course, saftey wired everything, using spring clips for quick off & ons, without needing to re-twist wire each time.
I'm sure I'm forgetting something somewhere, not counting the obvious things, such as removing as much as possible when going to the track, like the horn and it's bracket, the cockpit trim bezels that attach where the uppers meet the fairing stay, the kickstand, lights and signal harnesses, etc.
This is everything that has already occured - next post will be new mods.
Last edited by JNSRacing; Jan 3, 2013 at 09:39 AM.

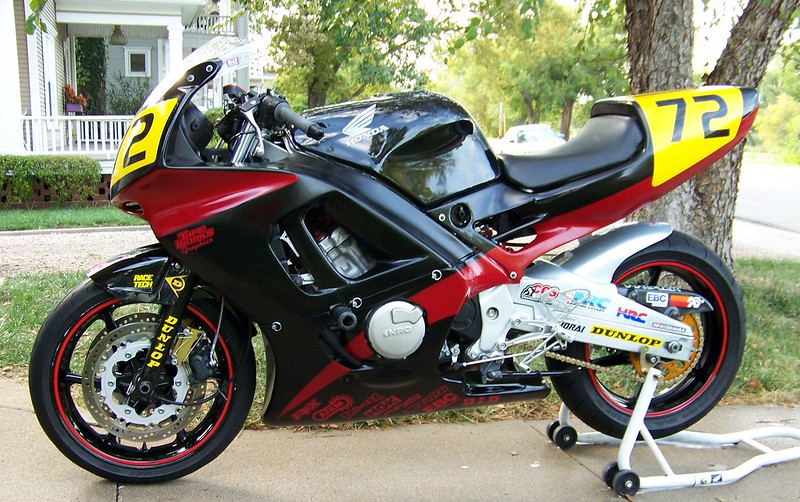
 Those race fairings look legit. Did you just tape it off yourself or did you have a paint shop do the paint?
Thread Starter
|
Welcome Crew and ROTY 2014
Joined: Dec 2010
Posts: 2,059
Likes: 6
From: Kansas
I don't do this for a living, and I haven't helped out with painting a vehicle since auto mechanics class my junior year in high school - suffice it to say that it was a LONG time ago!!
Thread Starter
|
Welcome Crew and ROTY 2014
Joined: Dec 2010
Posts: 2,059
Likes: 6
From: Kansas
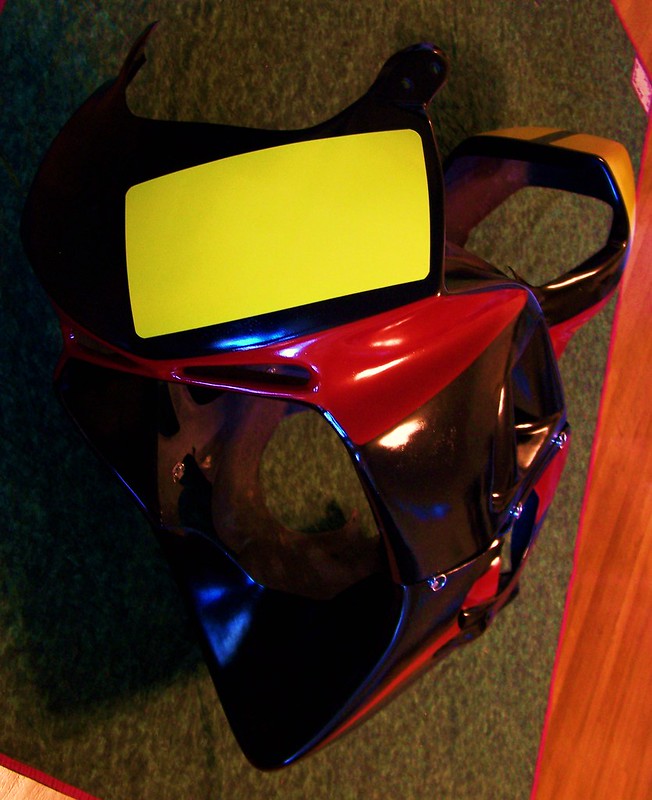
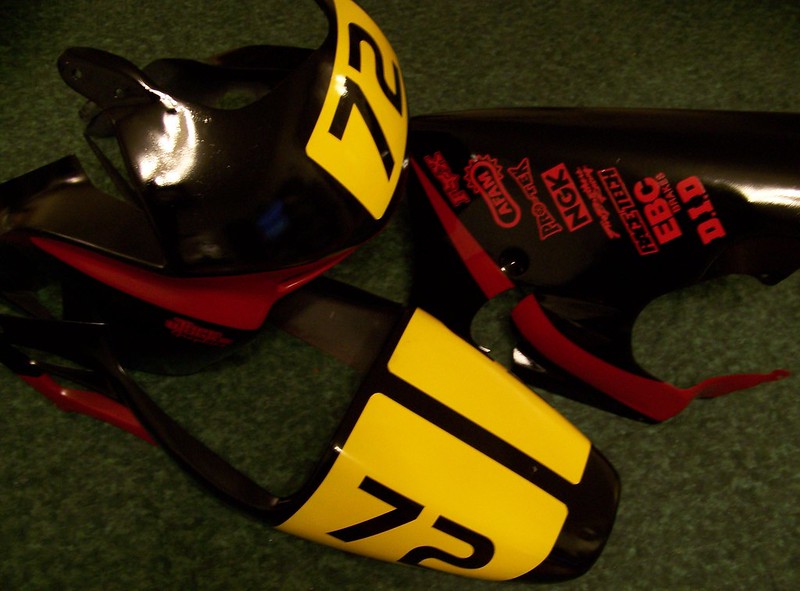
If you look close at this pic, you can see the separate little strip with the radius cut out, in each lower corner of the number plate.
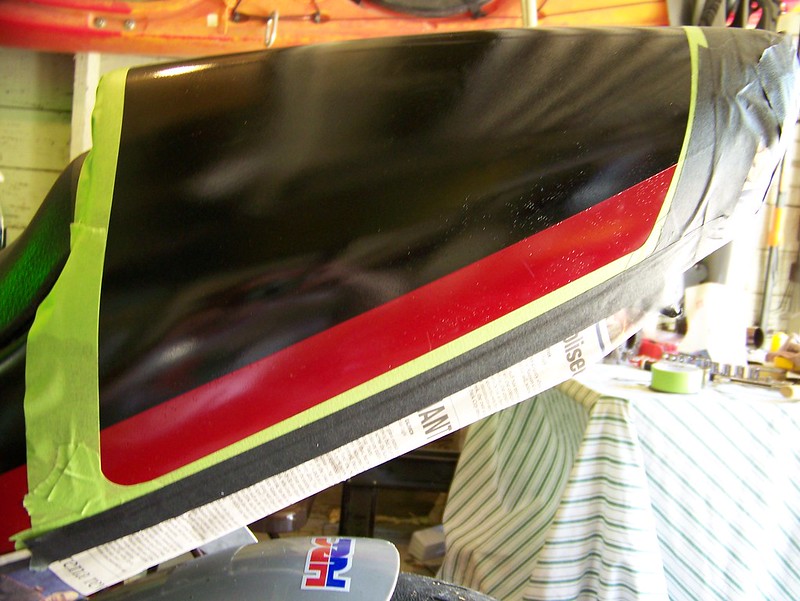
I don't know what the proper way to do this is, but it did work out pretty good.