
92/93 CBR 600 F2 Streetfighter Build (in progress)


Thread Starter
|
Member
Joined: May 2015
Posts: 47
Likes: 0
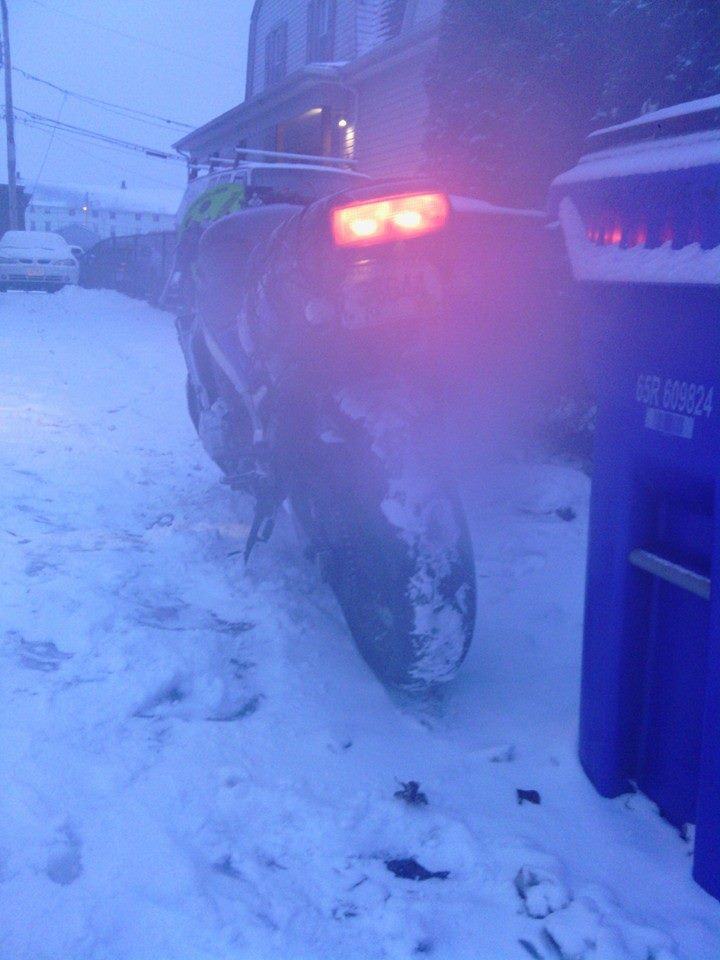
Once the winter broke in New England, i moved to West Virginia with the CBR in the back of a uhaul van. Being my first time with a garage,it makes me very happy to have a warm and safe place to work on the bike instead of under a tree.
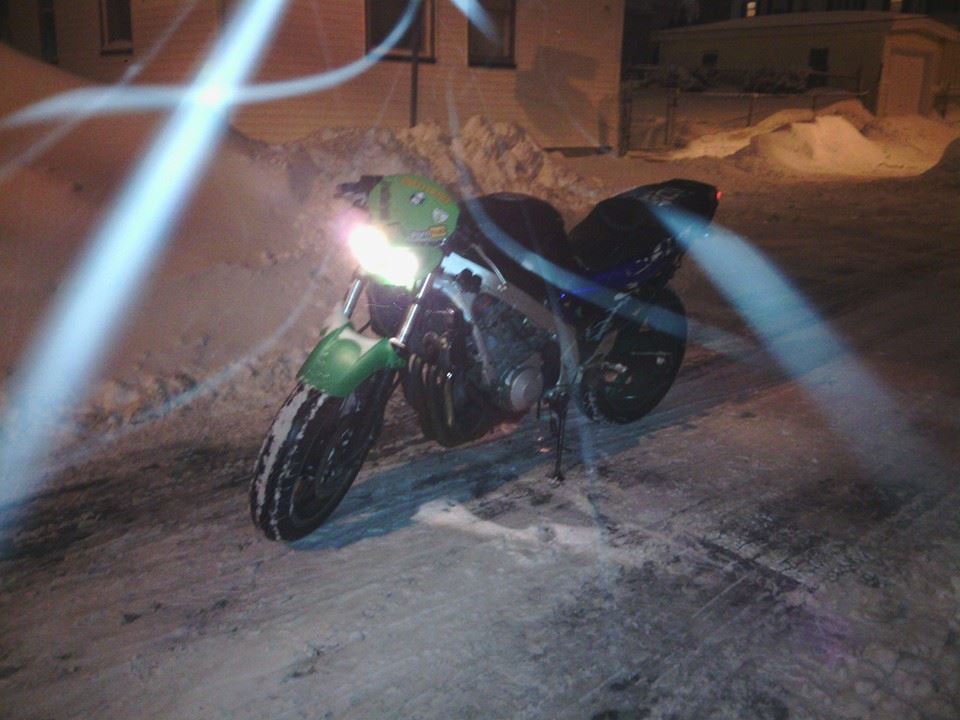
ebay has been my best friend with finding parts to help me finish the dream and vison of this bike (did i mention it has 136,000 miles???)
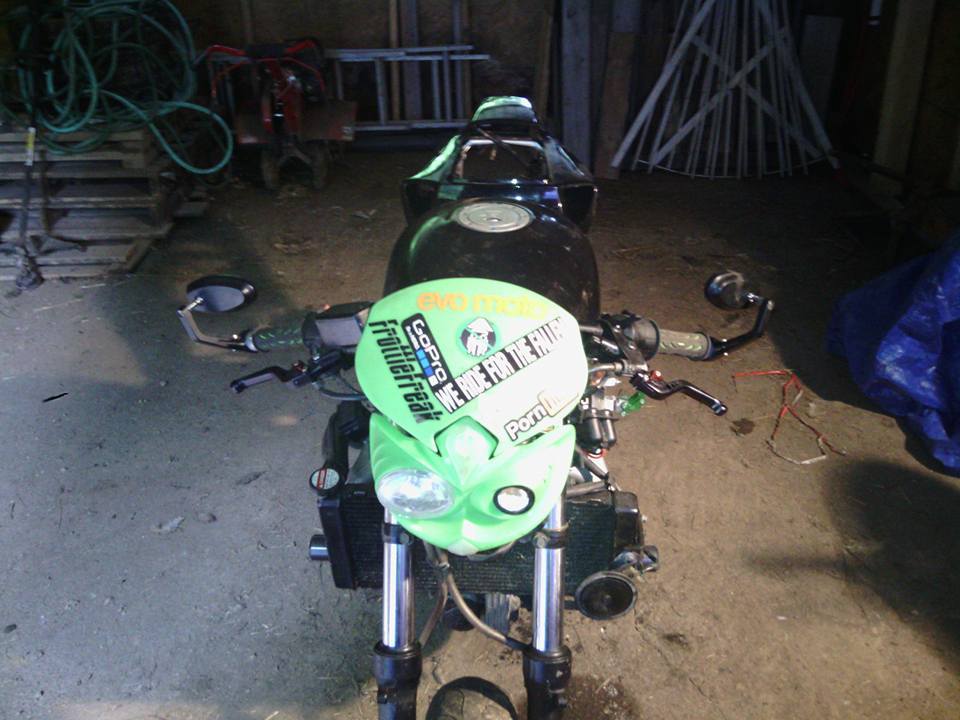
i bought ebay shorty levers, lime green grips, bar end mirrors, new clutch cable ,1000RR tail fairing and front seat,new chain,rear caliper bracket
and oh, a pornhub sticker

ebay has been my best friend with finding parts to help me finish the dream and vison of this bike (did i mention it has 136,000 miles???)
i bought ebay shorty levers, lime green grips, bar end mirrors, new clutch cable ,1000RR tail fairing and front seat,new chain,rear caliper bracket
and oh, a pornhub sticker
Thread Starter
|
Member
Joined: May 2015
Posts: 47
Likes: 0
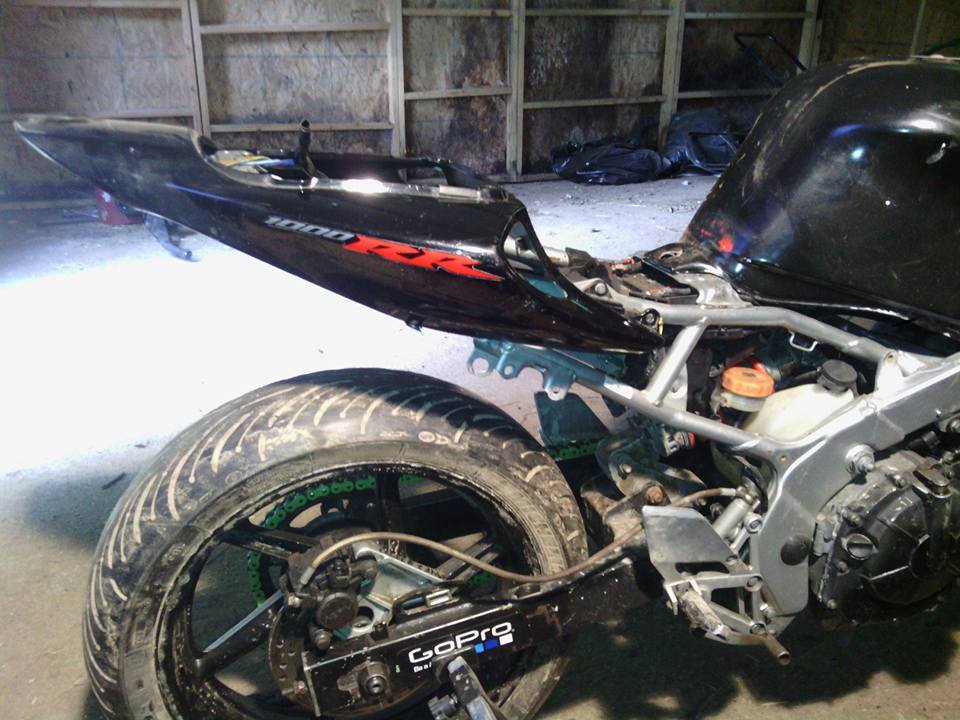
With a ton of welding small pieces of metal together i was able to mount the CBR 1000rr seat at the correct fitment to the tank and at the right angle in order to be comfortable, this was by no means an easy job as i thought i was going to be. The seat now slides in as if it was OEM

Here are some more pics of the bracket. As you can see it is bolted in to the frame,if i had welded it would have prevented me from removing the battery. I also cut the rectifier plate and flipped it onto the inside of the frame and rewelded it on. I relocated the CDI into the battery box. There are 7 mounting points for this bracket. 4 of which are attached to the frame by using one tab of steel welded to the frame and the other tab bolting into the 1st by using a tapper. 1 mounting point going into the battery box bolt hole and 2 tabs that screw into the back of the seat screw points


This was done completely by hand and scratch with no instructions or help. (other than painting)
Here are some more pics of the bracket. As you can see it is bolted in to the frame,if i had welded it would have prevented me from removing the battery. I also cut the rectifier plate and flipped it onto the inside of the frame and rewelded it on. I relocated the CDI into the battery box. There are 7 mounting points for this bracket. 4 of which are attached to the frame by using one tab of steel welded to the frame and the other tab bolting into the 1st by using a tapper. 1 mounting point going into the battery box bolt hole and 2 tabs that screw into the back of the seat screw points
This was done completely by hand and scratch with no instructions or help. (other than painting)
Thread Starter
|
Member
Joined: May 2015
Posts: 47
Likes: 0
based on how the seat sat this how the tail fits seamlessly into the seat.

The excess frame that is sticking out will be cut slightly to allow flex and bent up and create mounting points for the tail.
The undertail will be custom cut out of diamond plate metal. These are steps i was supposed to complete this week but life got in the way.
The excess frame that is sticking out will be cut slightly to allow flex and bent up and create mounting points for the tail.
The undertail will be custom cut out of diamond plate metal. These are steps i was supposed to complete this week but life got in the way.
Thread Starter
|
Member
Joined: May 2015
Posts: 47
Likes: 0
Some custom exhuast work. I had two headers (stock and a 4-1 header) my stock header came with the two bros carbon fiber as shown below,problem was it wouldn't fit on the 4-1 header as it was just a slip on. The 4-1 had come with a short two bros aluminum can which was poorly cut and thus had exhaust leaks for days. Problem here was that the 4-1 header was shorter but a had a longer midpipe while the stock header was longer but had a shorter midpipe. This meant the mid pipe that came with the carbon muffler couldnt be used on the 4-1 header because A) it wouldnt clear the brake pedal and B)the special collar midpipe for the carbon pipe was the same diamater as the 4-1 header. So by cutting the carbon midpipe at the collar and using a pipe stretcher i was able to attach the carbon muffler to the 4-1 midpipe. Clamped it down and done!.

Thread Starter
|
Member
Joined: May 2015
Posts: 47
Likes: 0
I also ordered a fake or a fake. The koso RX2 digital guage has a knock off called the ss182, i bought the knockoff of the ss182 which has no name. I've very quickly installed it to check if it worked but have not officially hooked it up or made a bracket for it yet

Thread Starter
|
Member
Joined: May 2015
Posts: 47
Likes: 0
This 1993 is a complete budget build, i haven't spent more than 1,000 yet putting it together including the cost of the bike,currently still in the process of working on the tail fairing and gauge hookup and undertail

Retired Super Moderator, Tin Star Man & Hurricane Saloon Prospect, ROTM Feb 2015
Joined: Sep 2011
Posts: 2,382
Likes: 5
From: V��ksy, Finland
https://cbrforum.com/forum/cbr-600f-...n-tips-152756/
If you haven't already, that thread might be worth a onceover. While installing a real rx2 (that is a copy of the gp style rx2N) I learnt the hard way that a very good ground is ESSENTIAL to make the gauge work properly. If at all in doubt, ground directly to battery with a separate wire.
If you haven't already, that thread might be worth a onceover. While installing a real rx2 (that is a copy of the gp style rx2N) I learnt the hard way that a very good ground is ESSENTIAL to make the gauge work properly. If at all in doubt, ground directly to battery with a separate wire.