
HOW TO: LED Passenger Peg Break/Turn Signals (step by set w/ pics)


Senior Member
Joined: Jun 2010
Posts: 427
Likes: 0
From: Southern Ohio
I'm new to wiring, could someone clue me in and be a little more specific on how to wire the blinkers into the existing wiring? do i just put all the negatives from both sides to the negative blinker and the positives to the positives? again, i'm new to wiring so keep it simple.
a crude wiring diagram would be superb if anyone has the time!
a crude wiring diagram would be superb if anyone has the time!

Senior Member
Joined: Aug 2010
Posts: 805
Likes: 1
From: NJ
Couldnt you just solder all the led's inline and only use one resistor before the first one then wire the negative lead to the positive of the second led and just keep doing negative to positive through the whole chain of led's?
edit: i know its very crude to say the least but something like this?....
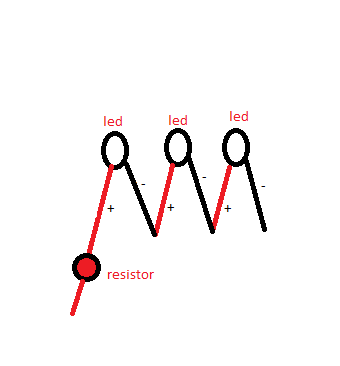
i plan to do this myself soon too and want it to be as clean and simple as possible
edit: i know its very crude to say the least but something like this?....
i plan to do this myself soon too and want it to be as clean and simple as possible
Last edited by nickp123; Mar 22, 2011 at 09:56 AM.

April 2011 Ride of the Month
Joined: Jul 2009
Posts: 5,686
Likes: 0
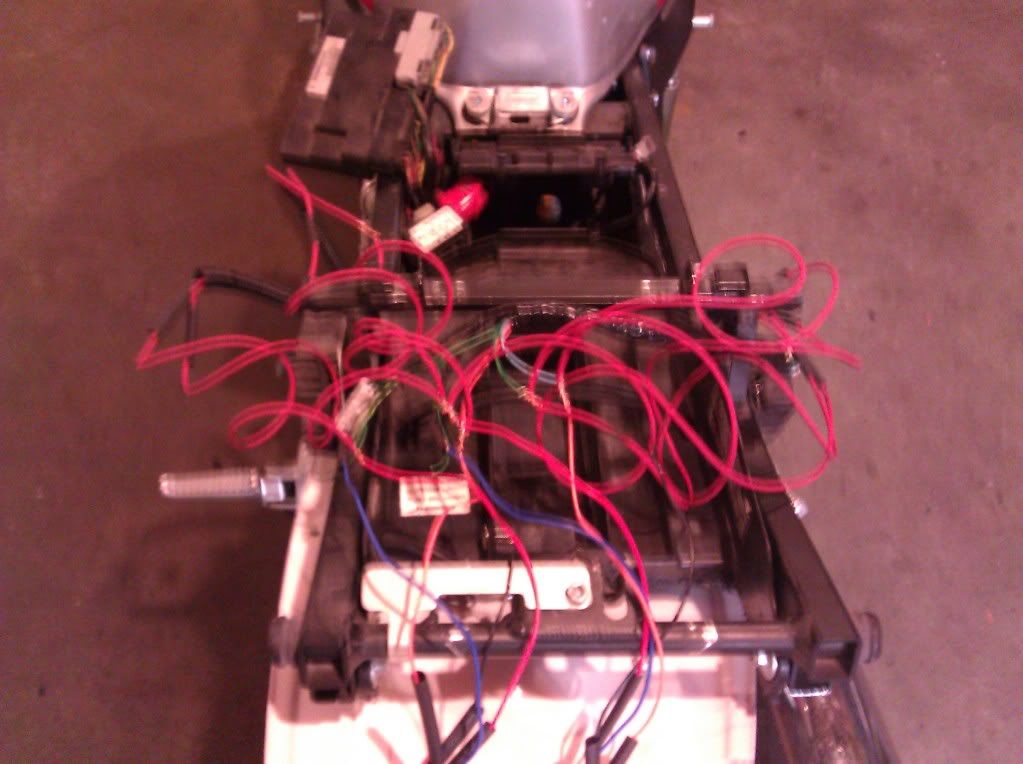
pittsm... all positives go to the green/yellow wire all the blacks (negative) go to the green with brown spots wire
^^^ this guy neglected using red and black... looks like he just did them all red...
^^^ this guy neglected using red and black... looks like he just did them all red...

Senior Member
Joined: Oct 2010
Posts: 231
Likes: 0
From: virginia beach, va
says he used all red. and just marked his grounds with a black marker. nothing different just cant see the marks in his pic.

I got LEDs for my car off Oznium a few years ago and can also recommend them! Super cheap and great products - they're still working and it's been a solid 3-4years since they went in
(I am also in no way affiliated with that company)
(I am also in no way affiliated with that company)

