
Clean Custom Undertail


Thread Starter
|
Senior Member
Joined: Jul 2006
Posts: 204
Likes: 0
From:
It's been awhile since I did this and I"m hoping my memory is still clear on it all. I also hope the pictures are good enough to illustrate the process. I originally thought I was just making a prototype and that I'd end up creating another, more refined version later, but once it was done it was good enough to make permanent. All this means is that I don't have the best pictures to go with the process. I ended up disassembling and reassembling to take the pictures. Feel free to comment and ask questions. Also feel free to check out the other couple of "How-Tos" I've done.
Rearset Lifts: https://cbrforum.com/m_155821/tm.htm
Custom Backrest: https://cbrforum.com/m_127533/tm.htm
Custom Vinyl Work (not actually a "how-to": https://cbrforum.com/m_206771/tm.htm
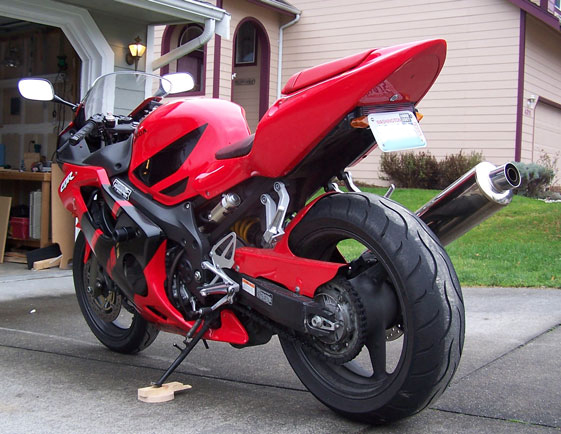
CONCEPT: I wanted something other than the stock tail but didn't like the look of any of the available aftermarket undertails. I wanted something very clean, not flashy, without "clear" lenses. I also use the cargo hooks often and didn't want to eliminate them. In addition, I didn't want to hide the license plate away in some obscure place.
TOOLS: Besides the ordinary screwdrivers, wrenches, drill, etc, a dremel is really handy. Also, a heat gun is necessary (although I suppose a jig could be created that would allow you to use a kitchen oven instead--I'll explain that later).
TIME: Oh, I'd say a couple to a few hours, depending on your experience and comfort.
COST: Again, it depends on what you have lying around. If you're starting with nothing, I'd estimate $25-$30. I had the lexan, the aluminum, and the vinyl sitting around from other projects so I probably spend only $15 or so. Ahhh, I'm forgetting the bulbs. Throw in another $10-15 for those.
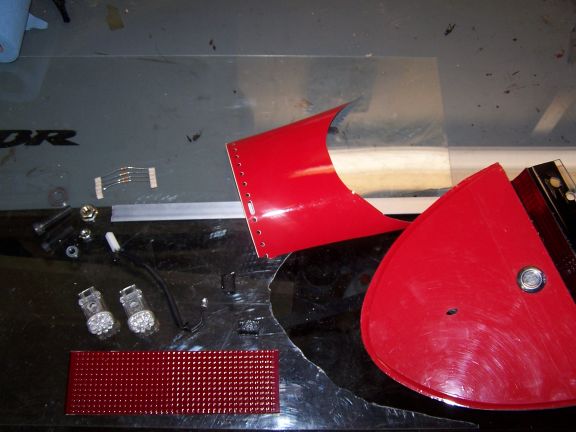
MATERIALS: (Shown below)
Lexan or Acrylic sheet, 1/8 thick (will become the undertail itself)
LED brake lights (to replace stock bulbs)
Wide-Angle white LED (the new license plate light)
Color-matching Vinyl (for coloring the tail--Paint also works!)
Aluminum stock (for creating license plate bracket)
Brake light repair material (will become your new brake light)
Hardware (a few nuts, bolts, washers)
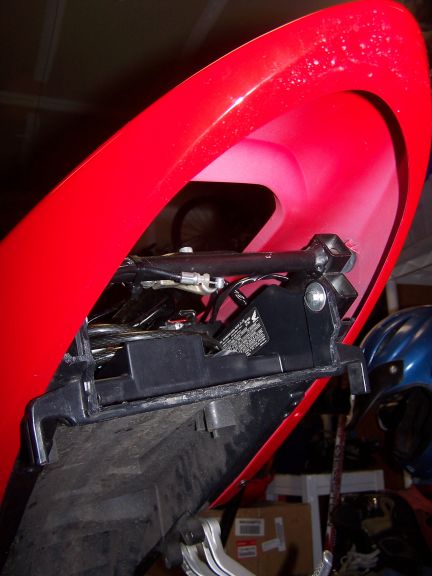
Here's what you need to do to your stock undertail. Hack away at it until you get a straight edge right at the cargo hooks:
Use a piece of scrap cardboard to create a template of that nice smooth curve that remains where the old brake light no longer exists.
Transfer that template onto a piece of the lexan and cut it out, being sure to leave extra for fine-tuning(filing and smoothing). (unfortunately, I don't have many pictures of this process...apologies-what you can see is the rough cut in the scrap piece below the new undertail in the picture.) After the rough cut, do a mock fit and continue filing/sanding until the contour is just right!
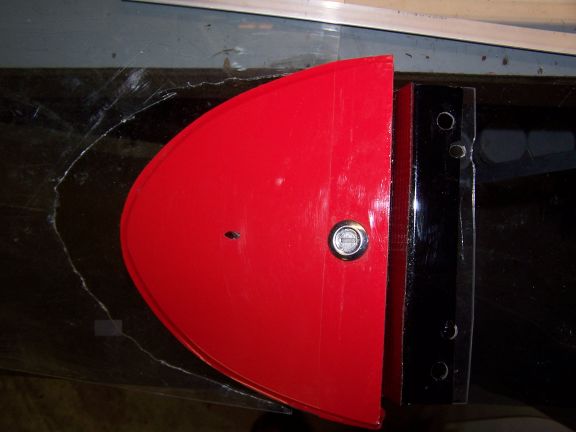
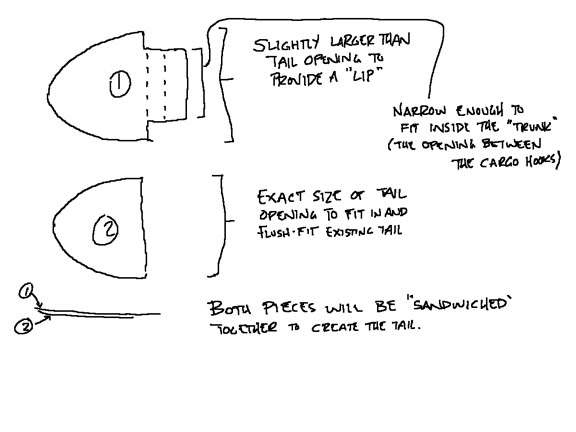
Now what you must do is create another, slightly larger version of this with a tab sticking off of it that will eventually become both the taillight and also the mounting tab. I'll try to illustrate in a poorly done sketch. What this accomplishes is creating a more flush fit with the stock tail. It creates a lip that sits inside the existing hole left by the stock-tail and a portion that fits down into the exact contour of the hole itself... Hopefully the following picture will be worth 1000 words:
If you've made it this far, you'll be fine the rest of the way.
Lexan and Acrylic are both very cool plastics. With a little heat fro

Senior Member
Joined: Oct 2005
Posts: 792
Likes: 0
From:
wow, what an excellent how-to. great pictures and detailed instructions. people can also extend off of this and use some of the techniques to create their own styles of undertails. nice bike as well! ( i might have to steal your headlight vinyl idea  )
)
________
Body Science
)________
Body Science
Last edited by axsys; May 4, 2011 at 10:32 PM.
