
95 CBR 900 RR Build


well im back to working on the bike again, after having no luck at dailing in the suspension last year i decided to take the forks off and have a look. Both seals were junked and im pretty sure they didnt have the correct amount of oil in them, and inside the forks was filled with sludge. So now im cleaning out everything ,replacing the seals and putting in new Repsol fork oil. I did inspect all the o-rings and washers and such nothing looked like it needed replaced but i will replace the seat o-ring in the bottom of the fork were the allen head bolt secures the dampner just for safe measure. Hopefully this will solve my issues and i can get the front dailed in correctly now.


As most of us that do our own work already know its normally not the job thats takes very long its waiting for the parts to come in. I can not buy Repsol products locally so im forced to order them online, in other words although all of my parts have been cleaned and the parts that needed replaced were im stuck waiting for the Repsol fork oil to come in. blah

After doing some digging on the performance of the stock forks i decided to take some advise and clean EVERY part i could possible get then go over them with #0000 steel wool for a very smooth finish, here are some pics

As you can see there was quite a bit of film all over these parts i really didnt notice it untill after i cleaned one up and put them side by side

no seeing that pic you might ask, why wouldnt you have cleaned that off? . Simple, even though in the pics it looked very dirty is was still very smooth and i had chalked this up to the metal was stained by the dirty fork oil. That wasnt the case after i did actually "clean" these parts. so all in all im glad i took the time to clean these even though they felt smooth a "Clean" smooth part never hurt anyone
As you can see there was quite a bit of film all over these parts i really didnt notice it untill after i cleaned one up and put them side by side
no seeing that pic you might ask, why wouldnt you have cleaned that off? . Simple, even though in the pics it looked very dirty is was still very smooth and i had chalked this up to the metal was stained by the dirty fork oil. That wasnt the case after i did actually "clean" these parts. so all in all im glad i took the time to clean these even though they felt smooth a "Clean" smooth part never hurt anyone
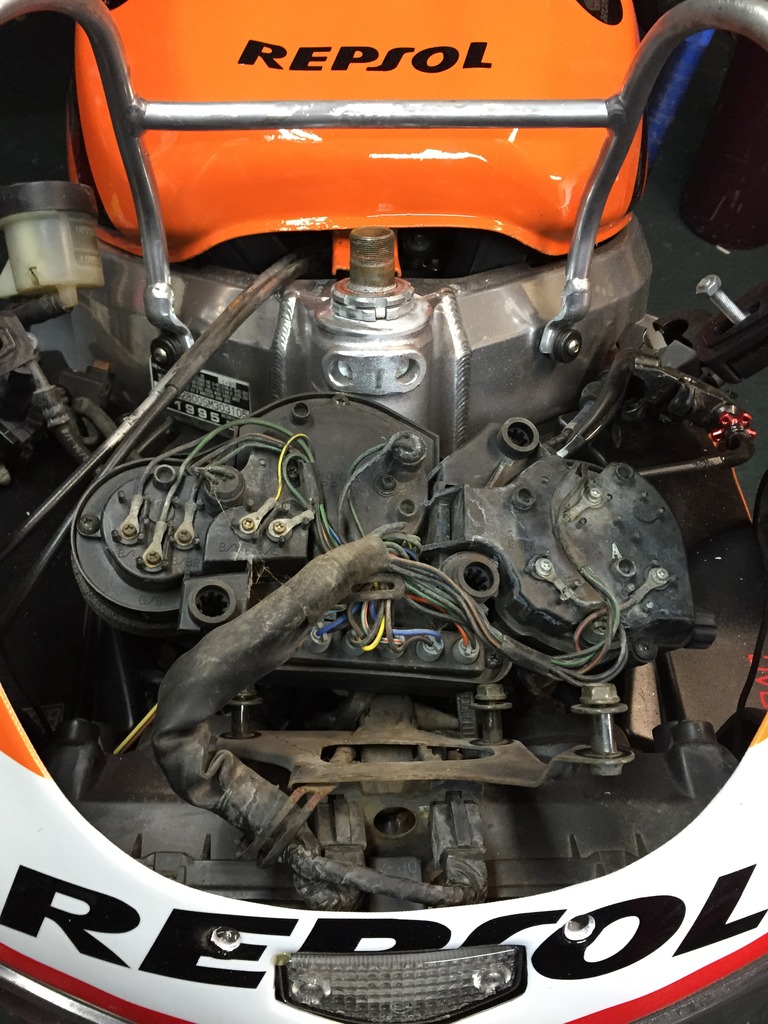
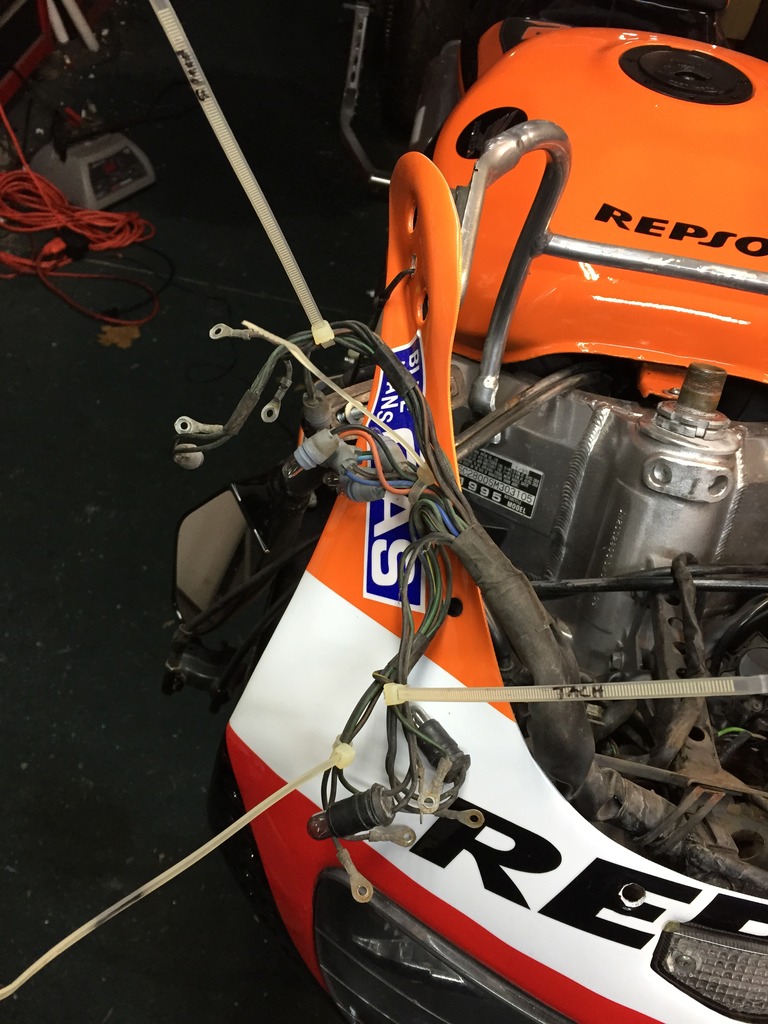
here we go again with another unforseen problem the Damper adjusters on my bike were seized so of course i tried getting them to break loose again so i could have this adjustment. Which the rod promptly broke off and the adjusters striped out, now here is the kicker. You cant buy these period, you must buy the entire assembly or the whole fork ive looked on bikebandit and ebay. Bikebandits break down of the front forks dont even show these parts at all just the whole assembley, so if anyone has any suggestions im open mineded. Here is some pics so you know what parts im refering to

(above) this is the end of the rod were it is supposed to attach to the adjuster, the spearhead looking end(opposite end) goes into the fork assembly

(above) this is were the rods in the other picture are attached to normally they broke off mine

(above) this is the top side that comes through the top of the for cap so you can adjust the damper and preload

(above) a picture of the rods that have broken off the adjuster, the spearhead looking ends go into the fork assembley
(above) this is the end of the rod were it is supposed to attach to the adjuster, the spearhead looking end(opposite end) goes into the fork assembly
(above) this is were the rods in the other picture are attached to normally they broke off mine
(above) this is the top side that comes through the top of the for cap so you can adjust the damper and preload
(above) a picture of the rods that have broken off the adjuster, the spearhead looking ends go into the fork assembley
Last edited by ambeos5; May 8, 2015 at 06:14 PM.
Here is a video of the new cluster i ordered for the bike hopefully it comes in this week so i can get it wired in.
I got some other goodies coming in also dont know exactly when they will be here hoping the end of next week get them installed and hit the road this weekend!!
I got some other goodies coming in also dont know exactly when they will be here hoping the end of next week get them installed and hit the road this weekend!!
Last edited by ambeos5; May 9, 2015 at 03:12 PM.

Senior Member
Joined: Apr 2014
Posts: 109
Likes: 1
From: Black Hills, SD
Glad to see you got the help you needed. Have you tried the websites - www.hondapartshouse.com or partzilla.com?
Seems as though they have a few more parts options and better prices then bike bandit and others. At least for parts that I have needed.
Kinda feel bad as I have dropped off the forum but a lot of real life has kept me away and now real time or money to continue work on my bike. Hope that changes soon but don't really see it the next month or two. Which sucks cause that will be half of my good riding weather gone!
i feel you Willie, i lost alot of time to work on the bike over surgery's and stuff i could have already had this stuff done and riding. Money is always an issue as well especially when you have House projects that are higher on the list than the bike. So factoring all that in nothing got done over the winter that i wanted to do to the bike now im stuck playing catchup inside riding season , again.

well my garage is 98 degrees inside and the AC isnt working so i only managed to get a few things done. First i got the cluster in and got about half of the fab work done on the new mounting bracket.


nothing is really mounted permanent yet but this about were i want the cluster to sit at i still have some triming work to do on the bottom of the mesh.
i liked the brake calipers bieng chromed but i wanted something that would really stand out so i debadged them with a mini grinder taking the Nissin logo off and making it smooth, and re-coated them bright red. After they dry i will apply Brembo logos to them


Thats going to be it for today until it cools down at least.
nothing is really mounted permanent yet but this about were i want the cluster to sit at i still have some triming work to do on the bottom of the mesh.
i liked the brake calipers bieng chromed but i wanted something that would really stand out so i debadged them with a mini grinder taking the Nissin logo off and making it smooth, and re-coated them bright red. After they dry i will apply Brembo logos to them
Thats going to be it for today until it cools down at least.