2004 CBR600RR Track Bike
#41
 01-11-2014, 05:40 PM


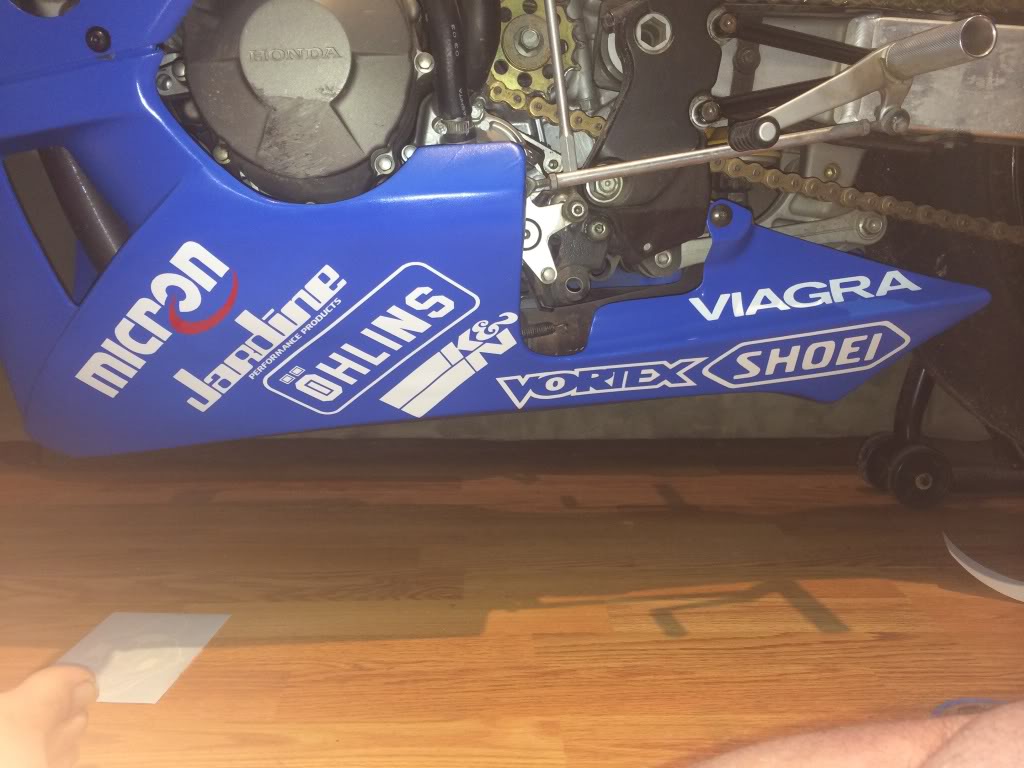
Pretty nice try on the safety wire job. The only thing I would have done differently is I would have put the tail on the other end.
If your get serious about safety wiring, you may want to pick up a pair of safety wire pliers. They're cheap and make the job way easier. I worked on airplanes for over 10 years and have safety wired about a bajllion bolts. I always used the pliers when they were available.
If your get serious about safety wiring, you may want to pick up a pair of safety wire pliers. They're cheap and make the job way easier. I worked on airplanes for over 10 years and have safety wired about a bajllion bolts. I always used the pliers when they were available.
#42
01-11-2014, 05:42 PM

Join Date: Dec 2013
Location: Charleston, WV
Posts: 87
Likes: 0
Received 0 Likes
on
0 Posts
Pretty nice try on the safety wire job. The only thing I would have done differently is I would have put the tail on the other end.
If your get serious about safety wiring, you may want to pick up a pair of safety wire pliers. They're cheap and make the job way easier. I worked on airplanes for over 10 years and have safety wired about a bajllion bolts. I always used the pliers when they were available.
If your get serious about safety wiring, you may want to pick up a pair of safety wire pliers. They're cheap and make the job way easier. I worked on airplanes for over 10 years and have safety wired about a bajllion bolts. I always used the pliers when they were available.
#43
01-11-2014, 05:57 PM
#44
01-11-2014, 06:03 PM
Join Date: Dec 2013
Location: Charleston, WV
Posts: 87
Likes: 0
Received 0 Likes
on
0 Posts
Thanks, I am using the safety wire that was setting beside the tool at Harbor Freight. I think my main problem is the angle out of the bolt.
#45
01-12-2014, 02:09 PM
Join Date: Dec 2013
Location: Charleston, WV
Posts: 87
Likes: 0
Received 0 Likes
on
0 Posts

#47
01-13-2014, 07:32 PM

Welcome Crew Technician
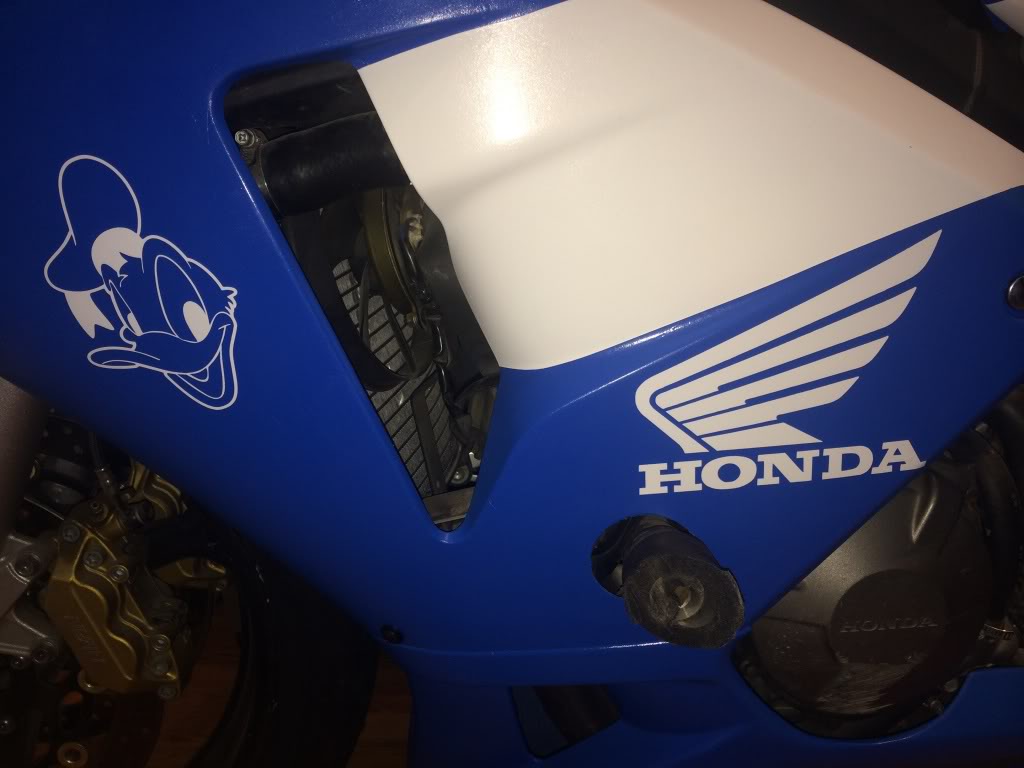
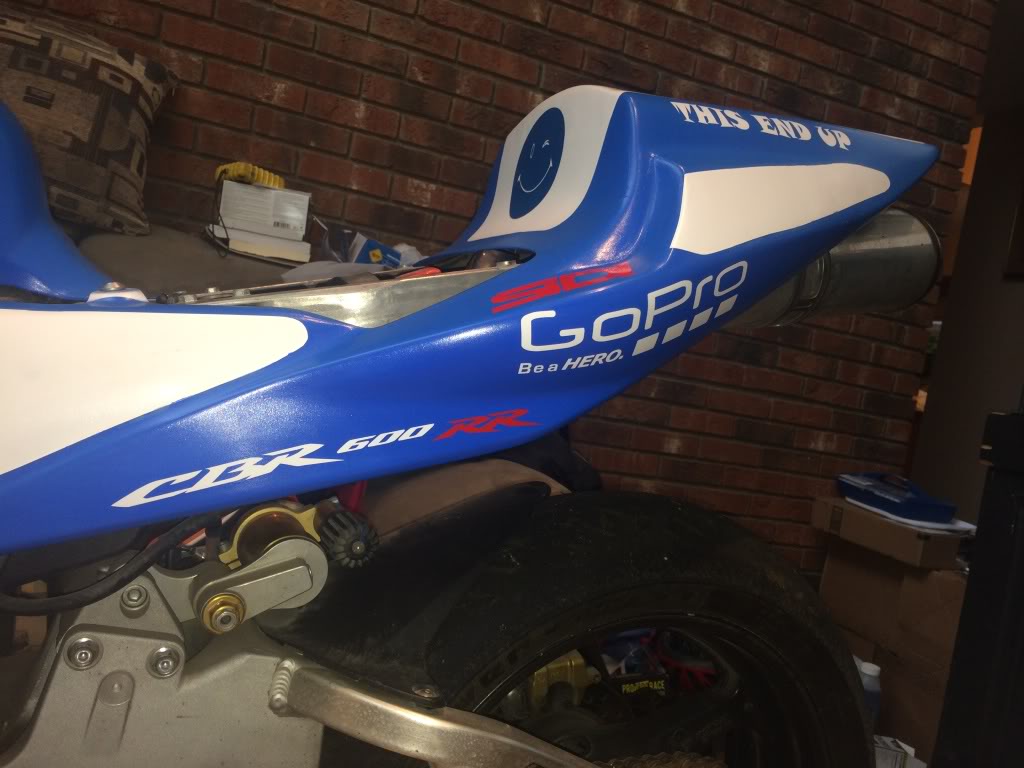
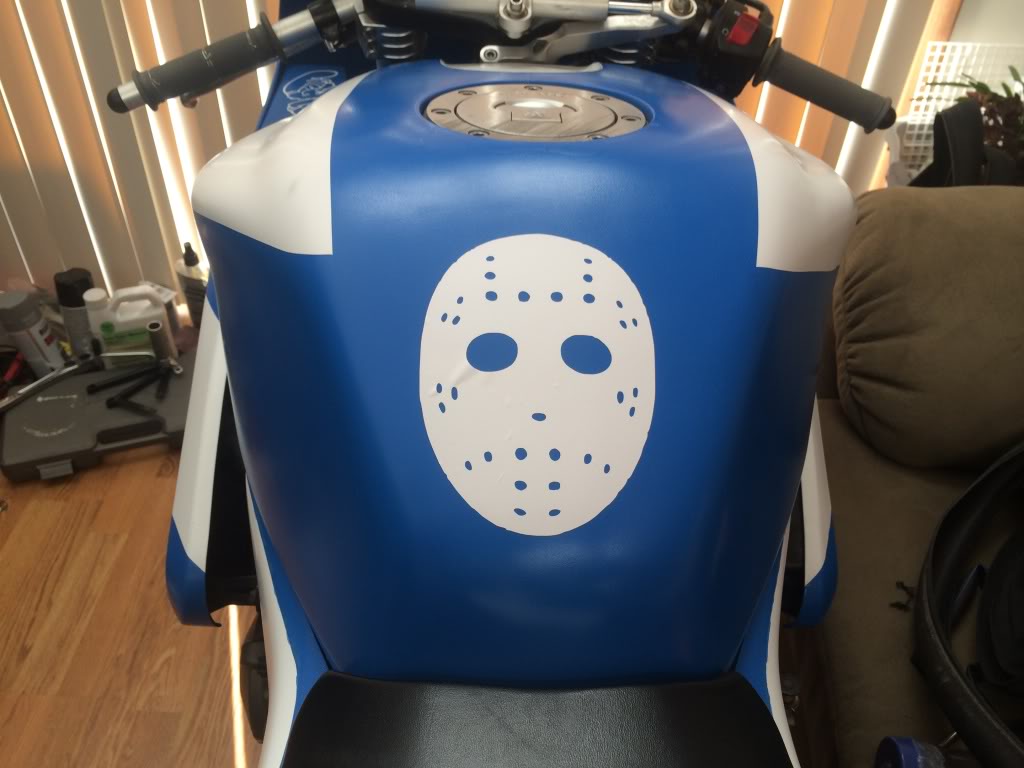
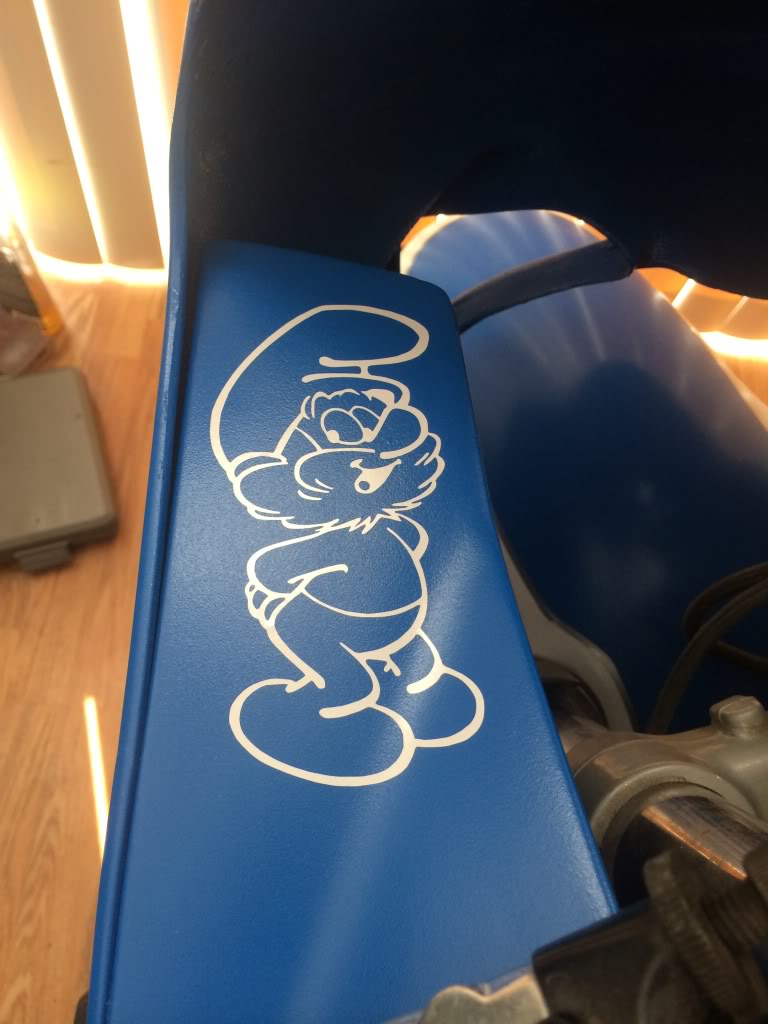
Damn, we posted up the same time and you are ahead! lol. Cool graphics though. Viagra and the jason mask are key.
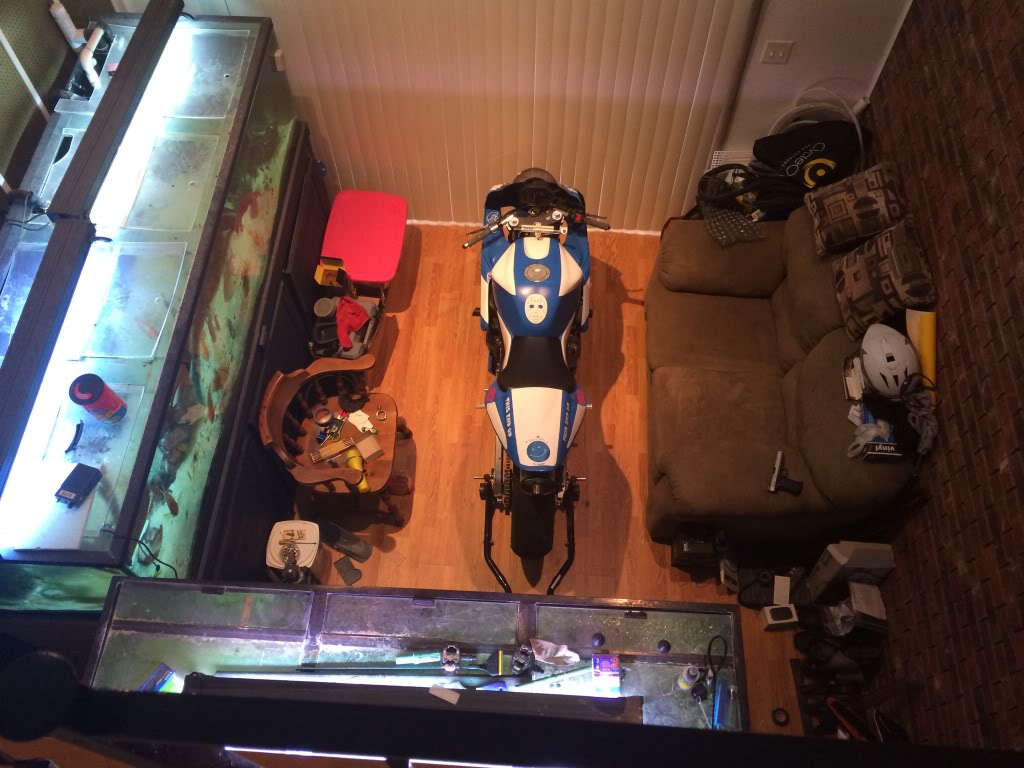
Quick question though...is that the stock setup for the pipe running to the muffler? I just always thought they ran up the center or behind the mono....just curious, guess I never really noticed till I saw the pic on yours...
Everything looks great though...really love your decals eh? do you keep putting them on or are you doing them all then clear coat or?
#48
01-13-2014, 07:36 PM
Join Date: Dec 2013
Location: Charleston, WV
Posts: 87
Likes: 0
Received 0 Likes
on
0 Posts
Damn, we posted up the same time and you are ahead! lol. Cool graphics though. Viagra and the jason mask are key.
Quick question though...is that the stock setup for the pipe running to the muffler? I just always thought they ran up the center or behind the mono....just curious, guess I never really noticed till I saw the pic on yours...
Everything looks great though...really love your decals eh? do you keep putting them on or are you doing them all then clear coat or?
The pipe was already on the bike when I bought it so I can't answer you about how it runs. It has a Jardine header and a Micron slip on. That's about all I know about it. I assume it has a factory mid-pipe but I have not looked close enough to make sure of that yet.
#49
01-17-2014, 03:46 PM
Join Date: Dec 2013
Location: Charleston, WV
Posts: 87
Likes: 0
Received 0 Likes
on
0 Posts
#50
01-17-2014, 05:35 PM
Welcome Crew Technician