When you click on links to various merchants on this site and make a purchase, this can result in this site earning a commission. Affiliate programs and affiliations include, but are not limited to, the eBay Partner Network.
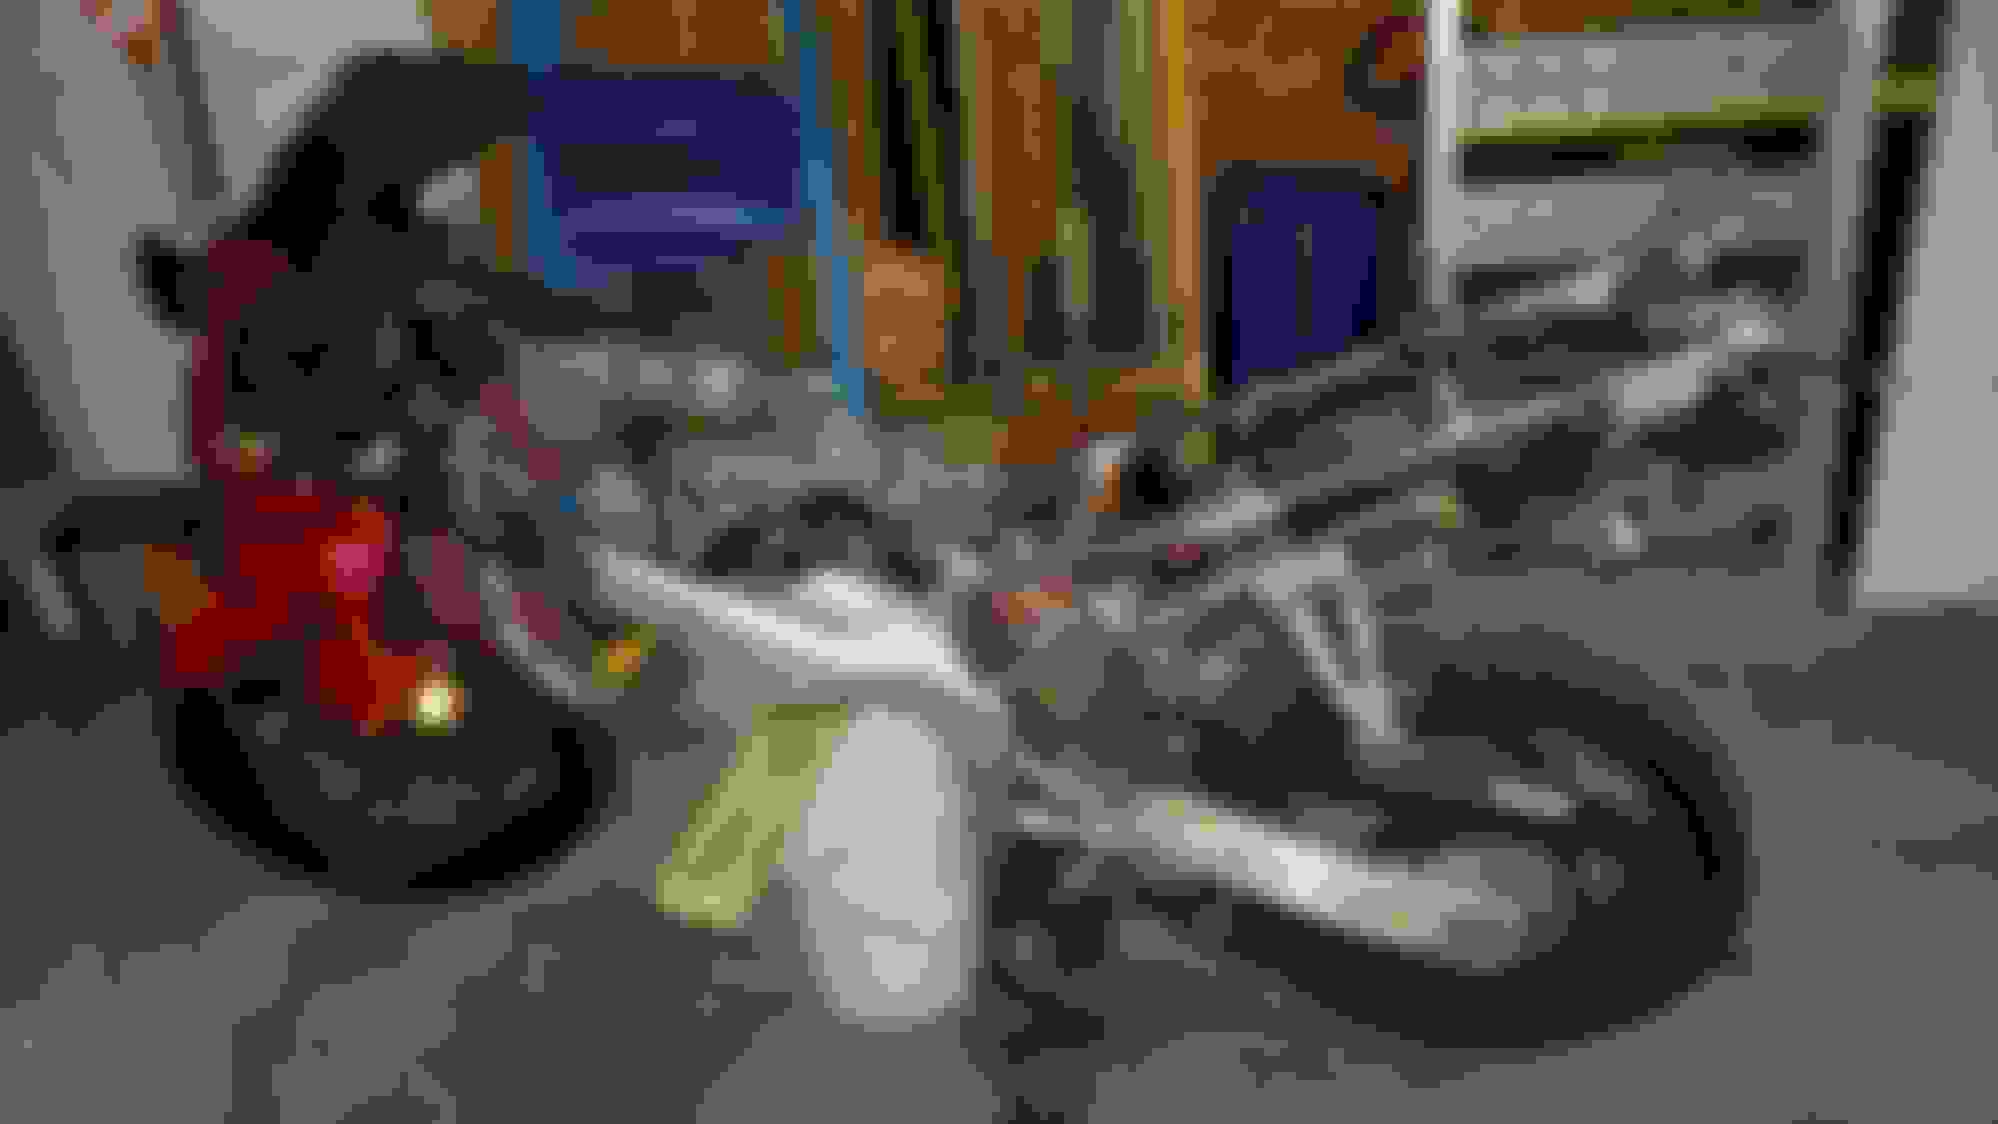
I am new to the forums but not new to riding. I just recently bought a 1999 CBR600F4 that had been laid down then subsequently sat for a number of years. while sitting, it looks like one of the carbs drained the gas tank into the engine and turned to varnish. The sad part is that this bike only has 7000 miles on it. When it went down, it destroyed a lot of parts. It ended up damaging the following parts: mirror, front brake lever, clip on, throttle, side plastic, front foot peg, rear brake lever, rear foot peg, slip on, rear fairing, tail light, and the undertail fairing. due to the varnish in the engine, I had no choice but to tear it down (not to mention that it was seized). everything I have cleaned I have done so with nothing more than a brass wire brush, plastic brush, purple power, and acetone. here is the progress i have made thus far.
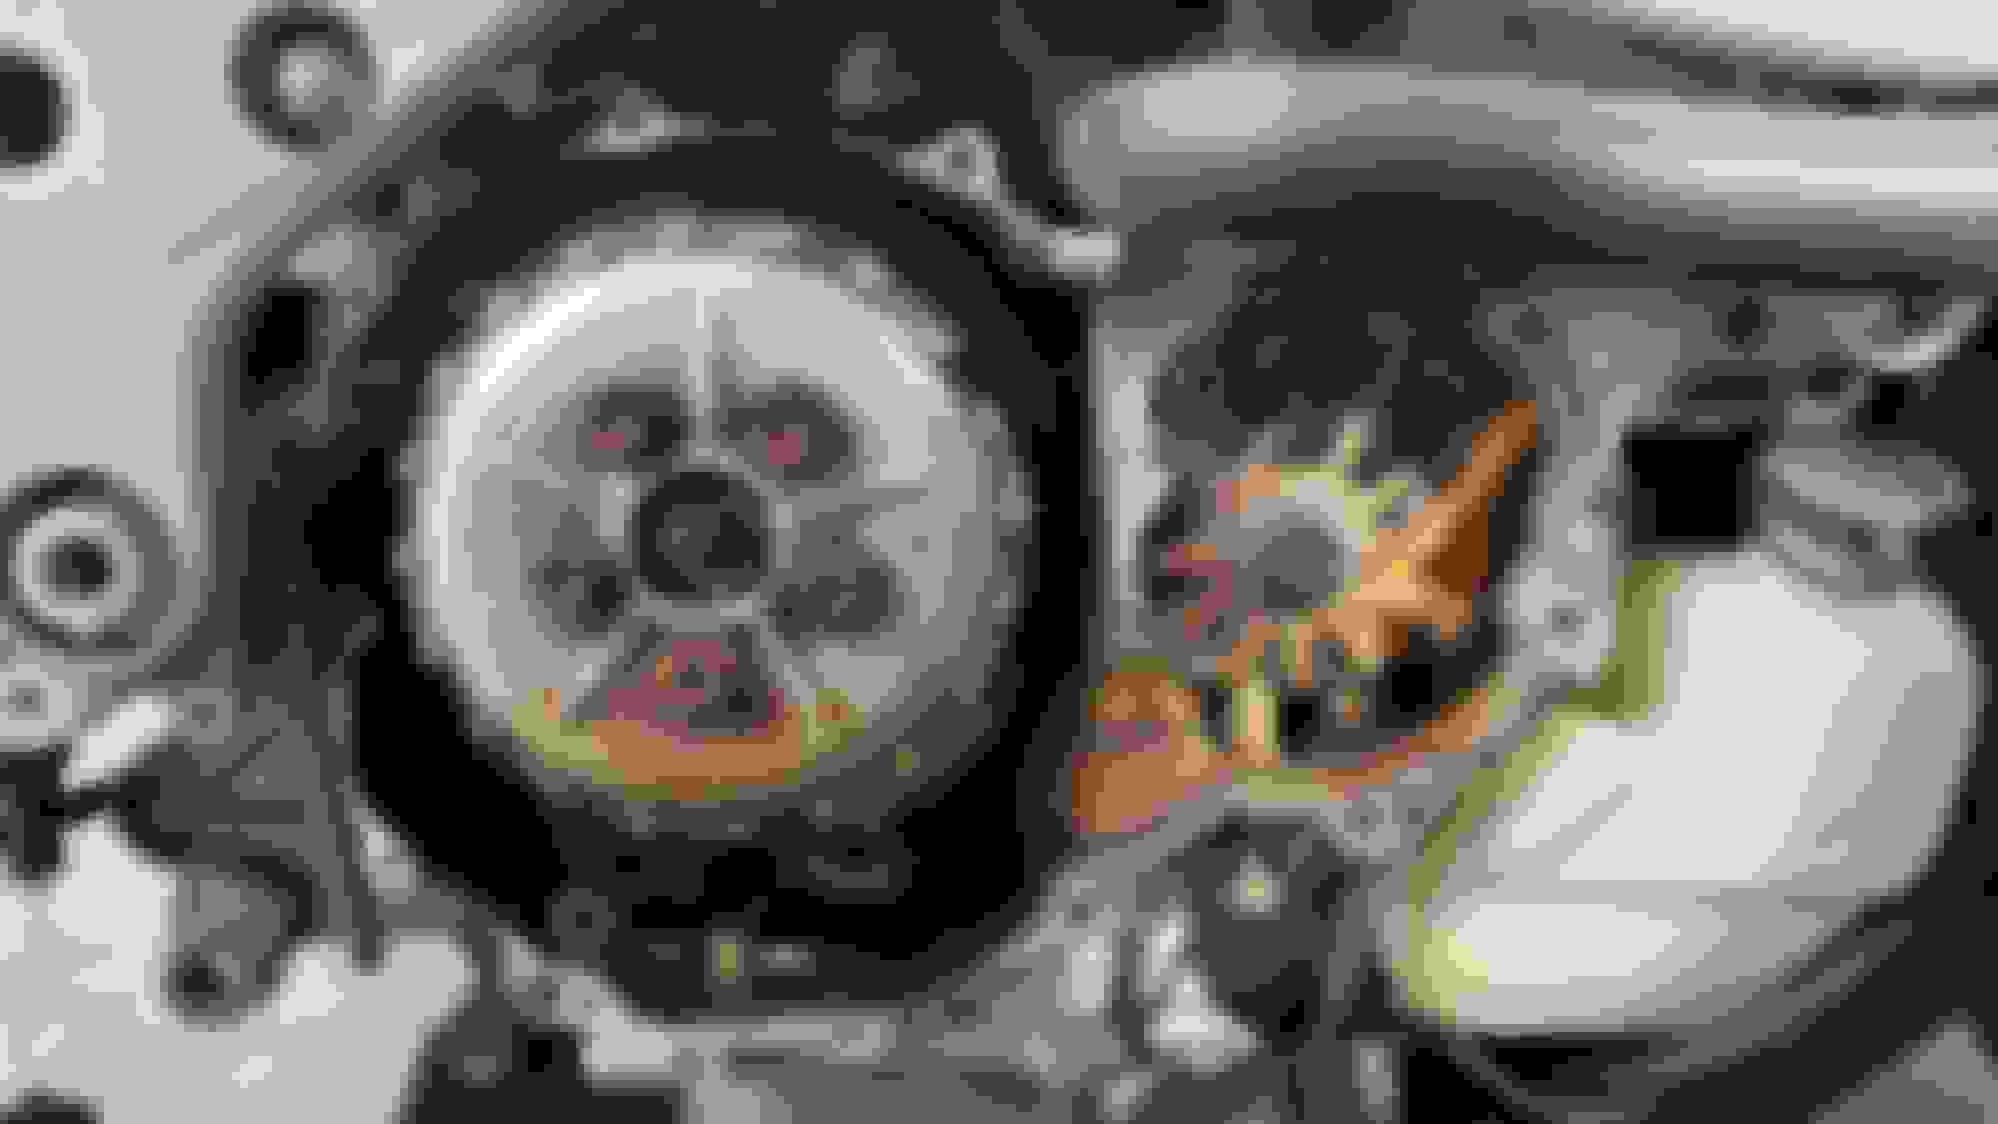
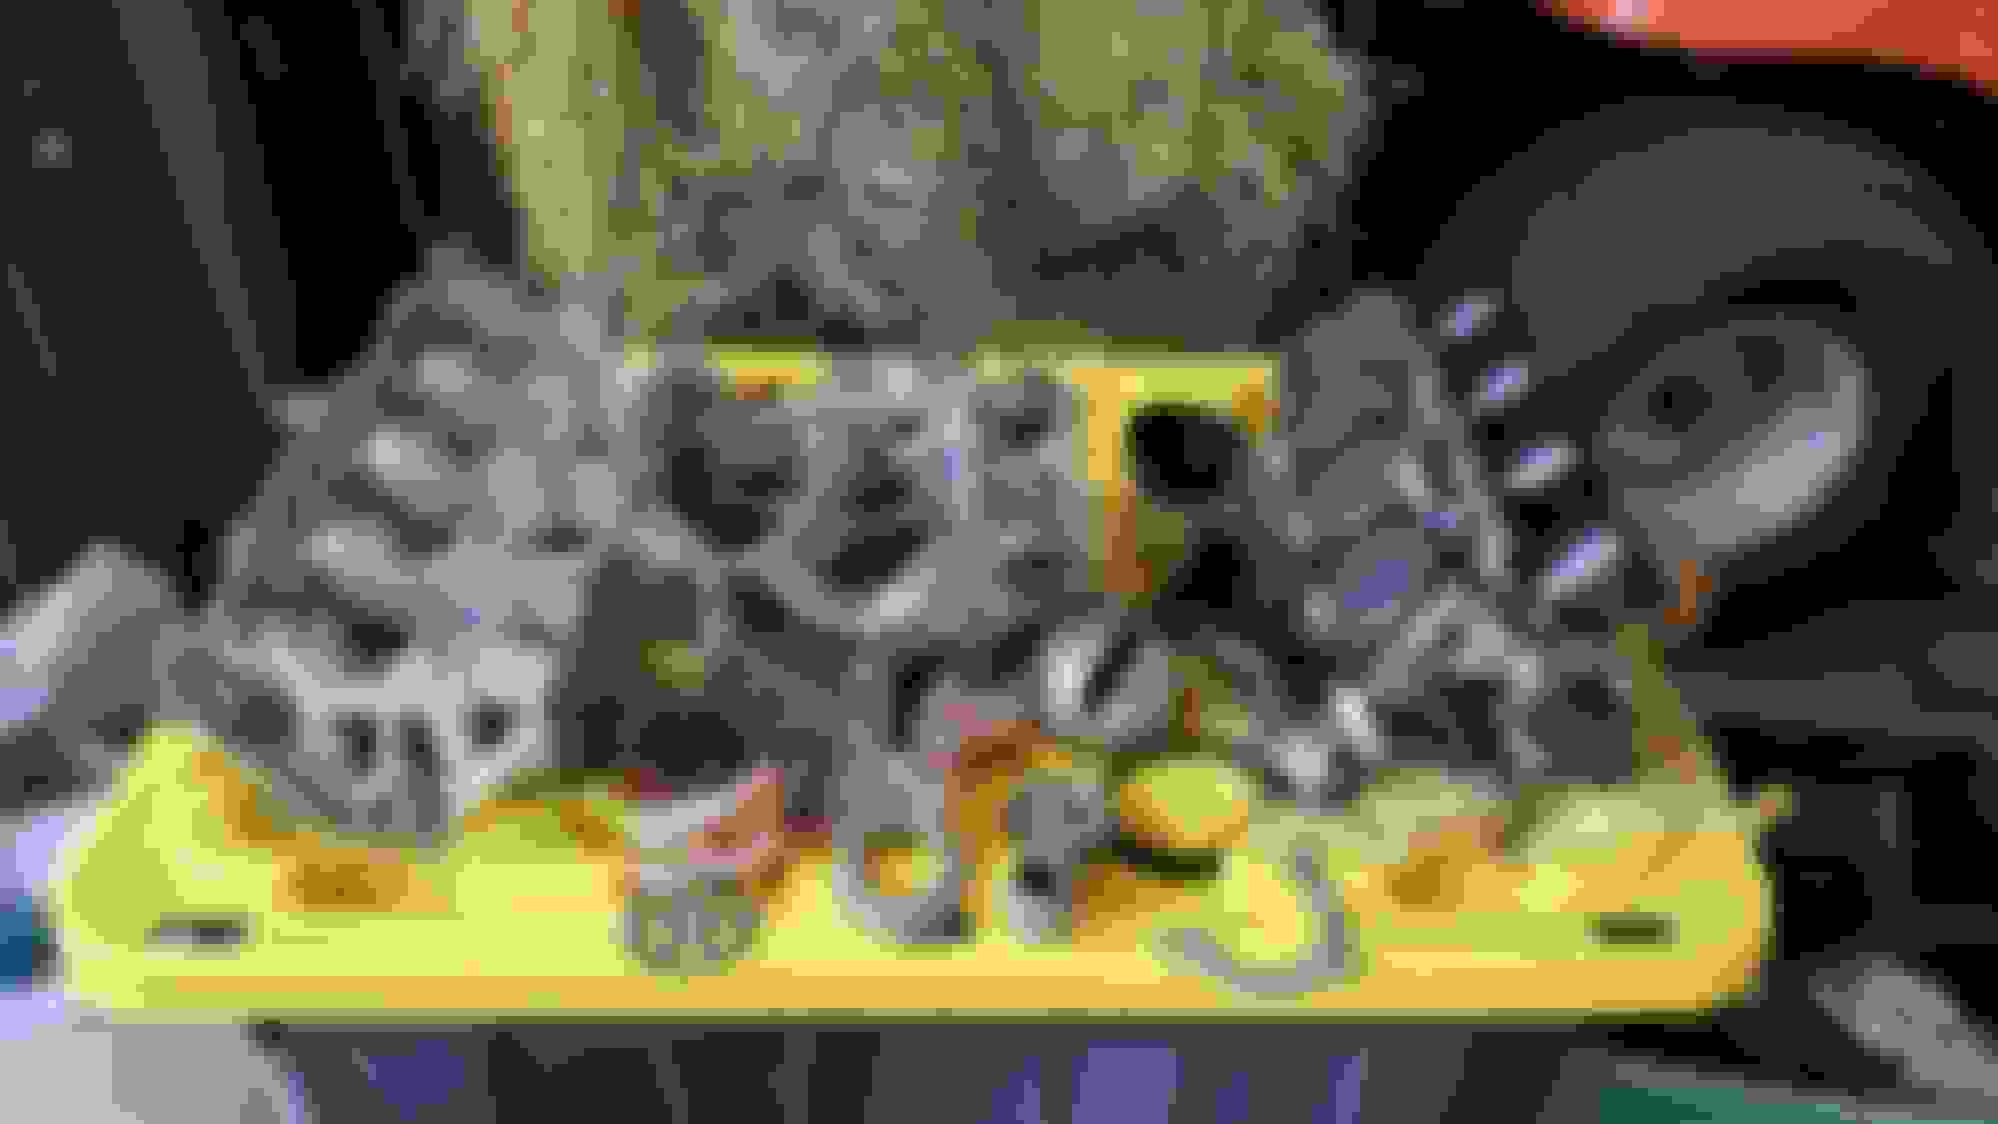
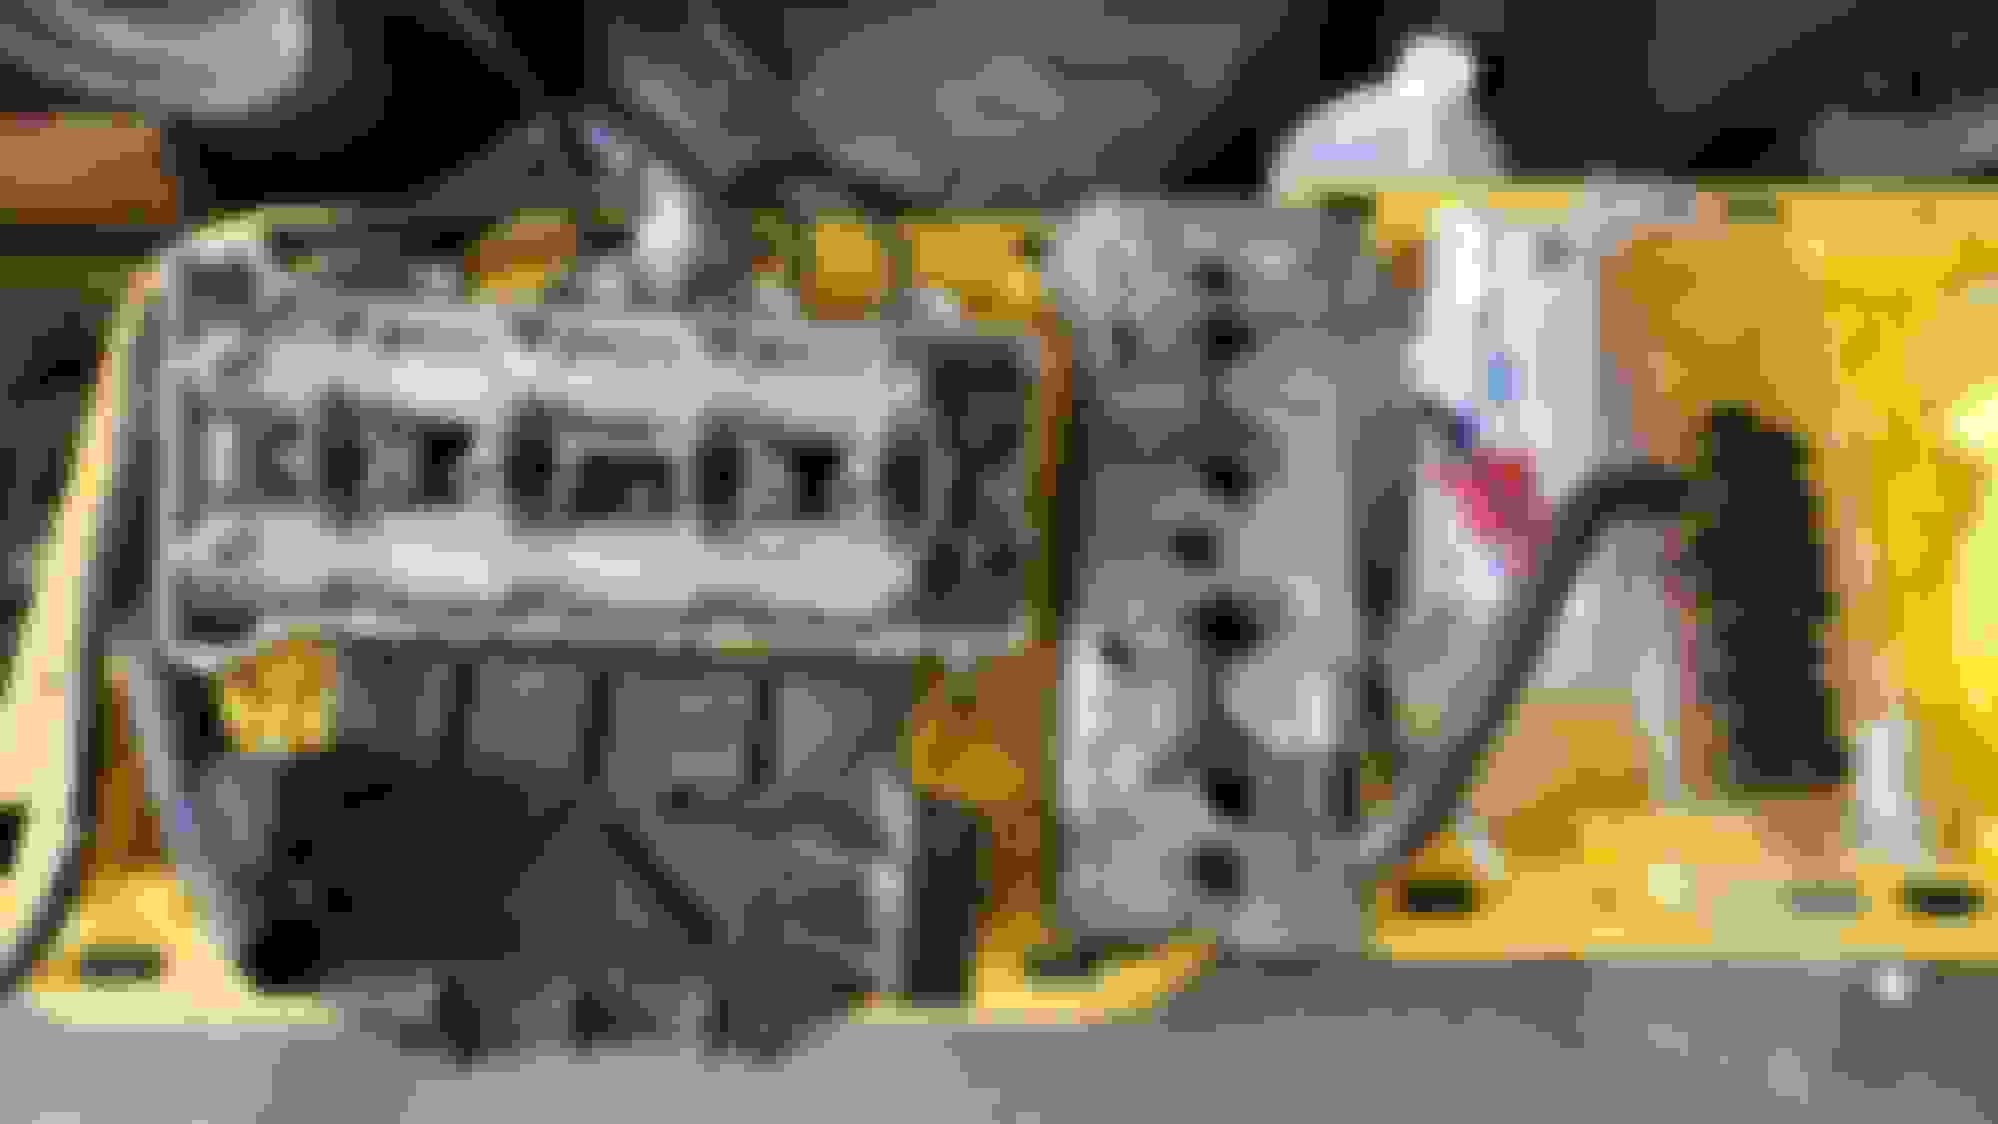
The day i picked the bike up broken clip on and related components broken foot peg and brake lever bent foot peg and bashed muffler broken tail fairing and missing tail light Prepping to remove engine no more engine Engine out signs of varnish and fuel staining on left side of head top end of cylinder head looks pretty clean. I numbered each valve lash caps to make sure i dont mess up the lash cylinder head removed things look pretty nasty in here you can see where the level of fluids were by the line of brown clutch basket is smoked, a few are even broken into pieces. entire clutch pack was stuck together when i removed it got the crank out and it looks unsalvageable its not rust, its just varnish the power of purple! purple power and a brass wire brush cleaned up the lobes pretty good. cylinder walls look pretty good look even better after a cleaning! (again, purple power and a plastic brush this time) piston was stuck in the bore due to the varnished fuel and stuck rings. thankfully it didnt mess up the walls on the way out. conn rod before... conn rod after glass beading transmission before... transmission after glass beading (i disassembled it and didn't do the bearings of course) oil pan before... oil pan after cleaning with purple power and a plastic brush bottom half of engine case before... bottom half of engine case after cleaning with purple power and a plastic brush how it sits while i wait for parts clean as a whistle
i finally got the bike put back together yesterday. im very upset with myself because in the process of bolting the 2 case halves together, i did not notice that one of the bearings on the transmission was not aligned with its dowel pin and i ended up blowing the dowel pin out of the top of the case. i plan to fix that with the tig welder. put it all back together and went for a test fire and all i got was cranking and cranking and cranking...turns out i (like most of the people on this forum) DONT HAVE SPARK! I immediately assumed pickup coil so i put an ohm meter on it and i get an open reading. took the side cover off to find the wire broken right off at the base of the pickup coil. i have a new one on order (aftermarket Caltric) and hoepfully this will solve my problem.
I am new to the forums but not new to riding. I just recently bought a 1999 CBR600F4 that had been laid down then subsequently sat for a number of years. while sitting, it looks like one of the carbs drained the gas tank into the engine and turned to varnish. The sad part is that this bike only has 7000 miles on it. When it went down, it destroyed a lot of parts. It ended up damaging the following parts: mirror, front brake lever, clip on, throttle, side plastic, front foot peg, rear brake lever, rear foot peg, slip on, rear fairing, tail light, and the undertail fairing. due to the varnish in the engine, I had no choice but to tear it down (not to mention that it was seized). everything I have cleaned I have done so with nothing more than a brass wire brush, plastic brush, purple power, and acetone. here is the progress i have made thus far.
The day i picked the bike up broken clip on and related components broken foot peg and brake lever bent foot peg and bashed muffler broken tail fairing and missing tail light Prepping to remove engine no more engine Engine out signs of varnish and fuel staining on left side of head top end of cylinder head looks pretty clean. I numbered each valve lash caps to make sure i dont mess up the lash cylinder head removed things look pretty nasty in here you can see where the level of fluids were by the line of brown clutch basket is smoked, a few are even broken into pieces. entire clutch pack was stuck together when i removed it got the crank out and it looks unsalvageable its not rust, its just varnish the power of purple! purple power and a brass wire brush cleaned up the lobes pretty good. cylinder walls look pretty good look even better after a cleaning! (again, purple power and a plastic brush this time) piston was stuck in the bore due to the varnished fuel and stuck rings. thankfully it didnt mess up the walls on the way out. conn rod before... conn rod after glass beading transmission before... transmission after glass beading (i disassembled it and didn't do the bearings of course) oil pan before... oil pan after cleaning with purple power and a plastic brush bottom half of engine case before... bottom half of engine case after cleaning with purple power and a plastic brush how it sits while i wait for parts clean as a whistle
hey there im starting my engine removal, is there any videos that helped you, i cant find any?
I won't lie, dropping the engine was a bit of a project since I did not have the right tools at the time.
remove the chain
remove the tank
remove the front plastics
drain the coolant
remove the radiator and overflow tank
remove the carburetors
disconnect all wiring from the engine
place floor jack under the engine and suspend your frame from the ceiling (if possible)
raise jack to support engine
remove all engine bolts
lower jack