(Painting) Wish me luck
#1
 10-25-2009, 09:46 AM

Can't take sanding any more (and I doubt the plastic can either). Finally got the compressor setup. Eliminated all the air leaks in the system. Got the 1.7mm gun setup and the primer shaken till my arms are tired.
Got 2 whole days to throw some paint around. Hopefully in a couple days we'll see something that looks a lot better.
I even found a nice design I might try to airbrush on the lowers
Got 2 whole days to throw some paint around. Hopefully in a couple days we'll see something that looks a lot better.
I even found a nice design I might try to airbrush on the lowers


#5
10-25-2009, 01:13 PM
#7
10-26-2009, 05:37 AM
Official Welcome Crew Spicy Cat
i hear your side of bad painting runs my friend.
i put 4 coats of primer, 4 coats of black, and 4 clear coats on my tank...
then it rained while i was at walmart letting it dry.
that days forecast you say? oh, sunny.
what was i buying at walmart? a tarp (and sweet tea).
it slid off completley in one huge nasty animal pelt looking piece.
so it kinda looks like my own homemade tank bra
exciting i know. exciting.
if you see any tank bras on ebay by spicymeowmix, do not buy.
repeat, do not buy.
#8
10-26-2009, 06:14 PM
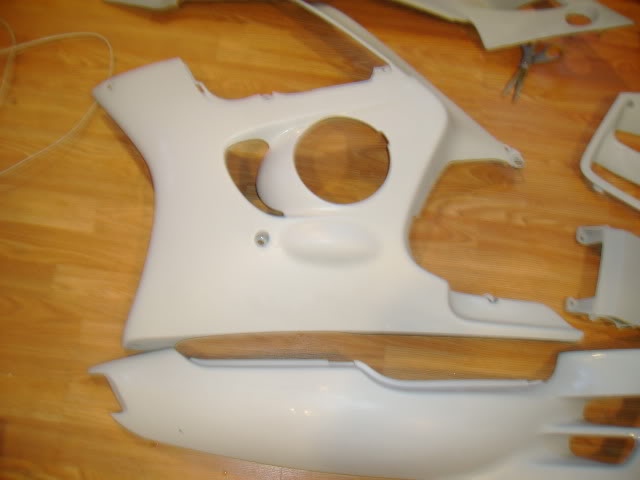
Well finished priming everything but the tank and front fender (I forgot about the front fender). The tank I'm saving for last.
Sorry bout the bad pics (part of the reason my gf is getting a new Canon Rebel XSi for her birthday on Thurs).
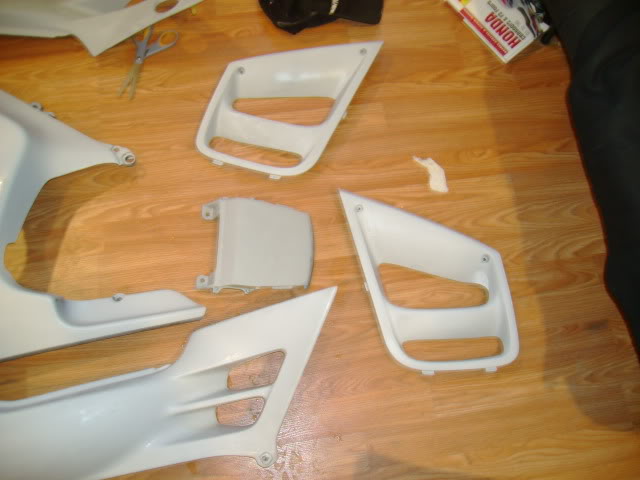

This one is a toughie. Hard to get sandpaper into there. Paint will be a problem too without overspraying the surrounding areas. Any hints?

The easiest piece to deal with. Got it brand new, unpainted, still in plastic off Ebay for $20. God I wish he had a full set...
Some things I learned:
Got late and a couple parts are still drying. So tomorrow the silver goes on.
Sorry bout the bad pics (part of the reason my gf is getting a new Canon Rebel XSi for her birthday on Thurs).
This one is a toughie. Hard to get sandpaper into there. Paint will be a problem too without overspraying the surrounding areas. Any hints?
The easiest piece to deal with. Got it brand new, unpainted, still in plastic off Ebay for $20. God I wish he had a full set...
Some things I learned:
- Sand thoroughly
I missed some spots that looked and felt smooth. But the primer made them stick out like Harleys. Went back with the DA and reprimered those parts - Monitor my air pressure closely
The air pressure changed after the first few seconds. Once the compressor kicked in, it stabilized but lower than my initial setting. - Turn the piece for each coat
I got the best coverage when I started turning the part before each coat. That way I came at it at a different angle, getting the spots I lightly misted better - Filler primer is my friend
On a lark I picked up 2 cans of filler primer too. After the first misstep priming, I used that as a base coat of primer. It significantly helped the rough spots. And being a different color, light spots of the real primer showed up easily - Priming is practice
Took a couple tries to get the gun movement, air pressure and everything down. But priming is most forgiving (or takes the least amount of work to do over). When the gun is loaded with paint, things will be much smoother
Got late and a couple parts are still drying. So tomorrow the silver goes on.
#9
10-27-2009, 08:15 PM

July 2012 Ride of the Month
#10
10-27-2009, 09:49 PM