F3 Project Progress
#31
 10-16-2010, 01:30 AM


Join Date: Apr 2010
Location: Chicago, IL
Posts: 484
Likes: 0
Received 0 Likes
on
0 Posts
So...
I'M DONE!!
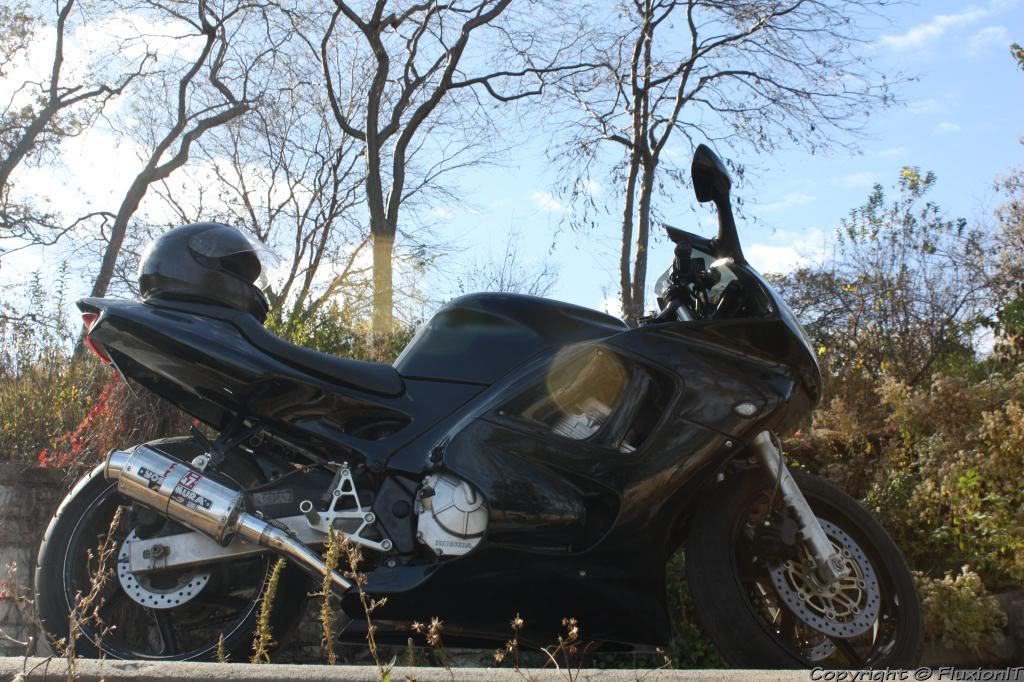
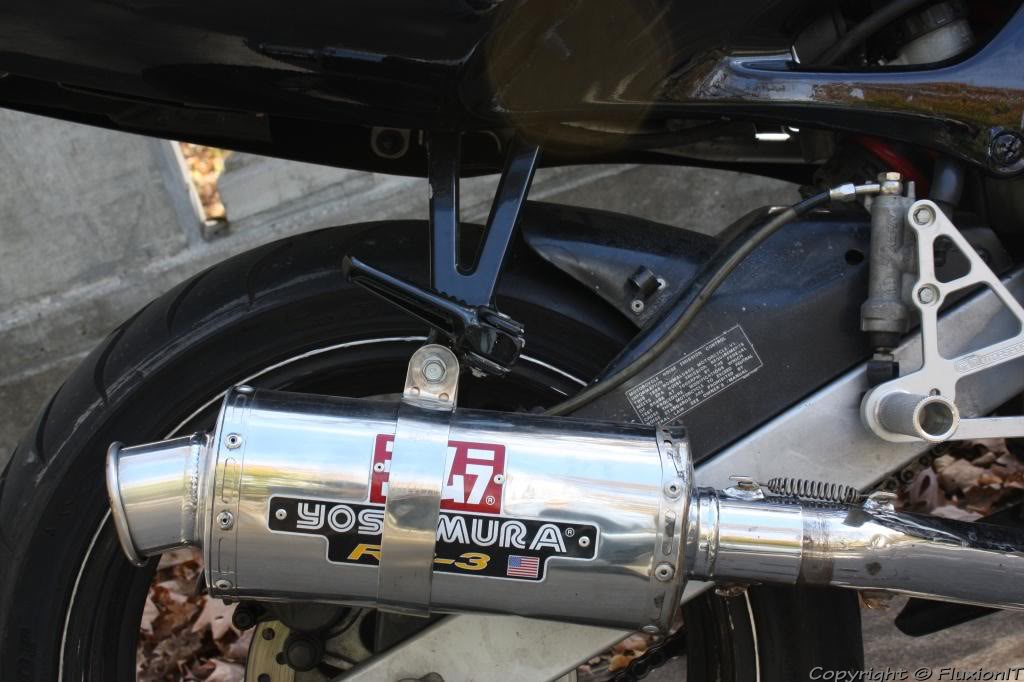
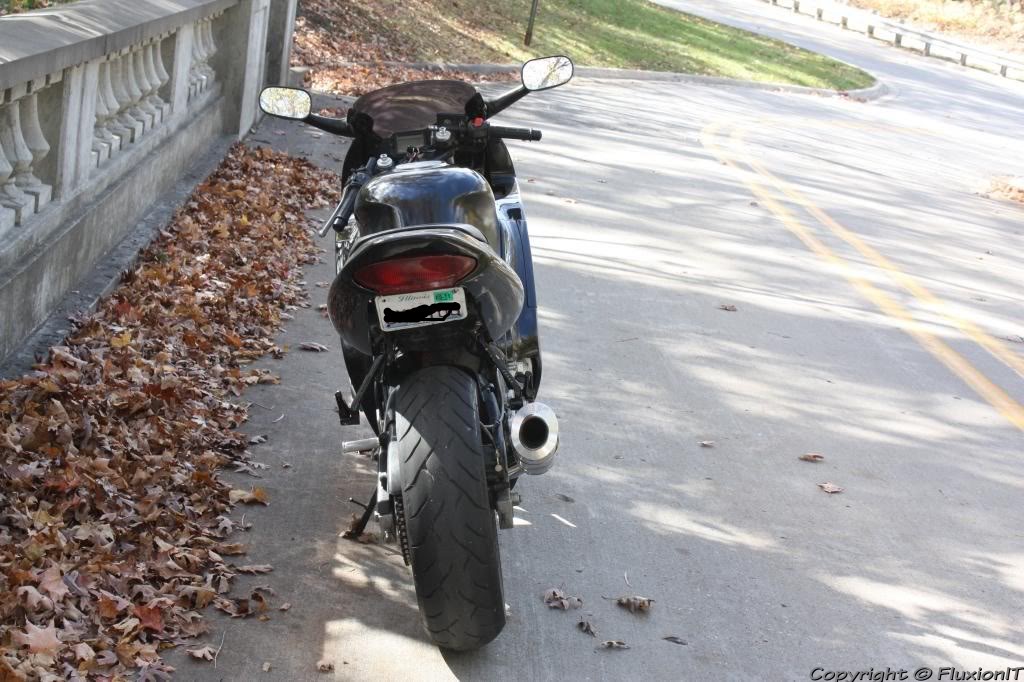
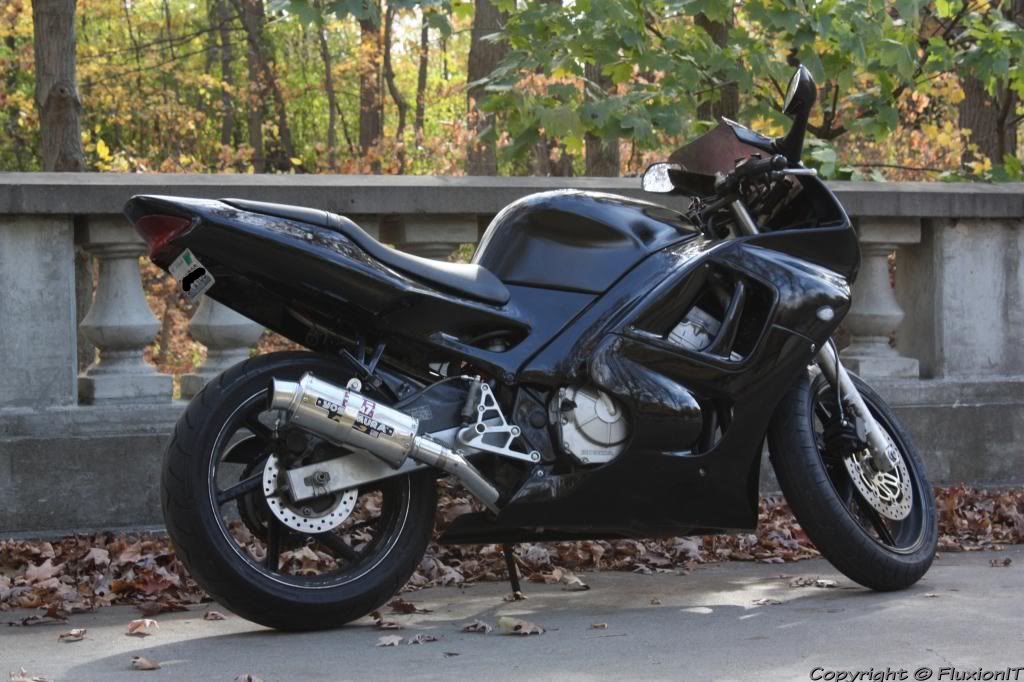
Exhaust, SSLines, Rearsets, Passenger rearsets, tinted windscreen, petcock with new filter, KN filter are all installed! Took 2 days to install everything, I finished everything up today and put everything back together... I literally just finished (01:00)
since the Yosh and KN setup, bike is no longer running rich, dont smell petrol any longer and is running smoother...exhaust sounds nice, glad I went with the full Yoshi system although, it's a little louder than I like but I had to cut it to make it look better since it was damaged, but... worth it though...
Petcock works perfect, glad I replaced it, no leaks and it looks better.
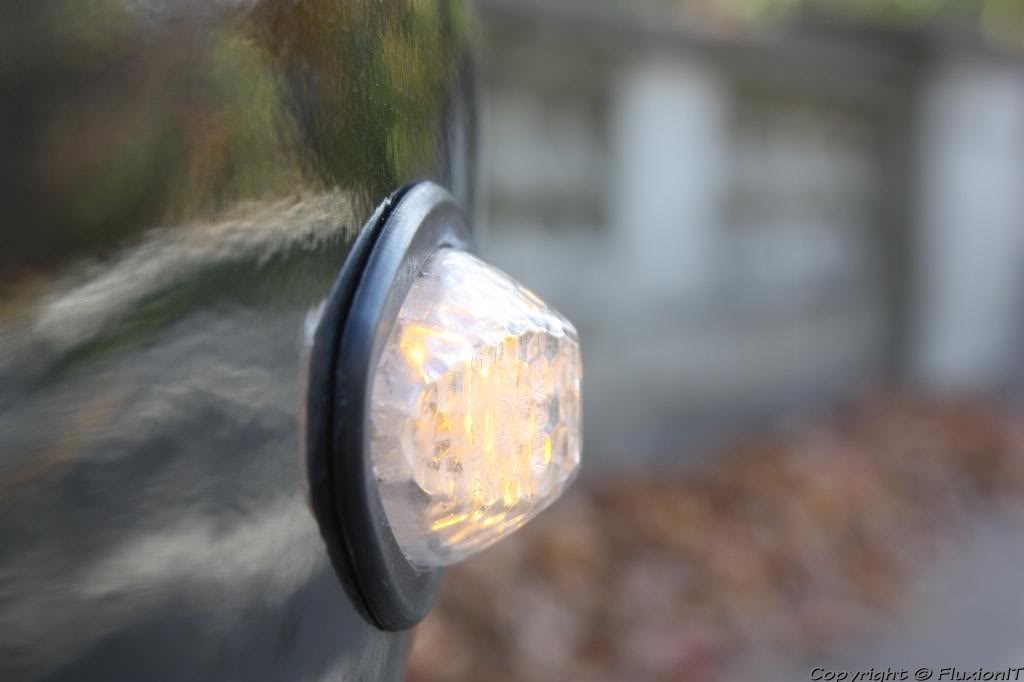
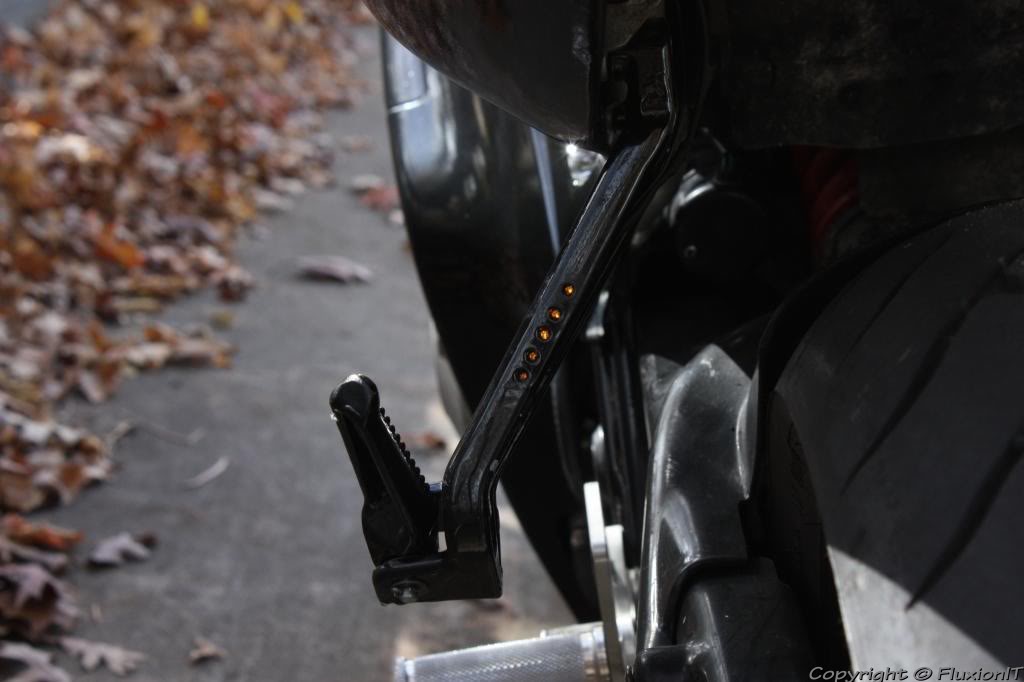
Passenger pegs have turn signals installed and look ok... I wished they were brighter but I dont care enough now... Maybe in the winter I'll replace them when I make my custom tail light, maybe not.
ZG Tinted Windscreen looks good, it doesn't match up with the stock holes above the mirrors ... it's kinda weird, but it's ok since I dont have those screws anyway.
Russell SS Lines, I am so glad I swapped them out, completely different feeling!
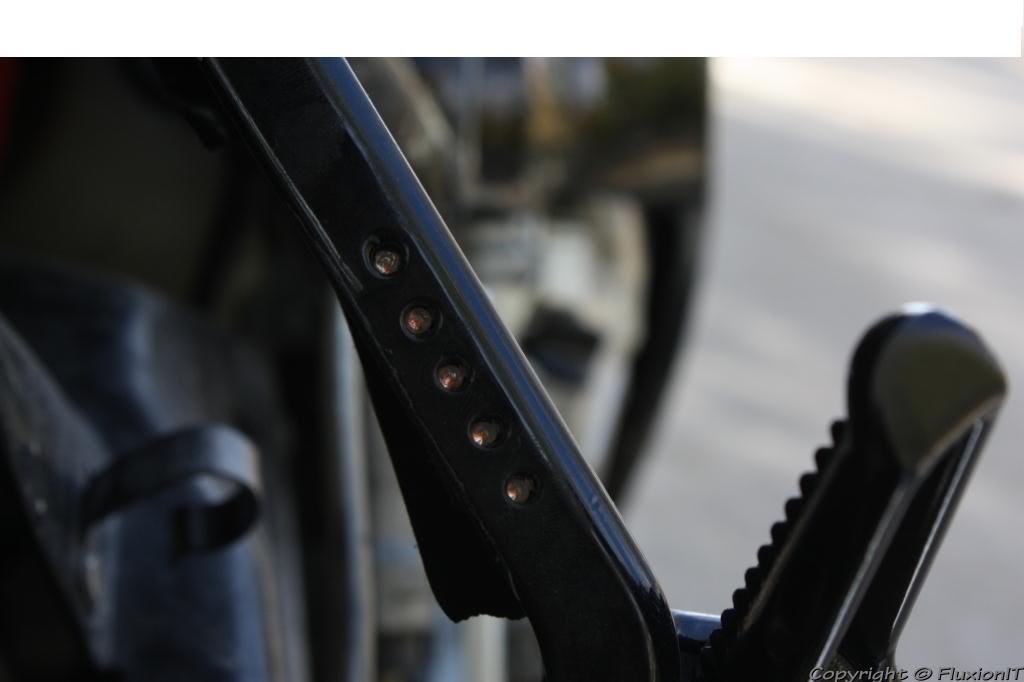
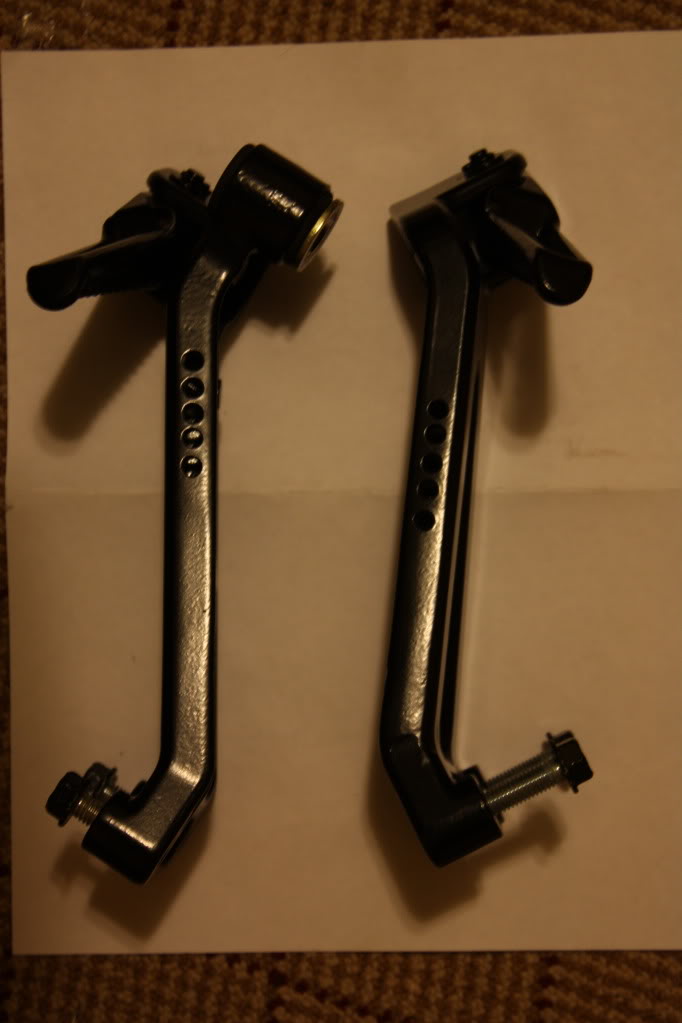
Woodcraft CFM Rearsets... wow... awesome feel to them, great grip under the feet, the give you a better sitting position... I think this will work out great when I'm dragging knee... I'll buy the brake pedal screw and brake light mount next year as I don't use either one.
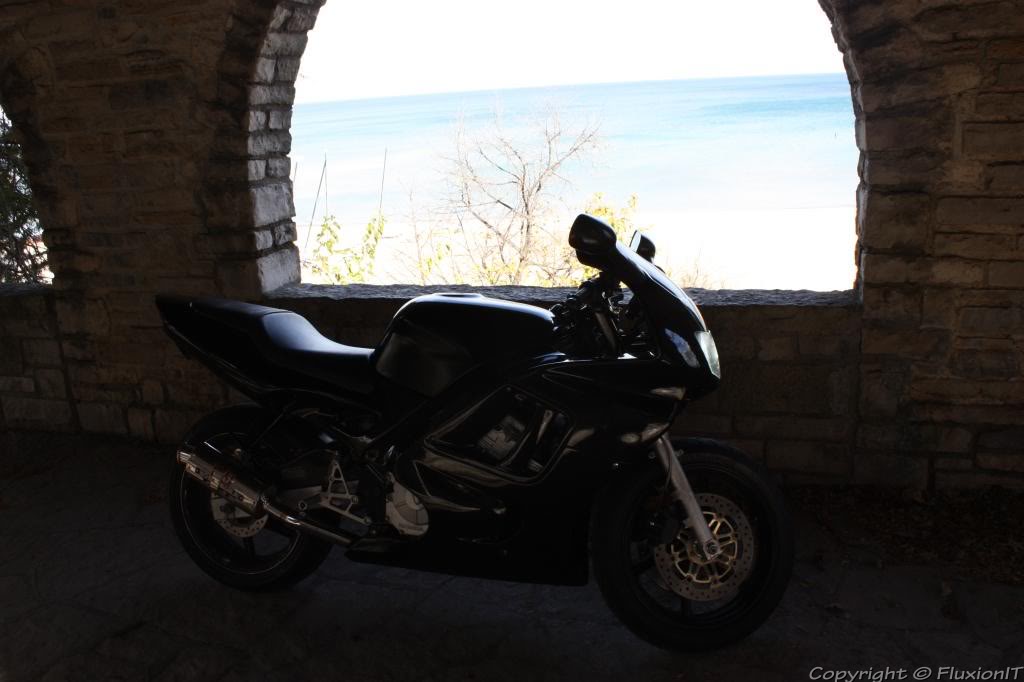
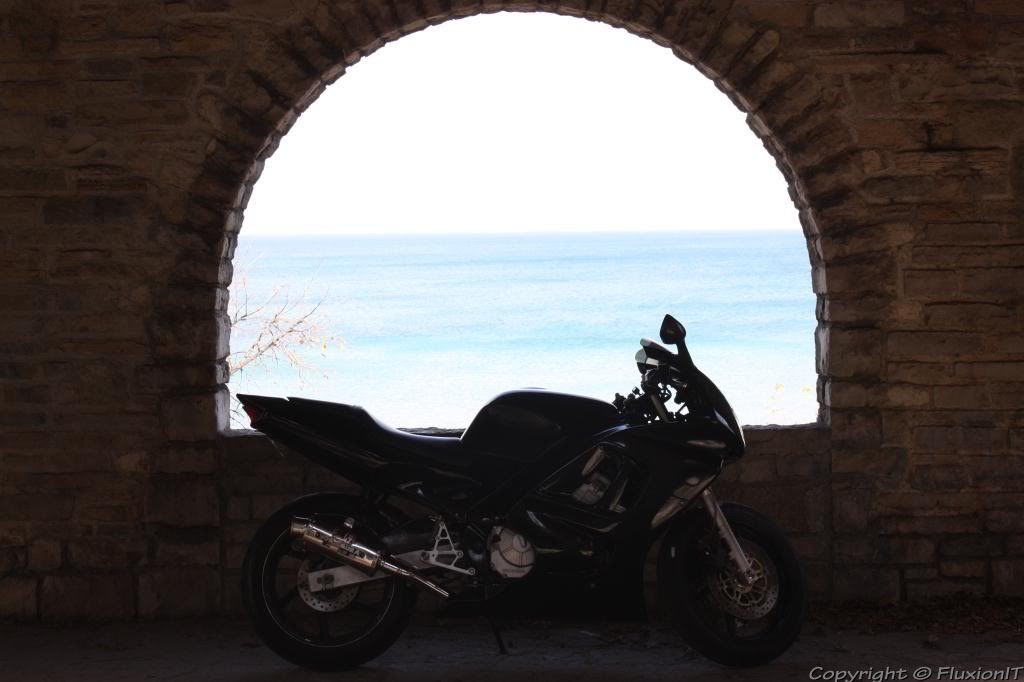
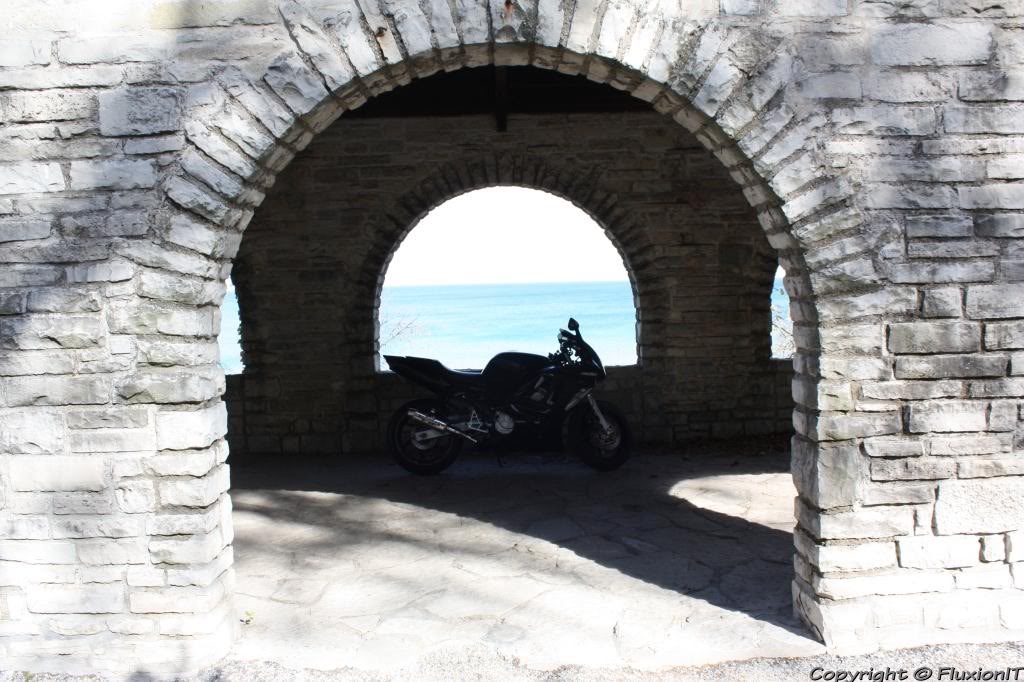
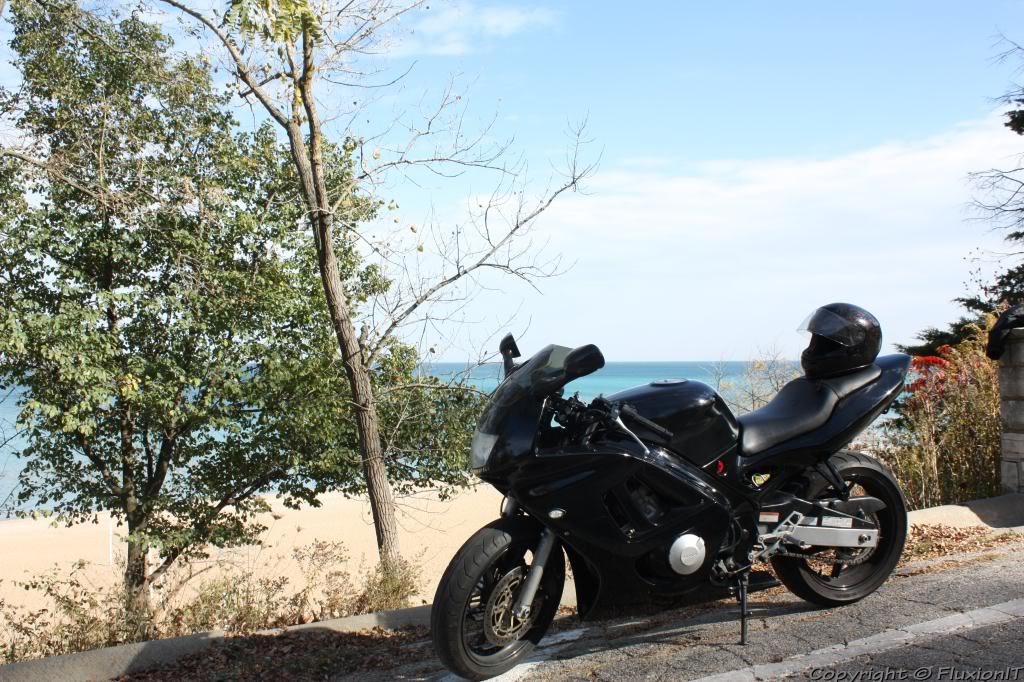
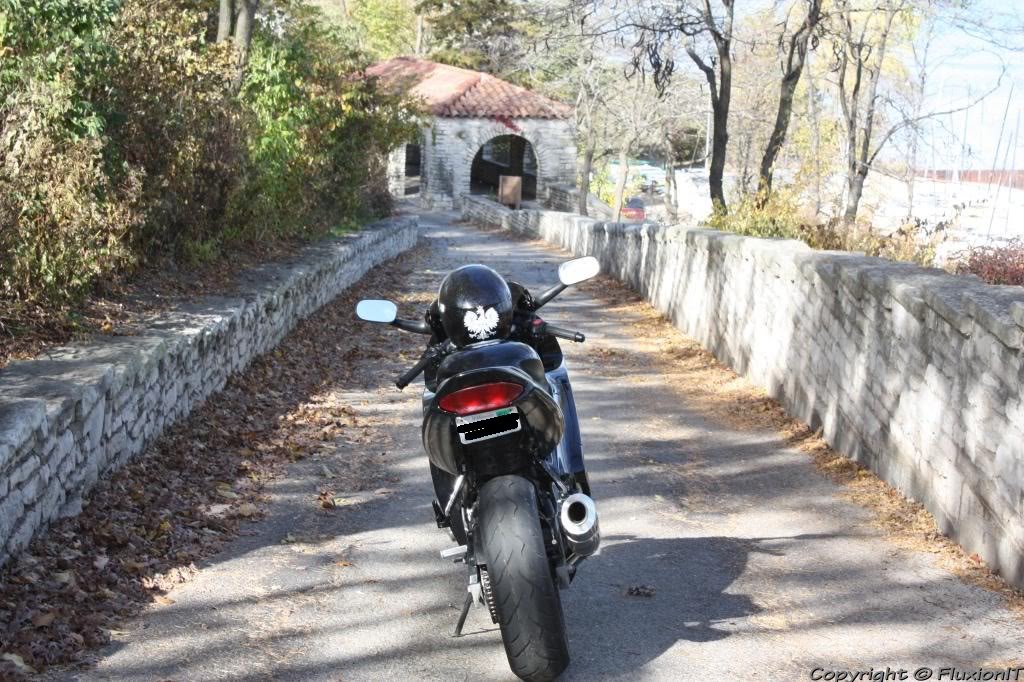
So... I'll take pictures tomorrow as soon as I get home, I'll go somewhere and take some photos for you guys
I'M DONE!!
Exhaust, SSLines, Rearsets, Passenger rearsets, tinted windscreen, petcock with new filter, KN filter are all installed! Took 2 days to install everything, I finished everything up today and put everything back together... I literally just finished (01:00)
since the Yosh and KN setup, bike is no longer running rich, dont smell petrol any longer and is running smoother...exhaust sounds nice, glad I went with the full Yoshi system although, it's a little louder than I like but I had to cut it to make it look better since it was damaged, but... worth it though...
Petcock works perfect, glad I replaced it, no leaks and it looks better.
Passenger pegs have turn signals installed and look ok... I wished they were brighter but I dont care enough now...
Maybe in the winter I'll replace them when I make my custom tail light, maybe not.ZG Tinted Windscreen looks good, it doesn't match up with the stock holes above the mirrors ... it's kinda weird, but it's ok since I dont have those screws anyway.
Russell SS Lines, I am so glad I swapped them out, completely different feeling!
Woodcraft CFM Rearsets... wow... awesome feel to them, great grip under the feet, the give you a better sitting position... I think this will work out great when I'm dragging knee... I'll buy the brake pedal screw and brake light mount next year as I don't use either one.
So... I'll take pictures tomorrow as soon as I get home, I'll go somewhere and take some photos for you guys
#32
10-16-2010, 01:35 AM
Join Date: Apr 2010
Location: Chicago, IL
Posts: 484
Likes: 0
Received 0 Likes
on
0 Posts
So...
I'M DONE!!
Exhaust, SSLines, Rearsets, Passenger rearsets, tinted windscreen, petcock with new filter, KN filter are all installed! Took 2 days to install everything, I finished everything up today and put everything back together... I literally just finished (01:00)
since the Yosh and KN setup, bike is no longer running rich, dont smell petrol any longer and is running smoother...exhaust sounds nice, glad I went with the full Yoshi system although, it's a little louder than I like but I had to cut it to make it look better since it was damaged, but... worth it though...
Petcock works perfect, glad I replaced it, no leaks and it looks better.
Passenger pegs have turn signals installed and look ok... I wished they were brighter but I dont care enough now... Maybe in the winter I'll replace them when I make my custom tail light, maybe not.
ZG Tinted Windscreen looks good, it doesn't match up with the stock holes above the mirrors ... it's kinda weird, but it's ok since I dont have those screws anyway.
Russell SS Lines, I am so glad I swapped them out, completely different feeling!
Woodcraft CFM Rearsets... wow... awesome feel to them, great grip under the feet, the give you a better sitting position... I think this will work out great when I'm dragging knee... I'll buy the brake pedal screw and brake light mount next year as I don't use either one.
So... I'll take pictures tomorrow as soon as I get home, I'll go somewhere and take some photos for you guys
I'M DONE!!
Exhaust, SSLines, Rearsets, Passenger rearsets, tinted windscreen, petcock with new filter, KN filter are all installed! Took 2 days to install everything, I finished everything up today and put everything back together... I literally just finished (01:00)
since the Yosh and KN setup, bike is no longer running rich, dont smell petrol any longer and is running smoother...exhaust sounds nice, glad I went with the full Yoshi system although, it's a little louder than I like but I had to cut it to make it look better since it was damaged, but... worth it though...
Petcock works perfect, glad I replaced it, no leaks and it looks better.
Passenger pegs have turn signals installed and look ok... I wished they were brighter but I dont care enough now...
Maybe in the winter I'll replace them when I make my custom tail light, maybe not.ZG Tinted Windscreen looks good, it doesn't match up with the stock holes above the mirrors ... it's kinda weird, but it's ok since I dont have those screws anyway.
Russell SS Lines, I am so glad I swapped them out, completely different feeling!
Woodcraft CFM Rearsets... wow... awesome feel to them, great grip under the feet, the give you a better sitting position... I think this will work out great when I'm dragging knee... I'll buy the brake pedal screw and brake light mount next year as I don't use either one.
So... I'll take pictures tomorrow as soon as I get home, I'll go somewhere and take some photos for you guys
#33
10-20-2010, 06:44 PM
Join Date: Apr 2010
Location: Chicago, IL
Posts: 484
Likes: 0
Received 0 Likes
on
0 Posts
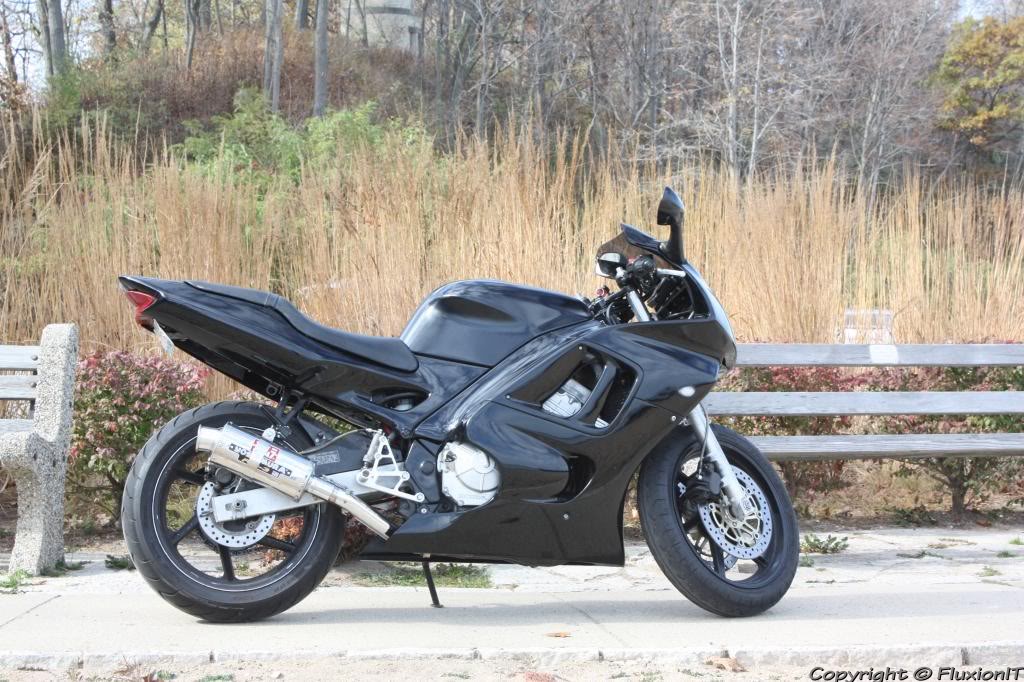
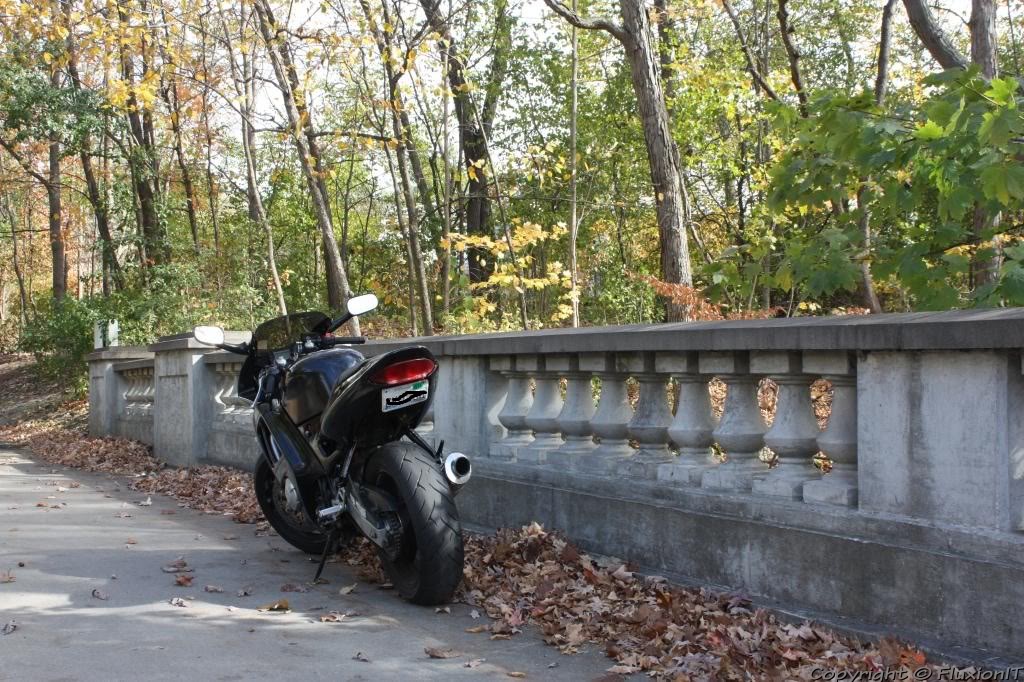
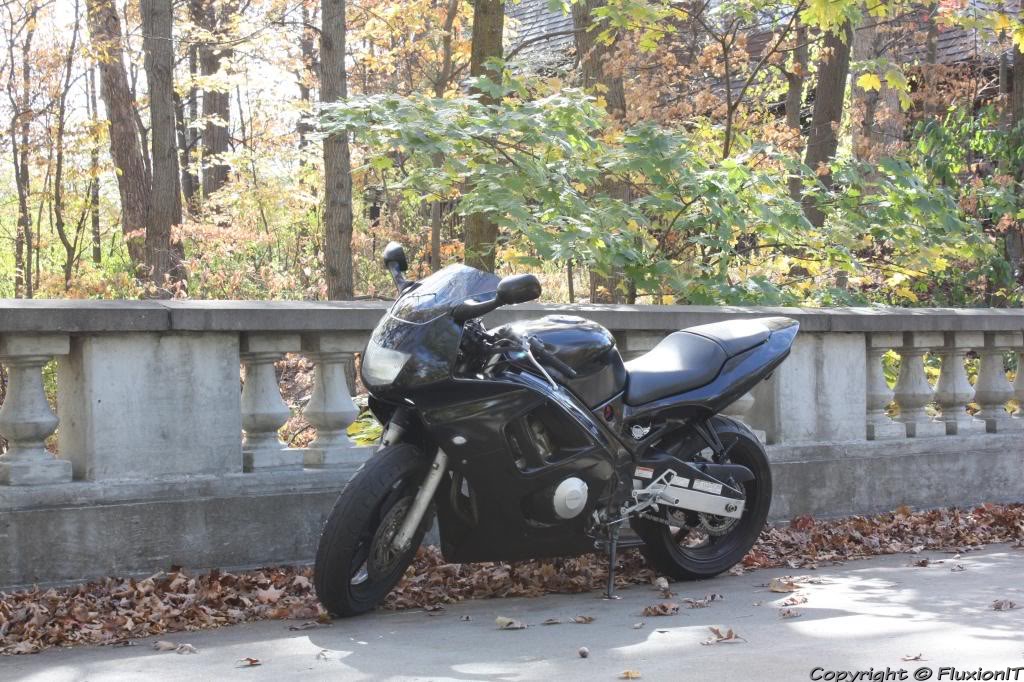
Final list of mods done to bike;
New Paint - Nighthawk Black (Black paint with Blue specks)
Tinted Windscreen - Zero Gravity
Stainless Steel Front and Rear - Russell
Rearsets - Woodcraft CFM
6000k HID - DDM Tuning (Apexicon)
Full Yoshimura Exhaust (Shortie)
F4i Gauges
AirFilter - K&N
Flushmount turn signals - Custom made
Passenger peg turn signals - Custom made
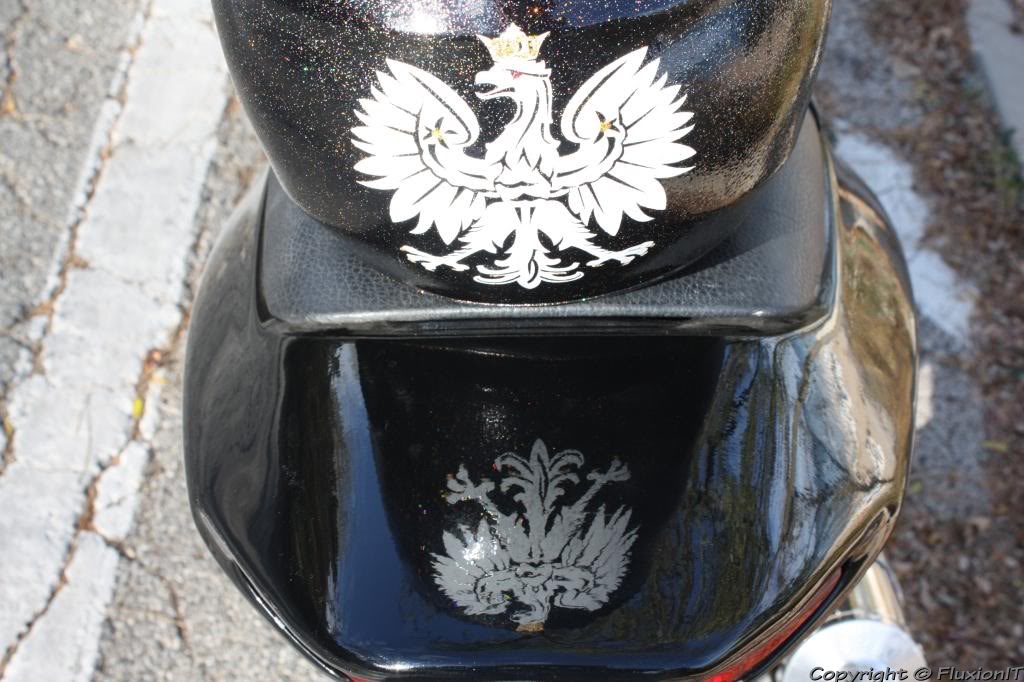
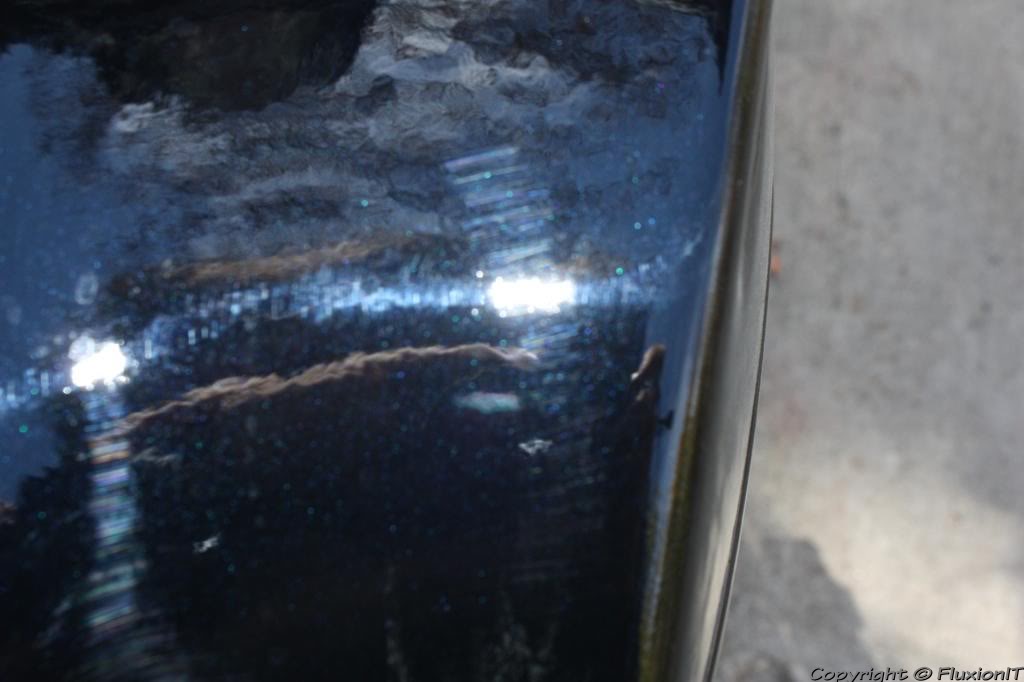
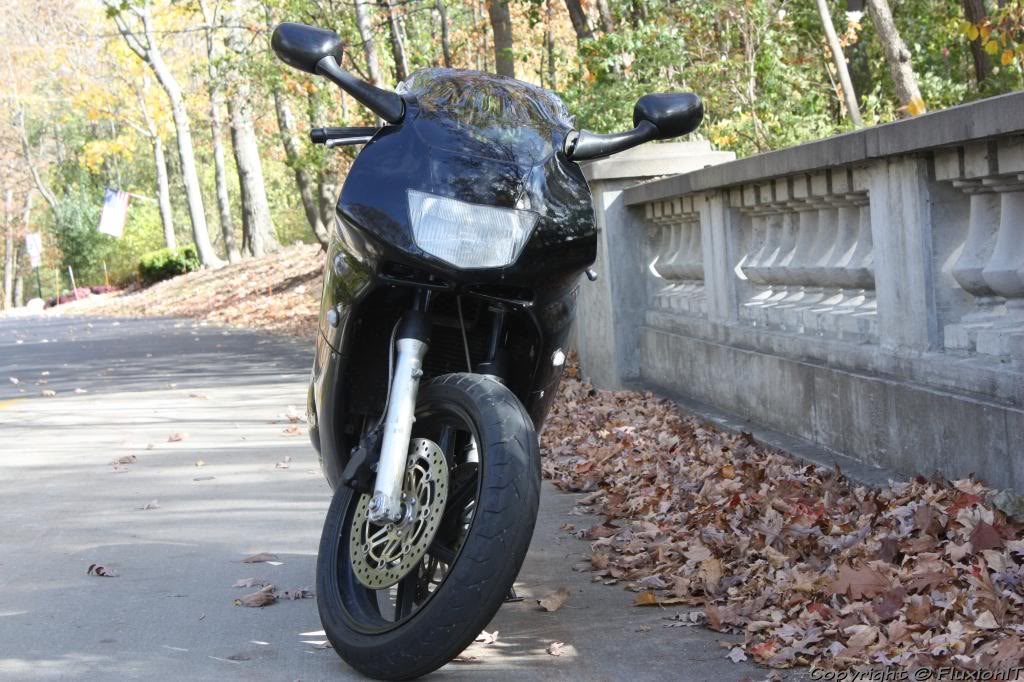
Last edited by kerosene; 10-20-2010 at 07:09 PM.
#35
10-20-2010, 07:07 PM
Join Date: Apr 2010
Location: Chicago, IL
Posts: 484
Likes: 0
Received 0 Likes
on
0 Posts
#36
10-20-2010, 07:26 PM

Senior Member
Join Date: May 2010
Location: Arvada, Colorado
Posts: 407
Likes: 0
Received 0 Likes
on
0 Posts
#37
10-20-2010, 07:37 PM
Join Date: Apr 2010
Location: Chicago, IL
Posts: 484
Likes: 0
Received 0 Likes
on
0 Posts
Spray gun, it was automotive paint (the good kind, no cheapie for me.)
I used aircraft stripper to strip the paint off it then sanded down, primed, painted, clearcoated. It looks nice polished but unless done right it'll rust up FAST.
Frame is basically pained on the outside, engine was not pulled... too much work :P
I used aircraft stripper to strip the paint off it then sanded down, primed, painted, clearcoated. It looks nice polished but unless done right it'll rust up FAST.
Frame is basically pained on the outside, engine was not pulled... too much work :P
#38
10-21-2010, 03:11 AM
Join Date: Apr 2010
Location: Chicago, IL
Posts: 484
Likes: 0
Received 0 Likes
on
0 Posts
so tonight turned to crap, my bike fell over and the rear plastic is destroyed... ground got soft and it fell over... I actually heard it go down, I was listening to music, heard a soft pop, said... with my luck that's probably my bike... looked out my window and there it was, on it's side *gah*
#39
01-27-2011, 12:12 AM
Join Date: Apr 2010
Location: Chicago, IL
Posts: 484
Likes: 0
Received 0 Likes
on
0 Posts
So there's a PART 2 coming to this project, bike will be different...
I had my passenger pegs powdercoated and I redid the LED's on the passenger pegs, looks much better now Powdercoat was free, so I went ahead and did it
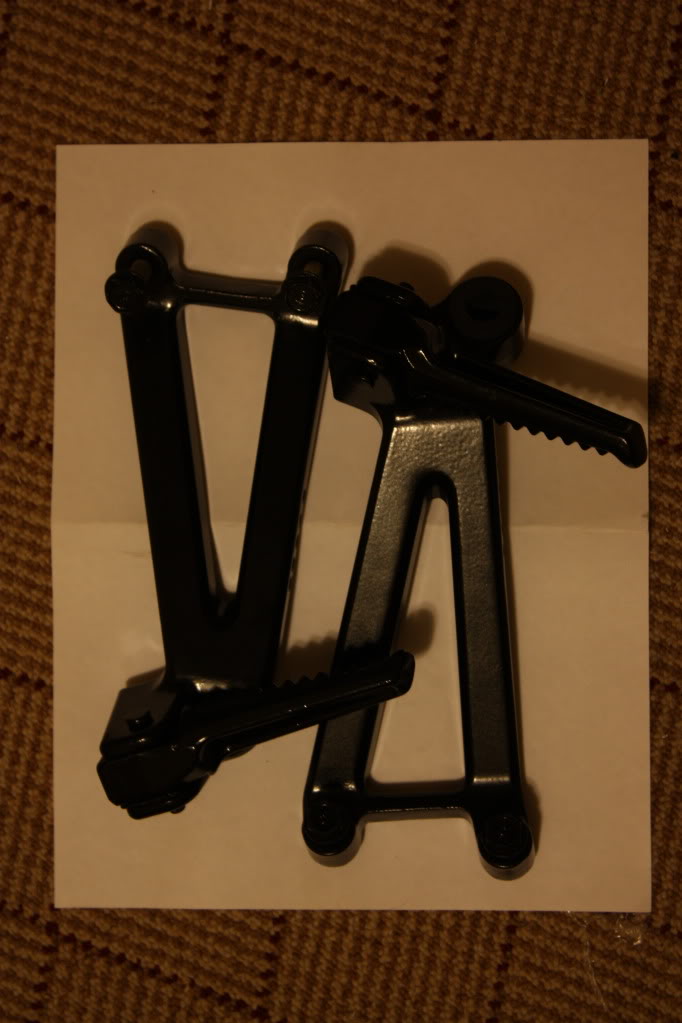
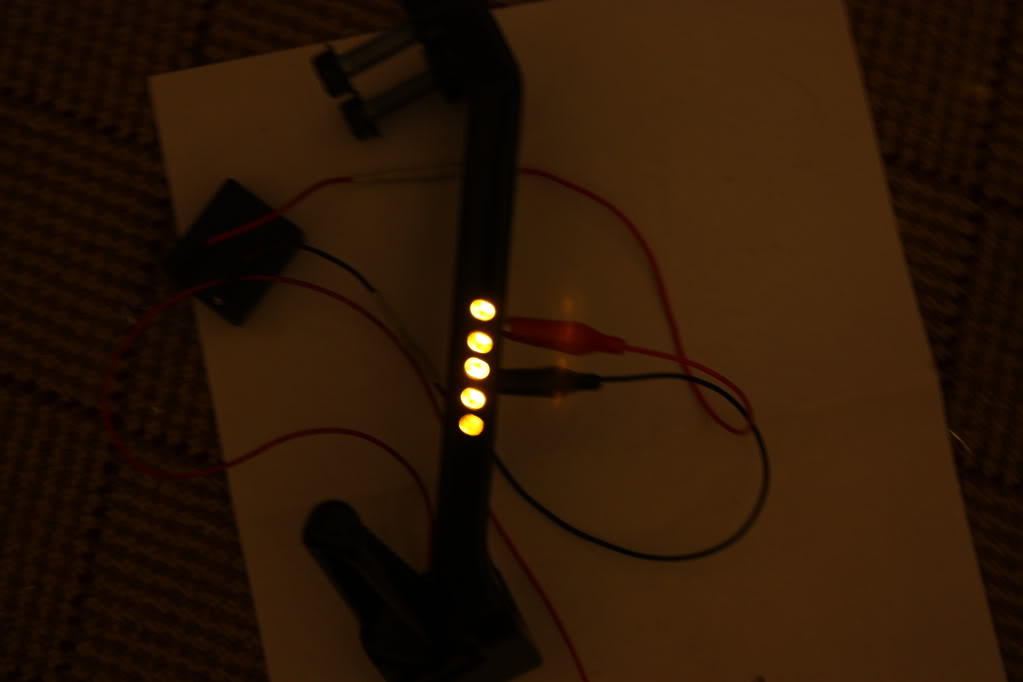
The LED's are the same colour, they just look different atm because powersource is weak and it's brightest at the connection point
I had my passenger pegs powdercoated and I redid the LED's on the passenger pegs, looks much better now
Powdercoat was free, so I went ahead and did it The LED's are the same colour, they just look different atm because powersource is weak and it's brightest at the connection point
#40
01-27-2011, 01:13 AM

Senior Member
Join Date: Jul 2010
Location: wichita falls, texas
Posts: 366
Likes: 0
Received 0 Likes
on
0 Posts