


F3 Engine Rebuild


Senior Member
Joined: Jan 2010
Posts: 192
Likes: 0
From: Clarksvill, Tn.

Sometimes you can go to the dealer & swap the shim to the ones you need. Depends on how much of an a** the dealer wants to be.
What kind of cams are you running, & what are you degreeing them to?
As for the degree wheel, is it one sided? The one I have & ones I have used in the past past are double sided. Where one side goes one direction & the other side goes in the other direction. Thinking maybe you could use the flywheel side instead of the reluctor side. Using the reluctor side is not a must as long as you can get your TDC zeroed in.
What kind of cams are you running, & what are you degreeing them to?
As for the degree wheel, is it one sided? The one I have & ones I have used in the past past are double sided. Where one side goes one direction & the other side goes in the other direction. Thinking maybe you could use the flywheel side instead of the reluctor side. Using the reluctor side is not a must as long as you can get your TDC zeroed in.

Thread Starter
|
Senior Member
Joined: Mar 2009
Posts: 277
Likes: 0
From: Indianapolis, IN
The APE degree wheel is one sided but the way the markings are done its not directional.
I have an idea of what the numbers are going to be. That may change when I check the valve to piston clearance. Alittle bit of a secret right now. All I can say is it going to be a pain to get the jetting dialed in just right.
I have an idea of what the numbers are going to be. That may change when I check the valve to piston clearance. Alittle bit of a secret right now. All I can say is it going to be a pain to get the jetting dialed in just right.
Thread Starter
|
Senior Member
Joined: Mar 2009
Posts: 277
Likes: 0
From: Indianapolis, IN
Finally got the head back on. Here are some pics.
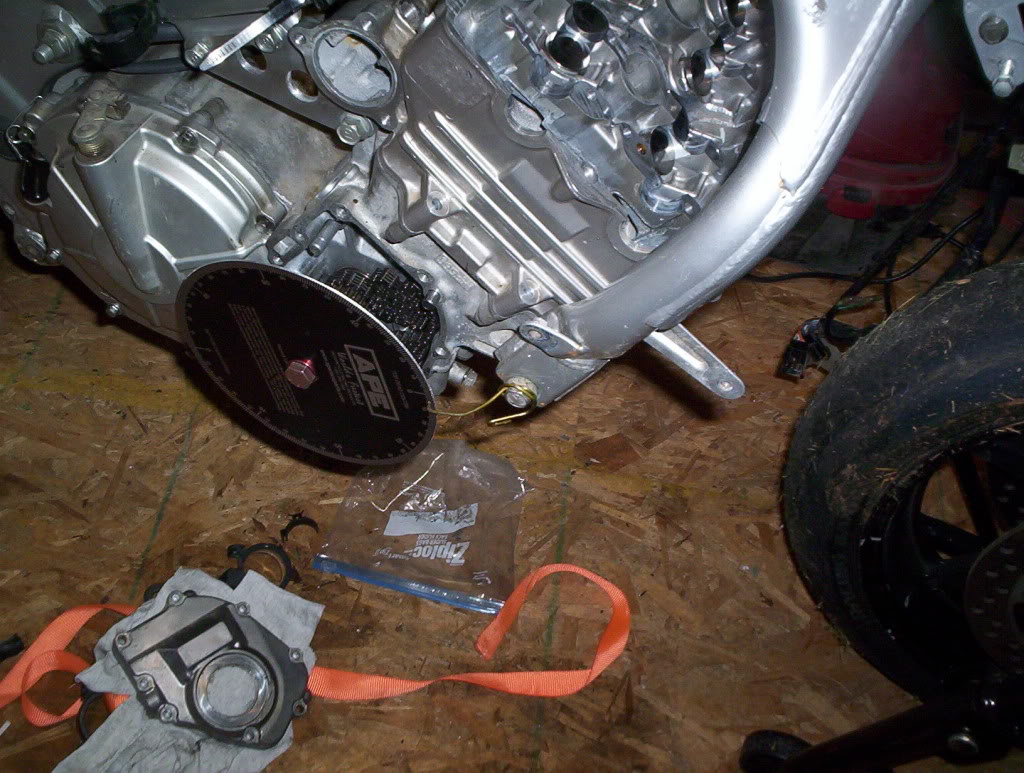
Used the large stock engine spacer to mount the degree wheel. Seeing as I made aluminum replacements.
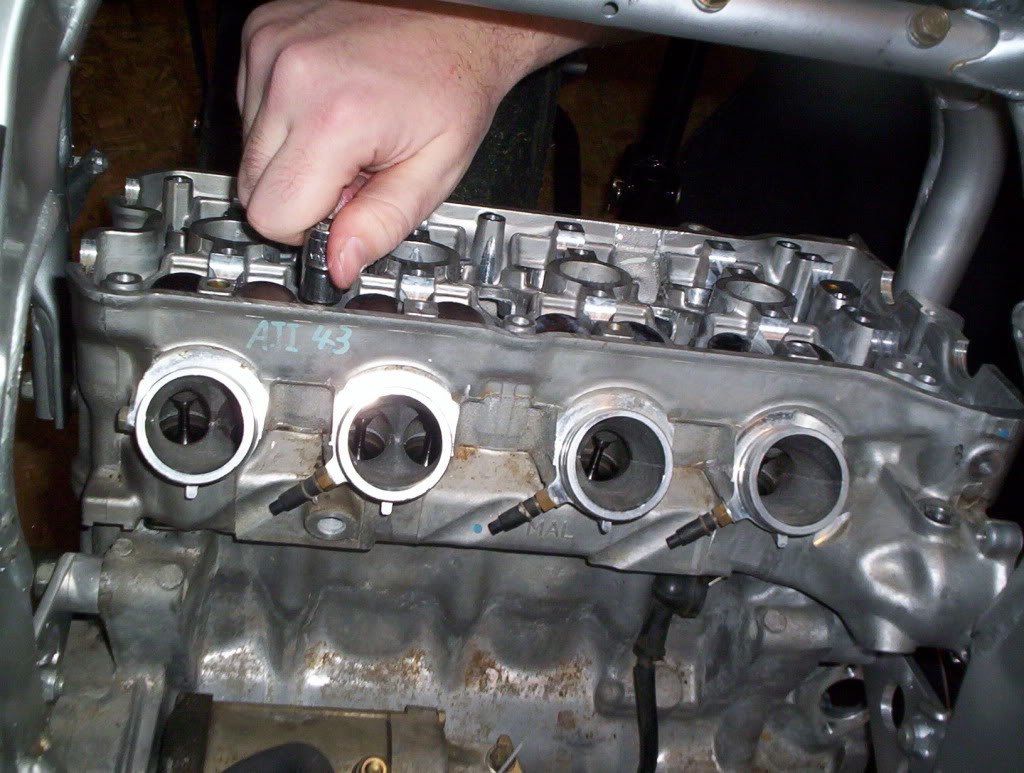
Installing the head bolts. Be sure that the allen socket is in all the way.
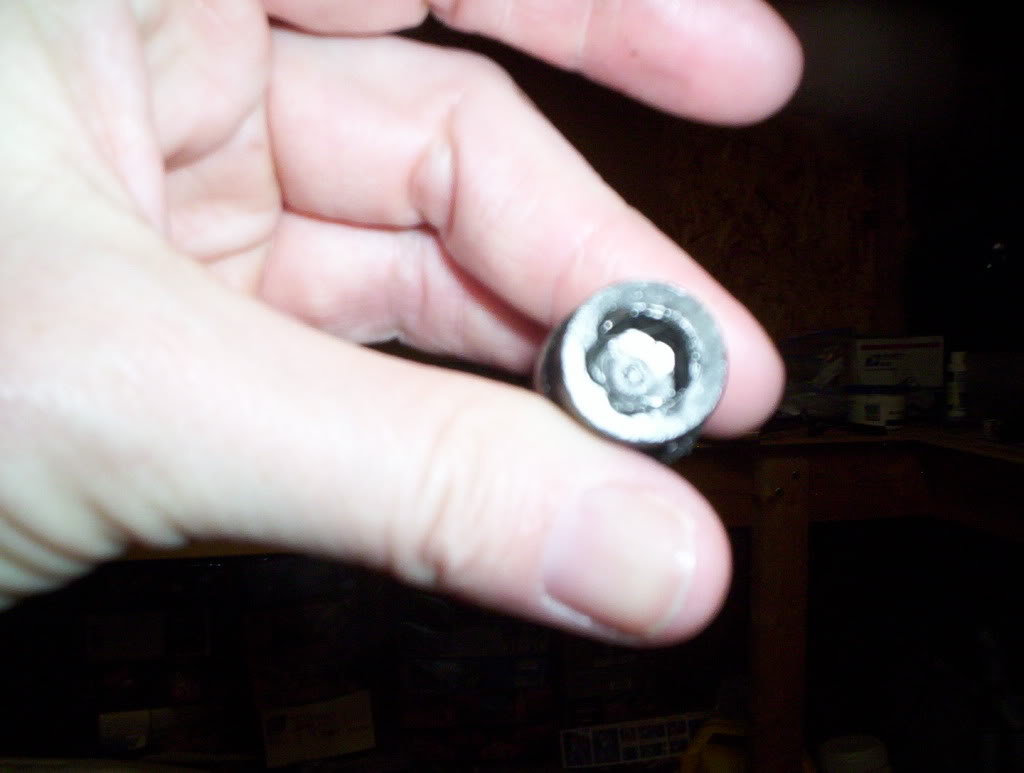
Here's what happens if you don't have the socket in all the way. I did this when I was taking the motor apart. I won on Ebay a box of hardware from an F3 last year. Good thing I remembered where the box was.
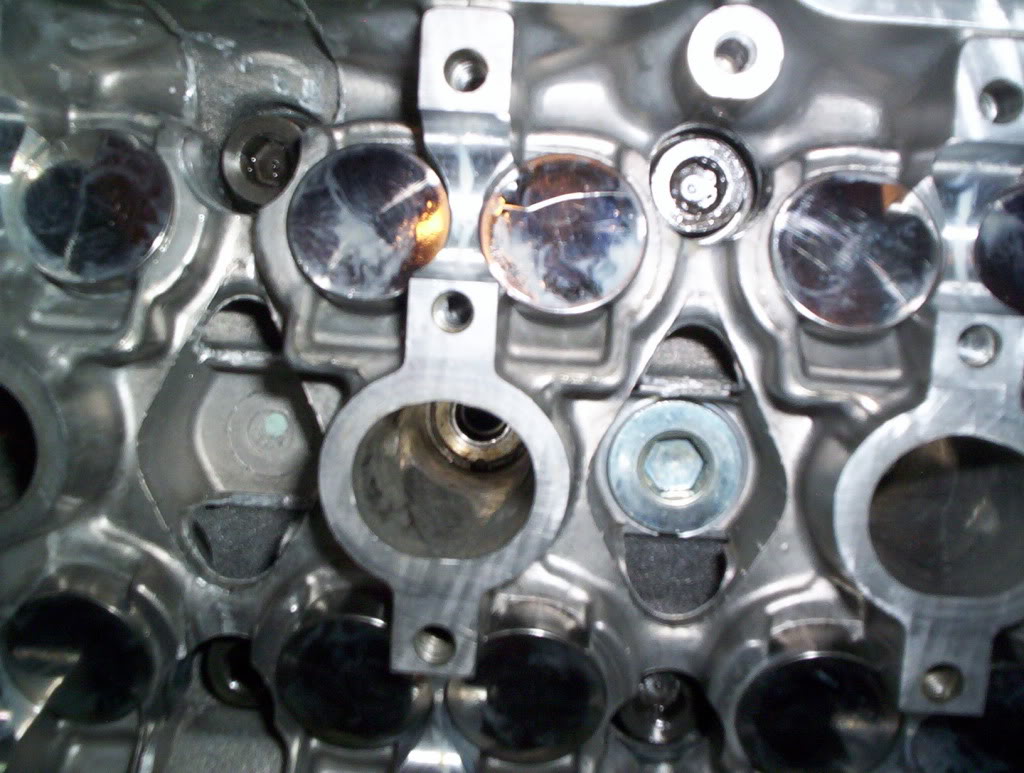
Everything torqued to specs.
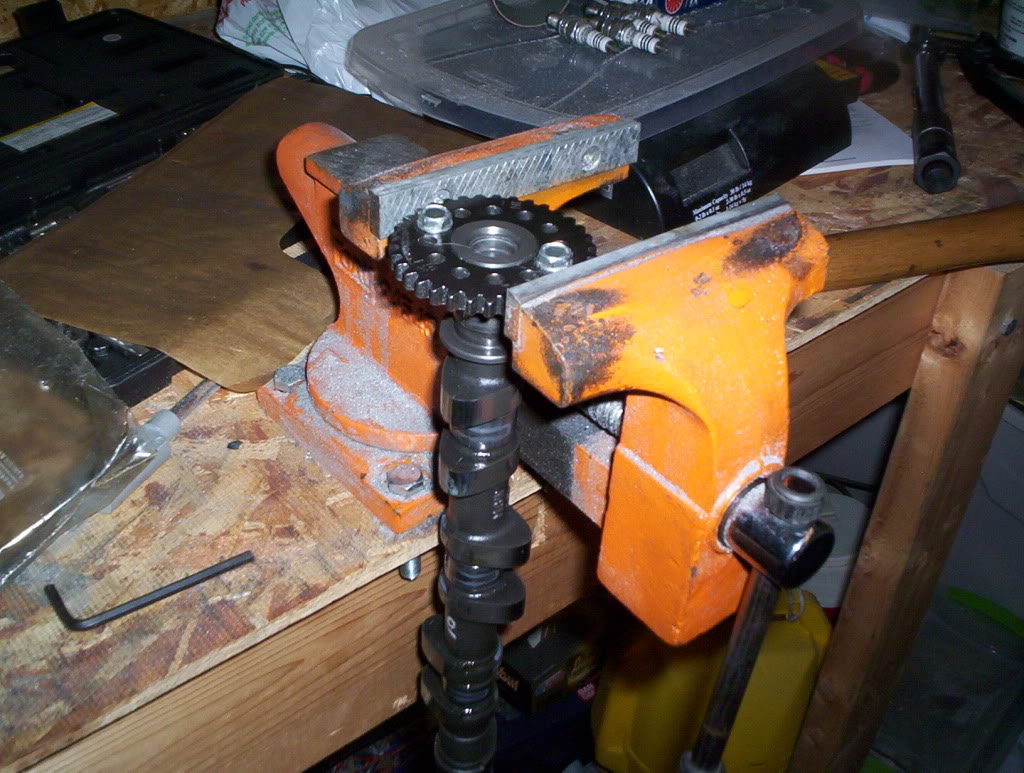
Easy way to get the old cam gears off.
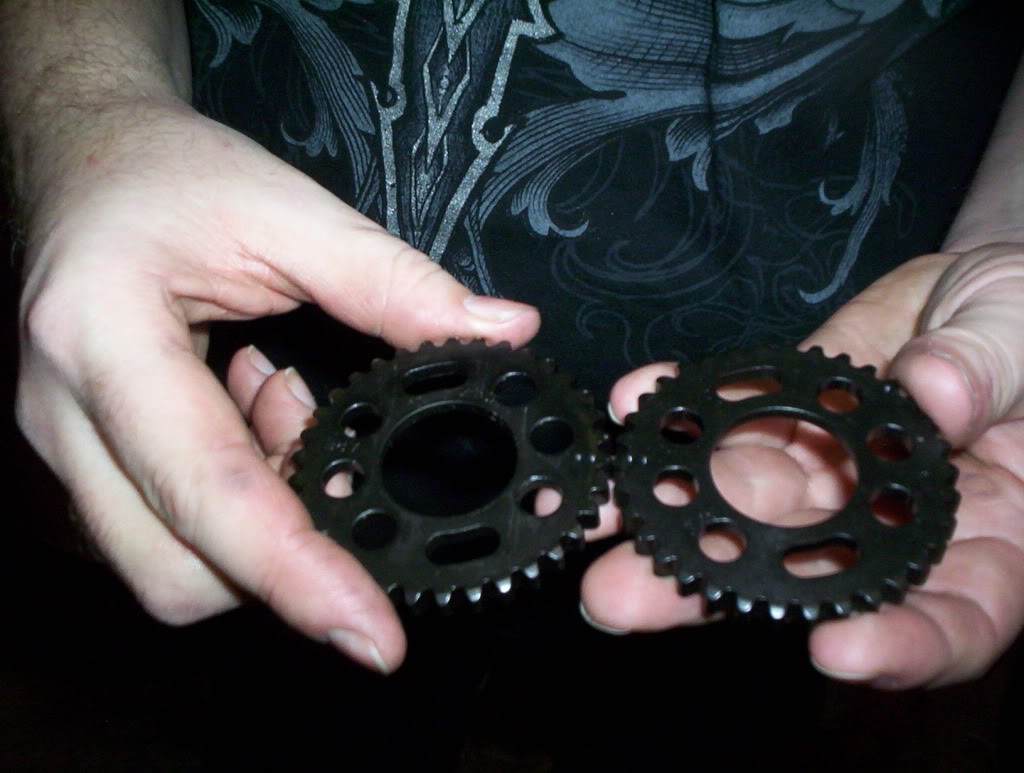
Who doesn't like new parts.
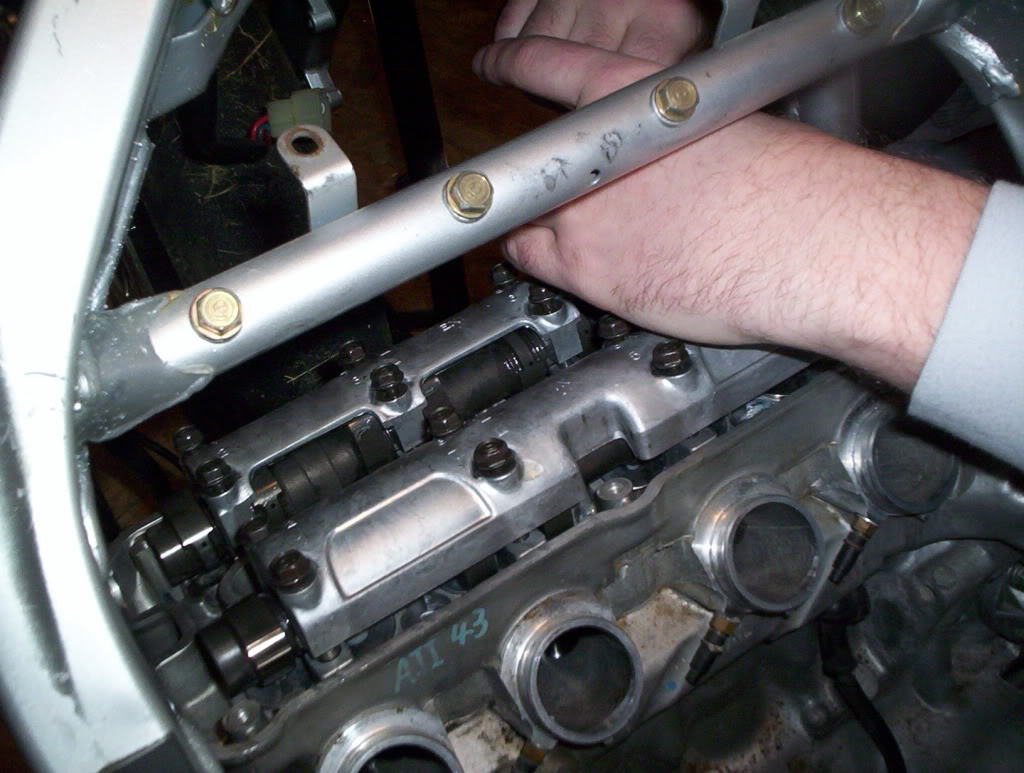 Bolting down the cams.
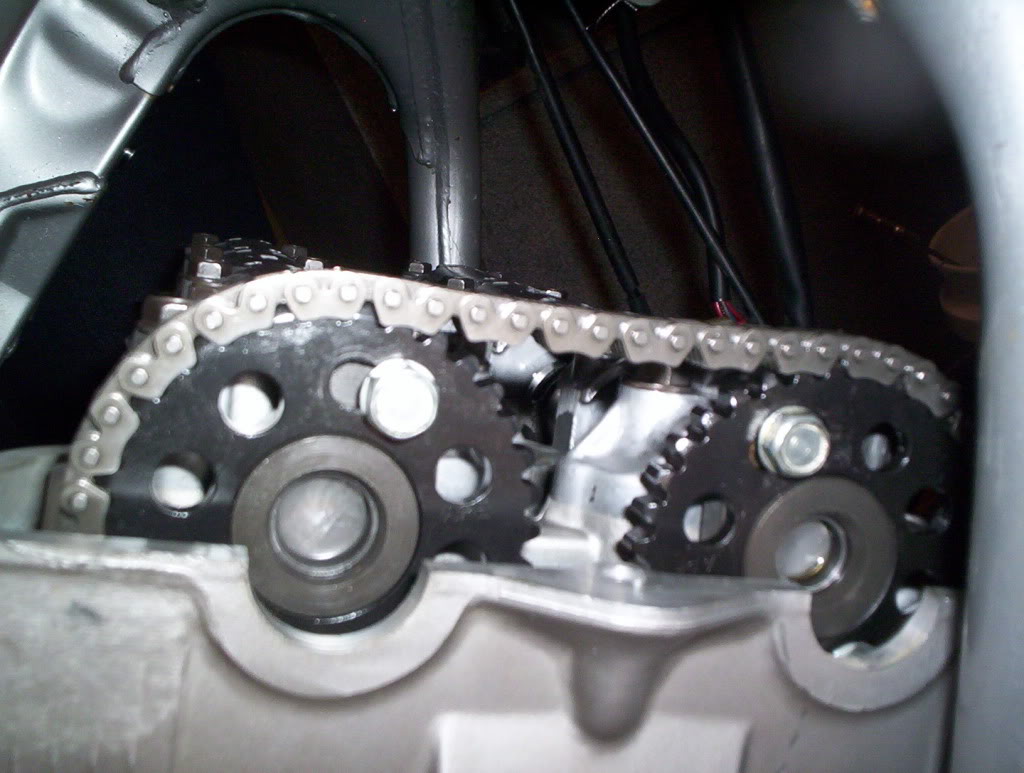
Now the fun part, adjusting the cam timing. Be ready to loosen and tighten the cam gear bolts many times.
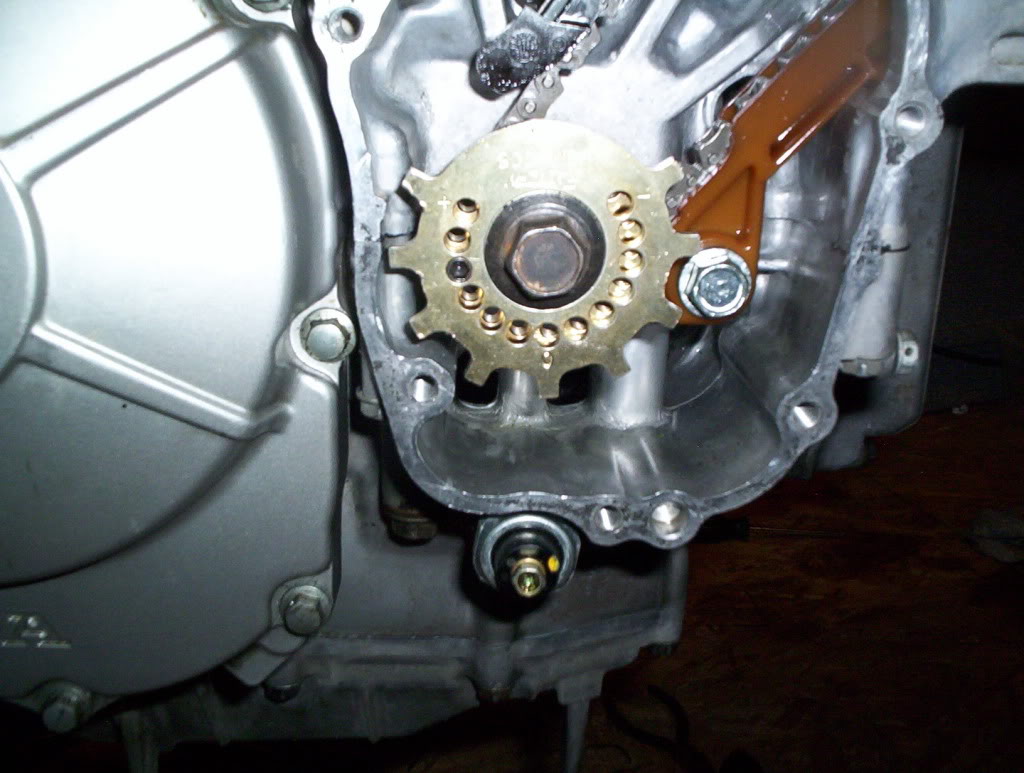
Cam timing done. Not something I want to do to many times. The degree wheel off and installed the ignition advance rotor. I use the Factory Pro since you can adjust it in one degree settings. -6 to +6 Before the rebuild I had it set at +4. Ran great so a good place to start.
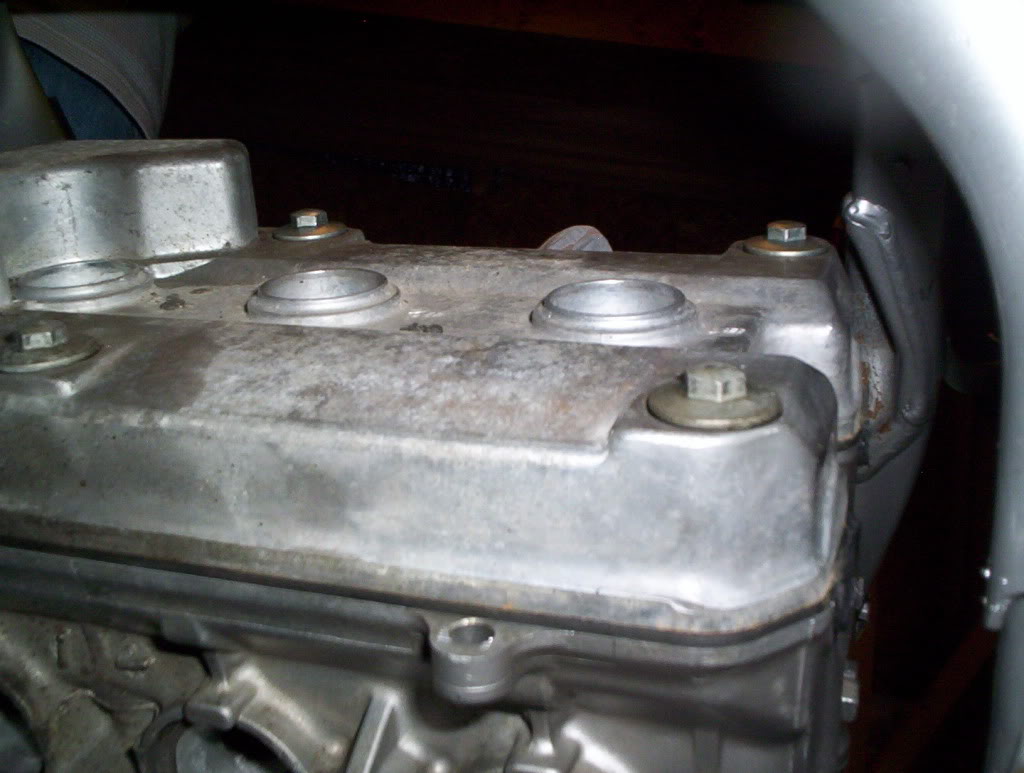
Valve cover back on. What else to say.
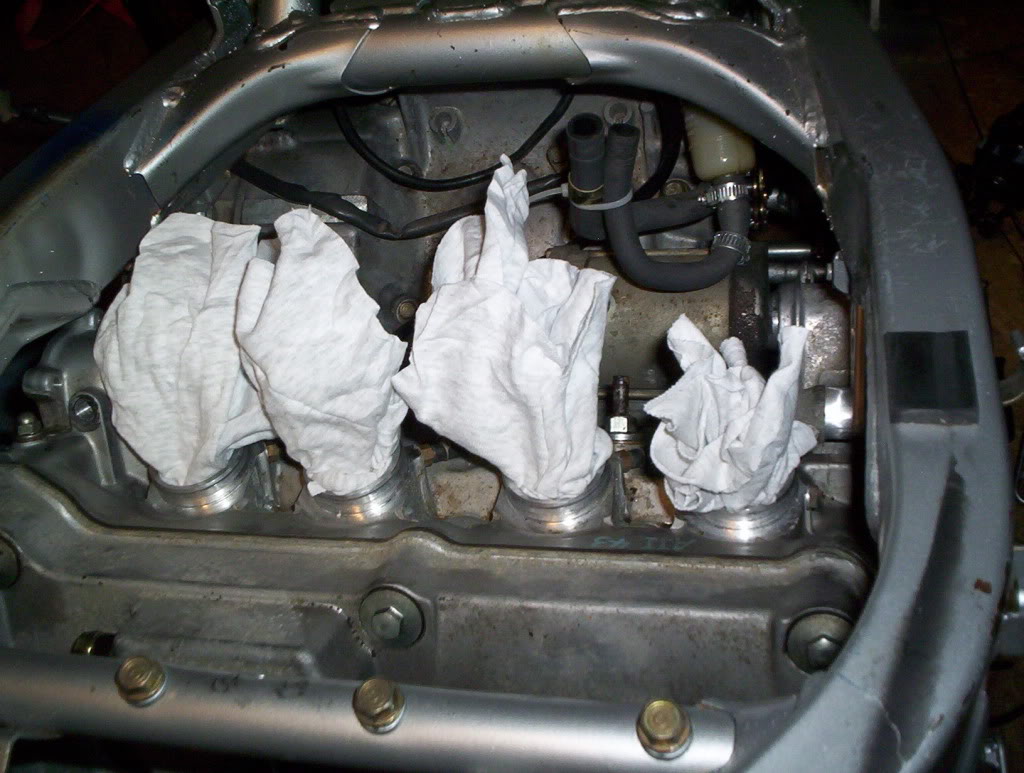
Put rags in the intakes to keep things from falling in.
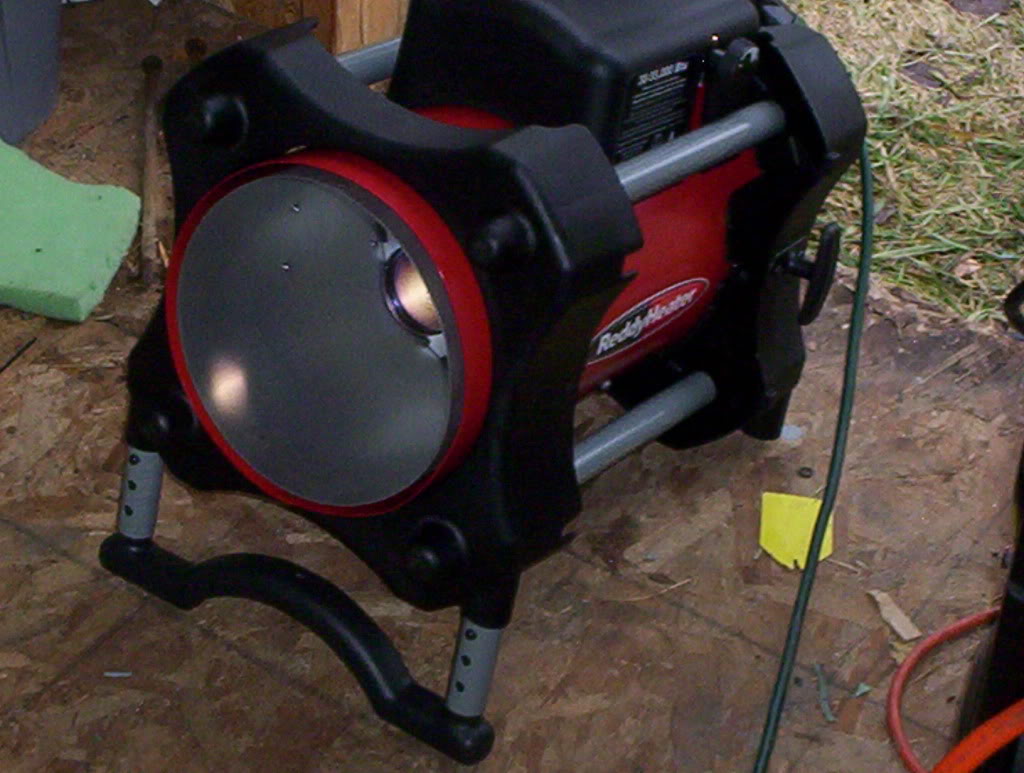
Must have when its only 20 outside.
Used the large stock engine spacer to mount the degree wheel. Seeing as I made aluminum replacements.
Installing the head bolts. Be sure that the allen socket is in all the way.
Here's what happens if you don't have the socket in all the way. I did this when I was taking the motor apart. I won on Ebay a box of hardware from an F3 last year. Good thing I remembered where the box was.
Everything torqued to specs.
Easy way to get the old cam gears off.
Who doesn't like new parts.
Bolting down the cams.Now the fun part, adjusting the cam timing. Be ready to loosen and tighten the cam gear bolts many times.
Cam timing done. Not something I want to do to many times. The degree wheel off and installed the ignition advance rotor. I use the Factory Pro since you can adjust it in one degree settings. -6 to +6 Before the rebuild I had it set at +4. Ran great so a good place to start.
Valve cover back on. What else to say.
Put rags in the intakes to keep things from falling in.
Must have when its only 20 outside.
Last edited by cgmiller83; Jan 2, 2011 at 07:20 PM.


Thread Starter
|
Senior Member
Joined: Mar 2009
Posts: 277
Likes: 0
From: Indianapolis, IN
I only really work on the bike about every other weekend. Saturday I only worked on it for a couple hours. Propane tank ran out. Did most of the work Sunday, with a new tank. 75 vs 20 degrees is so much easier to work in.
Now I'm waiting on my parts. Trying to choose which race body work I'm going to use. Thinking about using 05-06 CBR600RR.


