When you click on links to various merchants on this site and make a purchase, this can result in this site earning a commission. Affiliate programs and affiliations include, but are not limited to, the eBay Partner Network.
Hey everyone. I'm going to be replacing the coils on my 95 f3. I'm curious has anyone here done a coil on plug conversion? I saw a forum about using a 600rr coils. If not what is the best place to get new coils for this bike, not sure if any aftermarket ones are good or not. Thanks in advance
Not aware, but let us know how it goes. Pictures would be great too.
Got it all finished up. Did not get any pictures before it was installed though. Can do a small write up though.
*I am not responsible if you **** yourself or something else up by doing this. I did this on my girlfriends 95 cbr 600 F3 due to having bad coils and wanting to upgrade to something modern versus paying a lot more for new oem coils. I have roughly 60 bucks wrapped up in used rr coils and the harness.
Ordered a set of 2006 cbr 600rr coils and the wiring harness.
I stipple the harness down and cut the connectors to the coils so that 3inches of wire remained.
On the connectors they have a black/white and then a colored wire. The colored will be the positive wire thruout this install.
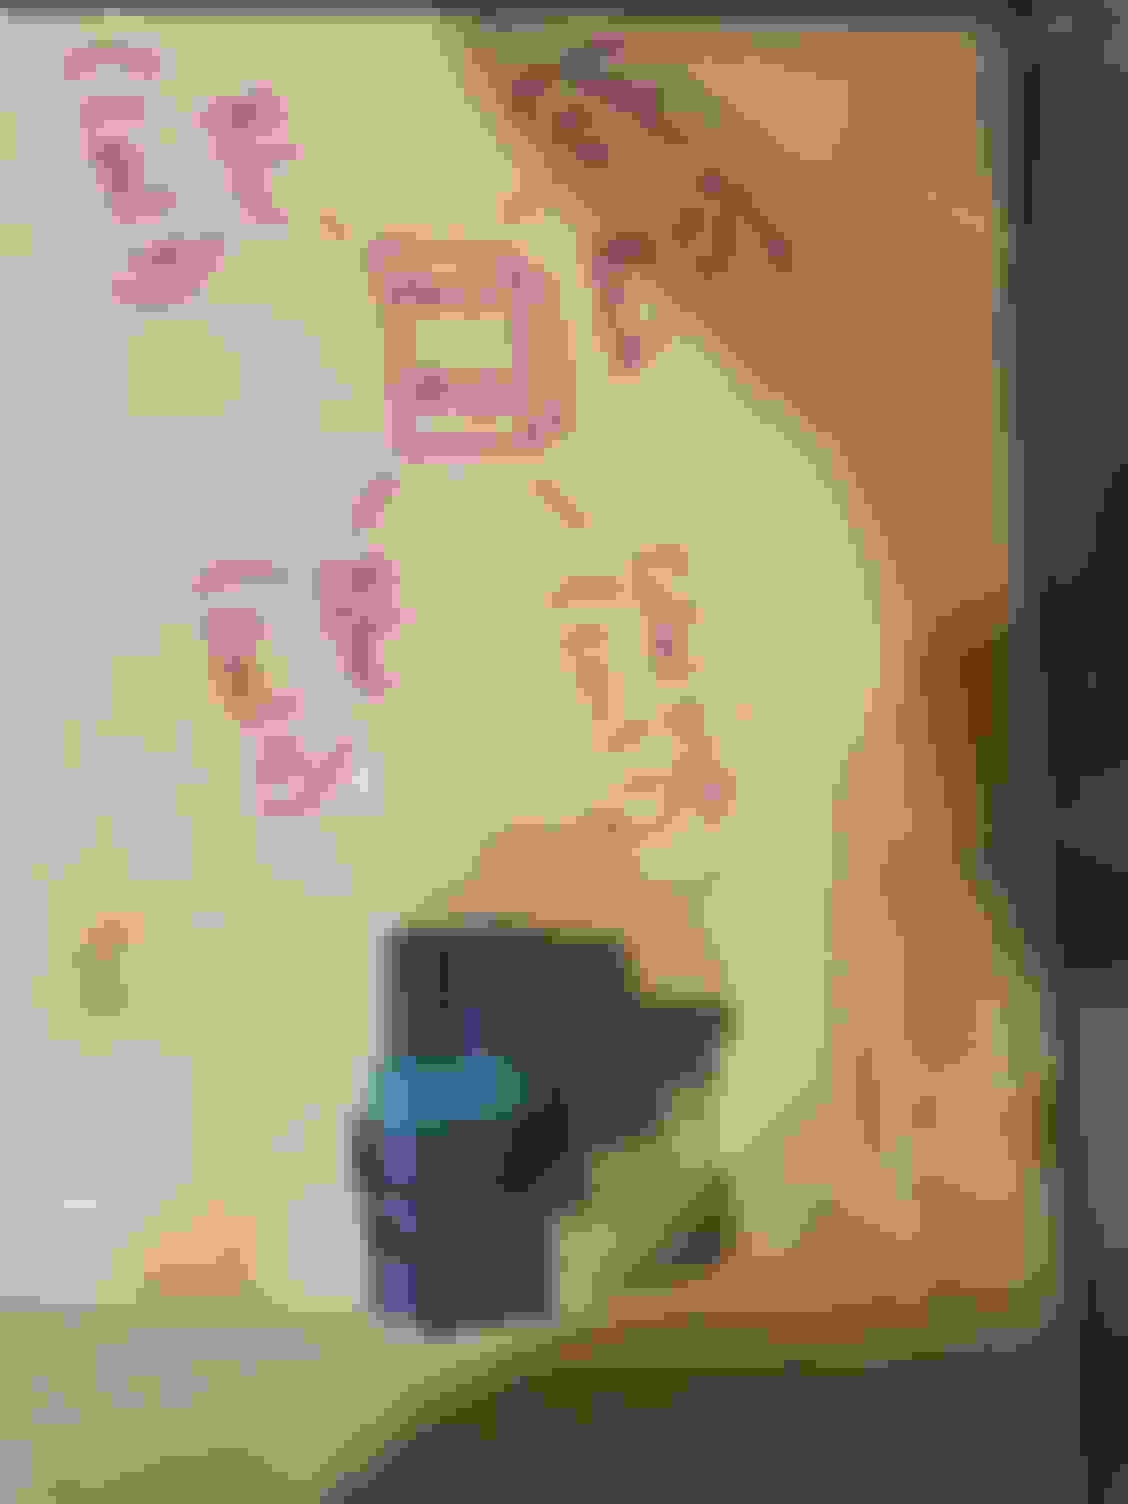
I connected them to the coils and made a cardboard diagram. 1,2,3,4. See the image.
The connectors will face opposite of the numbers. 2 and 3 i measured to be 150mm apart and then 1 and 2 as well as 3 and 4 were placed 80mm apart. Center to center measurements.
Onto the wiring. 1 will be wired to 4. 2 will be wired to 3.
(Mark the coil connectors 1,2,3,4 for easier installing later)
First, solder a connection from black/white on coil 1 to the colored wire on coil 4. Solder and heat shrink both connections. Leave your self some extra wiring. Will show what I mean in last diagram.
Second, solder a connection from black/white on coil 2 to the colored wire on coil 3. Solder and heat shrink both connections.
Third, you will have one wire on each coil remaining. Solder and heat shrink a wire to each of them. Length will be determined by you when you view the last diagram and how nice and neat you want to be. I suggest either using 4 different colors for your wires or marking each accordingly.
Fourth, we will take each of those wires and make a connector from them. I used vigrue waterproof connectors. Can be found on Amazon.
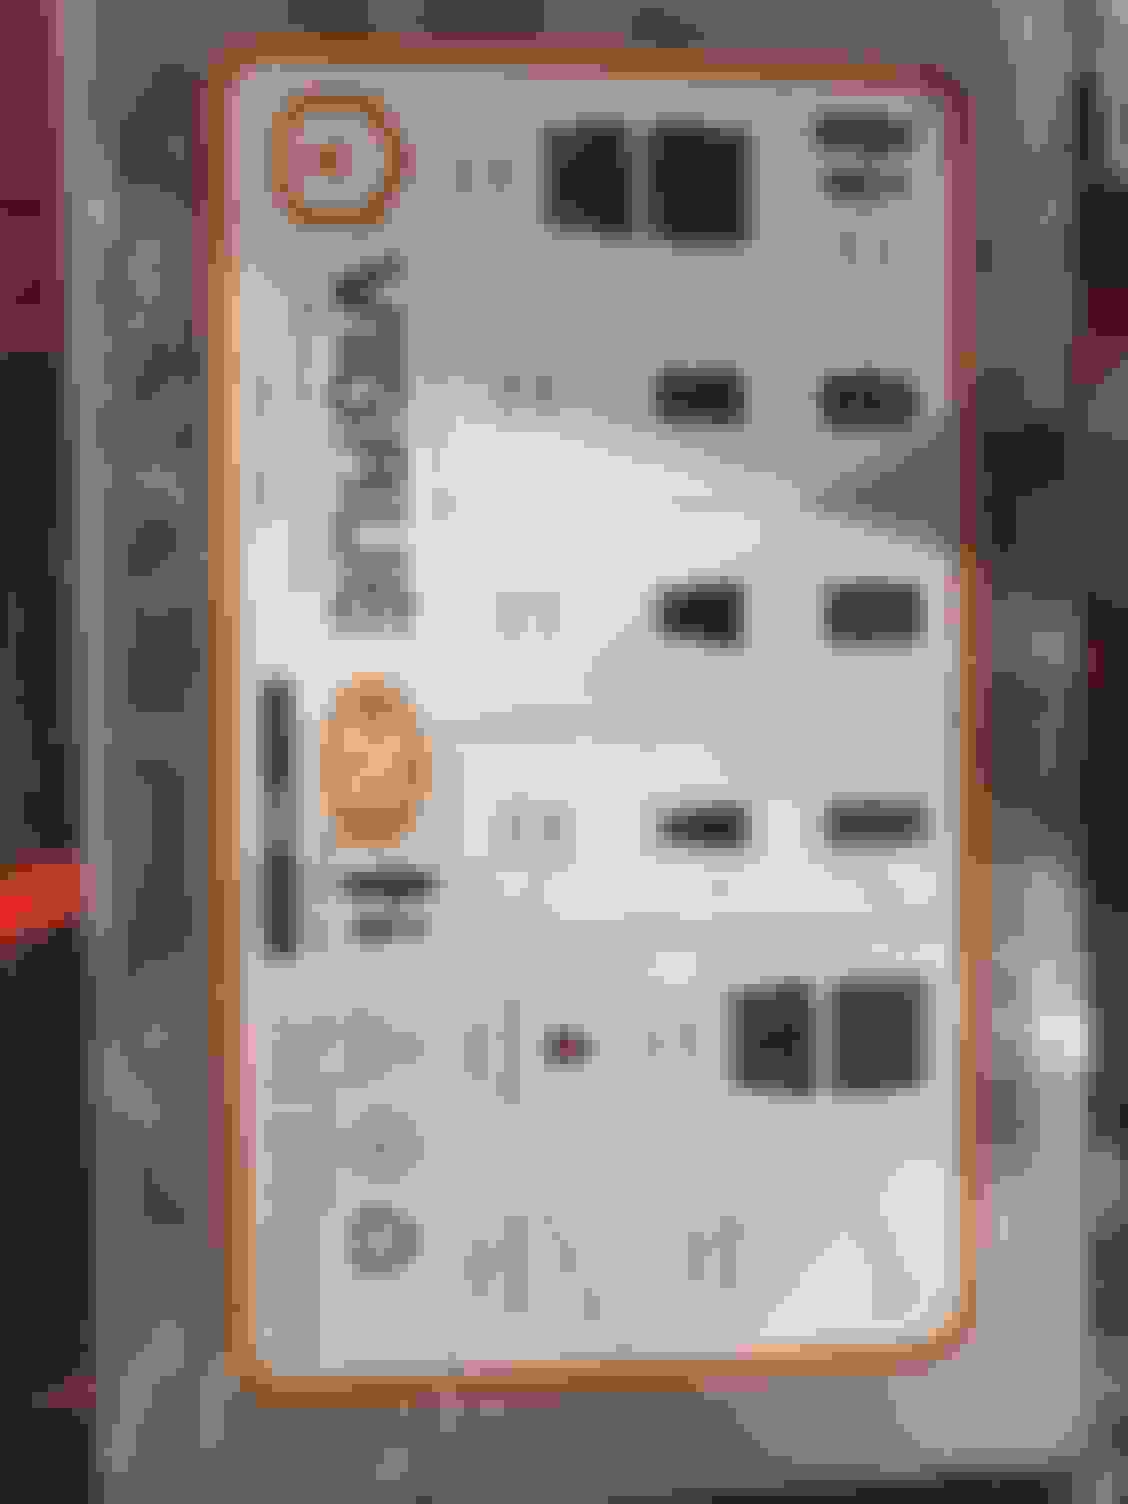
Grab a four pin connector. I used the "female" connector on the coil side. Use the "female" pins. Will post a picture of the how to pin at the end. Looking from the back side of the plug I put the black/white from coil 4 to the bottom right. Black/white from coil 3 to bottom left. Colored wire from coil 1 to top right. Colored wire from coil 2 to top left.
Showing back side of connector. Release lever will face up when compared to diagram.
After these are connection closed it up. I then zip tied wires together, electrical taped, and wrapped with corrugated wire loom, and taped that up. Refer to next picture.
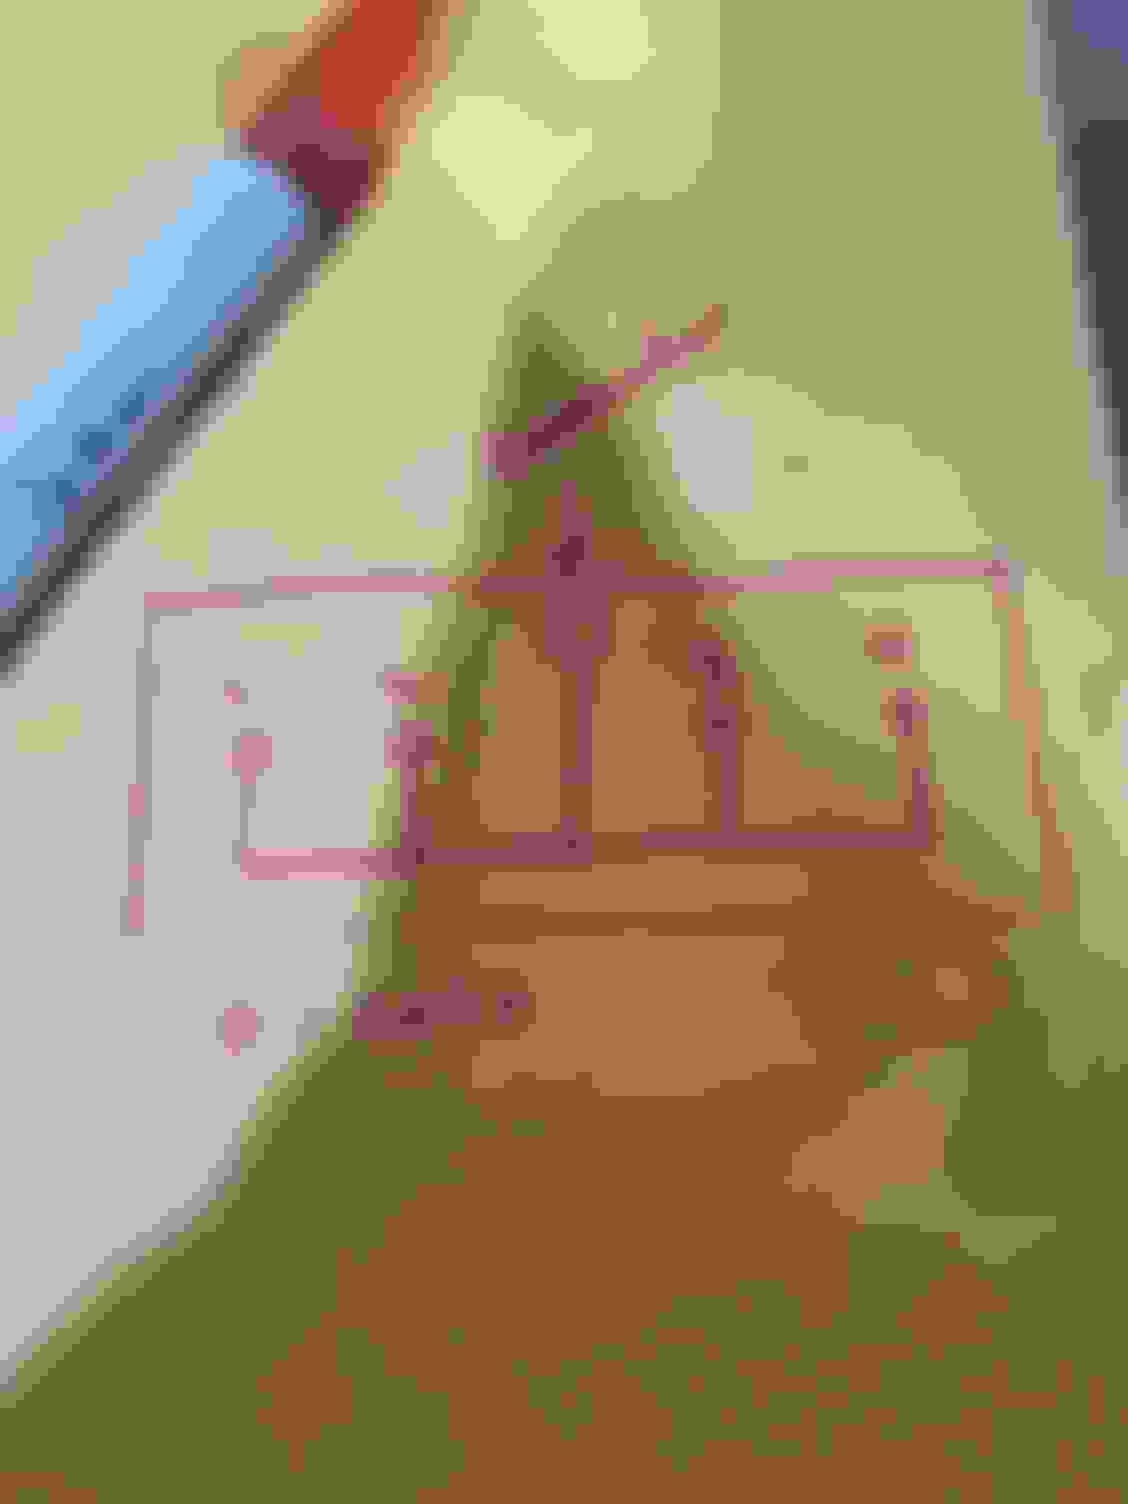
Once all this is done go ahead and set it aside and go to your bike. Remove the old coils and place them to the side. Will need them later.
Cut the connectors off of the wires. You will have two separate looms. One with a black/white and yellow/blue which will be coils 1 and 4. Second will be a black/white and blue/yellow which will be coils 2 and 3.
Grab the "male" connector. And pin accordingly using the "male" pins.
Looking from the back of the connector. Bottom right will be black/white and top right will be blue/yellow (they are in the same loom for coils 2 and 3). Bottom left will be black/white and top left will be yellow/blue (same loom for coils 1,4).
Picture of back of "male" connector. Fin goes up to match diagram.
Once this is done wrap them up all nice and neat.
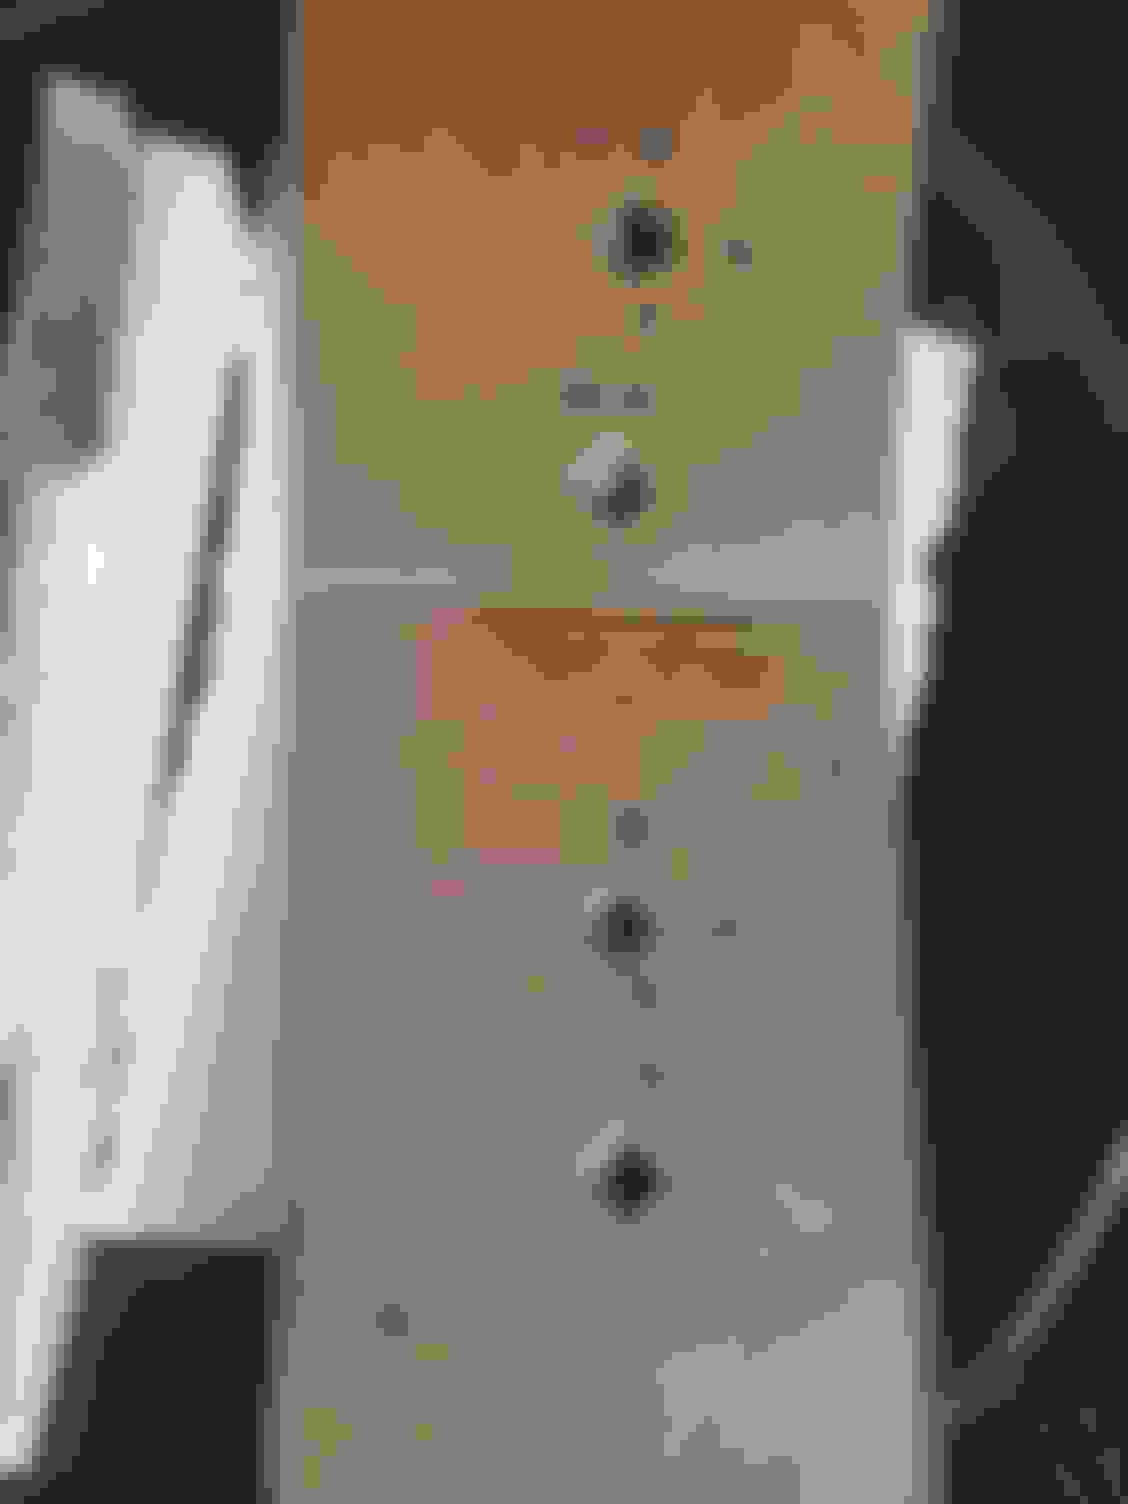
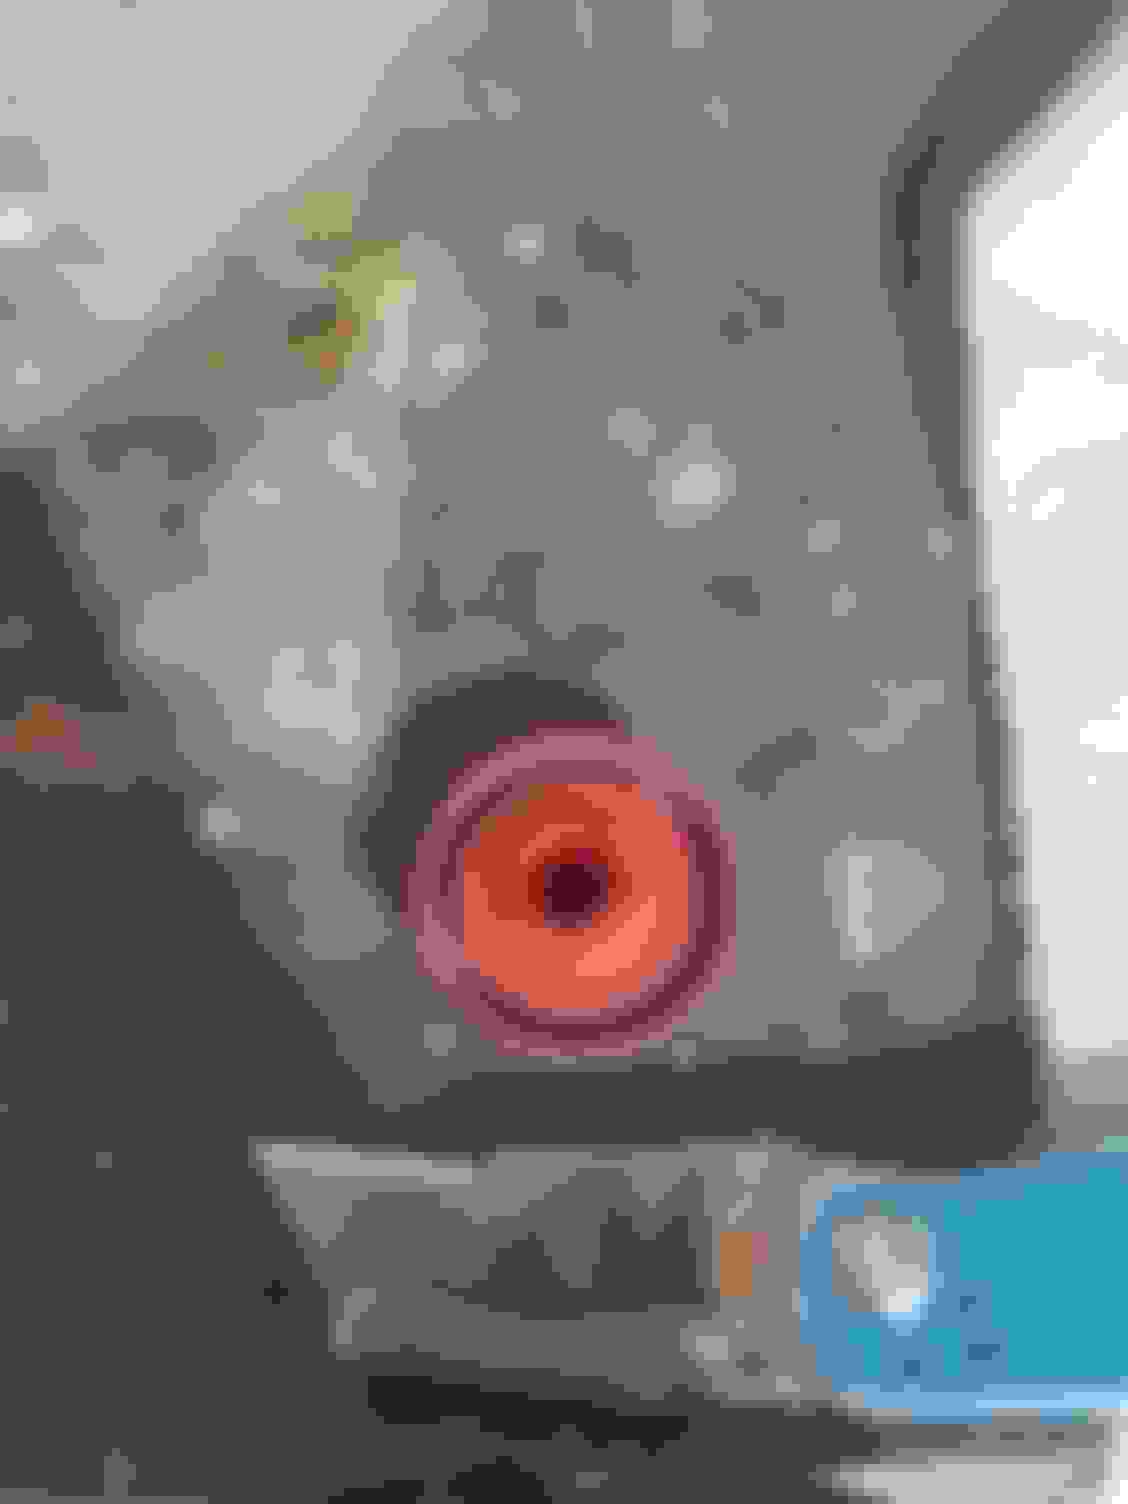
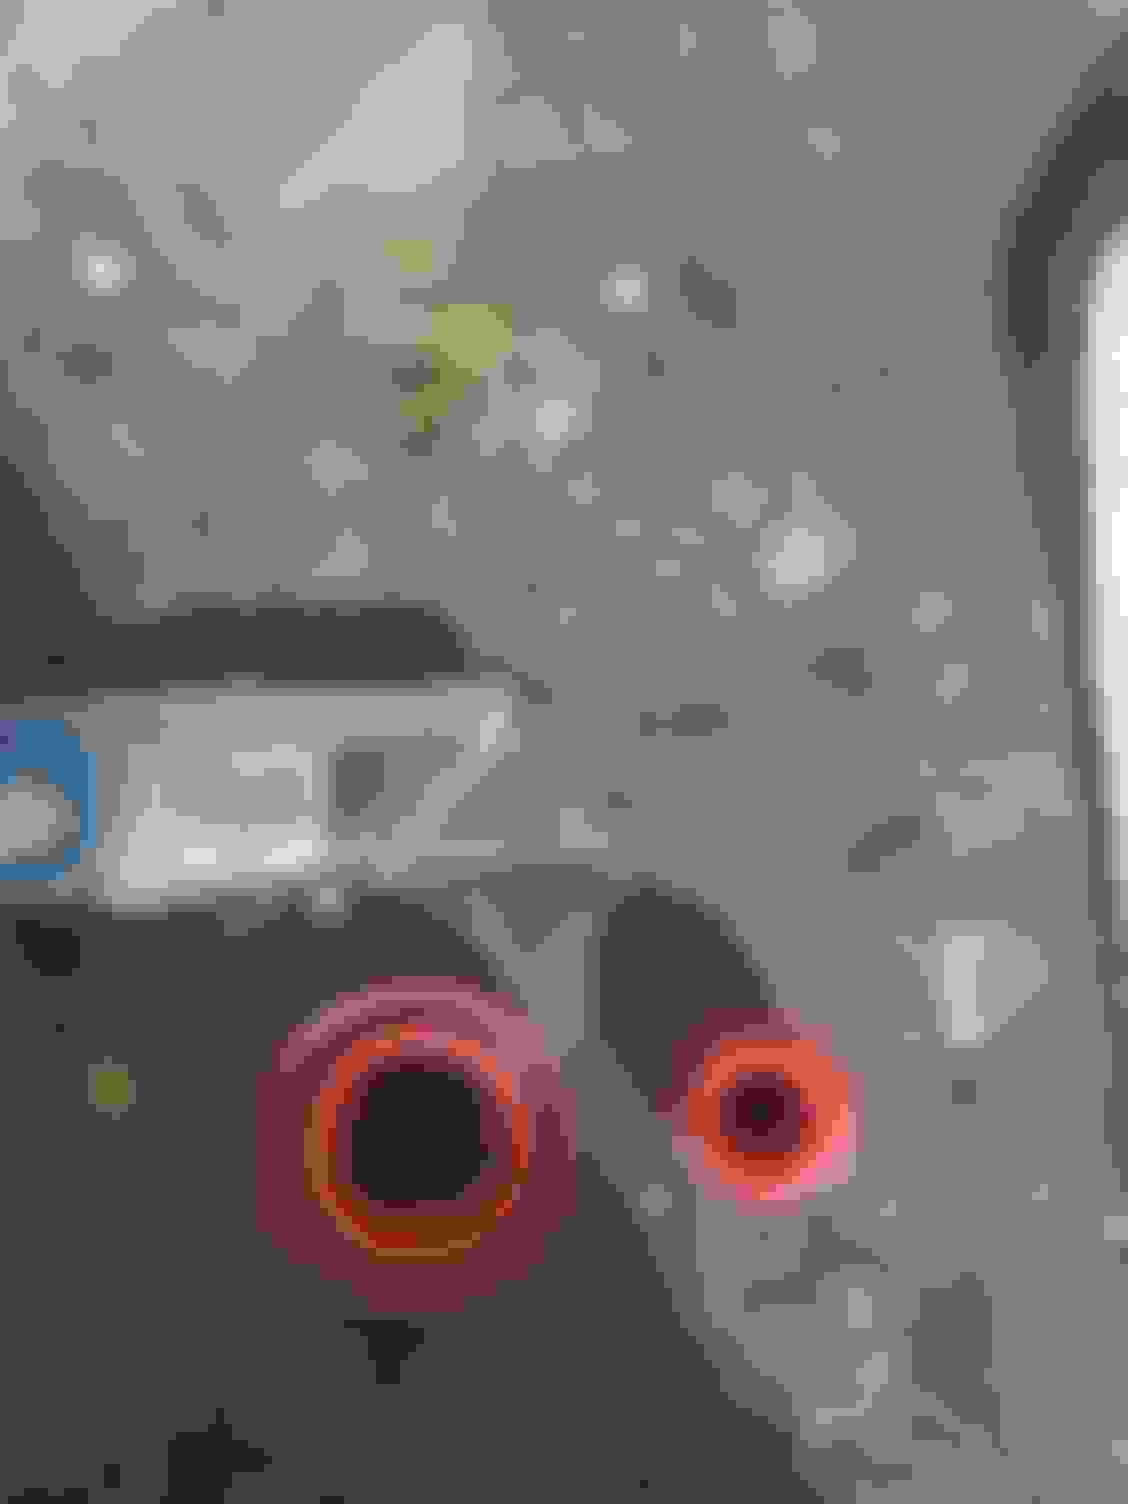
Now grab your four new coils and your old coils and take them to a bench or workspace. You need to cut your old coil boots to make a weather protection for the new ones. See images below.
When you cut the hole out don't cut it too big. Cut a small hole first then shave as needed. This will slide onto your new coils too make a good seal to the valve cover. Too big and you will have gaps around the coils. Too small and it will flare the "grommet" out and not sit/seal onto the valve cover properly. Once they're cut slide them onto the new coils with the "ridge" side down.
This is the "ridge side"
Once all is said and done, install the coils onto the bike. Looking from the back of the bike it will go coil 1,2,3,4 left to right. Really push down on the coils to make sure they grab the sparkplug nice and firm. Plug your connection from the new coil harness into the bikes new connector. Zip tie what needs to be. I tied the harness up to the frame where the coils use to mount to try and keep the loom off the valve cover.
Put the bike back together and fire that ****er up. Pray to the bike gods that you followed this correctly. Don't be scared though, my *** was puckering too on first start.
- I'm going to make a more detailed wiring diagram when I get a chance for everybody that doesn't like to read.
How to pin the connectors.
Please feel free to ask me any questions. This whole install was based off a very old forum I came upon. That forum got slightly confusing and was for a cbr1000F so I took the time and figured out for myself. Glad that I am able to share and hopefully help one of you.