
'93 600 Fighter project

Member
Joined: Aug 2010
Posts: 97
Likes: 0
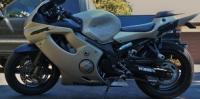
I agree with this dude above. Your build is perfect, and you should indeed get some professional shots taken. The bike looks amazing. Without even looking at this thread you had my vote. Bike is clean!! And I agree with a Madhattr, a Carbon Fiber rear tire hugger would look nice 
Member
Joined: Dec 2011
Posts: 33
Likes: 0
From: Illinois
i just sat here and read this thread for 3 hours, front to back... let me say one thing, you do same damn good work my friend!(pardon my language, but i feel it was necessary) this is one SEXY bike. if i saw that rolling down the street i would assume it was a ducati or something imported from europe, id probably go home and google and see if porshe started making motorcycles or something. like seriously man, kudos. a lot of people are inspired by this to go off and do something they never thought theyd do, myself included. id honestly like to know just out of curiousity the material cost price range, or at least an estimate of how many hours you put into this thing! cheers buddy, enjoy your beautiful creation! 
Thread Starter
|
July 2011 ROTM
Joined: May 2010
Posts: 223
Likes: 8
From: Hampton Roads, VA
i just sat here and read this thread for 3 hours, front to back... let me say one thing, you do same damn good work my friend!(pardon my language, but i feel it was necessary) this is one SEXY bike. if i saw that rolling down the street i would assume it was a ducati or something imported from europe, id probably go home and google and see if porshe started making motorcycles or something. like seriously man, kudos. a lot of people are inspired by this to go off and do something they never thought theyd do, myself included. id honestly like to know just out of curiousity the material cost price range, or at least an estimate of how many hours you put into this thing! cheers buddy, enjoy your beautiful creation!
lol... sadly i cant ride it right now as i am pretty sure i dropped a valve in it... and paying orders come first, but i am finishing up my last order before i strip it down and fix it.
as far as cost goes... all told the bill came out to about $3000 including the bike, but alot of that cost was bolt on items or things i couldnt make. the actual fabrication materials came out to about $700. and hours of work... most likely in the 500+ range. i started on the bike in July of 2010 and "finished" it in march of 2010.
i am really happy to be an inspiration. i had alot of fun making it and have enjoyed the feedback. I hope it has been as helpful to you as it has been to me.
thanks
~Chris

Retired Super Moderator - At large E=MC2
Joined: Feb 2011
Posts: 2,299
Likes: 4
From: Tulsa,OK
Hopefully you aren't going to drop off the horizon. I, for one, have really enjoyed your posts. Hope it doesn't take you long to get that little beast back on the road.
Good luck with that!
Ern
Good luck with that!
Ern

Thread Starter
|
July 2011 ROTM
Joined: May 2010
Posts: 223
Likes: 8
From: Hampton Roads, VA
Hey everybody. sorry the long absence. hopefully this will explain:
I thought i dropped valve, but it turned out all my valves were perfect. i did a valve job and so all my valves are right in the middle of tolerance, but i still had that nasty twack twack noise... my camchain tensioner guid was worn through so i ordered a new one..
Got it all torn down to replace the cam chain tensioner... if only that had worked =(
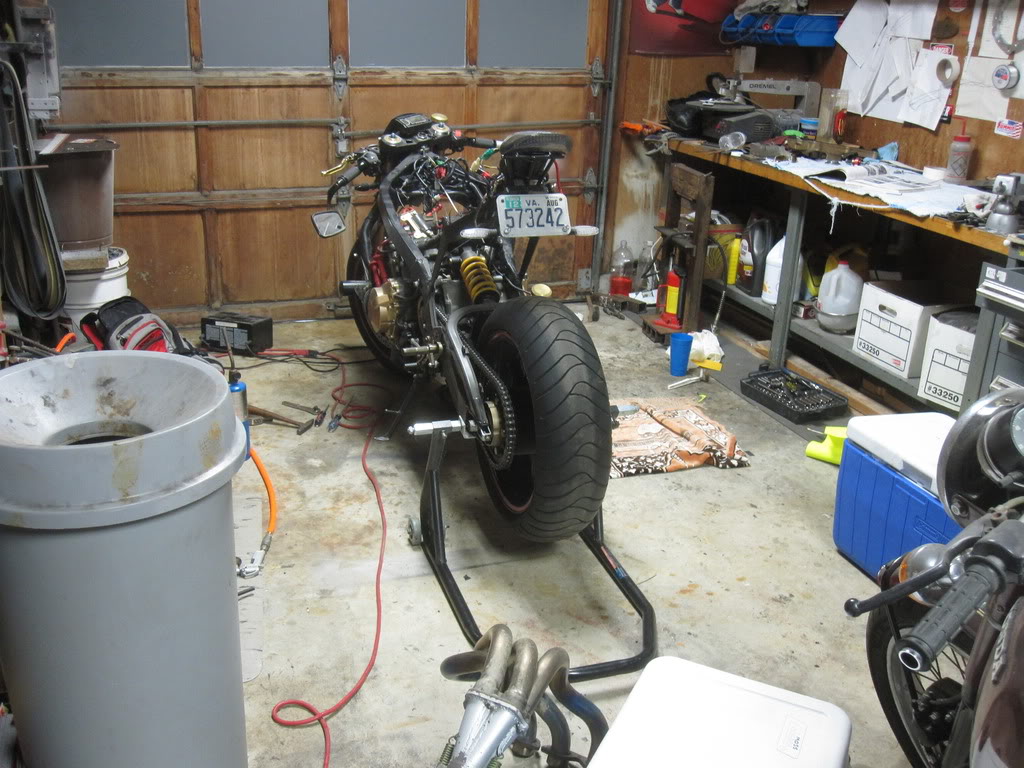
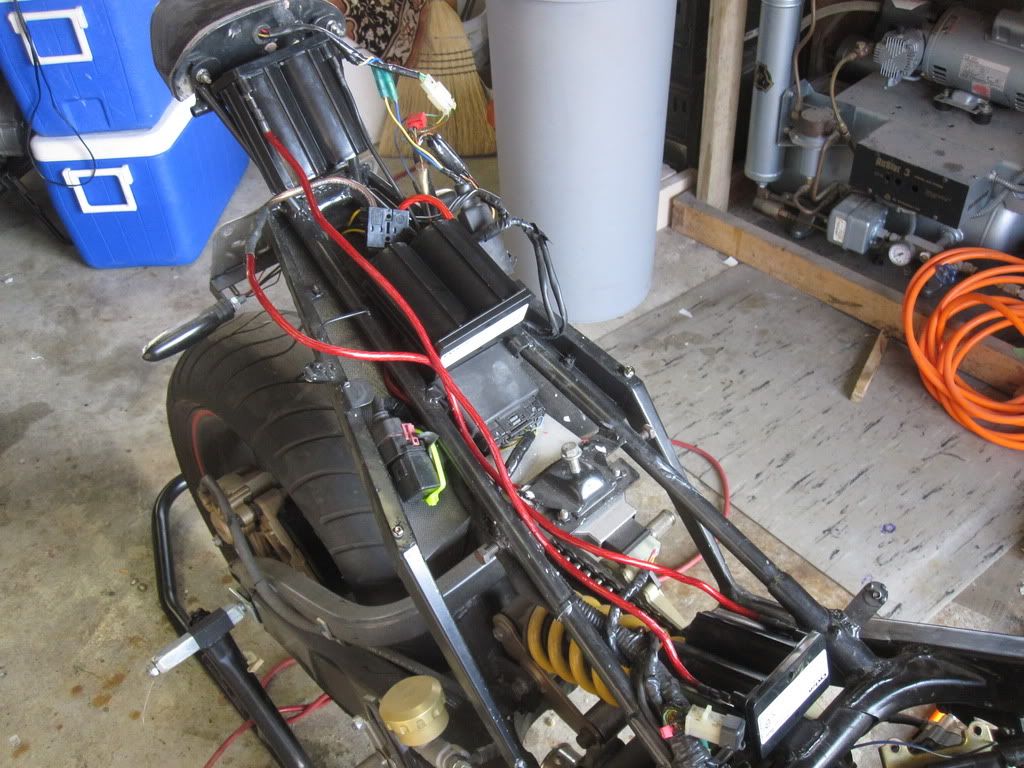
My new battery set-up. Three 4-volt 8-amp batteries wired in series in order to fit in the tail.
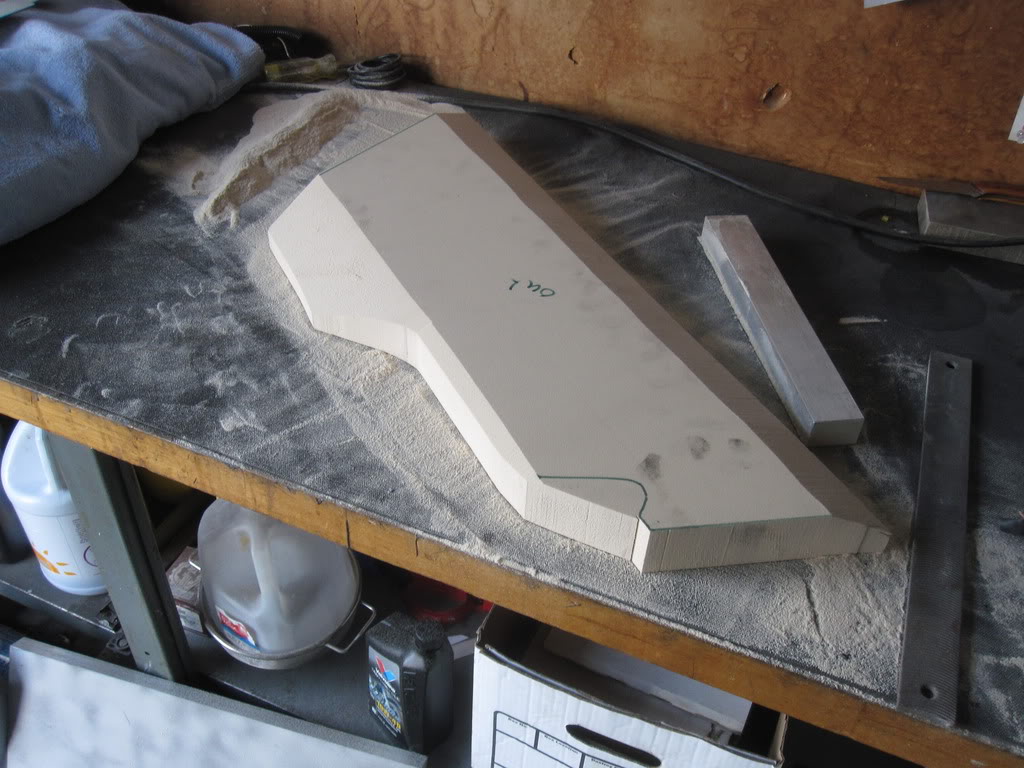
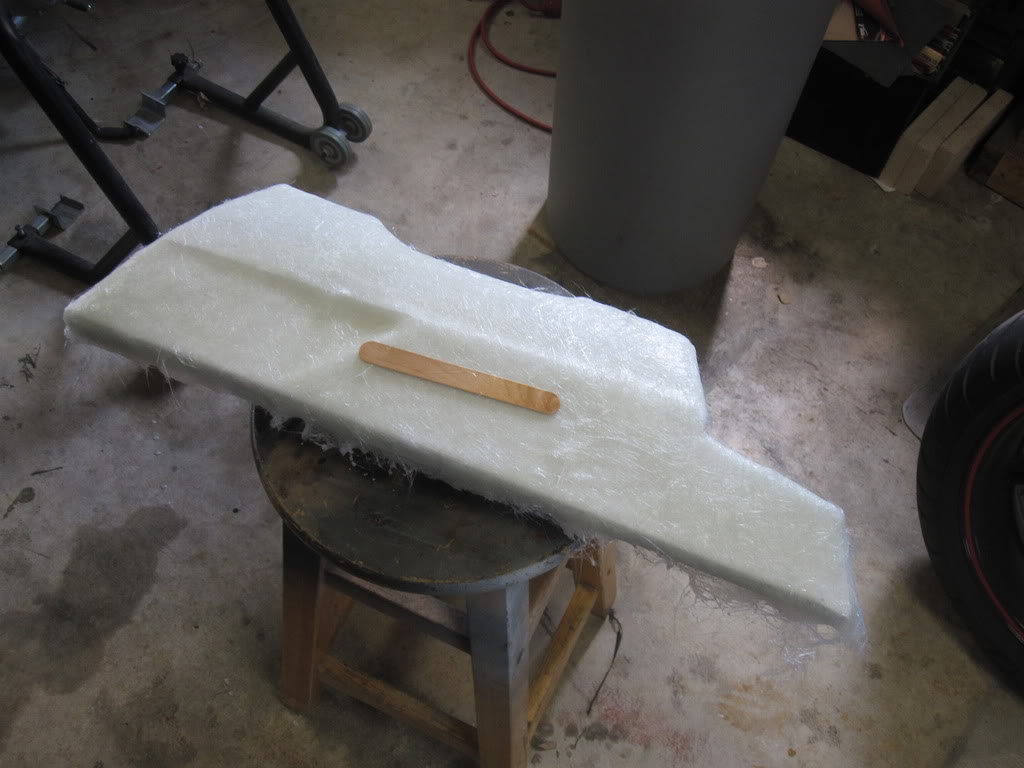
And.. as promised a long time ago i am going to show some more CF work as i make the lower fairings. For ease of fabrication i am going to make a positive blank out of foam then make a fiberglas mold from that that i will then make the final part out of.
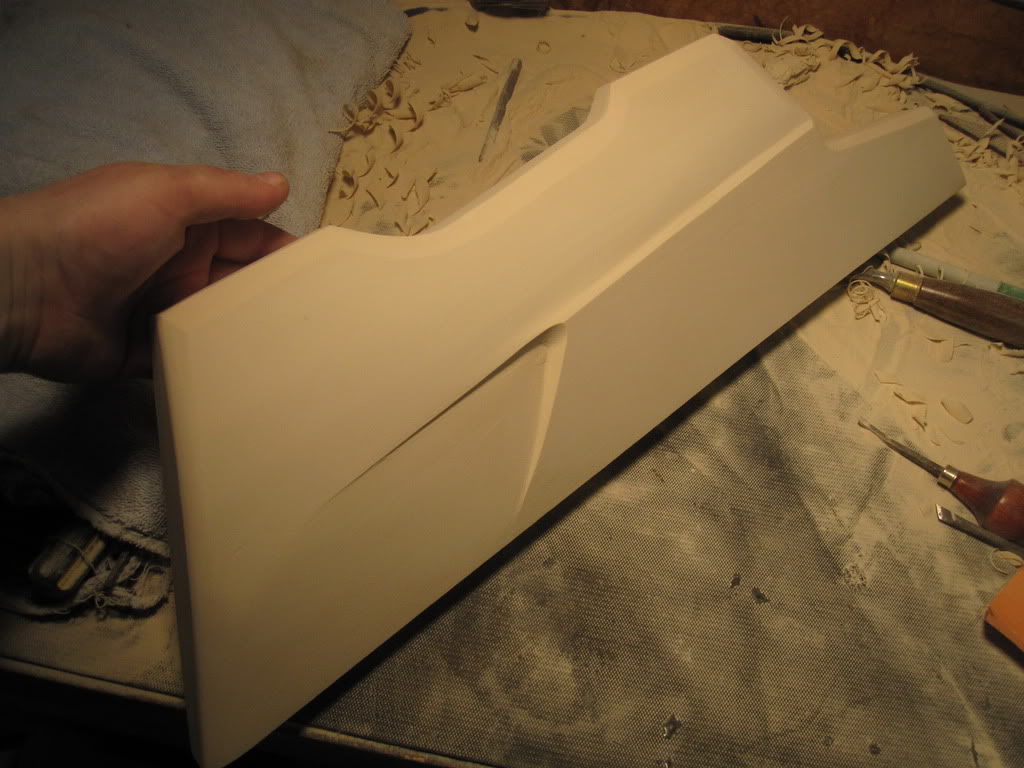
So... here we go. i have the foam cut roughly to shape and the preliminary bevels cut on the bandsaw.
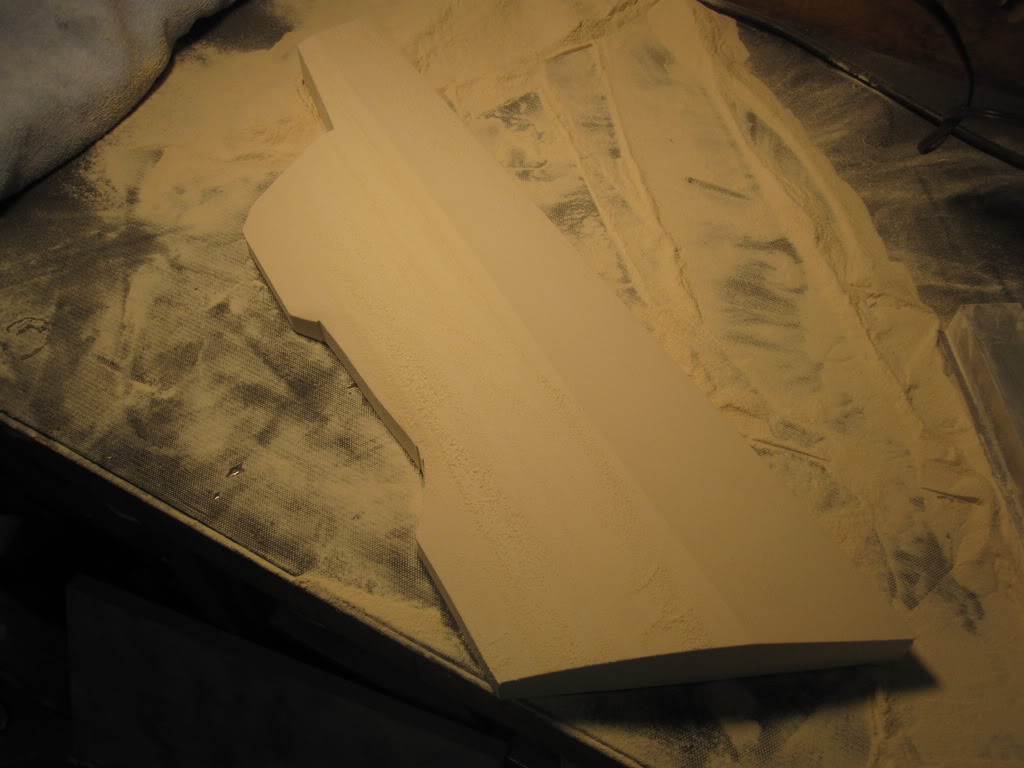
then i clean them up and put the bevels more where i want them. i am using a long block with 50 grit ceramic sandpaper. I try and finish each step on each peice to keep them as much the same as possible, rather than finishing one and going to the next.

keep the flat lower bevel and radius the top one..
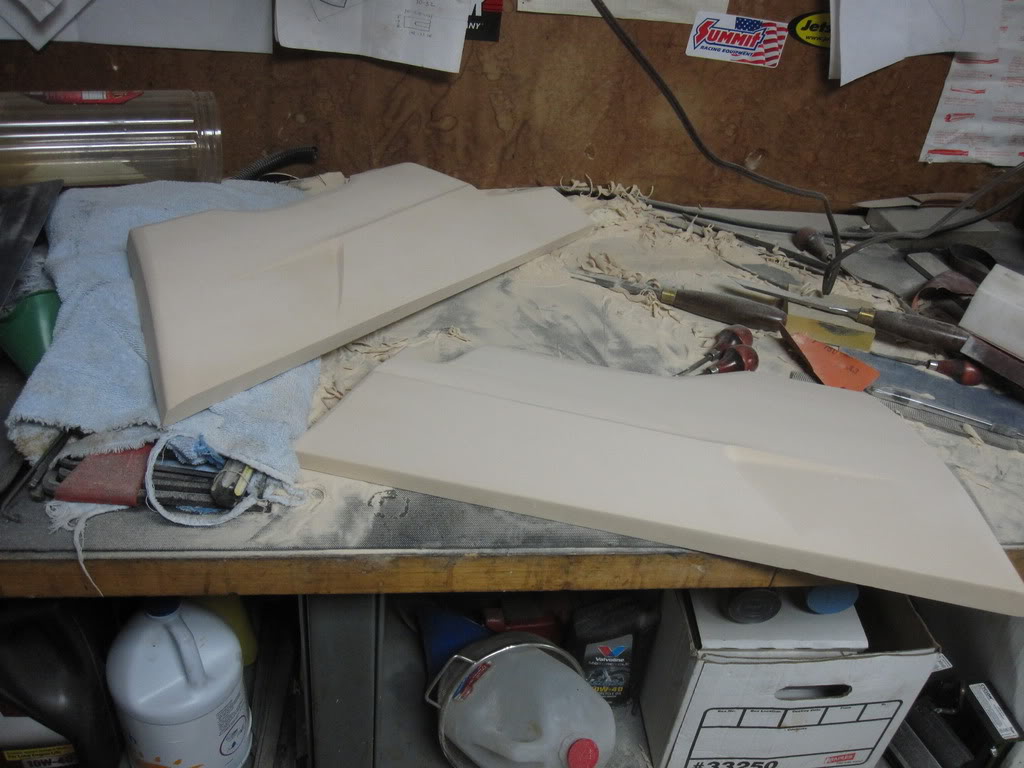
Now i have chiseled and sanded a detail onto one and am transferring it over to the other. this stuff works alot like soft wood without the grain problem. it is alot of fun to work with.
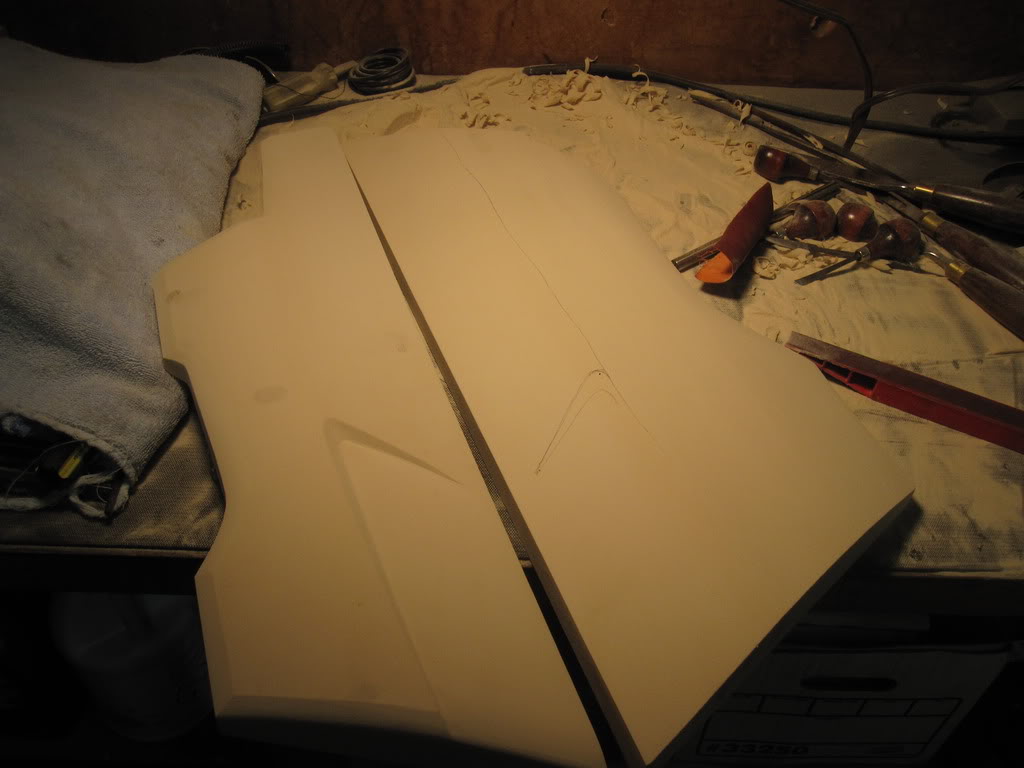
and a little bit more tweaking with a lateral detail
now i have both sides to the same stage. i still have to go in and do the final tweaking.
Okay... got some more work done.
got the molds sealed with resin.
then sanded them down, primed them, sanded and buffed them before waxing and releasing them.

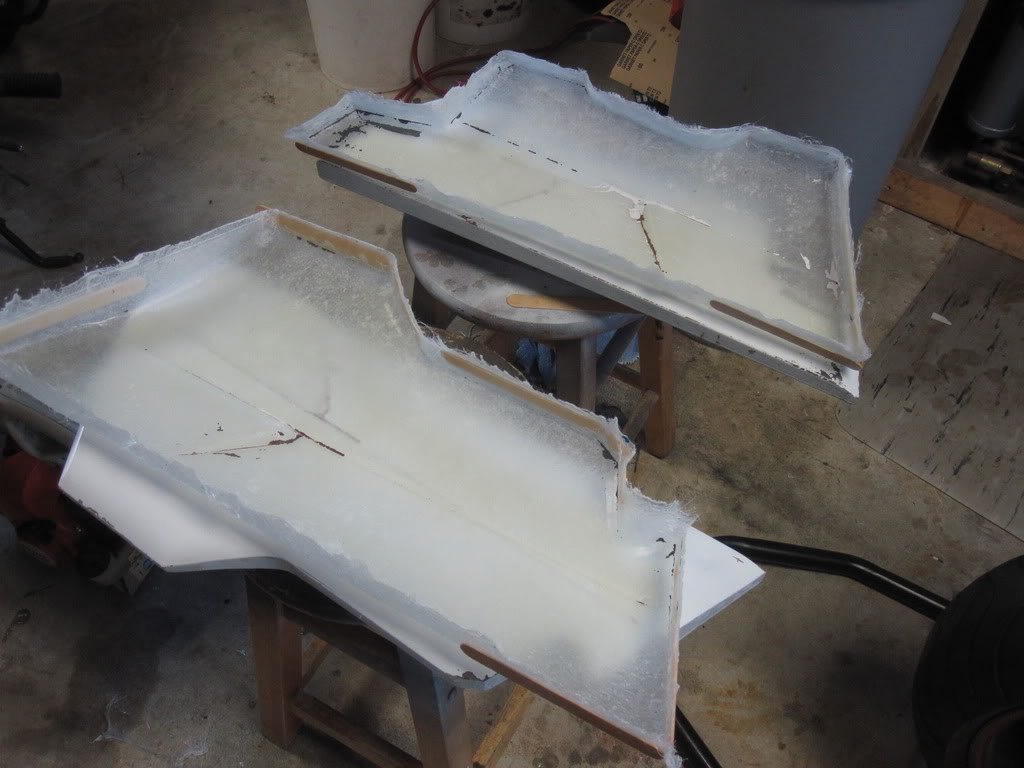
then i made the molds..
let them cure overnight, and popped them off. now i have to touch them up before priming and preping them for making the real parts. the benifit to these parts is that i can lay up the part in the mold and then press the mold onto the plug to remove as much gap as possible.
 And
And
i forgot my camera at work yesterday so i dont have any pictures of the lay-up but it is very stright forward. resin on the mold, layer of fiber, little resin.. layer of fiber, little more resin...
Here is the cured part sandwiched in between the mold and the plug;
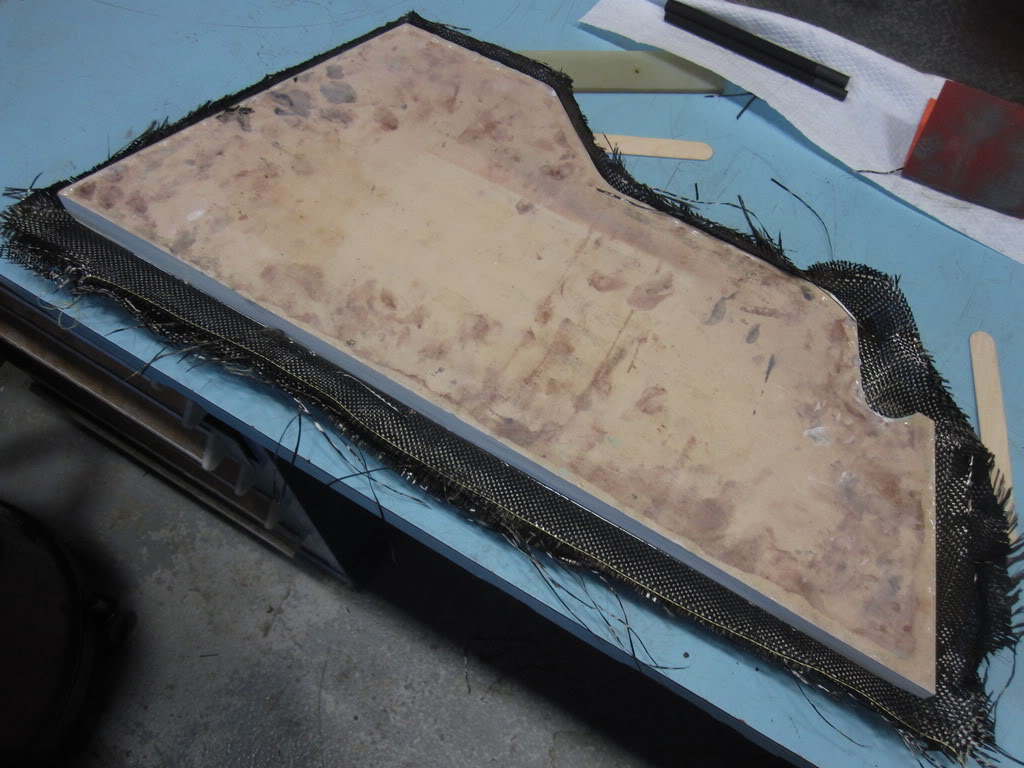
and after i popped the plug out:
and i had one of the part after i got it out of the mold but i didnt realize till i uploaded it out horribly blurry it was.. so you will just have to imagine in. sorry...=(
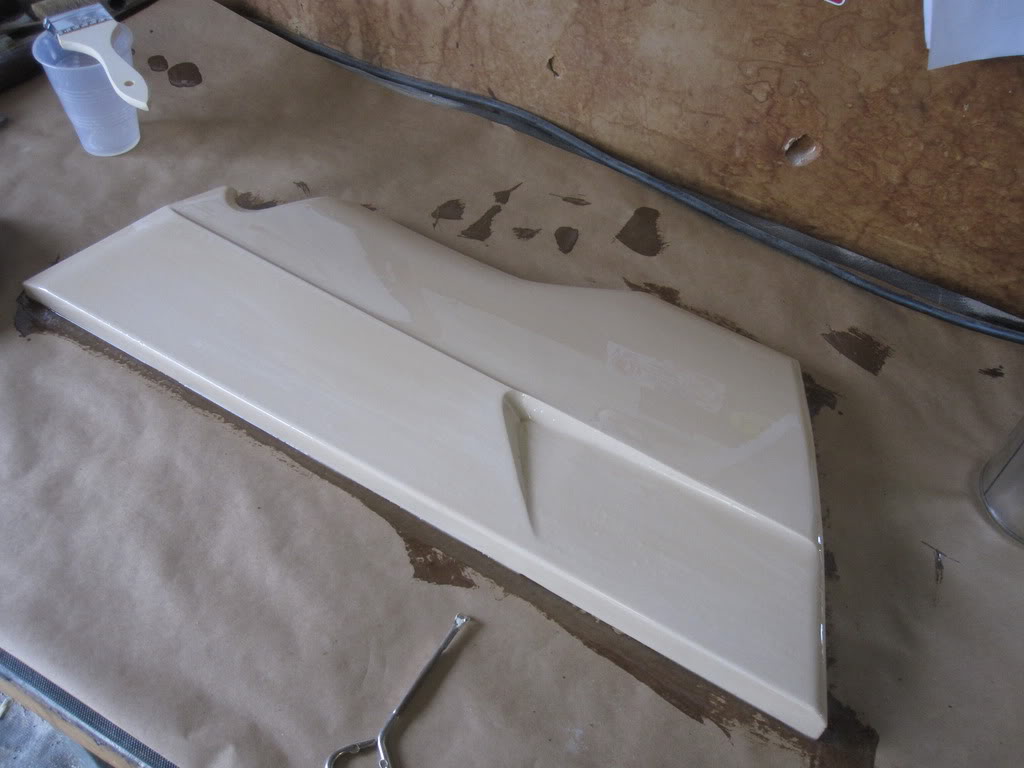
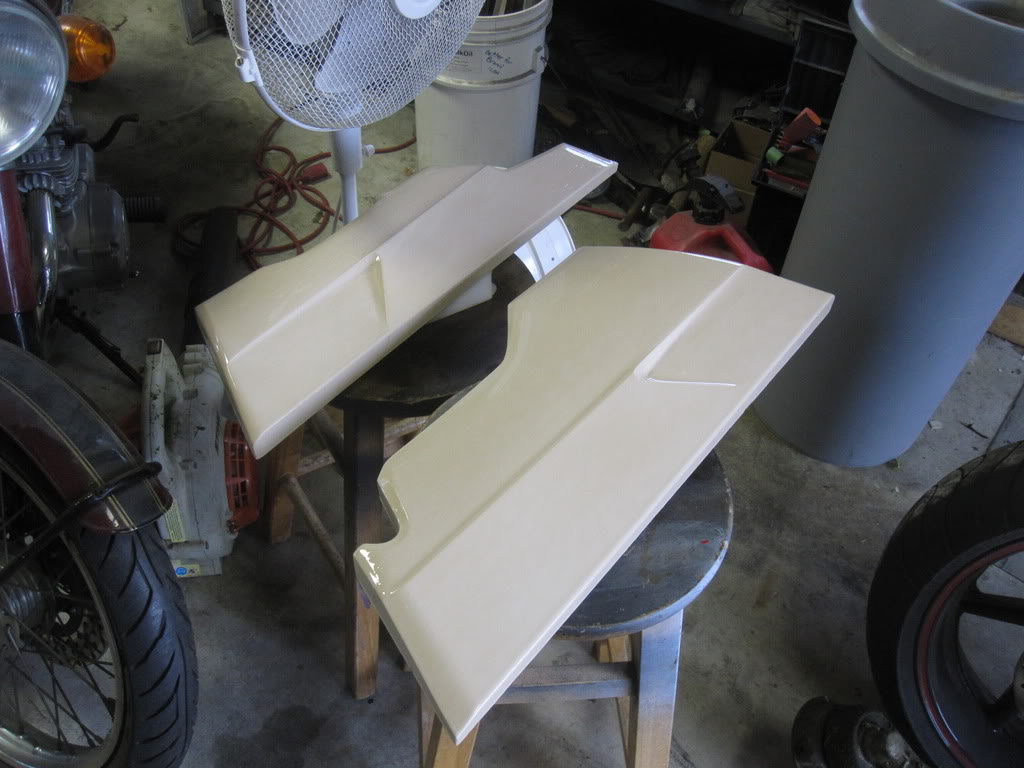
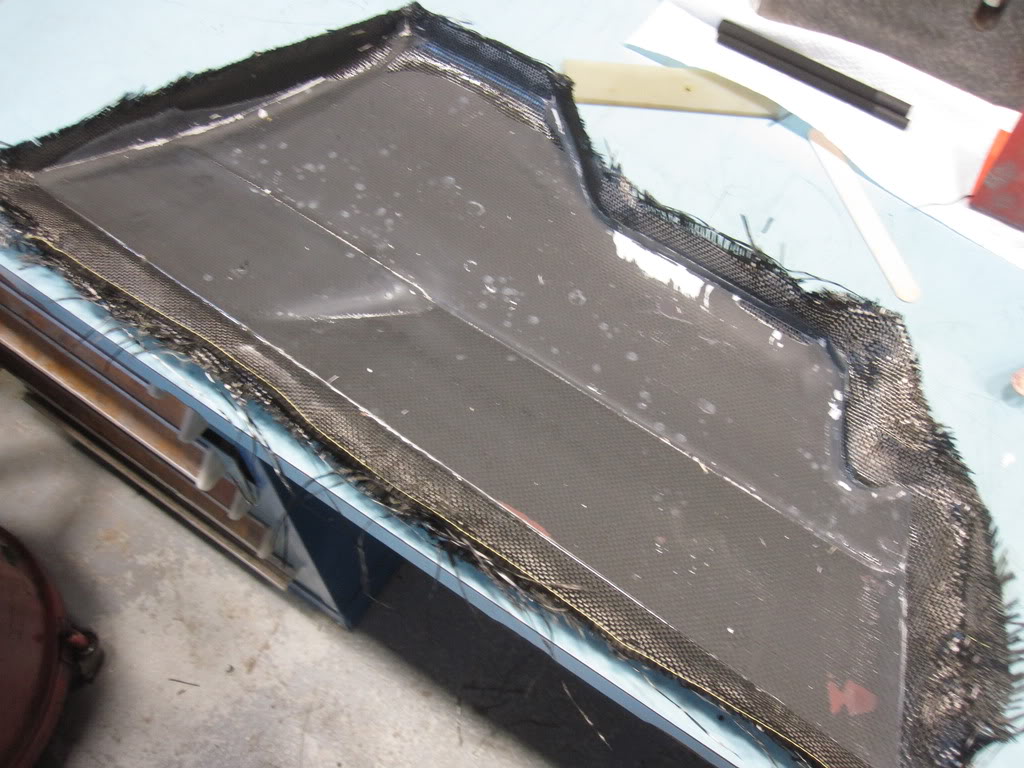
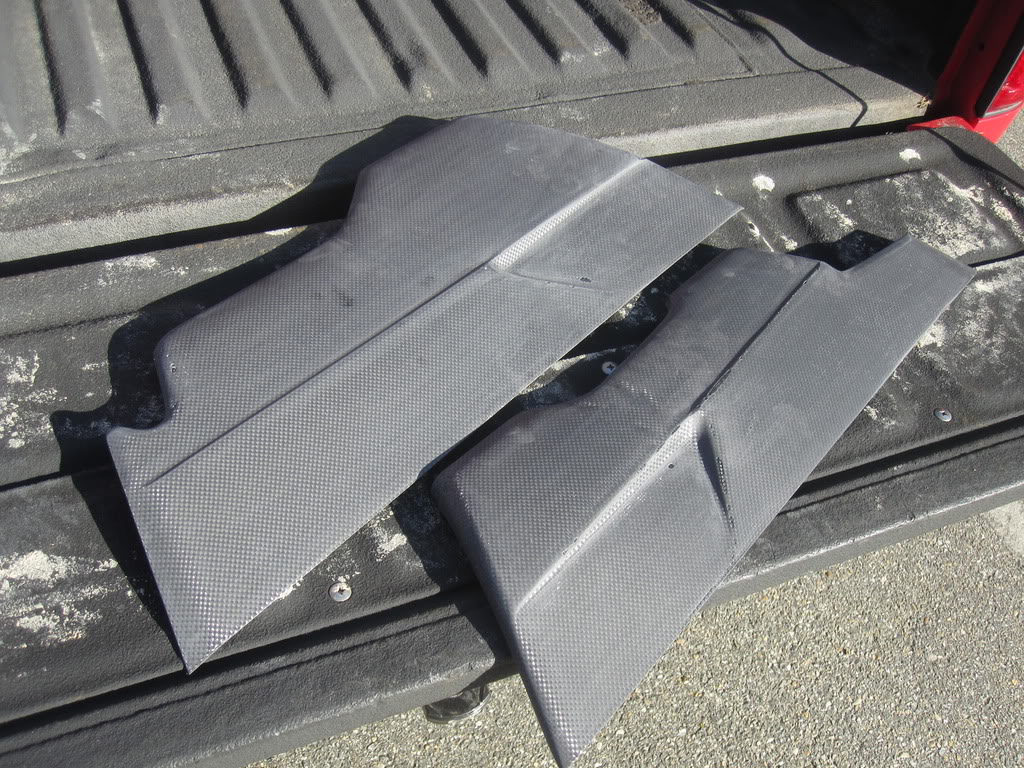
and here are the two parts after sanding them down for the final coat of resin. i had a couple bubbles get trapped, so the final resin coat will make those go away, then i will sand it down, cut the "scoop" and then paint it.
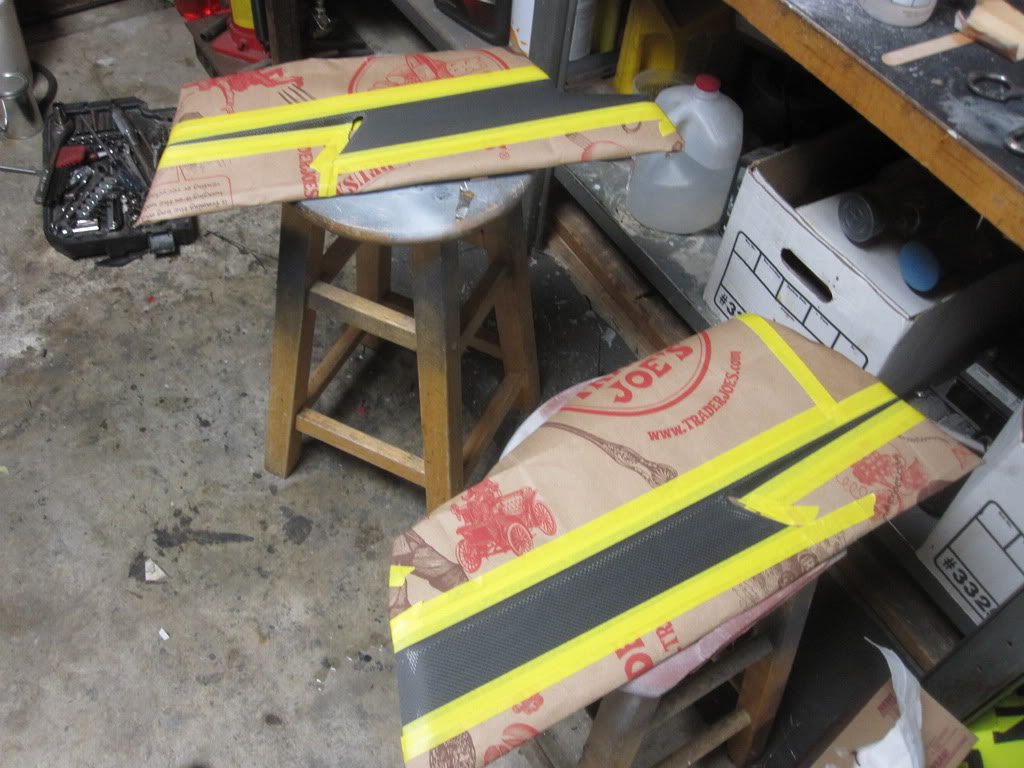
well i got the lowers wet sanded and then masked them up for the white stripe
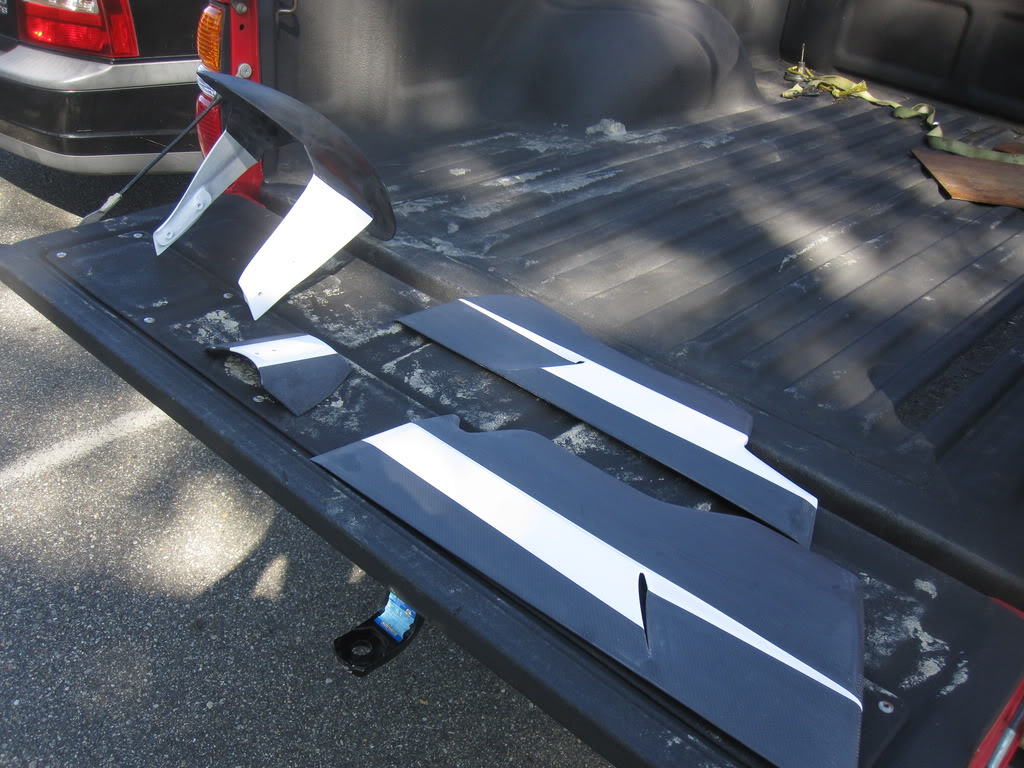
then painted them...
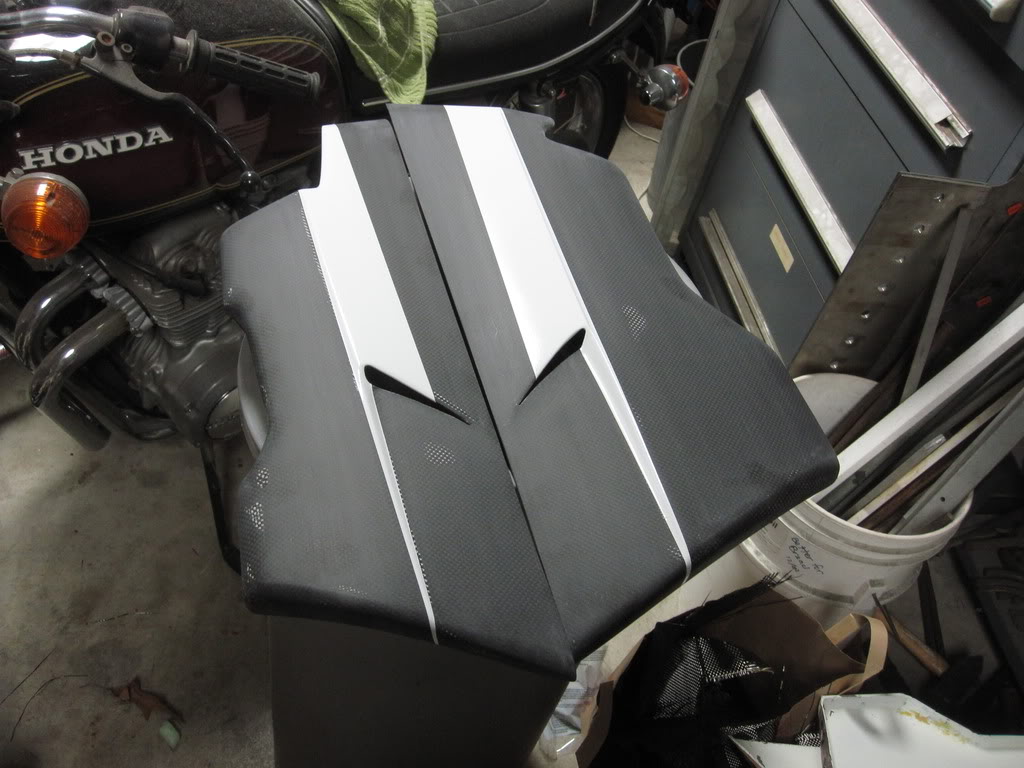
now i am ready to do the clear coat on the fender, fly-screen, and lowers
also... bad news. once i replaced the cam chain components the chain noise went away and i could heat the piston slap... =( took off the oil pan to find this:
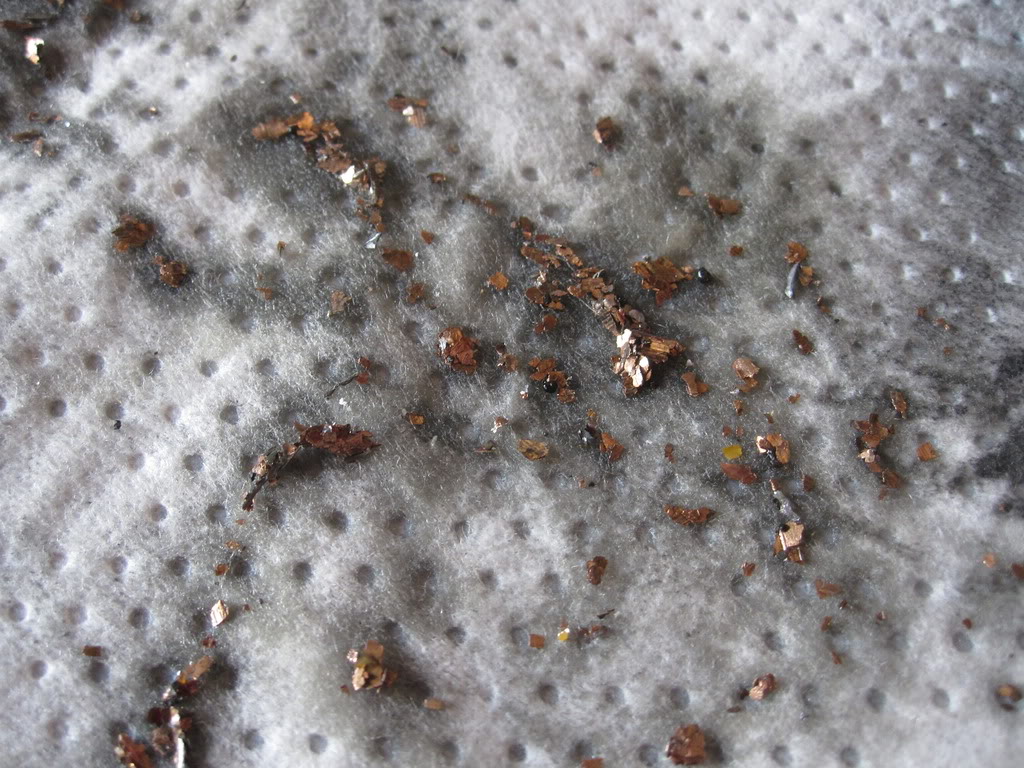
long story short, the motor will take more money to fix than it will to get a new engine... so i did that
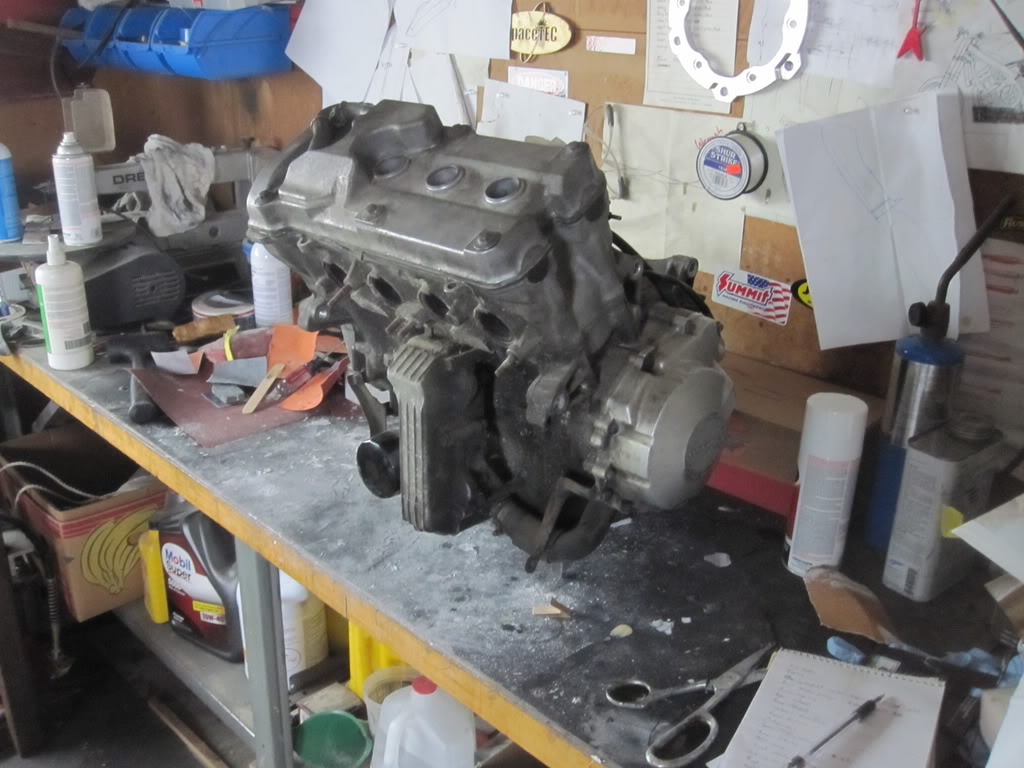
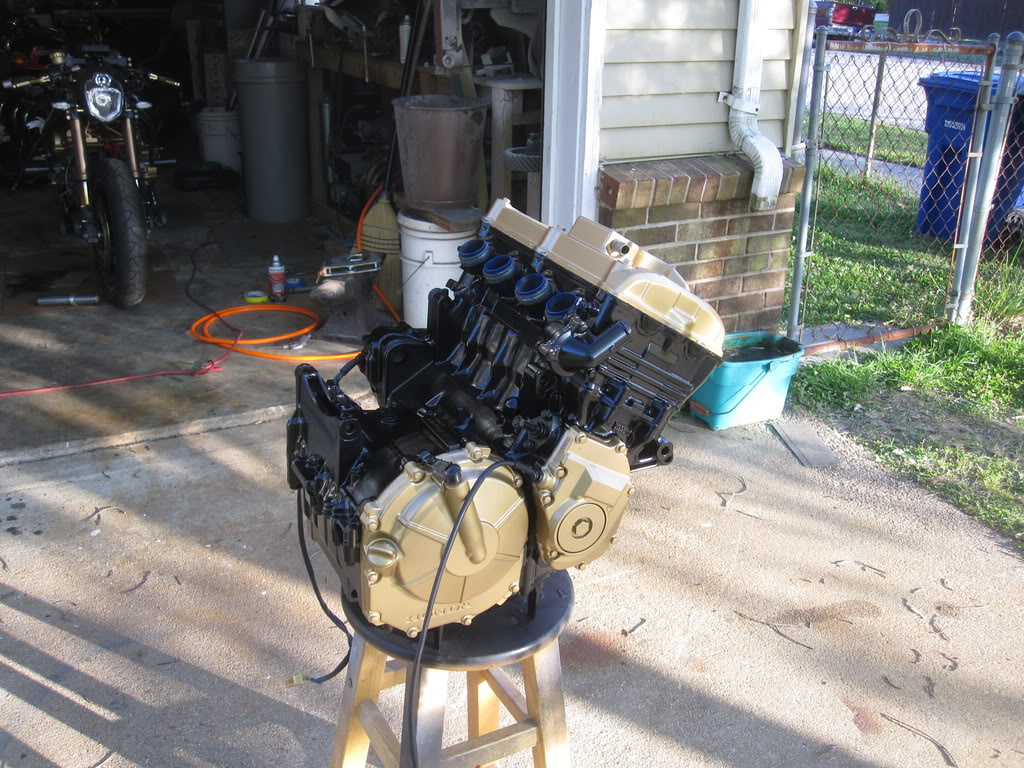
low mileage motor in better condition than mine ever was, and it came out of a running bike.
the donor heart waiting to get grafted in.
I am going to go with satin black on the engine this time instead of cast iron.
I thought i dropped valve, but it turned out all my valves were perfect. i did a valve job and so all my valves are right in the middle of tolerance, but i still had that nasty twack twack noise... my camchain tensioner guid was worn through so i ordered a new one..
Got it all torn down to replace the cam chain tensioner... if only that had worked =(
My new battery set-up. Three 4-volt 8-amp batteries wired in series in order to fit in the tail.
And.. as promised a long time ago i am going to show some more CF work as i make the lower fairings. For ease of fabrication i am going to make a positive blank out of foam then make a fiberglas mold from that that i will then make the final part out of.
So... here we go. i have the foam cut roughly to shape and the preliminary bevels cut on the bandsaw.
then i clean them up and put the bevels more where i want them. i am using a long block with 50 grit ceramic sandpaper. I try and finish each step on each peice to keep them as much the same as possible, rather than finishing one and going to the next.
keep the flat lower bevel and radius the top one..
Now i have chiseled and sanded a detail onto one and am transferring it over to the other. this stuff works alot like soft wood without the grain problem. it is alot of fun to work with.
and a little bit more tweaking with a lateral detail
now i have both sides to the same stage. i still have to go in and do the final tweaking.
Okay... got some more work done.
got the molds sealed with resin.
then sanded them down, primed them, sanded and buffed them before waxing and releasing them.
then i made the molds..
let them cure overnight, and popped them off. now i have to touch them up before priming and preping them for making the real parts. the benifit to these parts is that i can lay up the part in the mold and then press the mold onto the plug to remove as much gap as possible.
And i forgot my camera at work yesterday so i dont have any pictures of the lay-up but it is very stright forward. resin on the mold, layer of fiber, little resin.. layer of fiber, little more resin...
Here is the cured part sandwiched in between the mold and the plug;
and after i popped the plug out:
and i had one of the part after i got it out of the mold but i didnt realize till i uploaded it out horribly blurry it was.. so you will just have to imagine in. sorry...=(
and here are the two parts after sanding them down for the final coat of resin. i had a couple bubbles get trapped, so the final resin coat will make those go away, then i will sand it down, cut the "scoop" and then paint it.
well i got the lowers wet sanded and then masked them up for the white stripe
then painted them...
now i am ready to do the clear coat on the fender, fly-screen, and lowers
also... bad news. once i replaced the cam chain components the chain noise went away and i could heat the piston slap... =( took off the oil pan to find this:
long story short, the motor will take more money to fix than it will to get a new engine... so i did that
low mileage motor in better condition than mine ever was, and it came out of a running bike.
the donor heart waiting to get grafted in.
I am going to go with satin black on the engine this time instead of cast iron.
Thread Starter
|
July 2011 ROTM
Joined: May 2010
Posts: 223
Likes: 8
From: Hampton Roads, VA
got then engine clean.
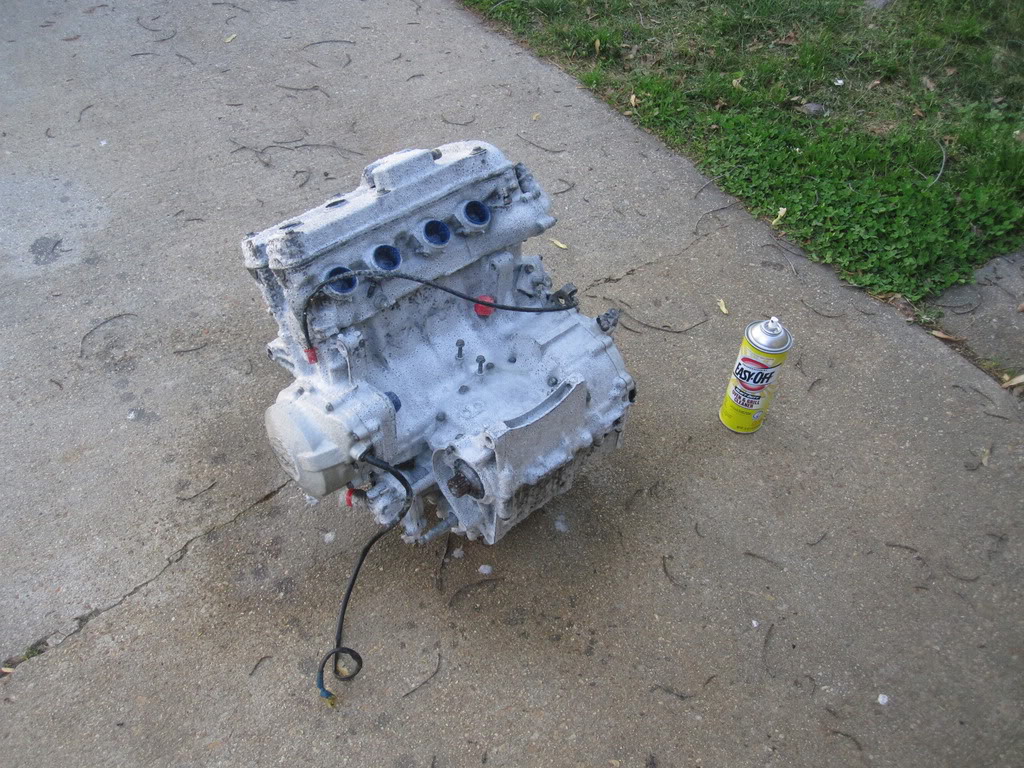
after i wore my fingers to the bone getting all the crevases in the engine with scotch bright and engine degreaser a bussy told me about easy off. i could have saved my fingers. it etches the aluminum some, but tha tis okay for me as i am going to paint it anyway, but it didnt eat the painted covers...
All foamy
Now it is all clean. i have all the holed blocked off and after i took the picture i finished masking the wires and plugs.
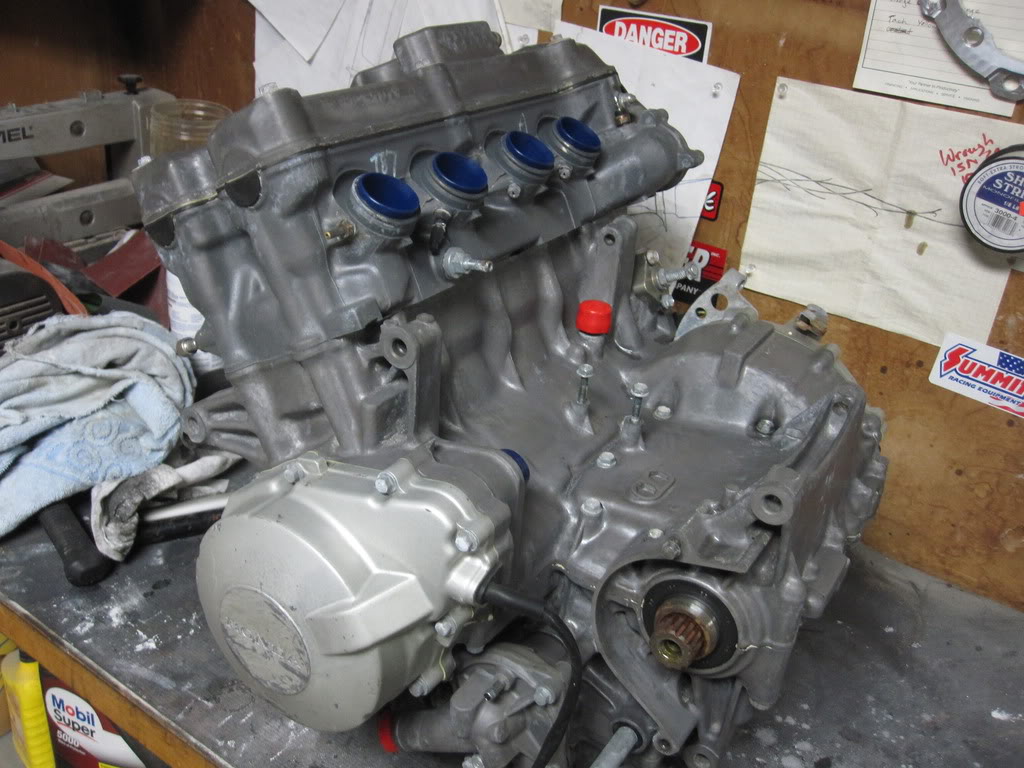
I got the whole thing primered and the gold parts done (except for the alternator cover which will be swapped from my bike due to the scratches) Now it will have dried for a whole day and i will mask off the gold and paint the rest black.

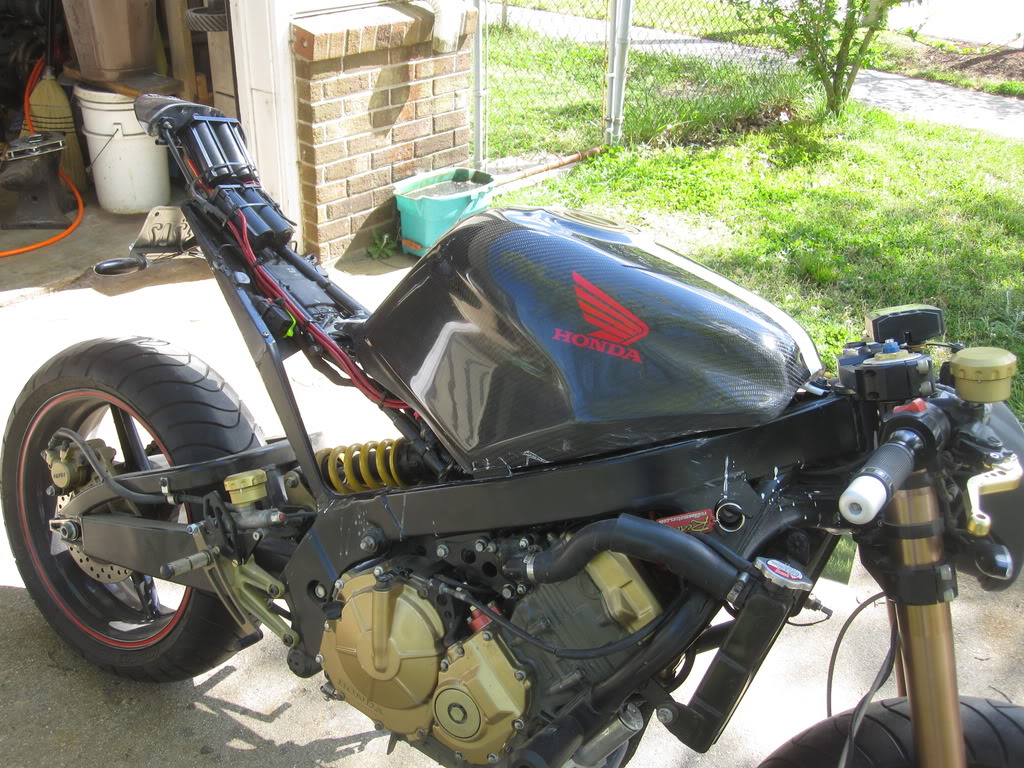
thought i would show a little honda pride... i think it makes the tank look a bit more "finished" the red pinstripe still has to go on.
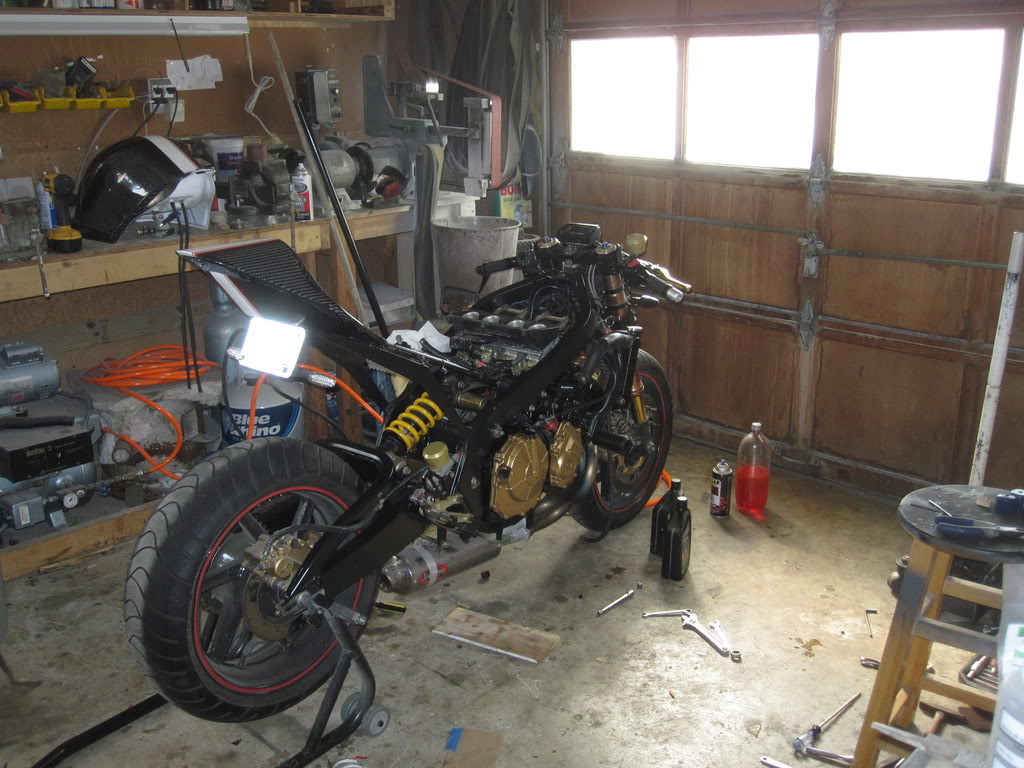
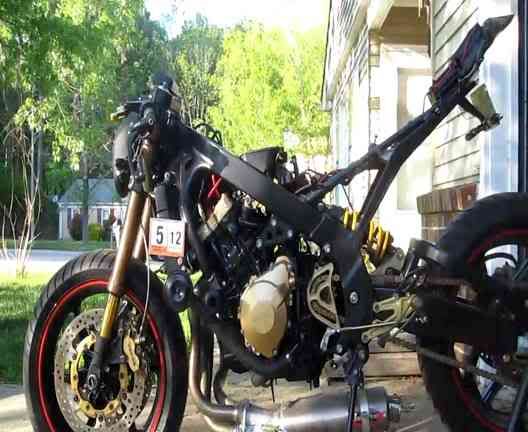
and i got the engine painted for real. I am letting it dry all day and tomorrow morning. hoping to pull the old engine out tonight, and put the new one in tomorrow. the bike will also be getting a top to bottom cleaning while i have it all apart.
i love how the bike is lurking in the background...
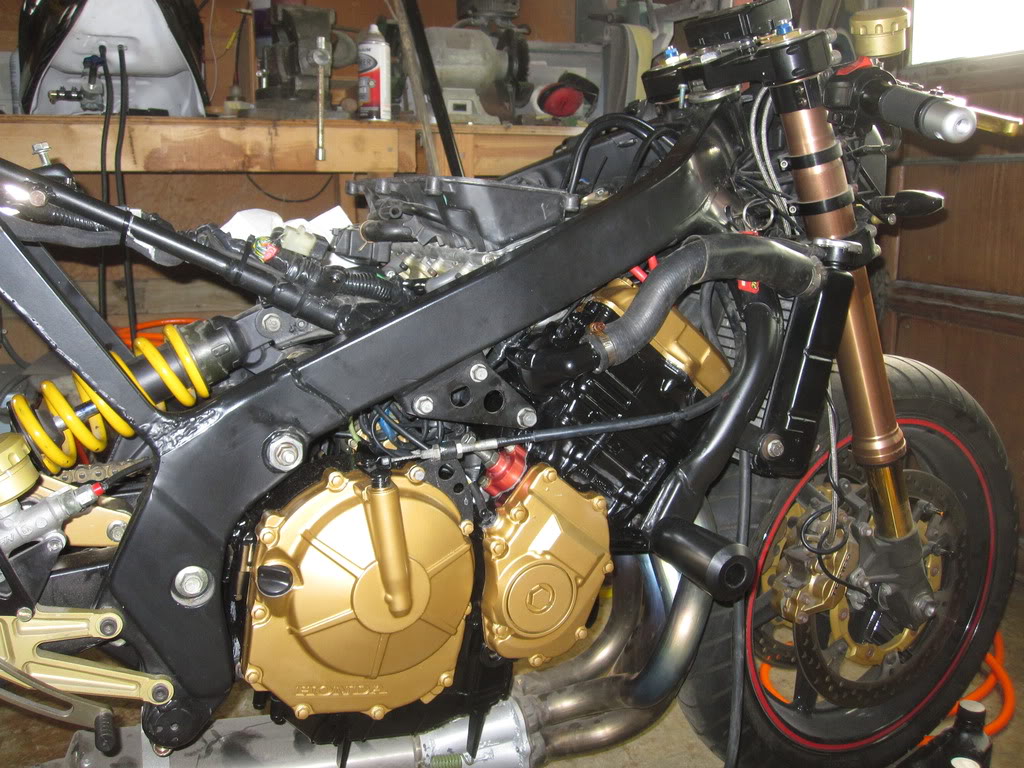
and after struggling with the engine for about an hour i called my brother and he came and helped me get the engine in...
starting to button everything back up. new coolant, new oil new oil filter...
got everything mechanical together and hooked up. i swapped out the cam-chain tensioner, so when i starts up i hadn't adjusted it yet, and this is a cursory adjustment as it will get tweaked further when the bike has a chance to warm up.
this is the first time i tried to fire the bike up. and it is running on starting fluid and about 2 oz. of gas i put in the fuel line hence it wanting to die at the end of the video.
after i wore my fingers to the bone getting all the crevases in the engine with scotch bright and engine degreaser a bussy told me about easy off. i could have saved my fingers. it etches the aluminum some, but tha tis okay for me as i am going to paint it anyway, but it didnt eat the painted covers...
All foamy
Now it is all clean. i have all the holed blocked off and after i took the picture i finished masking the wires and plugs.
I got the whole thing primered and the gold parts done (except for the alternator cover which will be swapped from my bike due to the scratches) Now it will have dried for a whole day and i will mask off the gold and paint the rest black.
thought i would show a little honda pride... i think it makes the tank look a bit more "finished" the red pinstripe still has to go on.
and i got the engine painted for real. I am letting it dry all day and tomorrow morning. hoping to pull the old engine out tonight, and put the new one in tomorrow. the bike will also be getting a top to bottom cleaning while i have it all apart.
i love how the bike is lurking in the background...
and after struggling with the engine for about an hour i called my brother and he came and helped me get the engine in...
starting to button everything back up. new coolant, new oil new oil filter...
got everything mechanical together and hooked up. i swapped out the cam-chain tensioner, so when i starts up i hadn't adjusted it yet, and this is a cursory adjustment as it will get tweaked further when the bike has a chance to warm up.
this is the first time i tried to fire the bike up. and it is running on starting fluid and about 2 oz. of gas i put in the fuel line hence it wanting to die at the end of the video.

Welcome Crew and ROTY 2014
Joined: Dec 2010
Posts: 2,059
Likes: 6
From: Kansas
I think I was following your thread on another site, a while back (CustomFighters, maybe?), but I had never subscribed - I'm glad to have found this thread here, so I could get back up to speed!