
Project: Father and Son Rebuild


Thread Starter
|
Member
Joined: Jun 2012
Posts: 51
Likes: 0
From: Spring Lake, MI
I thought about a factory paint job. But with everything else not being factory correct, I am leaning against a custom color.
Now, 2 tone, ghost flames, single stage......oh and what color!?? Decisions decisions.
On another note, we spent all day yesterday buttoning up all the loose ends. I rode it for the first time in 6 months last night!
I had to work a little bit on the carb jetting, I finally got it to idle smooth and pull hard through the rpm range.
So we mocked up a street fighter headlight so I can ride it while I wait for the plastics to be done! Pictures to come soon!
Thread Starter
|
Member
Joined: Jun 2012
Posts: 51
Likes: 0
From: Spring Lake, MI
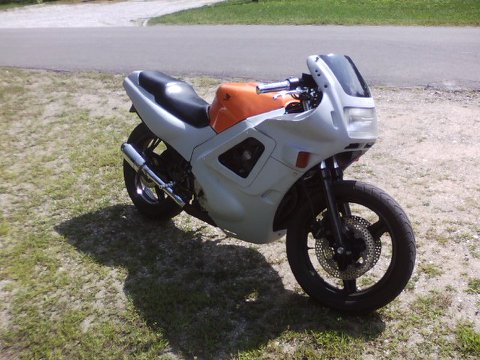
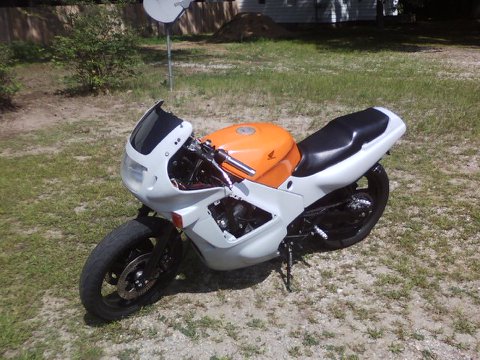
Hey everyone, long story short. I've been riding this thing everywhere, so I haven't updated in awhile! Other than a loose clutch lever bolt, I have zero issues in the last 300 miles!
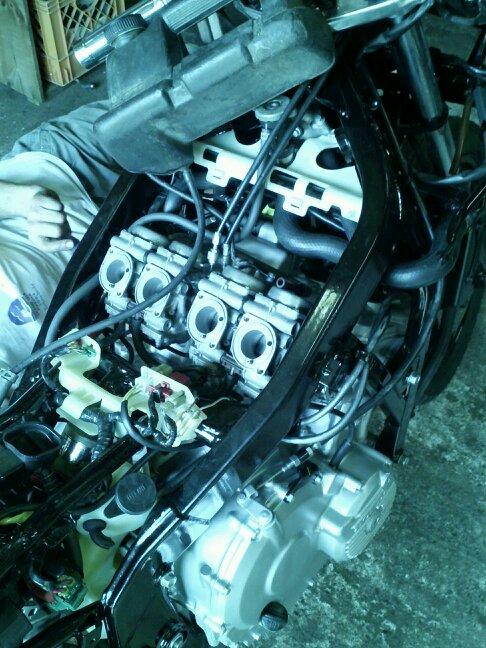
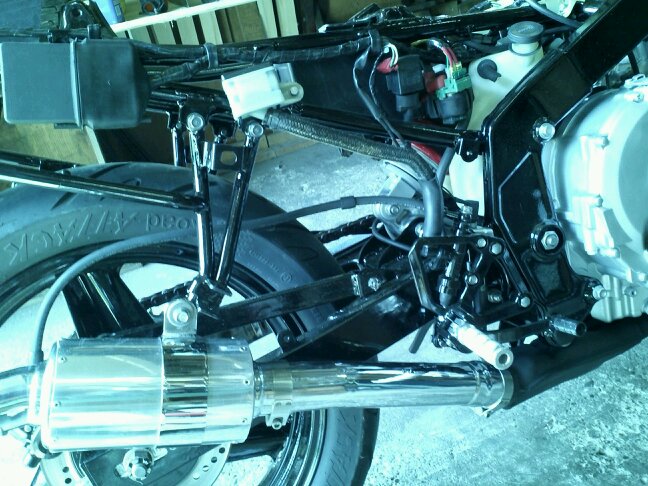
Getting the carbs installed. Dont mind the aux fuel tank, just needed to get some fuel to it
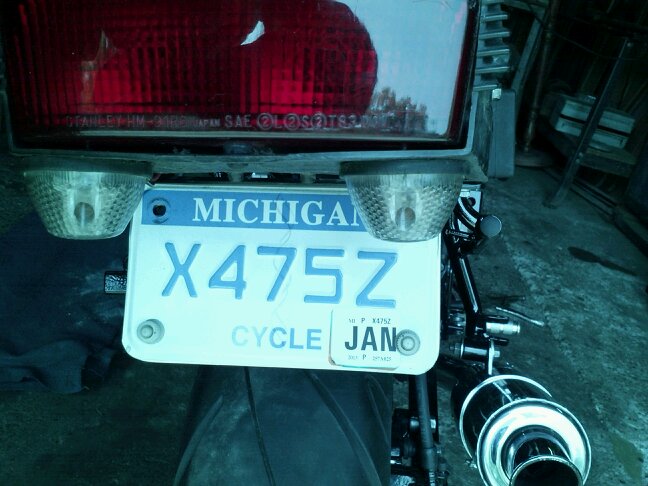
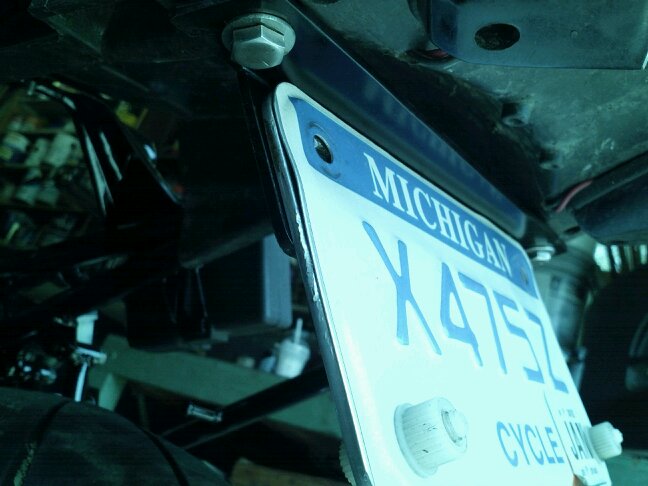
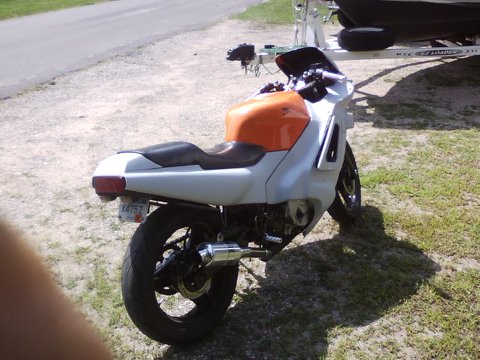
The previous owner hacked up the rear fender pretty badly. So I bought on off ebay, only to find out that it's been hacked up also. I had plans on doing a fender eliminator anyways, but had no way to mount the license plate. Sooooo, with a little scrap aluminum, and some patience, we fabbed up a custom plate bracket.
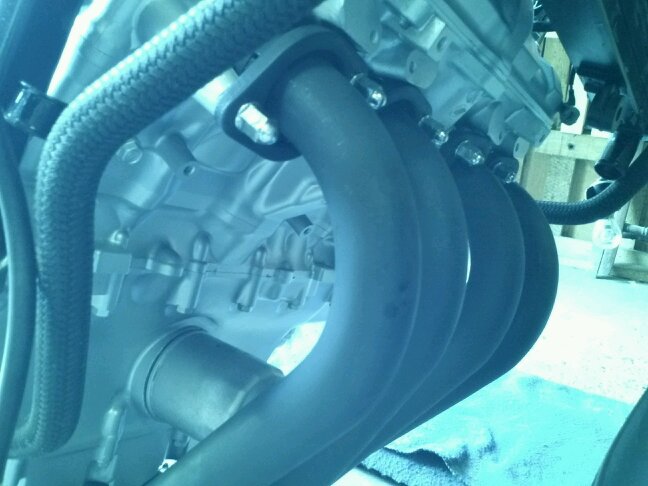
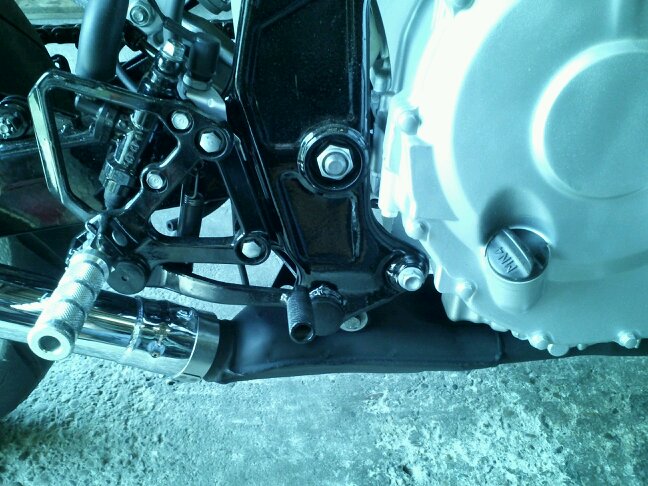
Exhaust pic, no worries about the oversprayed oil filter, thats long gone.
Here is a before pic of the can that came on the bike, it was scratched all over. With a buffing wheel, various compounds, and a ton of elbow grease, we were able to make it beautiful again.
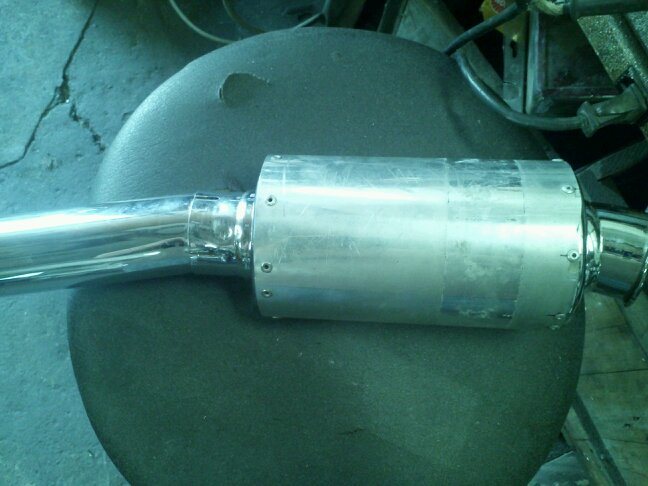
After:
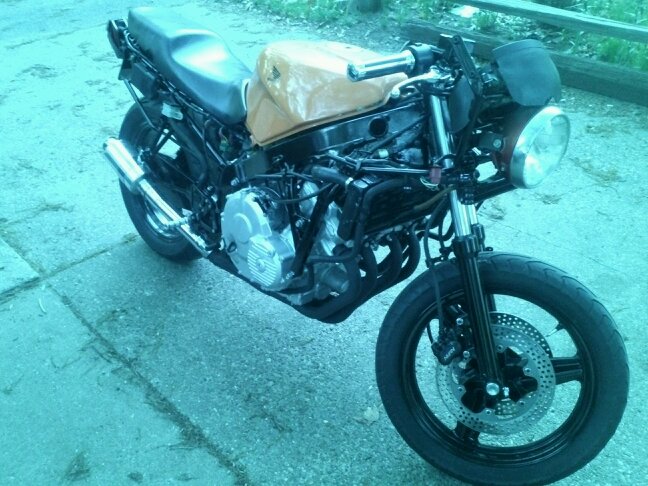
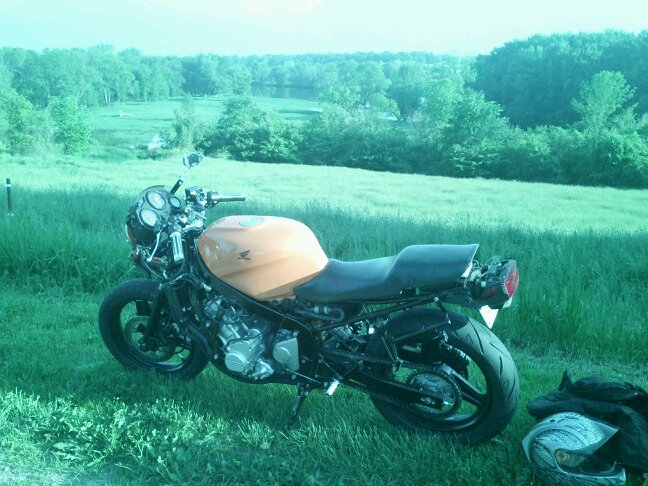
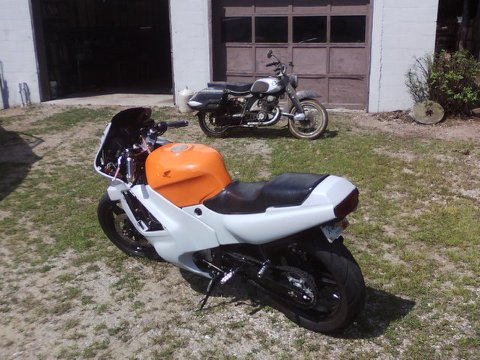
And here she is, as naked as can be. The headlight is from an early 70s honda bike we had laying around. Temporary obviously as the plastics are being worked on.
Future plans:
-Coil on plug conversion
-Finishing body work
-Custom paint
-Converting stock sealed beam headlight to HID without losing factory appearance. (more on this soon)
For now we're going to take a short break, and enjoy riding it for a bit!
Thanks everyone for looking!
Robert.
Getting the carbs installed. Dont mind the aux fuel tank, just needed to get some fuel to it

The previous owner hacked up the rear fender pretty badly. So I bought on off ebay, only to find out that it's been hacked up also. I had plans on doing a fender eliminator anyways, but had no way to mount the license plate. Sooooo, with a little scrap aluminum, and some patience, we fabbed up a custom plate bracket.


Exhaust pic, no worries about the oversprayed oil filter, thats long gone.


Here is a before pic of the can that came on the bike, it was scratched all over. With a buffing wheel, various compounds, and a ton of elbow grease, we were able to make it beautiful again.

After:

And here she is, as naked as can be. The headlight is from an early 70s honda bike we had laying around. Temporary obviously as the plastics are being worked on.


Future plans:
-Coil on plug conversion
-Finishing body work
-Custom paint
-Converting stock sealed beam headlight to HID without losing factory appearance. (more on this soon)
For now we're going to take a short break, and enjoy riding it for a bit!
Thanks everyone for looking!
Robert.
Thread Starter
|
Member
Joined: Jun 2012
Posts: 51
Likes: 0
From: Spring Lake, MI
So this weekend at Muskegon Bike Time I looked for Hurricanes, only saw one through the thousands of bikes there. Which makes me enjoy mine that much more!
I wanted to see how the bike was doing on horsepower, and my A/F ratio numbers, fifty bucks later she was on the dyno!
The operator told me I had it tuned pretty close but it still ran slightly lean at idle, and a tad rich in high RPMS, but from 8,000 to 11,000 RPMS it maxed out at 68 HP to the wheel.
It was hot, and humid, with temps at 85F and 40% humidity.
To me I think these numbers sound low. Either way i'm going to take his advice and adjust the carbs to correct my A/F ratios, and see what happens.
Thread Starter
|
Member
Joined: Jun 2012
Posts: 51
Likes: 0
From: Spring Lake, MI
Well at 29,979 miles, the bearings in the clutch spring assembly finally went out. My first mechanical breakdown on a motorcycle. Was on my way to disc golf with my uncle and lost all clutch movement.
Luckily the bearing split and ended up in the bottom of the crankcase and no where else. No unusual noises or unusual play, just went without warning.
I'd take pictures, however my cell phone has disappeared as well. Not a good weekend for this guy. Looking forward to Monday when I can go back to work haha.

New Member
Joined: Aug 2013
Posts: 3
Likes: 0
From: Transylvania, Romania
Hi there. Bike looks great, your little tail inspired me to get my 88 CBR600 in a streetfighter project over the upcoming winter (Ned Stark is hunting me, haha). Currently it is being welded here and there, as I have laid it down, for the second time in a almost a year, again on the left side...Engine case, or starter clutch lid, or how the hell it is called cracked again, along with the radiator...left foot peg broken on 2 places, but I still got home in one piece, riding 300 km's on a road with more turns than hell... Btw I am from Romania, from the mythical Transylvania, and I wish you long happy miles, dry roads, and cheap fuel Waiting for further check-ins and pics 
Waiting for further check-ins and pics
Thread Starter
|
Member
Joined: Jun 2012
Posts: 51
Likes: 0
From: Spring Lake, MI
Thanks everyone for the positive comments, I recently found out I'm going to have a little girl come into my life, so we're pushing to have this project done before she comes.
The body work from the PO was a disaster, many panels damaged from being layed down, broken tabes/clips, mounting areas. So we're in the process of rebuilding the existing plastic, smoothing it out and getting her ready for paint and primer.
I'll have pics soon, thanks everyone for your support!
The body work from the PO was a disaster, many panels damaged from being layed down, broken tabes/clips, mounting areas. So we're in the process of rebuilding the existing plastic, smoothing it out and getting her ready for paint and primer.
I'll have pics soon, thanks everyone for your support!
Thread Starter
|
Member
Joined: Jun 2012
Posts: 51
Likes: 0
From: Spring Lake, MI
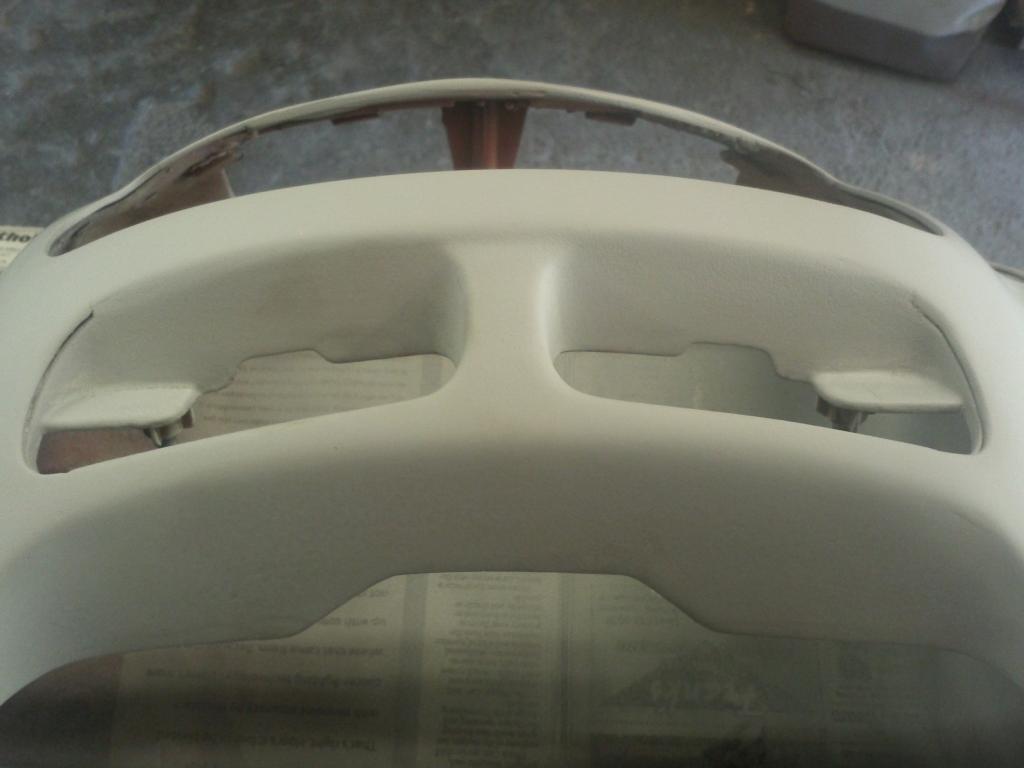
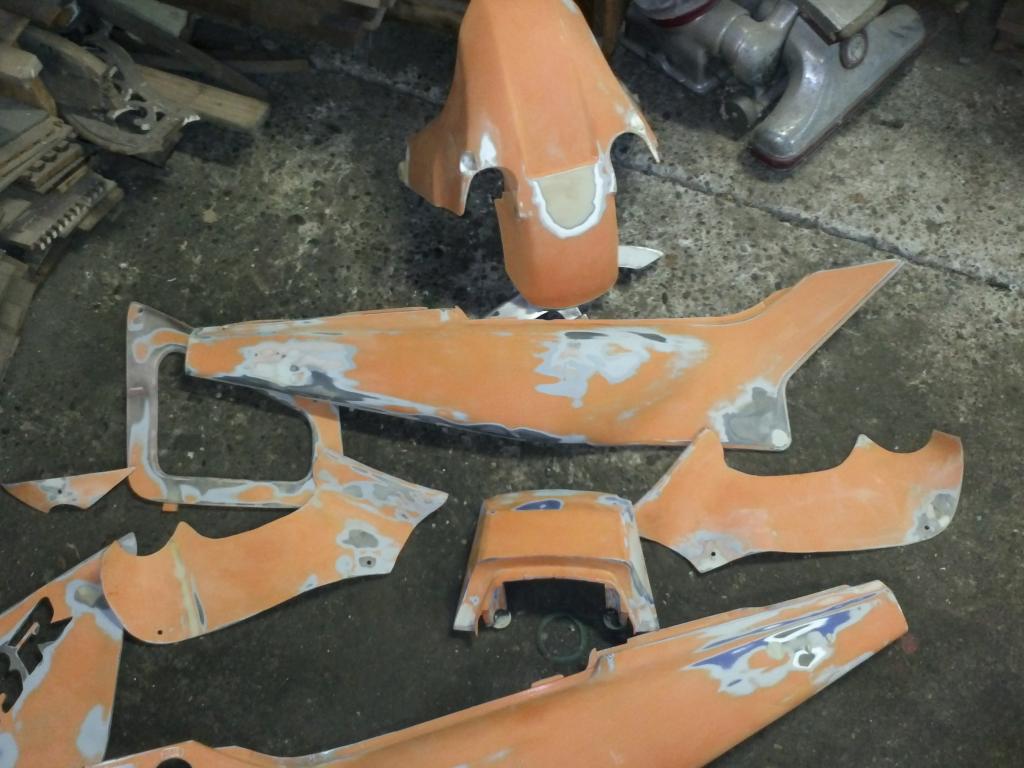
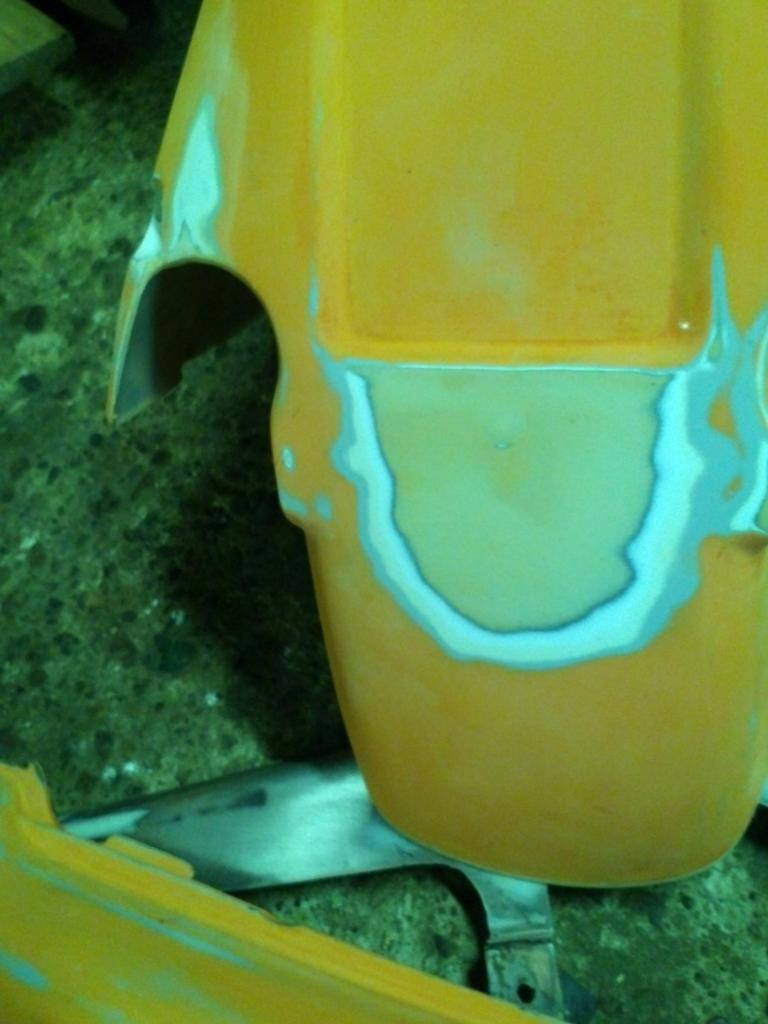
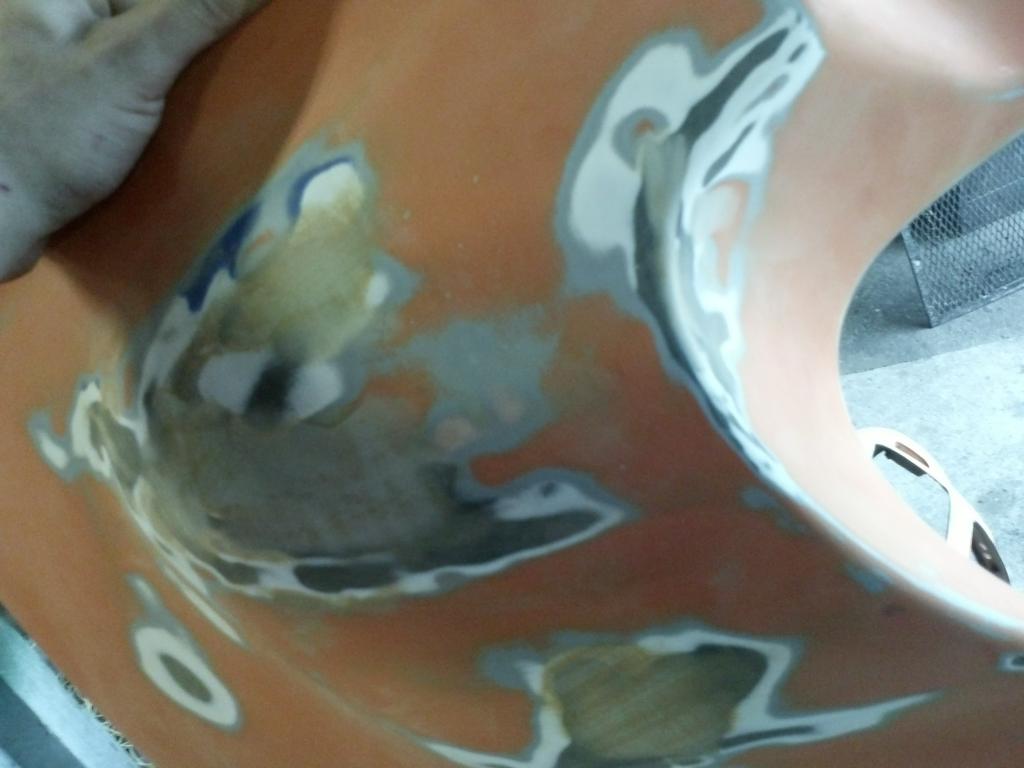
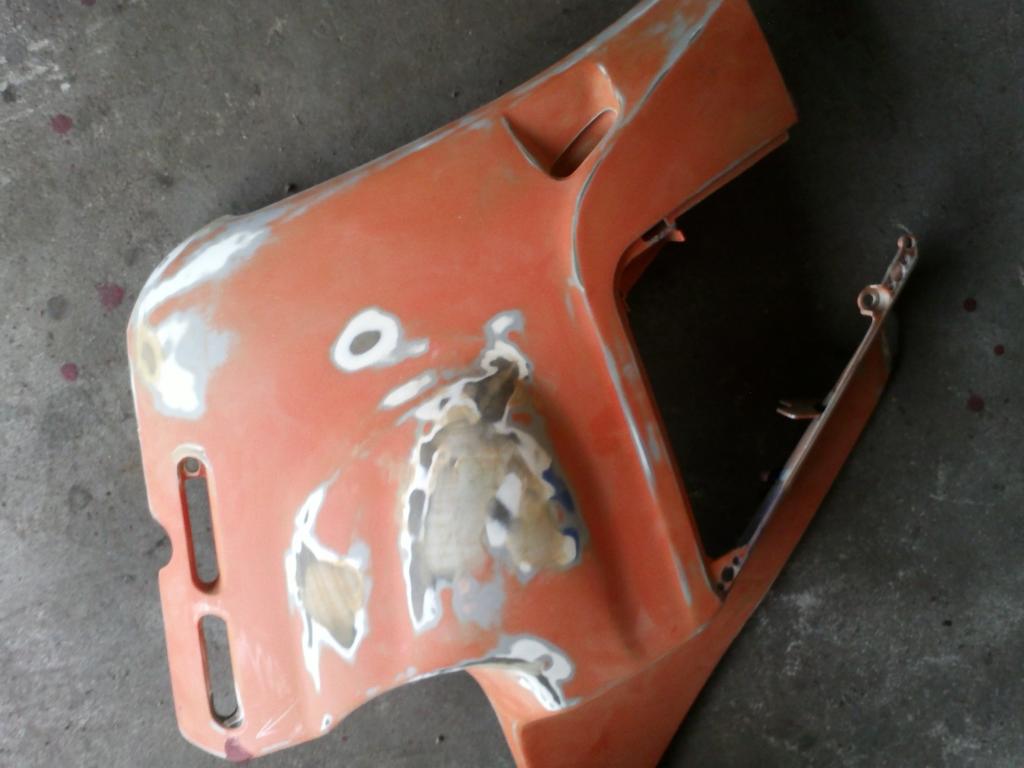
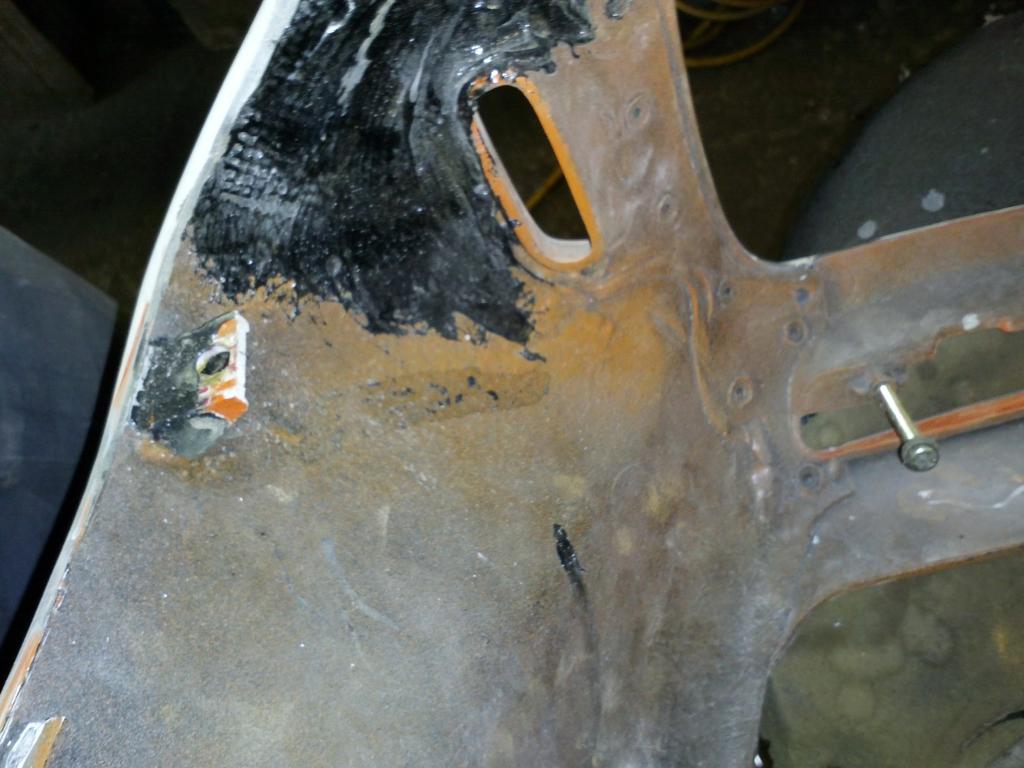
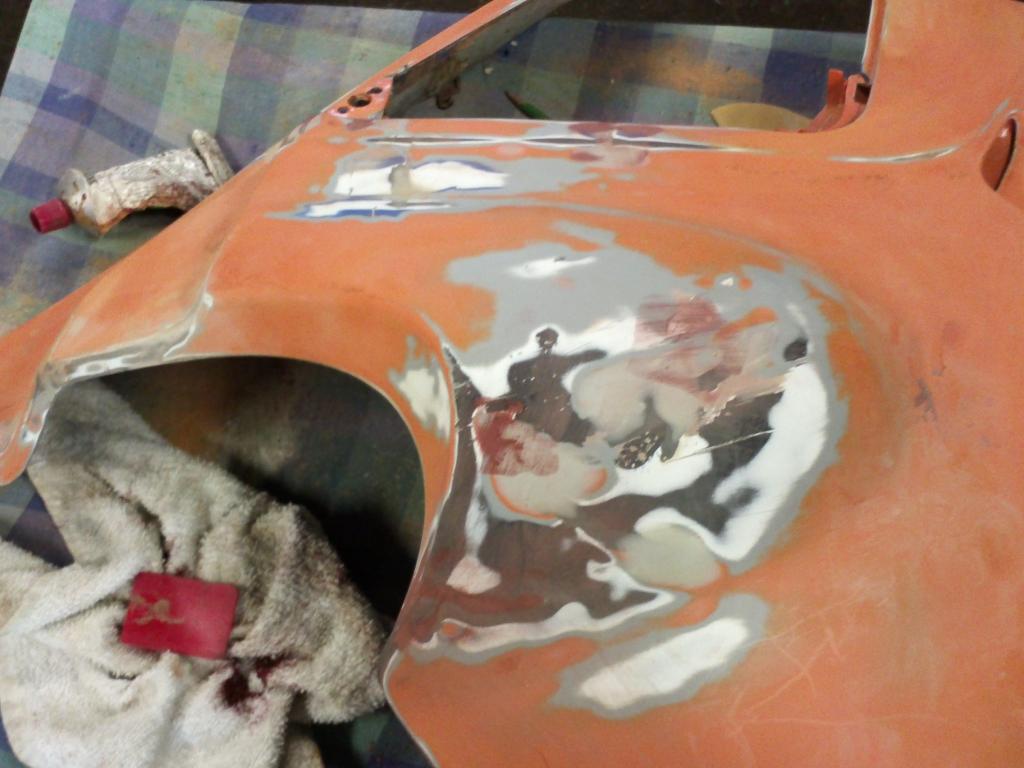
Had LOTS of body work to be done, many of the tabs were broken/missing. Most of it was held together with sheet metal screws.
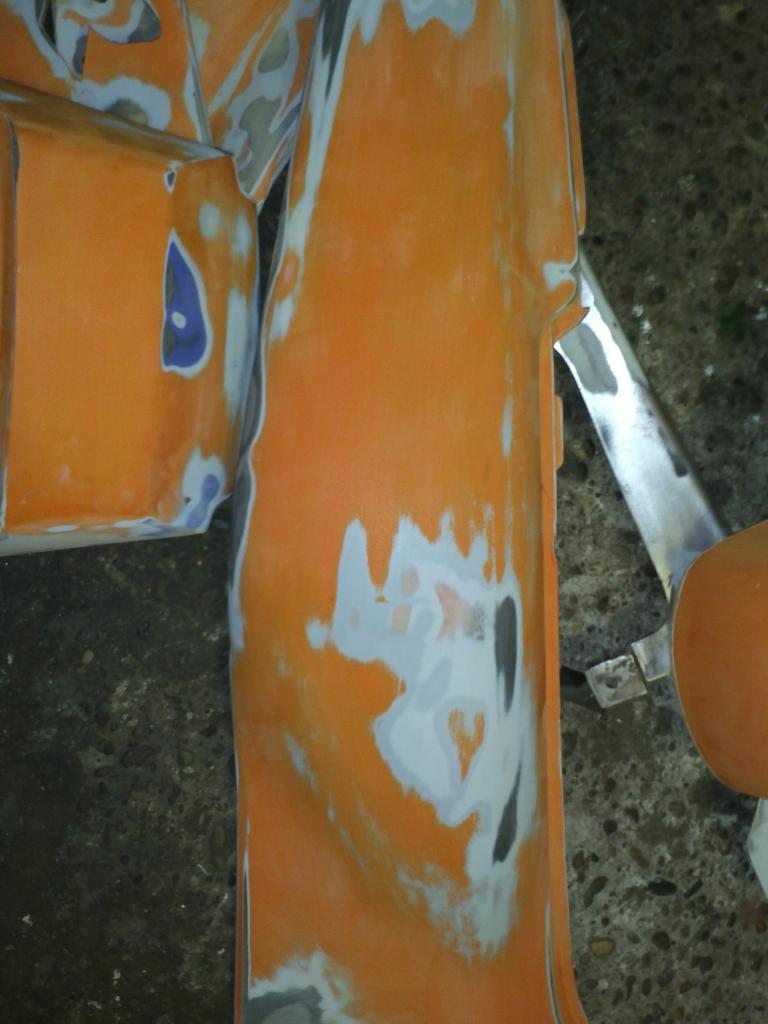
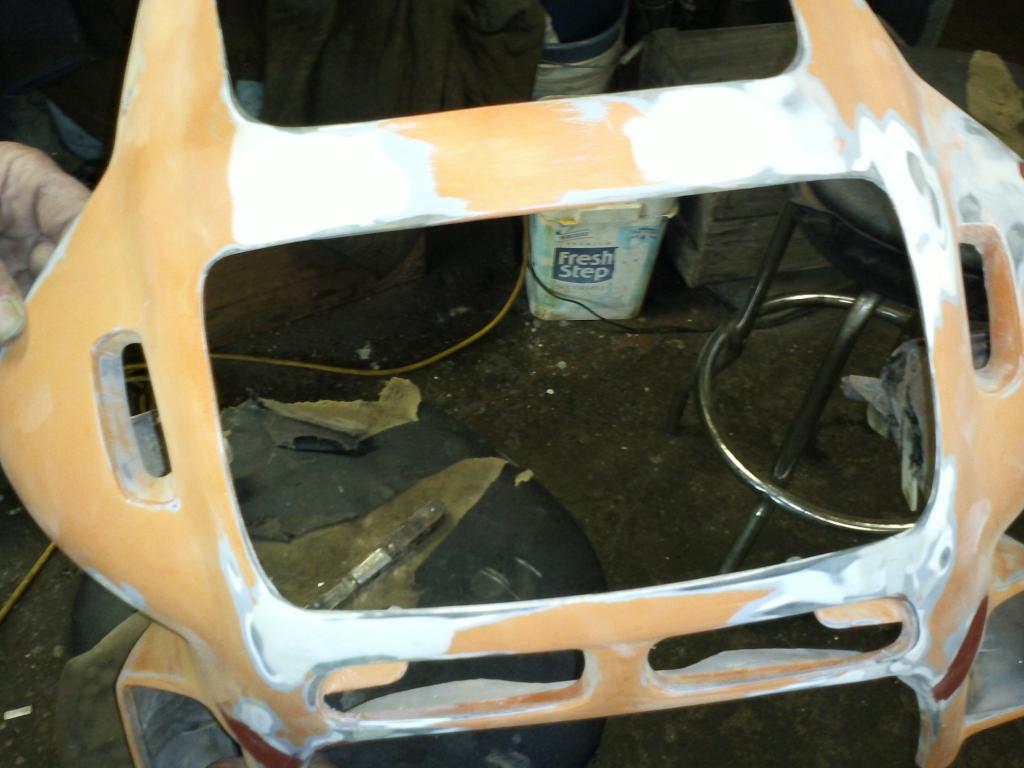
We repaired the broken tabs and tried to make everything look factory again. here is everything in primer.

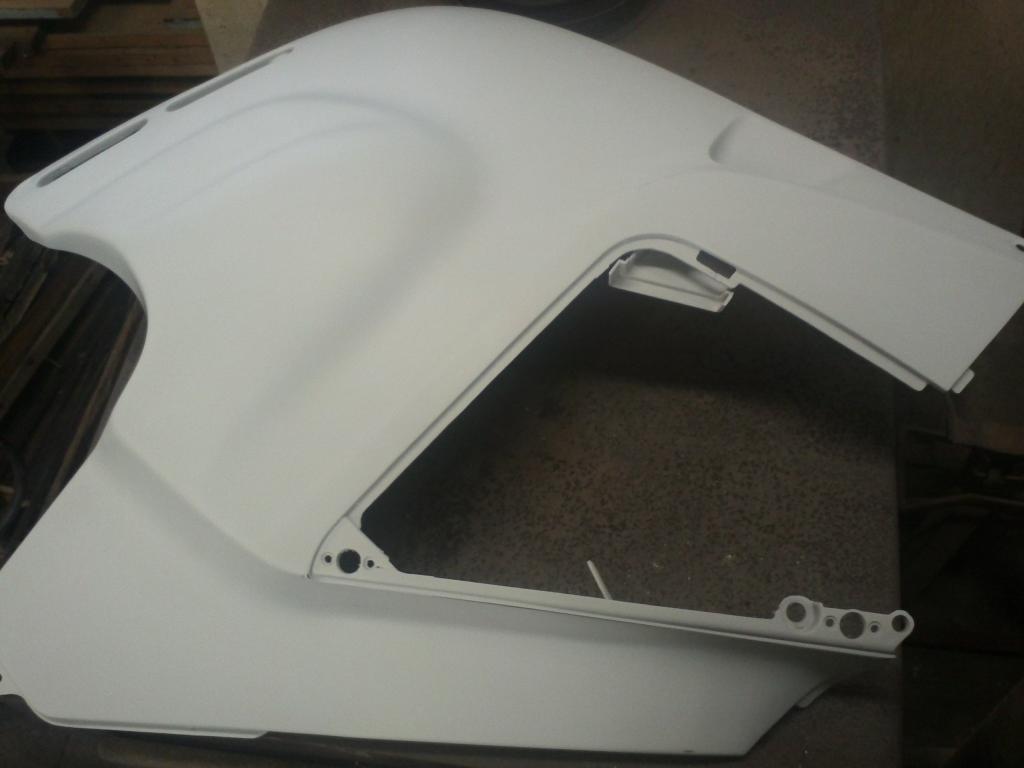
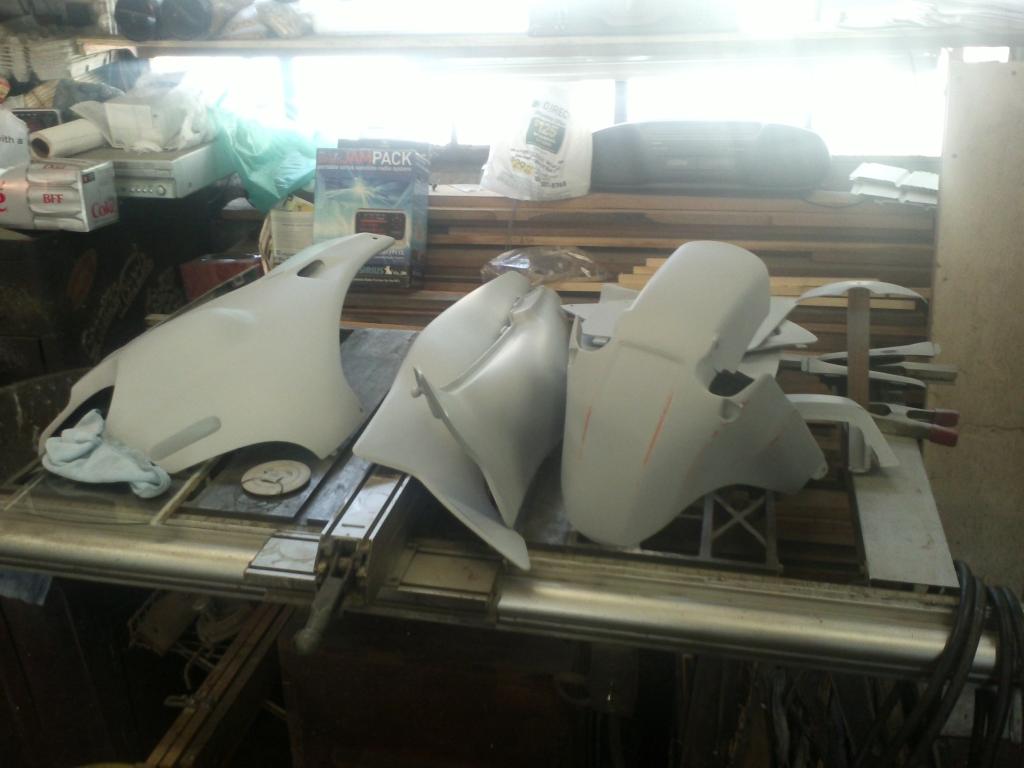
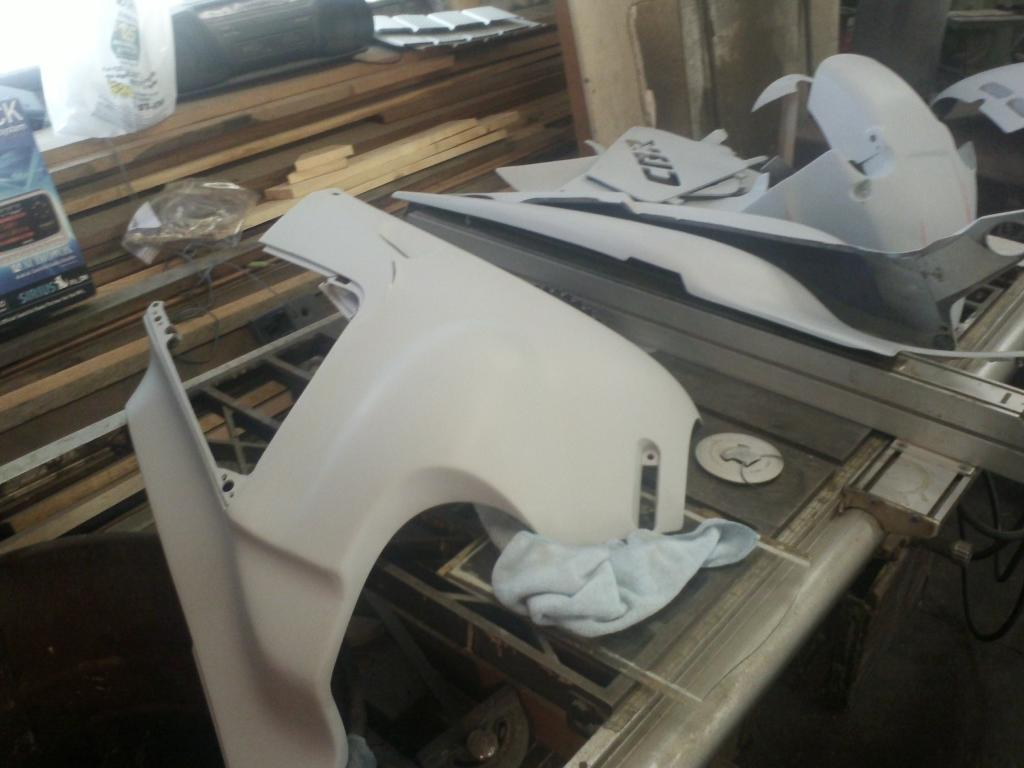
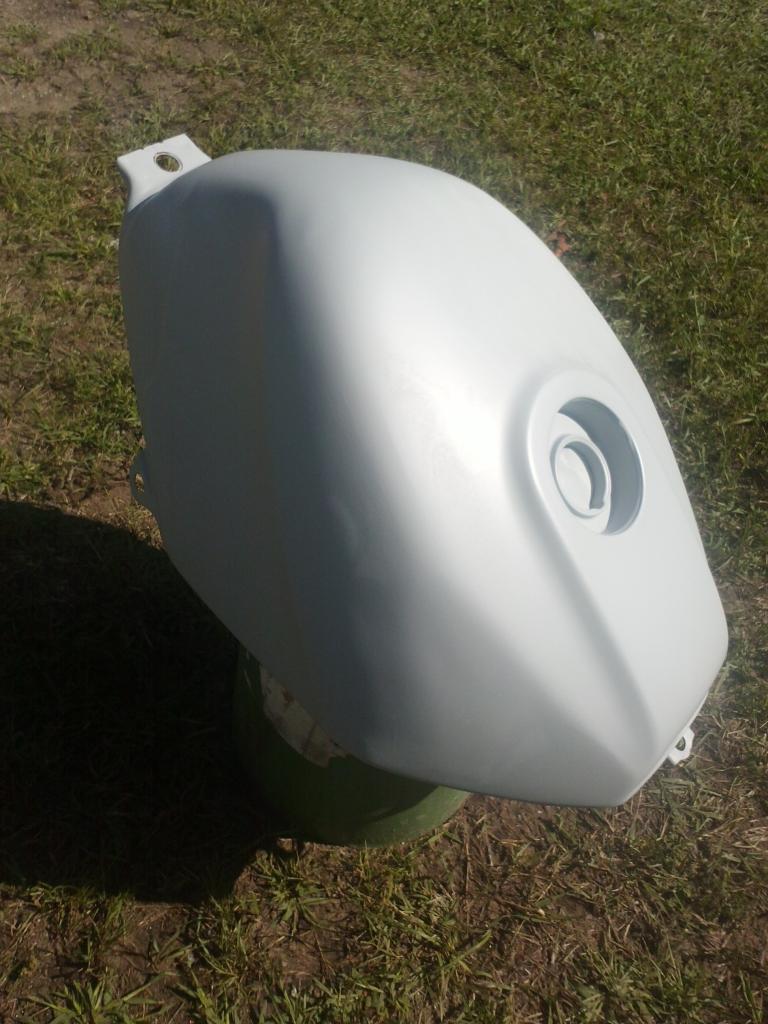
And a couple test fits before final sanding and paint.
And finally the next project bike... a 1962 Honda Dream, plans are full frame off restoration on that as well! It has been sitting in a family members garage since 1967 when it was ran and parked.
Thanks everyone for watching.
We repaired the broken tabs and tried to make everything look factory again. here is everything in primer.


And a couple test fits before final sanding and paint.


And finally the next project bike... a 1962 Honda Dream, plans are full frame off restoration on that as well! It has been sitting in a family members garage since 1967 when it was ran and parked.

Thanks everyone for watching.
Last edited by robhbest; Sep 2, 2014 at 10:37 AM.

Thread Starter
|
Member
Joined: Jun 2012
Posts: 51
Likes: 0
From: Spring Lake, MI
Thanks Doc I love the old bikes, something about how ugly they are makes them beutiful bikes to restore.
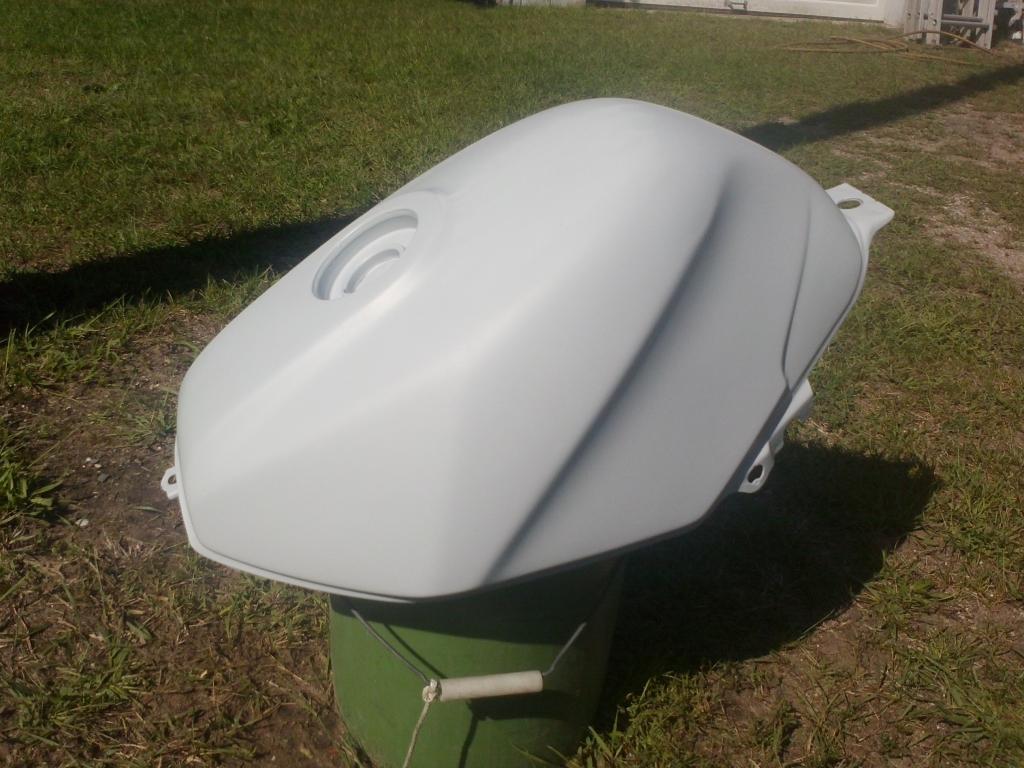
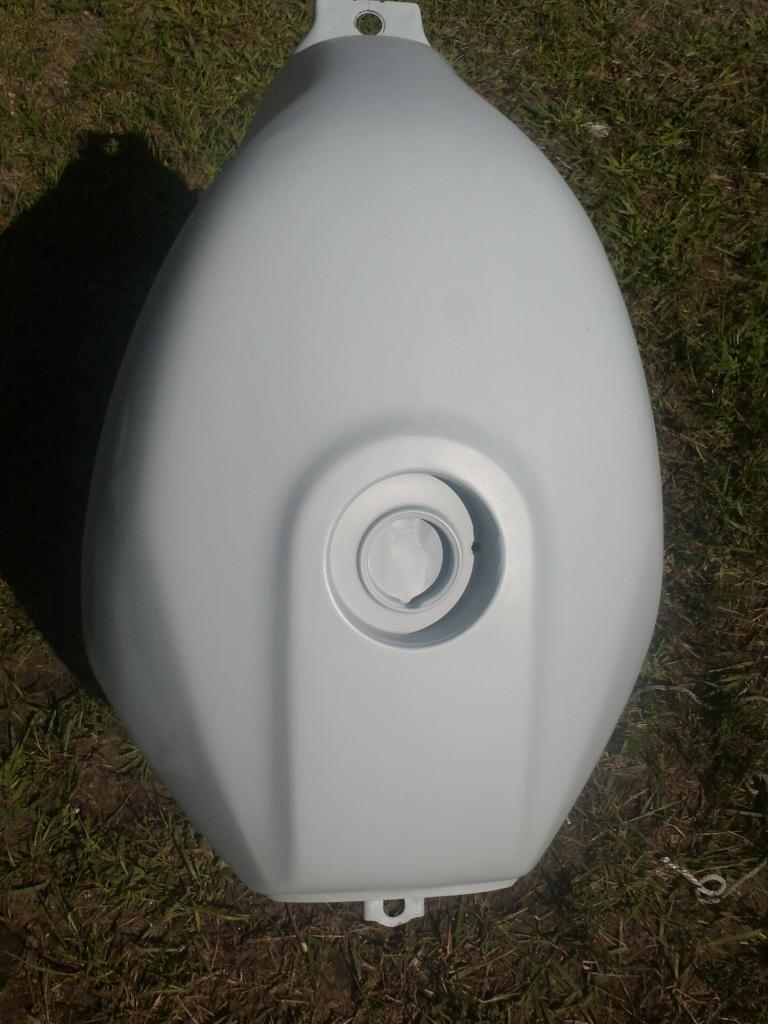
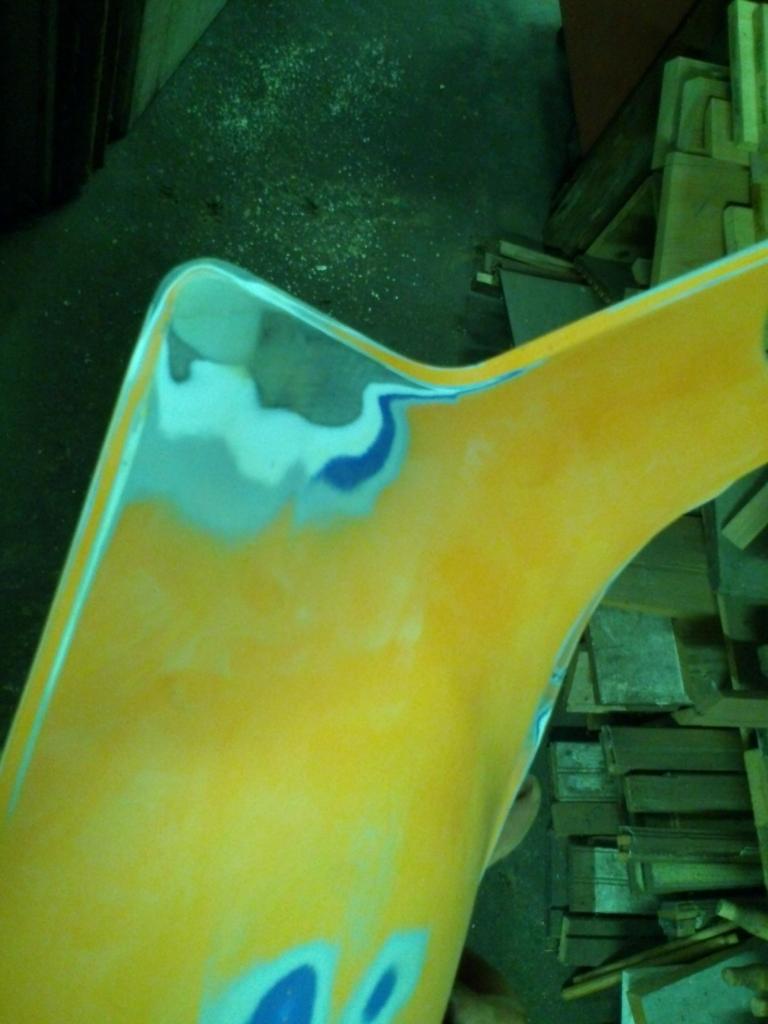
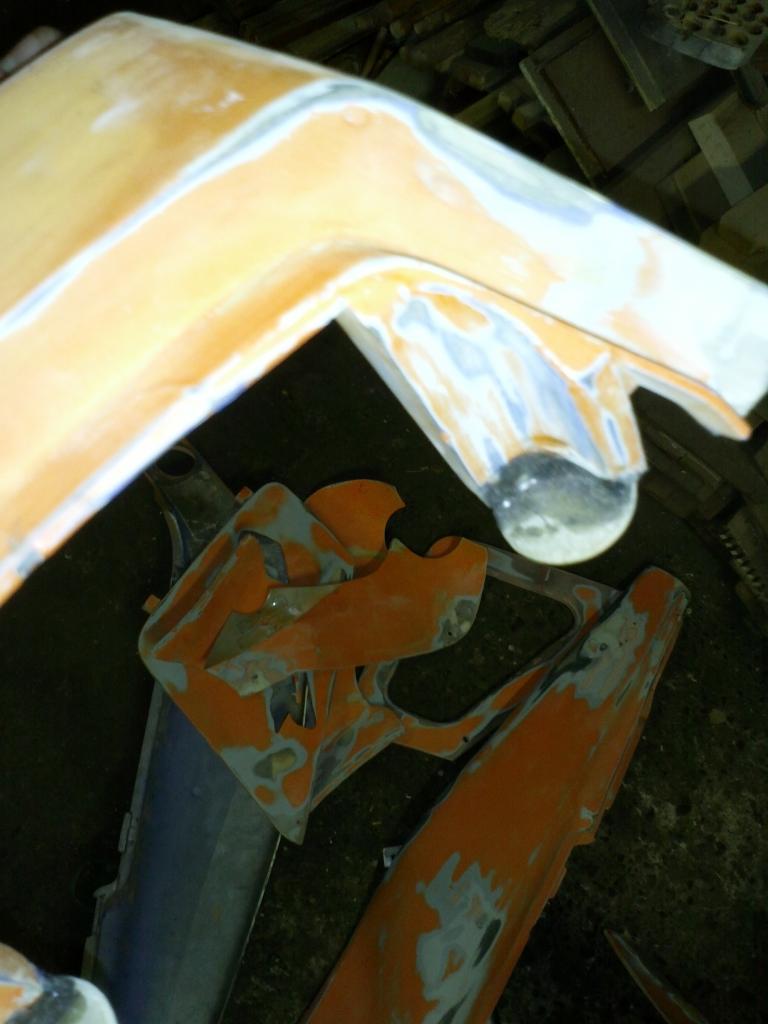
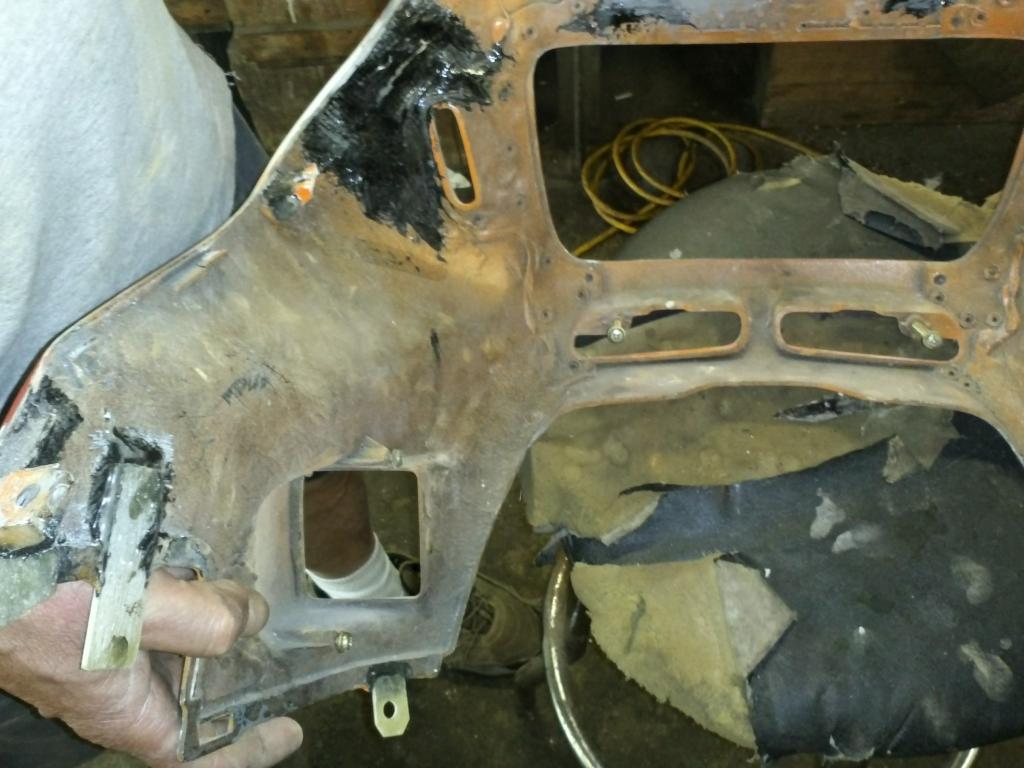
Few more pics of the progress, taking a step back. The plastics needed a complete overhaul. Here's more pics of what we were working with.
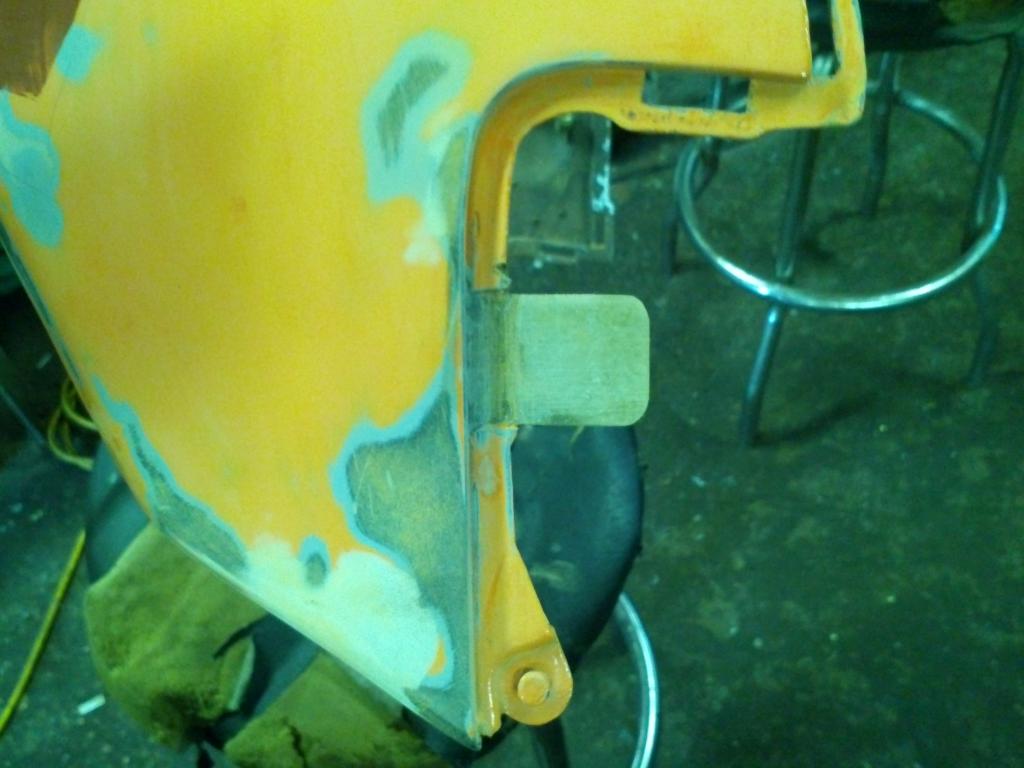
Shaved the quick tabs on the rear plastics
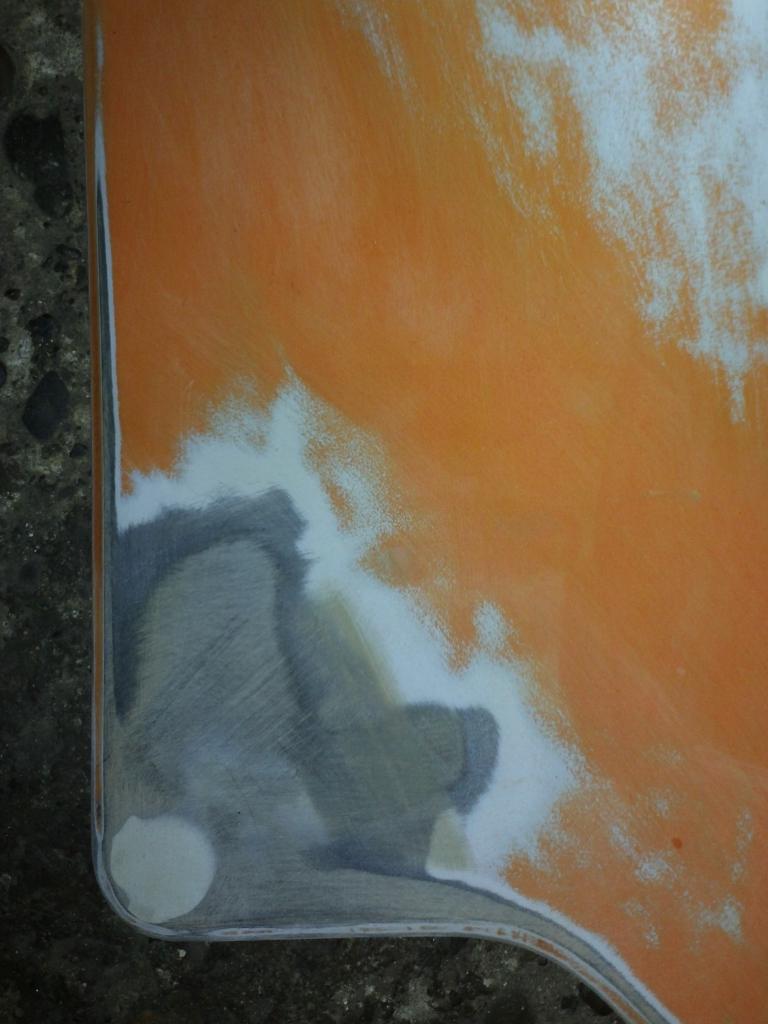
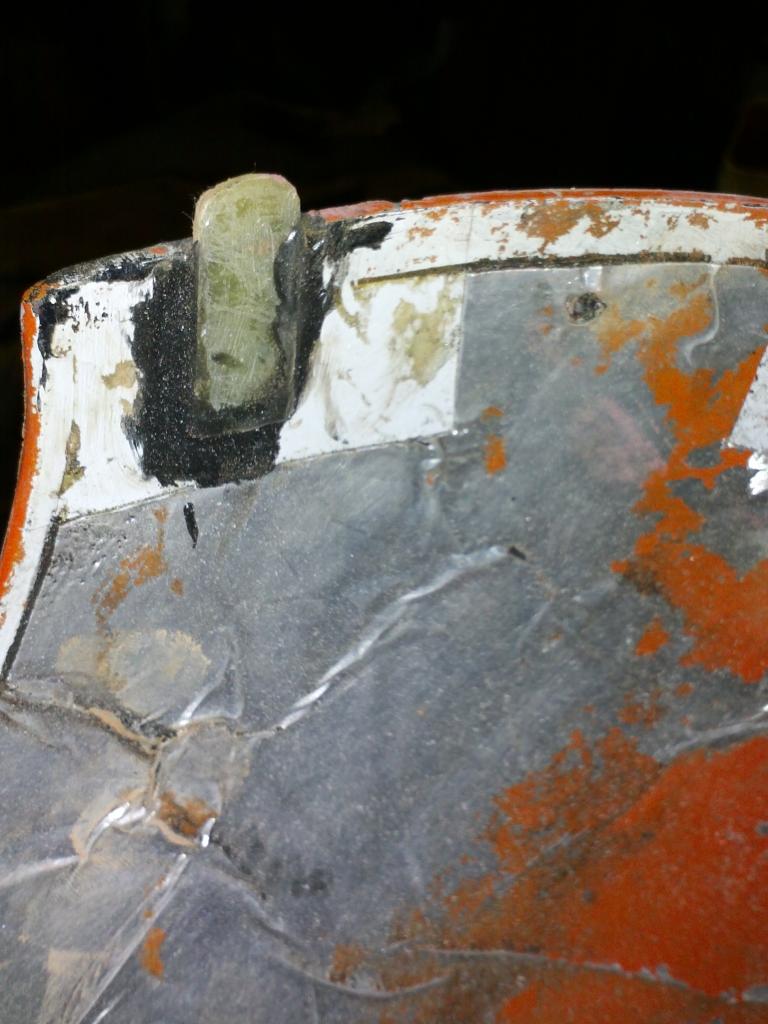
Rebuilt the push pins using a fiberglass dowel and a lathe to create the shape

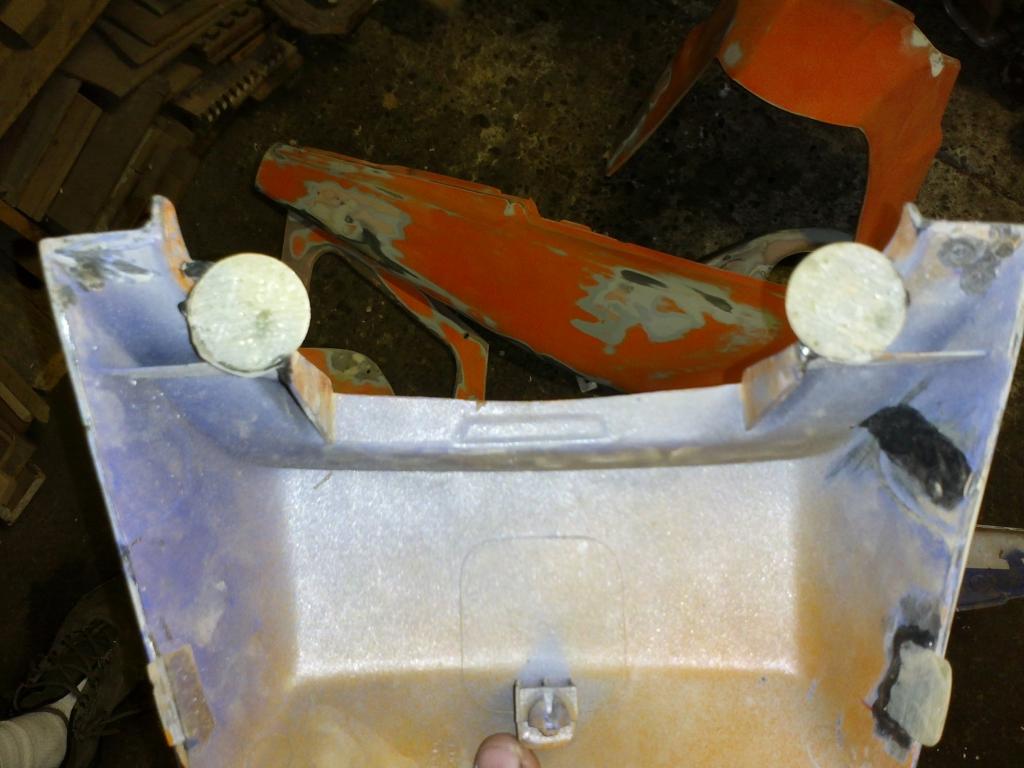
I did not enjoy the "nub" on the top of the fender, so I sanded and shaved that as well.
Broken front fender
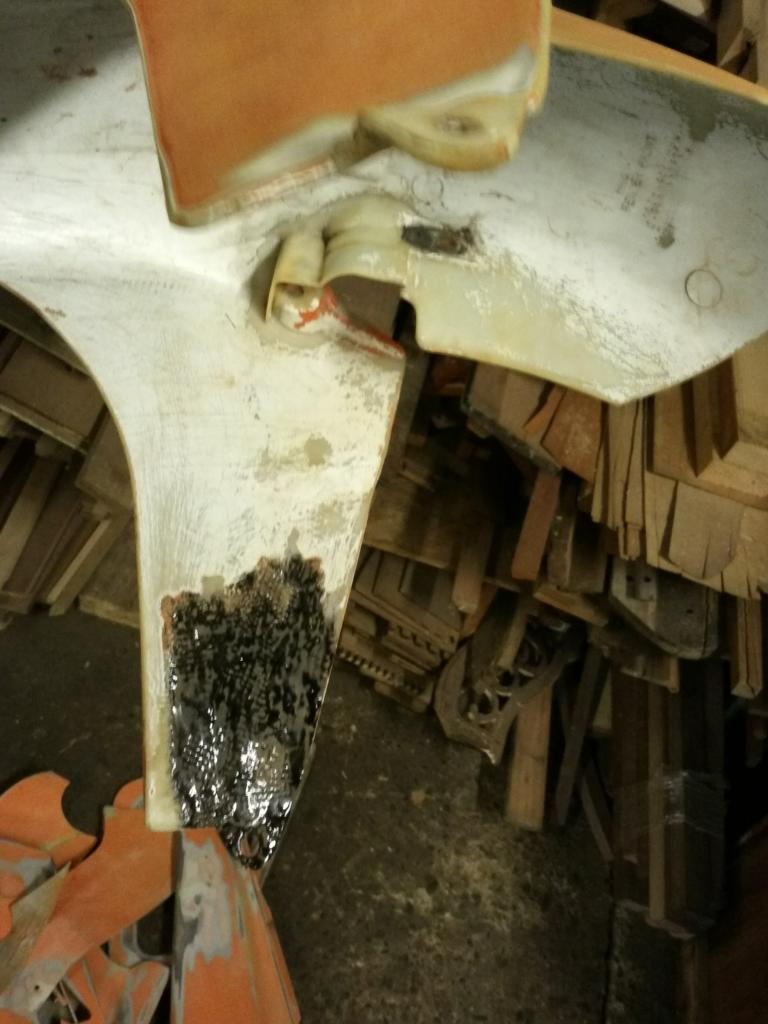
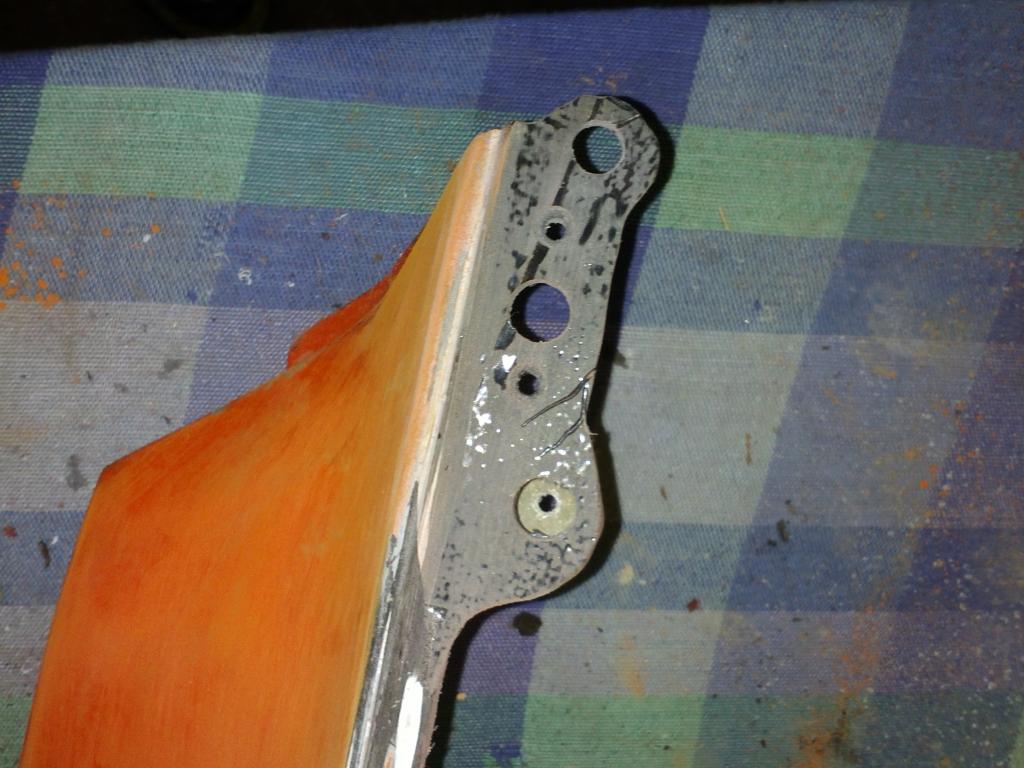
Rebuilt attatchment tabs on rear cowl
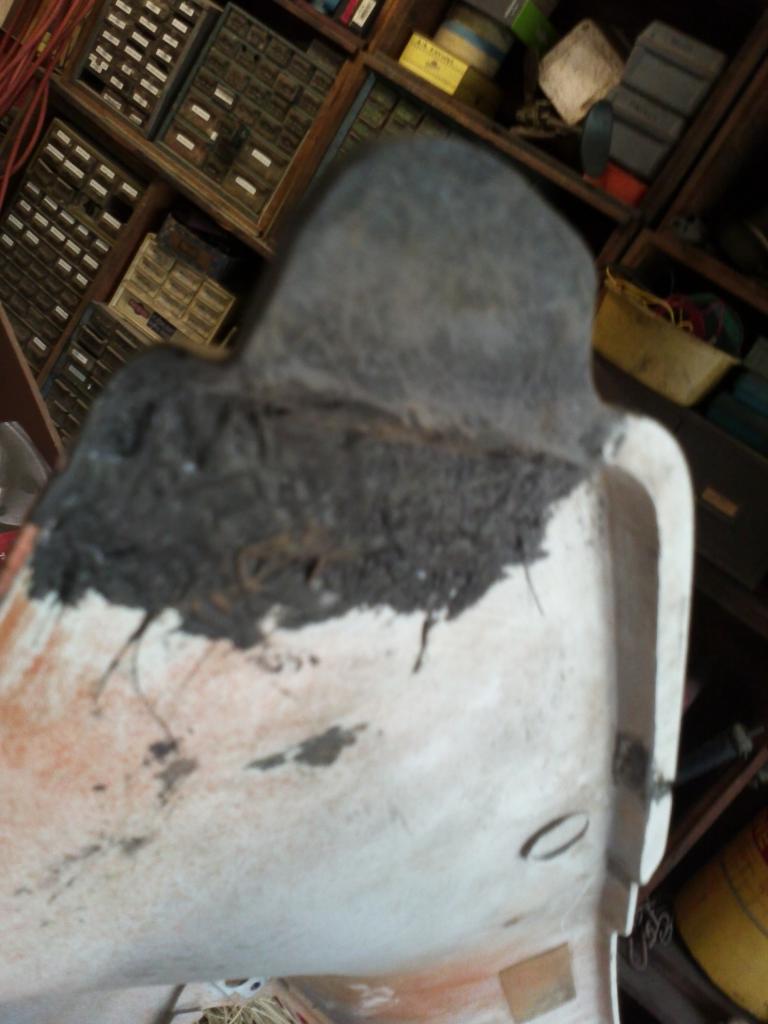
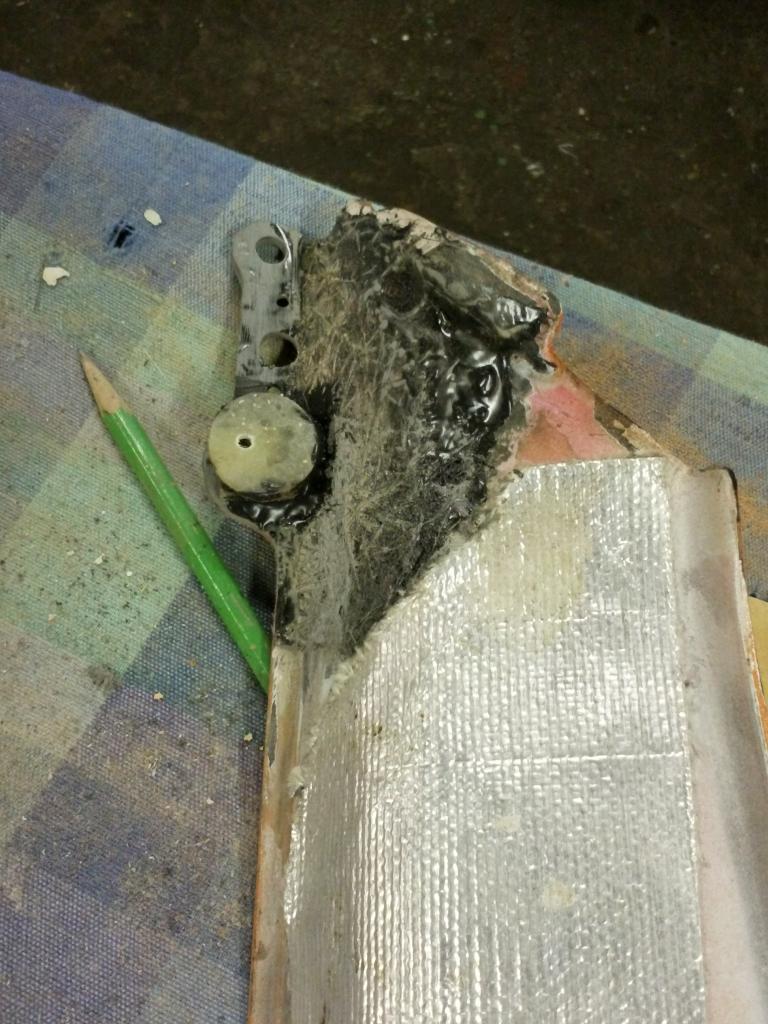
Upper cowling attachment point, broken completely off, rebuilt by making a fiberglass cube and dremeling it into the shape we needed.
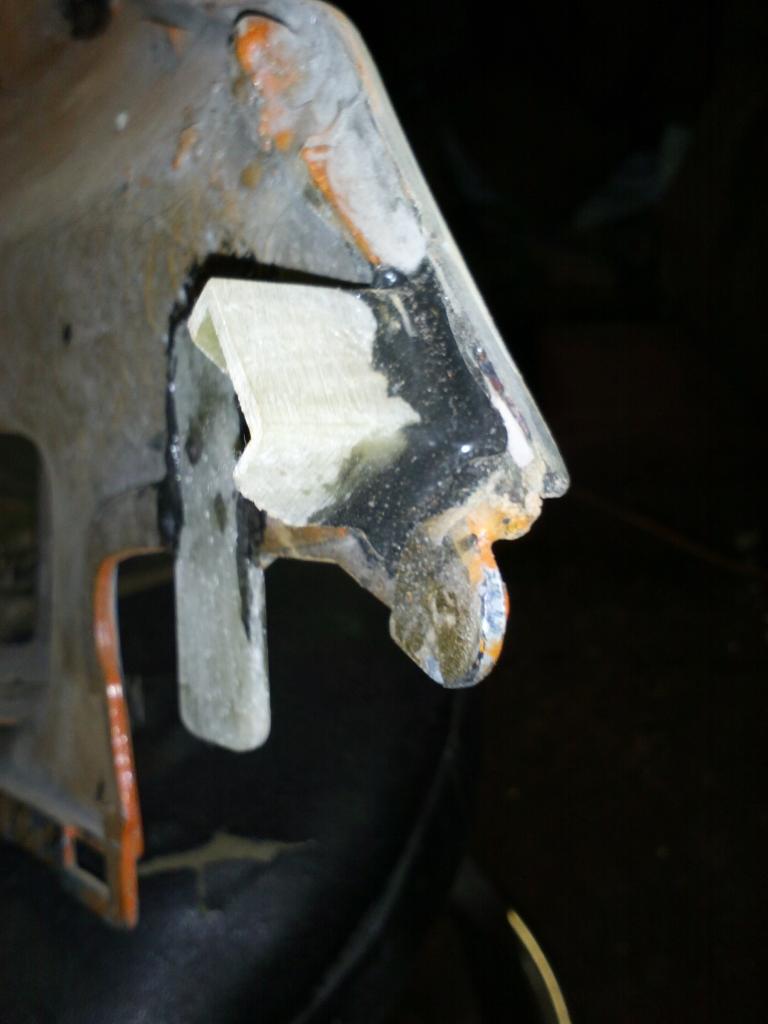
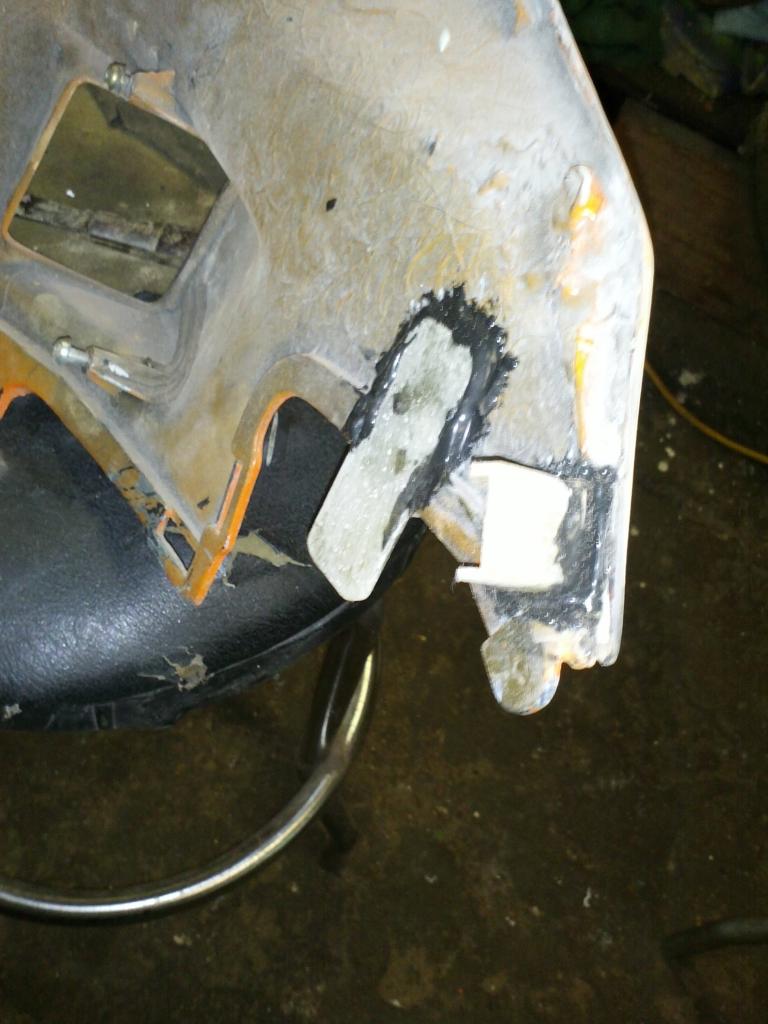
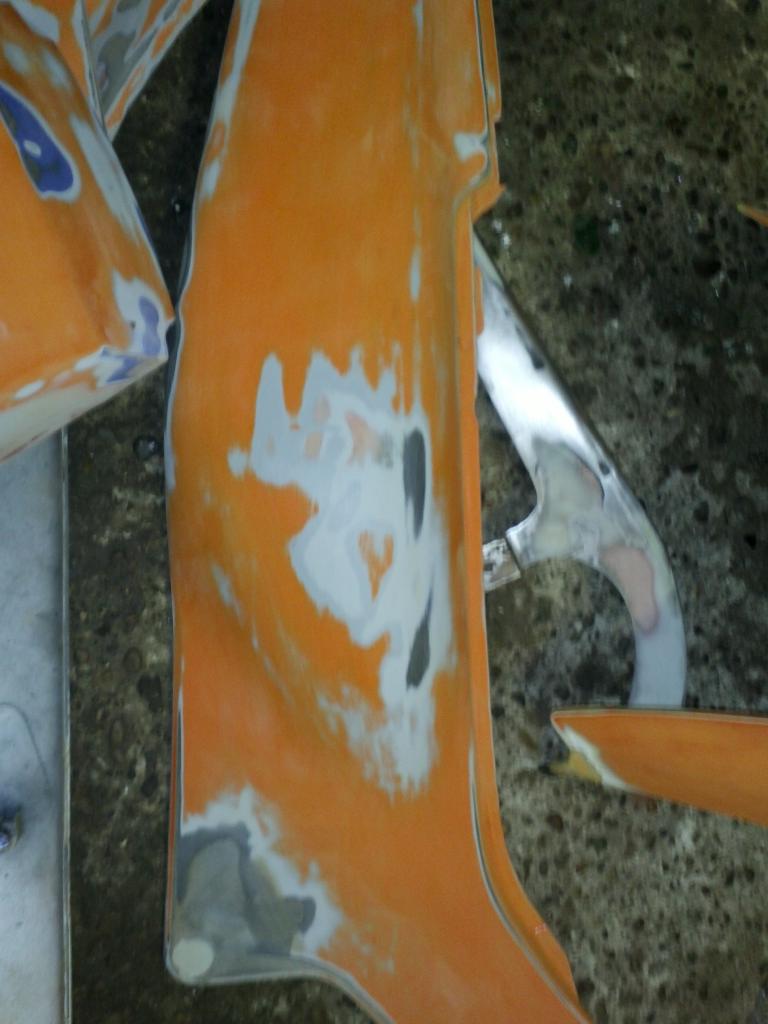
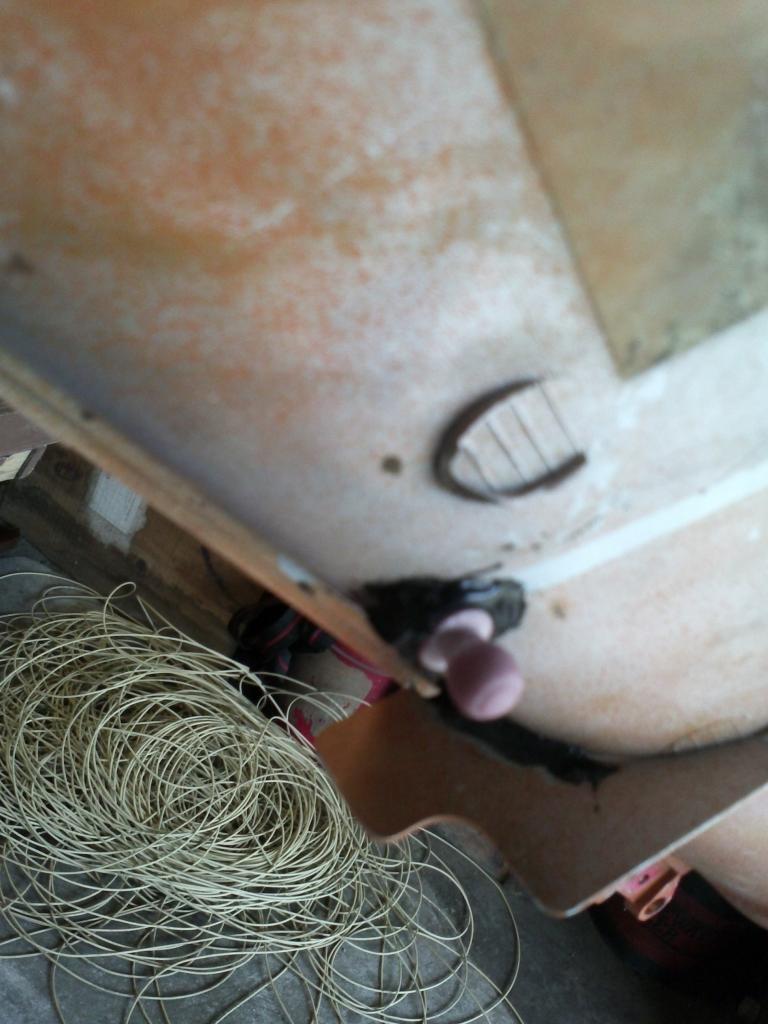
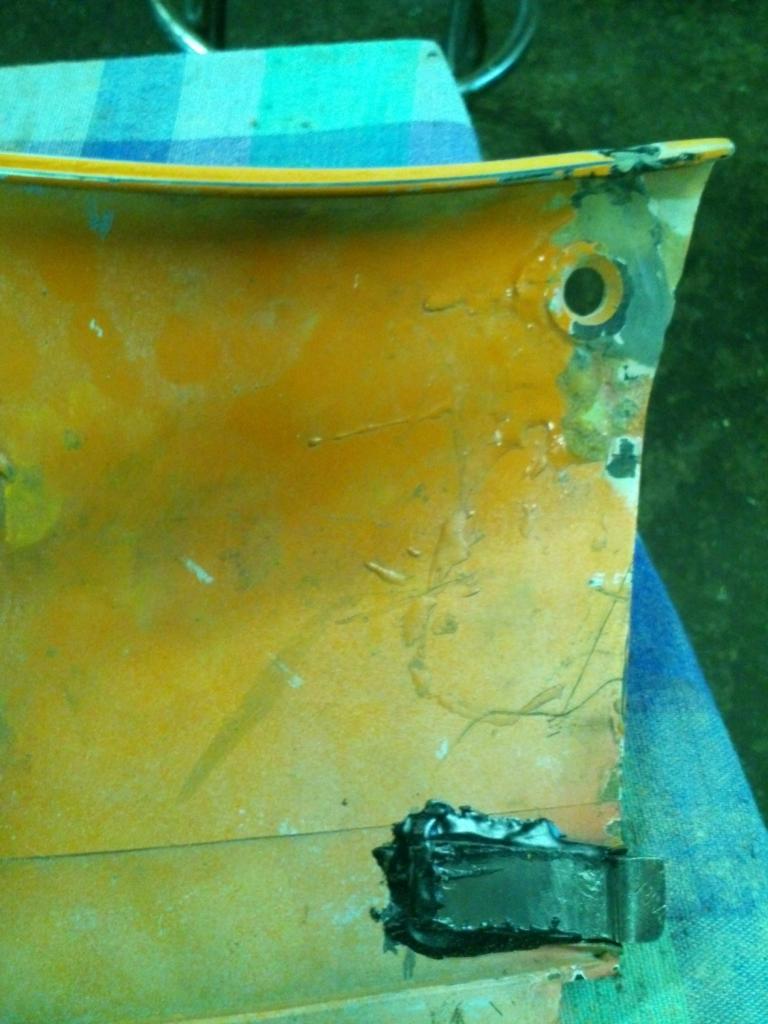
This piece was completely broken clean, had to rebuild it using pictures and good guess work
Few more pics of the progress, taking a step back. The plastics needed a complete overhaul. Here's more pics of what we were working with.


Shaved the quick tabs on the rear plastics


Rebuilt the push pins using a fiberglass dowel and a lathe to create the shape

I did not enjoy the "nub" on the top of the fender, so I sanded and shaved that as well.

Broken front fender


Rebuilt attatchment tabs on rear cowl


Upper cowling attachment point, broken completely off, rebuilt by making a fiberglass cube and dremeling it into the shape we needed.


This piece was completely broken clean, had to rebuild it using pictures and good guess work


