
My 94 CBR600 F2 mod log.


Senior Member
Joined: Sep 2011
Posts: 100
Likes: 0
This site is nice for ideas or even pieces that you cut/add to:
HONDA fairing, fairings, bodywork, fairing, upper, lower, mid, seat side, race, street, fender, tail, undertail, tank, CBR, RS125, RC51, 600RR, CR750, CB750, VRF, RVF FAIRING AND BODYWORK
HONDA fairing, fairings, bodywork, fairing, upper, lower, mid, seat side, race, street, fender, tail, undertail, tank, CBR, RS125, RC51, 600RR, CR750, CB750, VRF, RVF FAIRING AND BODYWORK

Thread Starter
|
Senior Member
Joined: Nov 2011
Posts: 264
Likes: 0
Thanks for the input guys.
Right now I'm not entirely sure the direction I want to go with this bike. I either want to replace all the fairings and such...OR I want to improve on the street fighter look by putting on tail fairings and moving mounting up the plate and blinkers nice and close to the frame.
I have to decide soon!
Thread Starter
|
Senior Member
Joined: Nov 2011
Posts: 264
Likes: 0
WooHoo!
My parts came today!
Installed...
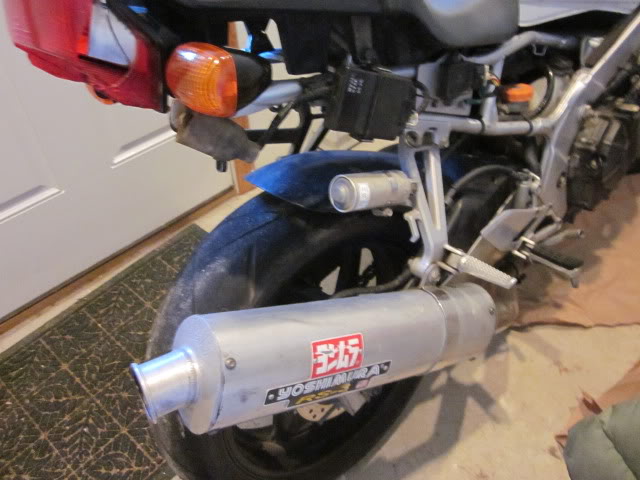
Yoshi muffler
Front brake lever
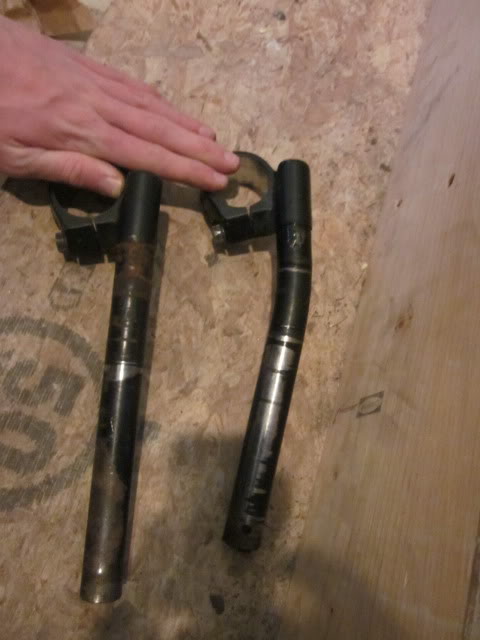
Replacement right clip on (this one's straight!)
Now I need to work on the wiring for the front brake lever, replace the pads, and drain all the brake fluid out and replace it.
My parts came today!
Installed...
Yoshi muffler
Front brake lever
Replacement right clip on (this one's straight!)
Now I need to work on the wiring for the front brake lever, replace the pads, and drain all the brake fluid out and replace it.
Thread Starter
|
Senior Member
Joined: Nov 2011
Posts: 264
Likes: 0
So, here are a few pictures just to point out what I did and how the handlebar was bent...it was pretty bad! The Yoshi I installed isn't in perfect shape, but it makes the bike a lot nicer than straight pipes! Also included a new picture of how my bike was at the start of this project.

But I still need to mount the blinkers up, they're just sitting on the bike currently...but a mount shouldn't be too hard to do, have the materials at the shop. Speaking of which, thanks to my school I have a full automotive shop to work with now! Woohoo! So now I can weld, drill, bend, cut, etc... whatever I want! The bike is sitting there now, loaded it into the bed of my friends truck today...never driven a bike up such a steep incline, let alone one that's only a foot wide. I've ridden a mountain bike up steeper and smaller things, but the motorcycle is a lot scarier! But it went without problem for the most part and popped right into the truck. Drove it to the shop and unloaded it there. Tomorrow I will start with the license plate mount and turn signal mounts, should be able to get both those things done in one class, if I can't then I will finish it the next day.
EDIT : Also forgot, I am going to try to test the replacement gauges I bought with the other parts tomorrow. Just going to plug them in and hook the speedo up. Hoping it all works well!
Last edited by That Guy in Maine; Jan 10, 2012 at 10:42 PM.
Thread Starter
|
Senior Member
Joined: Nov 2011
Posts: 264
Likes: 0
Another update! A few things to list here...
First, I got the gauges hooked up and tried them out, all the lights and gauges seem to work except for the high beam light. Speedo seems to work right but I can't test it perfectly...all I know is that it moves when I twist my wrist
Next up, I ordered an Alpinestars Stunter leather jacket in blue/white. Should be here next week!
Next...I have my bike at my school now so it's being stored indoors in a nice heated building for free! I currently have the gas tank off, and am soon going to start doing some modifications to the bike. I think I'm going in a COMPLETELY different direction than anything I had planned.
My idea?
Take this...
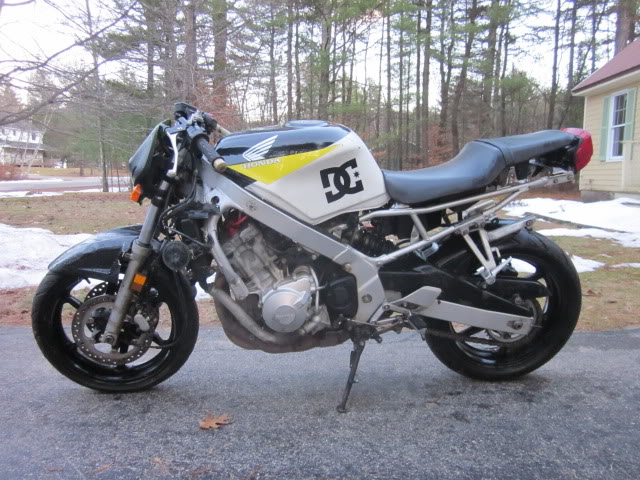
and then put some of this on it...
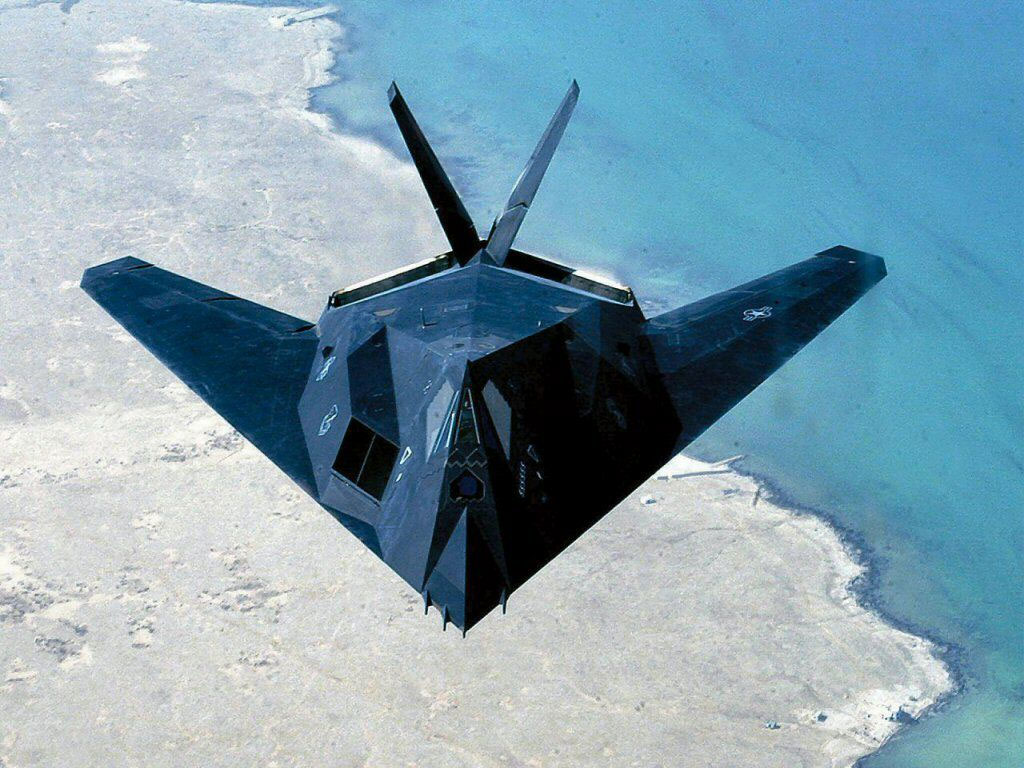
Specifically, I'm thinking I will be making my own fairings out of some metal with the kind of stealth fighter look. But the first step for now is to get some cardboard and mock up some body panels. I think it will look really cool, but things always look good in your head so I'm going to start with some cardboard like I said.
Can't wait to get started!
First, I got the gauges hooked up and tried them out, all the lights and gauges seem to work except for the high beam light. Speedo seems to work right but I can't test it perfectly...all I know is that it moves when I twist my wrist
Next up, I ordered an Alpinestars Stunter leather jacket in blue/white. Should be here next week!
Next...I have my bike at my school now so it's being stored indoors in a nice heated building for free! I currently have the gas tank off, and am soon going to start doing some modifications to the bike. I think I'm going in a COMPLETELY different direction than anything I had planned.
My idea?
Take this...
and then put some of this on it...
Specifically, I'm thinking I will be making my own fairings out of some metal with the kind of stealth fighter look. But the first step for now is to get some cardboard and mock up some body panels. I think it will look really cool, but things always look good in your head so I'm going to start with some cardboard like I said.
Can't wait to get started!

Thread Starter
|
Senior Member
Joined: Nov 2011
Posts: 264
Likes: 0
So I took my twoo front master cylinders and combined them to make one good one! I am going to fill them up today and bleed the front and rear lines (hopefully I'll have time). The next thing on my list is to clean the air filter, I have it exposed currently so I just need to open it and clean the filter.
After that I need to drain my gas tank and clean it and coat it. I don't know much about this though...does anybody have suggestions on what to do with a gas tank? It's pretty old since it's a 94, as far as I know it has no leaks so would draining it, flushing it with water, and then letting it dry out for a few days in a heated garage suffice? What kind of coating do you apply to the inside?
In other news, I got my Clymer manual today, really cool to go through and probably going to be very helpful. I also finished one of my projects yesterday which was switching out the rear suspension. I replaced it with a 1993 rear shock which didn't have a canister...any ideas what I should put in my canister holder, trying to think of something cool but haven't given it much thought yet, I might try to make a second helmet holder in case I take a passenger or something.
That's all for now, will keep updating as I go, I'll have some pictures next week probably.
Thread Starter
|
Senior Member
Joined: Nov 2011
Posts: 264
Likes: 0
Last Friday I started sanding down my gas tank and prepping it for paint. I was using an electric sanding tool but it was taking awhile to sand the paint off and was hard to do anything but the top of the tank because the disk was so large. I figured I might as well give some paint stripper a shot and see if I could save some time...and oh boy does it ever!!
The tank is probably 70% stripped of paint, there is still some in the gas cap area and the edges...but the rest is down to metal for the most part. I think I will apply another coat of this stuff tomorrow and let it do it's work and hope that it can get it all of. Whatever it doesn't remove I will just hand sand off. After I finish sanding it all I am going to put primer on itt and a few coats of flat black. Then I will apply 3 or 4 coats of black plasti-dip.
Next thing to do after the tank is start building the what I am calling "sub-frame" for my custom fairings. More info on that next time I update, hopefully I will have some pictures then too. I think I can take some tomorrow.
Thread Starter
|
Senior Member
Joined: Nov 2011
Posts: 264
Likes: 0
Woohoo! Pictures!
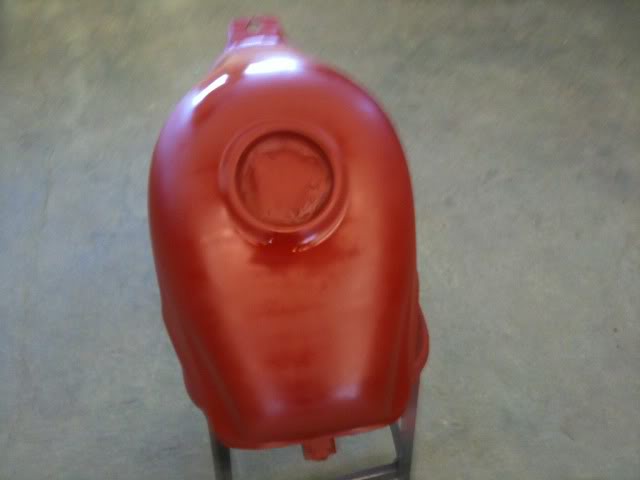
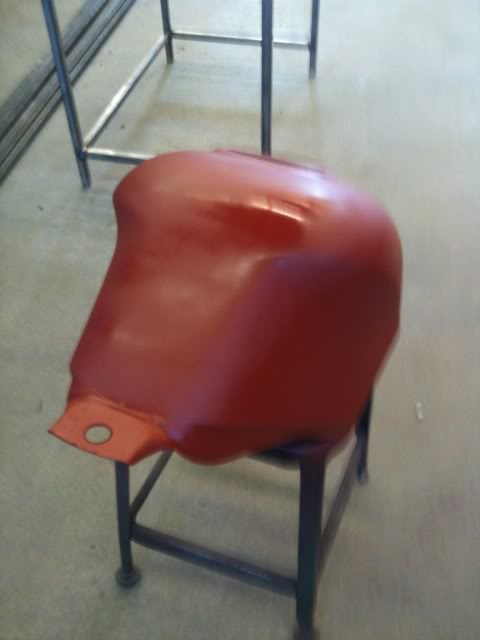
Not much to show right now but...here's some pictures of the gas tank and one of the right handlebar (the one I replaced completely).
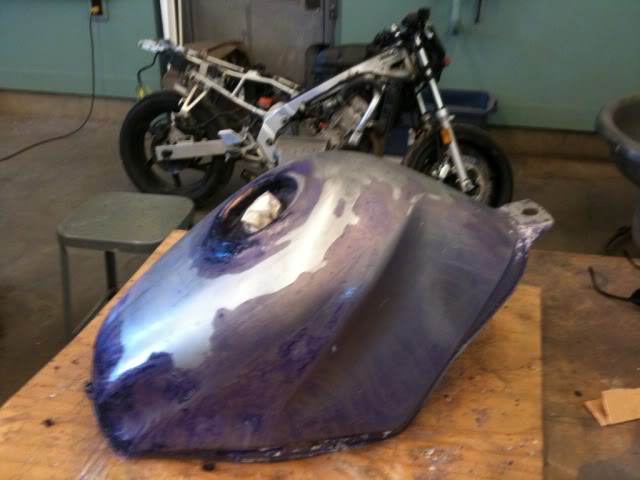
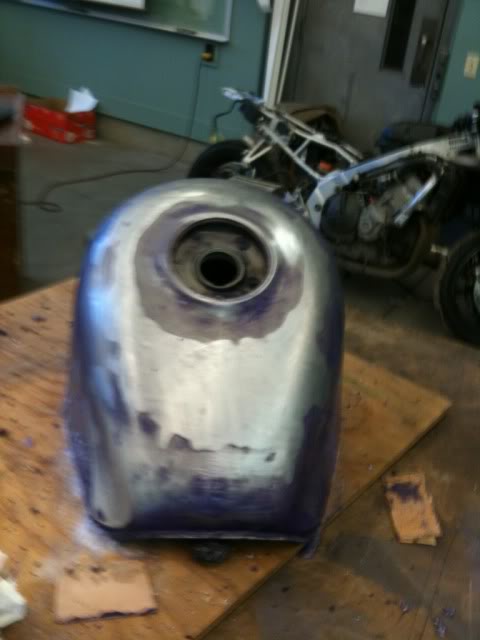
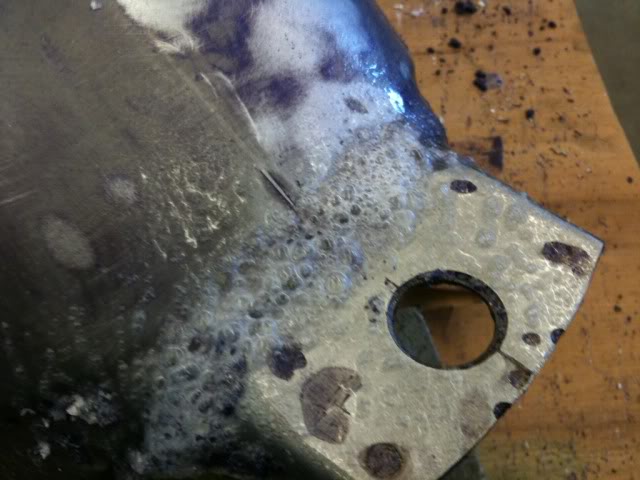

Next step now is finish up around the edges, sand out the 2 small rust spots on the edge of the tank, hand sand the entire tank to get it roughed up and ready for primer, prime it, paint it, plasti-dip it, and reinstall it!
Only bad news is I can't start any of that until next week
Not much to show right now but...here's some pictures of the gas tank and one of the right handlebar (the one I replaced completely).
Next step now is finish up around the edges, sand out the 2 small rust spots on the edge of the tank, hand sand the entire tank to get it roughed up and ready for primer, prime it, paint it, plasti-dip it, and reinstall it!
Only bad news is I can't start any of that until next week
Thread Starter
|
Senior Member
Joined: Nov 2011
Posts: 264
Likes: 0
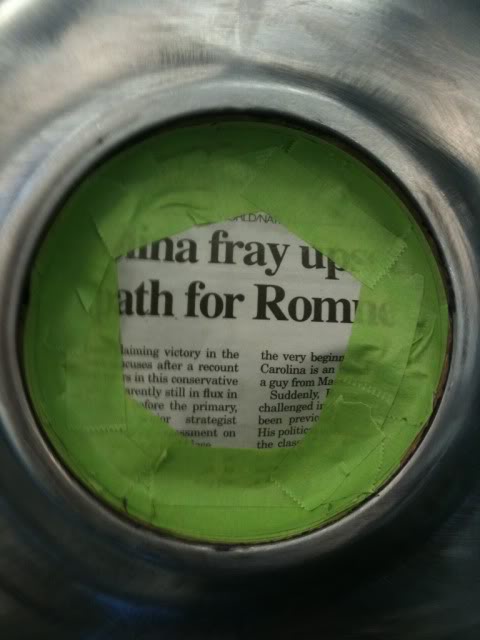
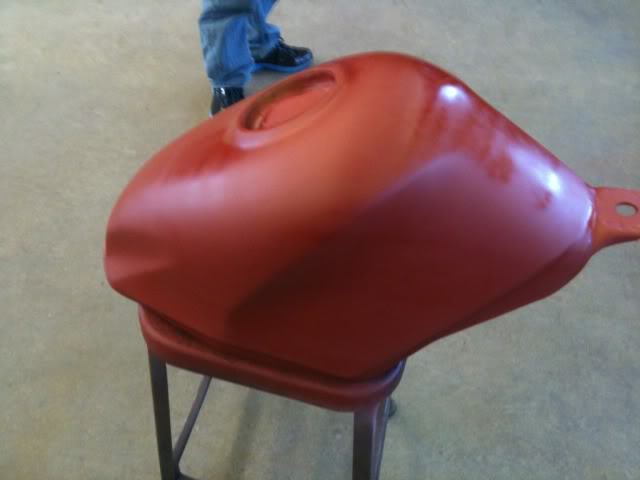
I tried posting these from my iPhone but the mobile version doesn't have an edit button and only could post the first one...darn.
Anyways, primer is on the tank, that was taken earlier this week on Monday, I am going to sand it a bit today and MAYBE put a coat of paint on it, not sure yet though.
It's getting there!
Last edited by That Guy in Maine; Feb 16, 2012 at 07:35 AM.