
Conrice's 954 FIGHTER build thread


Thread Starter
|
Retired Super Moderator and Fighterer
Joined: Nov 2006
Posts: 6,146
Likes: 37
no, they're just held in place by big bolts and you drill holes through the rise for the bolts. 929s, 954s, 1000rrs have a problem because our triple tree has a step-down that's angled, but you can use freestyle ingenuity risers for them. i think your bike has a flat triple tree. so you'd just get some risers and a bar, figure out how far apart you need your risers to be, line up and measure the holes, measure again just to make sure they're correct, then drill.

Thread Starter
|
Retired Super Moderator and Fighterer
Joined: Nov 2006
Posts: 6,146
Likes: 37
they bored, then plated, then honed, then hatched it. the thing is beautiful
Thread Starter
|
Retired Super Moderator and Fighterer
Joined: Nov 2006
Posts: 6,146
Likes: 37
okay, finally! an update!
so i built the motor for the most part. i still need to get the clutch, oil pan, oil cooler, water pump and the side covers on, but for the most part, she's together and in time. i'll finish it up the rest of the way during this week, and i'll take pics on how to do that too. my father in law and i did all of this. he's been building motors since he was 10. it really helps having 2 hands when building at least the bottom end of the motor
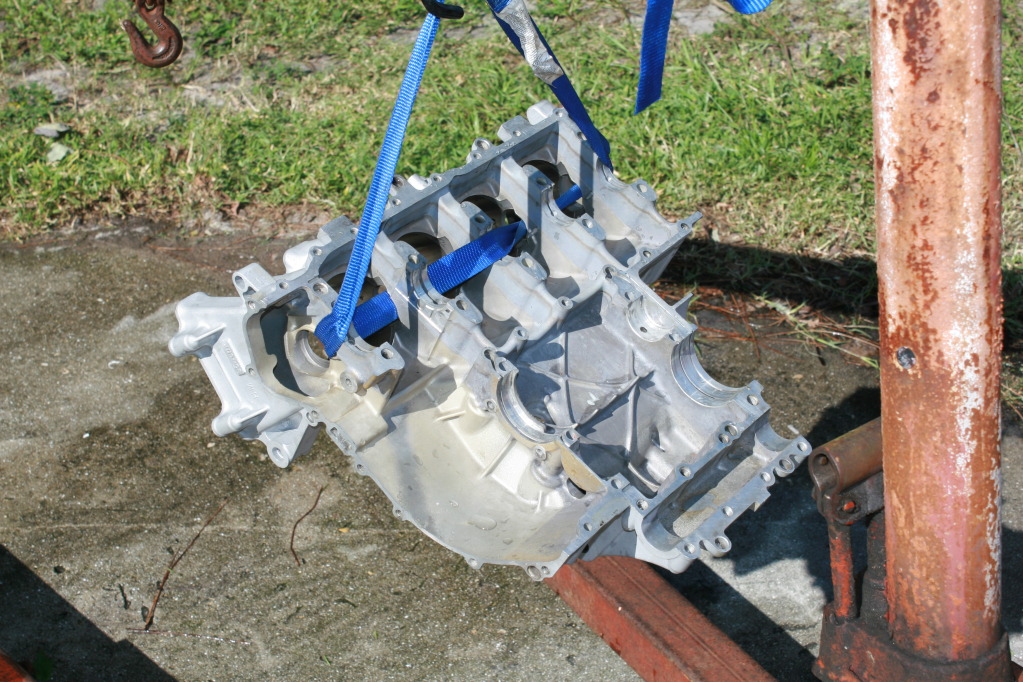
first, i had to wash out the top case with hot soapy water. this is letting it dry
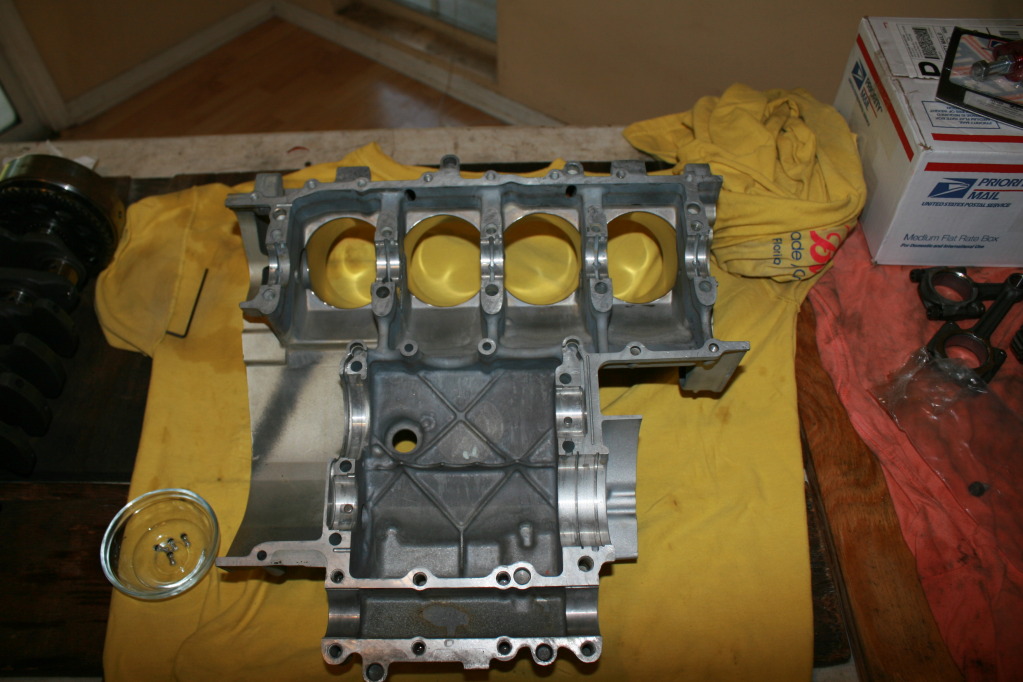
finally, inside and on the table
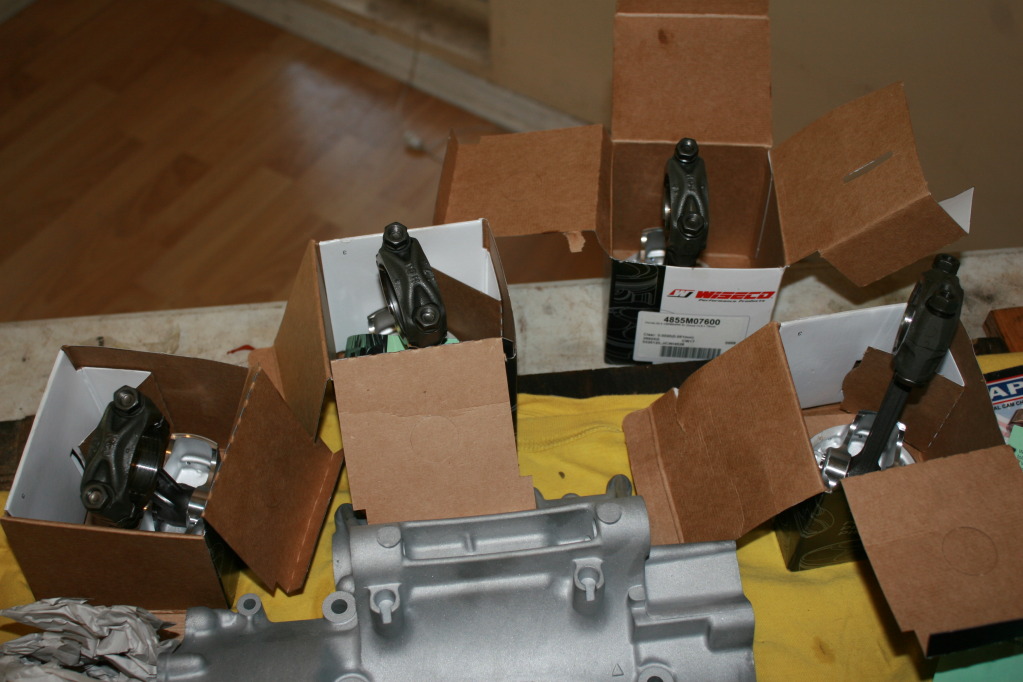
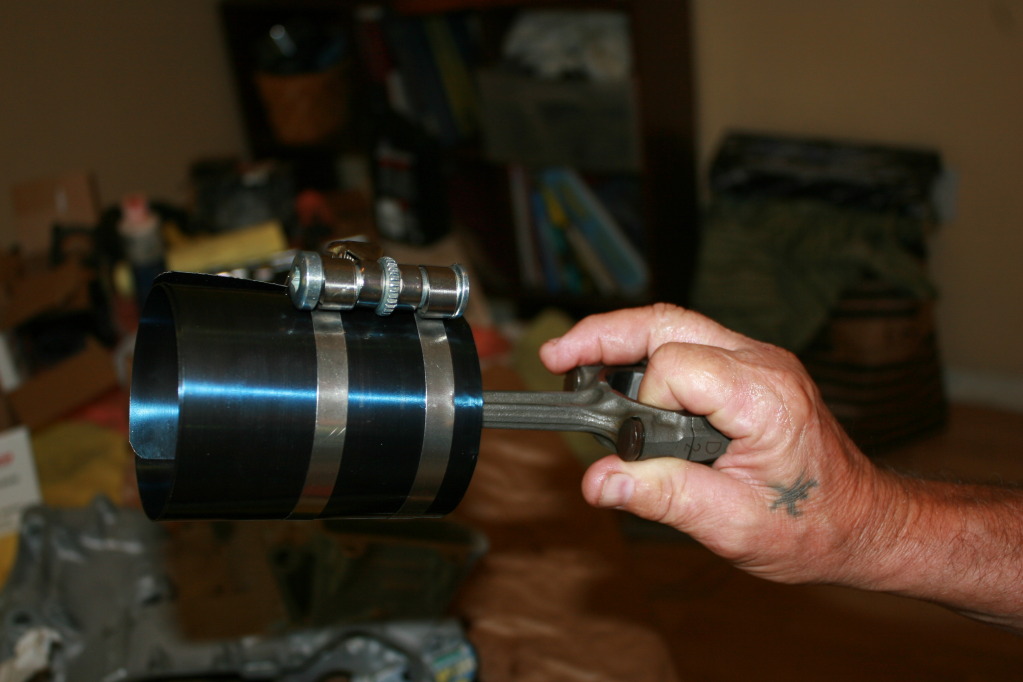
building pistons
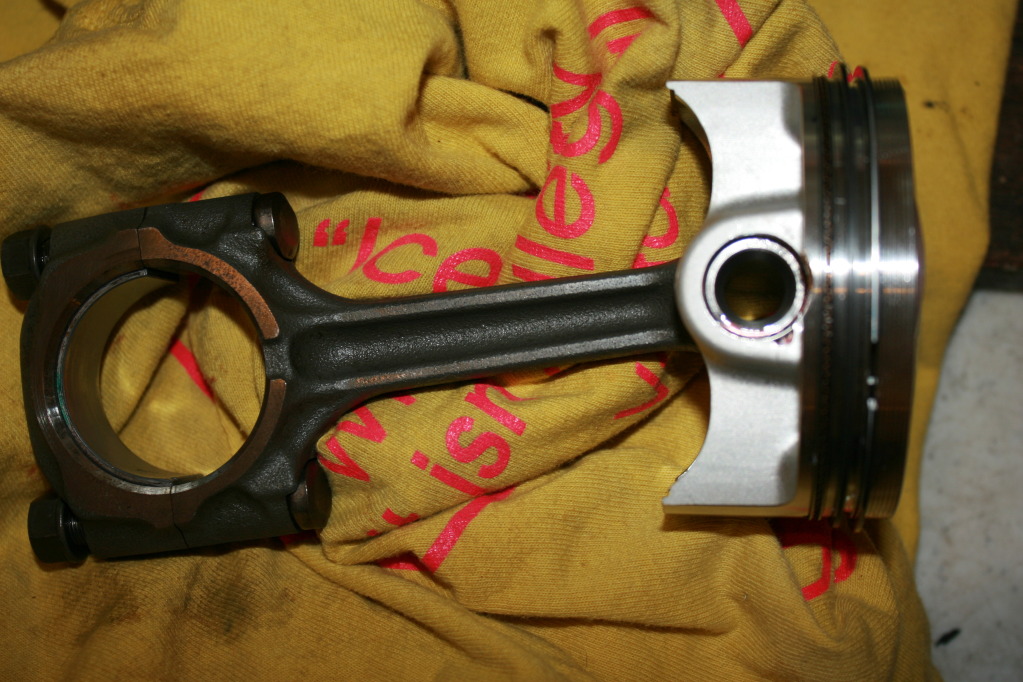
all four in a box ready to go in
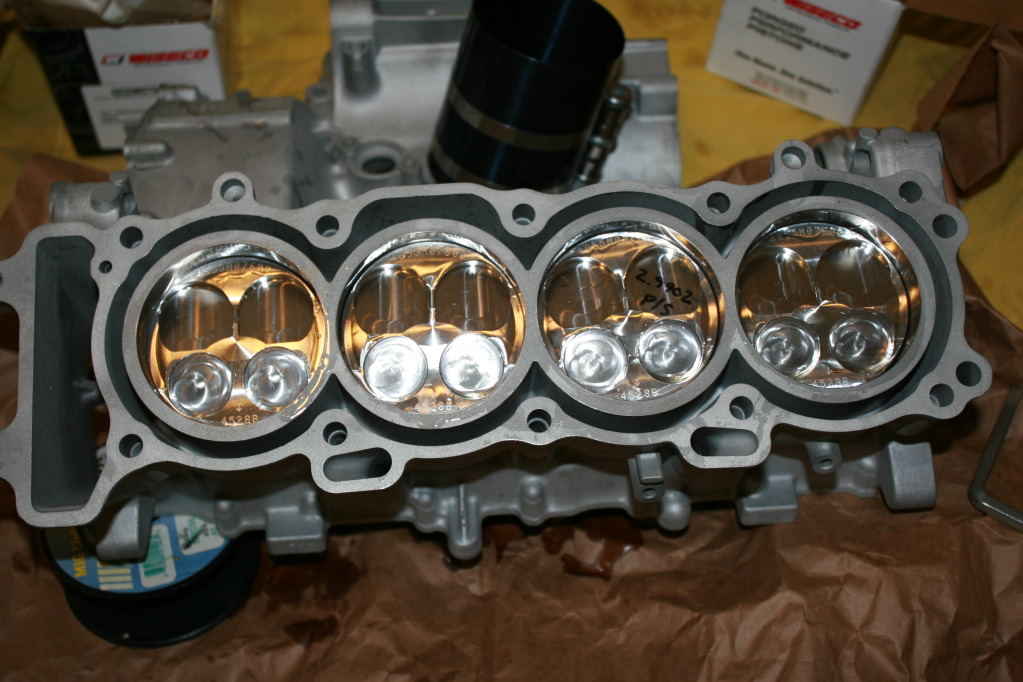
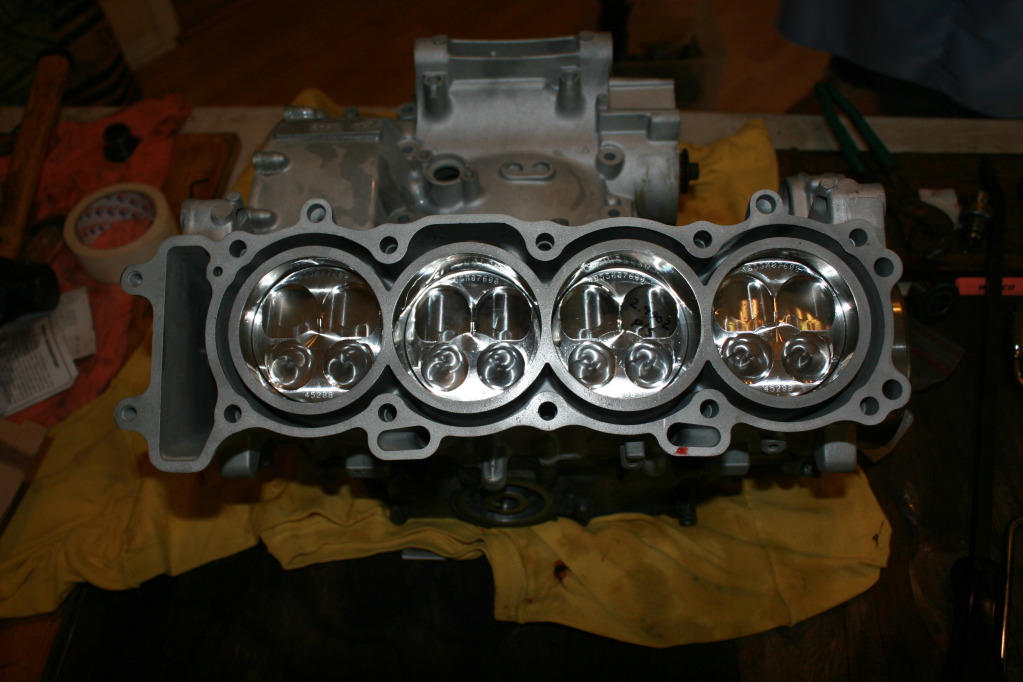
here we go...
got 'em all in with no issues. and damn does it look pretty
gettin ready for the crank, bearings are in and assembly lubed up
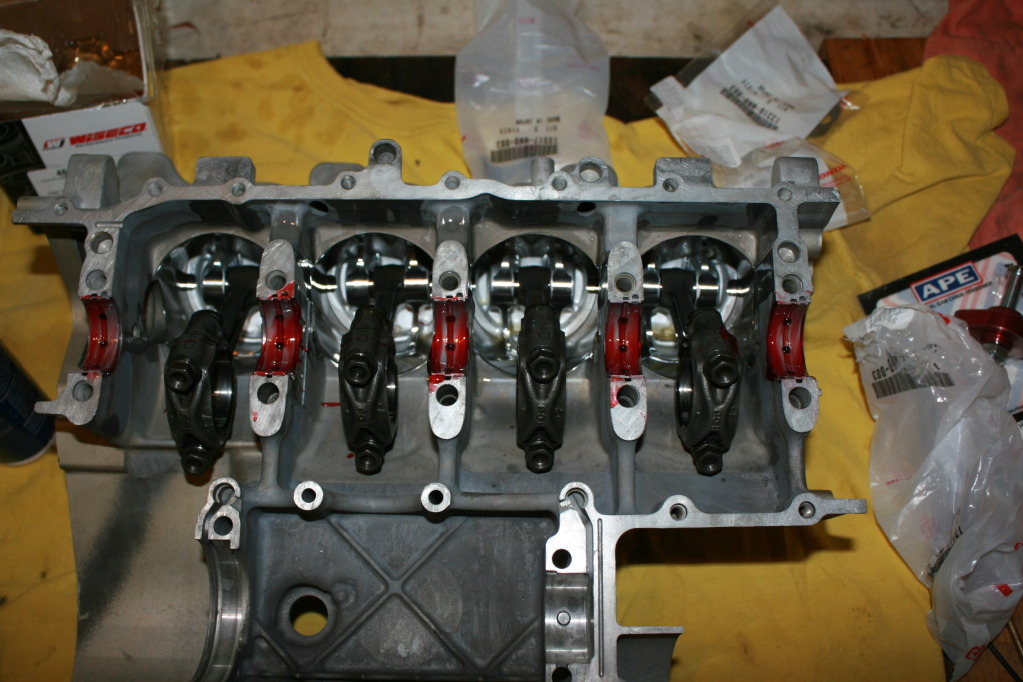
time to connect the rods to the crank
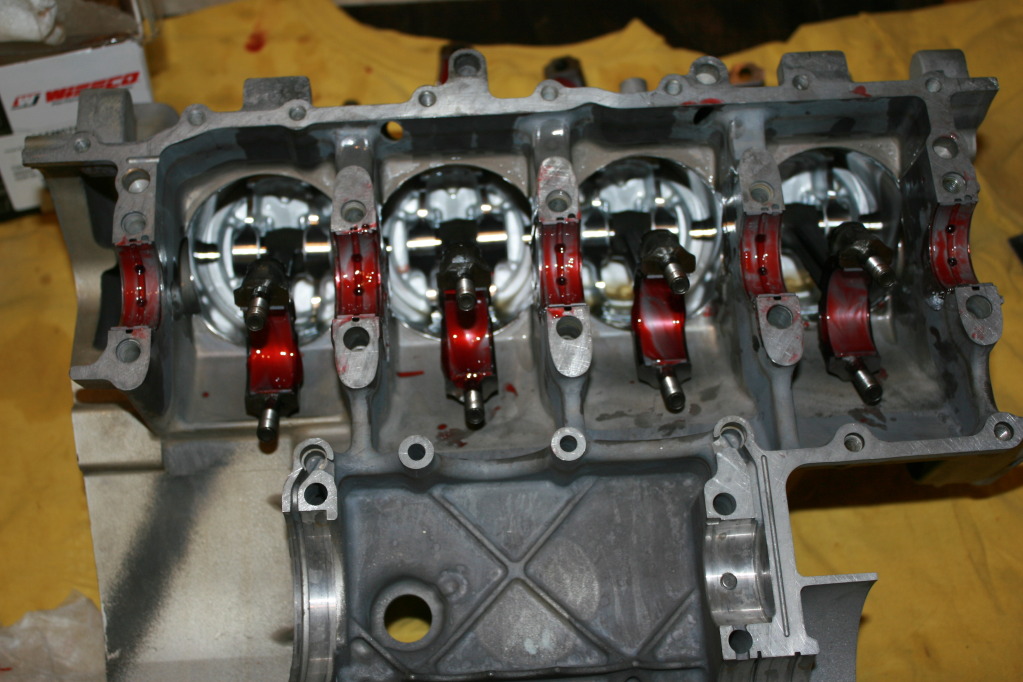
crank lubed up
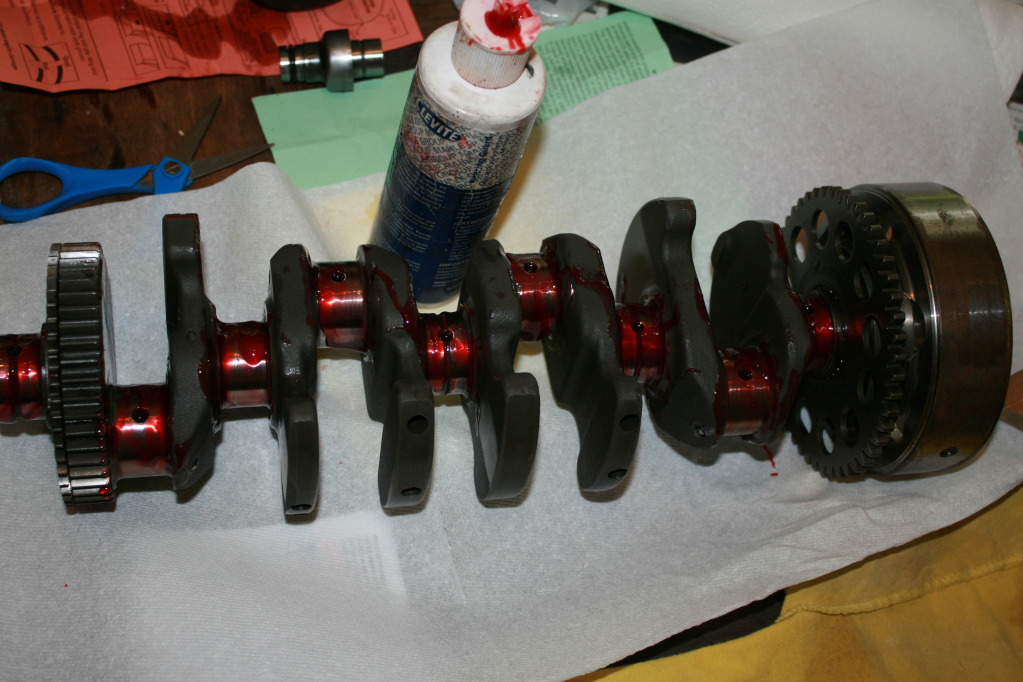
crank in and rods torqued (and loctited)
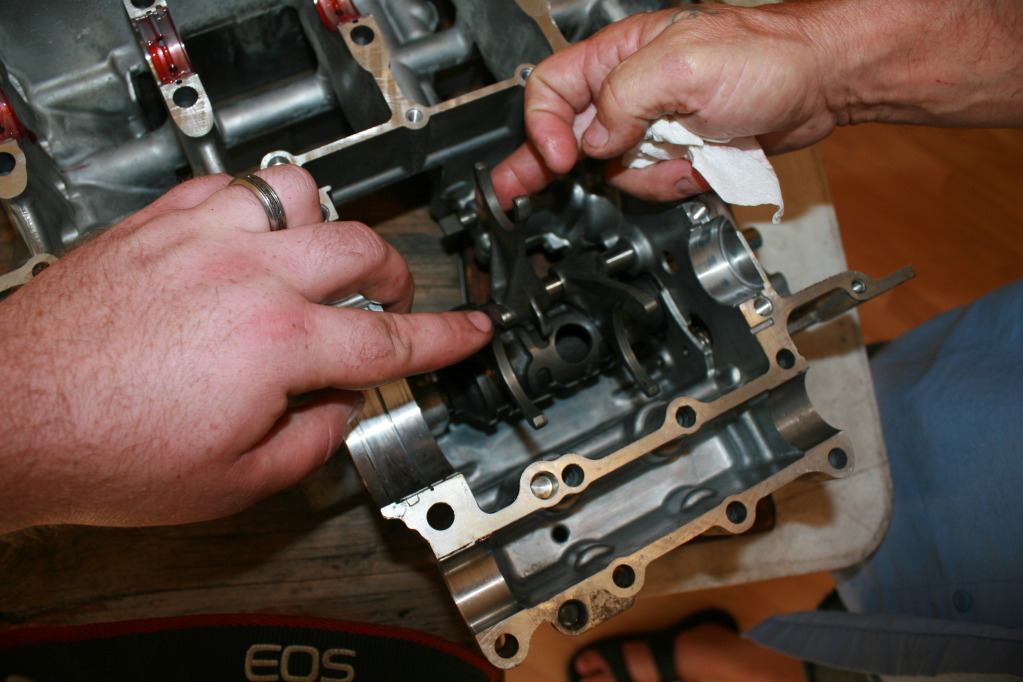
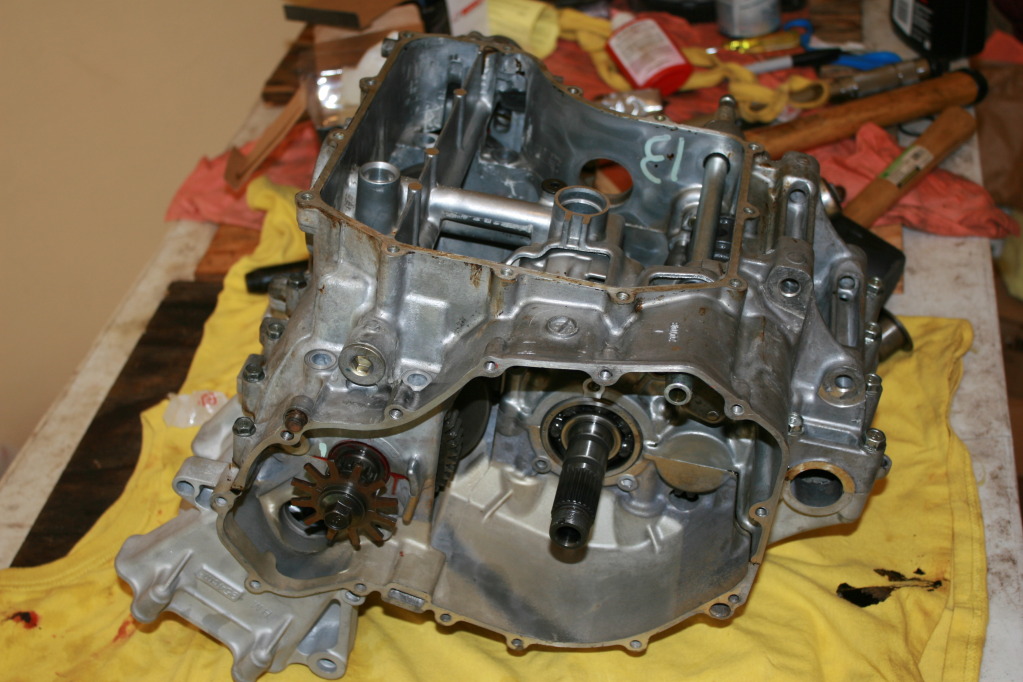
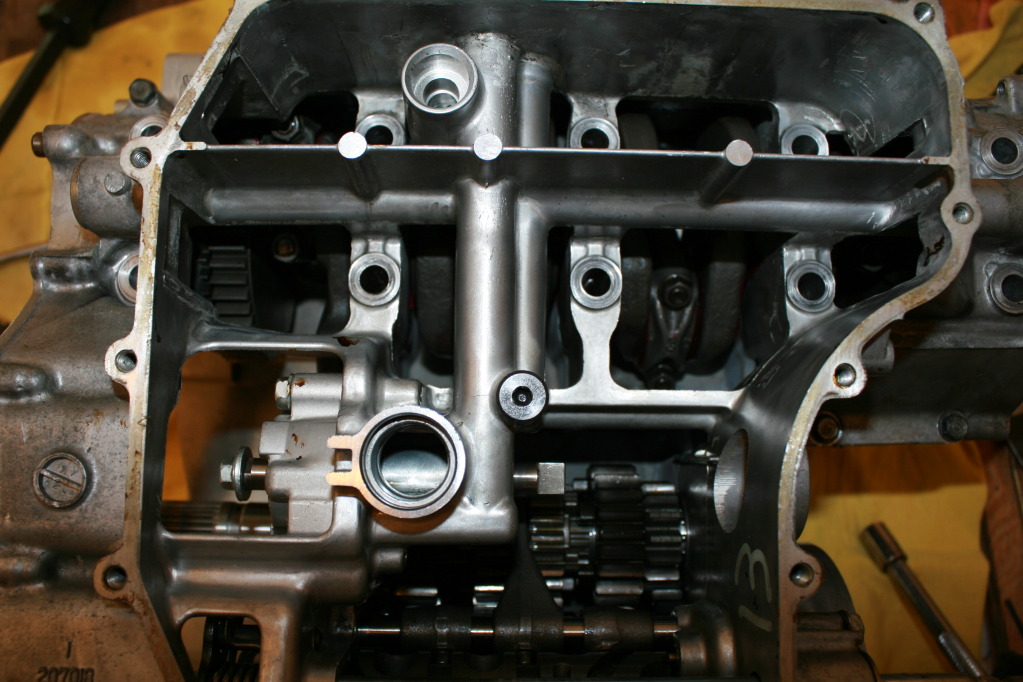
okay, layed the tranny in. this is a good reference to anyone who is trying to build a 954 tranny. in this picture, it's in neutral
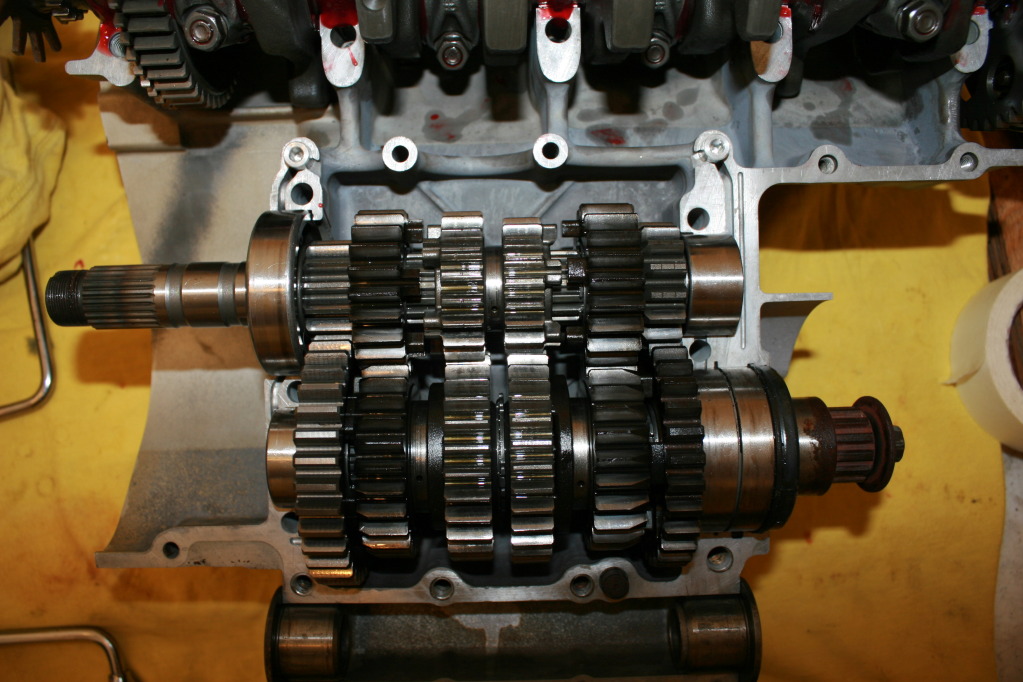
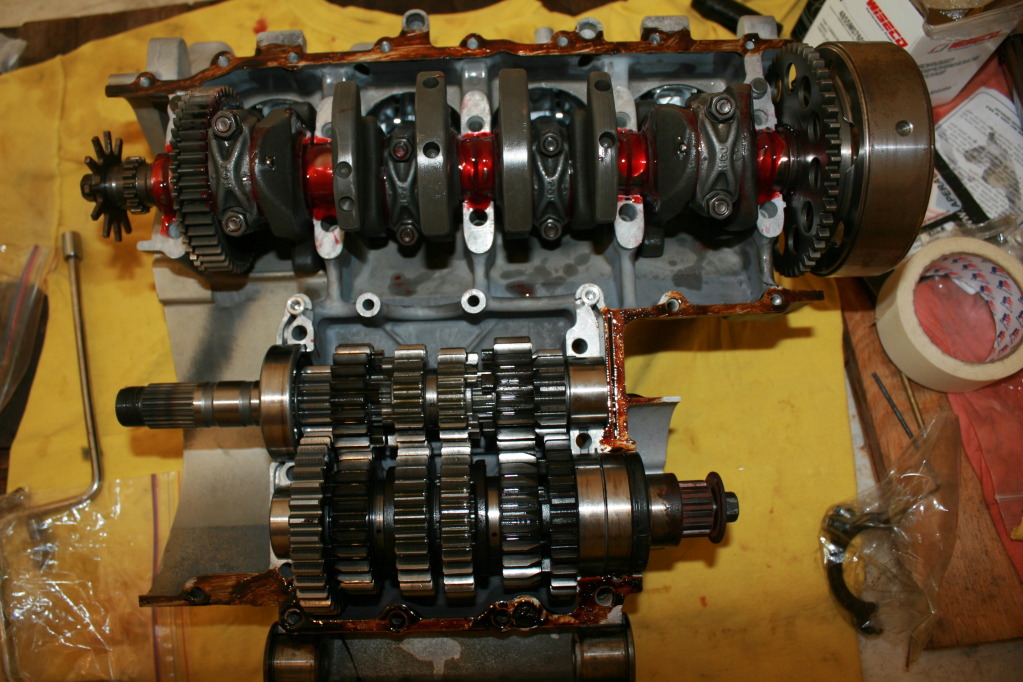
got the lower case all cleaned up and ready to go back in. i left the shift forks and drum in there. this picture shows the shift forks in neutral (that way, with the tranny in neutral, it can easily go back together)
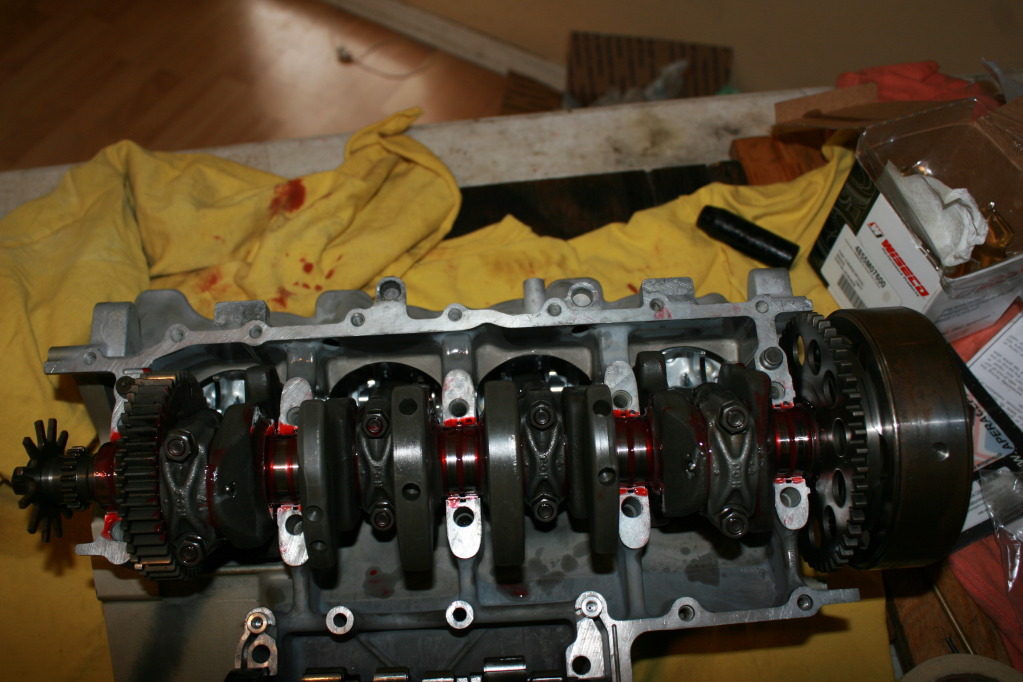
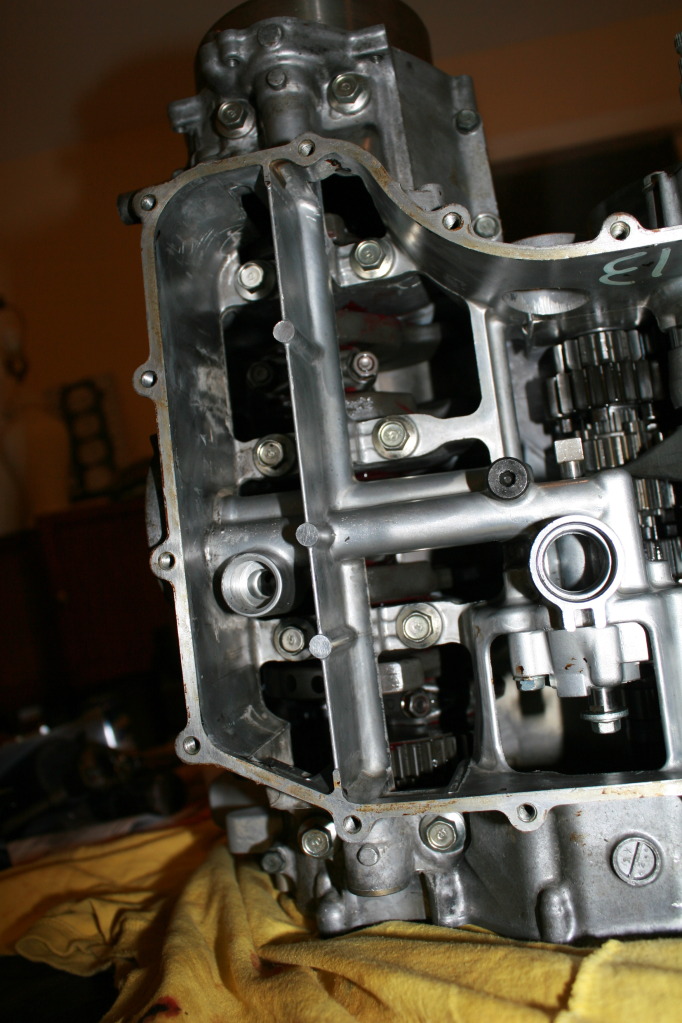
father in law holding the lower case. we're getting ready to put it on. you can see the indian head shellac (brown stuff)
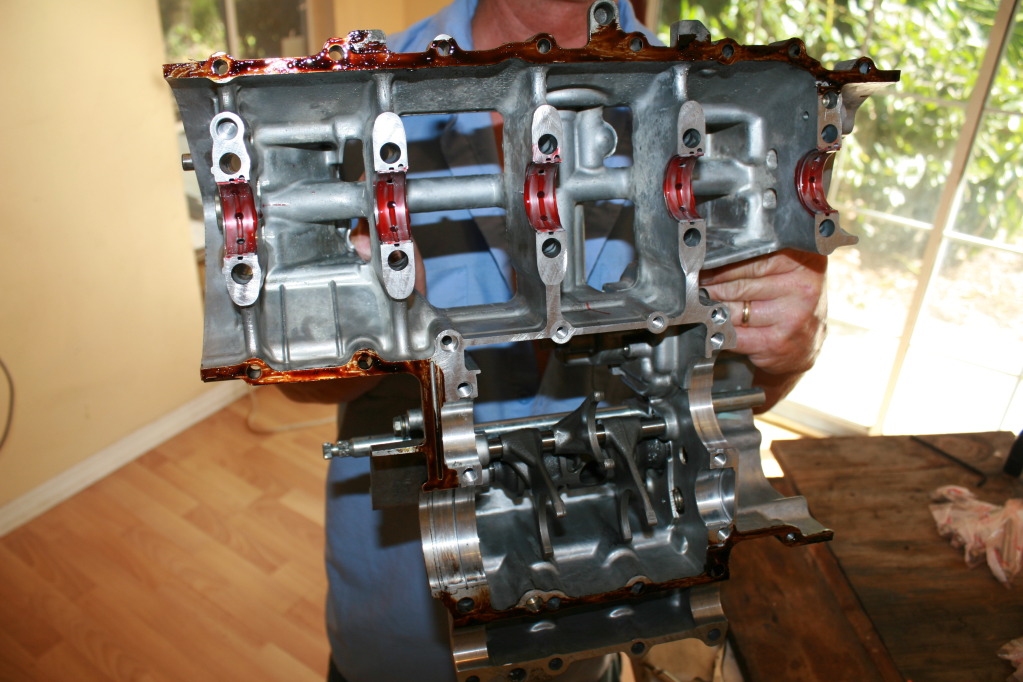
and it's together
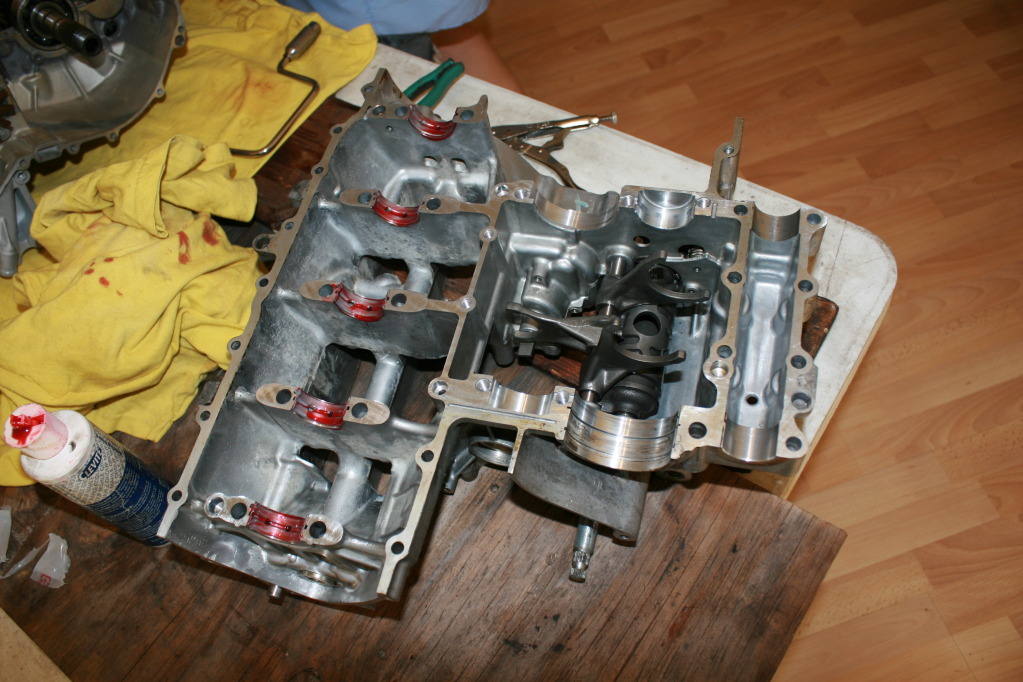
lookin from the bottom of the motor to the crank and rods
okay, so i didn't really take any pics of puttin the lower case bolts on and the stretch (main) bolts on.
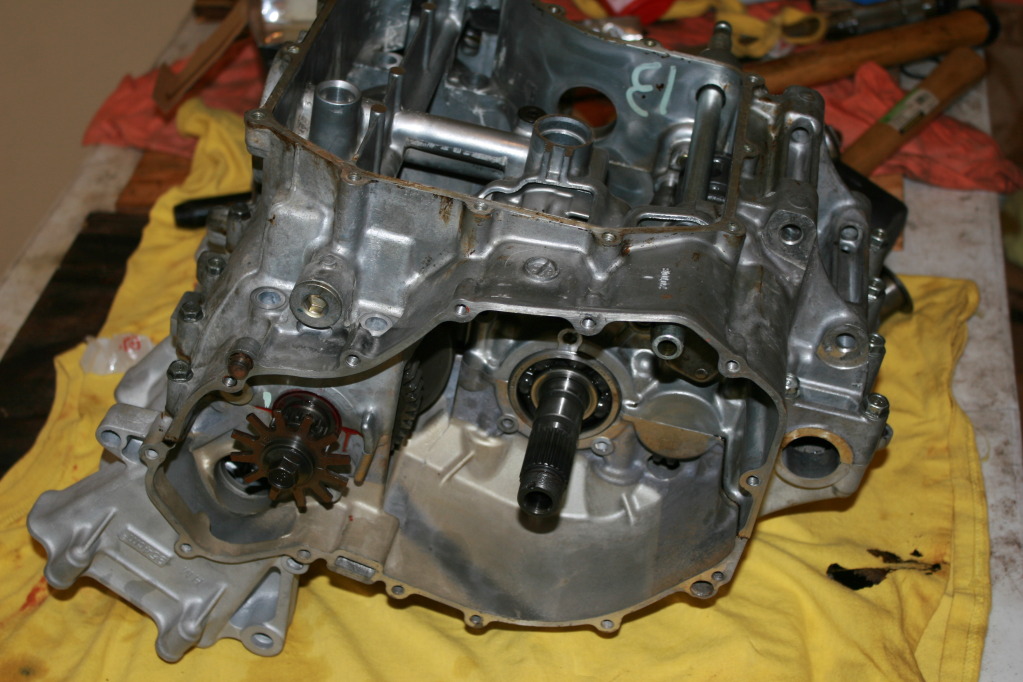
this is it, flipped over
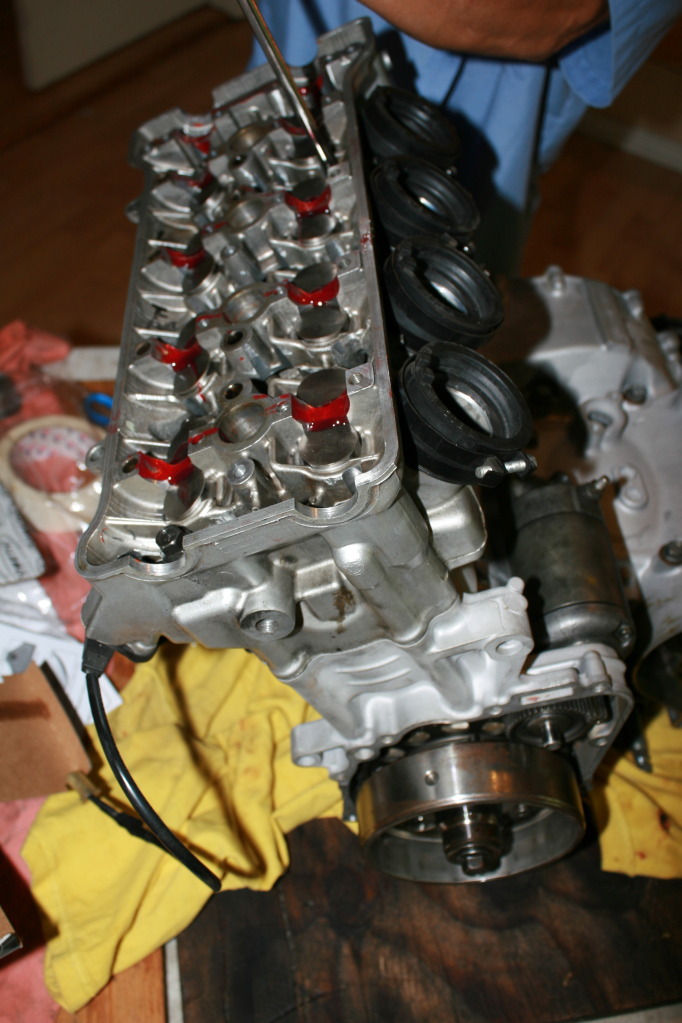
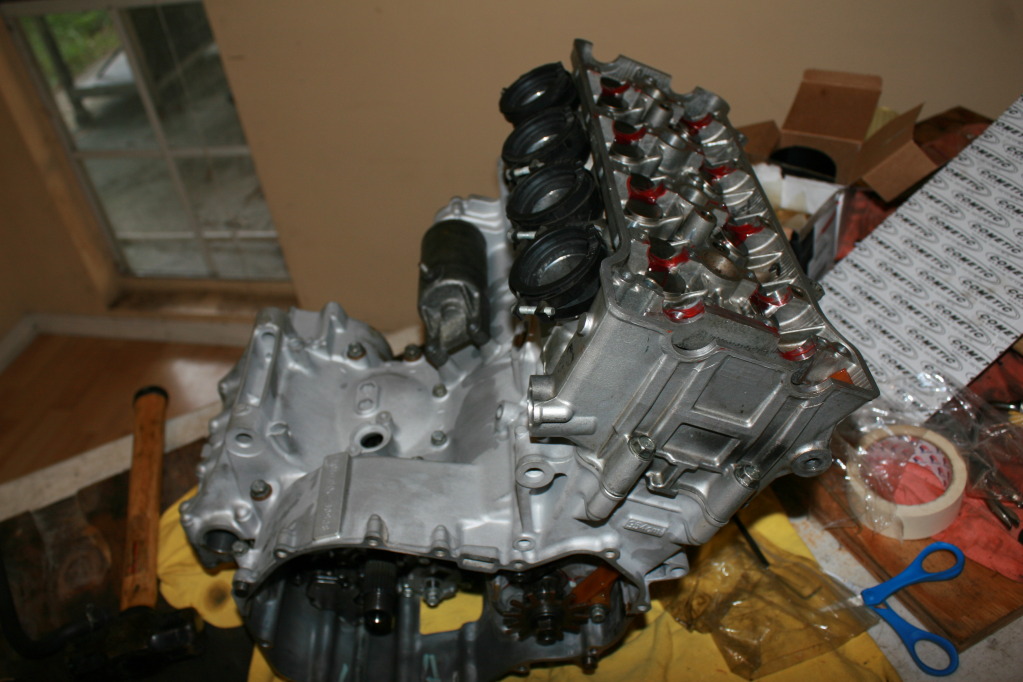
head on, tightening down the head bolts. then torque them from the middle out
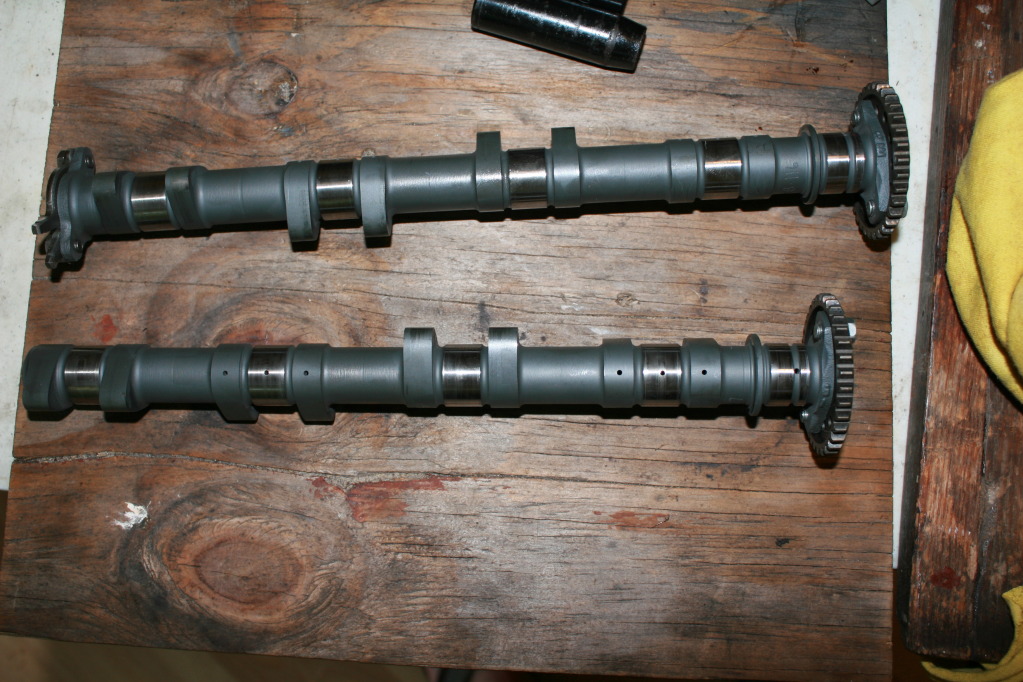
NEW CAMS! web camshaft grind intake:360/266/244 exhaust: 360/270/246
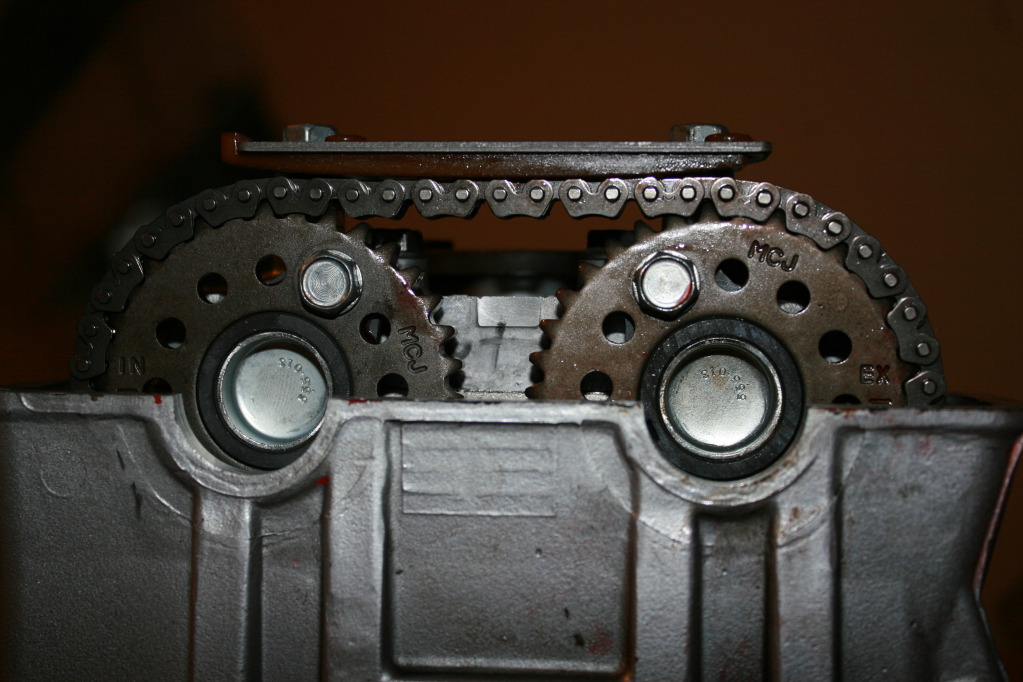
cams on, towers on

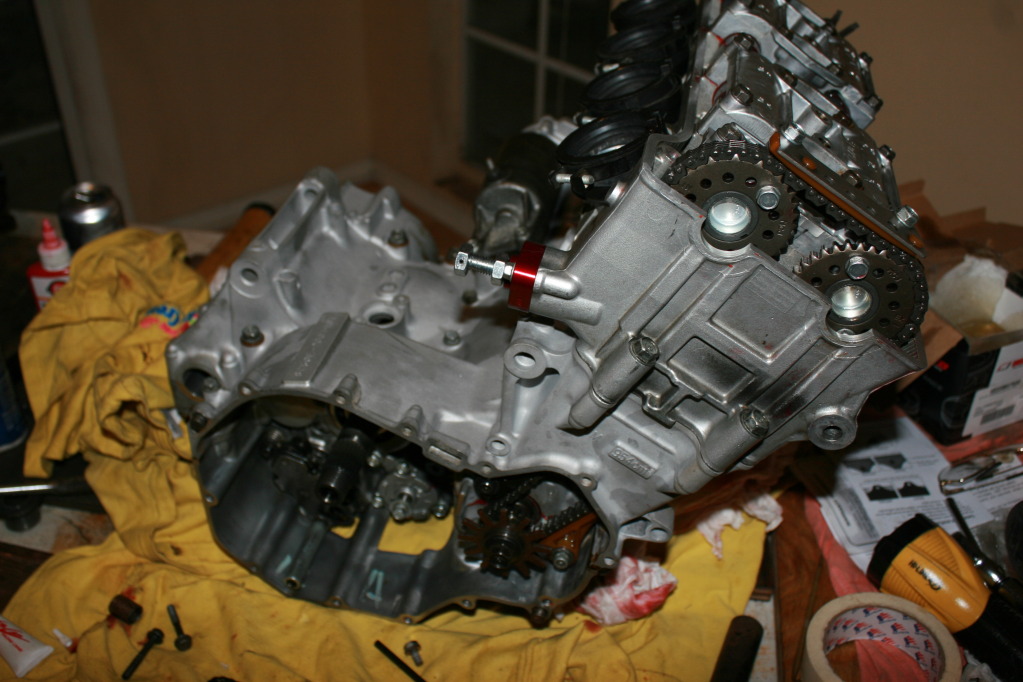
in time
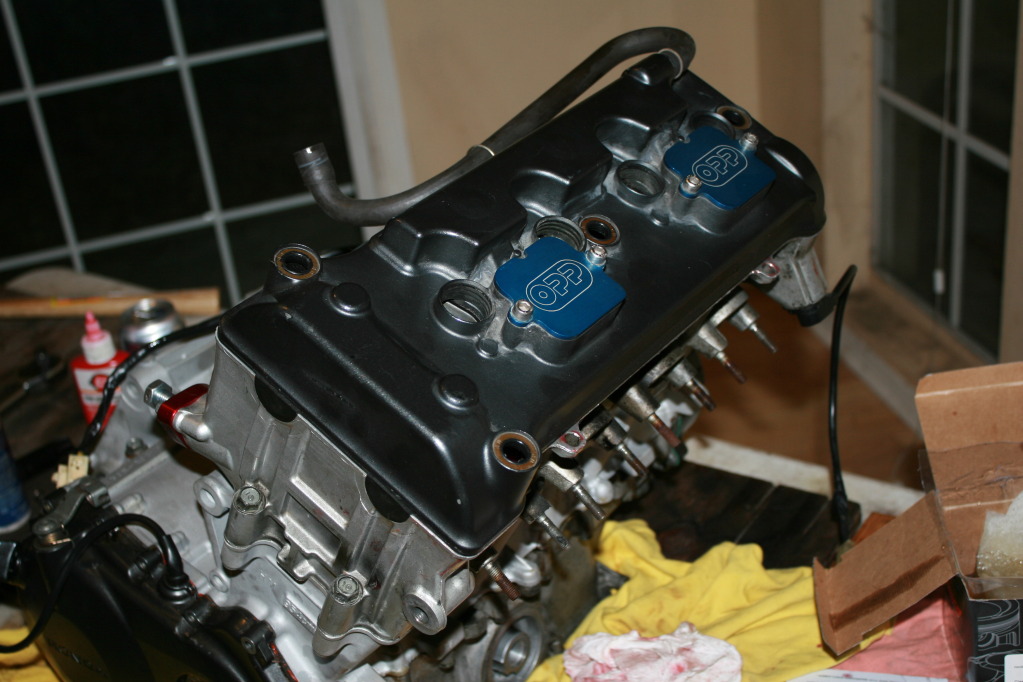
and then i was tired, the father in law was hungry, so we called it a day. so we put the covers on, just to keep somewhat safe
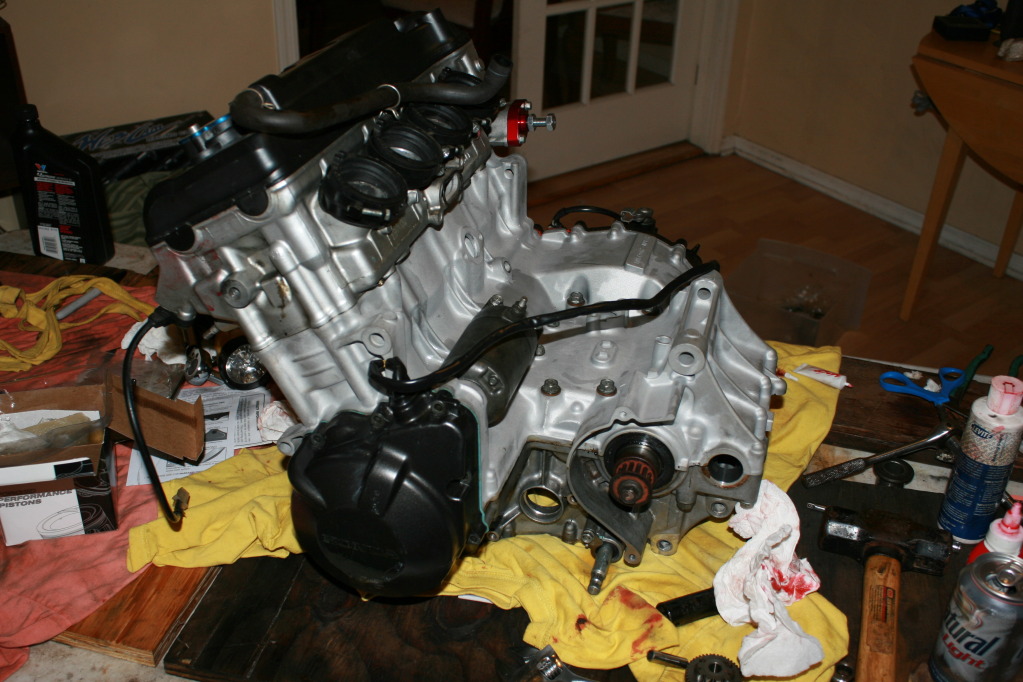
and then we covered it up with a blanket. man, it is much nicer to build a motor inside the house rather then the garage. you gotta love A/C. i'll finish it up this next week , take pictures and update you guys.
after its complete, i'm going to test run it on a 954 ecu and 954 TBs in order to make sure the motor is correct before i try to adapt the 1000rr TBs and microsquirt. and i'll paint it too (the casing and head will be black, then the covers will match the tank and tail.
as well, i'm taking the swingarm apart and i'm going to grind off and sand down any tabs and things i don't need to make it look pretty. and i'm going to be painting the swingarm and swingarm stay black to match the frame and motor.
so i built the motor for the most part. i still need to get the clutch, oil pan, oil cooler, water pump and the side covers on, but for the most part, she's together and in time. i'll finish it up the rest of the way during this week, and i'll take pics on how to do that too. my father in law and i did all of this. he's been building motors since he was 10. it really helps having 2 hands when building at least the bottom end of the motor
first, i had to wash out the top case with hot soapy water. this is letting it dry
finally, inside and on the table
building pistons
all four in a box ready to go in
here we go...
got 'em all in with no issues. and damn does it look pretty
gettin ready for the crank, bearings are in and assembly lubed up
time to connect the rods to the crank
crank lubed up
crank in and rods torqued (and loctited)
okay, layed the tranny in. this is a good reference to anyone who is trying to build a 954 tranny. in this picture, it's in neutral
got the lower case all cleaned up and ready to go back in. i left the shift forks and drum in there. this picture shows the shift forks in neutral (that way, with the tranny in neutral, it can easily go back together)
father in law holding the lower case. we're getting ready to put it on. you can see the indian head shellac (brown stuff)
and it's together
lookin from the bottom of the motor to the crank and rods
okay, so i didn't really take any pics of puttin the lower case bolts on and the stretch (main) bolts on.
this is it, flipped over
head on, tightening down the head bolts. then torque them from the middle out
NEW CAMS! web camshaft grind intake:360/266/244 exhaust: 360/270/246
cams on, towers on
in time
and then i was tired, the father in law was hungry, so we called it a day. so we put the covers on, just to keep somewhat safe
and then we covered it up with a blanket. man, it is much nicer to build a motor inside the house rather then the garage. you gotta love A/C. i'll finish it up this next week , take pictures and update you guys.
after its complete, i'm going to test run it on a 954 ecu and 954 TBs in order to make sure the motor is correct before i try to adapt the 1000rr TBs and microsquirt. and i'll paint it too (the casing and head will be black, then the covers will match the tank and tail.
as well, i'm taking the swingarm apart and i'm going to grind off and sand down any tabs and things i don't need to make it look pretty. and i'm going to be painting the swingarm and swingarm stay black to match the frame and motor.
Last edited by Conrice; Oct 14, 2012 at 11:28 AM.

Wow!
I was never a fan of Streetfighters until I read this, always thought they looked ugly. You sir have built a masterpeice! Changing my previous thoughts, just seeing all the work they take to build it's astonishing!
Great job and a beautifully mean looking bike
I was never a fan of Streetfighters until I read this, always thought they looked ugly. You sir have built a masterpeice! Changing my previous thoughts, just seeing all the work they take to build it's astonishing!
Great job and a beautifully mean looking bike


Thread Starter
|
Retired Super Moderator and Fighterer
Joined: Nov 2006
Posts: 6,146
Likes: 37
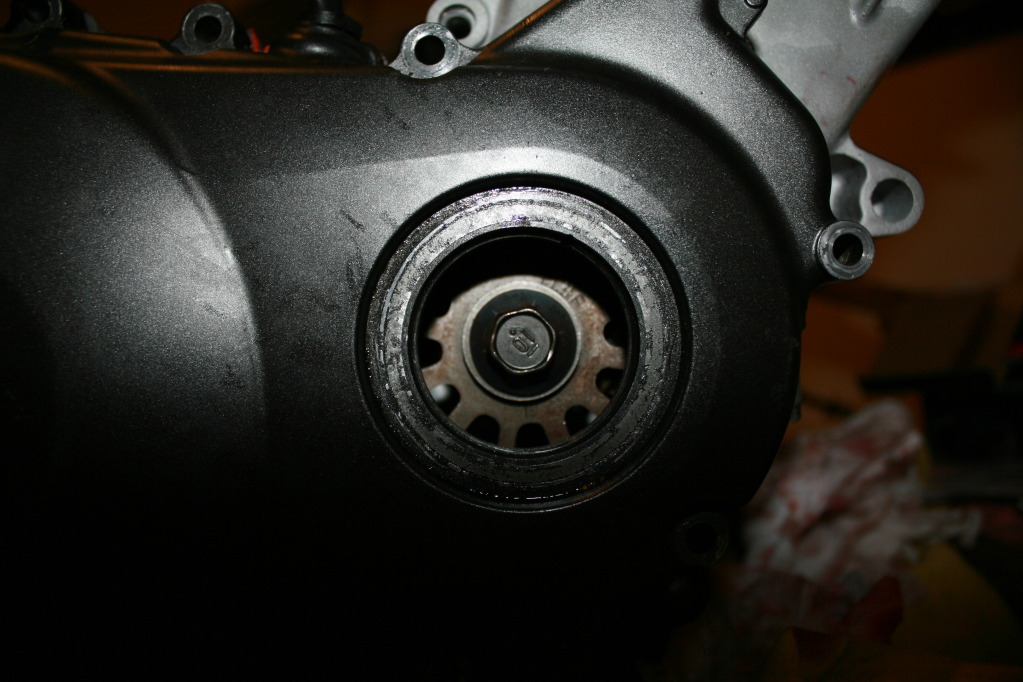
well, the oil pump was catching on something when i was spinning it by hand, so i took it apart. i jumped the star ahead one spot, and now it works perfectly.
as for the thermostat.... when i re-built the first motor - and it eventually blew the rings (within like 200 miles or so) i noticed that it would cool down to 150 degrees while running from a stoplight where it was 200 or while waiting for the light to change. weird right? so i decided (since i had another thermostat anyways) to take it apart. well, it was missing the whole internal thermostat - the valve that stops the flow! it wasn't just broken or something, it was taken out.... weird....
so needless to say, i'm using the other thermostat, but it has a lot of grime built up on it, anyone know of anything that gets that stuff off?
as well, i'm working on sourcing an oil pressure gauge for the side of the motor, and i'm trying to figure out how to adapt an external oil cooler to the motor since a) i'm in florida, the radiator is already over worked. and b) now i've upped the compression quite a bit.
i'm trying to figure out how to adapt a sandwich oil filter adapter to where the water/oil cooler would normally go for the external oil cooler. i've seen it done on a few 954 race engines before, but i can't find any write ups, so once i order an adapter, i'll figure out exactly what i need to get it done.
pics to follow
