Boxdgm's F1 fighter build log


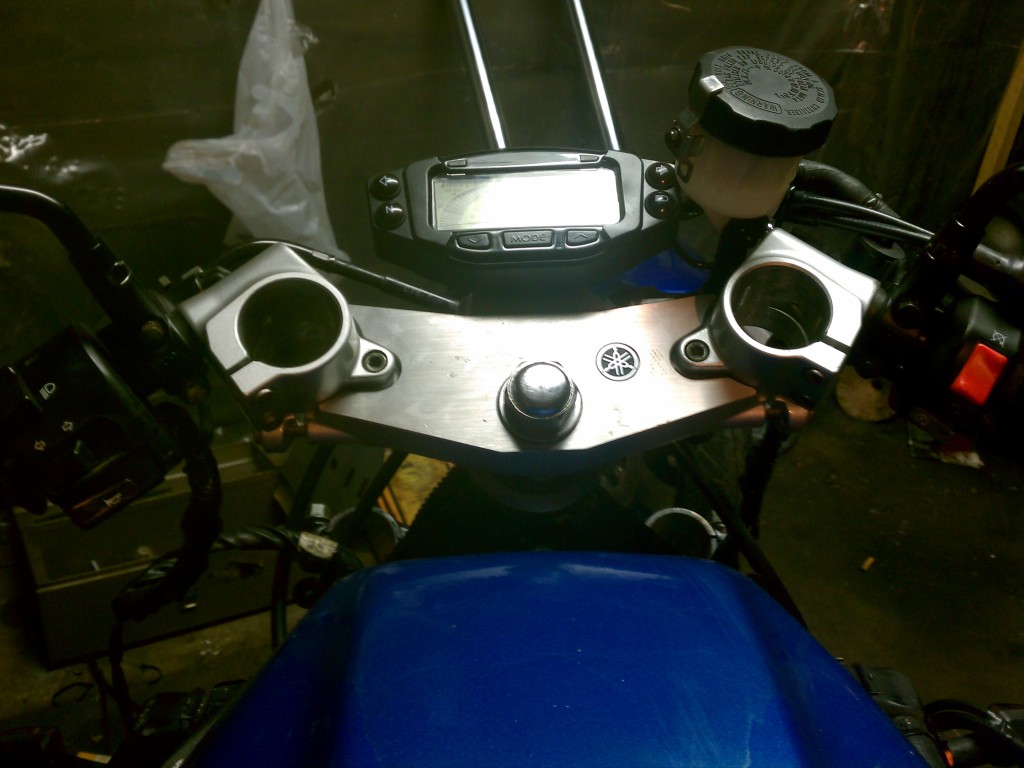
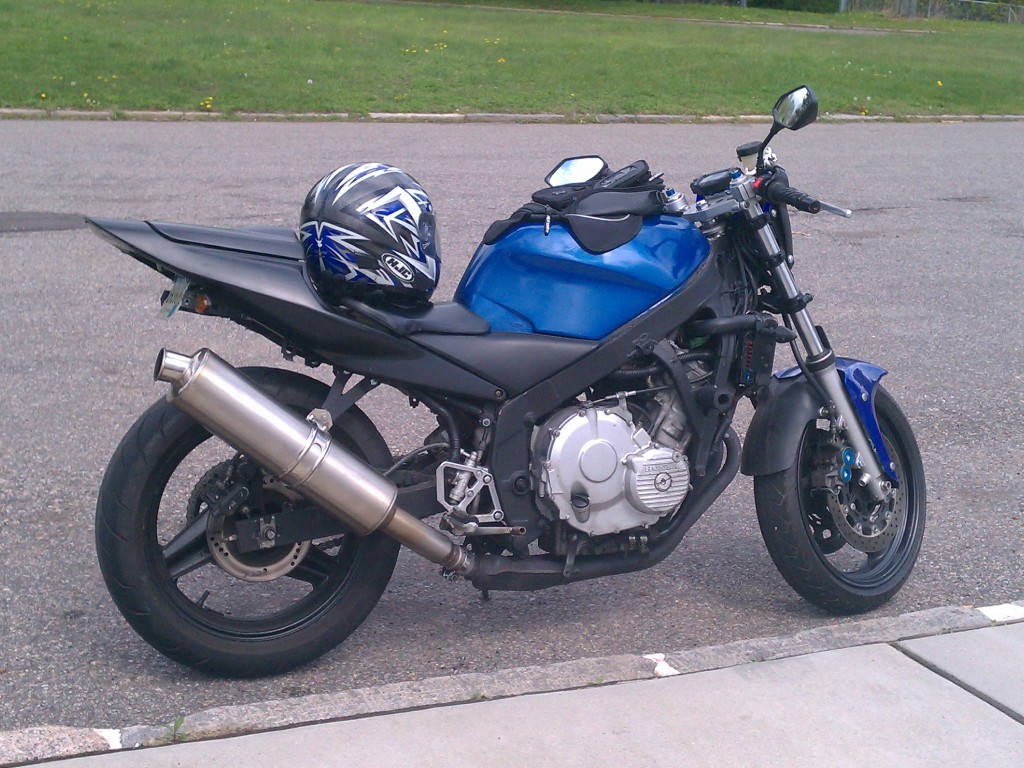
Thanks man i need to cover up that crappy yamaha logo though haha.
I got the back wheel primered and got a coat of black on it but its pretty cold out so im going to see if the weather gets better this weekend before i spray any more paint on it.
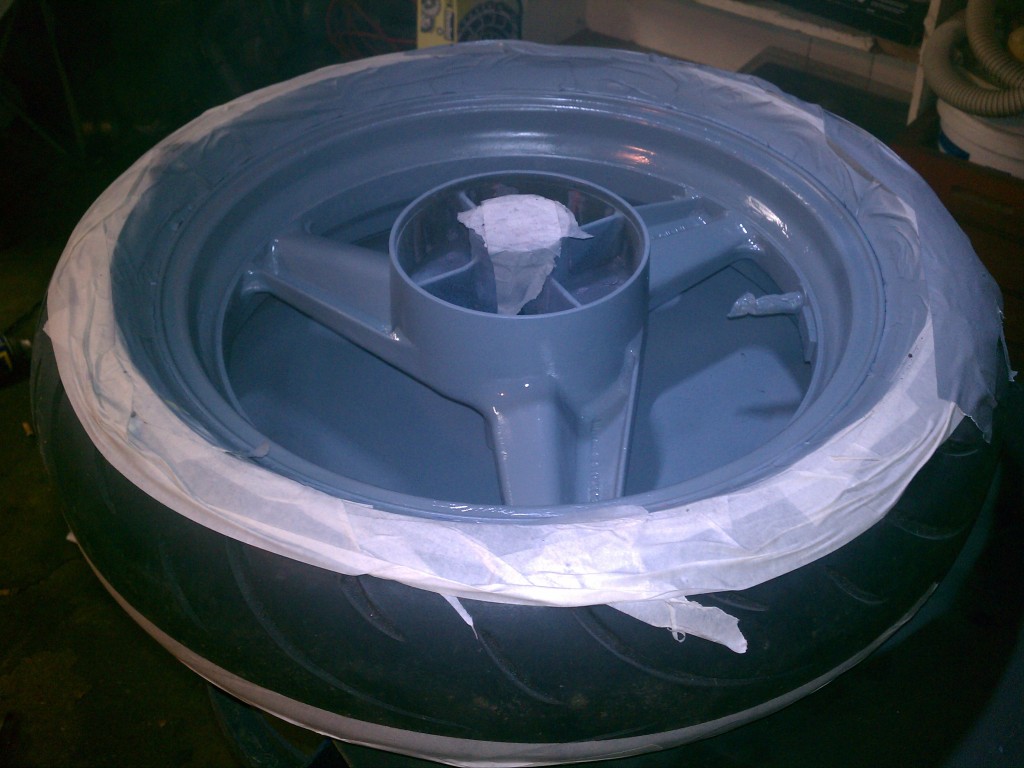
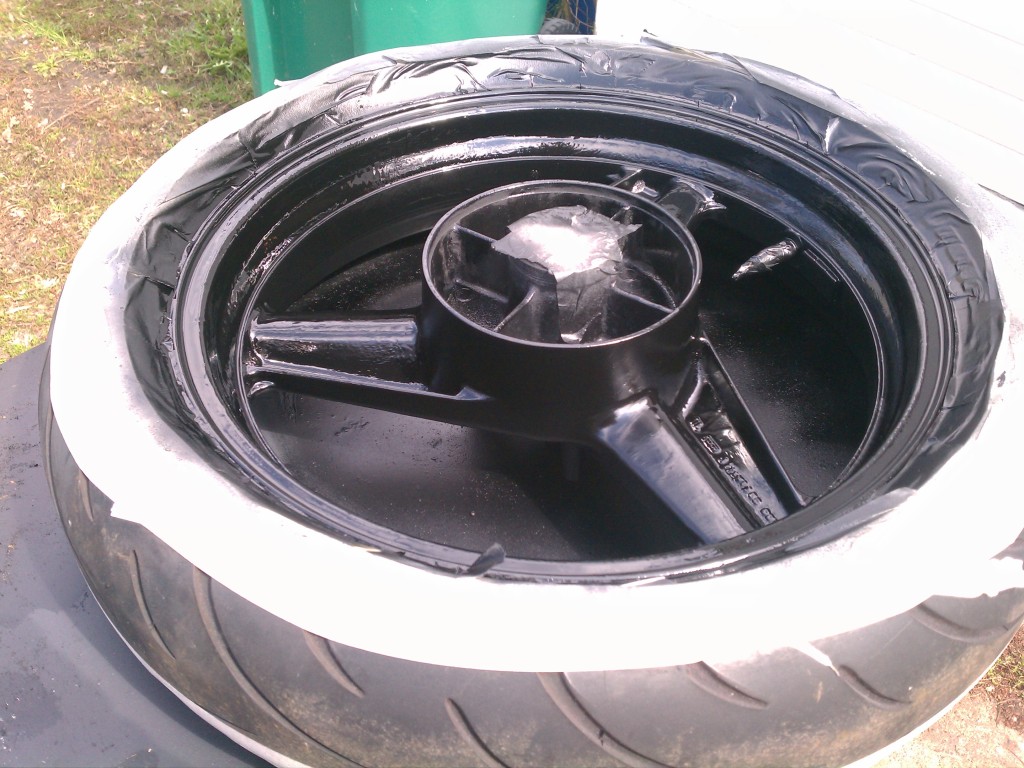
I got the back wheel primered and got a coat of black on it but its pretty cold out so im going to see if the weather gets better this weekend before i spray any more paint on it.
Last edited by Boxdgm; Apr 1, 2012 at 08:58 PM.
I started drilling the triple clamp for the ignition but snapped a drill bit deep inside the hole i was drilling so i decided to go a different route for now. I mounted the vapor gauge to the ignition loop and i relocated the ignition switch to the frame on the left side.
Got the dust seal and now with the spacer under the lower bearing the steering stem fits great. Just waiting for the spanner nut and washer i ordered from yamaha then i can finally get this thing back on 2 wheels. They said it will be in tommorow so if all goes well ill be able to ride it soon.
Got the dust seal and now with the spacer under the lower bearing the steering stem fits great. Just waiting for the spanner nut and washer i ordered from yamaha then i can finally get this thing back on 2 wheels. They said it will be in tommorow so if all goes well ill be able to ride it soon.

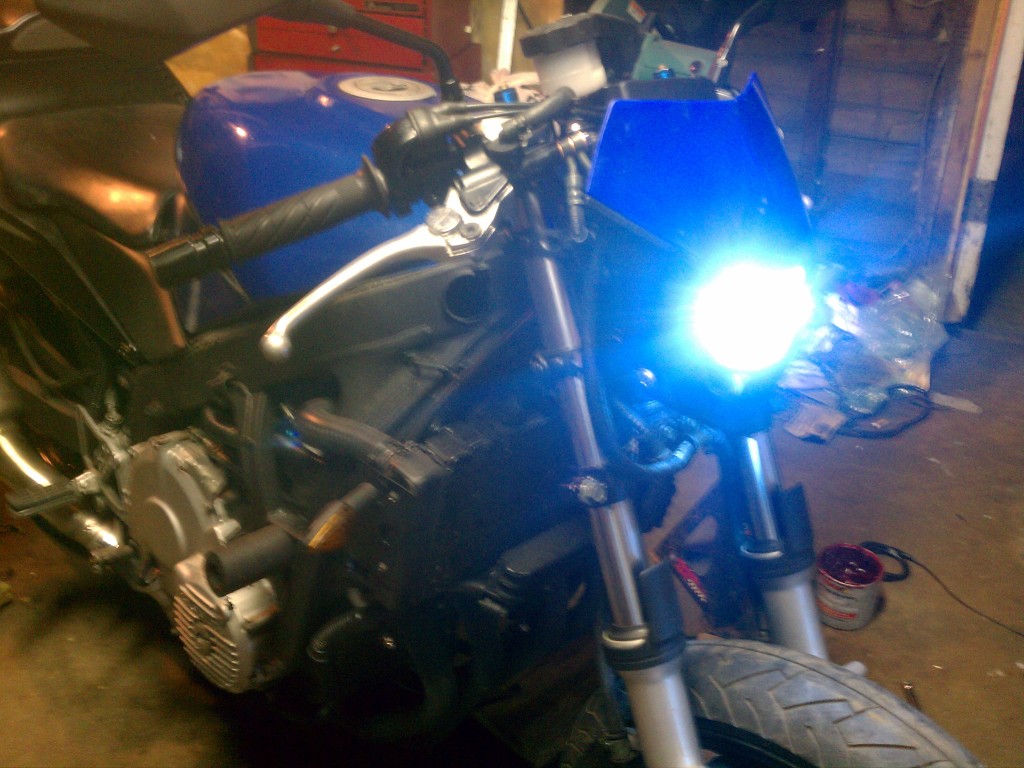

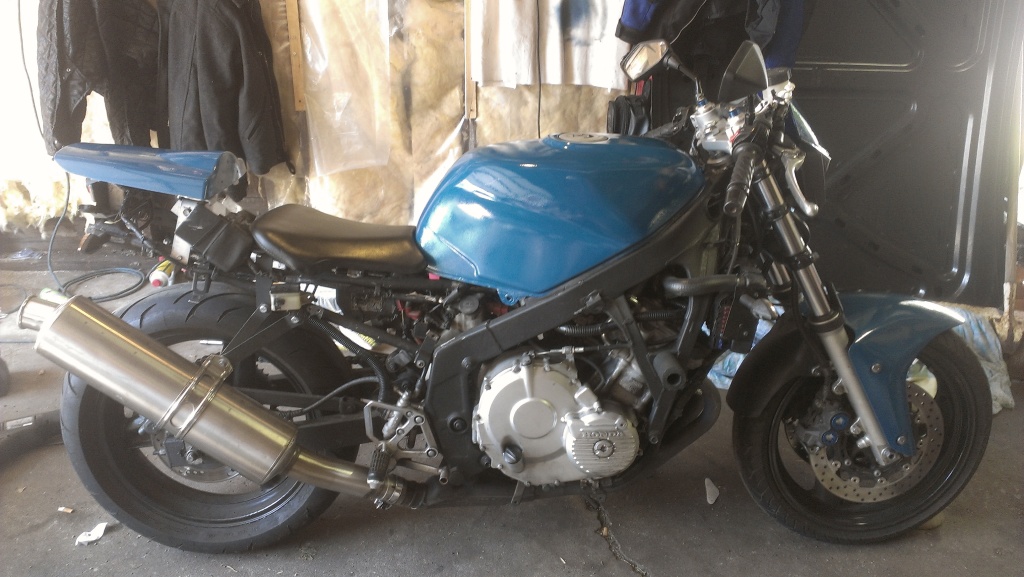
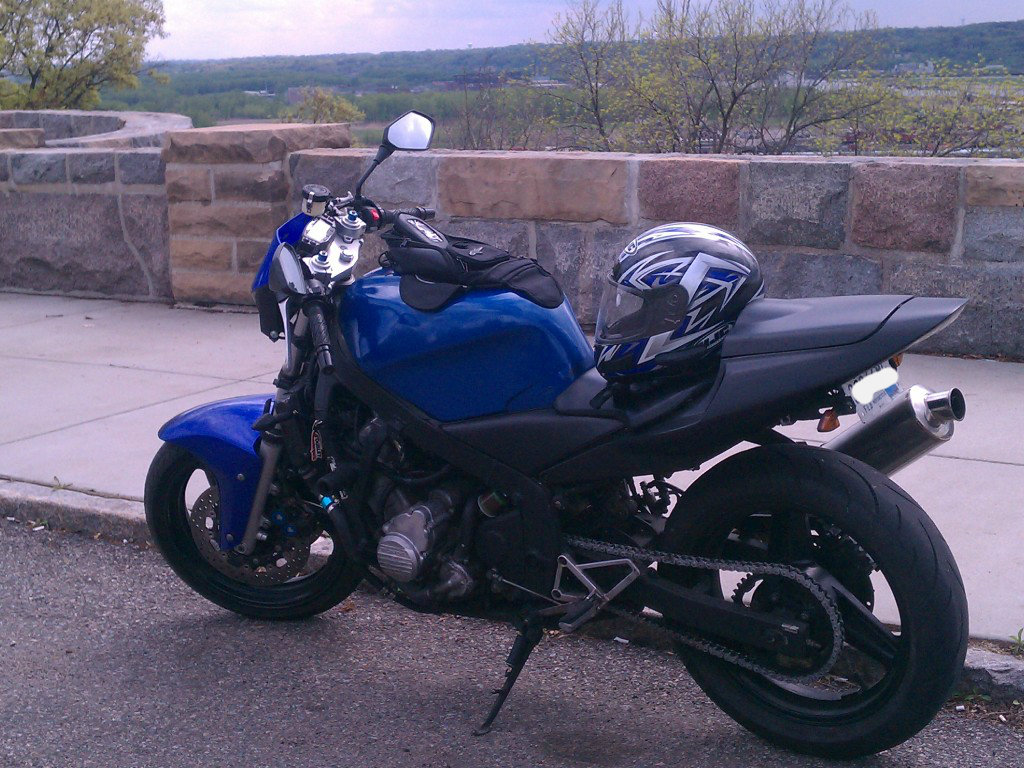
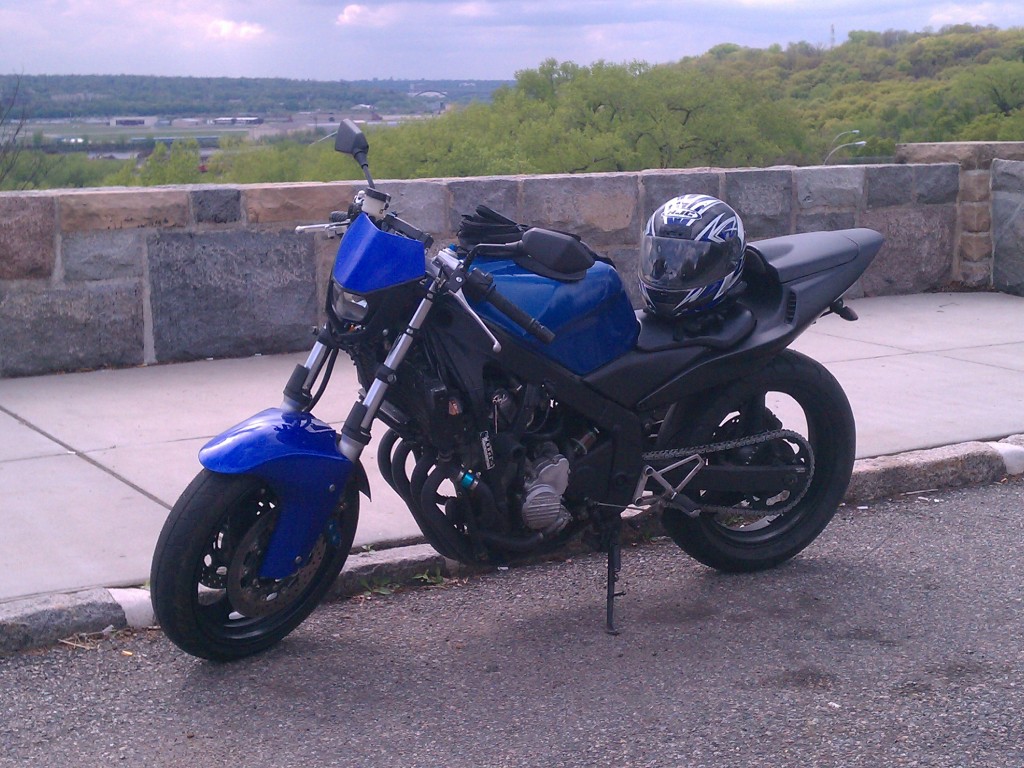
Got it rideable now and wow these brakes are awesome. Had a little mishap because one of the crush washers i used on the brake master cyl was slightly too big and was slowly dripping brake fluid out. I drove it about 60 miles and didnt realize it was spraying in the wind all over the right side of the tank and ate the clear off.
Last edited by Boxdgm; Apr 7, 2012 at 02:56 PM.
Senior Member
Joined: Apr 2012
Posts: 249
Likes: 1
From: Laredo, Tx
hey, I've been looking at your progress, looks awesome, I was interested in the 600rr tail you mounted, I am wanting to do the same thing but dont know what is needed, I am mechanically inclined but wouldnt know where to start, I've read other conversions and I believe you have to get the subframe as well, but how did you approach it, thanks for sharing some info.

Member
Joined: Feb 2012
Posts: 38
Likes: 0
From: Boynton
Looks good! I hope u can get rid of the Yamama logo from your trees. I had a regal stolen from me once, they replaced the the steering wheel/ column with a Monte Carlo one. Every time I looked down at it I wanted to smash something. Wouldn't want u to go through that 
hey, I've been looking at your progress, looks awesome, I was interested in the 600rr tail you mounted, I am wanting to do the same thing but dont know what is needed, I am mechanically inclined but wouldnt know where to start, I've read other conversions and I believe you have to get the subframe as well, but how did you approach it, thanks for sharing some info.
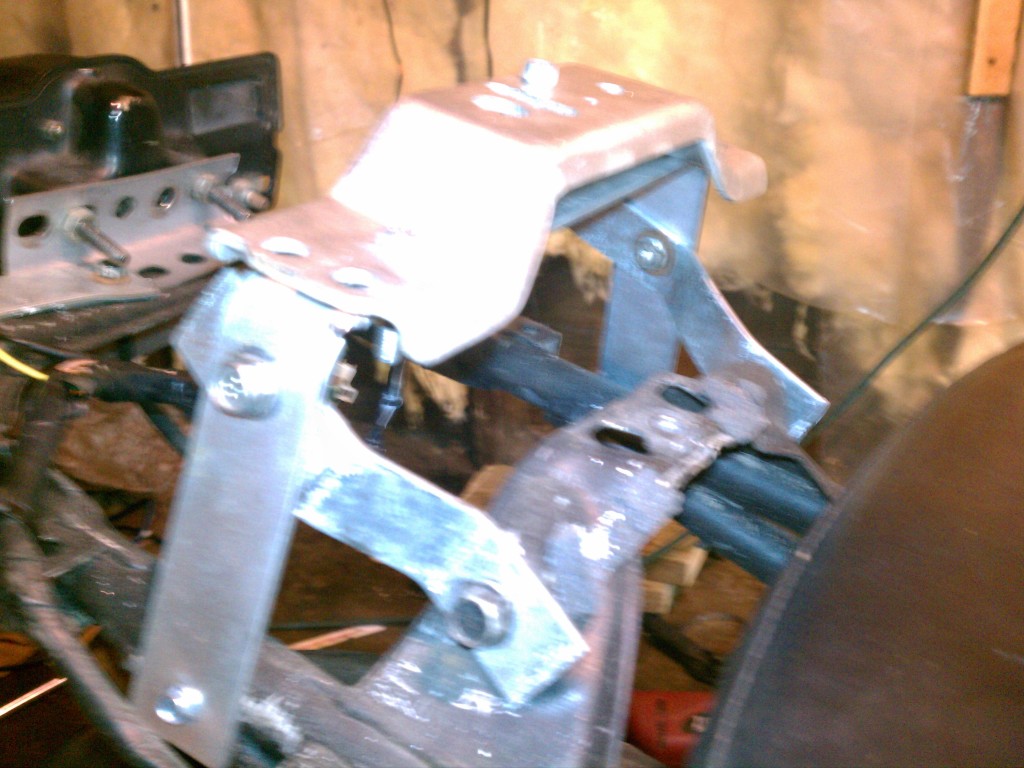
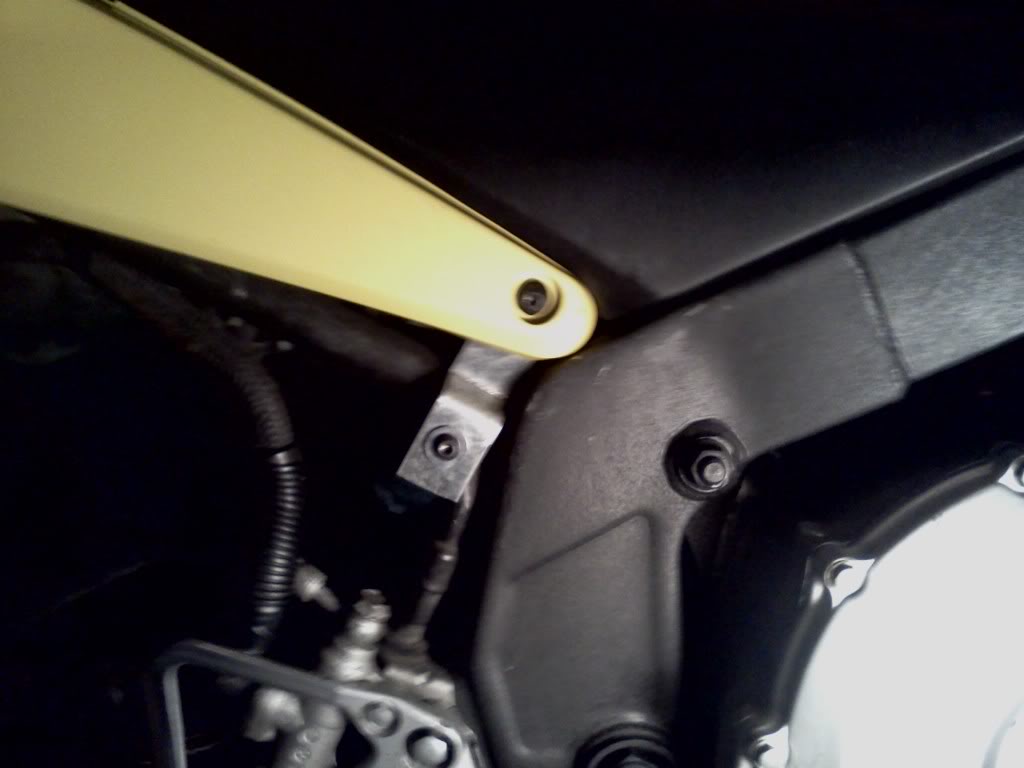
Theres another bracket in the back but i dont have pics of it.
You need the tail, seats, side panels, taillight and front and rear latches for the rear seat but all of it can be had cheap on ebay.
https://cbrforum.com/forum/cbr-600f-...-115495/page3/
This guy took a lot better pics than i did but you can get a good idea of what needs to be done.


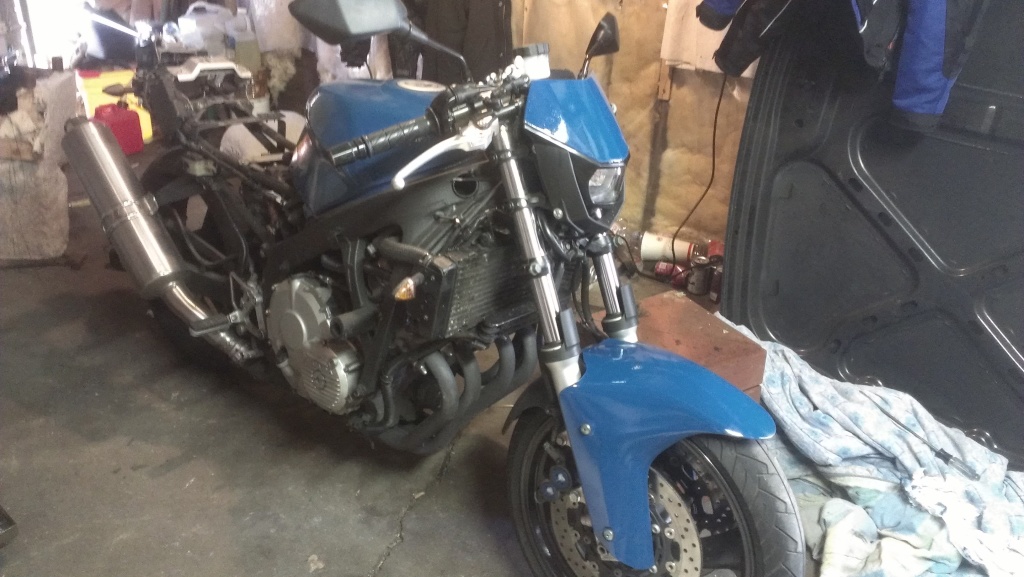
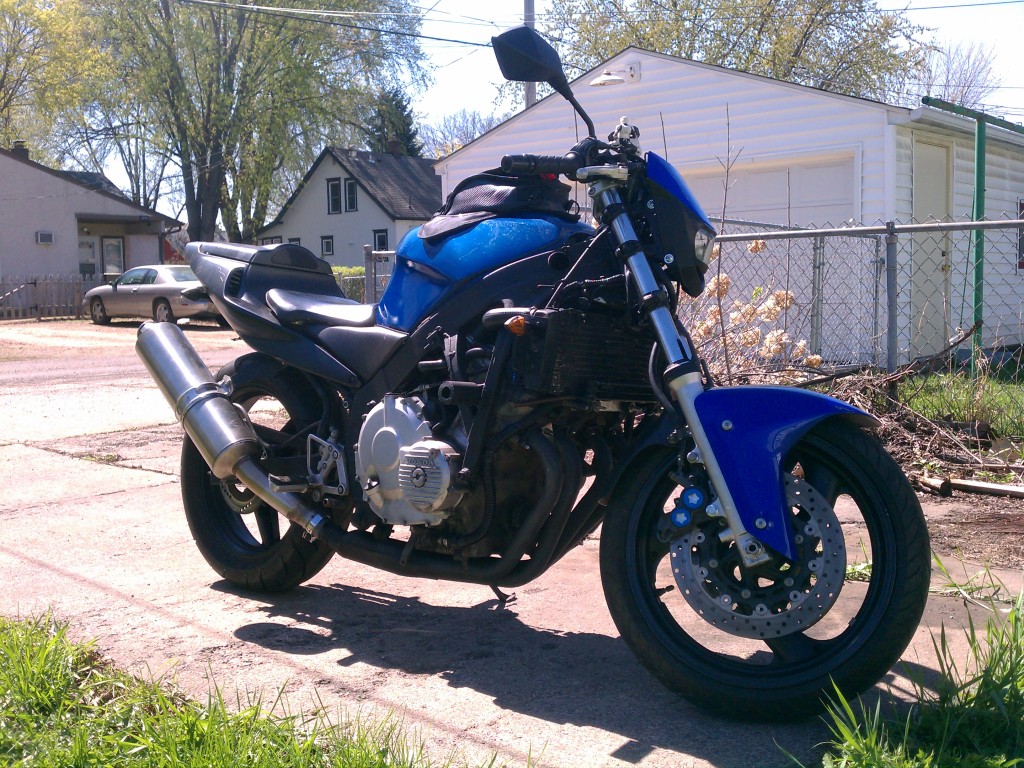
Got the parts back from paint, been so busy with work that i havent been able to get it all back together yet but heres a pic showing most of it back on. This color is a little lighter almost an aqua blue. I liked the old color better but at least it all matches again and the new color is growing on me.